
#CRAFTOFTHEDAY (WEEK 3)
This week I could finally catch up with my crafting and I was crafting non-stop from Monday to Friday! I LOVE IT HAHAA.
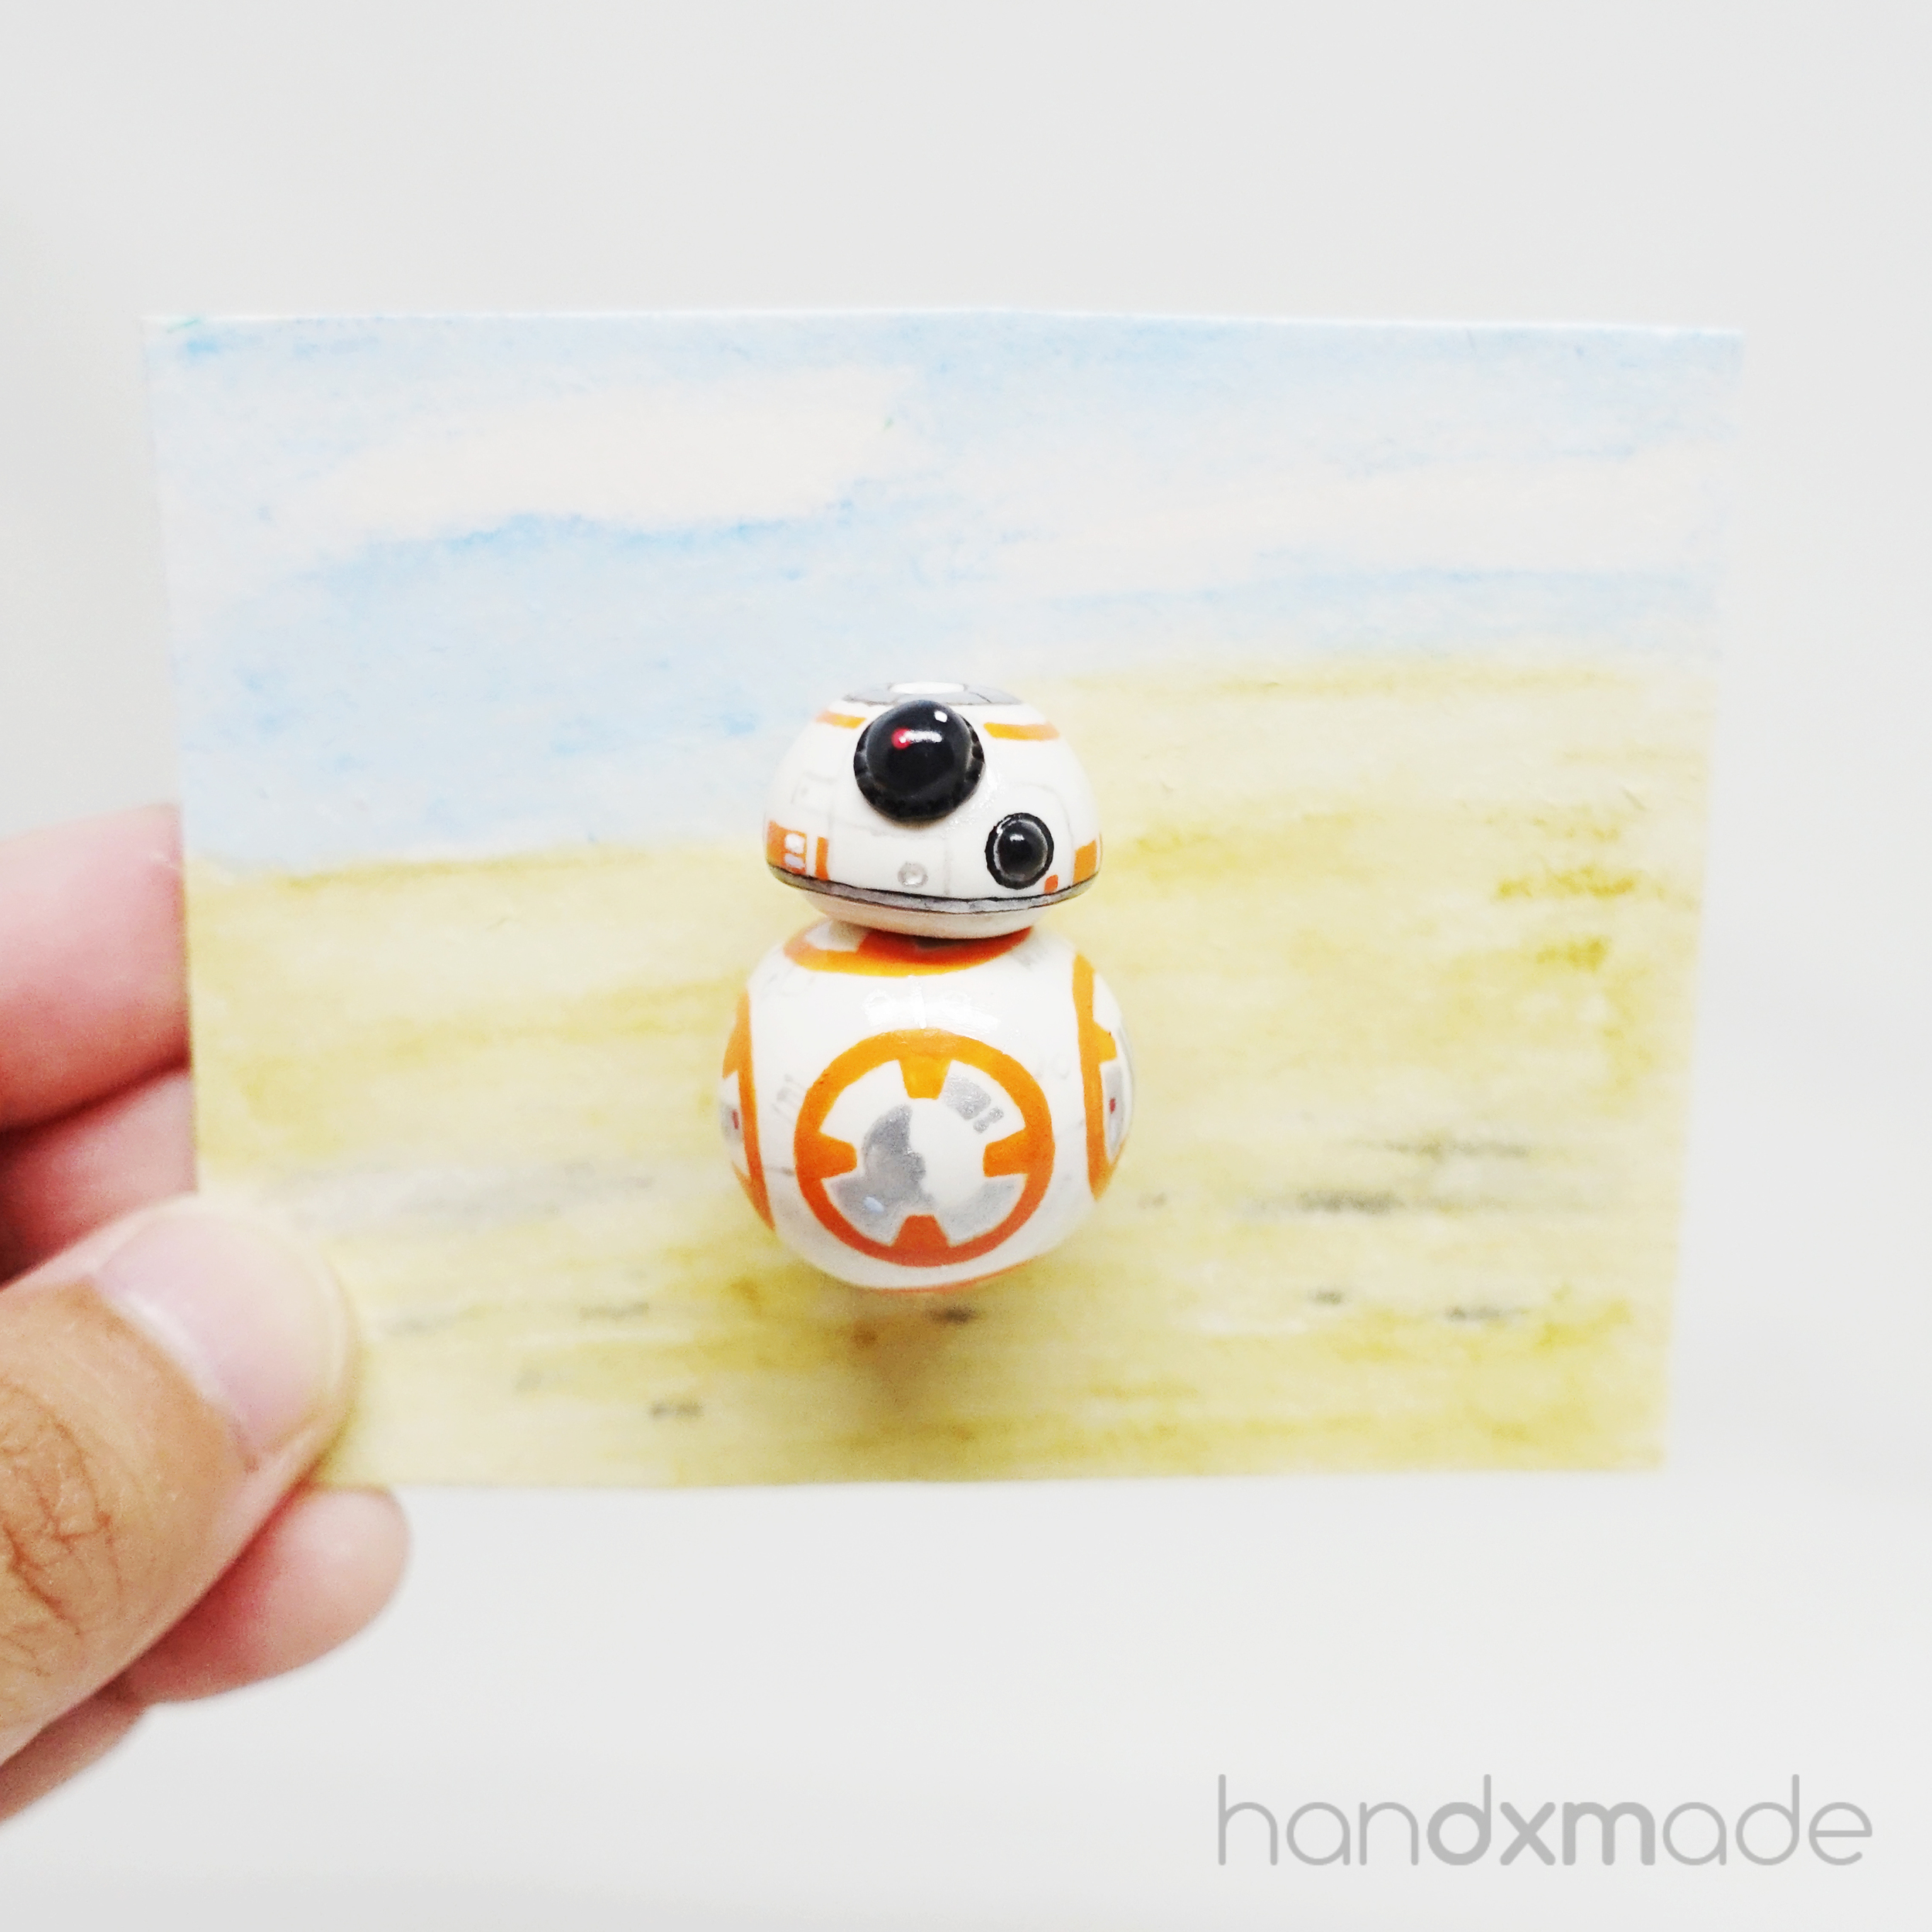
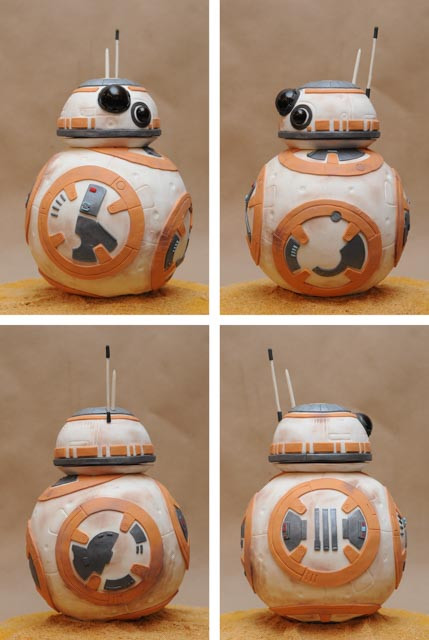
BB-8! I'm so glad I did this :') It was really tough to find reference photo for all the side of the body though, and because I like to be specific, I just had to find all that I could for the 6 different prints in the 6 circles!
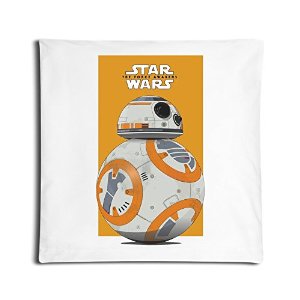
Hahaha look at the amount of reference photos my goddddd.
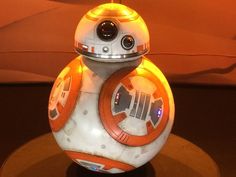
But the toughest part wasn't to find the reference photos, but making the item itself definitely. The BB-8 you see is probably the 4th one I made......
The first few I burnt them because 1. I forgot to cover the item with aluminium pan, 2. The temperature was just set wrongly (160 degrees instead of 130 degrees, forgot to change it back after heating up pizza HAHAHA).
The third one, I tried to do it with watercolour but because I kept touching it before it completely dried, the orange colour was smudged D:
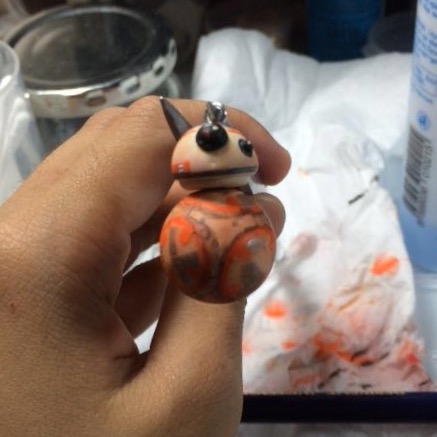
A really bad photo I took to show ET how bad it was haha.
HOW CAN I CALL THIS A COMPLETED CRAFT PIECE??? Even though everything was painted nicely, just smudged... :| I thought I might be able to pull this off as a dirty BB-8 since it was quite dirty in the adventures in Star Wars....BUT NOPE. I won't be able to live with myself if I do that haha.
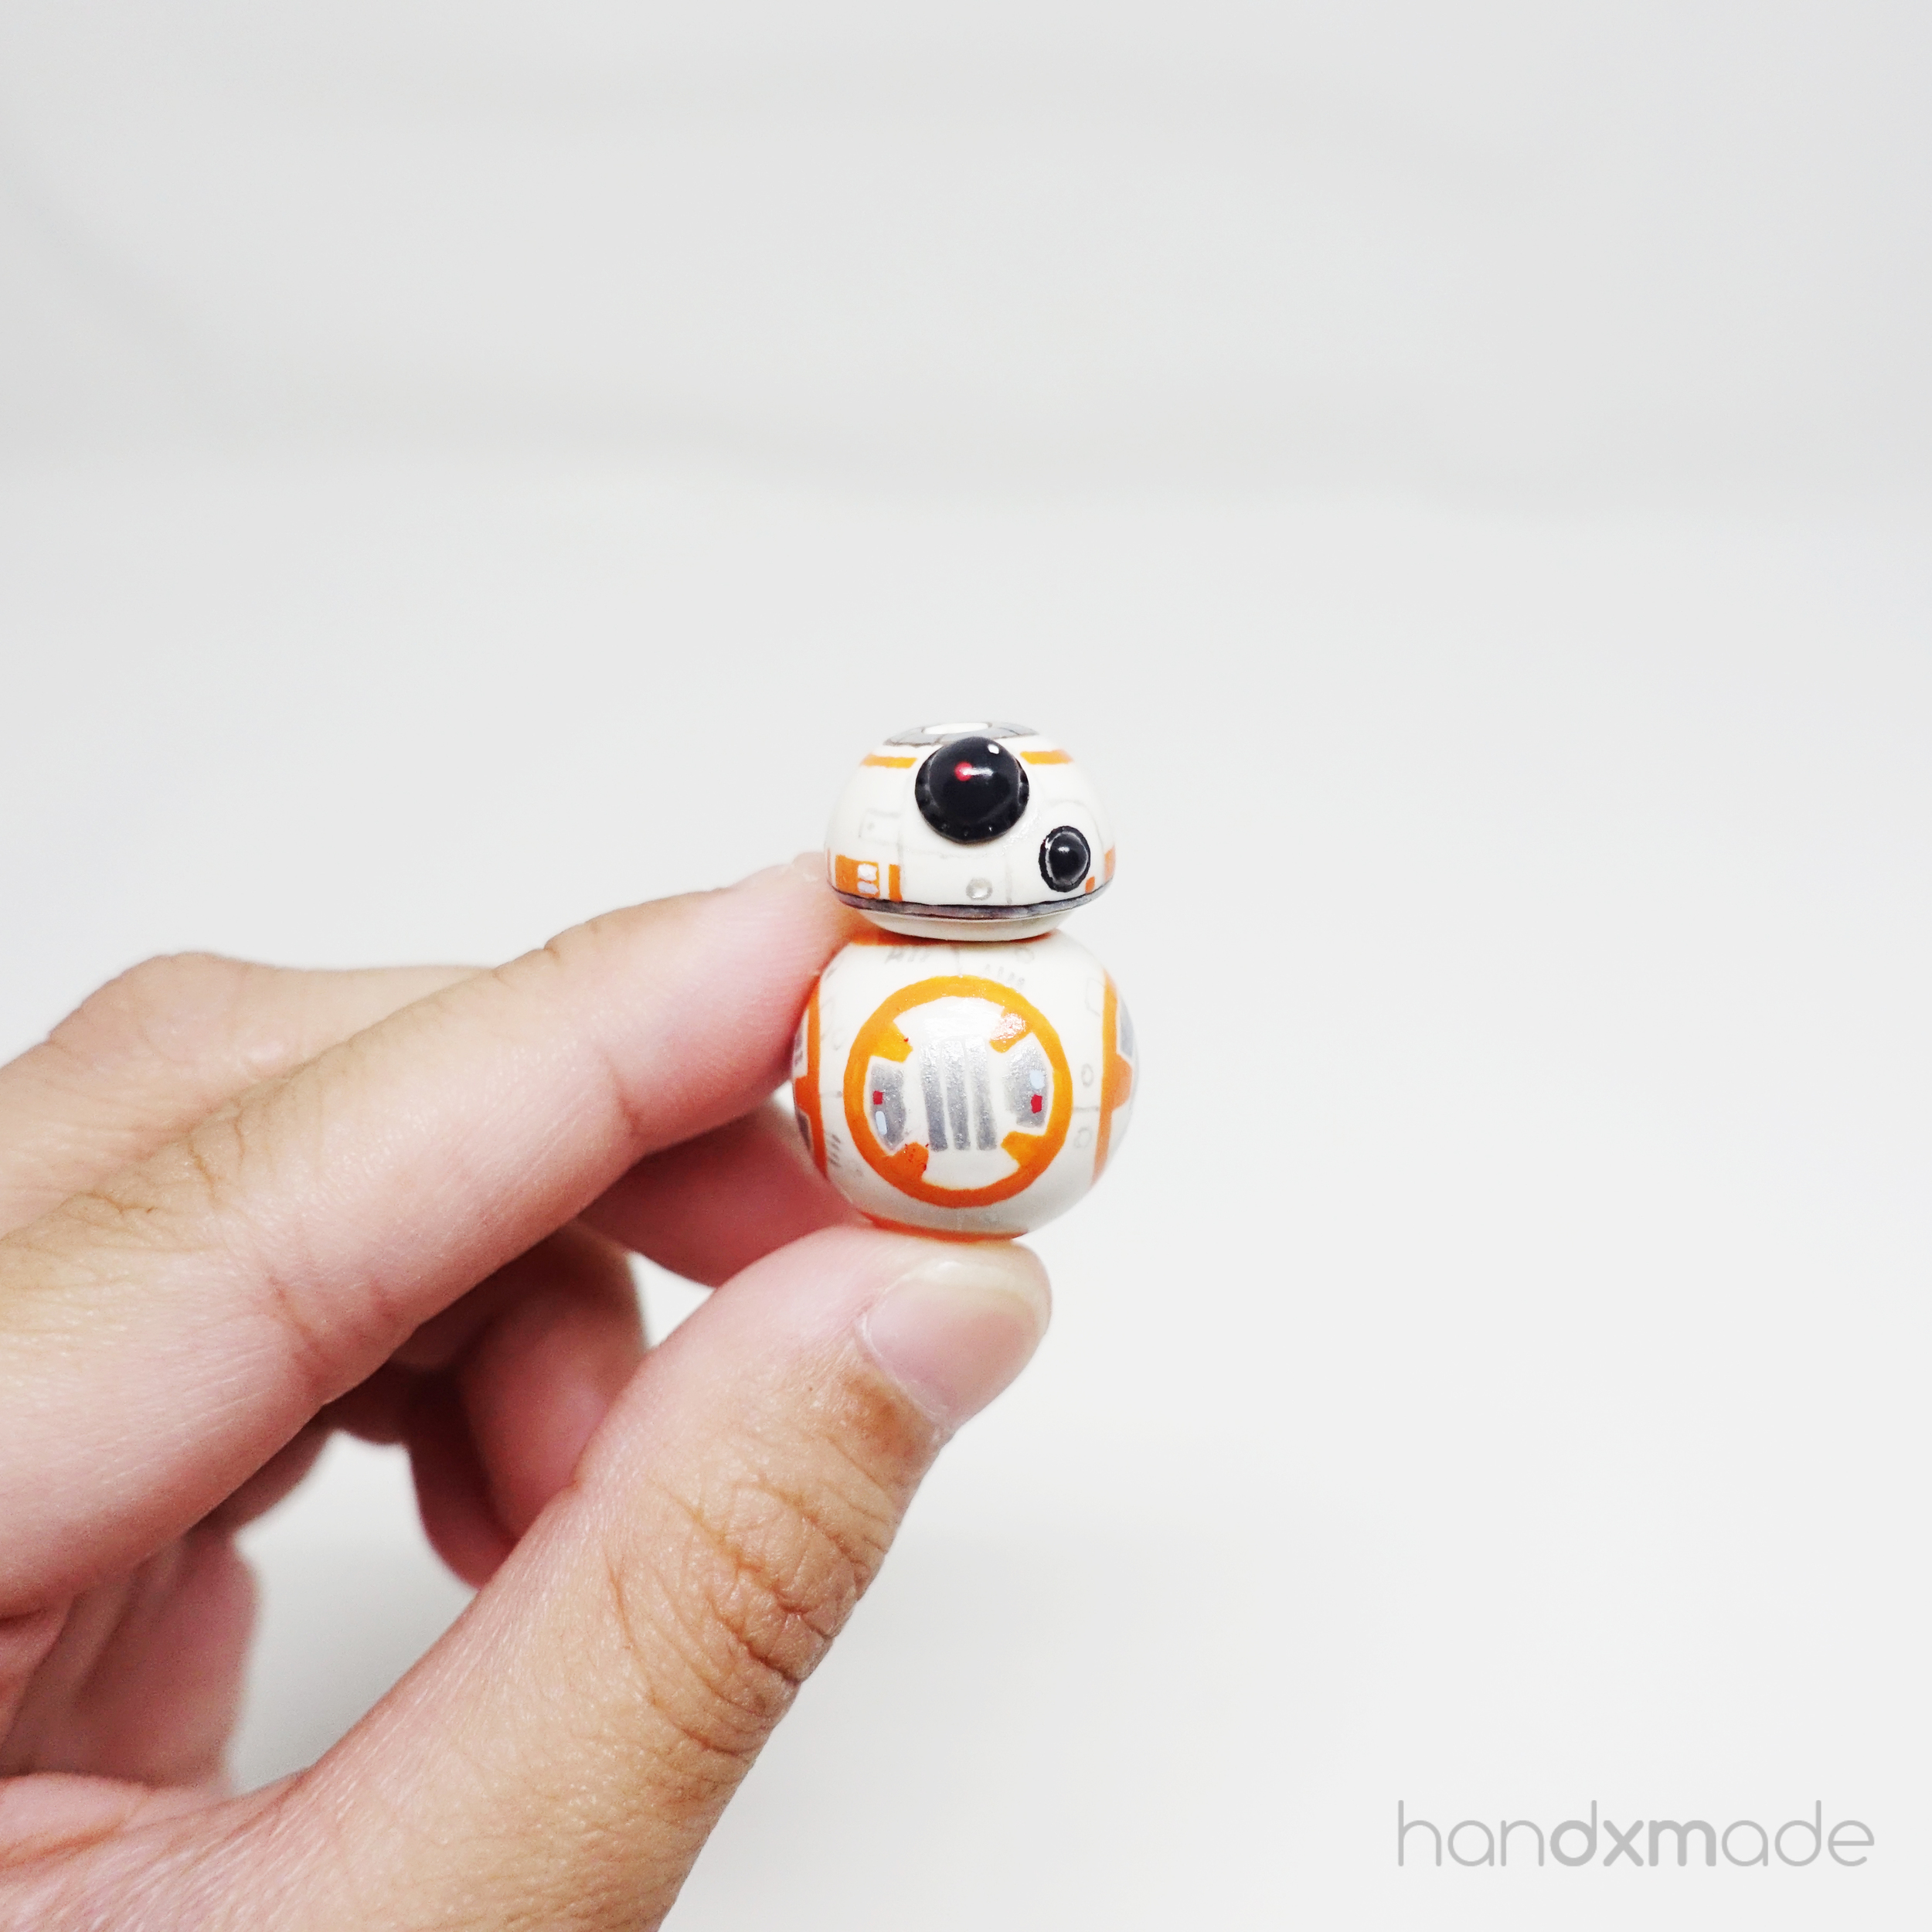
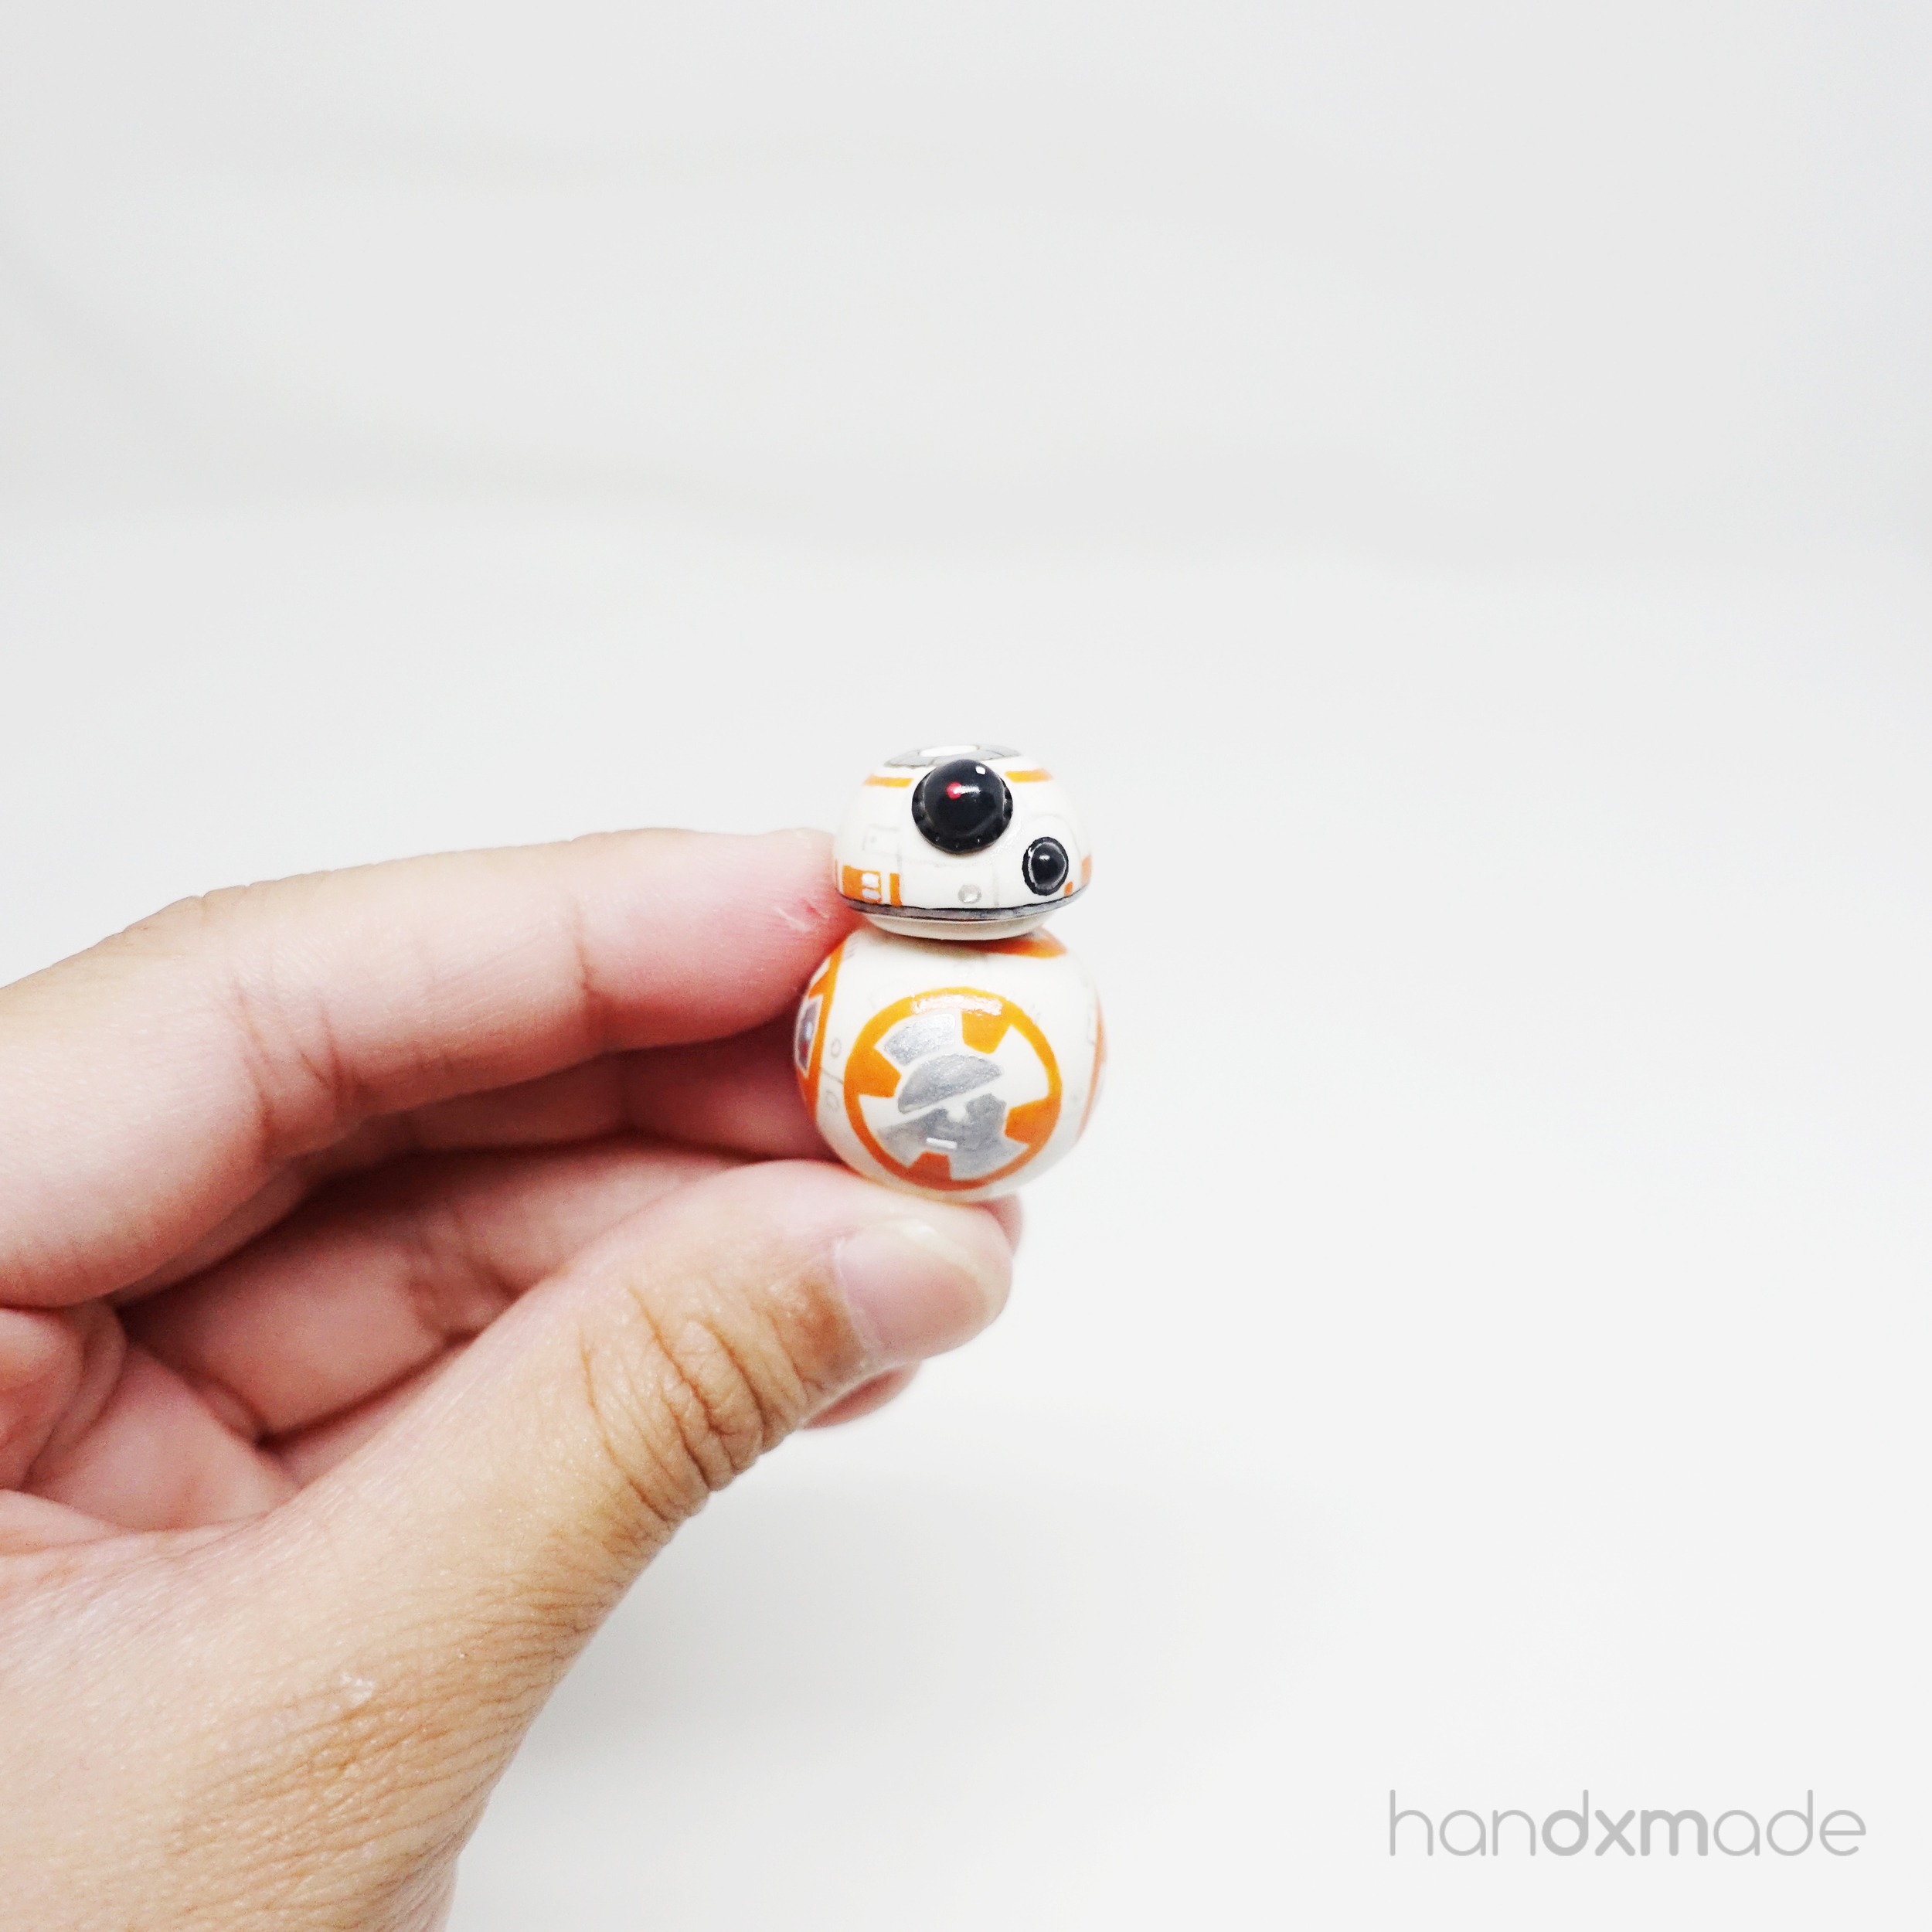
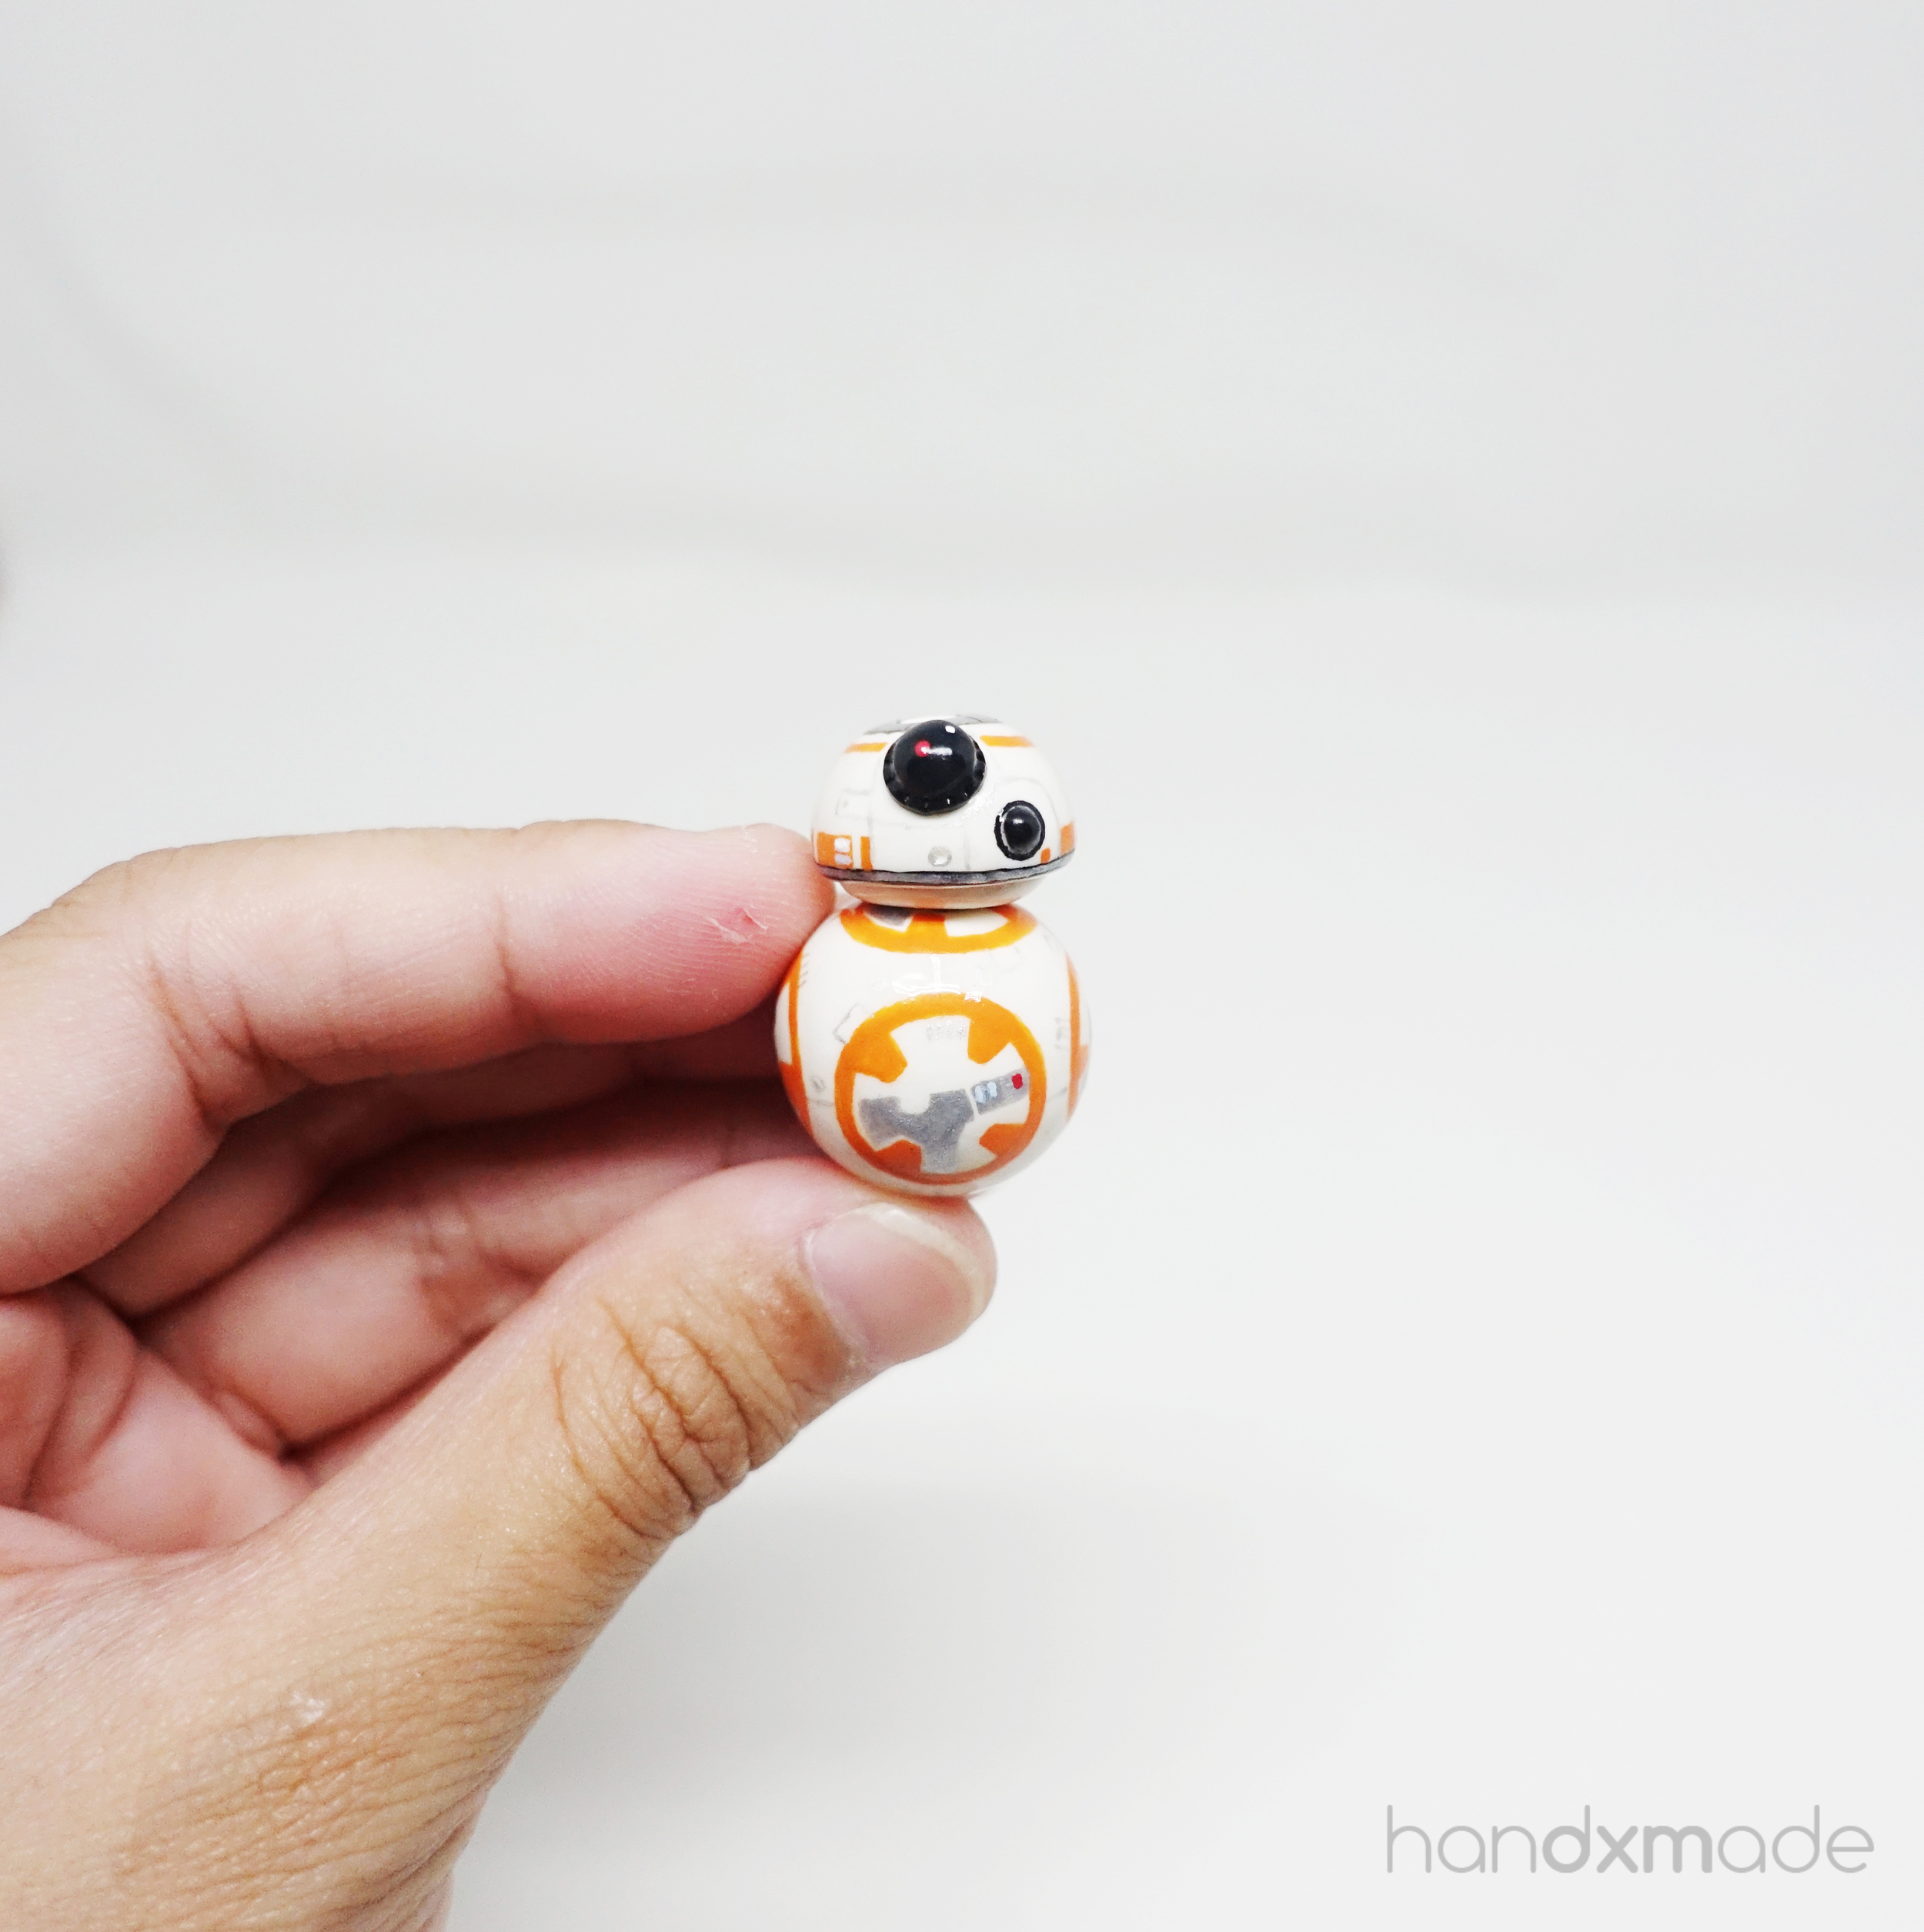

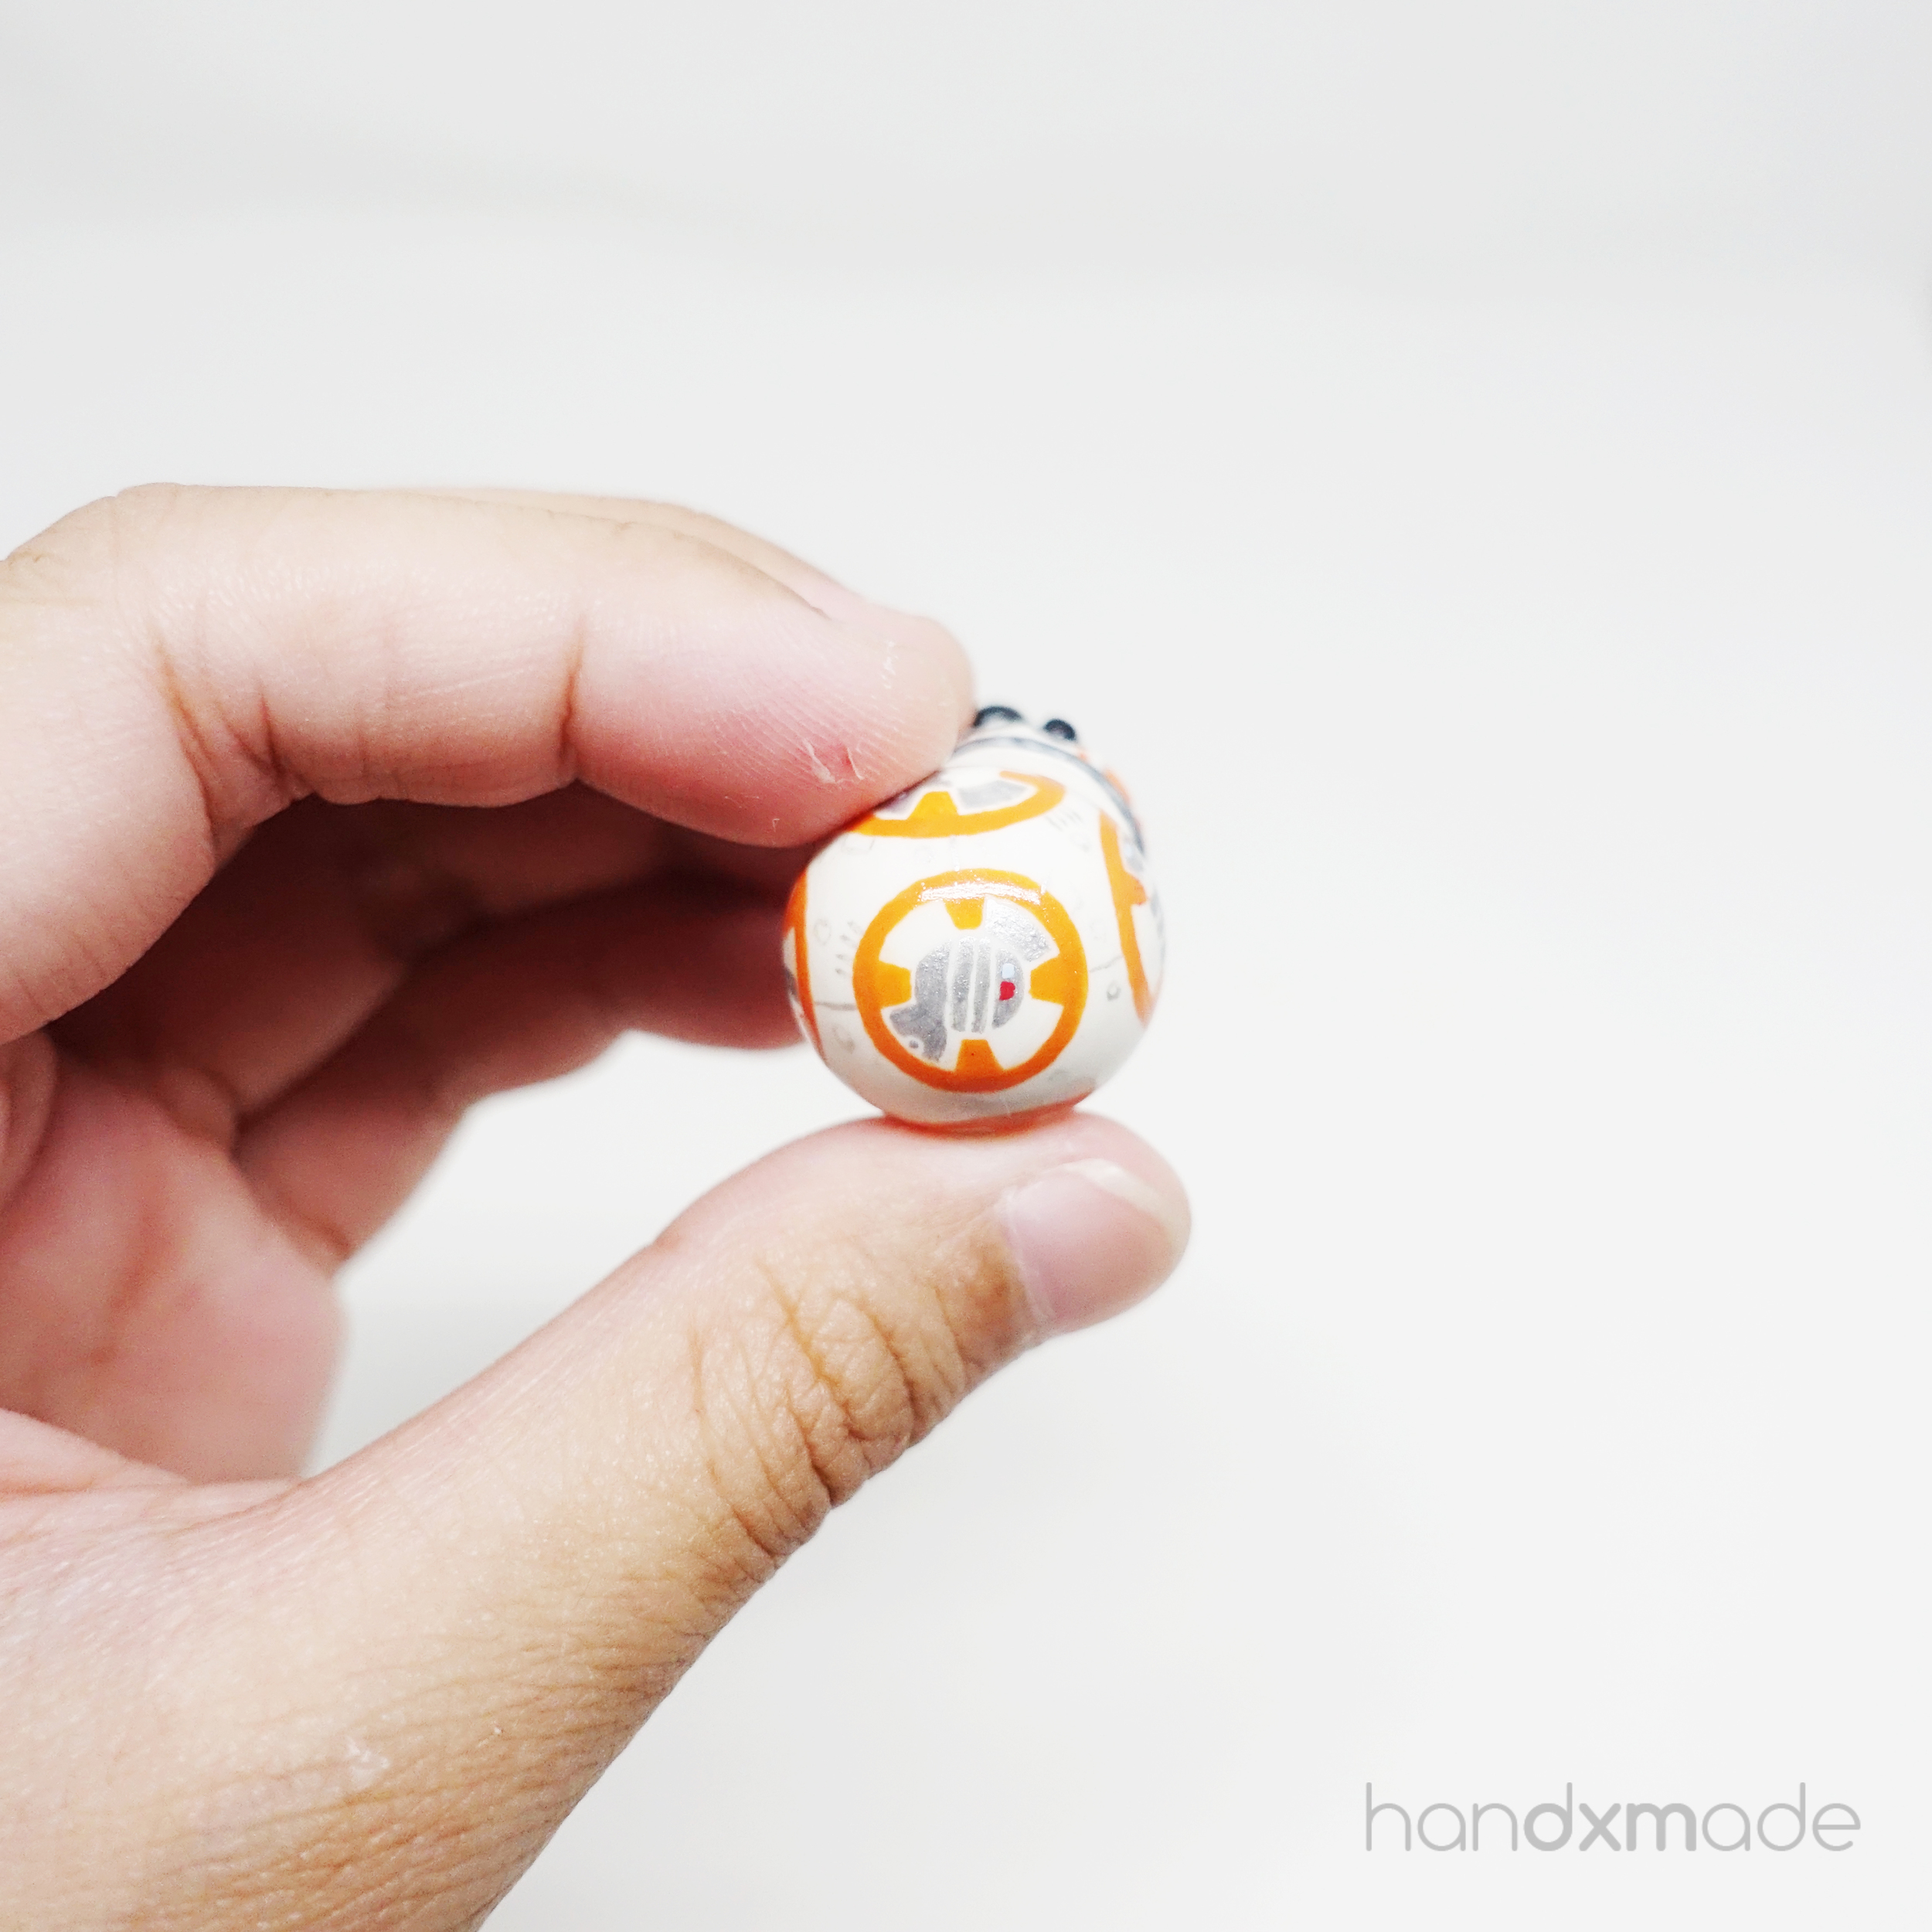
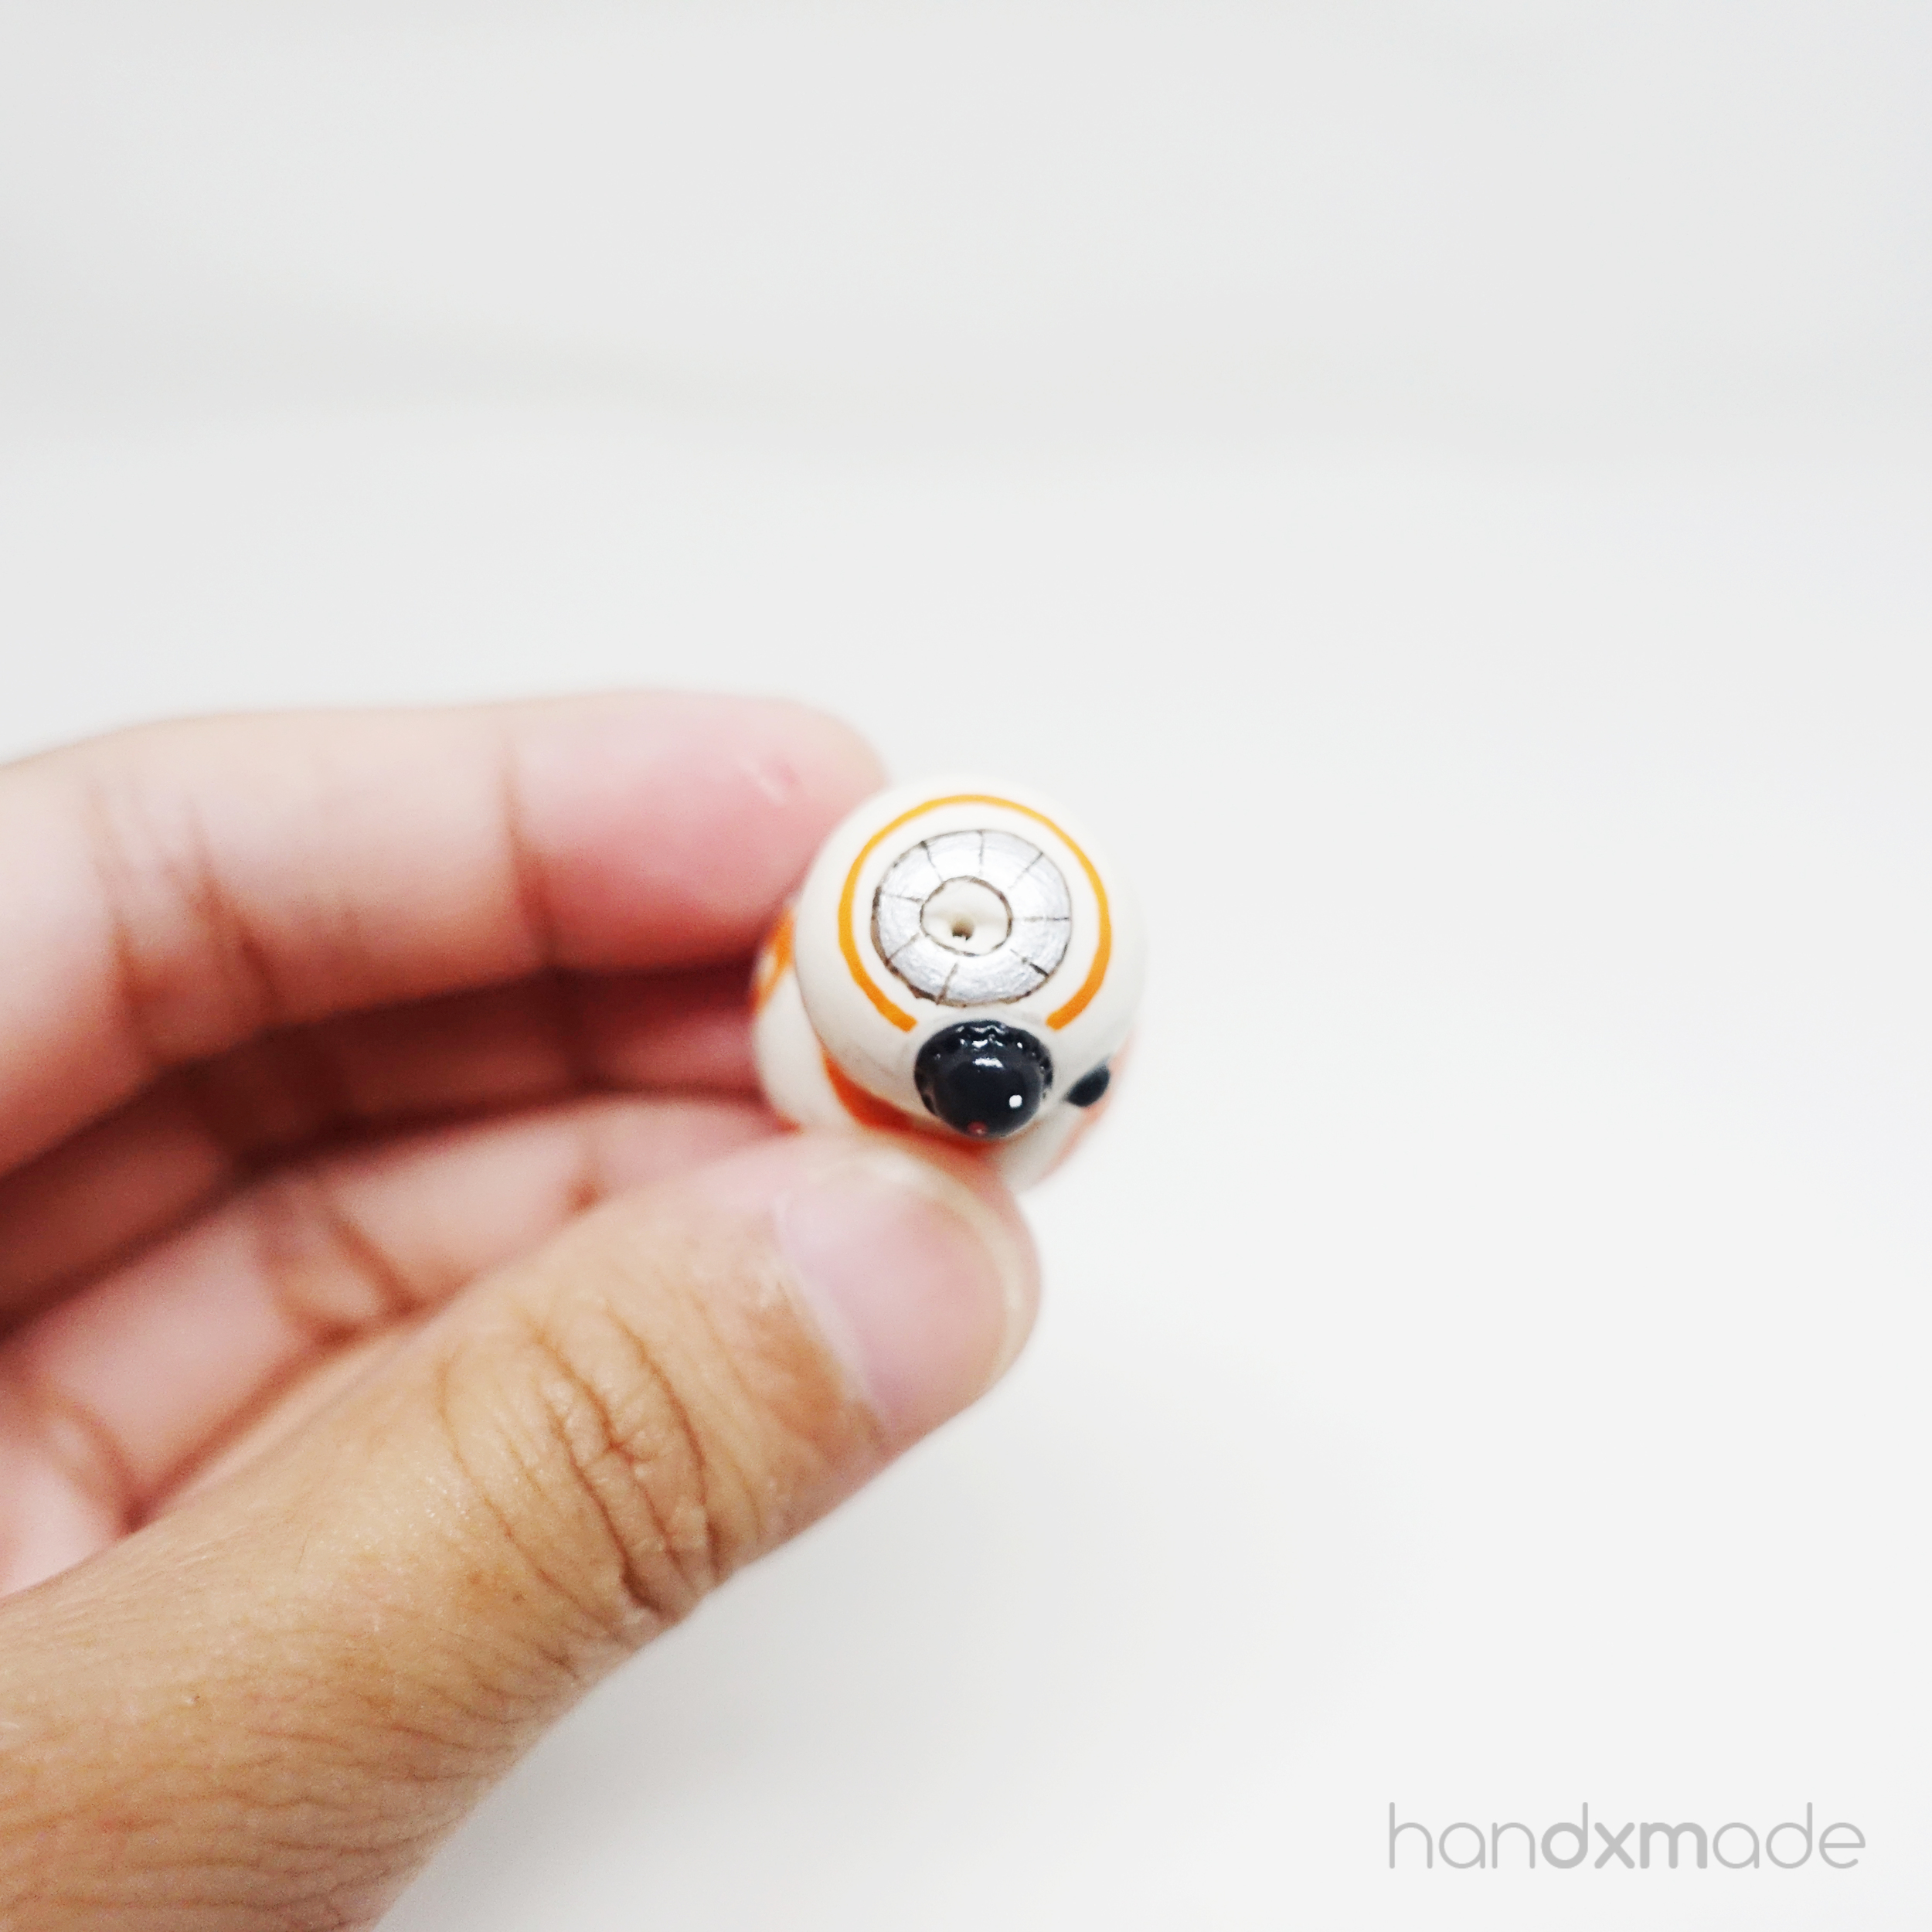
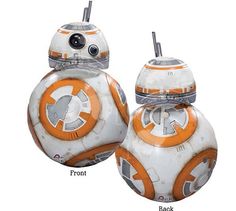
This look soooo much better!! Here is BB-8's different side for my own future reference and also for other people who might wanna try and make this :D
Opps just realised there's no photo for the pattern right at the bottom of the head! You can see it on the last reference photo, the one on the top right! :)
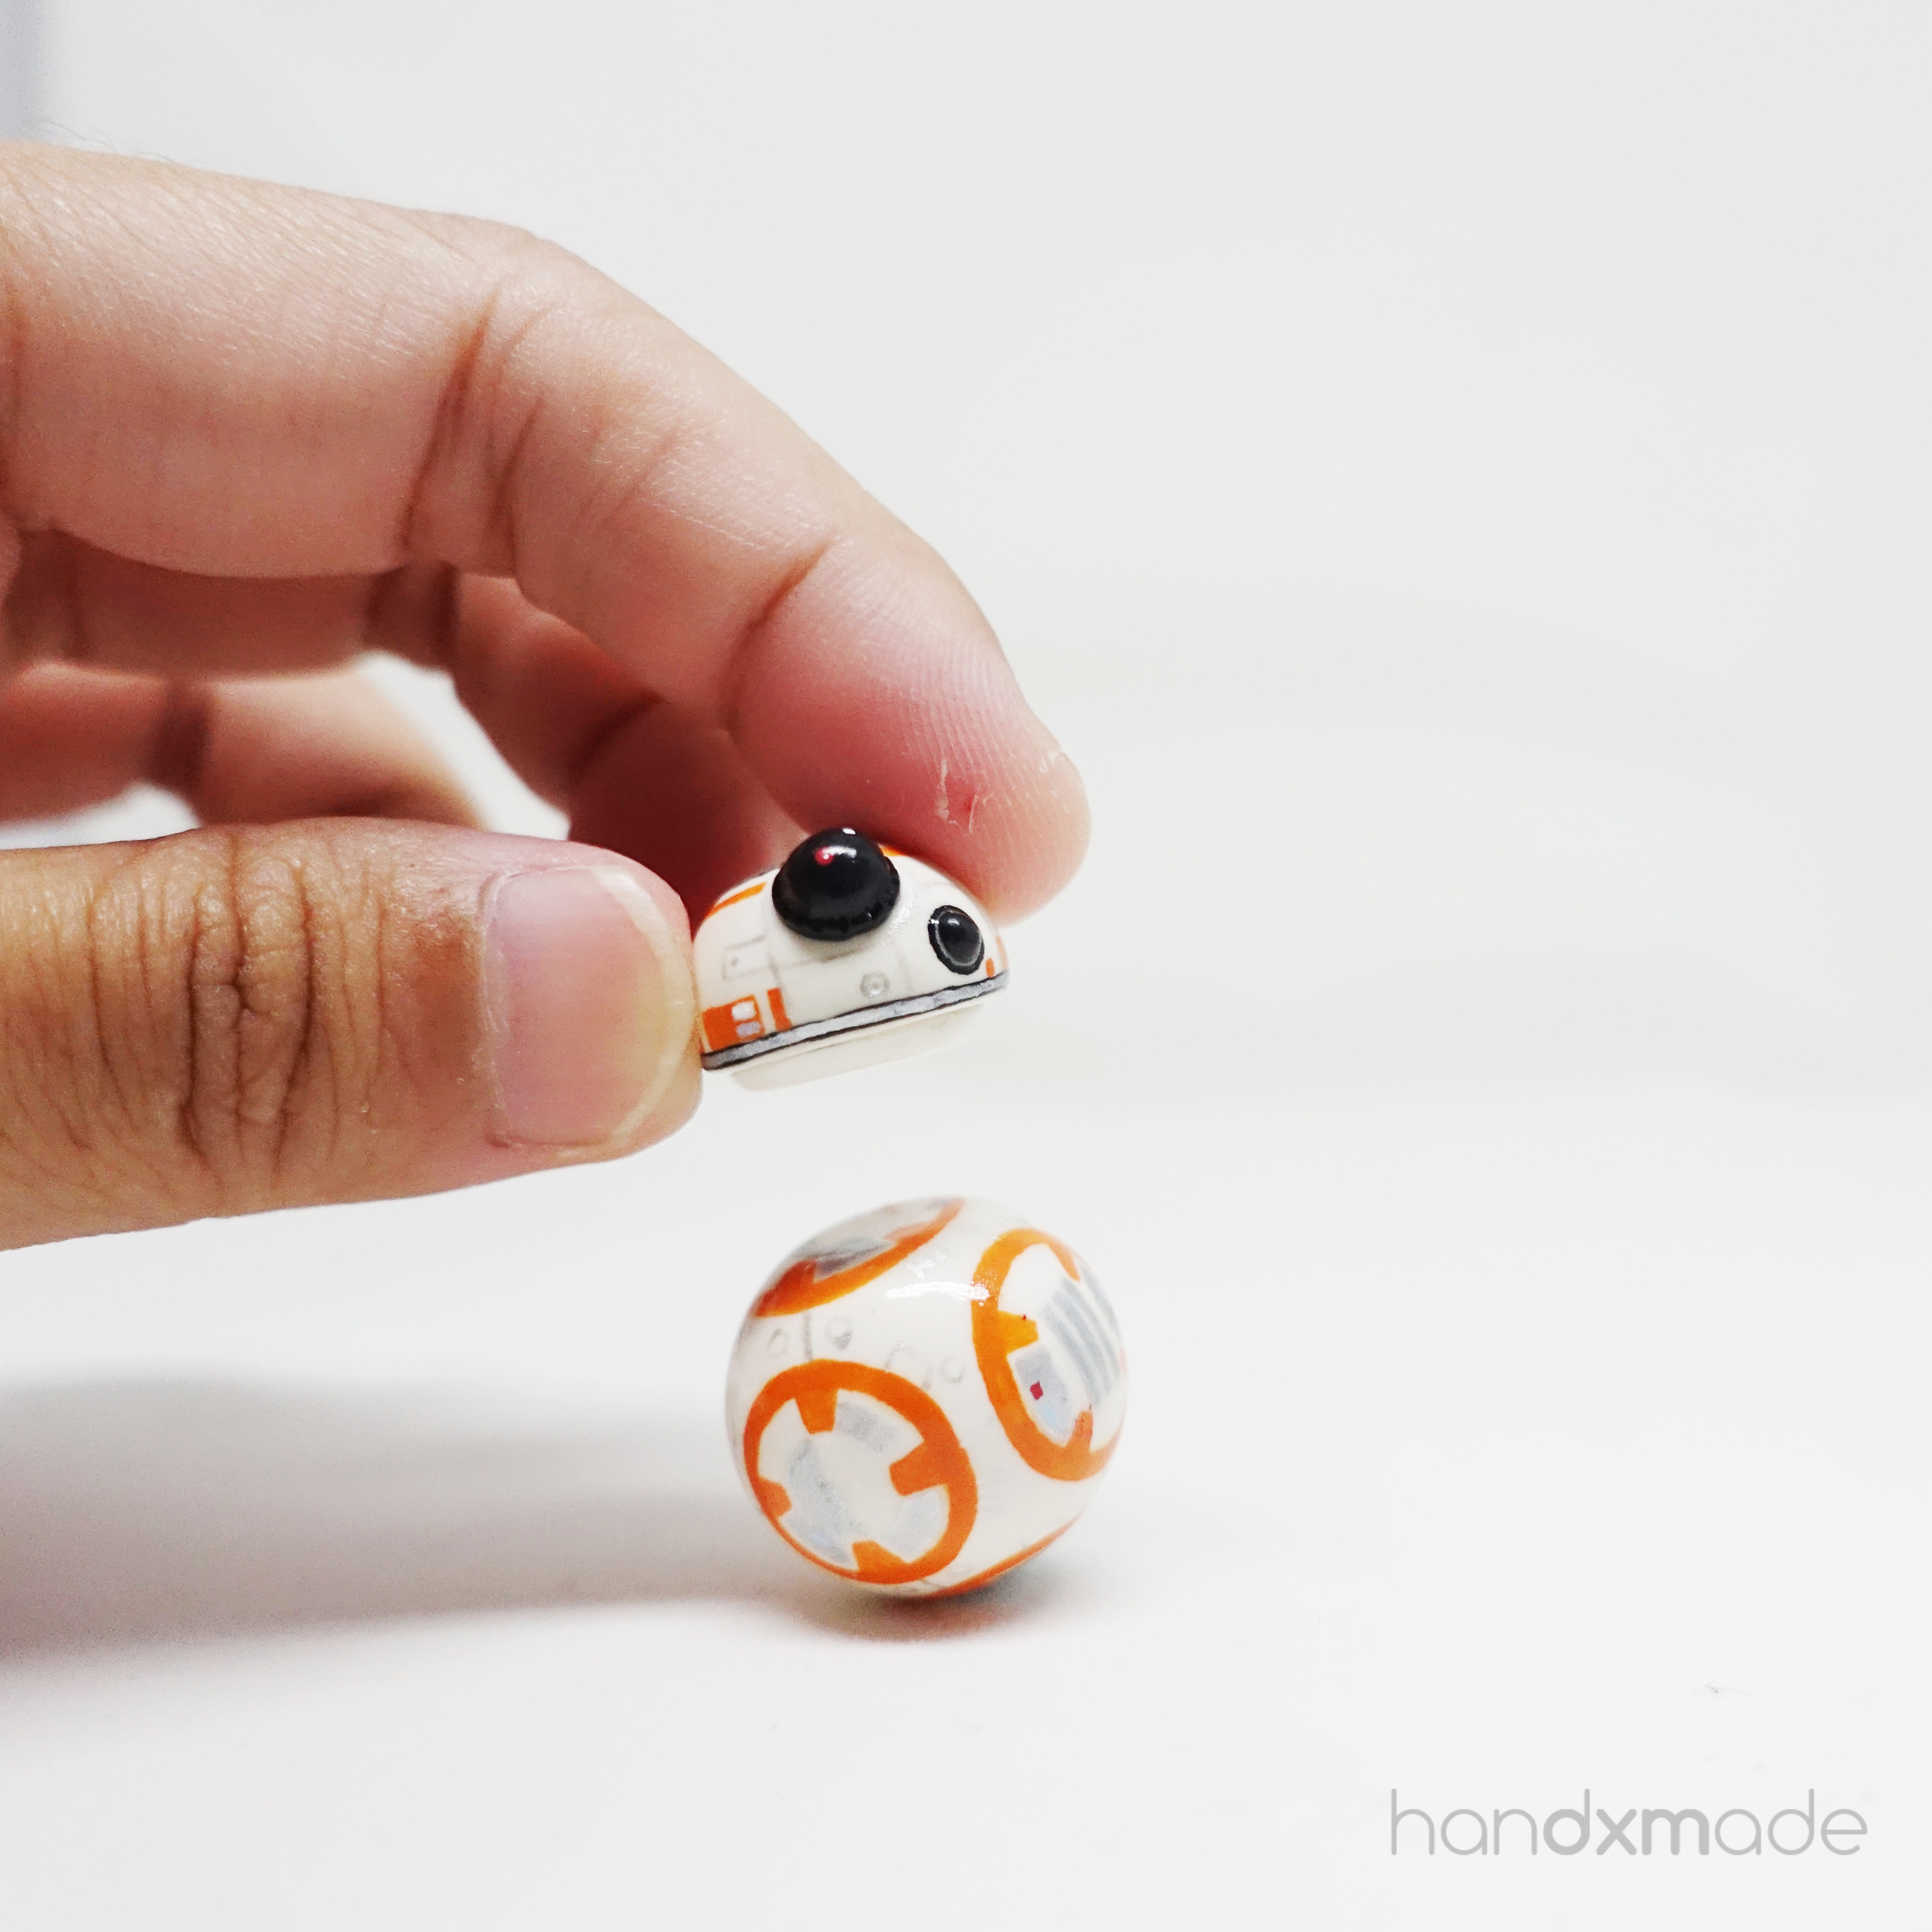
Now, the reason why I can show all side of BB-8 with BB-8's face facing one way is because I can actually move the body!!!
(I apologise for my unsightly finger with a cut...sometimes I wish I've got nice fingernails and hands...)
There's a magnet in the head and body, so both parts can be attached! One of the reason I wanted to make BB-8 was to test this particular magnet- SmCo (Samarium Cobalt), and see if it really can stay magnetic even after going through the oven with polymer clay's required baking time!
I'm relieved to say that it works wonderfully and it's still really strong! Even though it's much pricier than the usual magnets. I guess you do pay for the quality!
A short video of the BB-8 made with polymer clay to show how strong the magnet is in real time :)
Posted by HANDXMADE on Wednesday, January 20, 2016
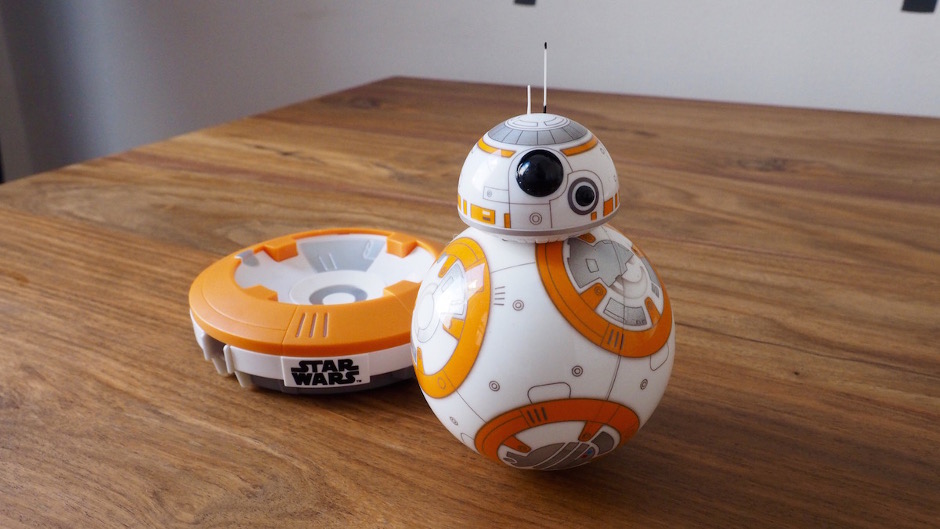
This took a few days to make and it was quite frustrating, but I'm glad I got it right in the end, and I'm so proud of it I even wore it as an accessory! :)

I put a lobster clasps instead of a ring so that I can switch between my #craftoftheday works if I want to hehe.
Alright, the next #craftoftheday item is..... *drumroll*

GUDETAMA!!!!
For those of you who don't know what's a Gudetama.........here's a video to summarise some of the best videos (albeit pointless) hahaha.
Gudetama is a new character from Sanrio, which also designed kawaii Japanese characters like Hello Kitty, Little Twin Stars and more! As you can see, it has so many short clips and there's so many compilation! At the end of the video there's even a song hahahahaha. It's basically just a lazy egg yolk- that's about it!
"Sanrio's egg-turned-mascot character gets its name from a combination of the words “gude“(pronouced goo-deh), which is a Japanese onomatopoeia for describing something or someone with no energy or strength, and “tama” from the word tamago, which means egg in Japanese." - Uncle Google
I wonder who came up with this hahahahahhahaha the videos are REALLY, REALLY POINTLESS. But it's soooooo annoyingly cute!

One of the most distinctive features of Gudetama is its butt! So bounceh and....naked hahaa. I think my Gudetama could be improved! Can see myself making more of this character in the future. :D
Now this next #craftoftheday craft piece...

A Stormtrooper helmet! Before the Star War craze ends hahahaha.
This was actually harder to make than I expected. Even though it looks really simple, it actually is really detailed!
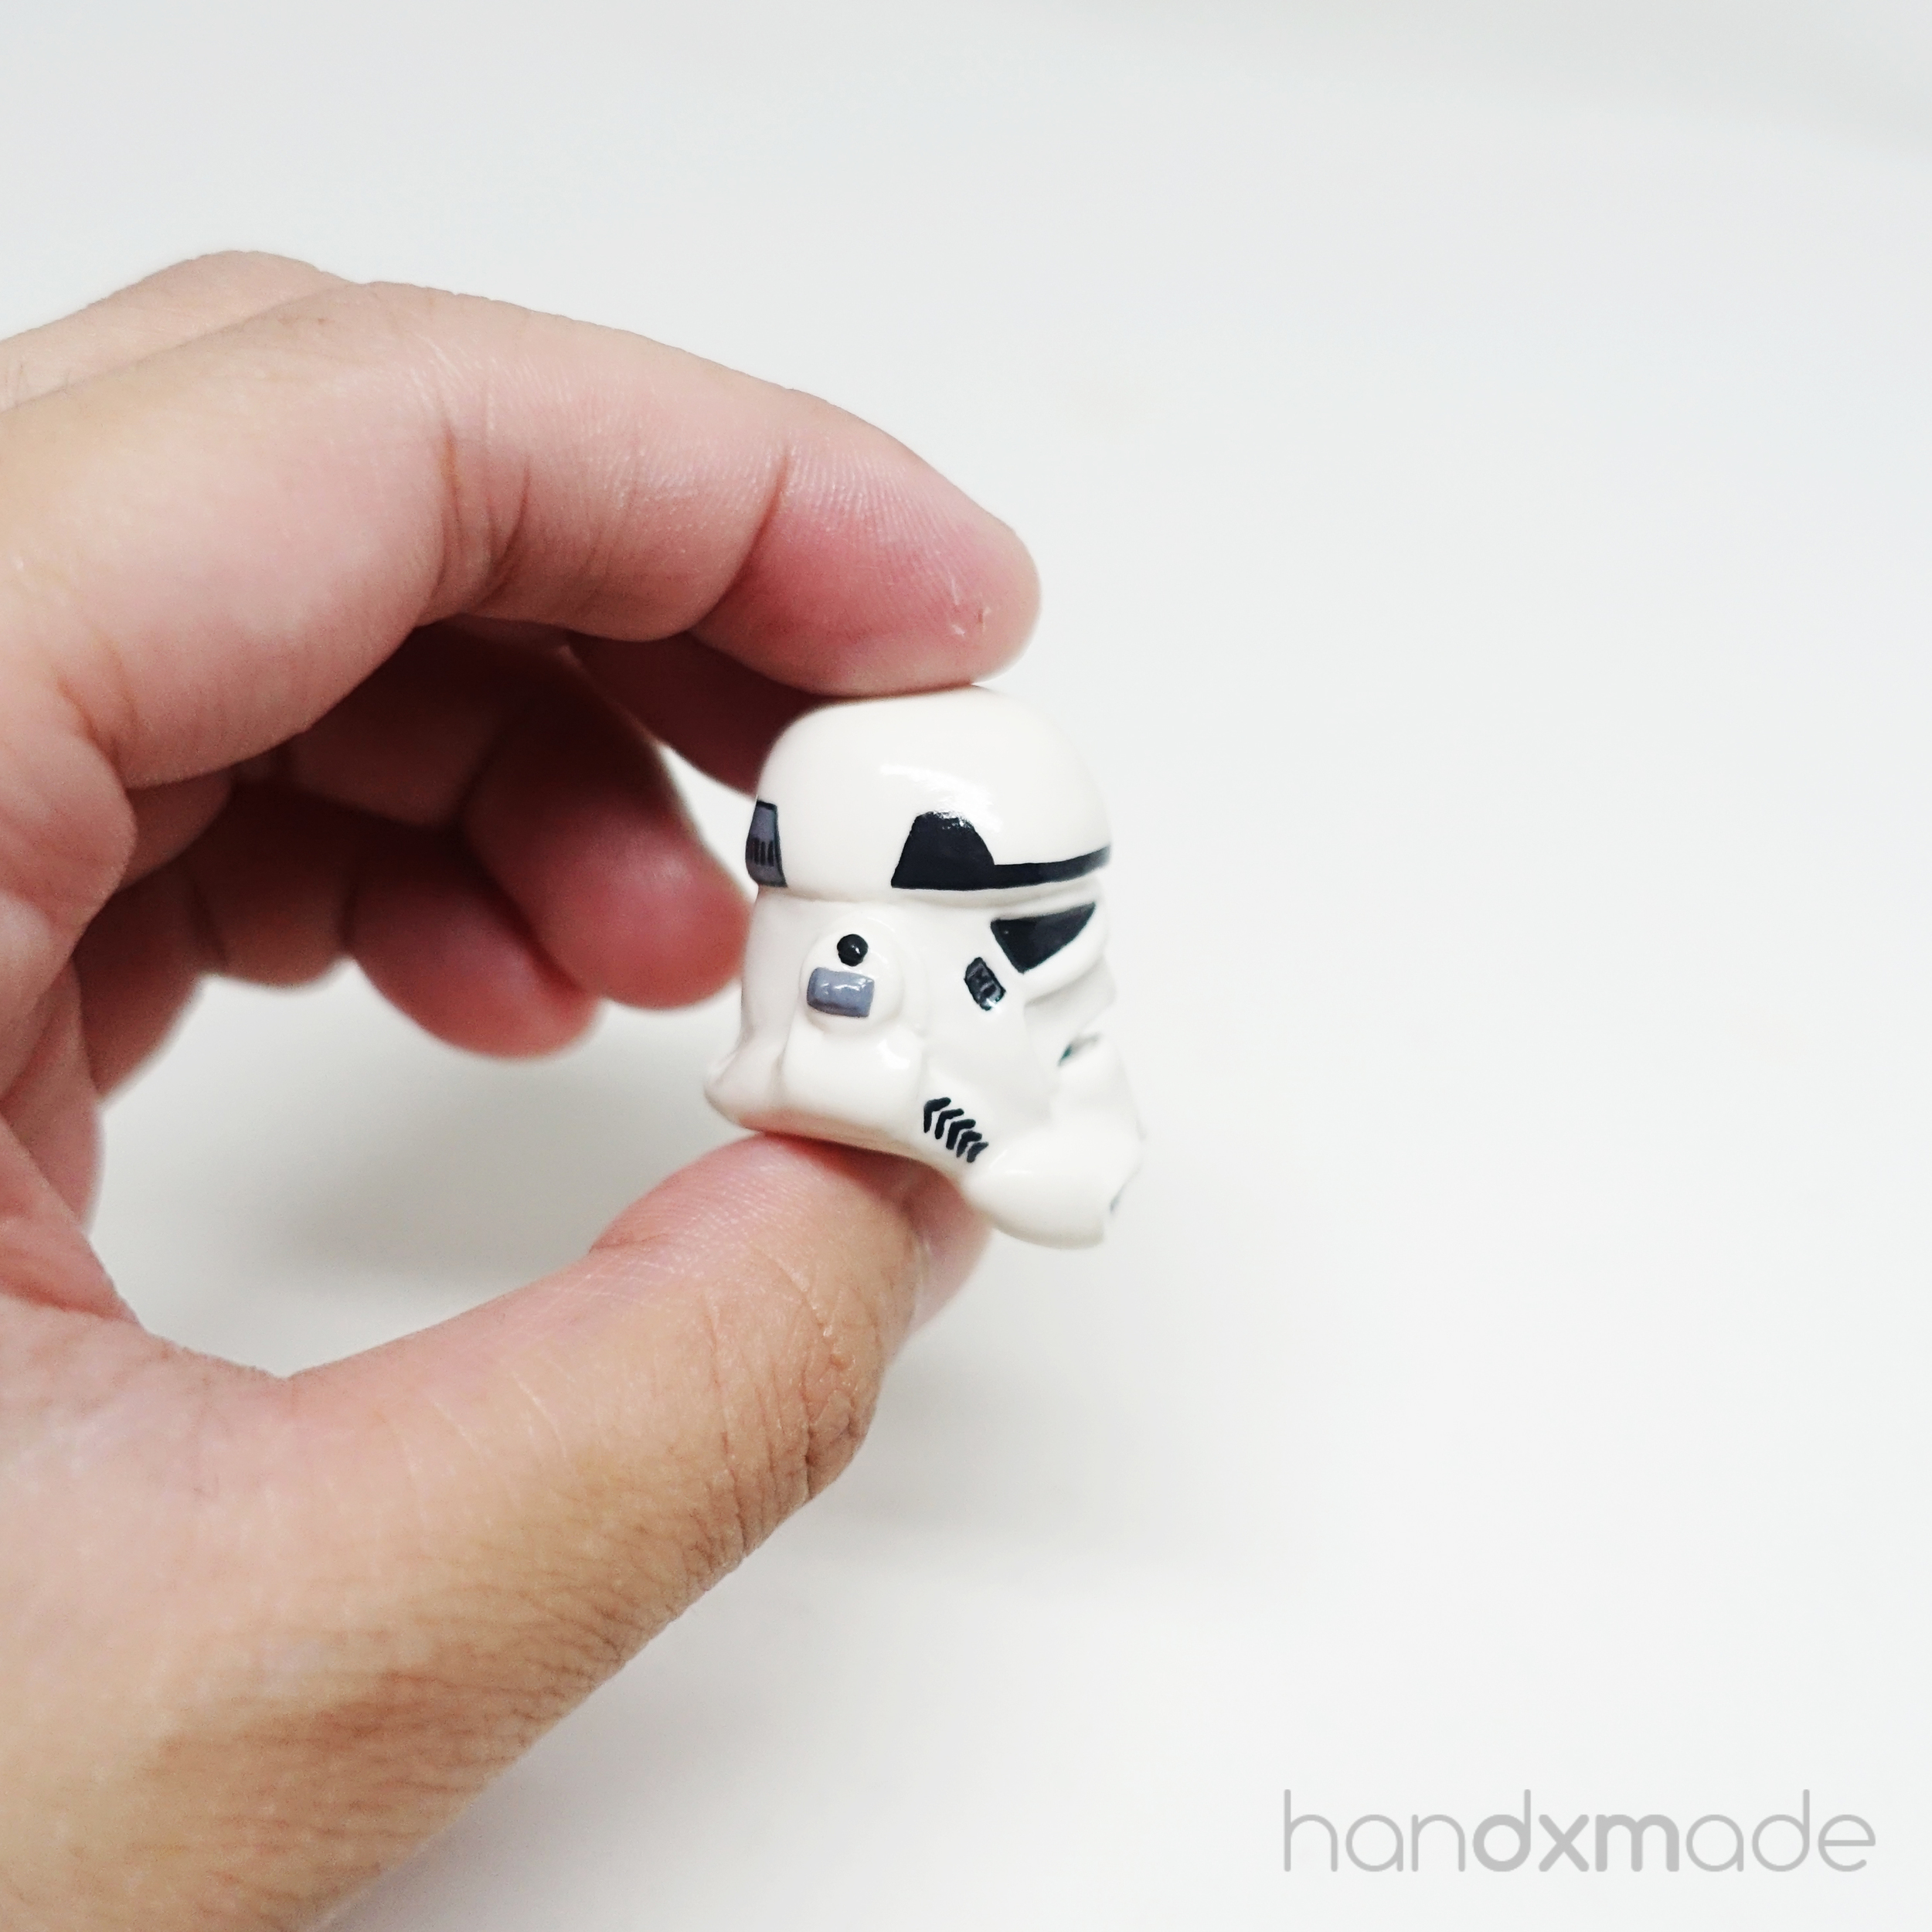
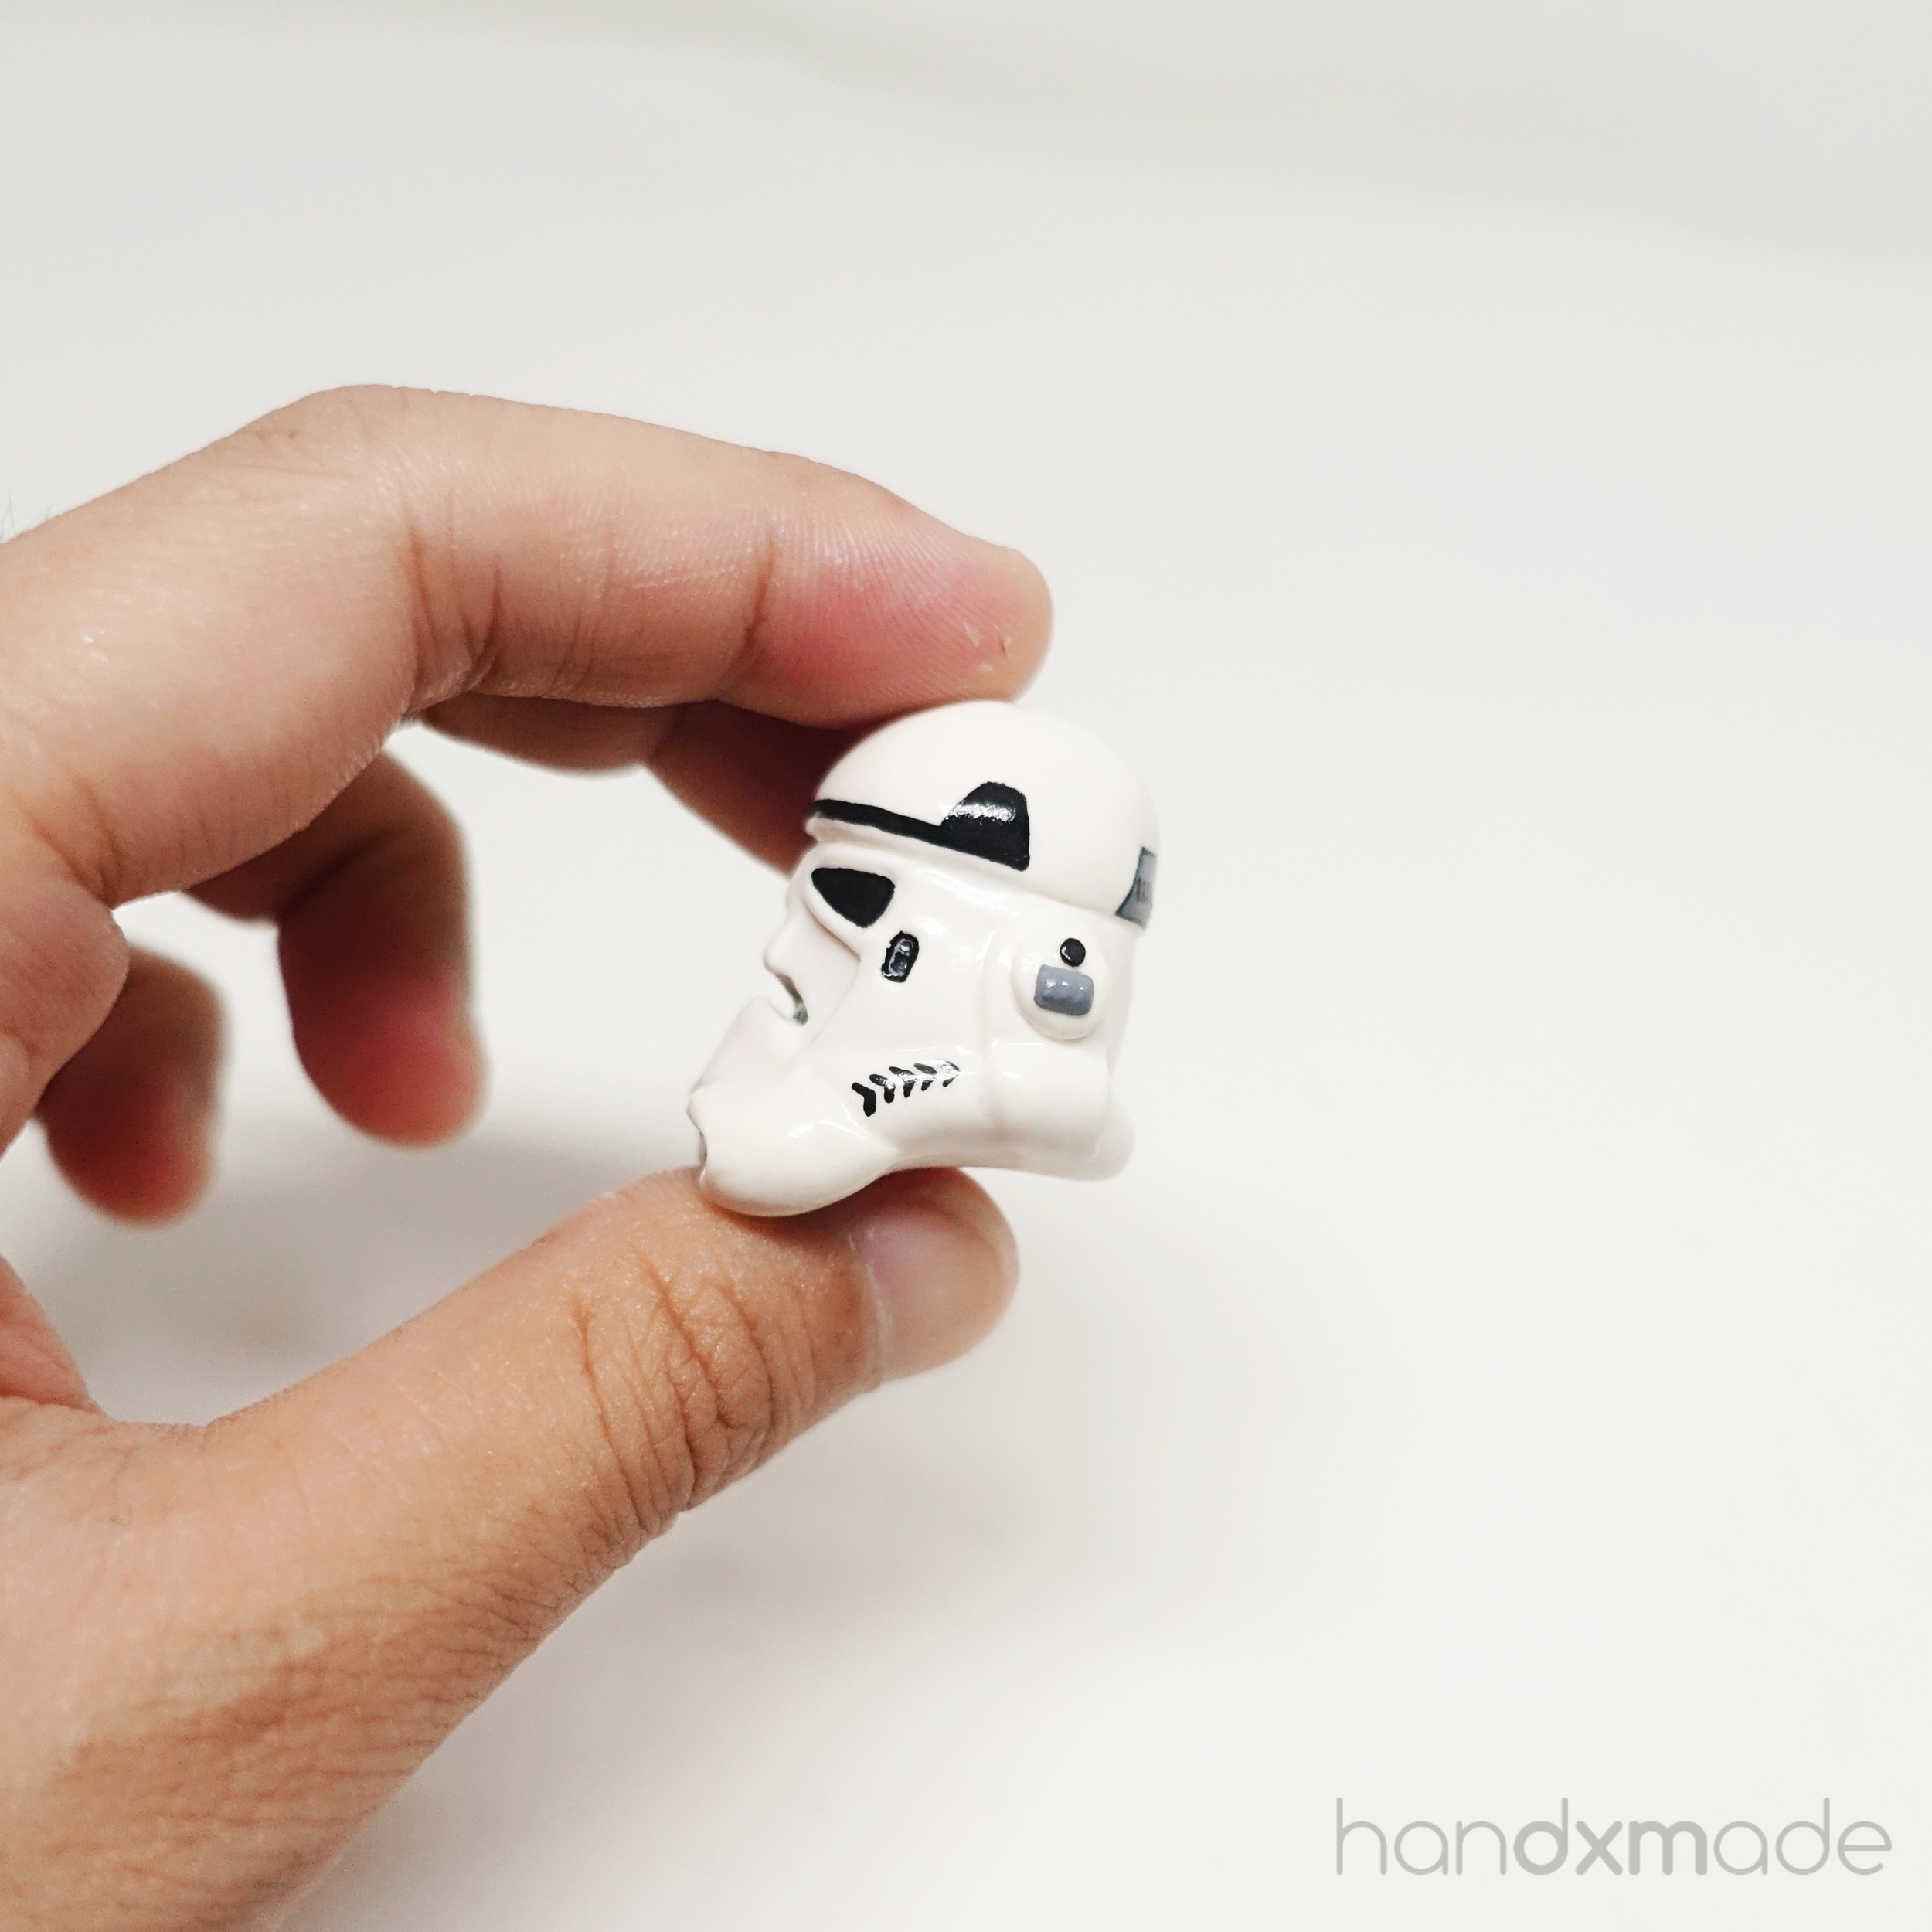
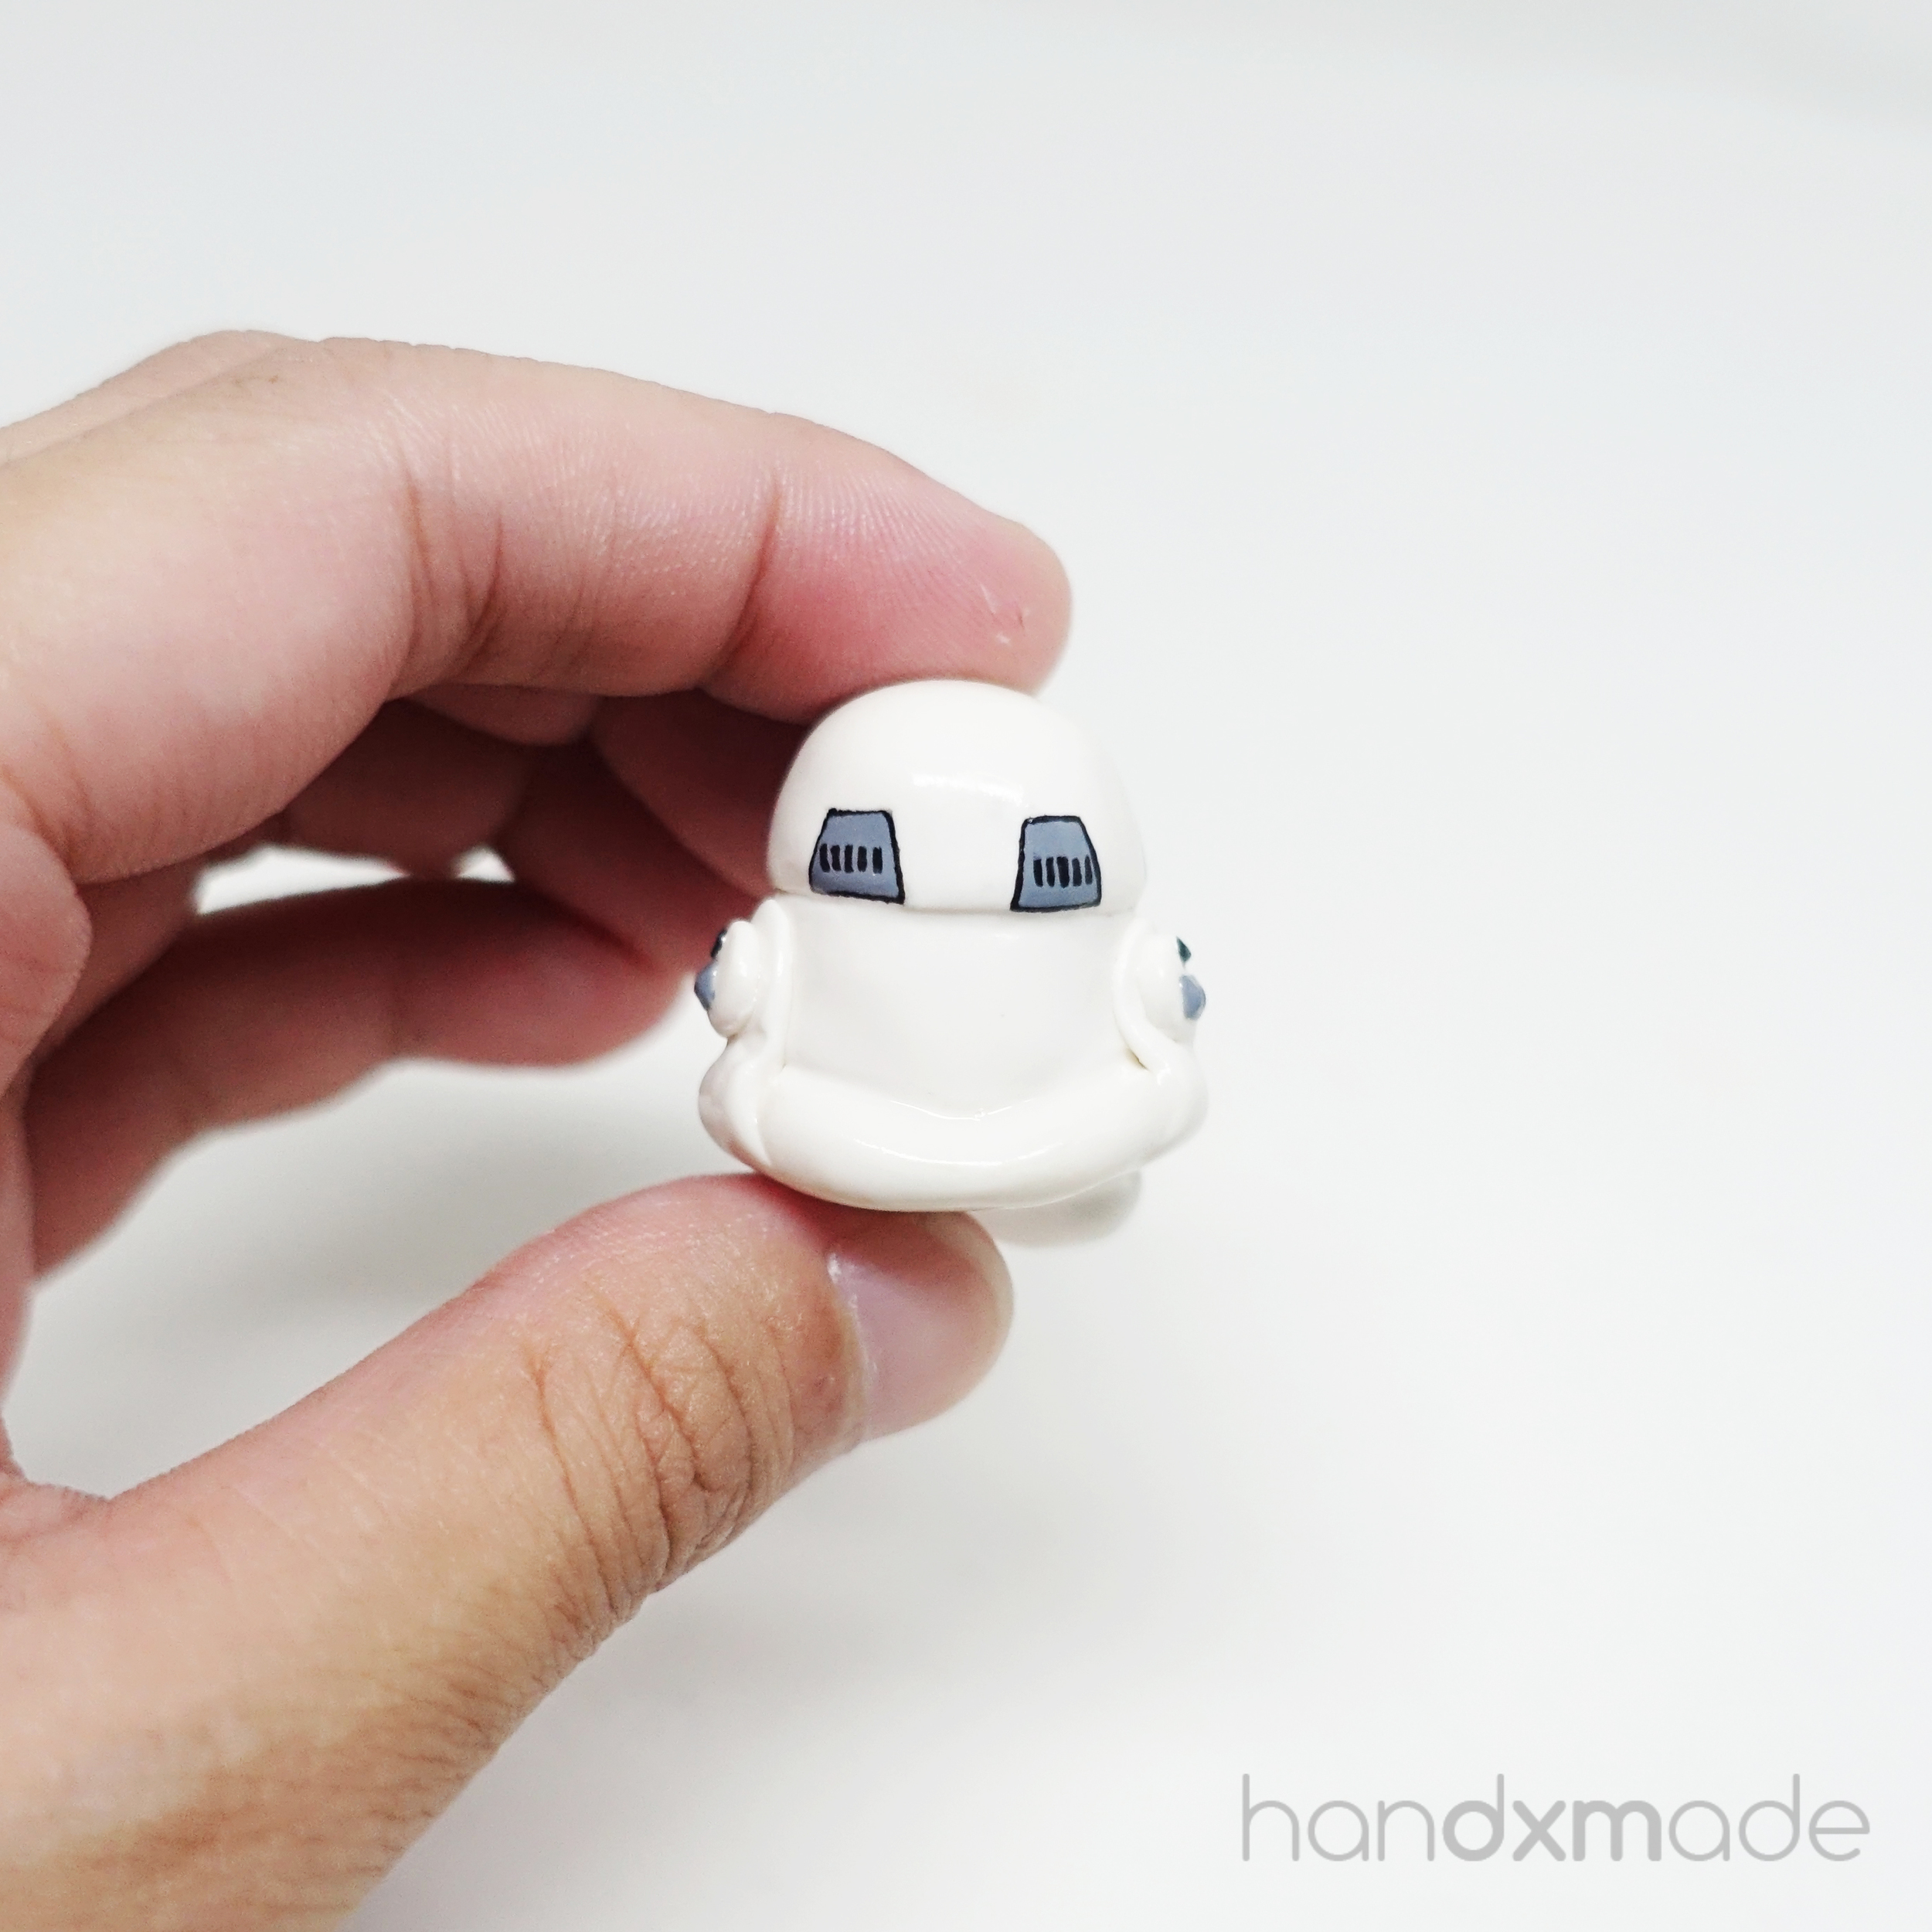
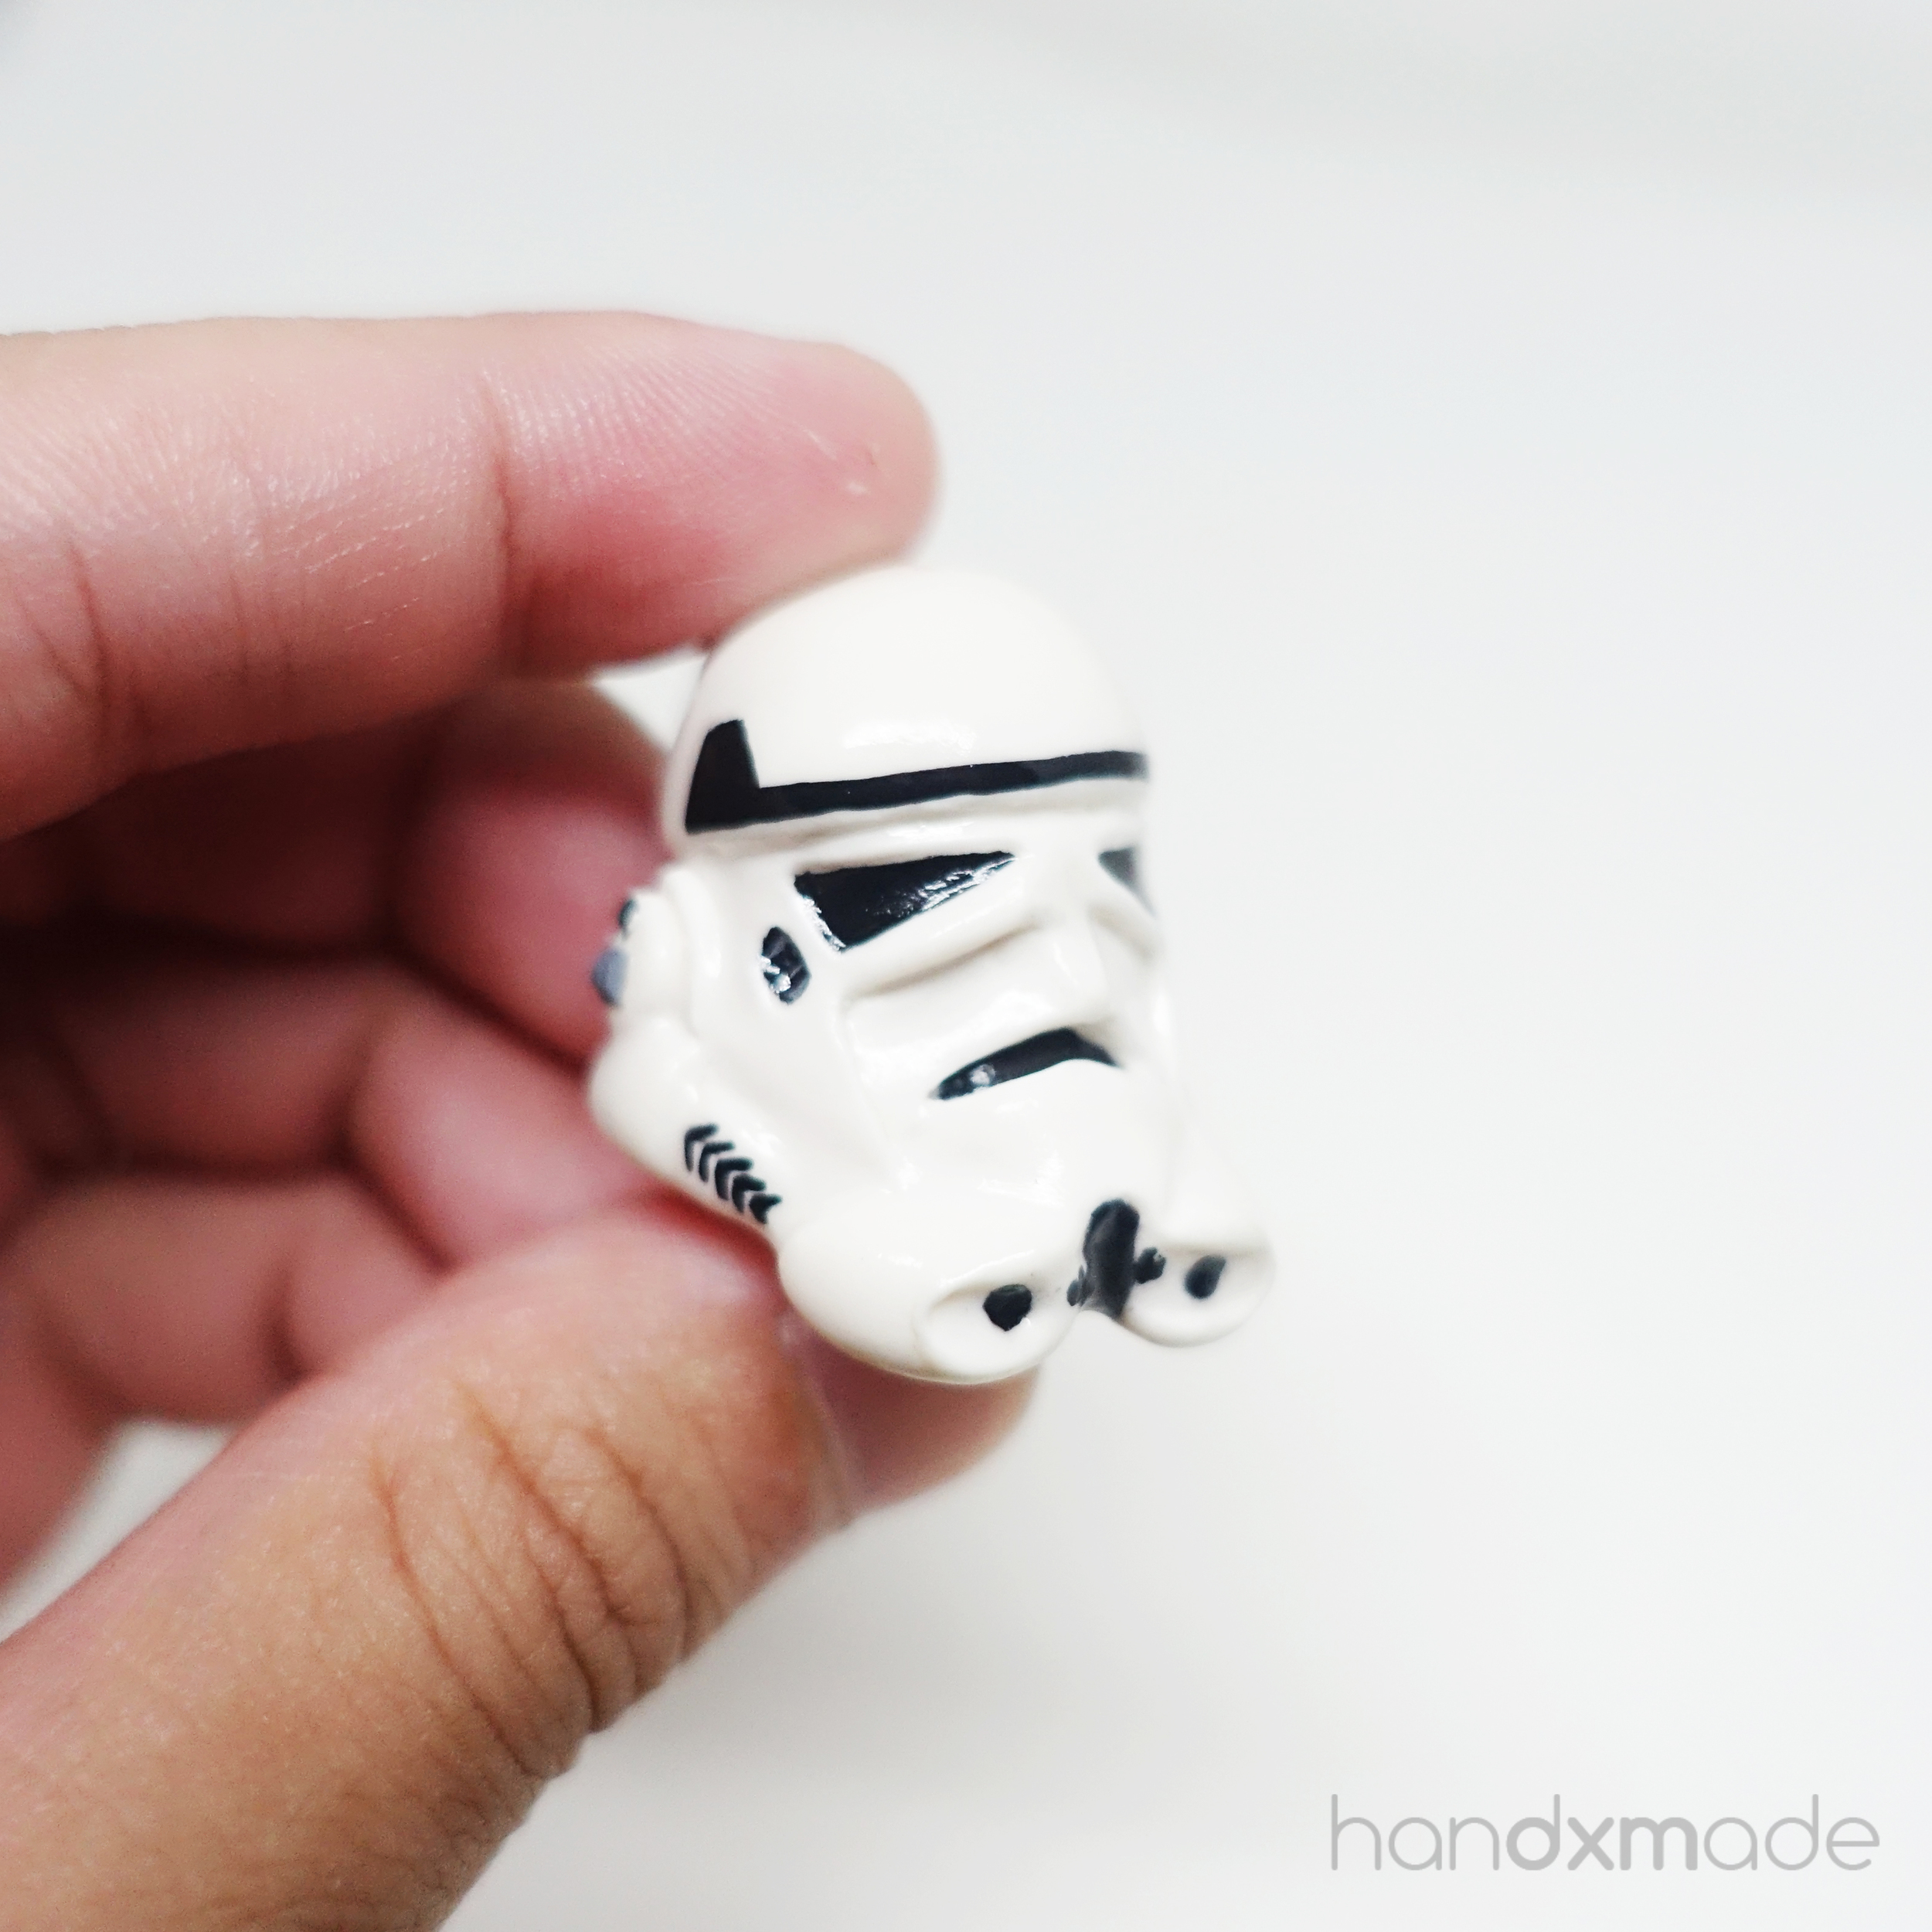
If you look at the side view, you can see how it has to be a bit slanted, how the bottom of the helmet has to look like, and it has to be proportionate! It took me a surprisingly long time than what I expected to finish this! I'm really proud of this though, and maybe I'll wear it out as an accessory too- if ET doesn't take it from me hehe.
I always prefer matte glaze, however, gloss glaze was the most apt for these few pieces and they look great in this context! To me, human figurines would look tacky if it's glazed with gloss glaze haha.
This week, during the weekends, I started posting my rendition of AiClay's tutorials in her Pocket Kitchen! Pocket Kitchen is a kit which includes EVERYTHING you need to make miniature food with polymer clay- and yes, THERE'S POLYMER CLAY INSIDE THE KIT TOO! She even includes more than 10 tutorials! It was such a steal! I invested in it even though I already had tools to make polymer clay, but there's something special inside that I've been using ever since I got it!
I'll be posting a full blog post with all my rendition of her tutorials and also my thoughts and review of Pocket Kitchen! Meanwhile, if you want to know more about pocket kitchen, do head to her website and check it out!