
AICLAY'S POCKET KITCHEN REVIEW
This article by @handxmade is free for personal use ONLY, any reproduction is prohibited.
If you’d like to show your appreciation for these articles through monetary means, you can send me a ko-fi! ☕️
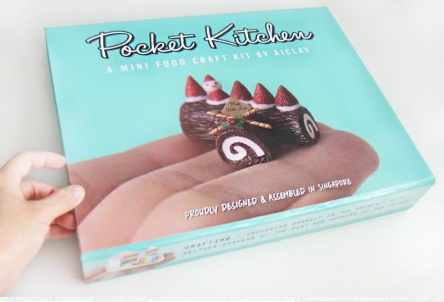
Late last year, I purchased a Pocket Kitchen Ultimate from Jocelyn, the founder of AiClay.
Here's a video that was made by her to explain what Pocket Kitchen is!
DISCLAIMER:
I am not sponsored by AiClay or anyone to write this post. I'm merely doing this because I love it so much and I believe that good things MUST SHARE.
Also, photos that are not watermarked with my logo is not taken by me and is either from AiClay's website/her Pocket Kitchen tutorials.
I'll be writing what I love about the Pocket Kitchen kit, and why anyone who is interested in working in polymer clay (not just miniature food) should grab it!
1. YOU GET MORE THAN WHAT YOU PAID FOR (IMO)
Honestly speaking, I was quite reluctant to purchase it because it was quite pricey for me- someone who just graduated from a Polytechnic and recently moved out of parent's home. But I wanted to support her and learn from her, even if it's just from tutorials. Her works were beautiful and it has such a clean, realistic look!
So I got it without even doing much research, I don't think I even finished reading the description??? Hahahahaha. It was almost like an impulse buy, but I am so grateful that I did purchase it!
When I first received the kit from Jocelyn herself personally, I was SHOCKED when I took it from her! IT WAS REALLY HEAVY!!! But it actually feels quite good XD because it was SGD $238 worth of tools for polymer clay miniature, so it felt right that it weighed so much hahahahaa.
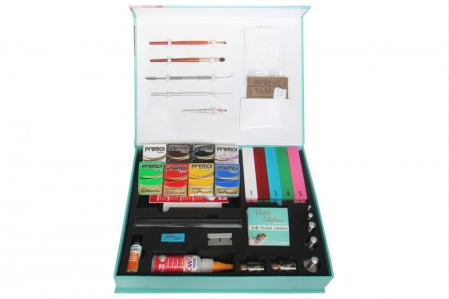
Now, you really shouldn't be put off by the price, because LOOK AT WHAT YOU GET FOR ONLY SGD $238!!!

Excerpt taken from AiClay.com
I think what's really nice was that she provides you the little things like BLU TACK. Which you can grab from any stationary shop?? Everything is so well planned!
If you think about it, the cost price of everything if you get them yourself is more than half the price you'd be paying for Pocket Kitchen kit??
Take the acrylic roller for example. A quick search on eBay shows that it's USD $9.45, which is SGD $13.14.
Each Premo clay piece if I remember correctly, is around SGD $3.45. $3.45 multiply by 8 equals to SGD $27.60
Fimo Liquid clay is about SGD $16???
Just adding these three items together it's already SGD $56.74 and I haven't even account for 8 more items inside the Pocket Kitchen kit!! Granted, the pricing might be a tad bit different but give or take a few bucks off, it's still about there.
IT'S SO WORTH IT OMG
2. EVERYTHING HAS ITS OWN PLACE
ET (my bf) who generally expects very little from people, so much so that he doesn't get surprised when people do something badly, but instead get surprised when it's done well (talk about lowering your expectations haha) so he was very surprised when I opened the Pocket Kitchen to show him the items inside.
Everything has it's own spot and the location for each item is planned so well that all the space is used efficiently, and hence the whole Pocket Kitchen kit doesn't take much space!
This is PERFECT for people who has limited workspace, or doesn't even have one! You can just grab the whole Pocket Kitchen kit to the dining table, and start crafting!
This is exceptionally good for beginners who doesn't know whether they want to work with polymer clay. Because honestly, there's A LOT of tools you might want to invest in or try, and you might end up purchasing things that you don't really need and it ends up just taking space up like I did lol.
It's nice to go about the test and trial way, but I also spent a shitload of money that I wouldn't need to if I know about Pocket Kitchen earlier...
3. WELL MADE PACKAGING
This might be less crucial to other people, but it was for me. I think Pocket Kitchen was not only meant as a packaging, but also a storage for EVERYTHING inside!
So as a storage, it should be durable, right? WELL IT IS.
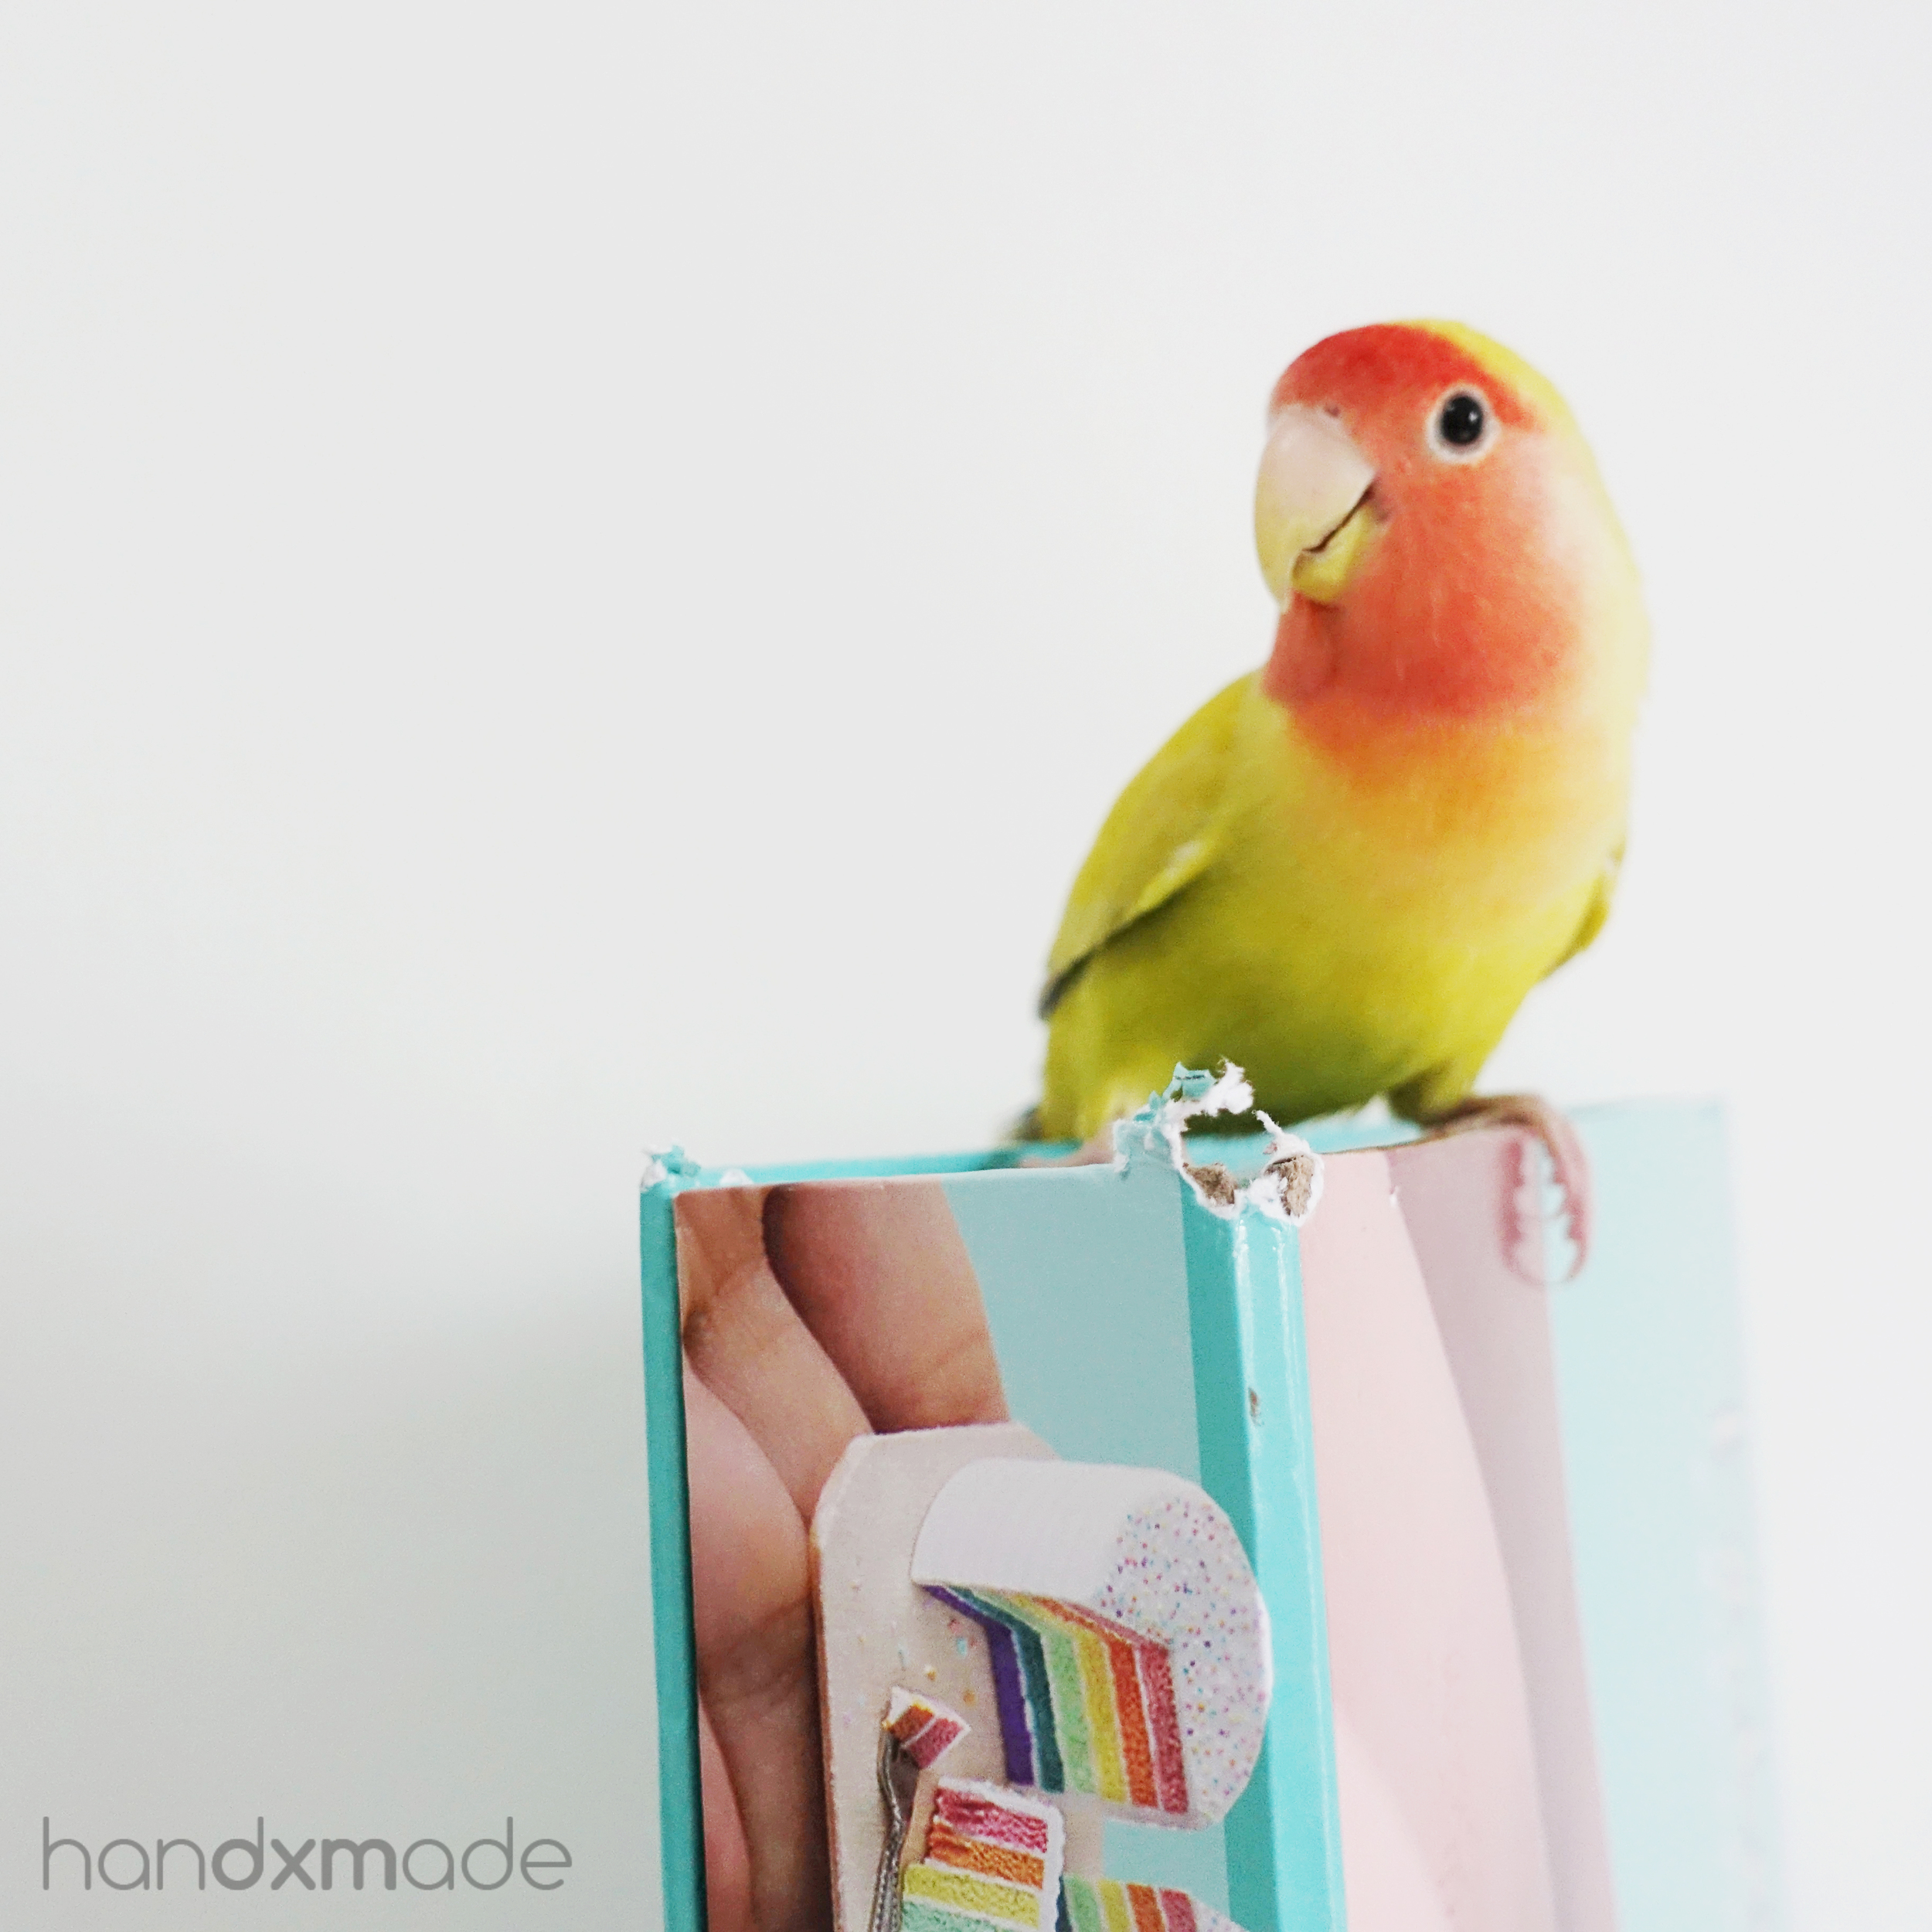
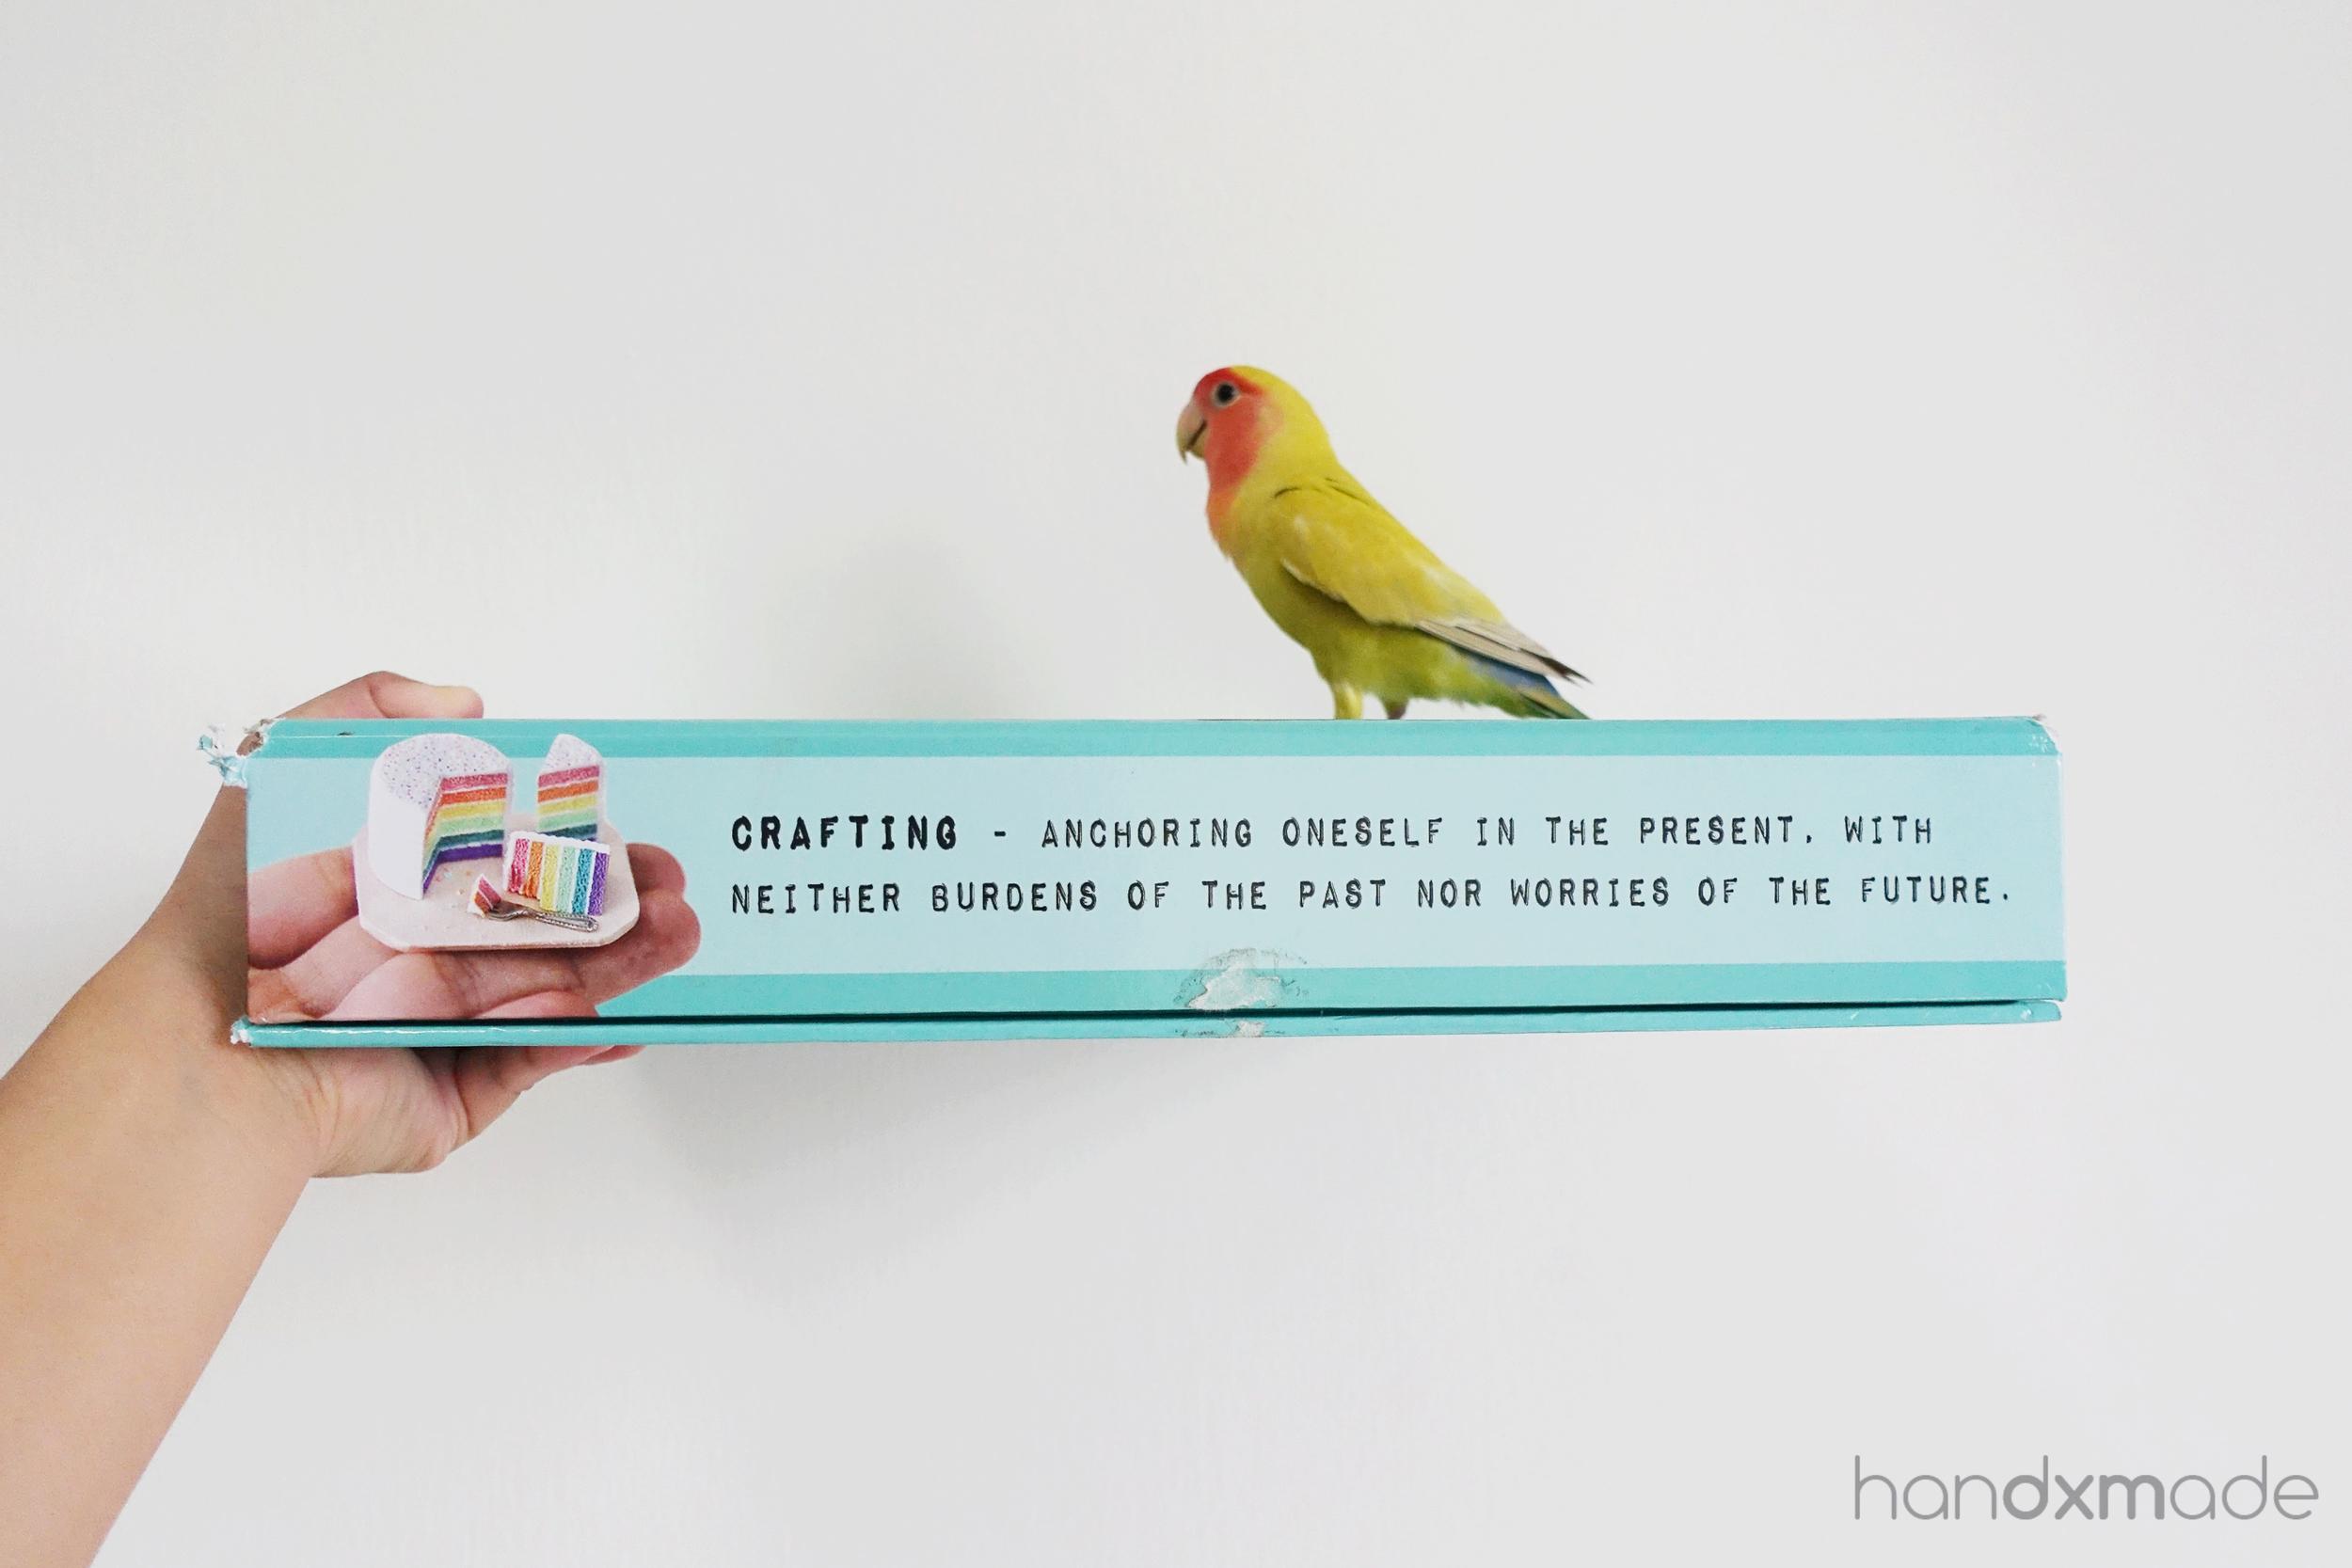
Look at that part. It was chewed on by my lovebird, Buibui. It's takes very little time for Buibui to bite through everything, but the packaging cum storage was so tough and sturdy that he couldn't get in! *celebrates*
Buibui can destroy all he wants, but it still protected my tools inside! *YAYYYYYY*
Obviously, you shouldn't give it to your pet and let it play with it. But if you were careless and left it out, it shouldn't be very easy to be destroyed!
(Hope you don't mind the bird being in the shot haha) (It was very hard to carry in one hand btw so heavy)
I also love the idea of a magnetic flap instead of buckles or smth! It takes little to no effort to open, and the magnet is strong enough that the flap doesn't open by itself.
Honestly the no effort factor is a big plus, because I know a lot of people who will be lazy to open it if it's hard to open, and in the end just leave it there and not craft, AM I RIGHT??? HAHAHAHA. *guilty*
The packaging is also in a beautiful shade of turquoise, with quotes like above to inspire you to craft and not waste time watching TV ;)
Honestly though, crafting really does take your mind off things. So if you're stressful, it does help! This would also be such a great gift for people who keeps complaining that they have no hobbies or is bored with life because they have no passion. Great kit to start with!
4. POCKET ROLLER
THIS.
THIS IS THE BEST THING INSIDE THE KIT, HANDS DOWN.
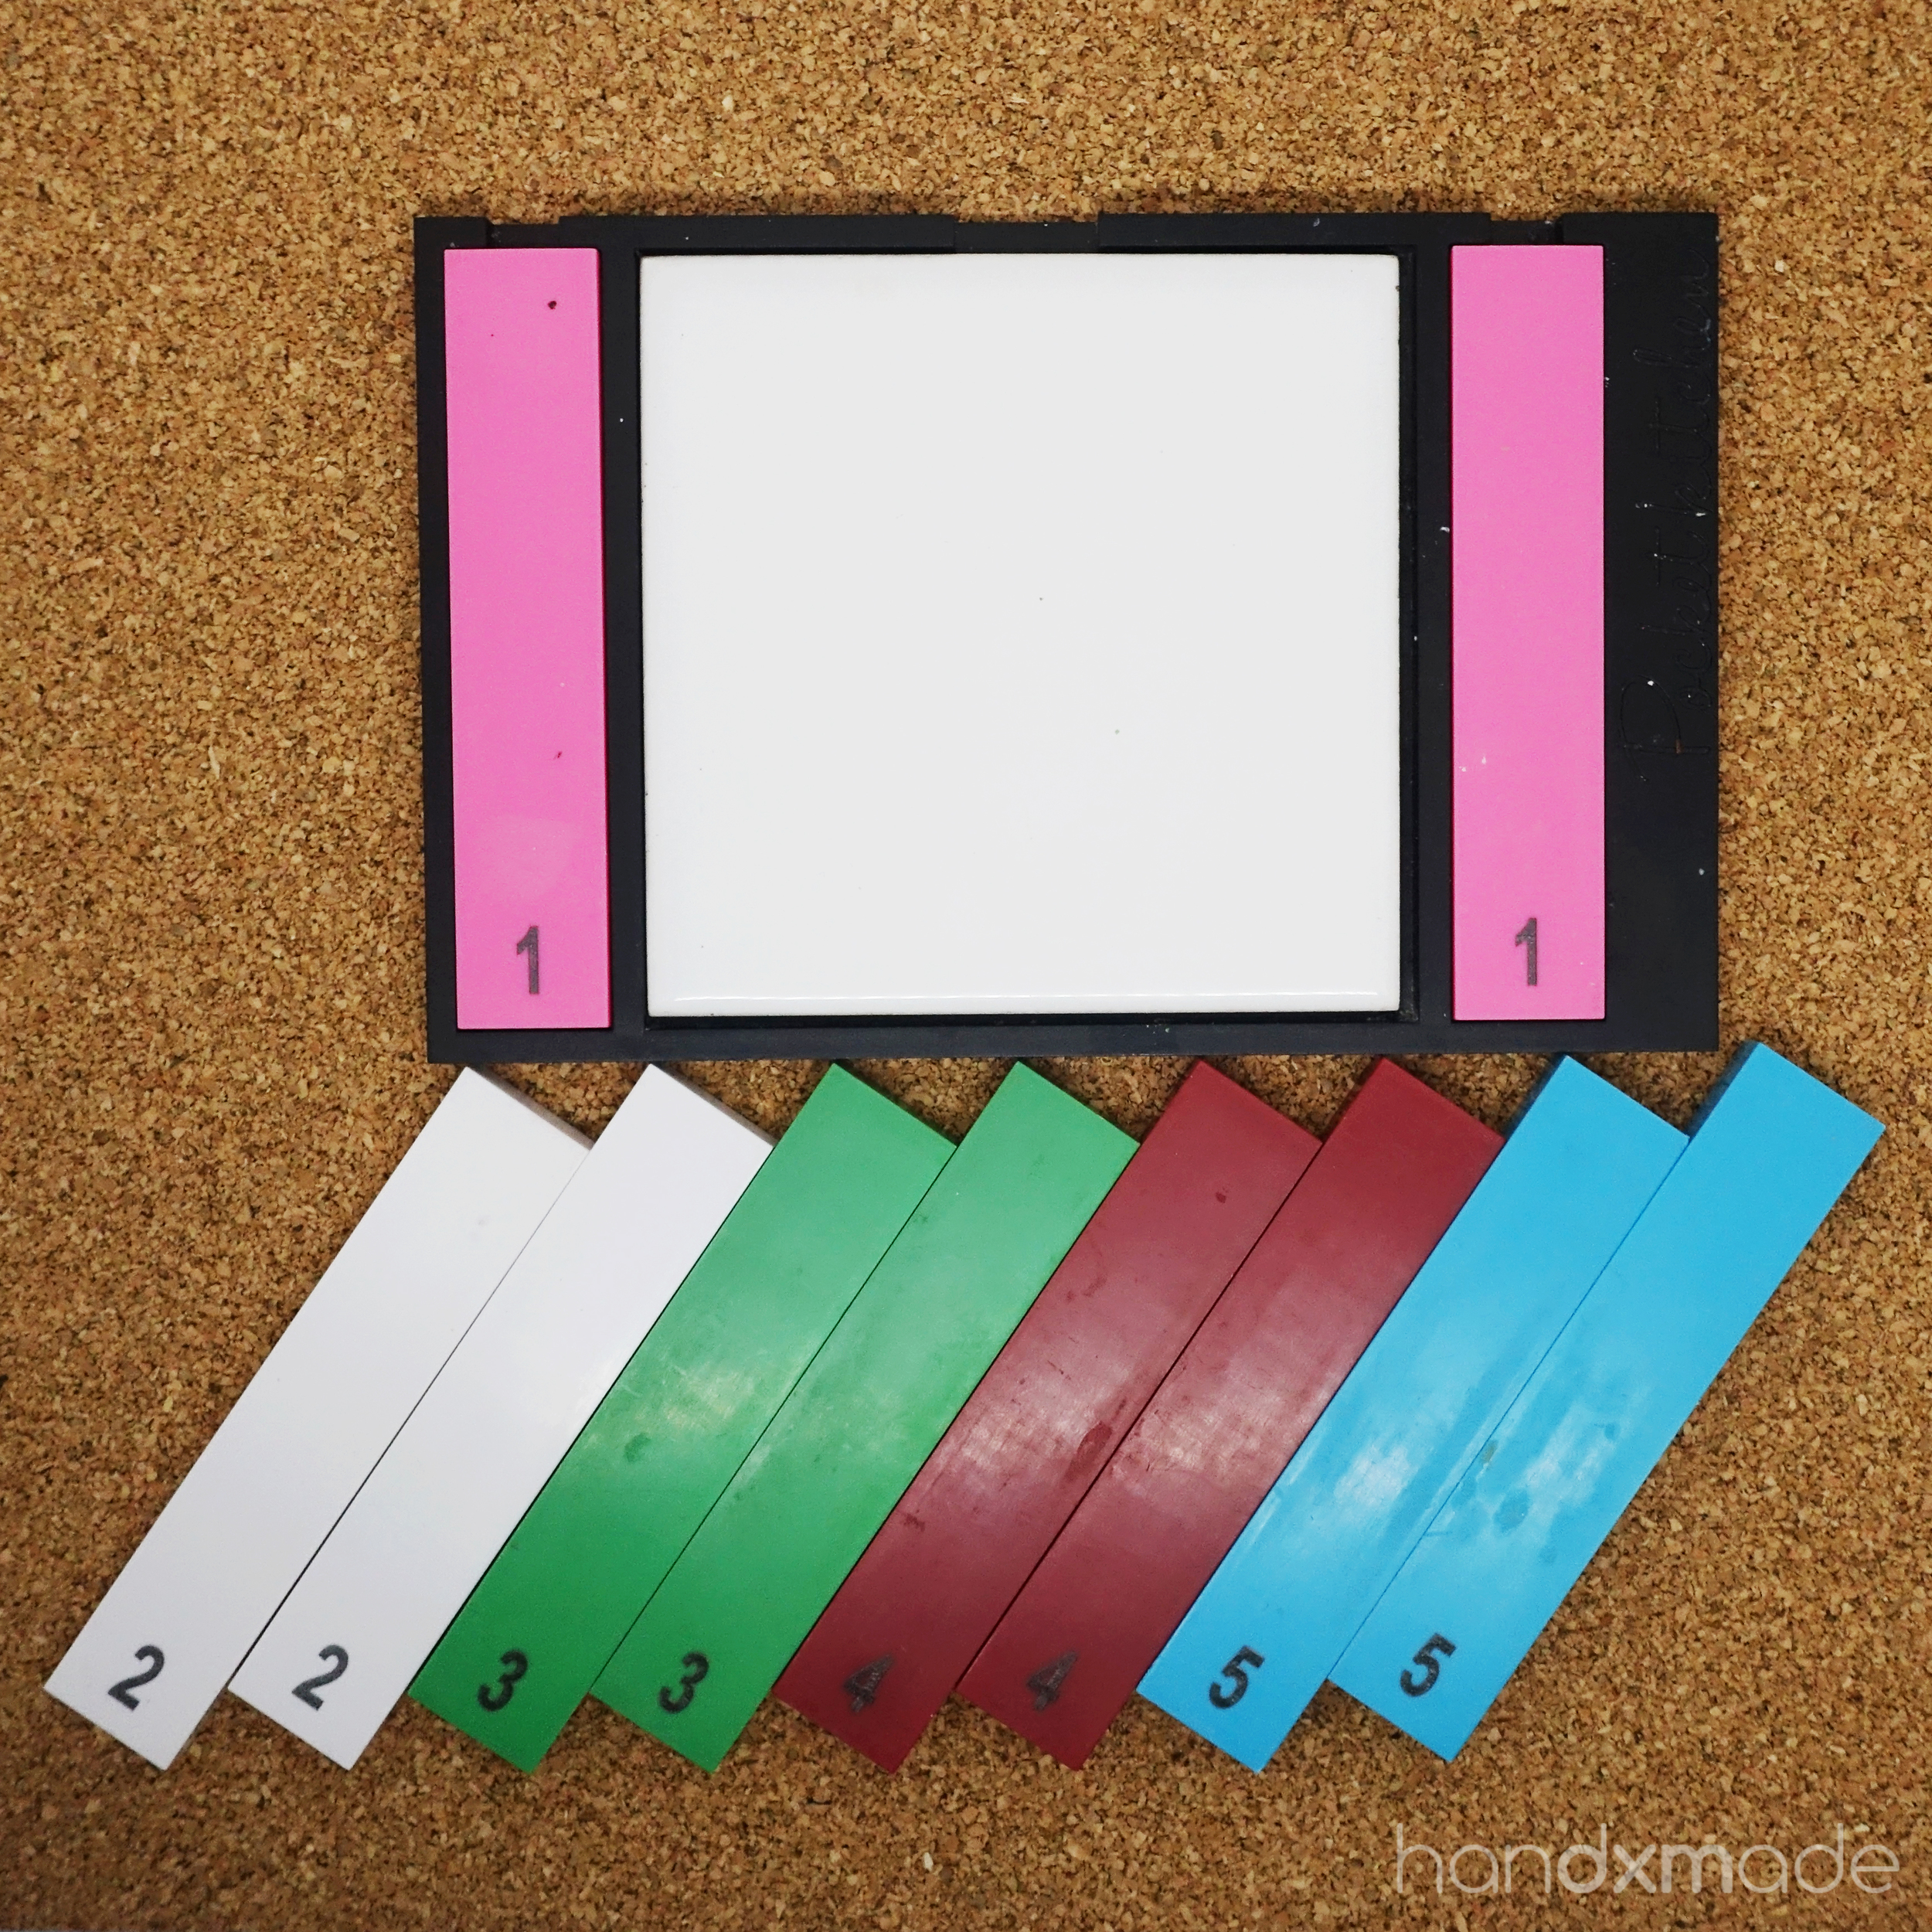
Ever since I got the kit and tried the Pocket Roller, I've been using it ever since. Even before I started on her tutorials hahaha.

It is basically a roller that has different levellers with different thickness. It's such a great creation for polymer clay and I've never seen it before! This is made exclusively for Pocket Kitchen and you can't find it anywhere else (!!!!!). IT'S SO CLEVER.
I completely stopped using my pasta machine lolol. Let me list a few reason why this is better than a pasta machine.
● PASTA MACHINE IS BULKY
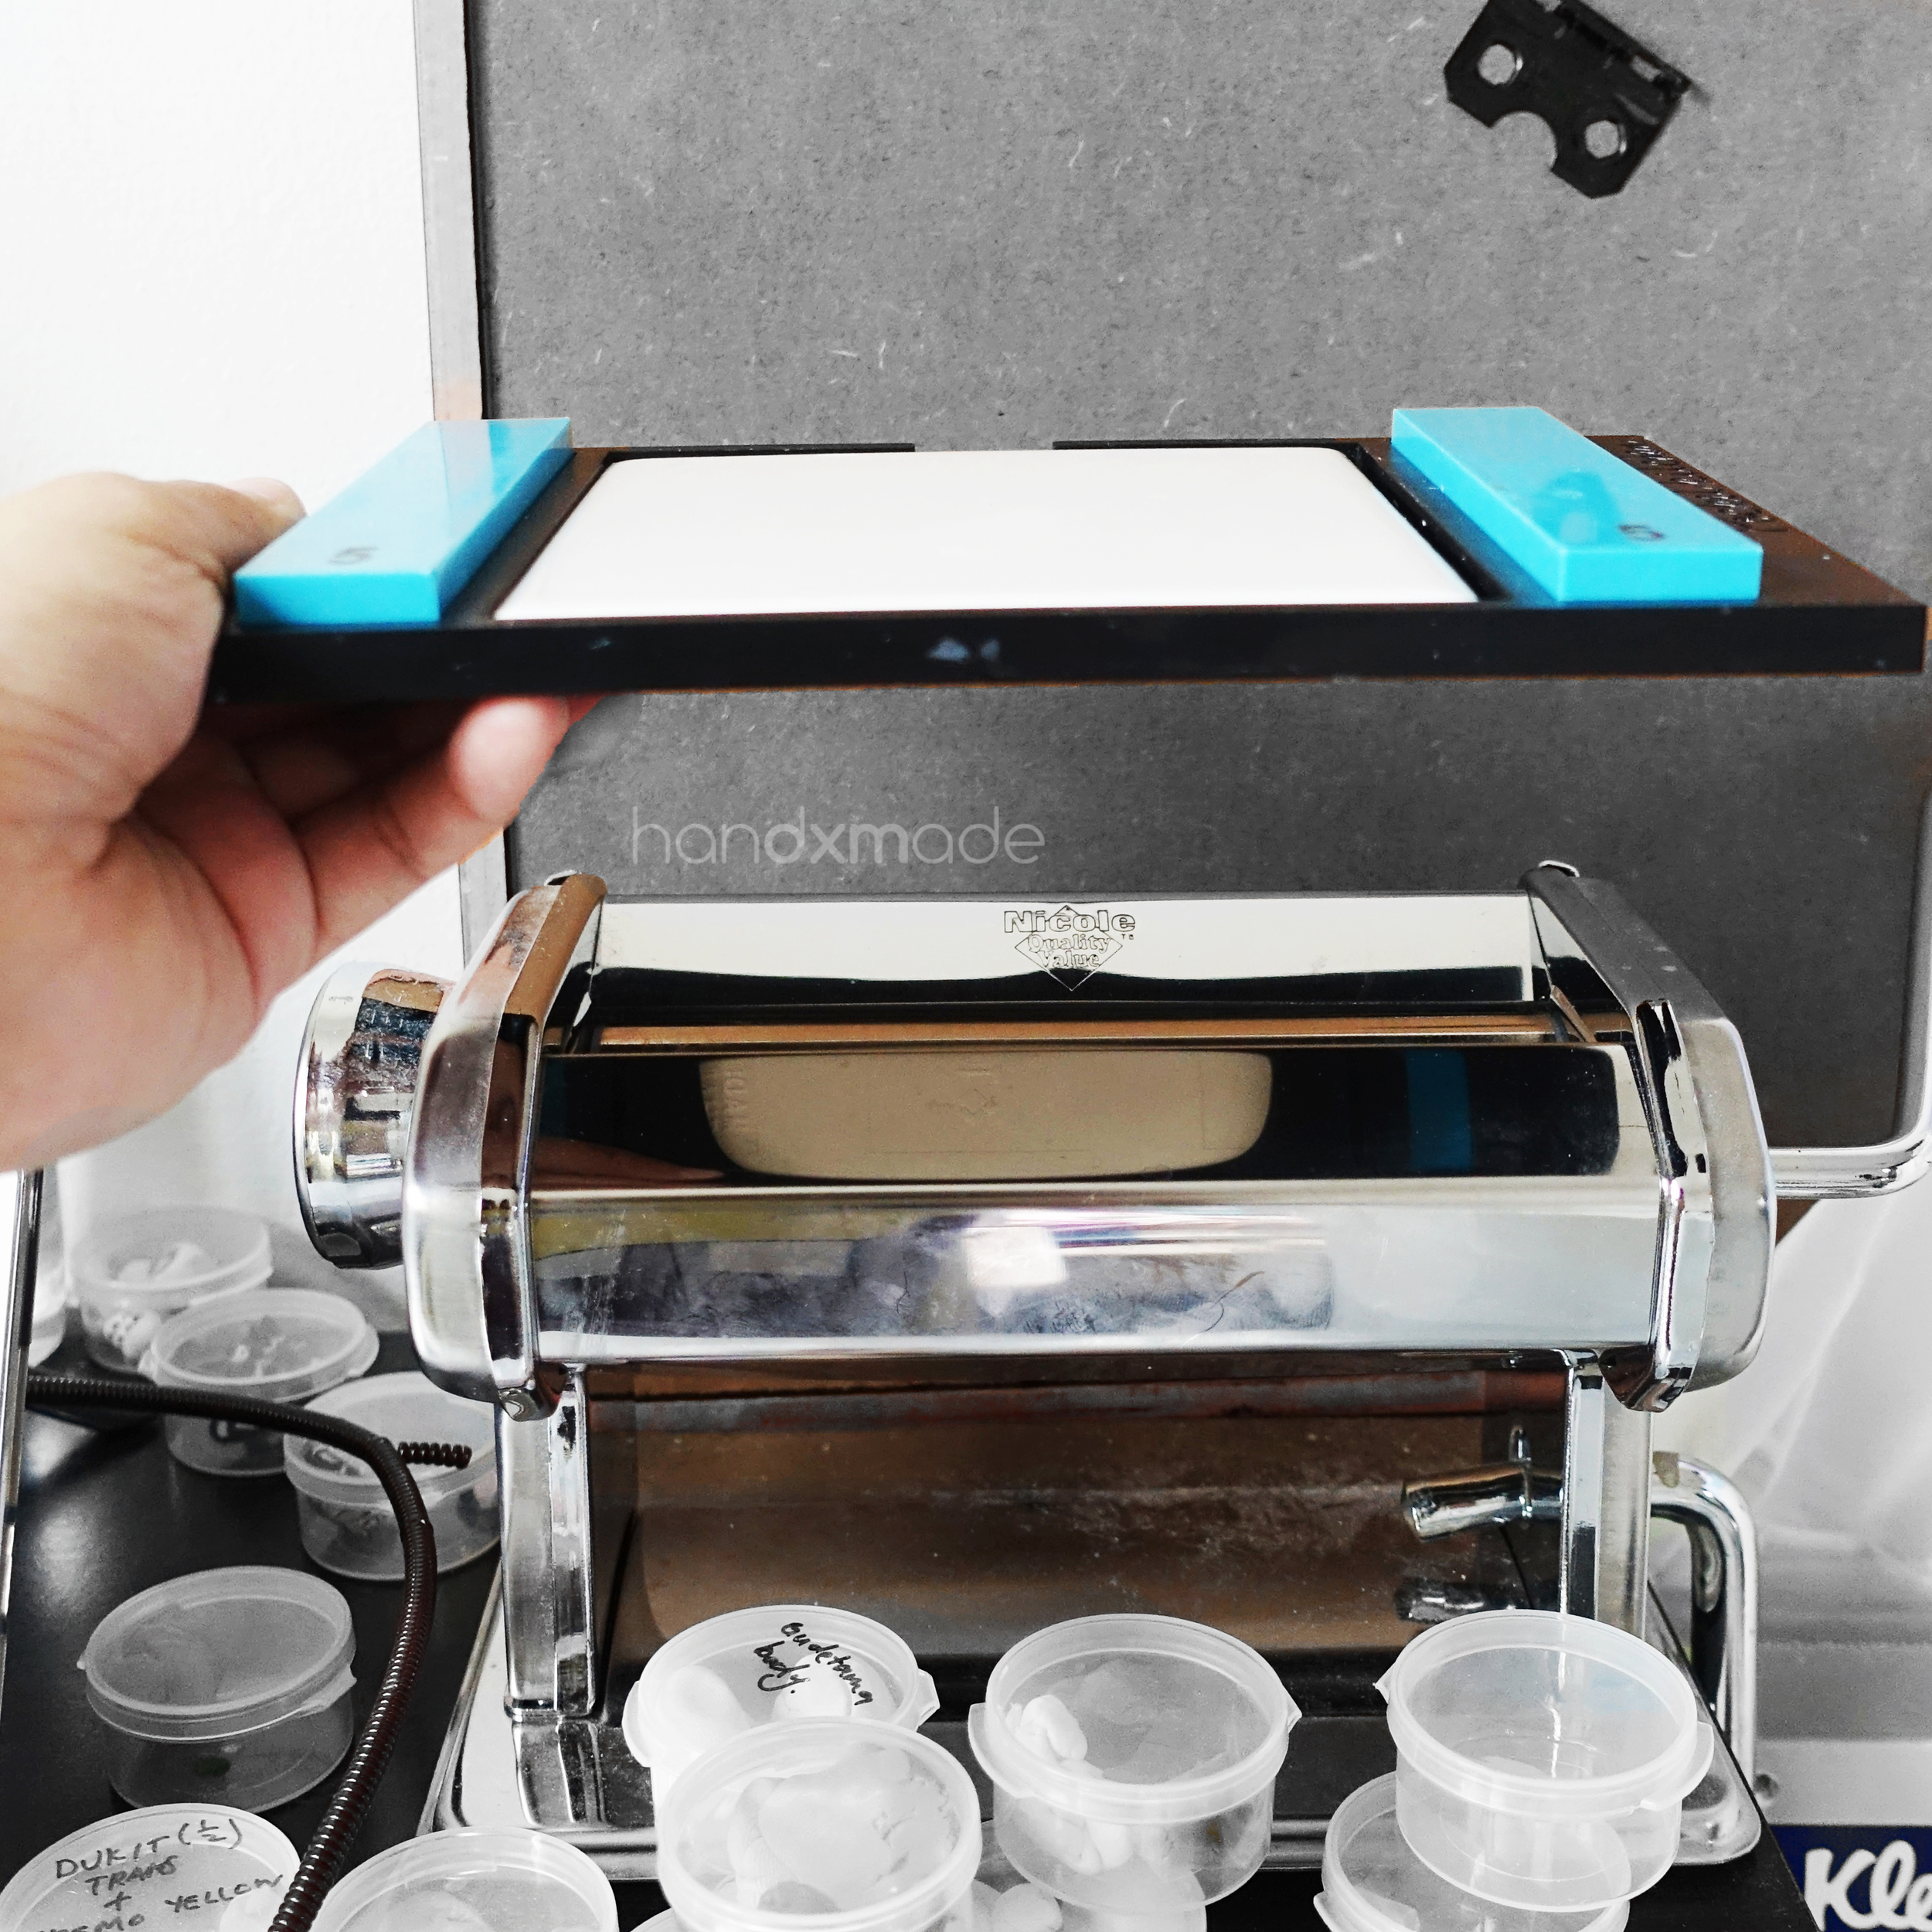
I really think the Pocket Roller is really aptly named. Cause it's so portable! Look at the size comparison hahahahaa. You also need a place to clasps the pasta machine to, so you have to plan it well etc etc. Quite annoying. Pocket Roller just place on table and BAM WHATEVER THICKNESS COME.
I removed the Pasta Machine after this photo was taken btw XD I really don't use it anymore hahaha.
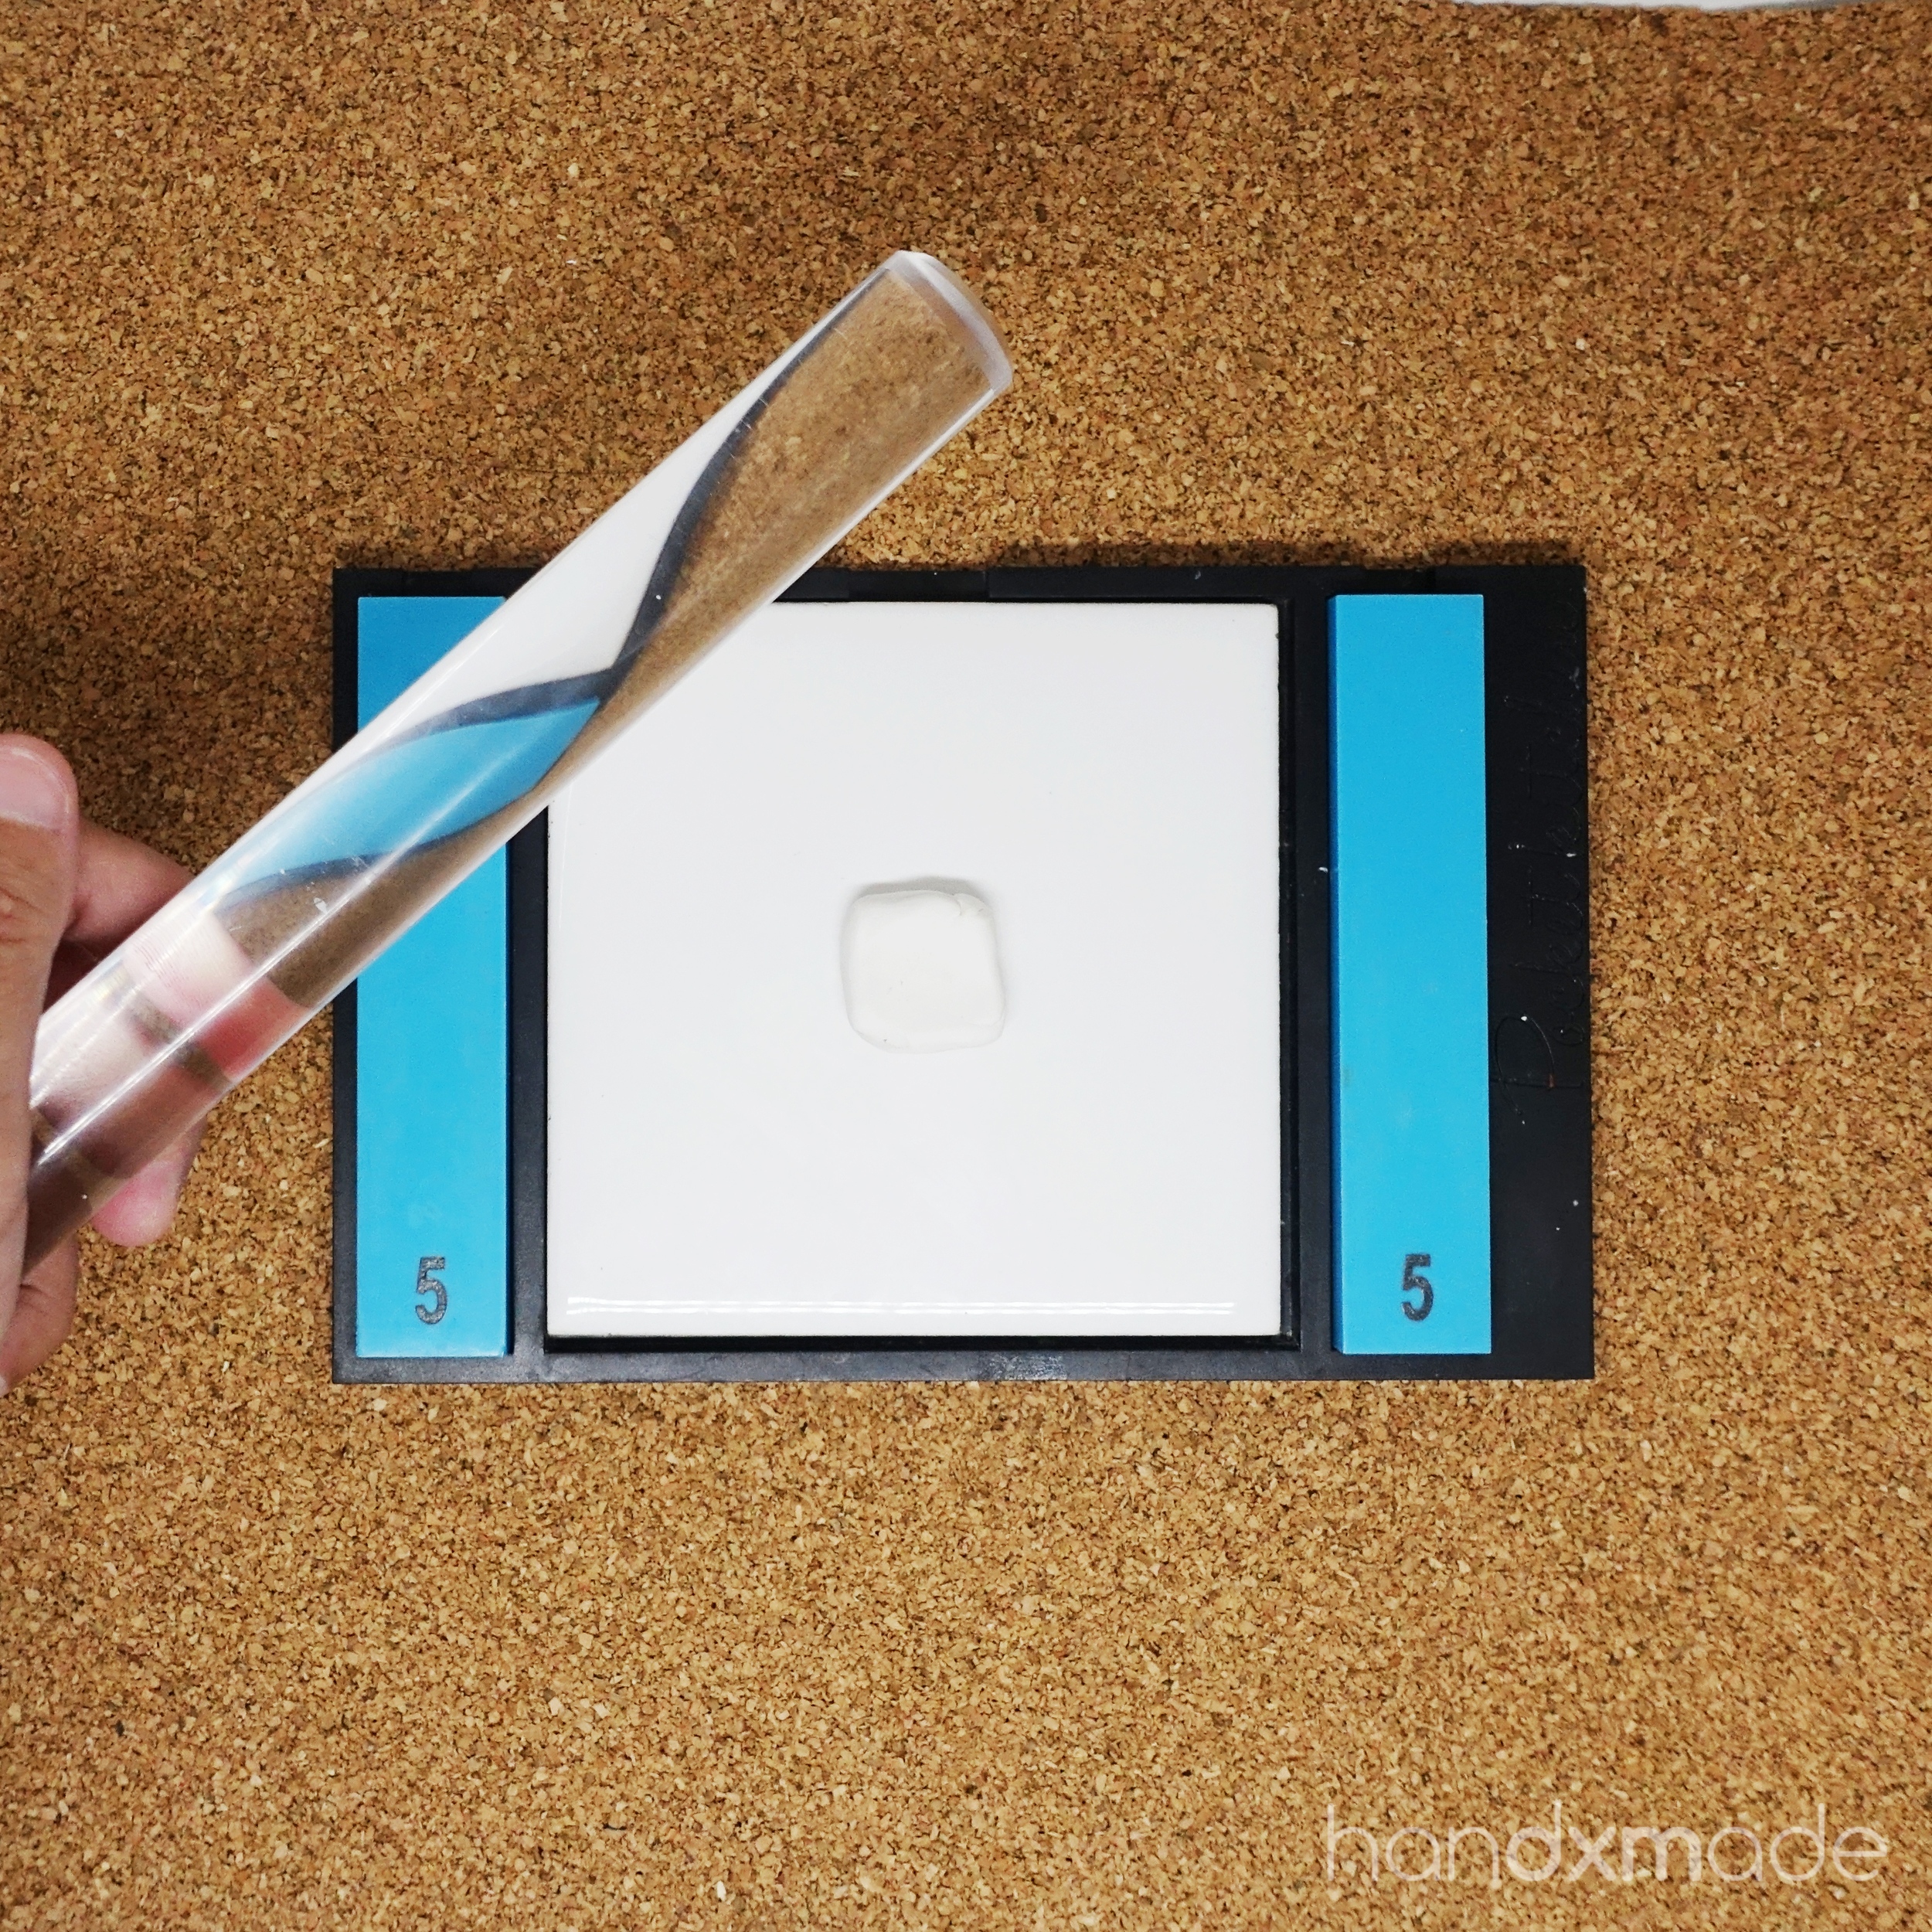
● BUILD UP THICKNESS WITH POCKET ROLLER
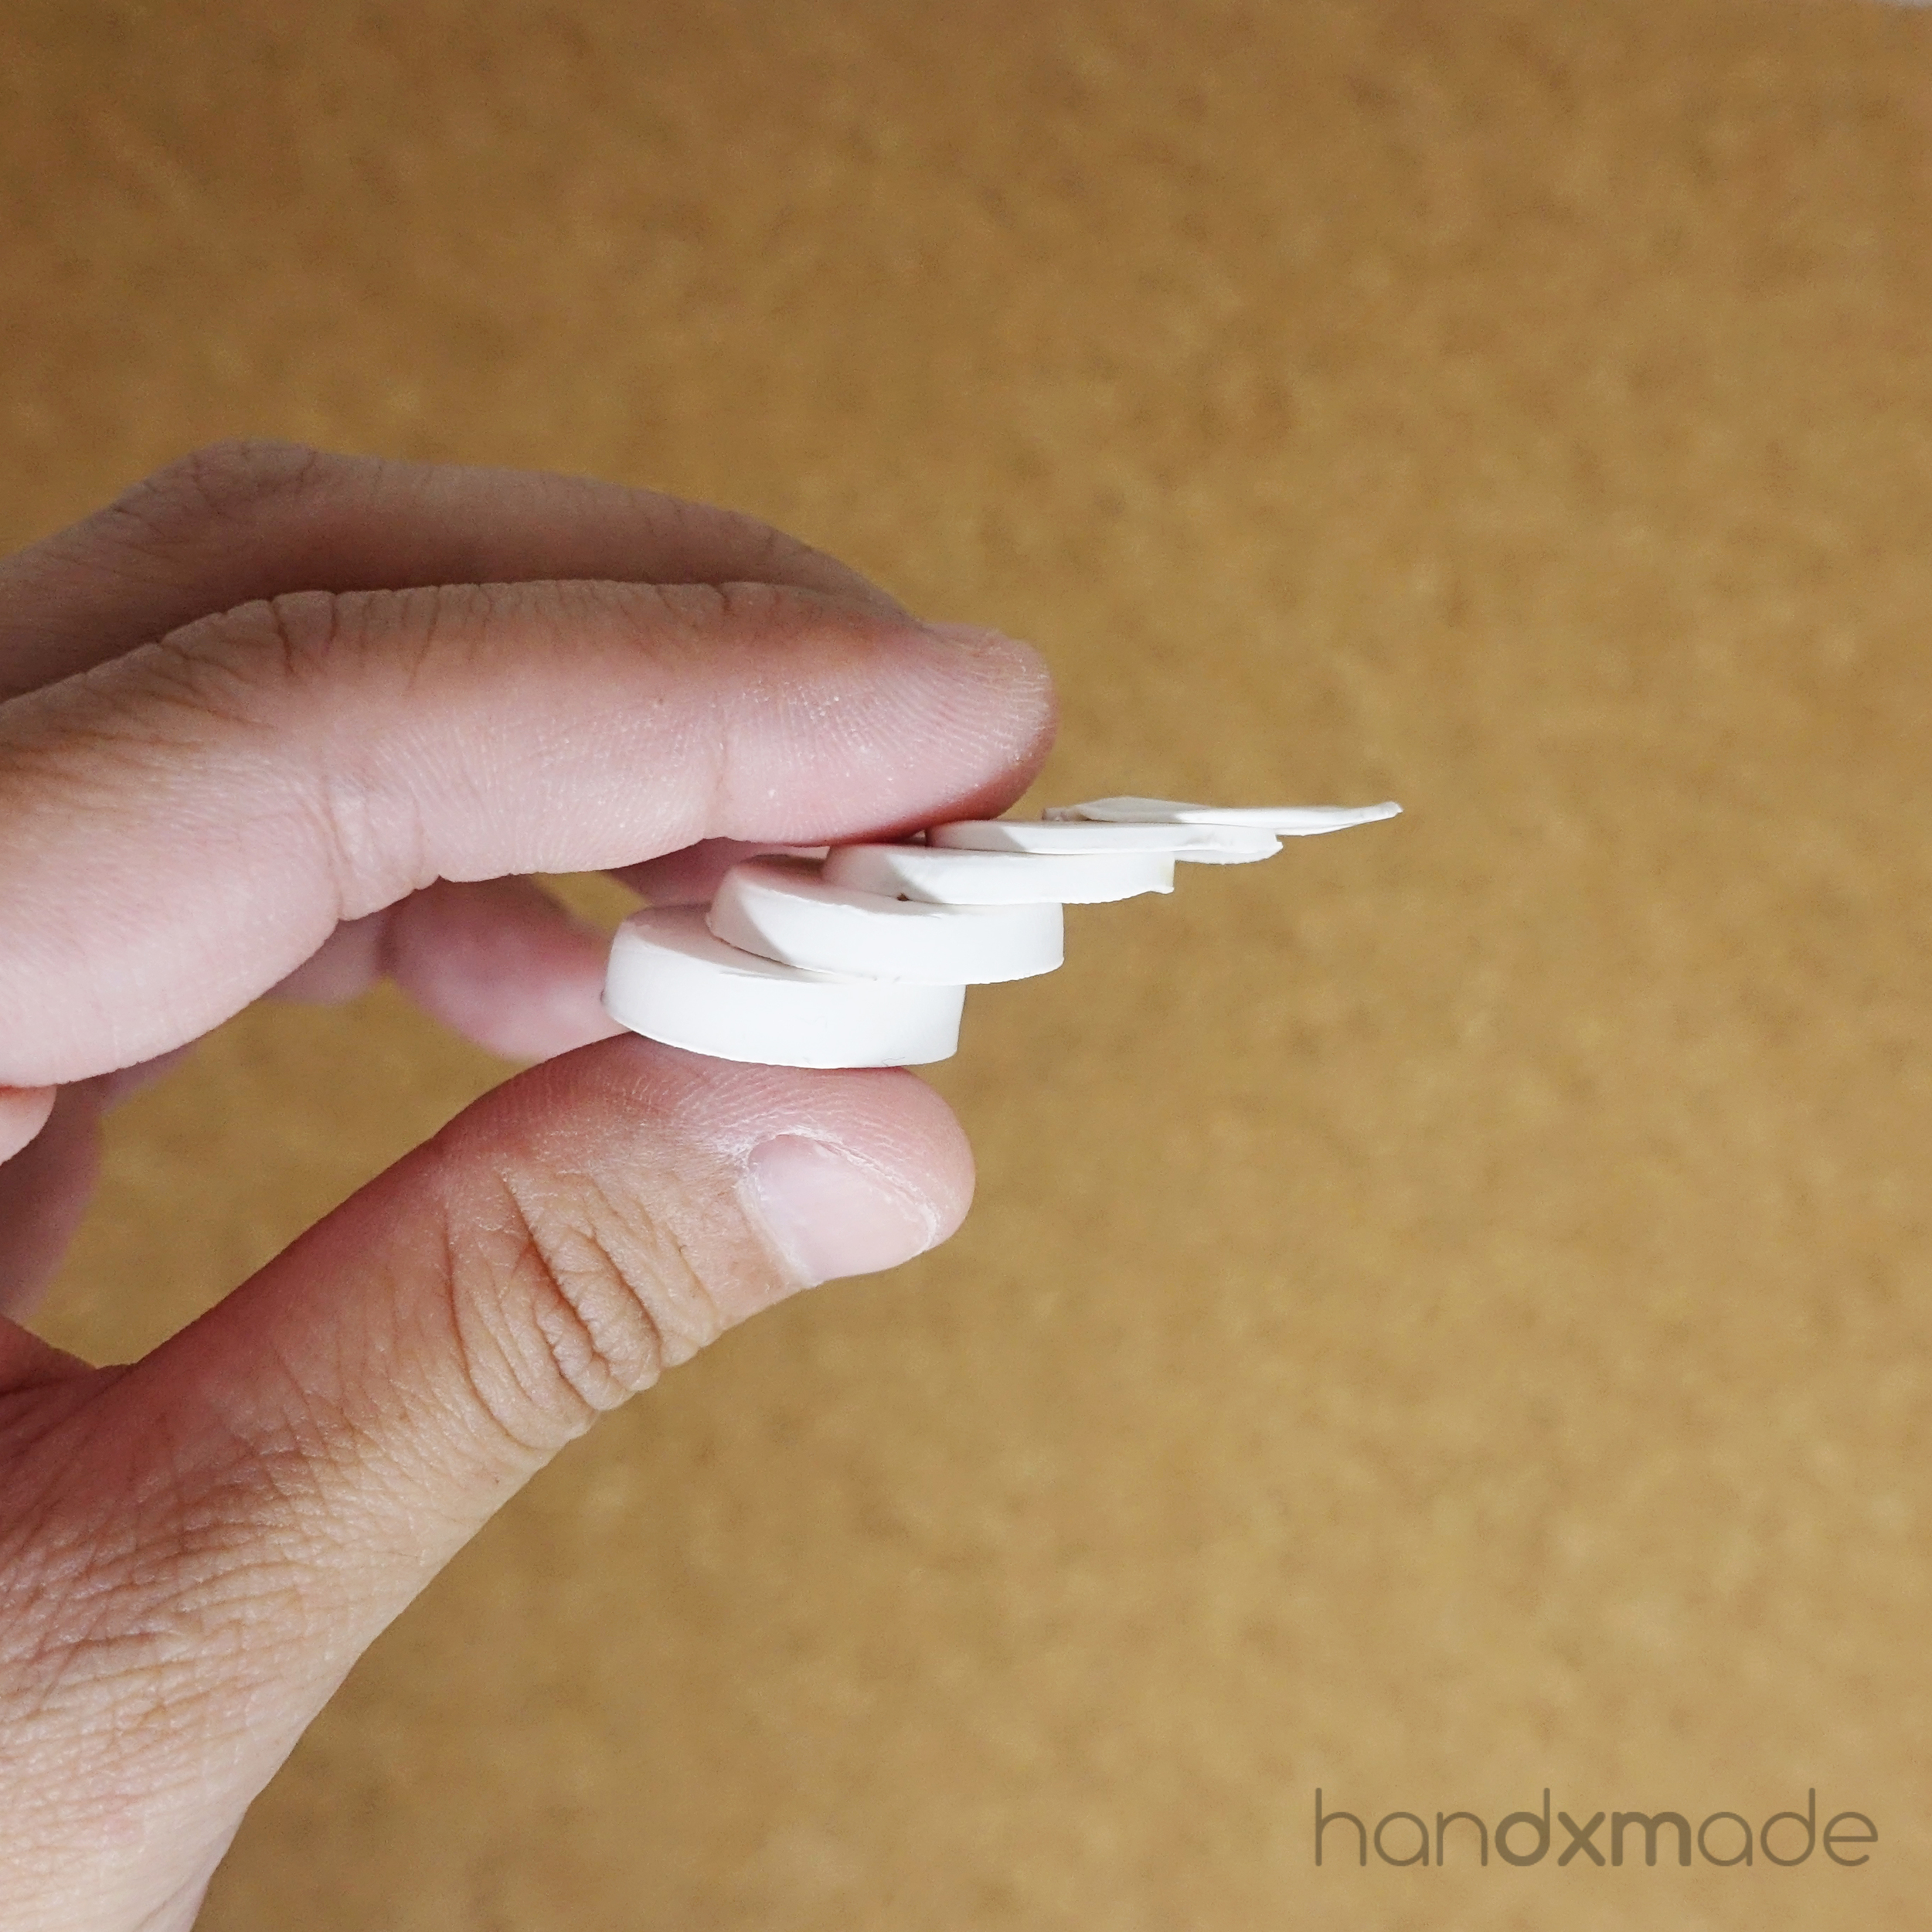
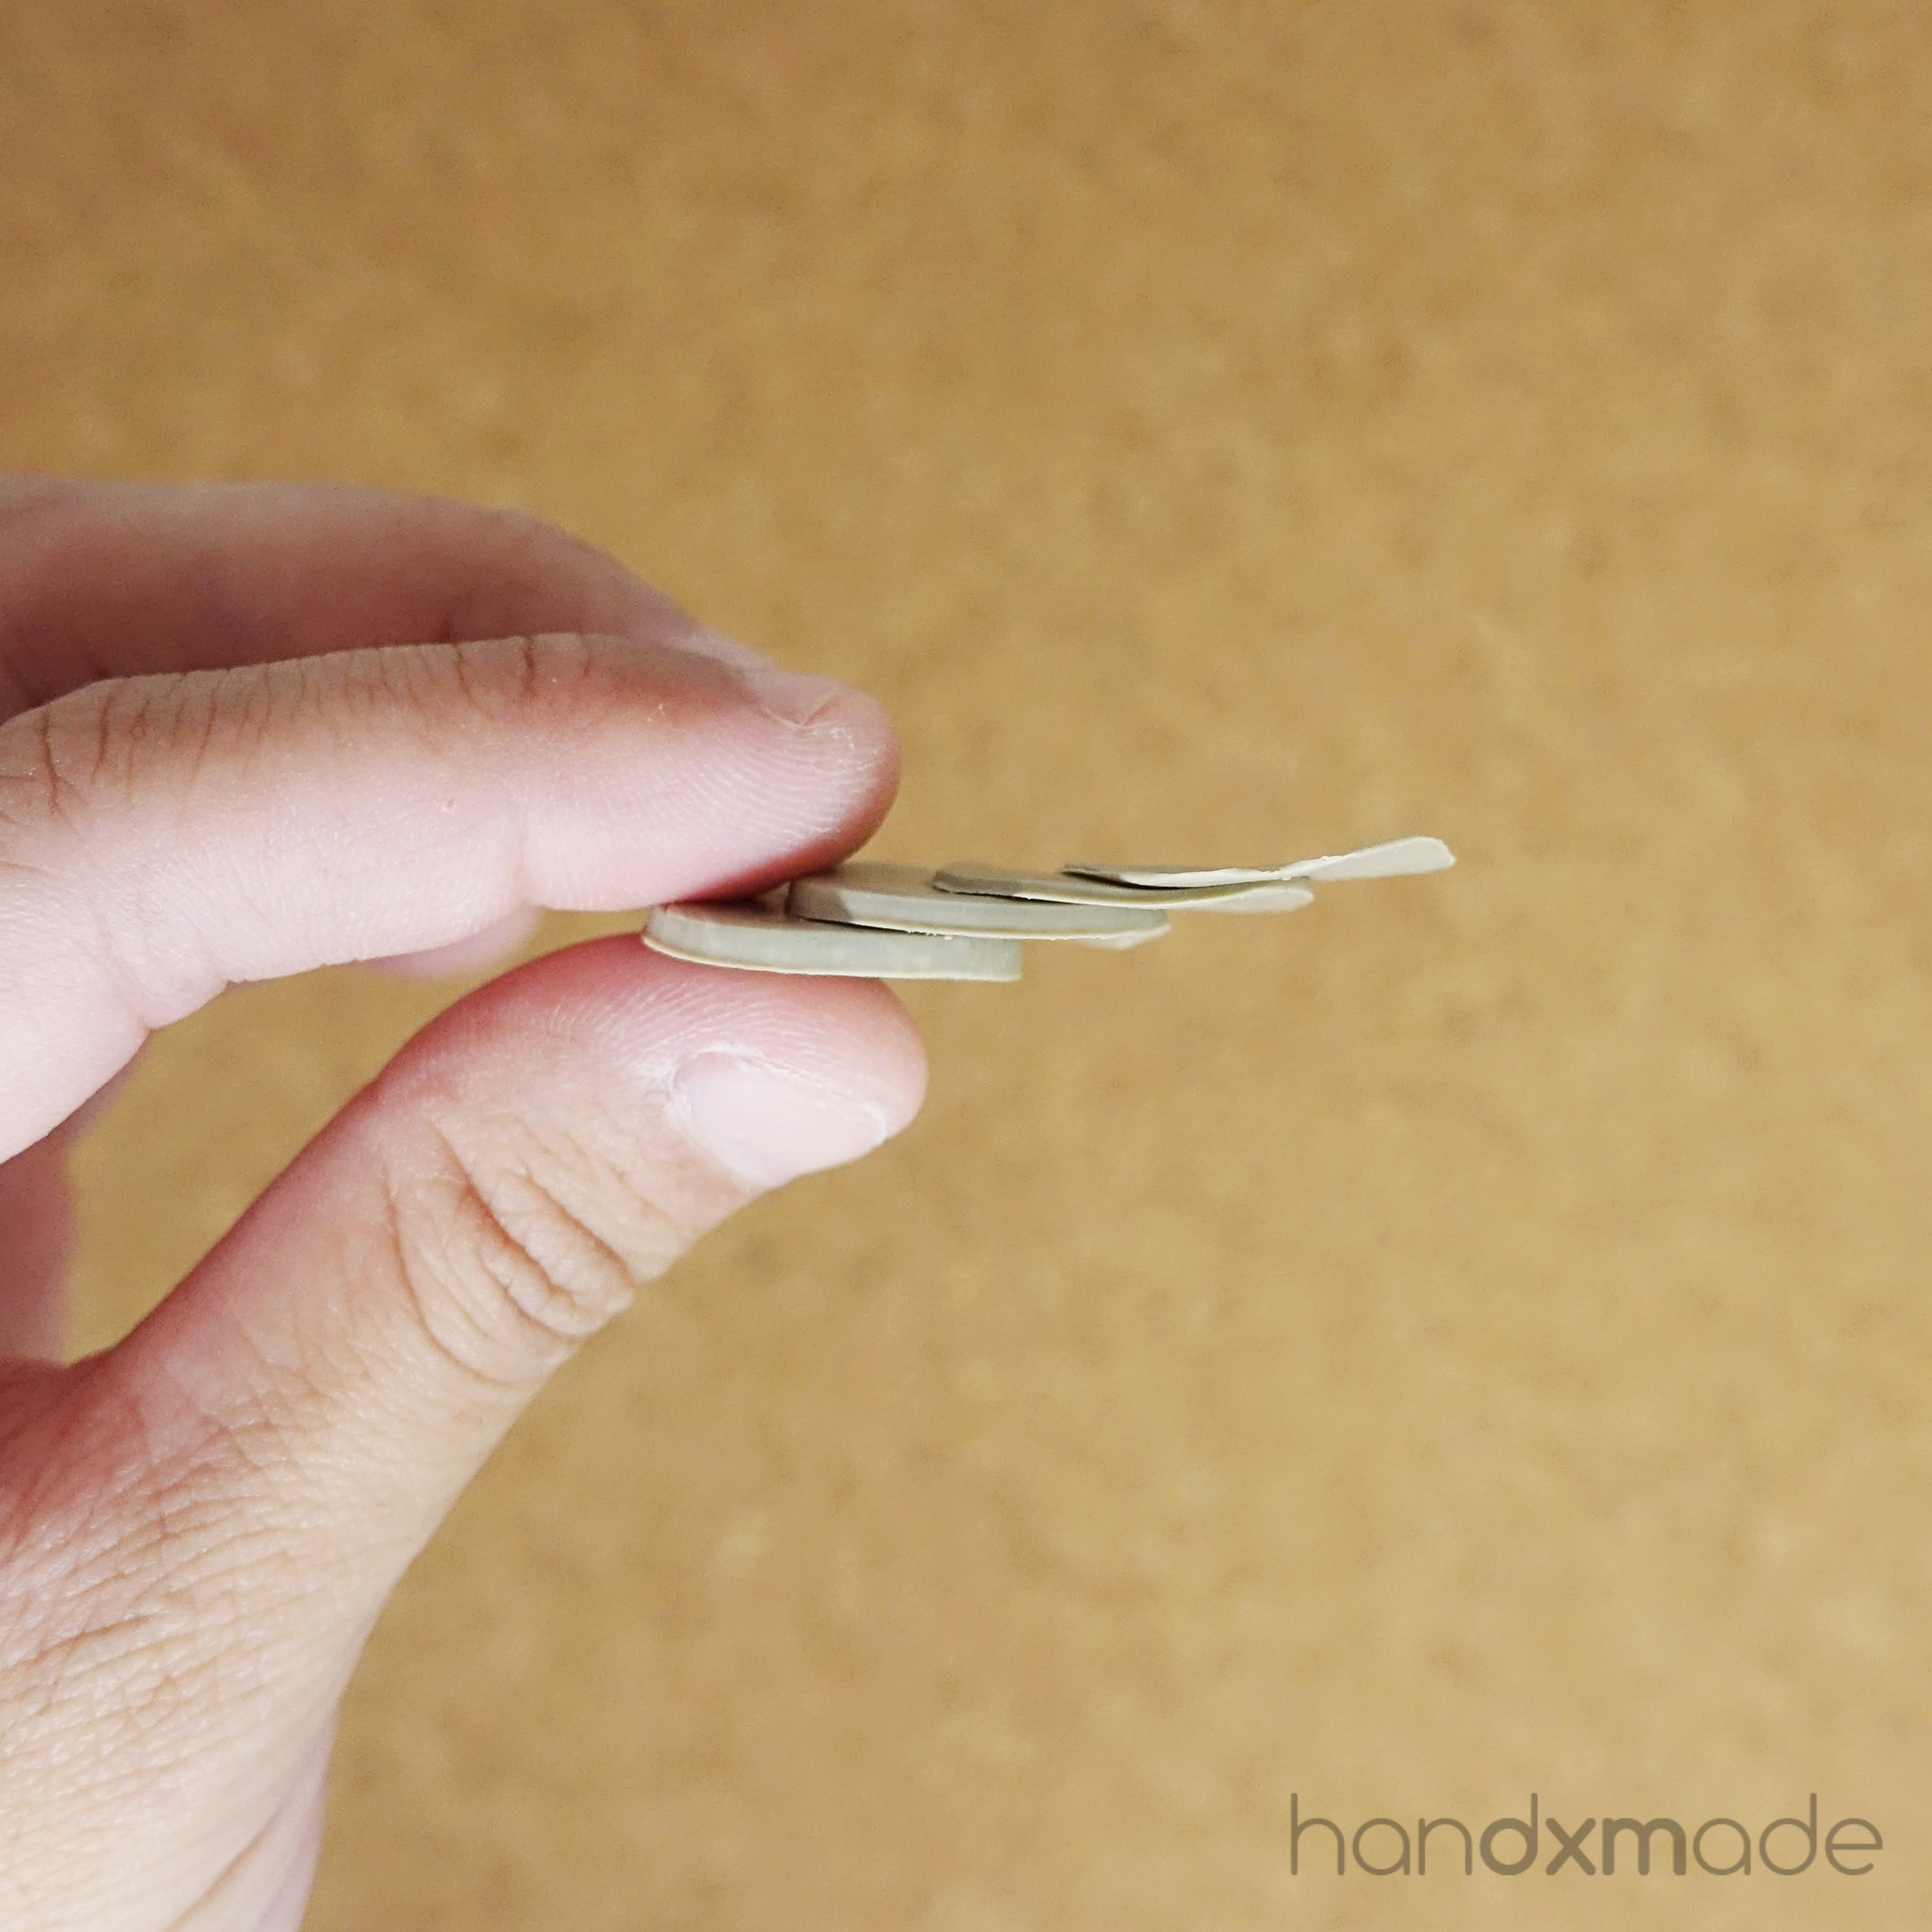
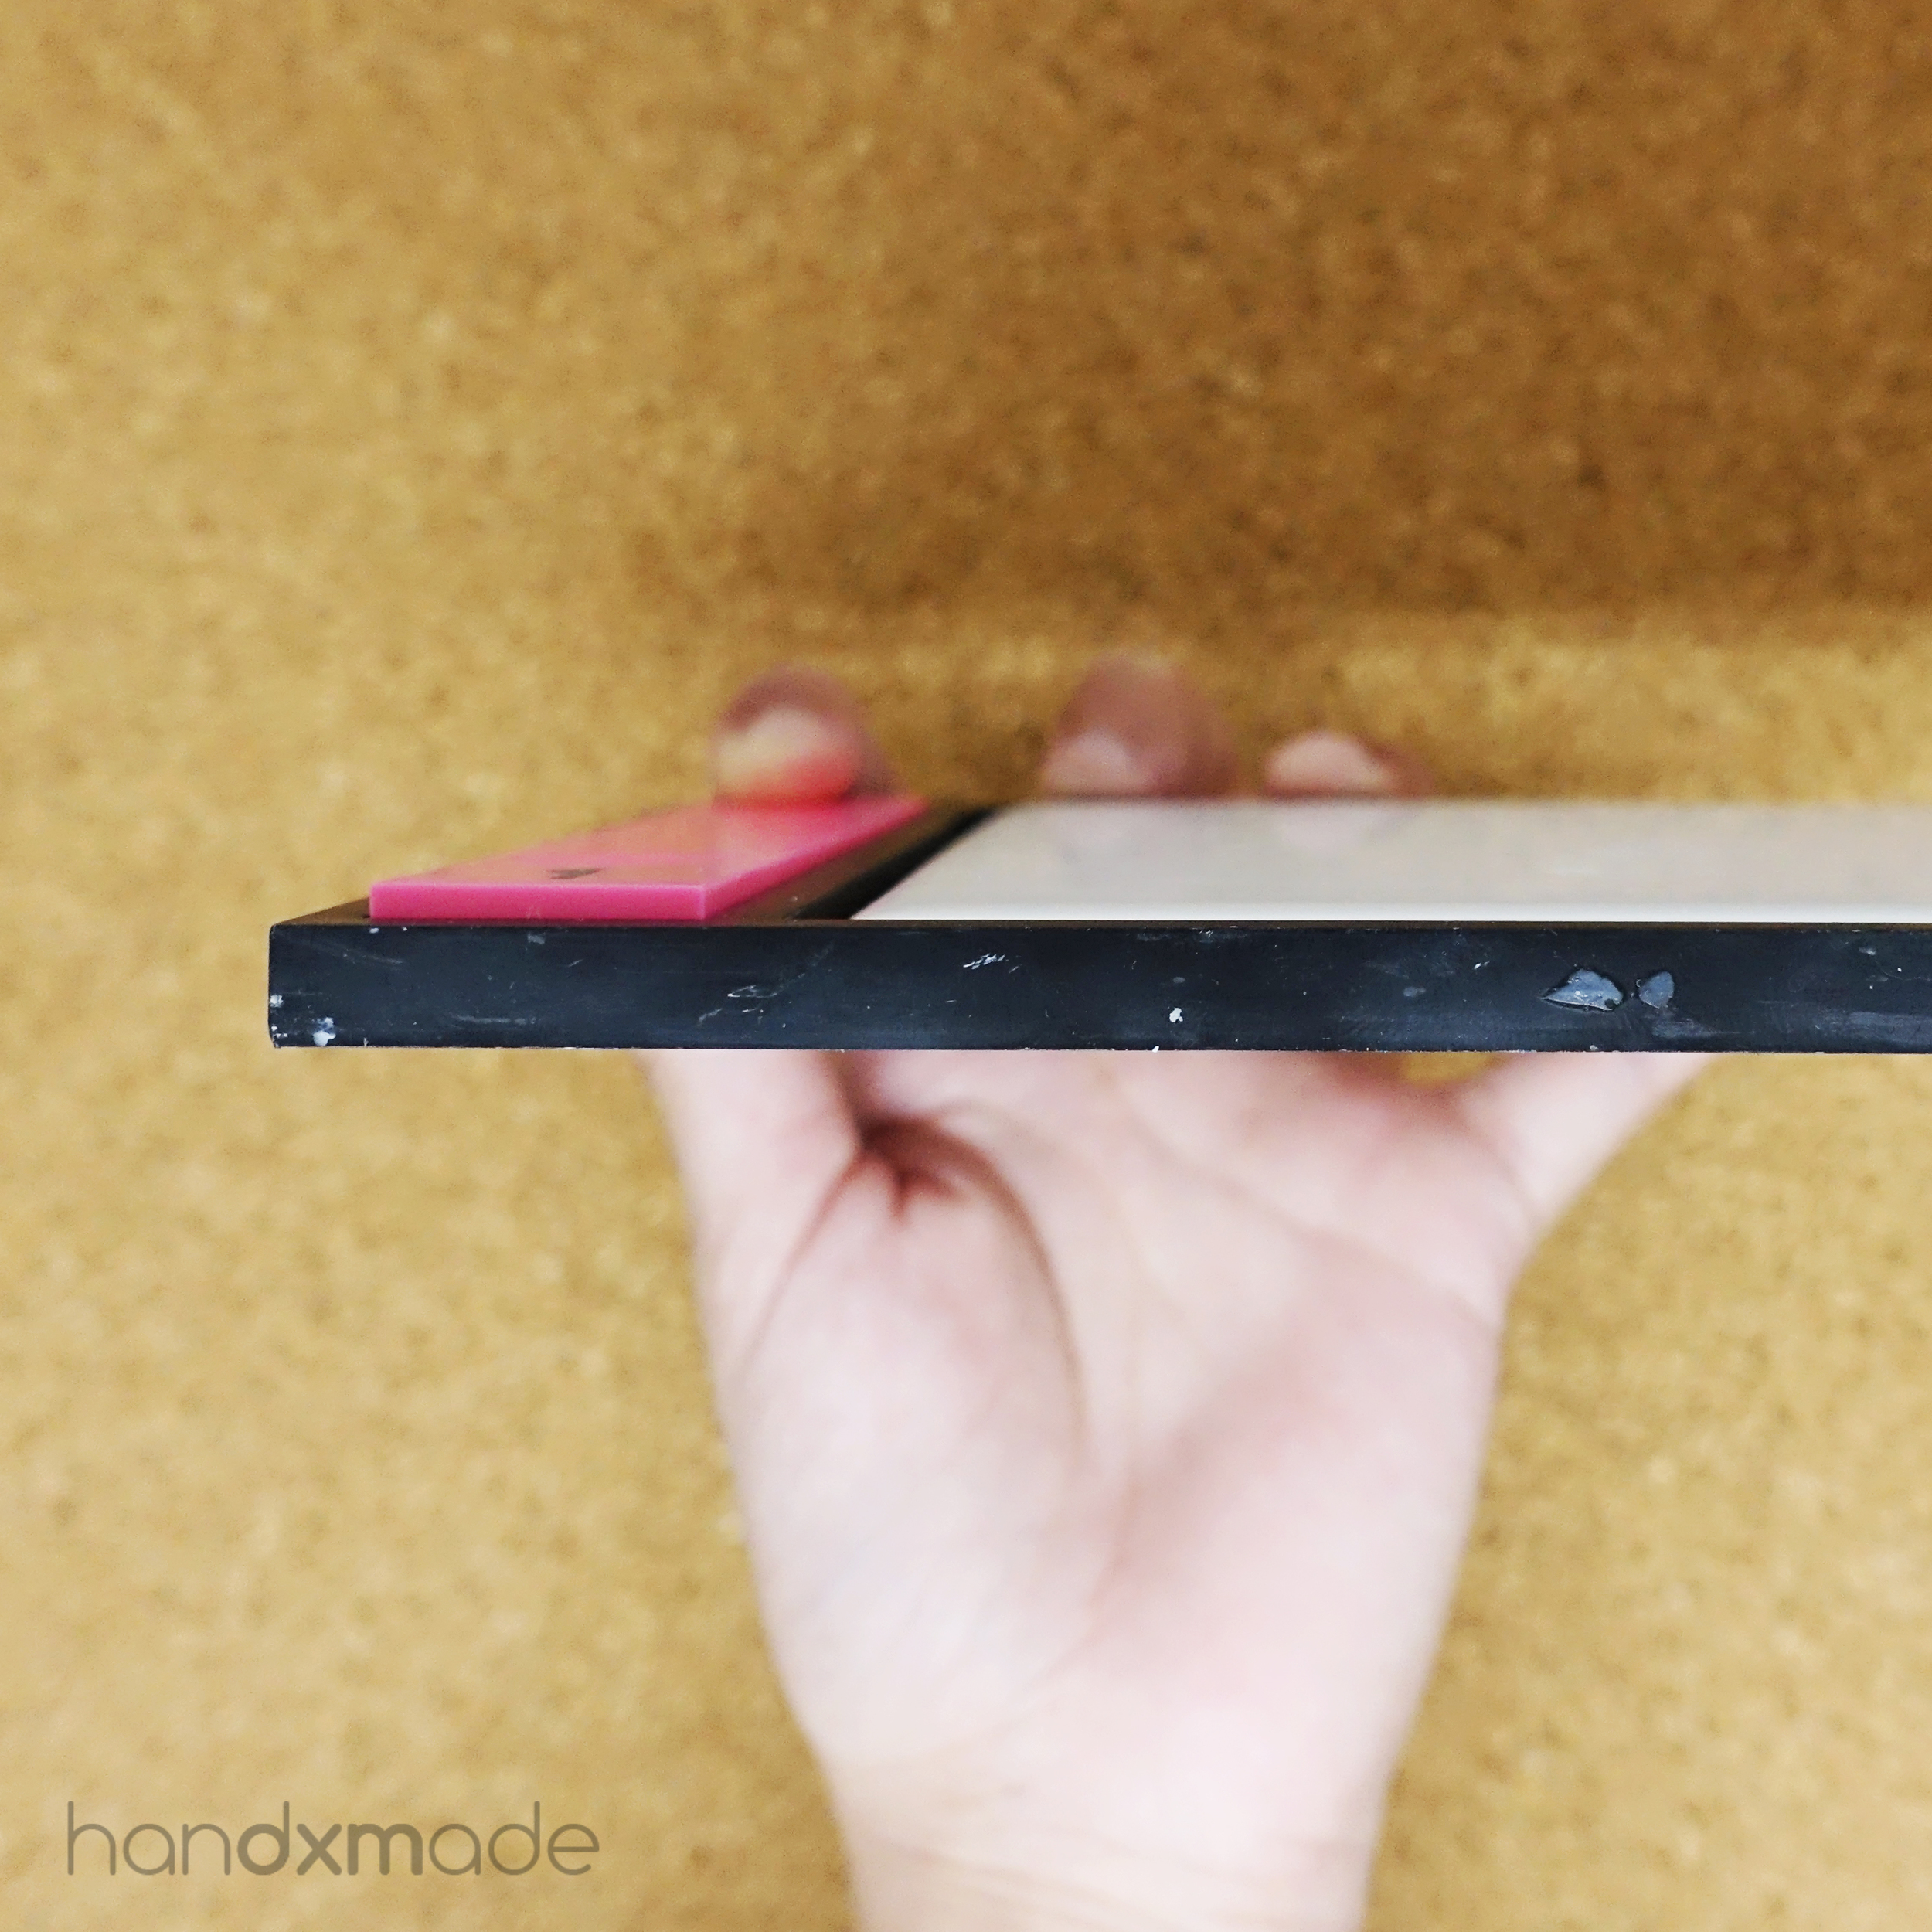
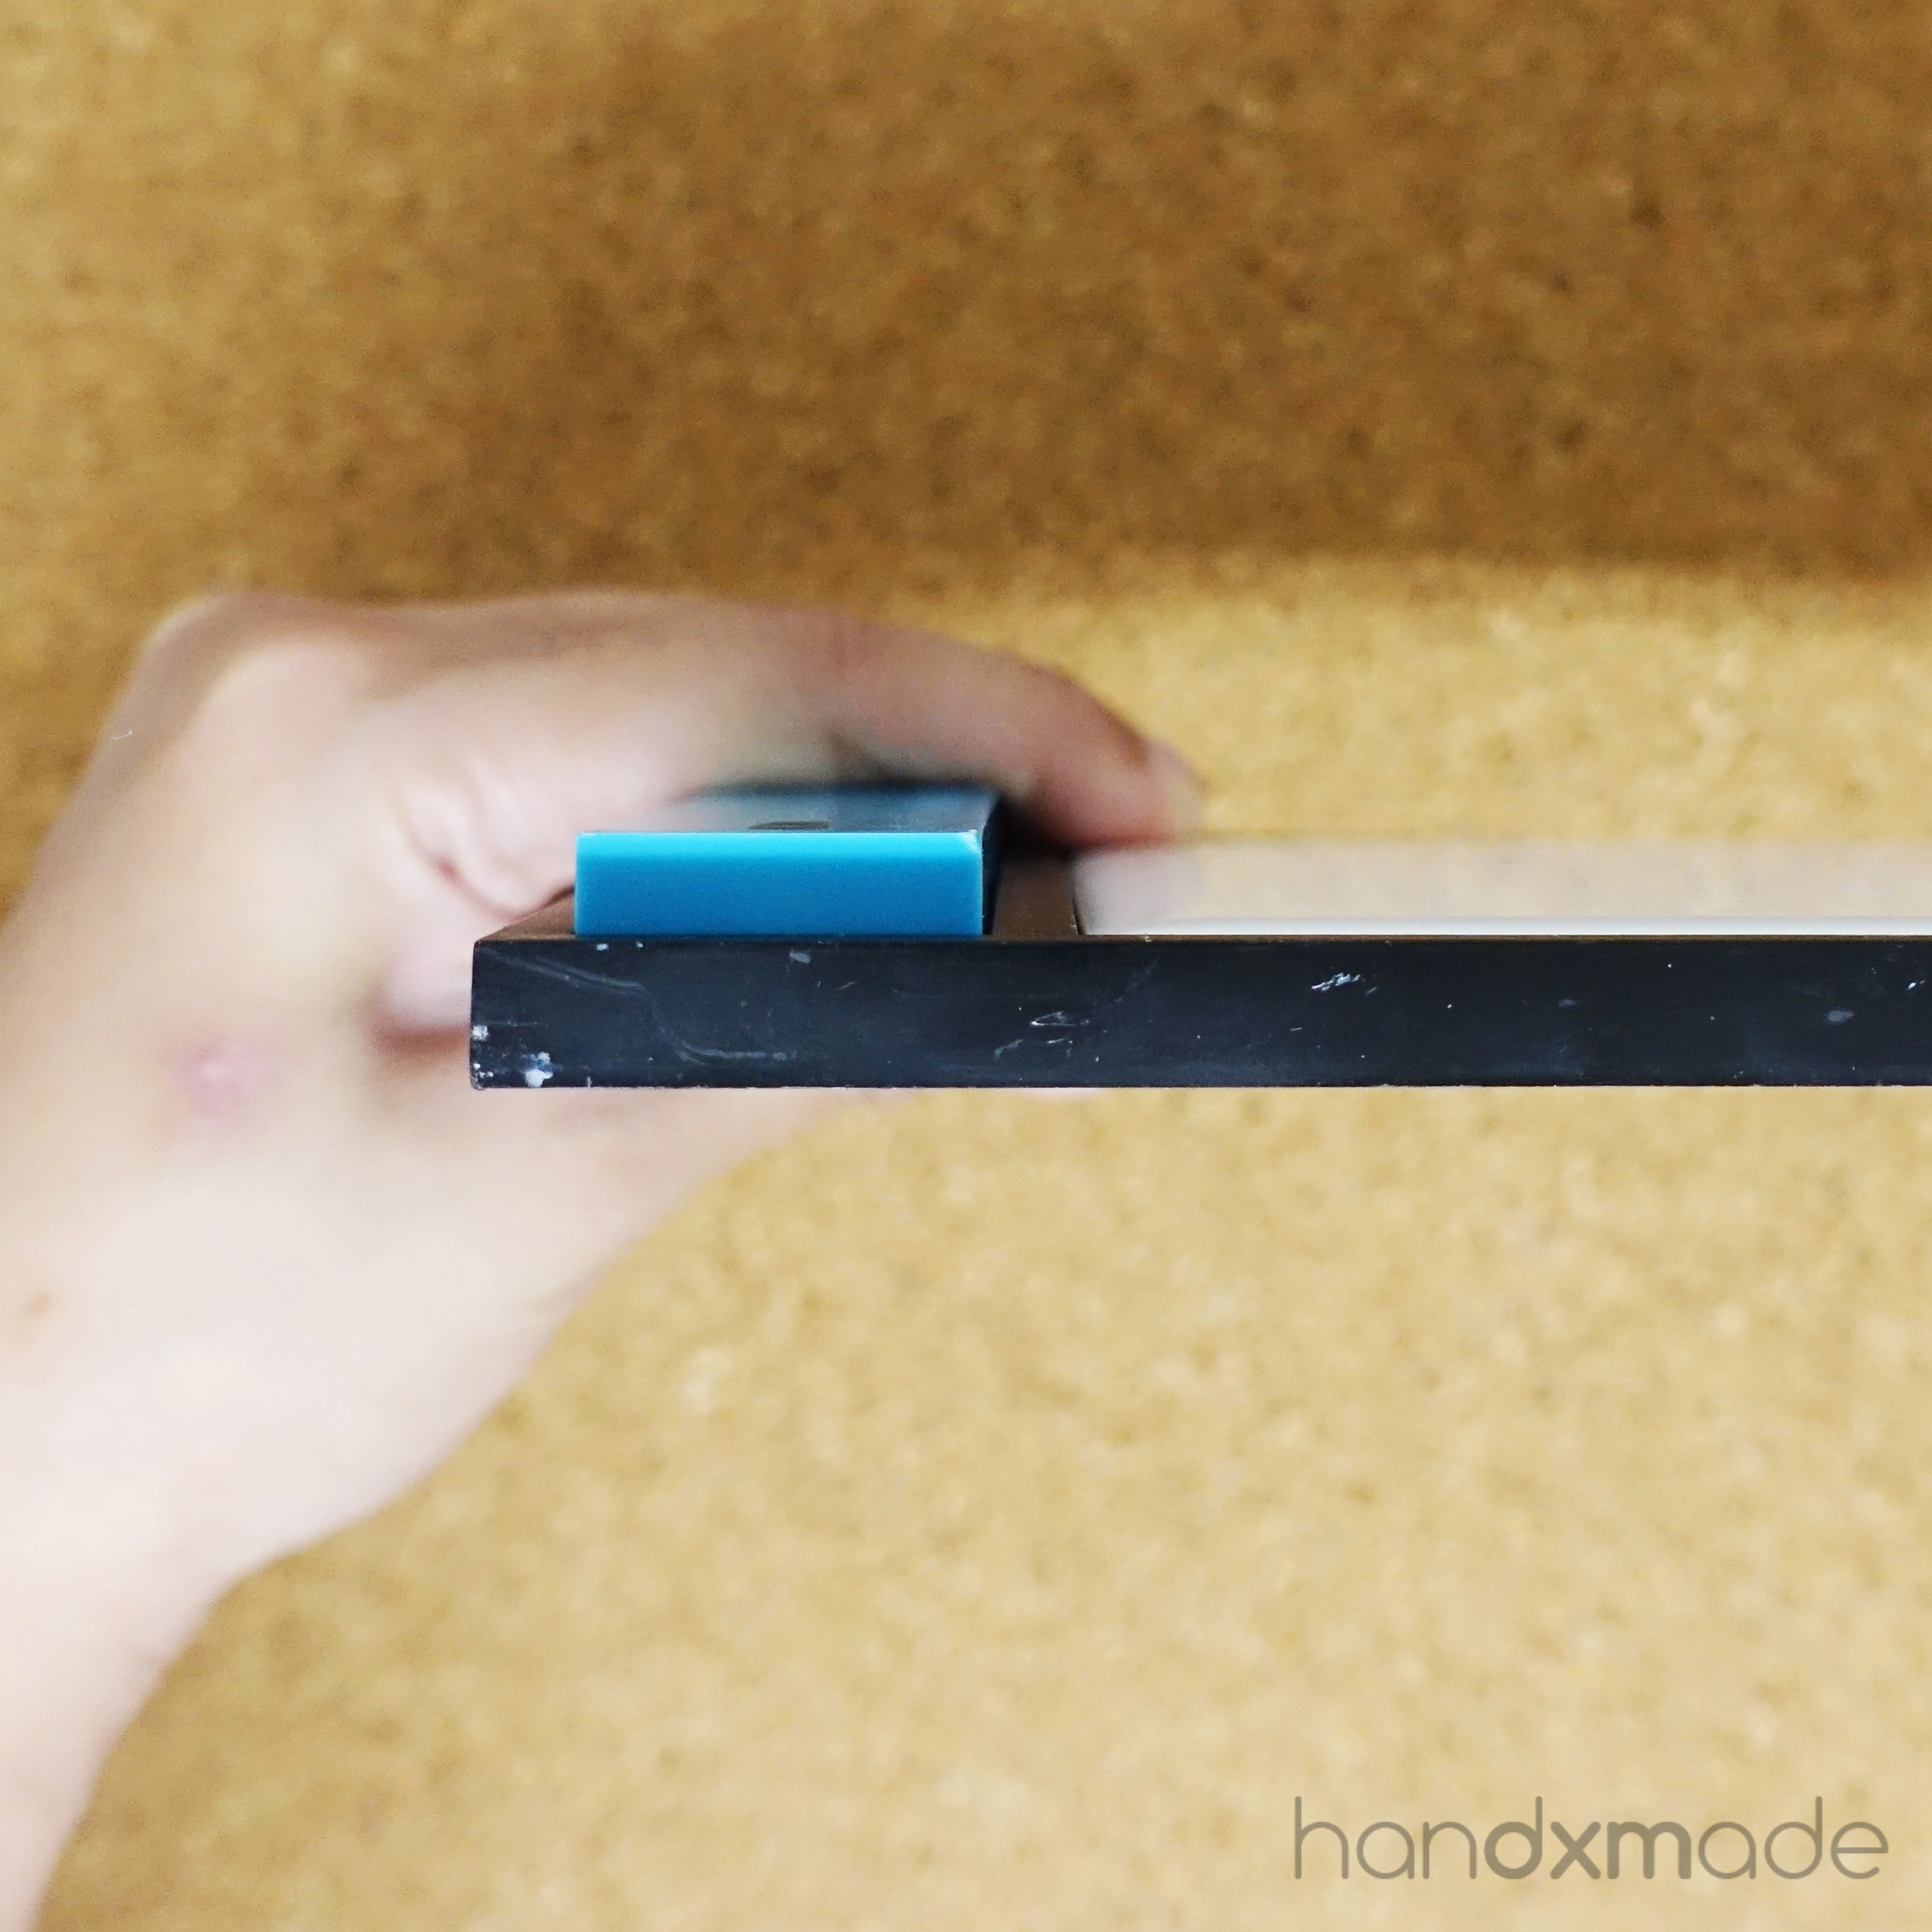
As you can see, Pocket Kitchen's thickest leveller setting can be quite thick, whereas Pasta Machine's thickest setting is only half the size of Pocket Kitchen's! There's quite a number of thickness setting in the Pasta Machine but they're really gradual, and the last few thin settings can't even be used cause it'll just tear the clay hahahaa.
For Pocket Kitchen, if you want even thicker, you can stack the levellers and roll with two levellers! It's great if you want to make a base with your clay with it, which is how I do it haha.

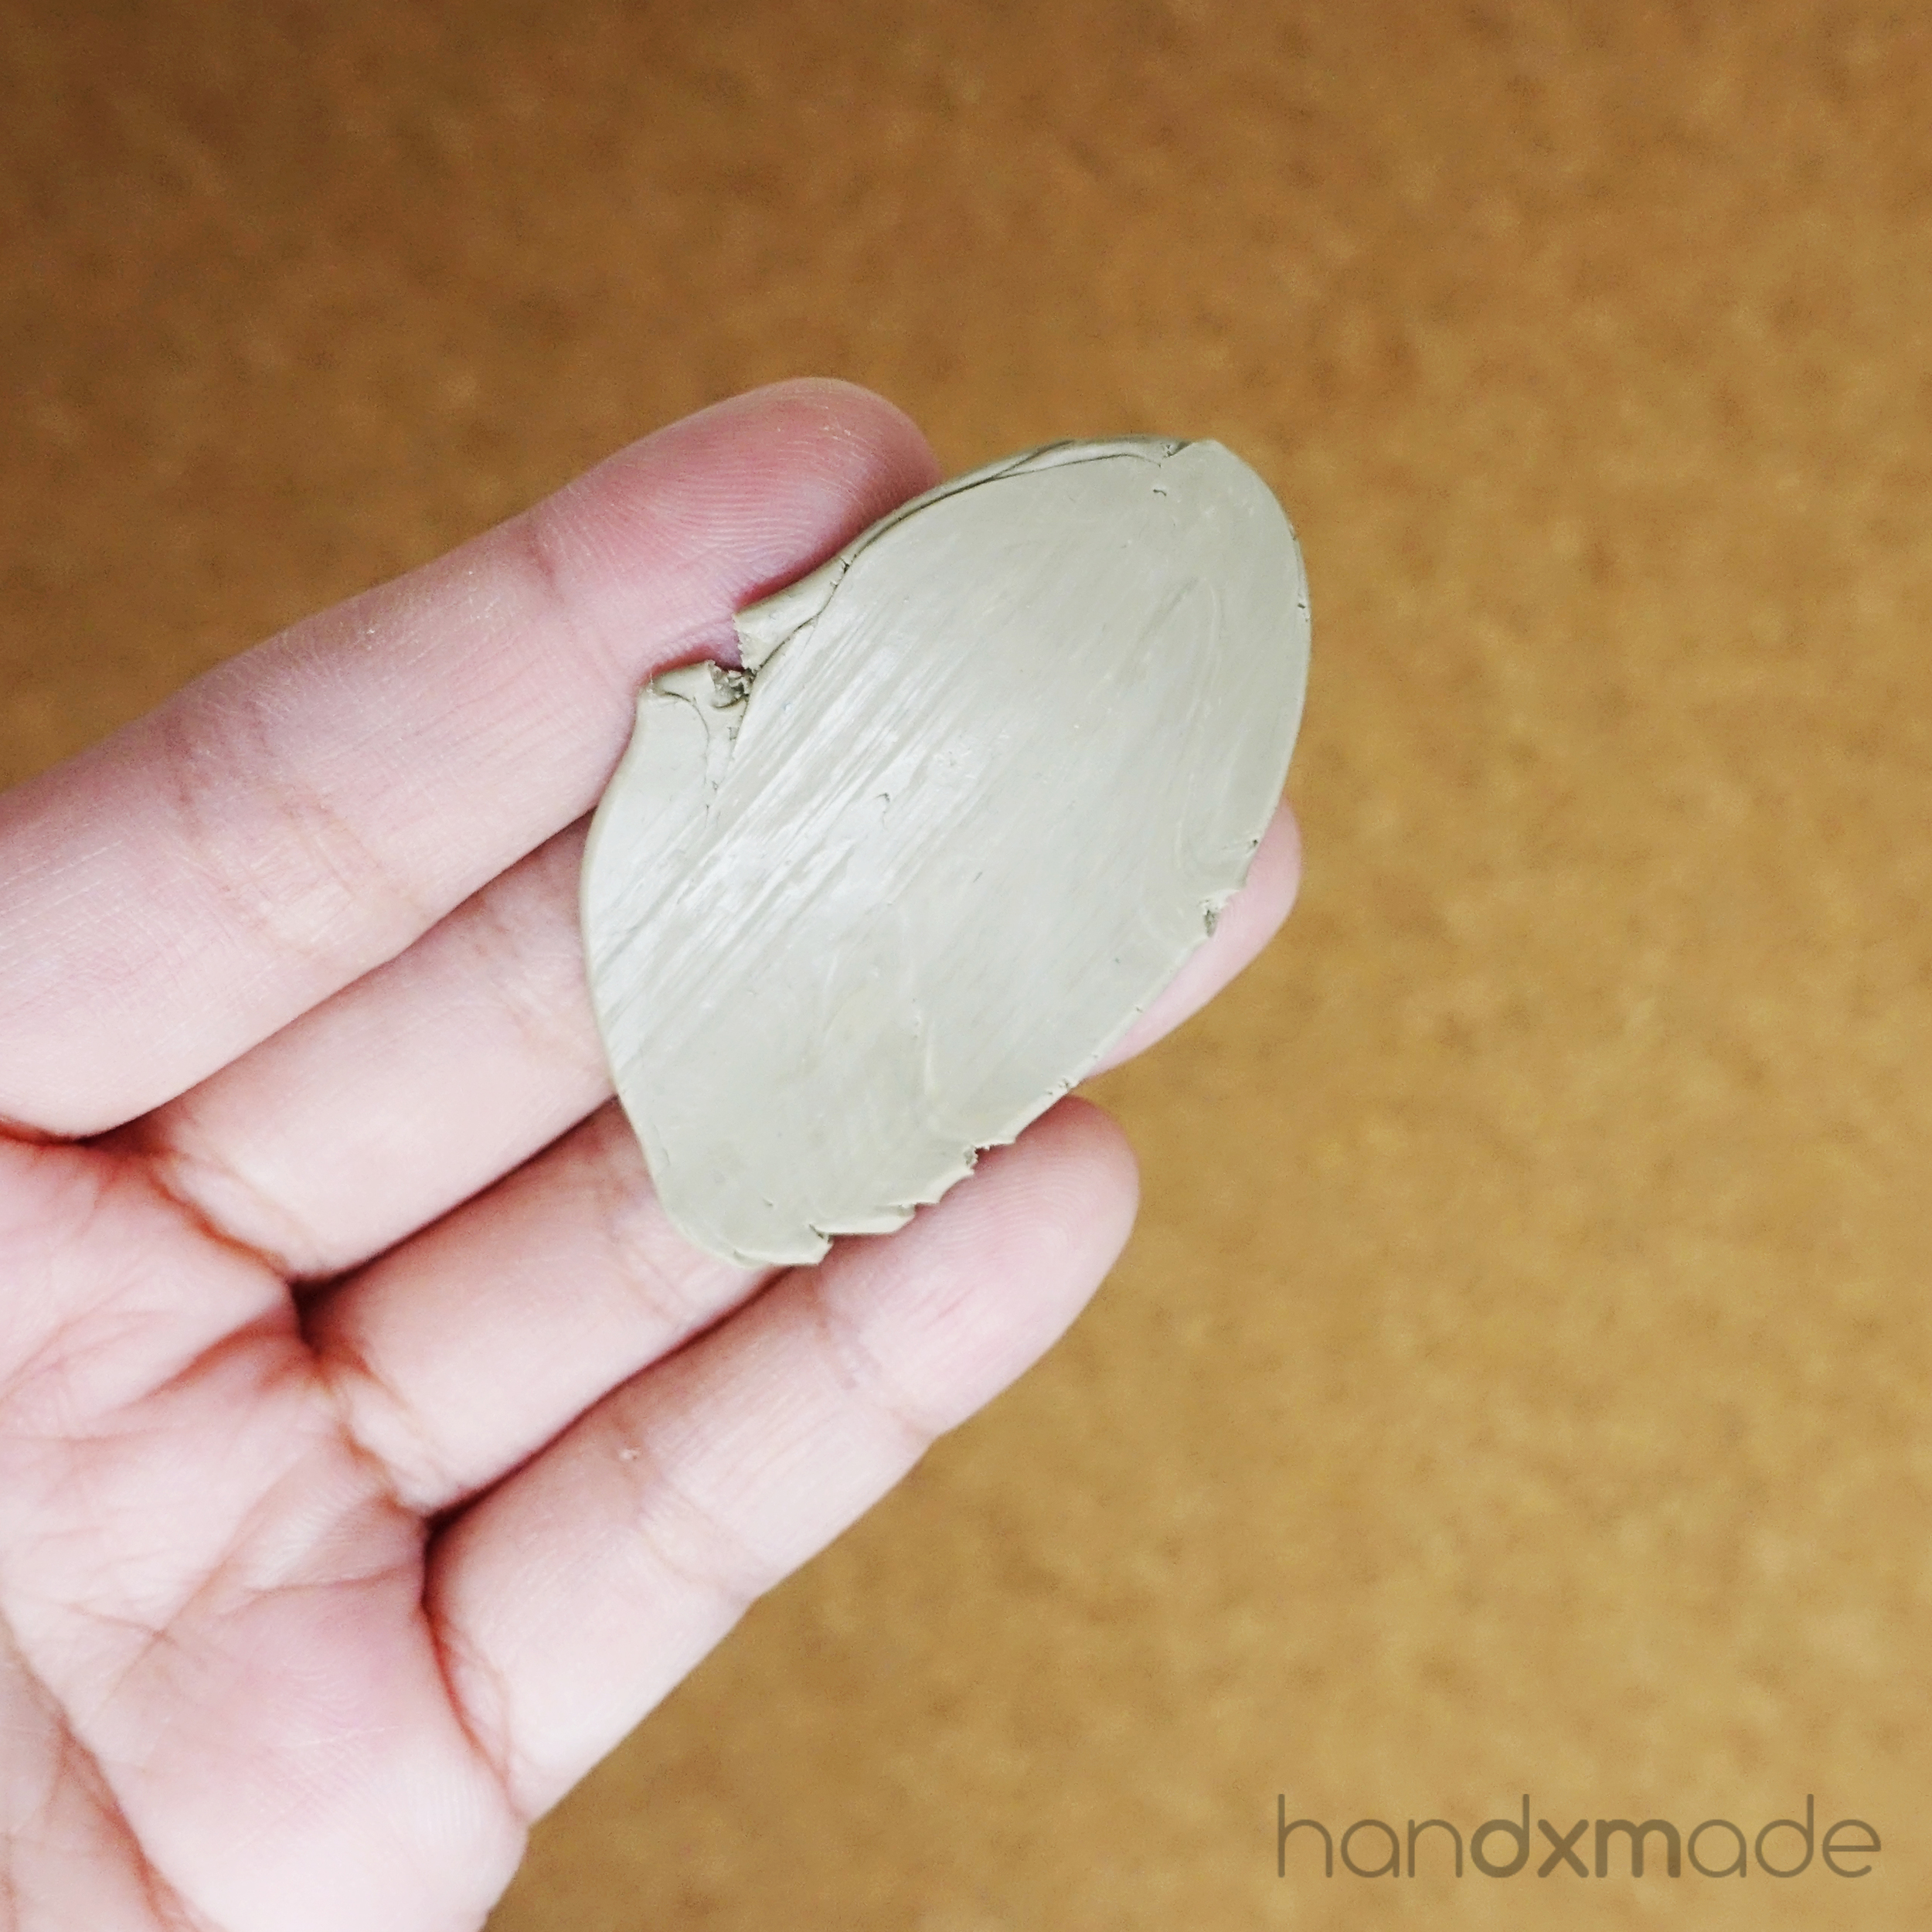
The base for this piece here was made by stacking two levellers and trimming the sides! It's super even and clean so I really love using this method hehe.
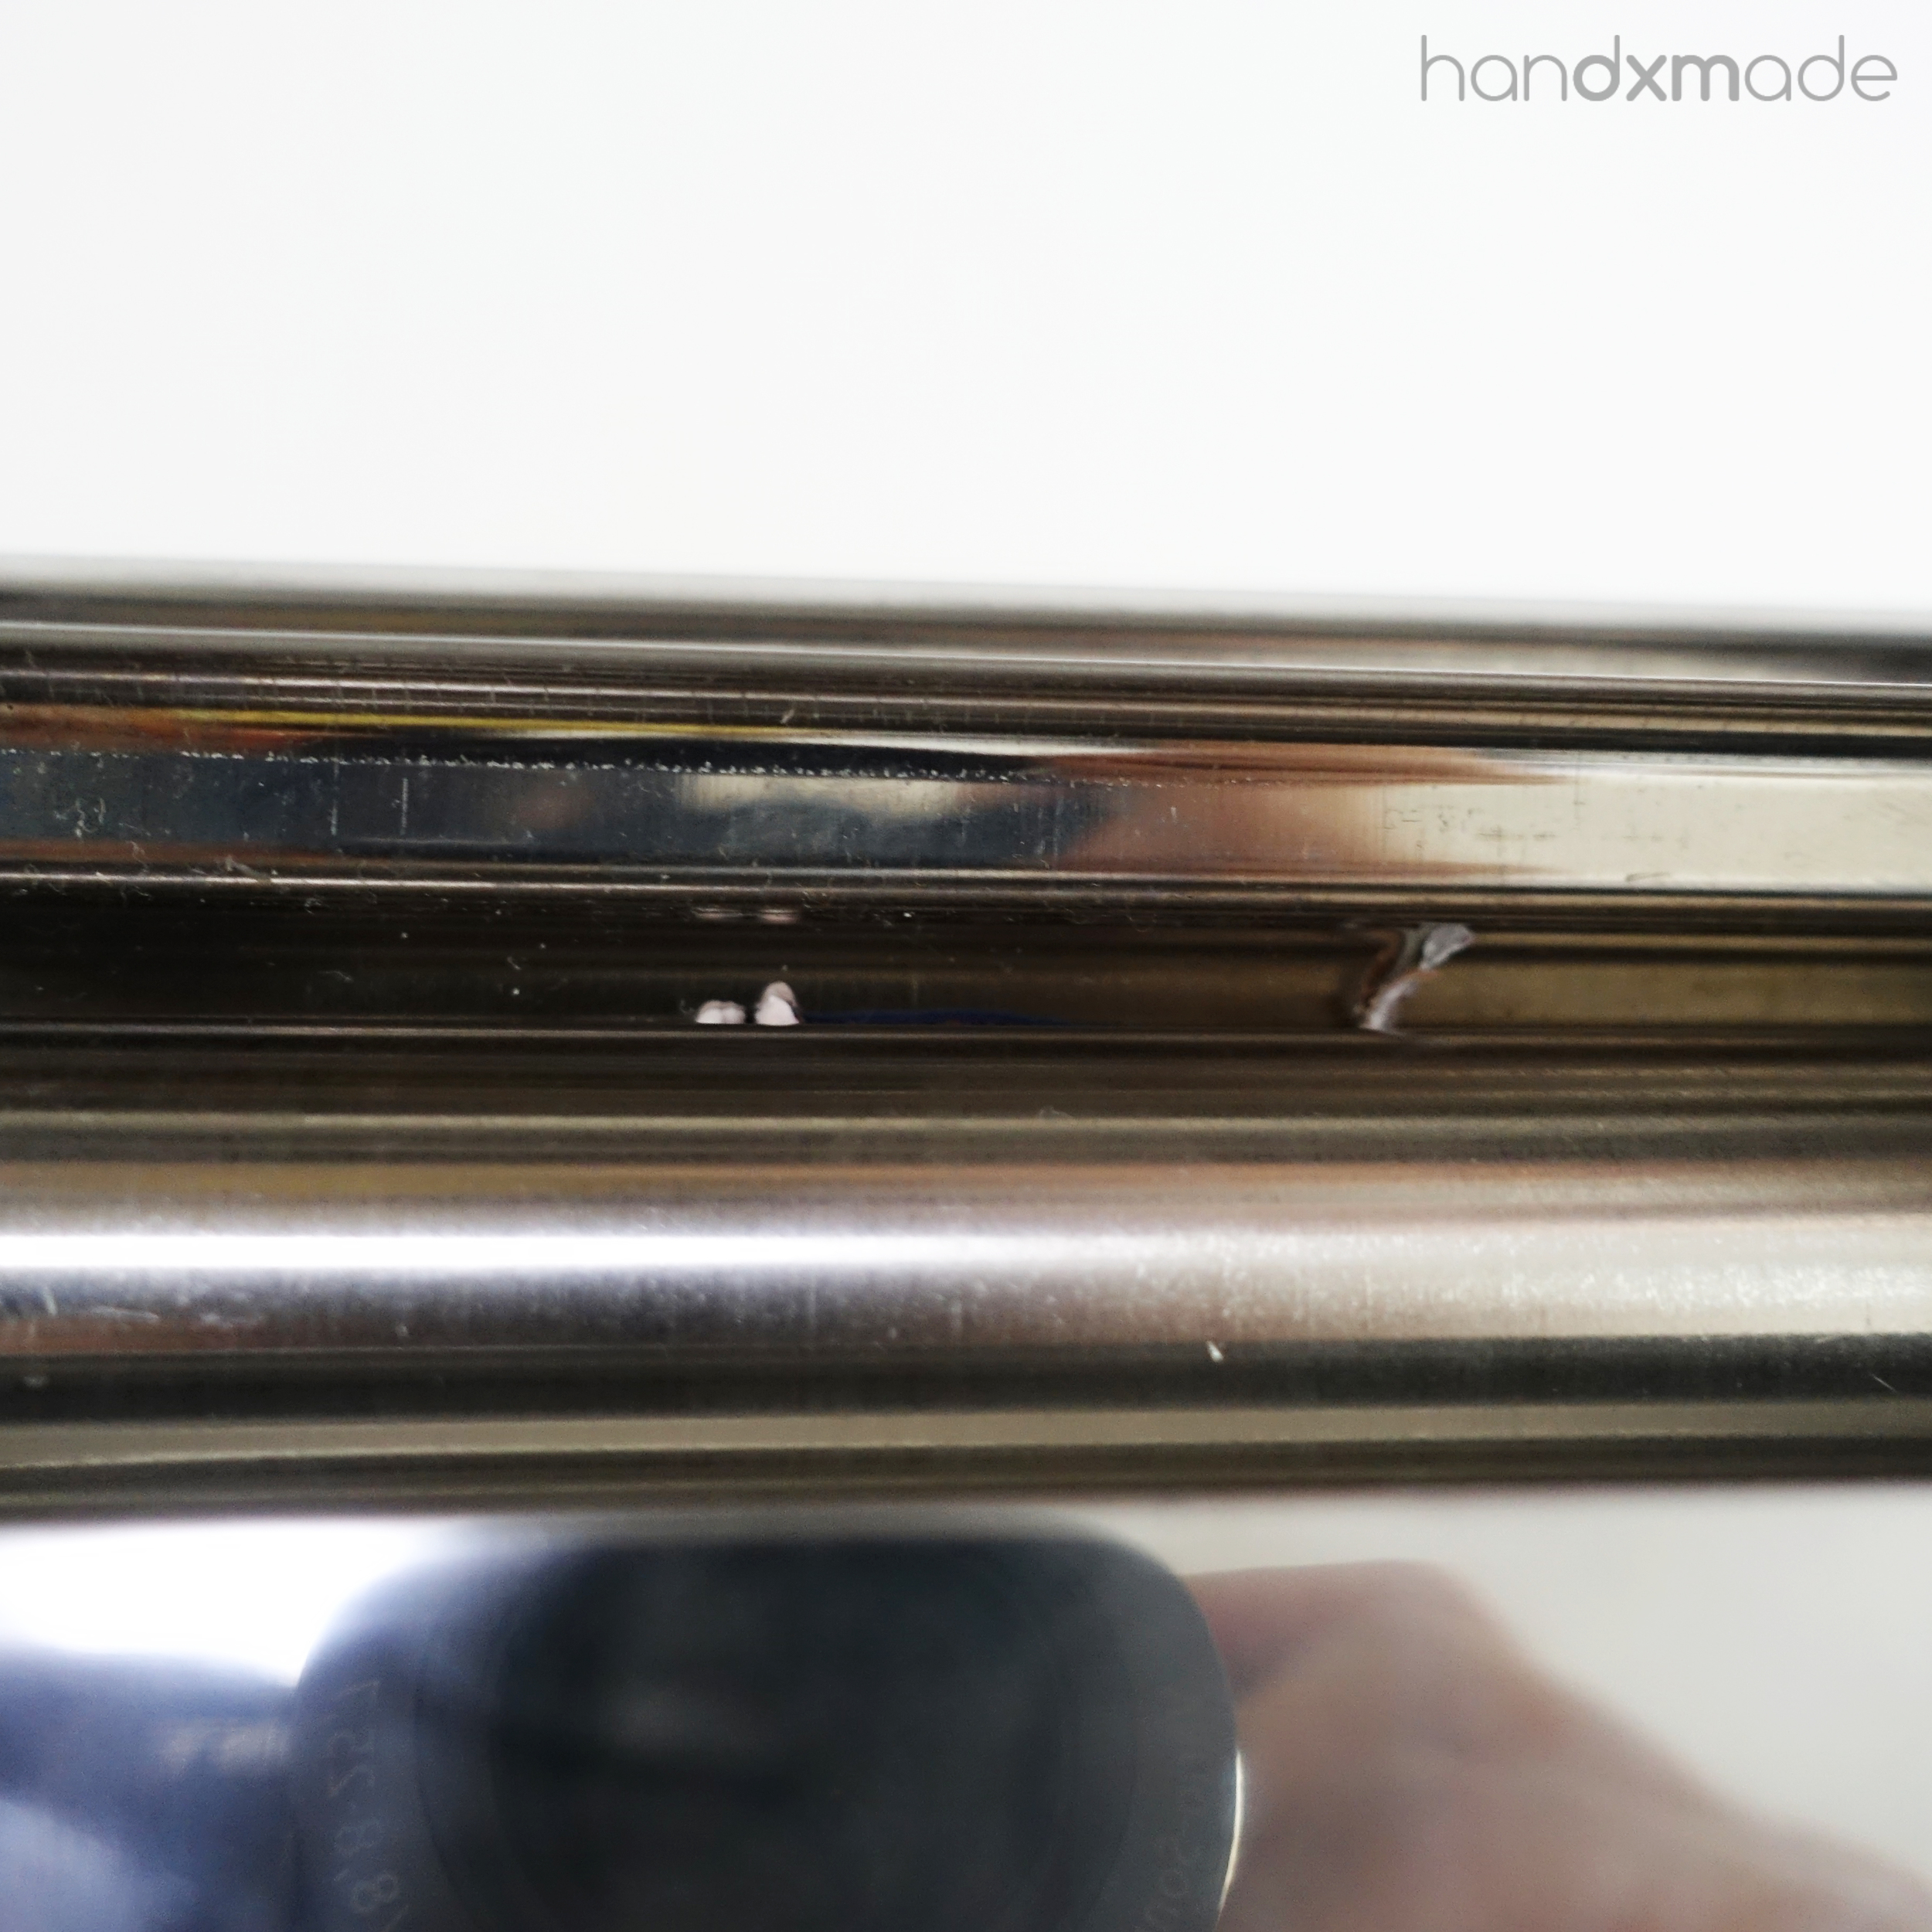
● PASTA MACHINE IS REALLY HARD TO CLEAN
It also collects dust really quickly!!
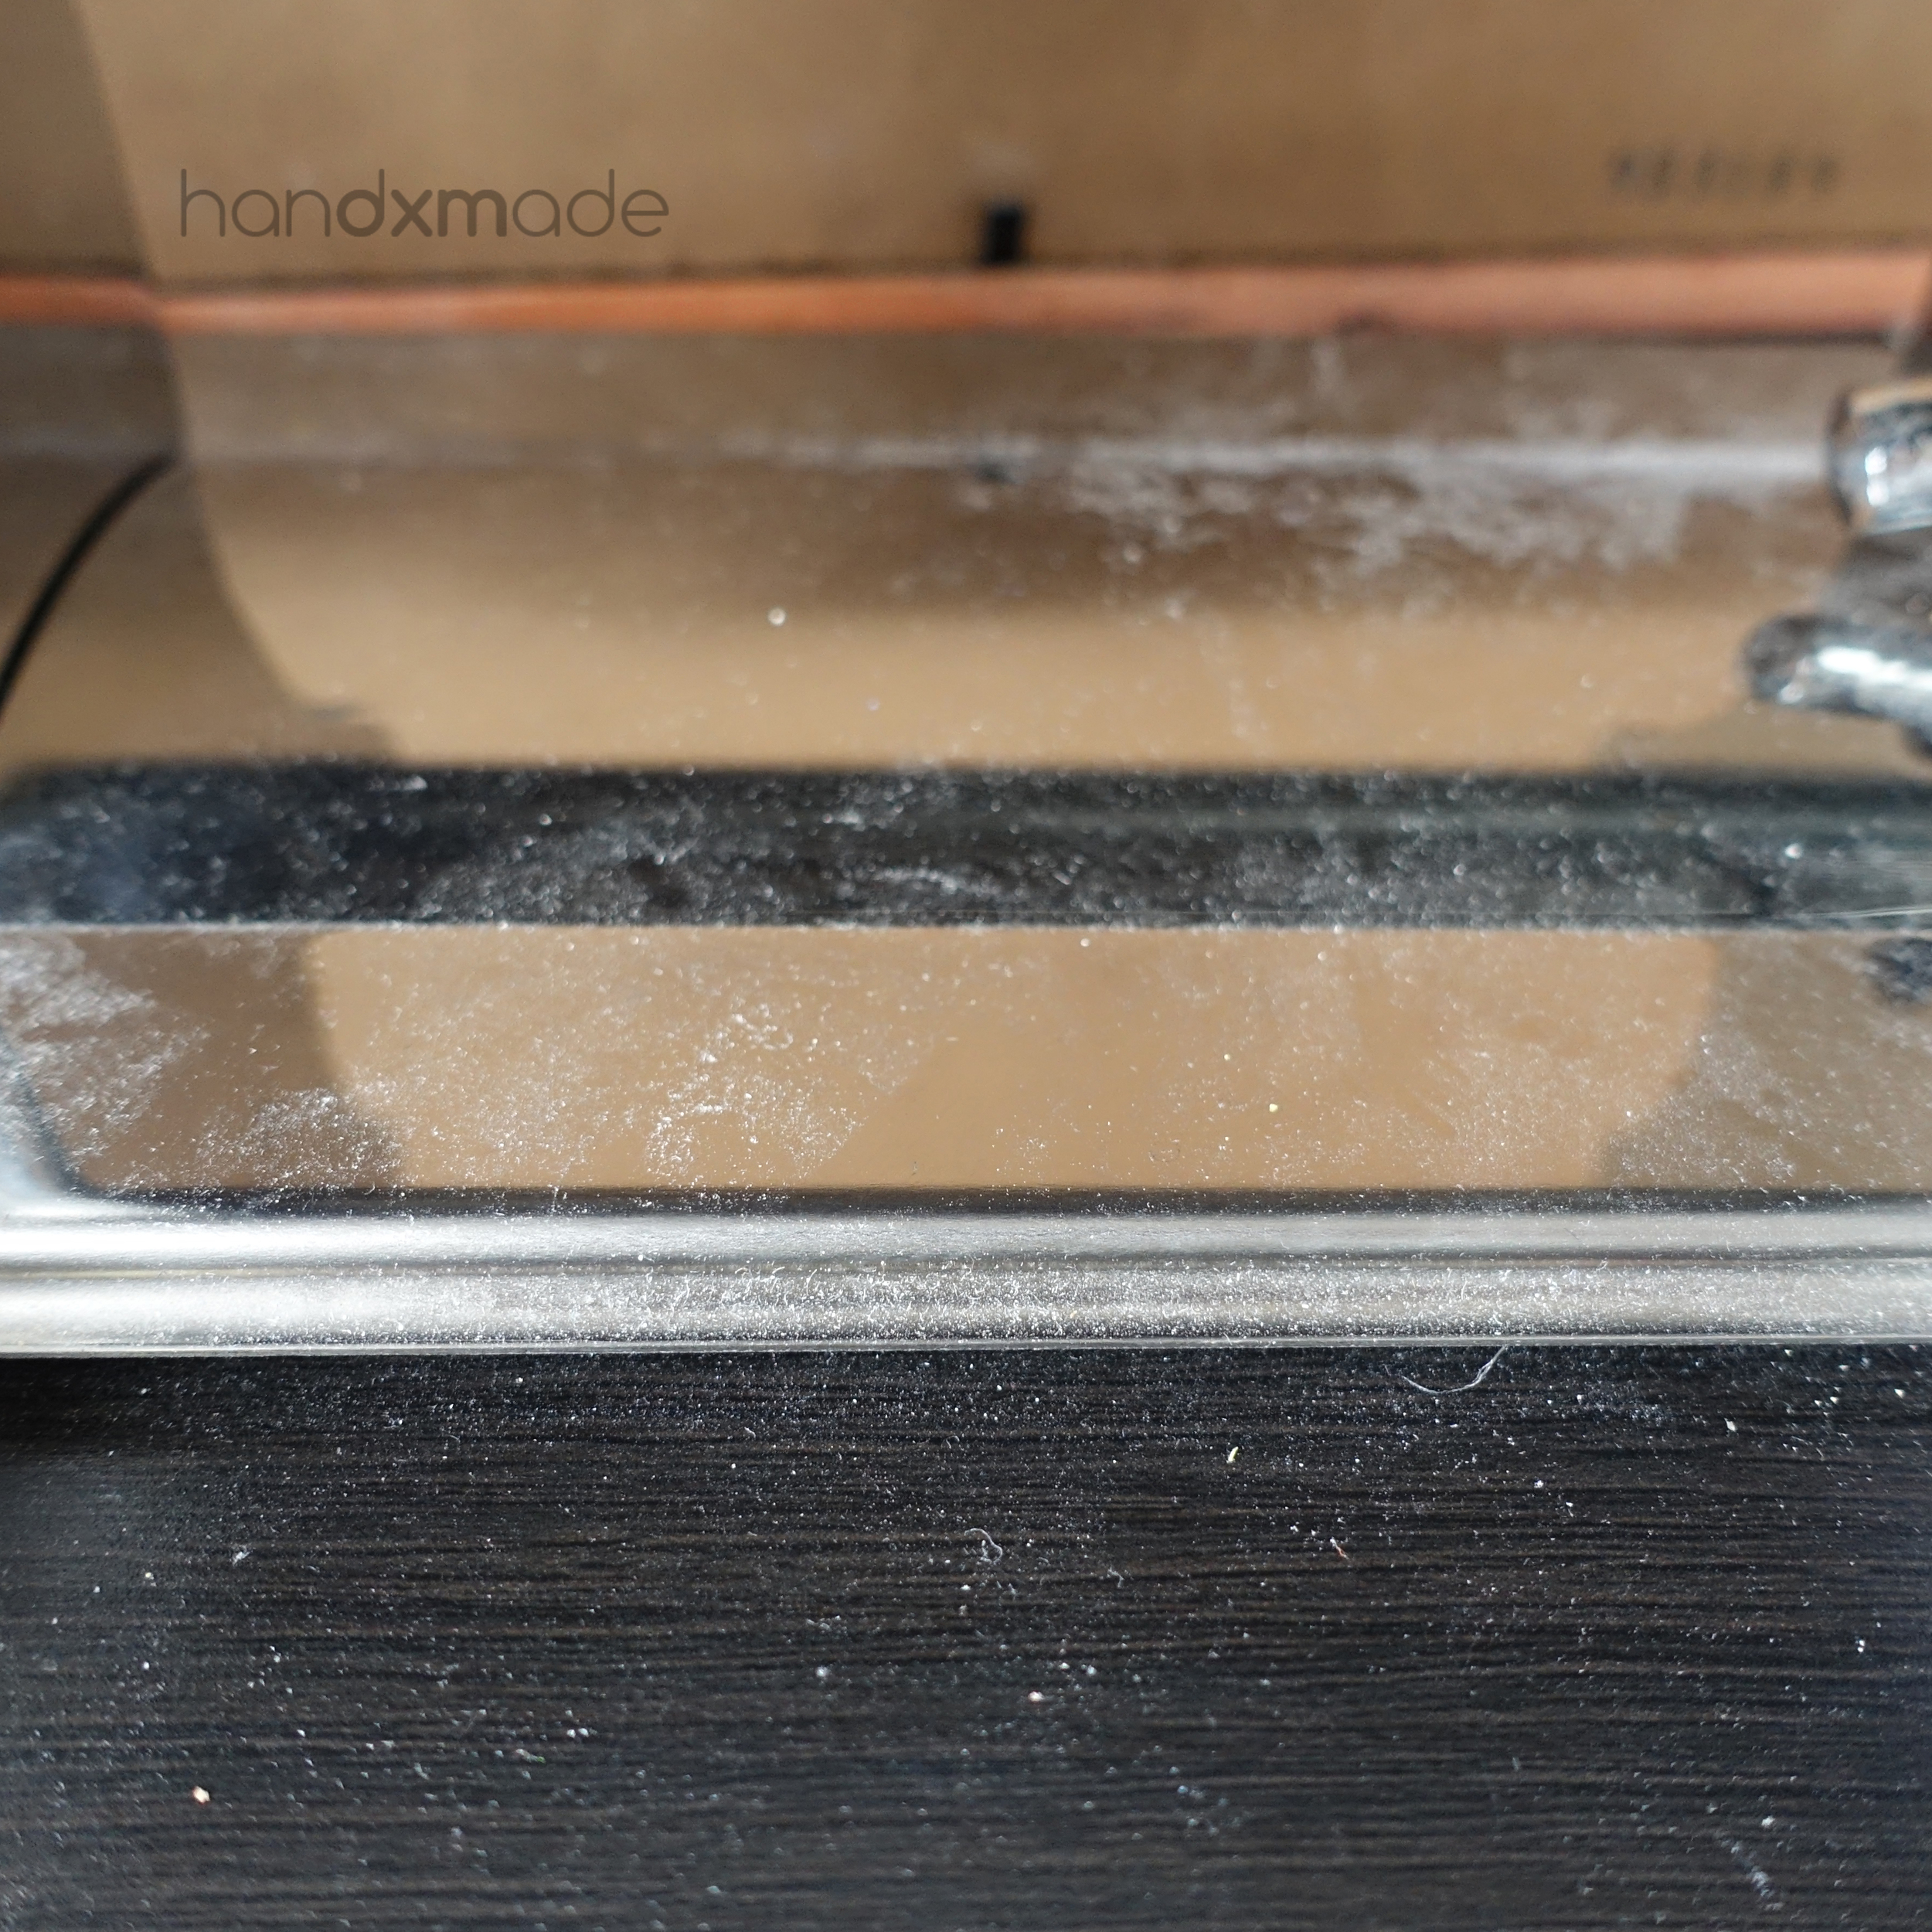
Like I said, I neglected my Pasta Machine and it's really never been touched (until today when I took the photos hahaha) and it just collects dust like no tomorrow!! Of course, you can REMOVE THE CLASPS and keep it but ain't nobody got time for that hahahaa *lazy*
Dust is a big problem for polymer clay because it gets stuck on the clay, and even though you thought you cleaned it, there might be some spot that you missed and TADAH IT GETS ON THE CLAY KWEYGFKAWGFLIAREGLAER. So yes. Annoying.
This is the pasta machine from the bottom, and things get stuck inside. Which means when you roll out the clay, sometimes the stuff from here gets attached to you clay when you roll it out too!!!!
It's especially infuriating when you mix the clay with colours and you have very limited amount of it. Then when you go through pasta machine, shit get stuck on and and it ruins your clay!!!! *RAWR* This exact thing happened to me and I was so mad lololol.
This place is also really hard to clean? Because the base of the pasta machine block it, and you can really use things to dig them out cause it might scratch the metal and your clay piece would have a mark lol.
● STREAKS ON CLAY WHEN USING PASTA MACHINE
This might be different for each pasta machine, but all my pieces comes out with this on them.
It's really minor, and you can remove it by rubbing your fingers on the surface, but that means you might distort the clay thickness by doing that, and it's just better to avoid it altogether.
WHICH YOU CAN IF YOU USE POCKET ROLLER. Because the acrylic roller is really smooth, there's practically NOTHING on the clay piece. Just. Flat.
● POCKET ROLLER IS EASY TO USE TOO
Pasta machine is easy to use, but Pocket Roller is too! (and less cleaning needed lol)
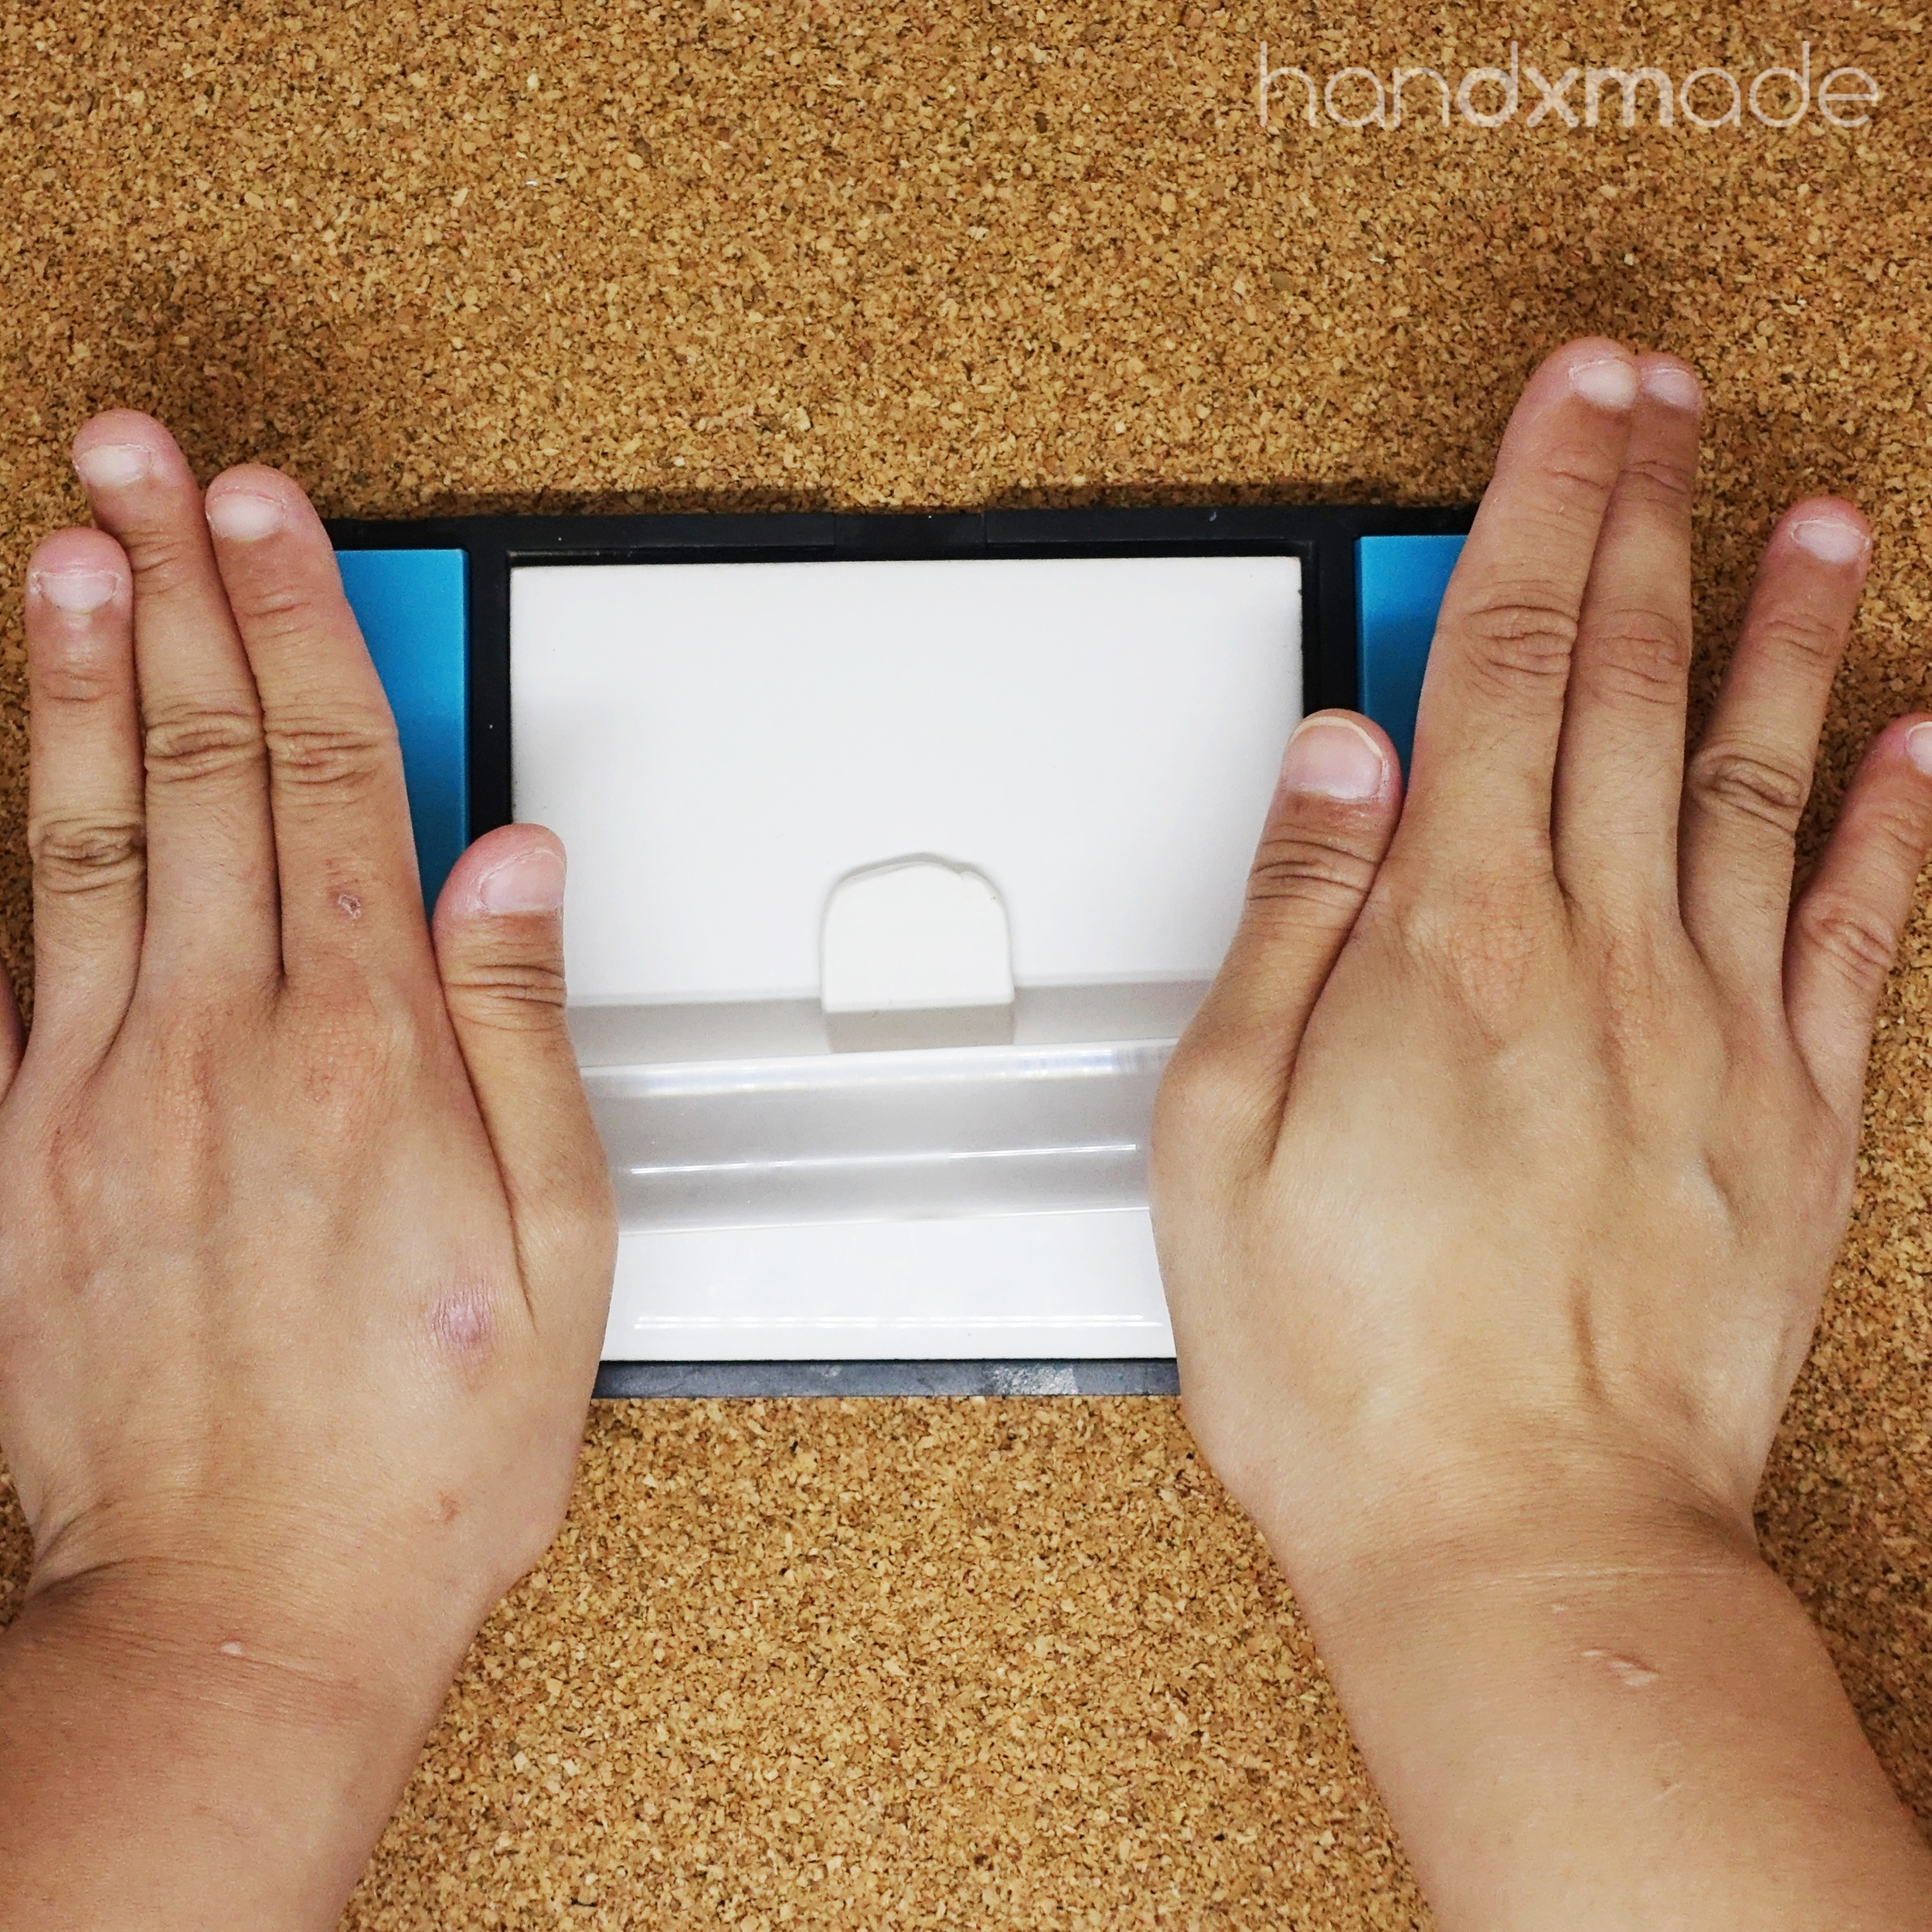
Just put the leveller needed, and roll!
THAT'S ALL HAHAHA.
The Pocket Roller is designed in such a way that it's really easy to remove the levellers, while its sitting snuggly in it's housing.
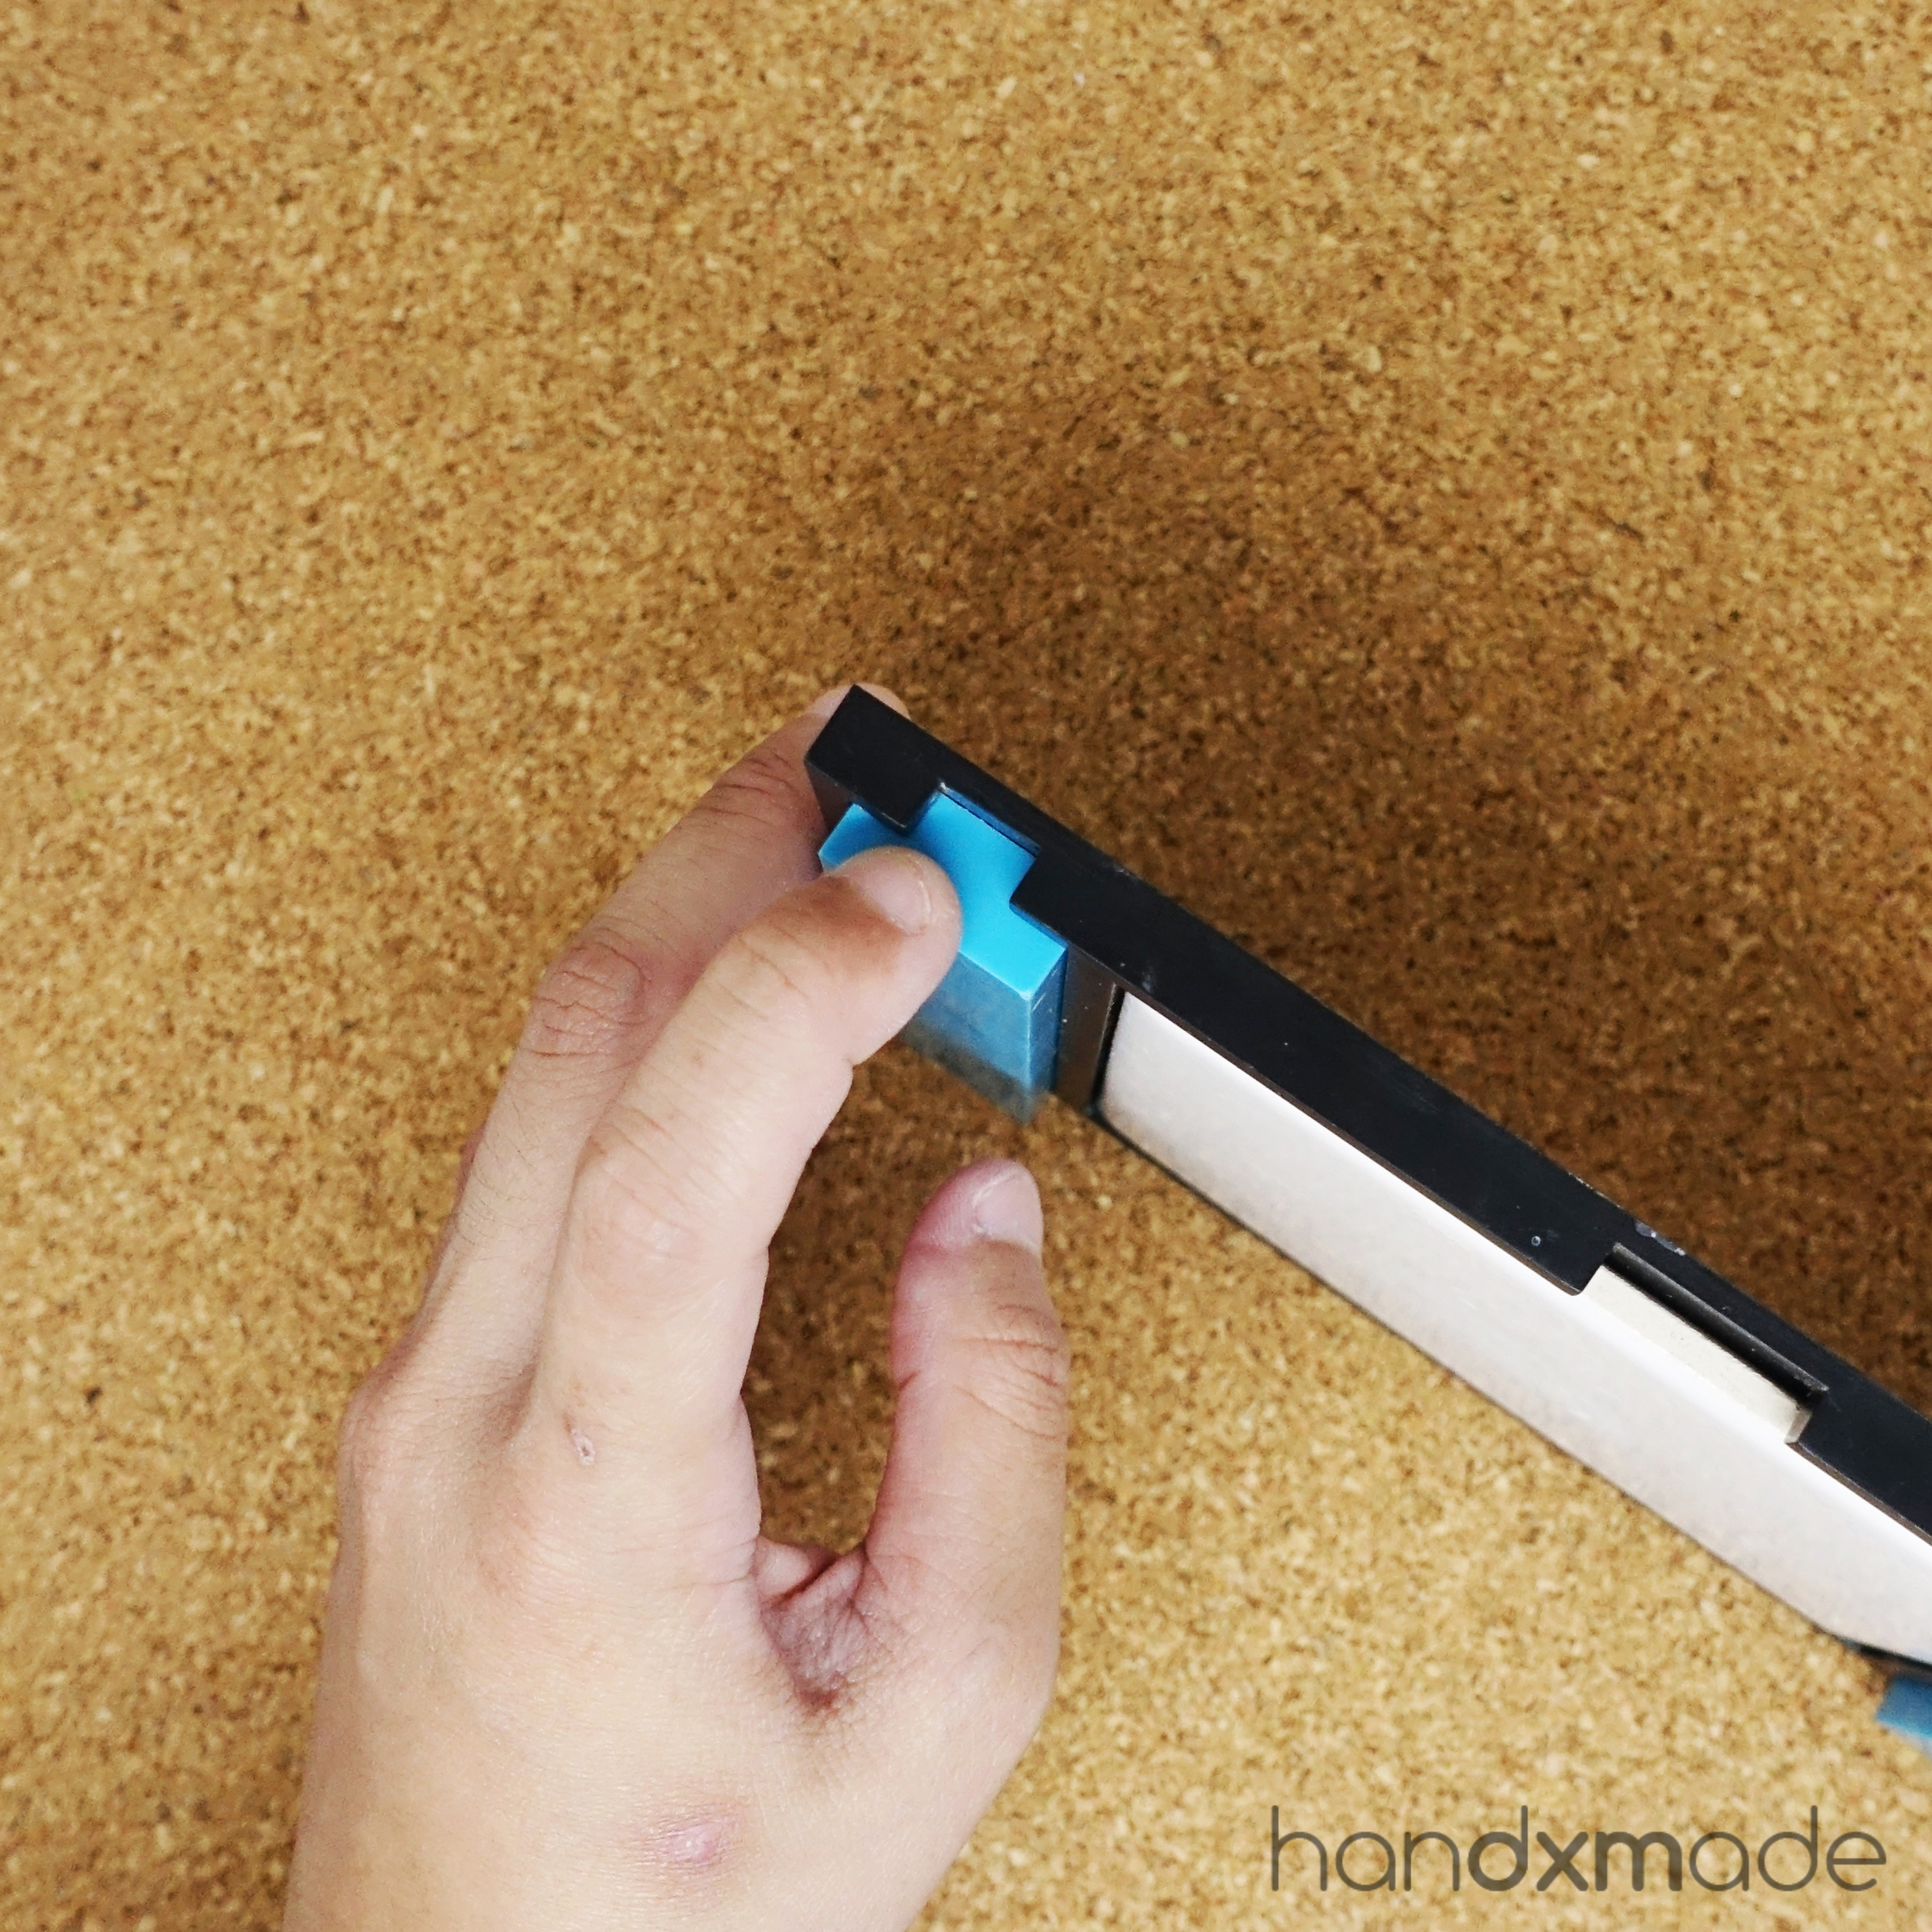
There's a gap right there and just can just use a finger to pop it out! It doesn't fit very tightly so it kinda slide out when you remove it this way, so no strain on your wrist or finger!
SO WELL DESIGNED I MUST SAY. MORE PEOPLE SHOULD KNOW ABOUT POCKET ROLLER!!!
Now, I'm saying this in a miniature artist (amateur but nonetheless) point of view, and you don't need a lot of clay when you make something. Pasta machine will be great to mix A LOT of clay in different colours, but you almost always end up making way too many and wasting clay, and I'm speaking from my own experience.
Jocelyn has a fantastic way of mixing clay that I also use when I know about it from her tutorials, and it also helped me to save A LOT of my clay, and avoid over mixing. Other than wasting clay when you over mix, you also strain your wrist when you try to mix one huge ass bulk, and realise you need a bit more yellow, and it starts all over again. I wasted a lot of time too, doing that.
I'm not gonna say what's her method here because it's in her tutorials and I shouldn't leak any of it, so if you want to know the secret you'd have to support and purchase from her instead! ;)
5. FAVOURITE TOOLS
Other than the Pocket Roller, there's also a few tools that I really appreciate inside the kit.
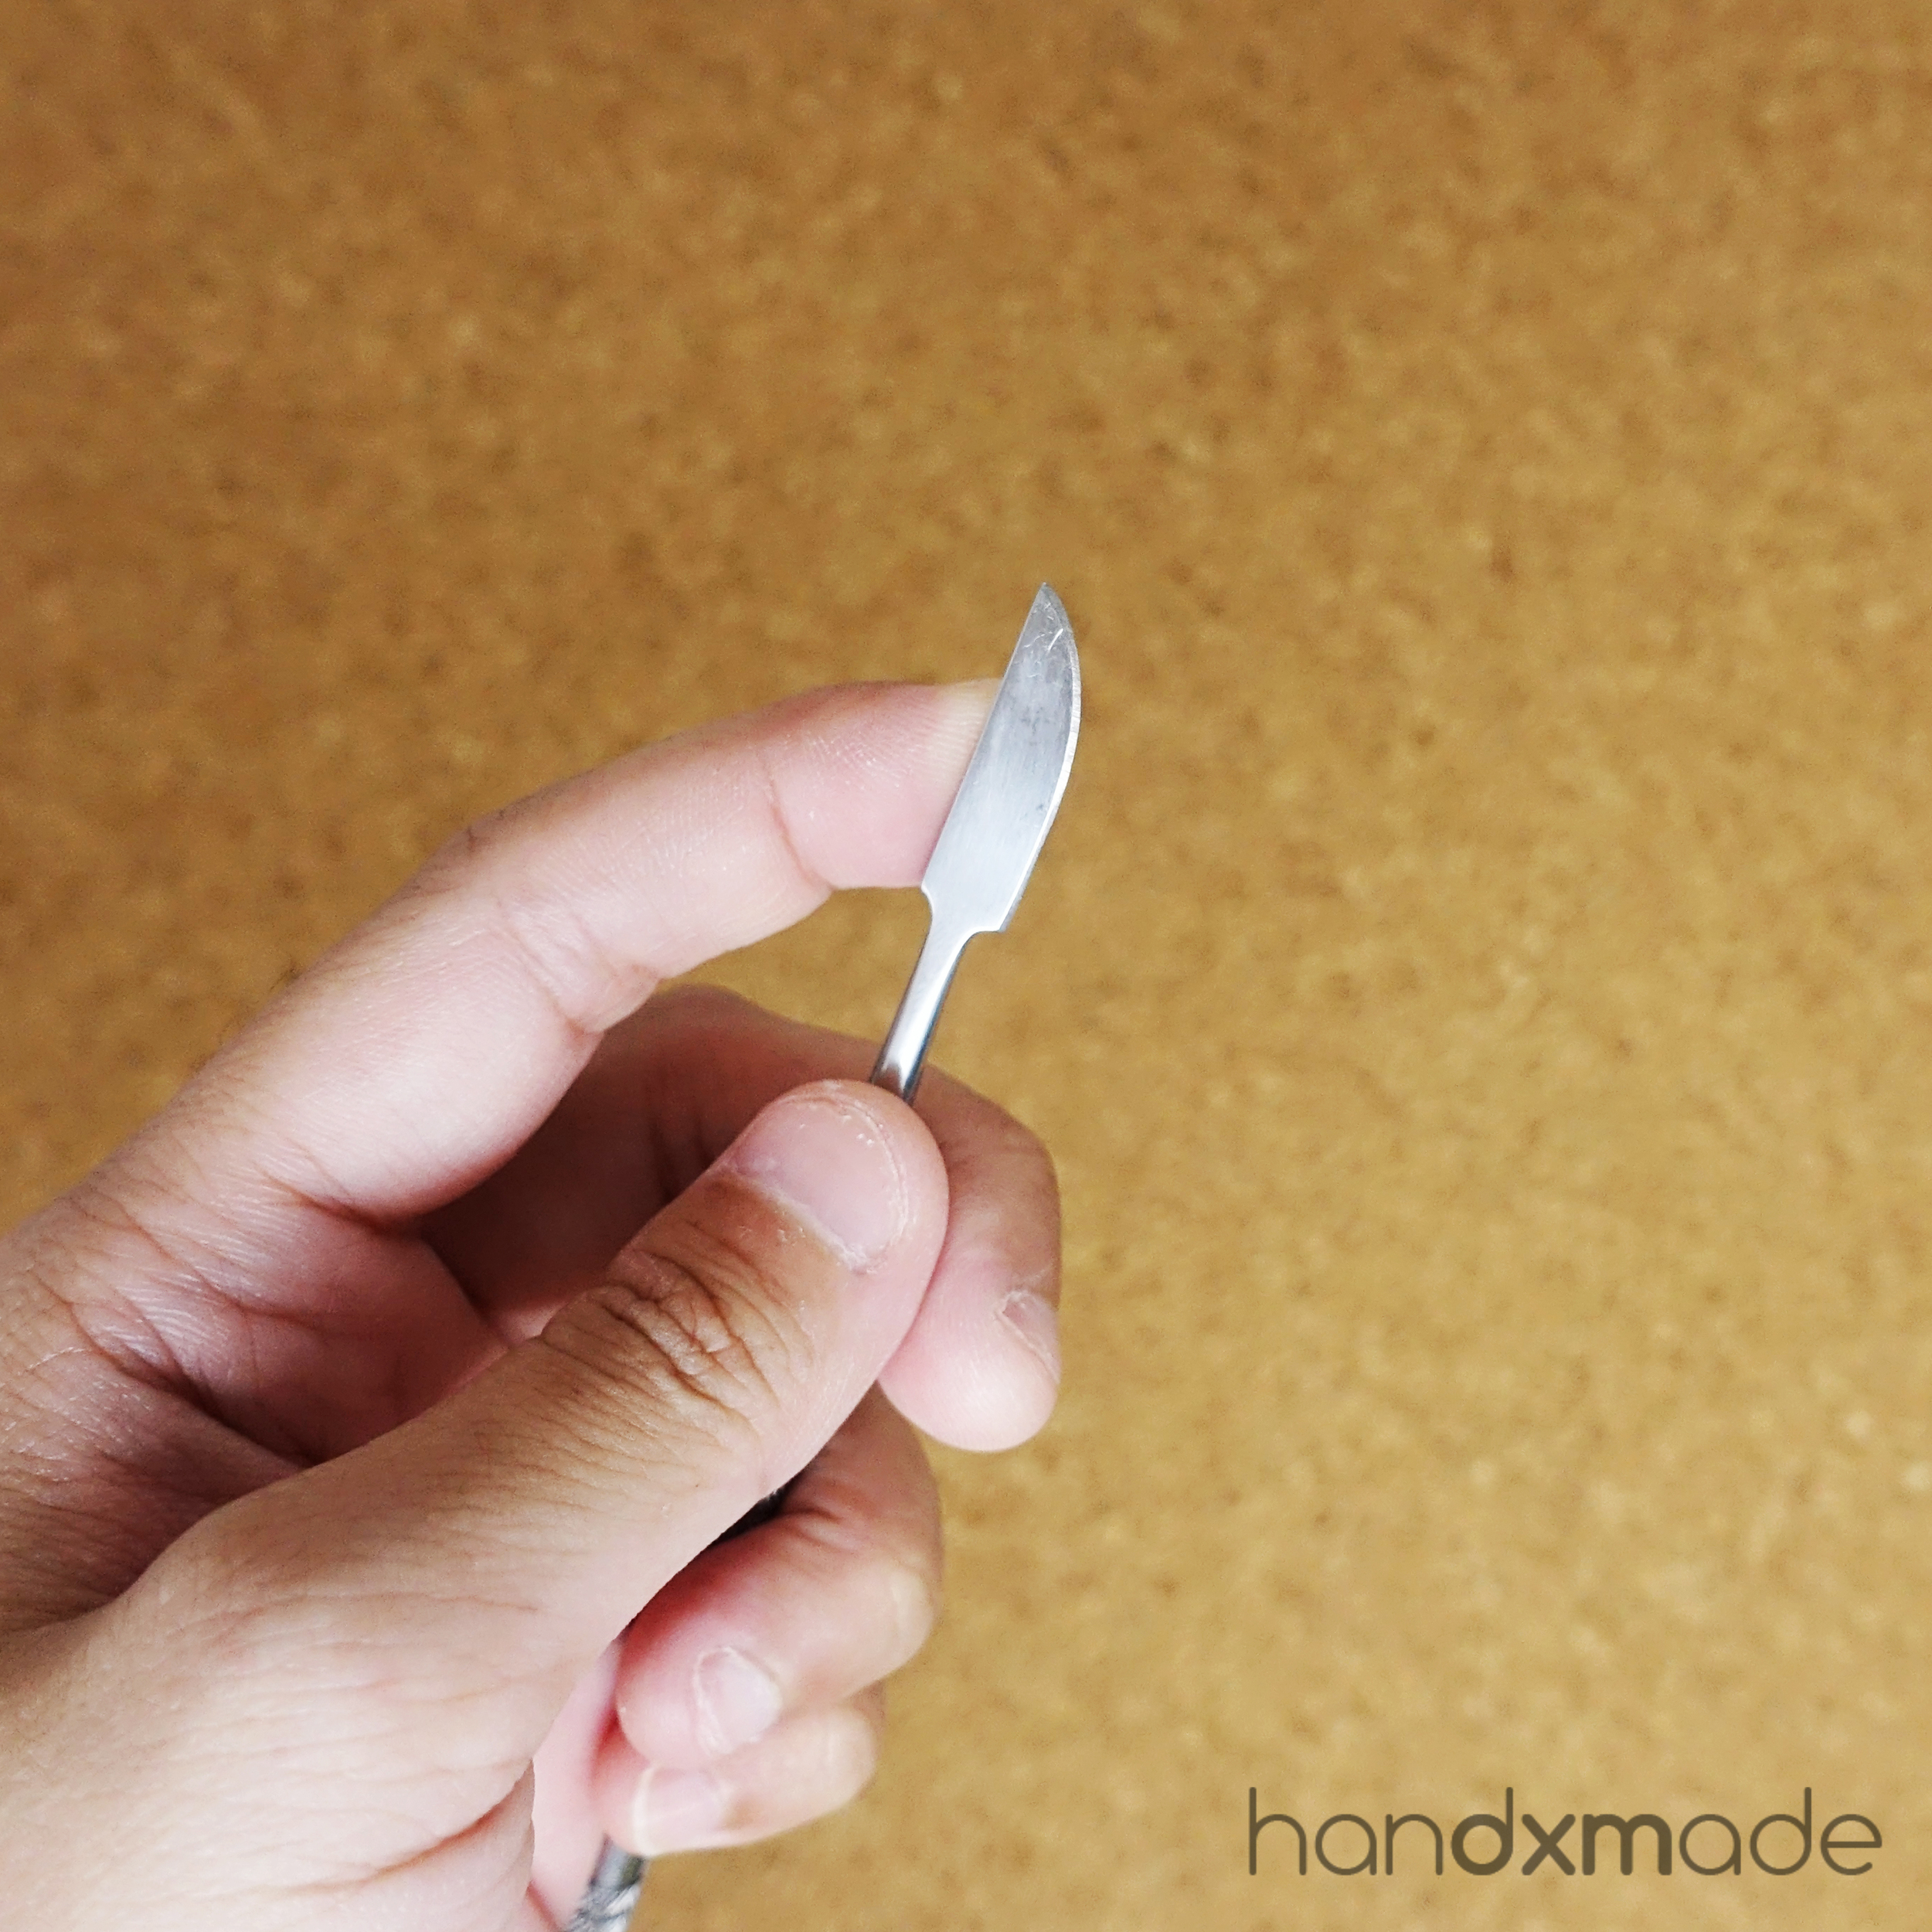
I already had my own needle tool, so I didn't use it until quite late, because I realise that her needle tool is sharper than mine (which was a bit to the blunt side) and both has its benefits so I started using both. But my favourite is this dual probe curve/knife tool (which I didn't know what it's called btw until I went to her website to see hahahaa)

Thumbs up cause I love it so much ahahhaa.
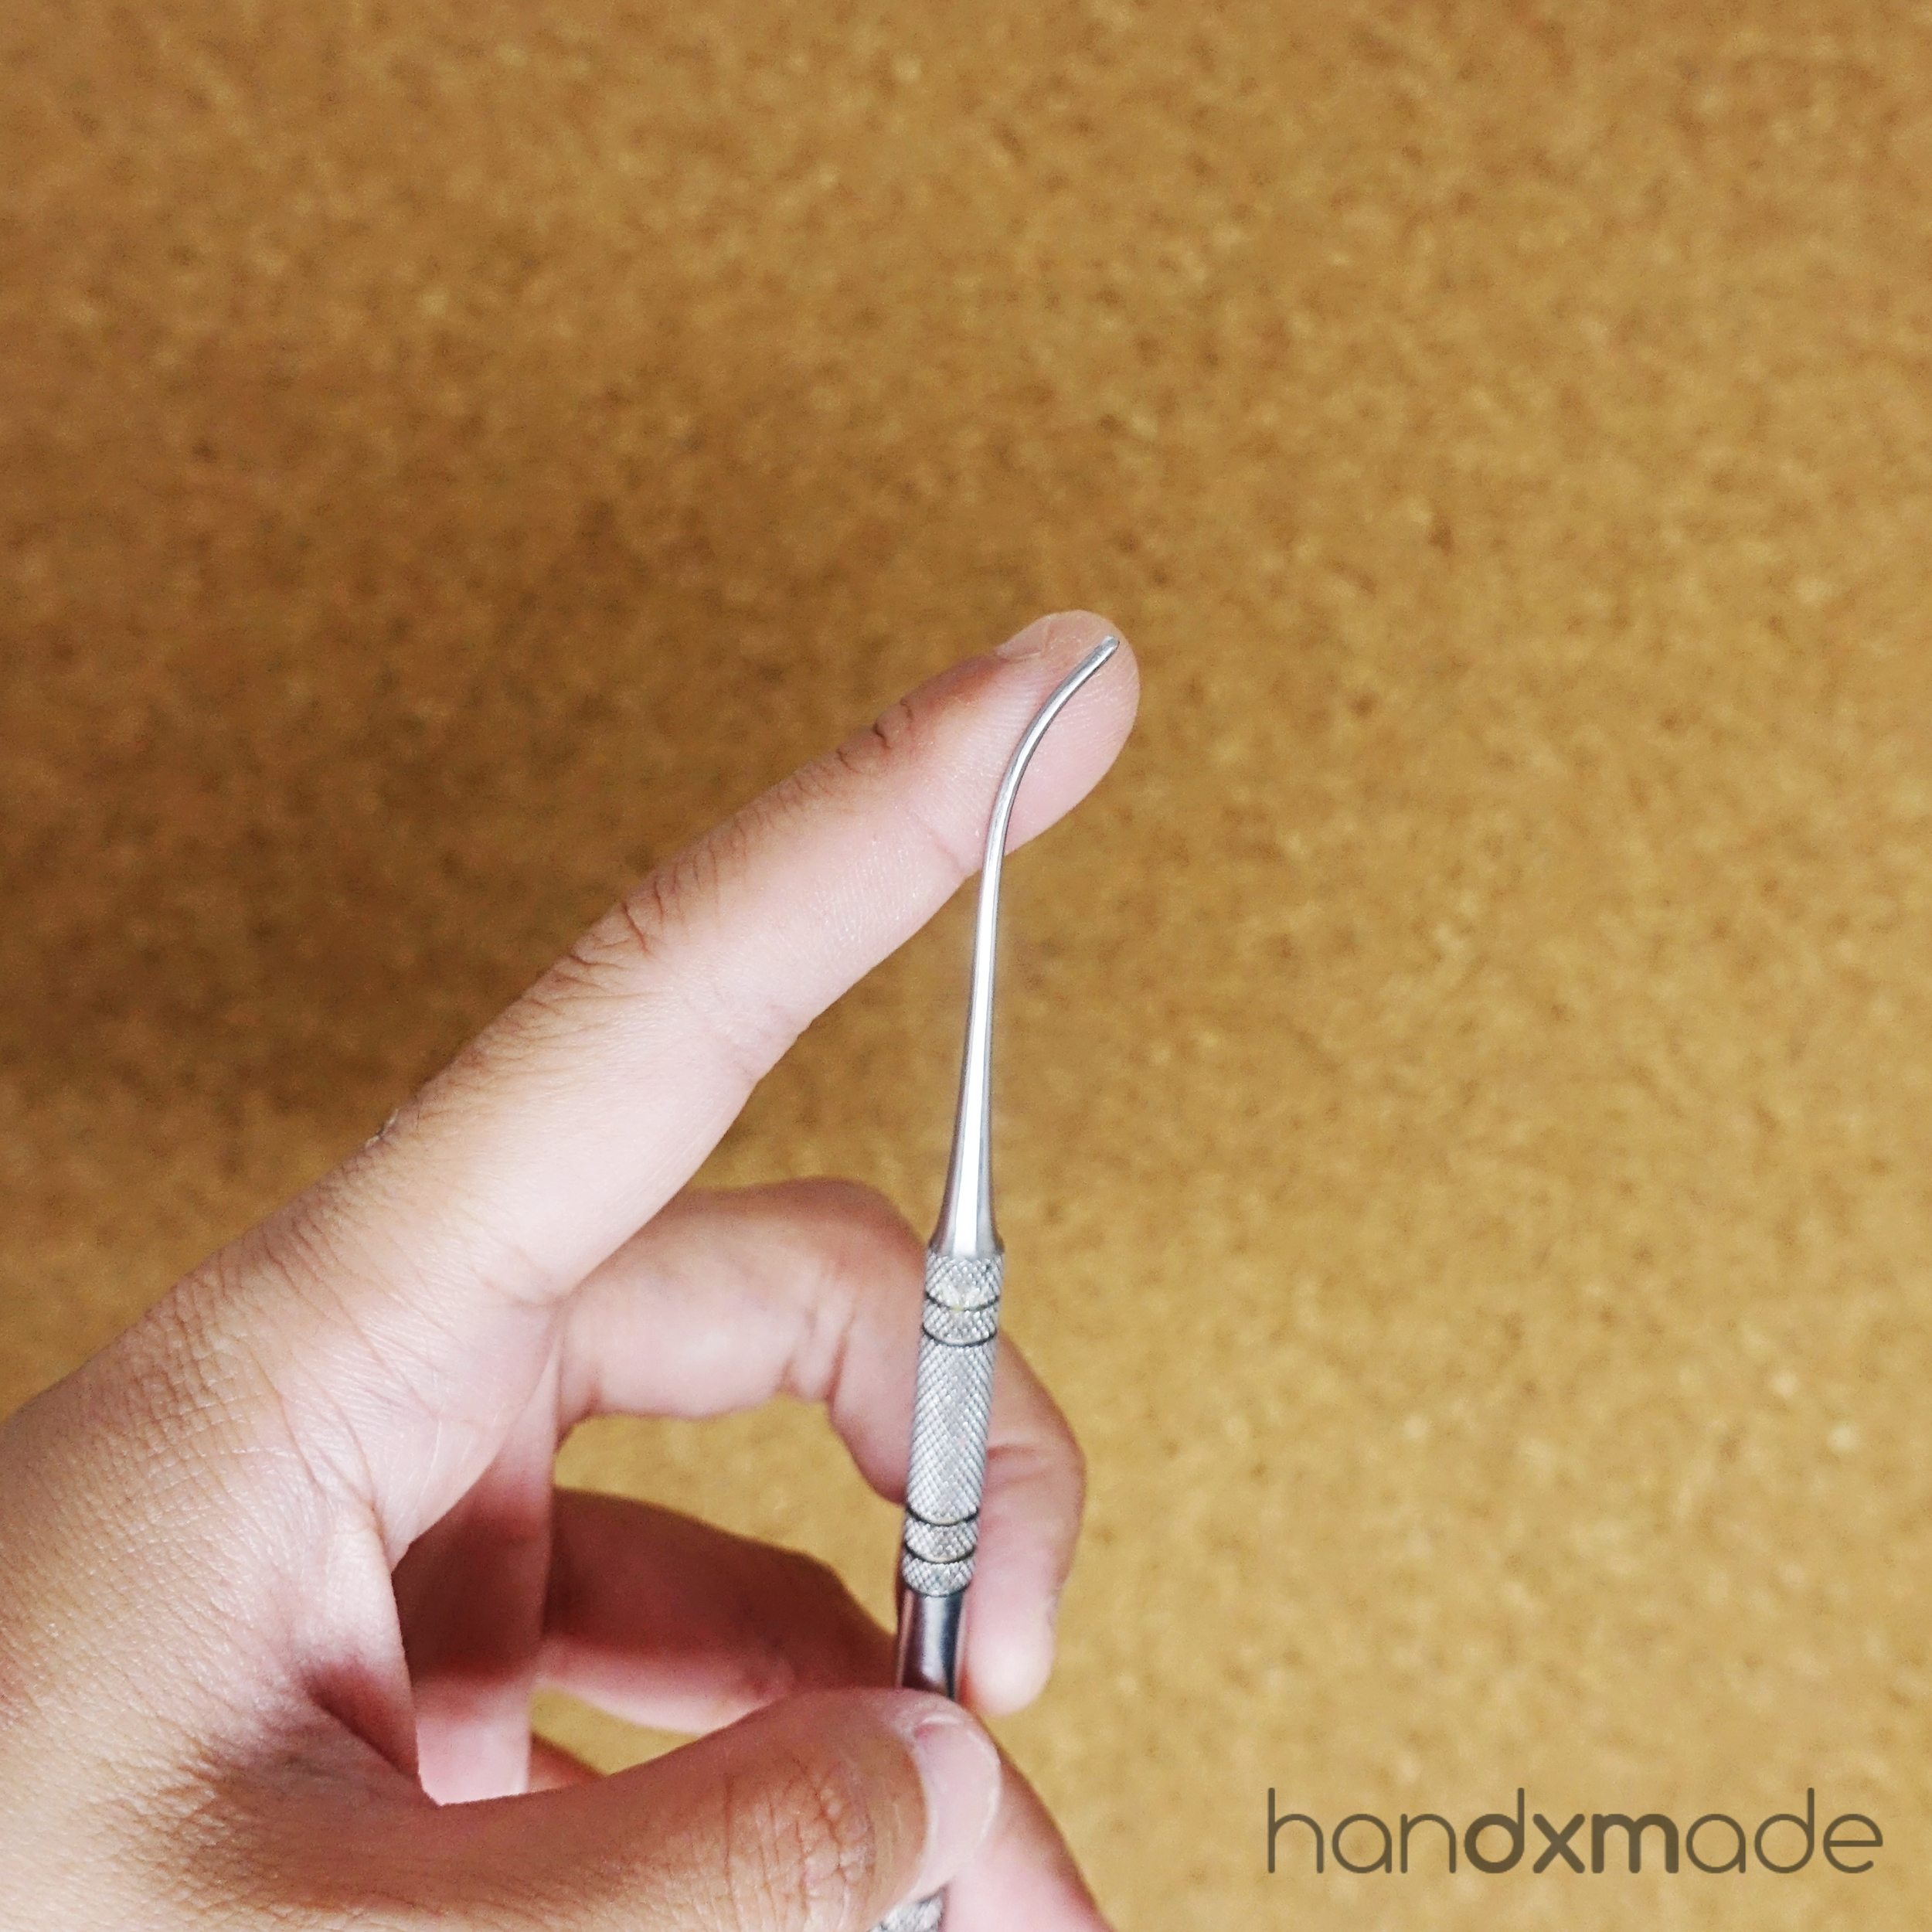
So the one on the left is a curve tool, which is SO USEFUL. For some reason it's just easier to use than a needle tool, and I love it so much!
The one on the right is a knife tool, which isn't very sharp, but it still cuts! So it's really good to make markings, and the flat side makes it really easy to flatten certain things and also easy to mix stuff especially if it requires a bit of force. Having a bigger surface area really helps! Jocelyn shows you the different ways to use this tool in her tutorials too!
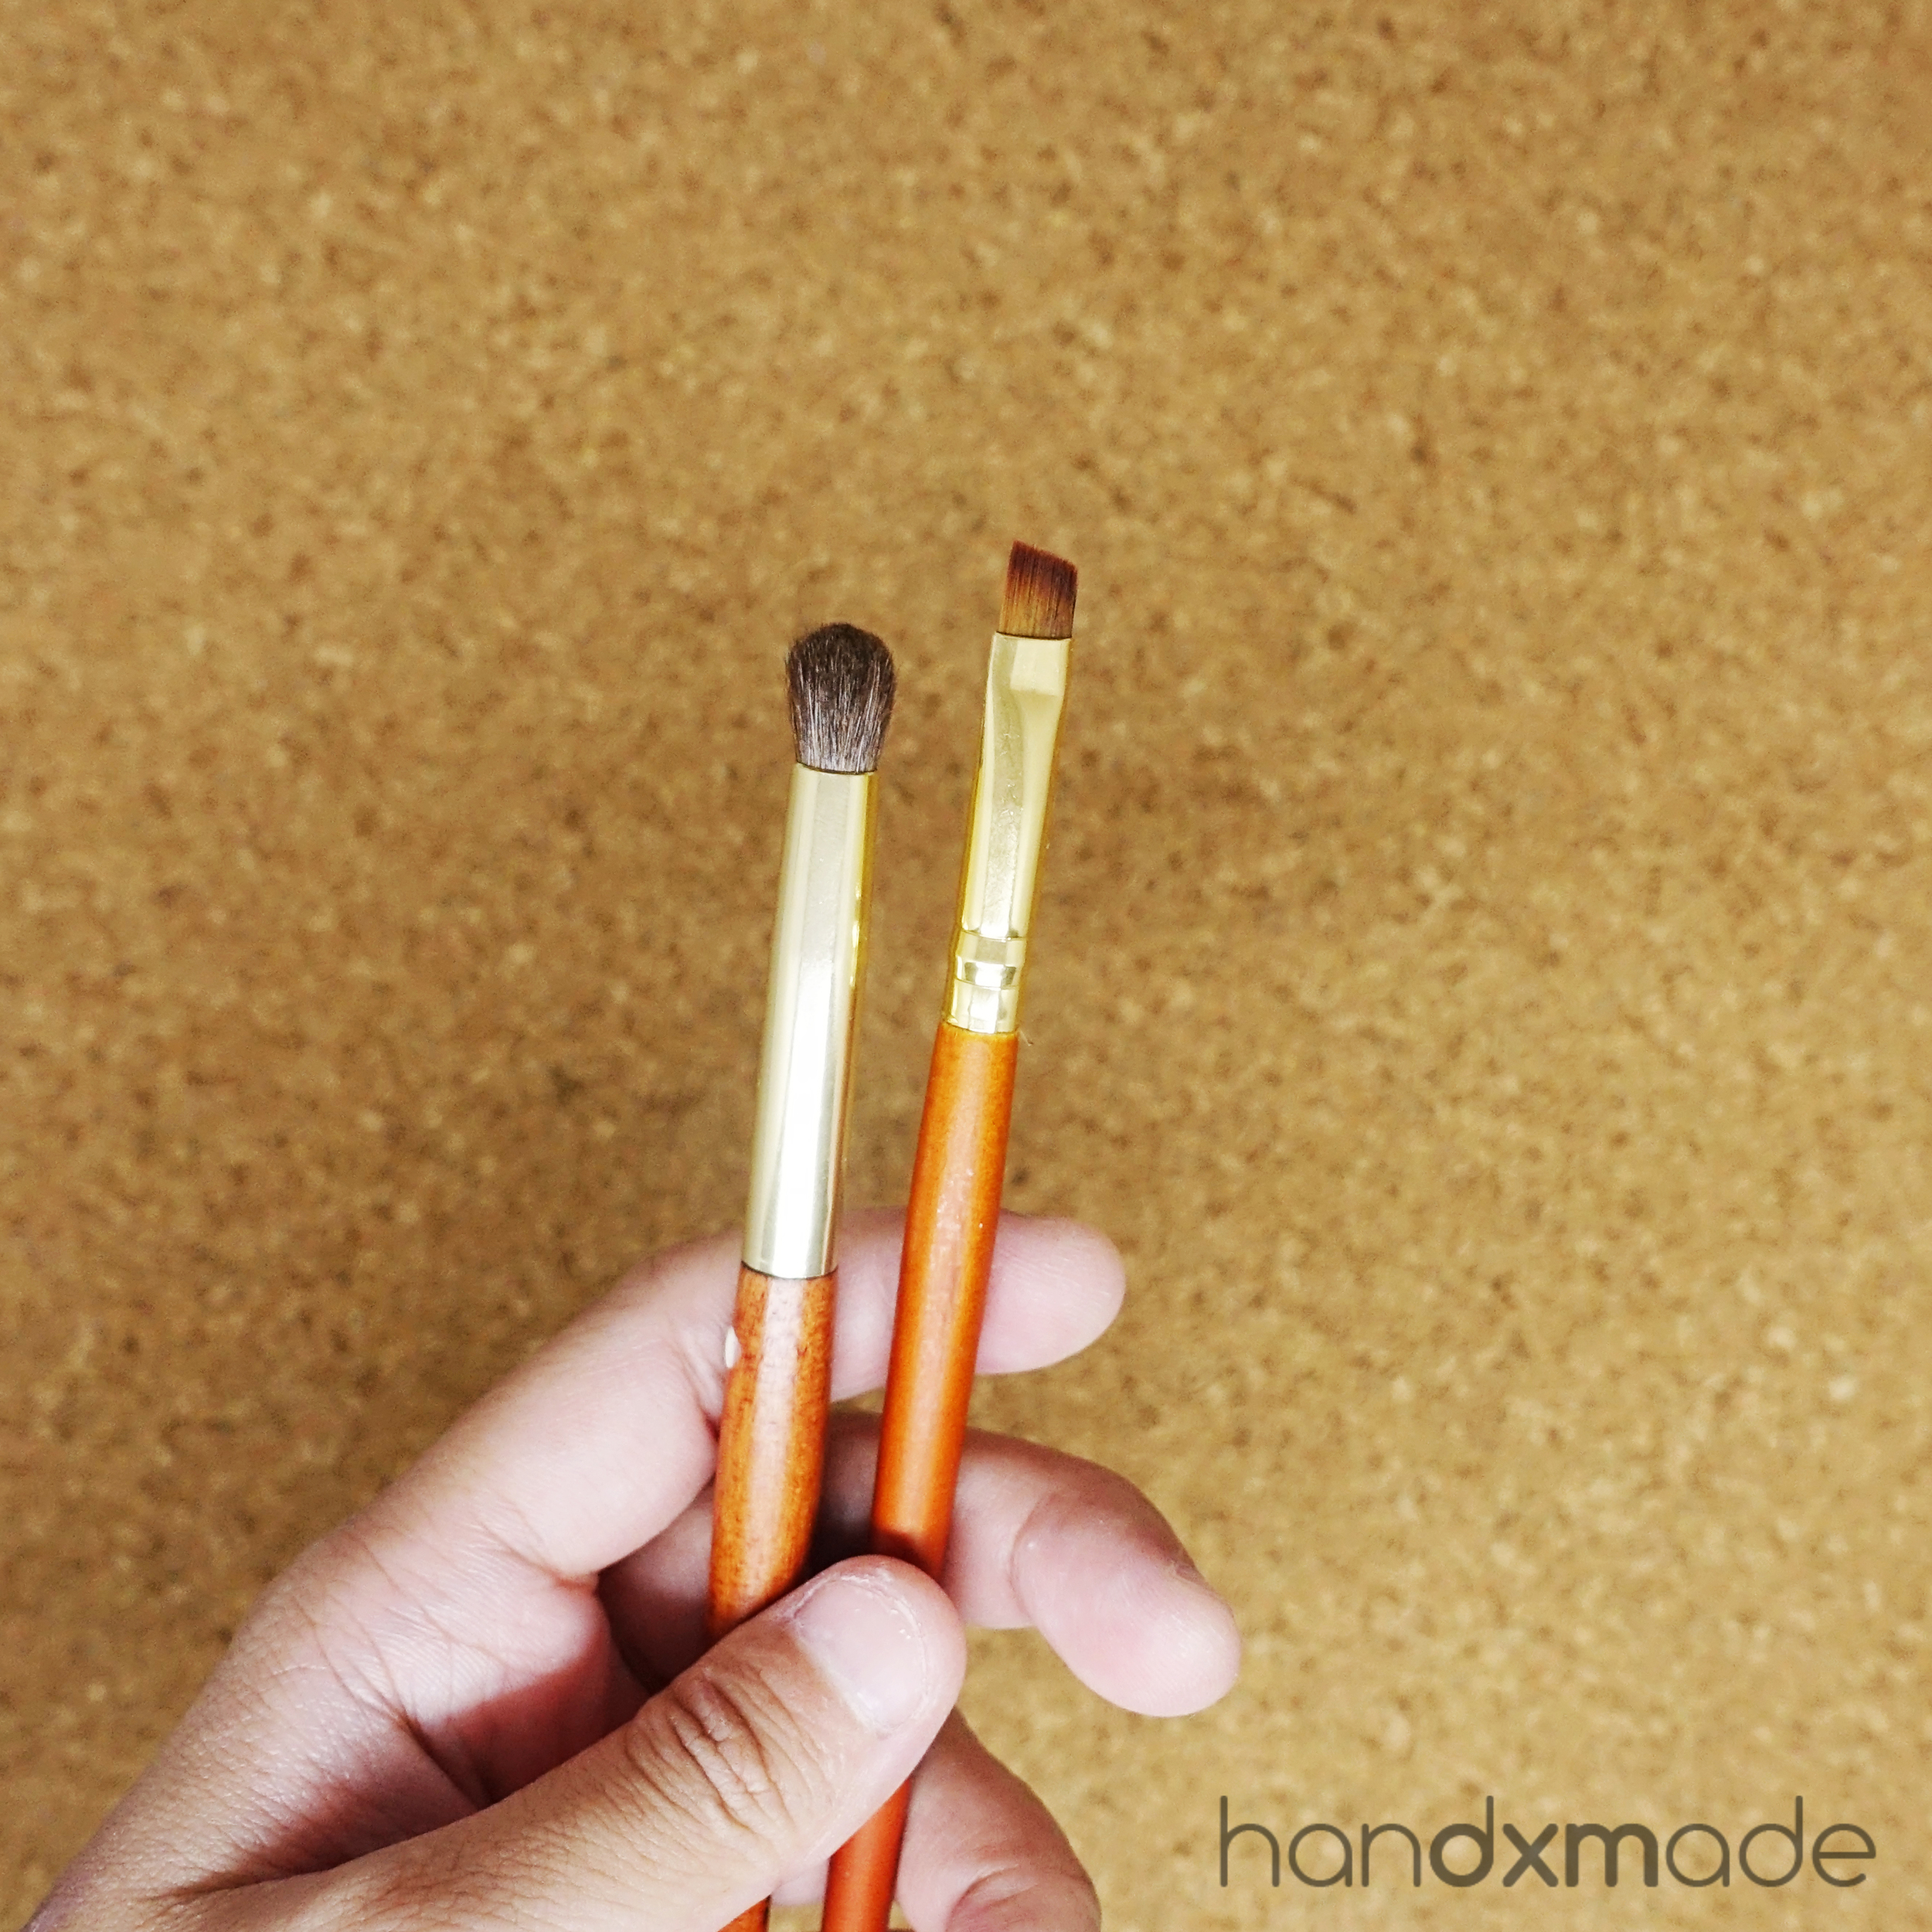
This is the brushes she provides for the soft pastels, and I love it so much! It just never occurred to me how useful a flatbrush would be for soft pastels. It's also better if you don't mix your pastel brush with your painting brushes, so I just set this aside for pastels! Really nice to have.

Photo taken from AiClay.com
It's also really nice to have a small packet of pastels to use for food miniature, rather than lugging around one whole box of pastels and only using one or two from it! Trust me, it's really annoying especially if your table doesn't have a lot of space!

Photo screenshot from AiClay.com
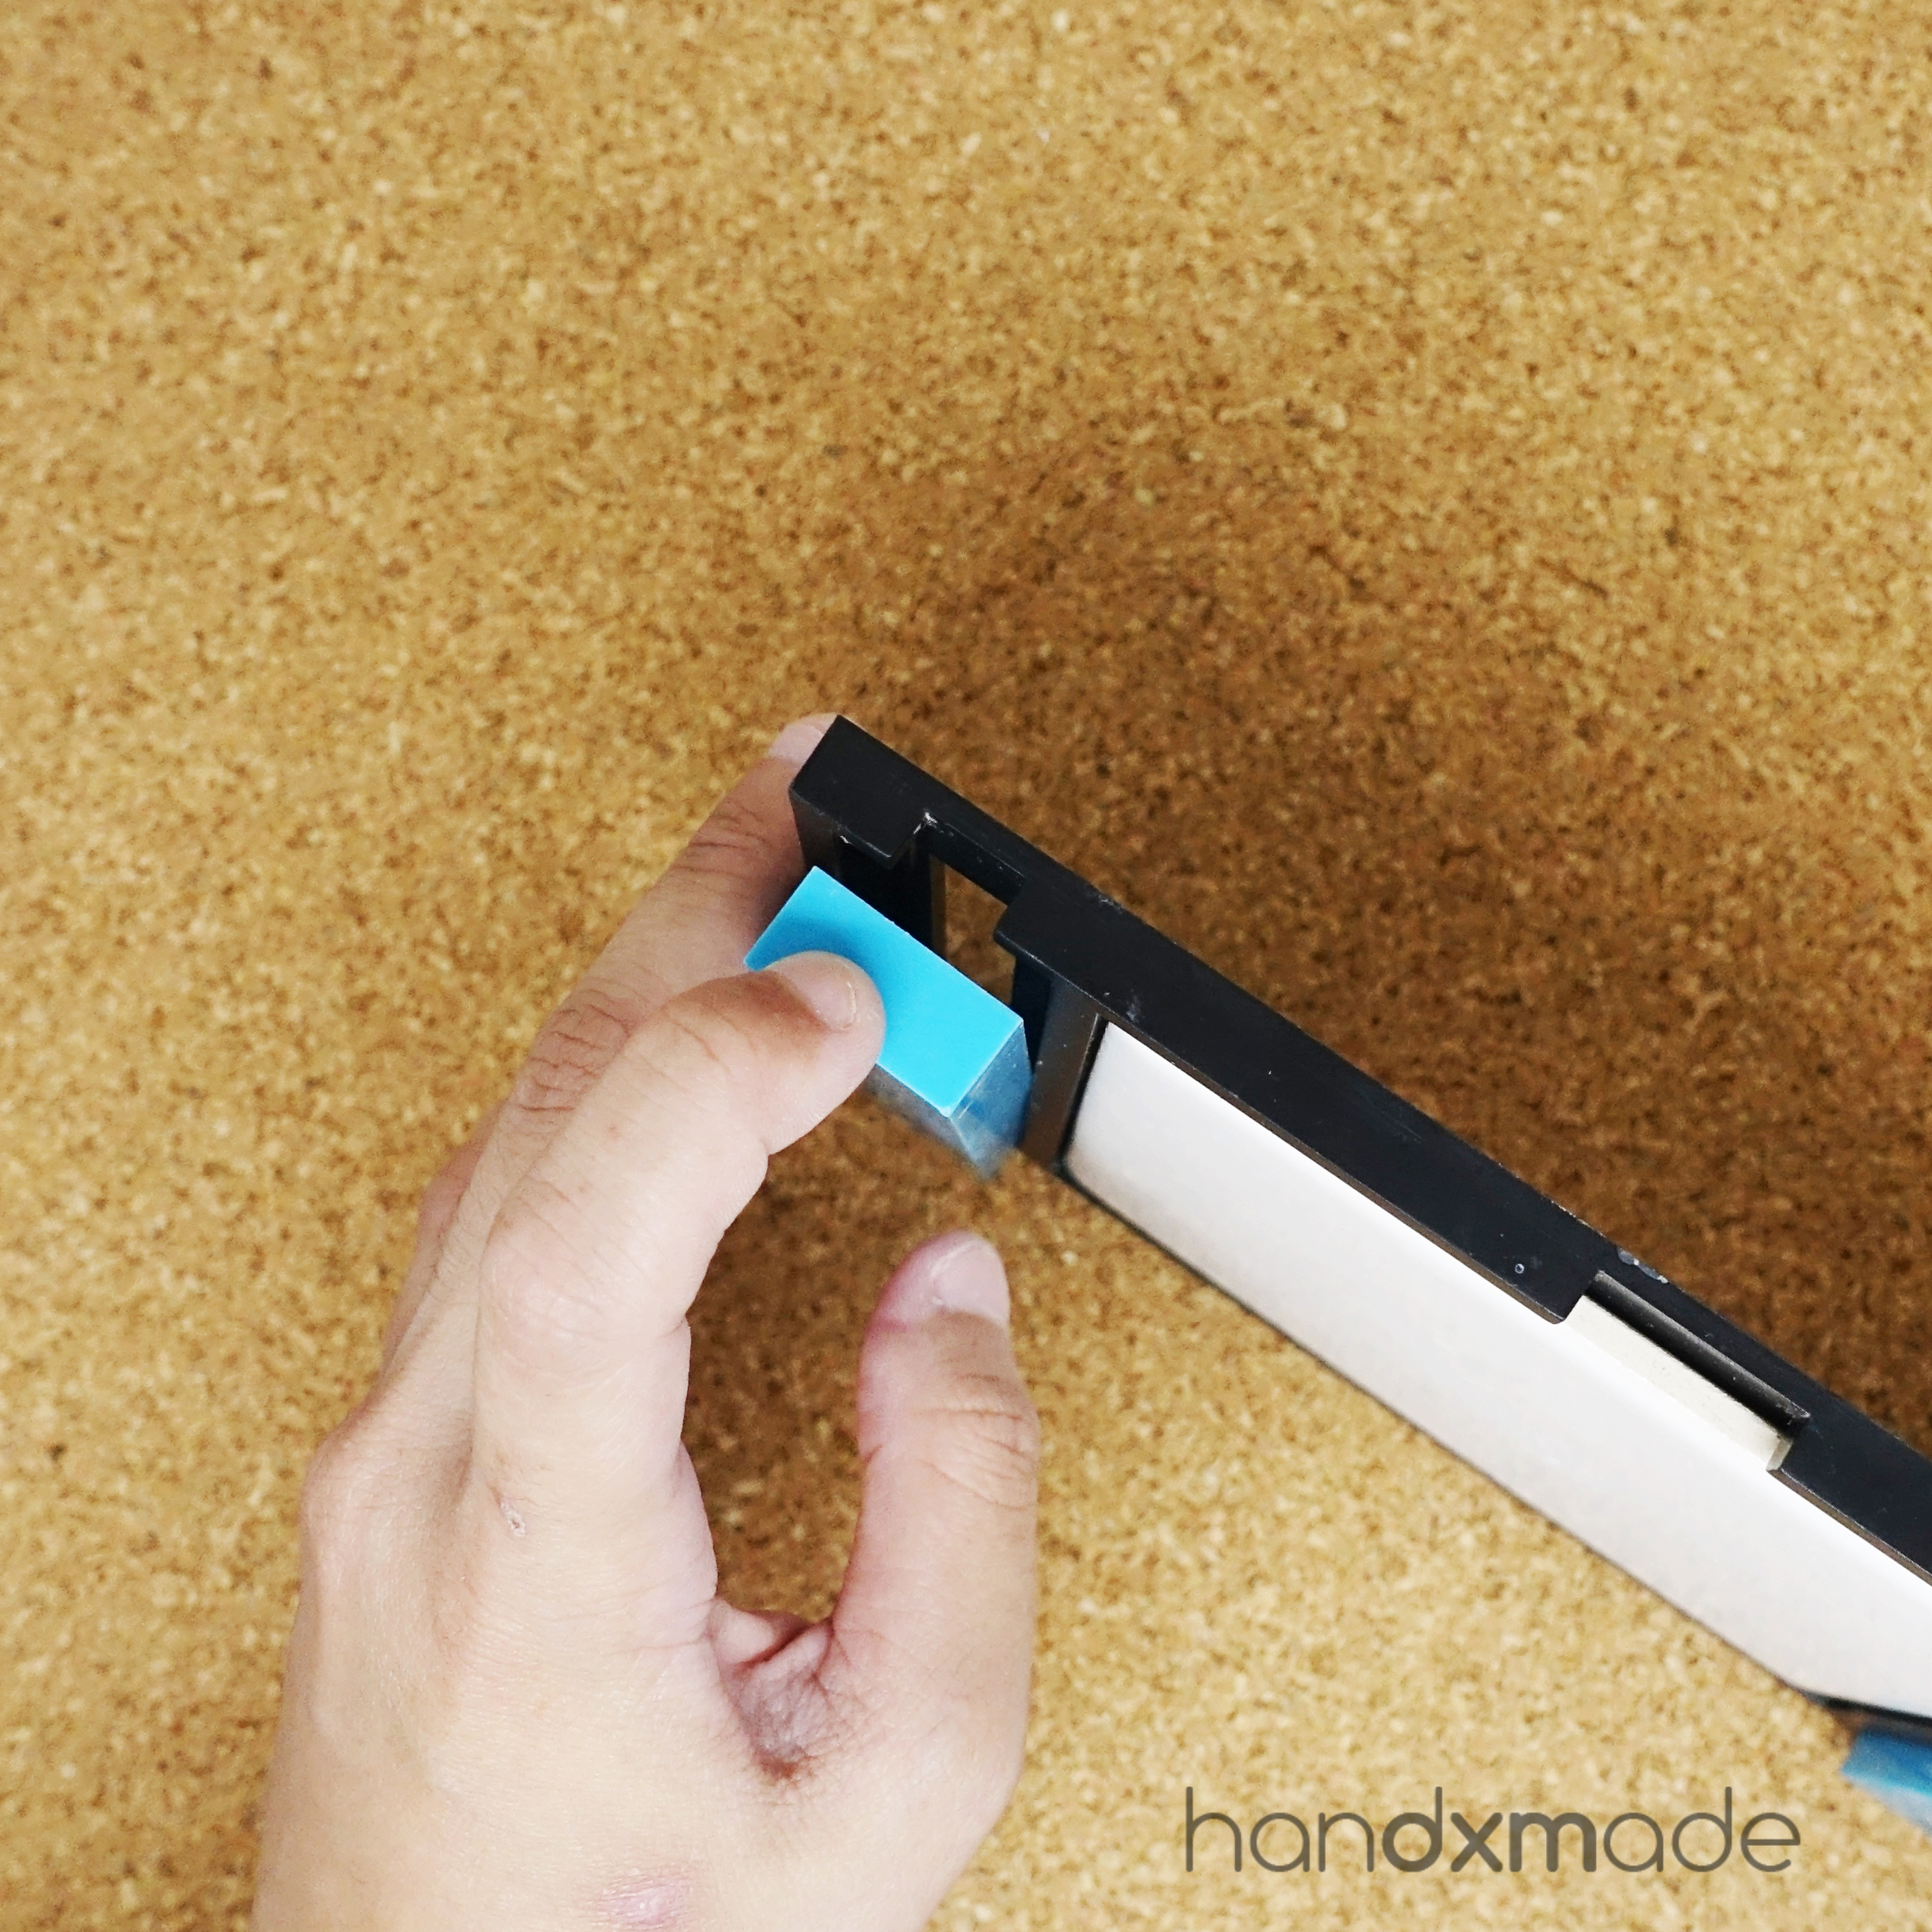
I already have a blade and I like mine a lot, so I didn't use this until one of the tutorials required it! Yep, the back of the blade is pretty useful if you want to mark straight lines! ;)
Did not take photos of the circular cutters, but here's a post of comparing hers and the other circular cutters I already have 😊
6. THE TUTORIALS
This was another part where I was pleasantly surprised at. When I purchased Pocket Kitchen, I didn't expect to have 12 MINIATURE FOOD TUTORIALS AND 5 BEGINNER'S TUTORIAL!
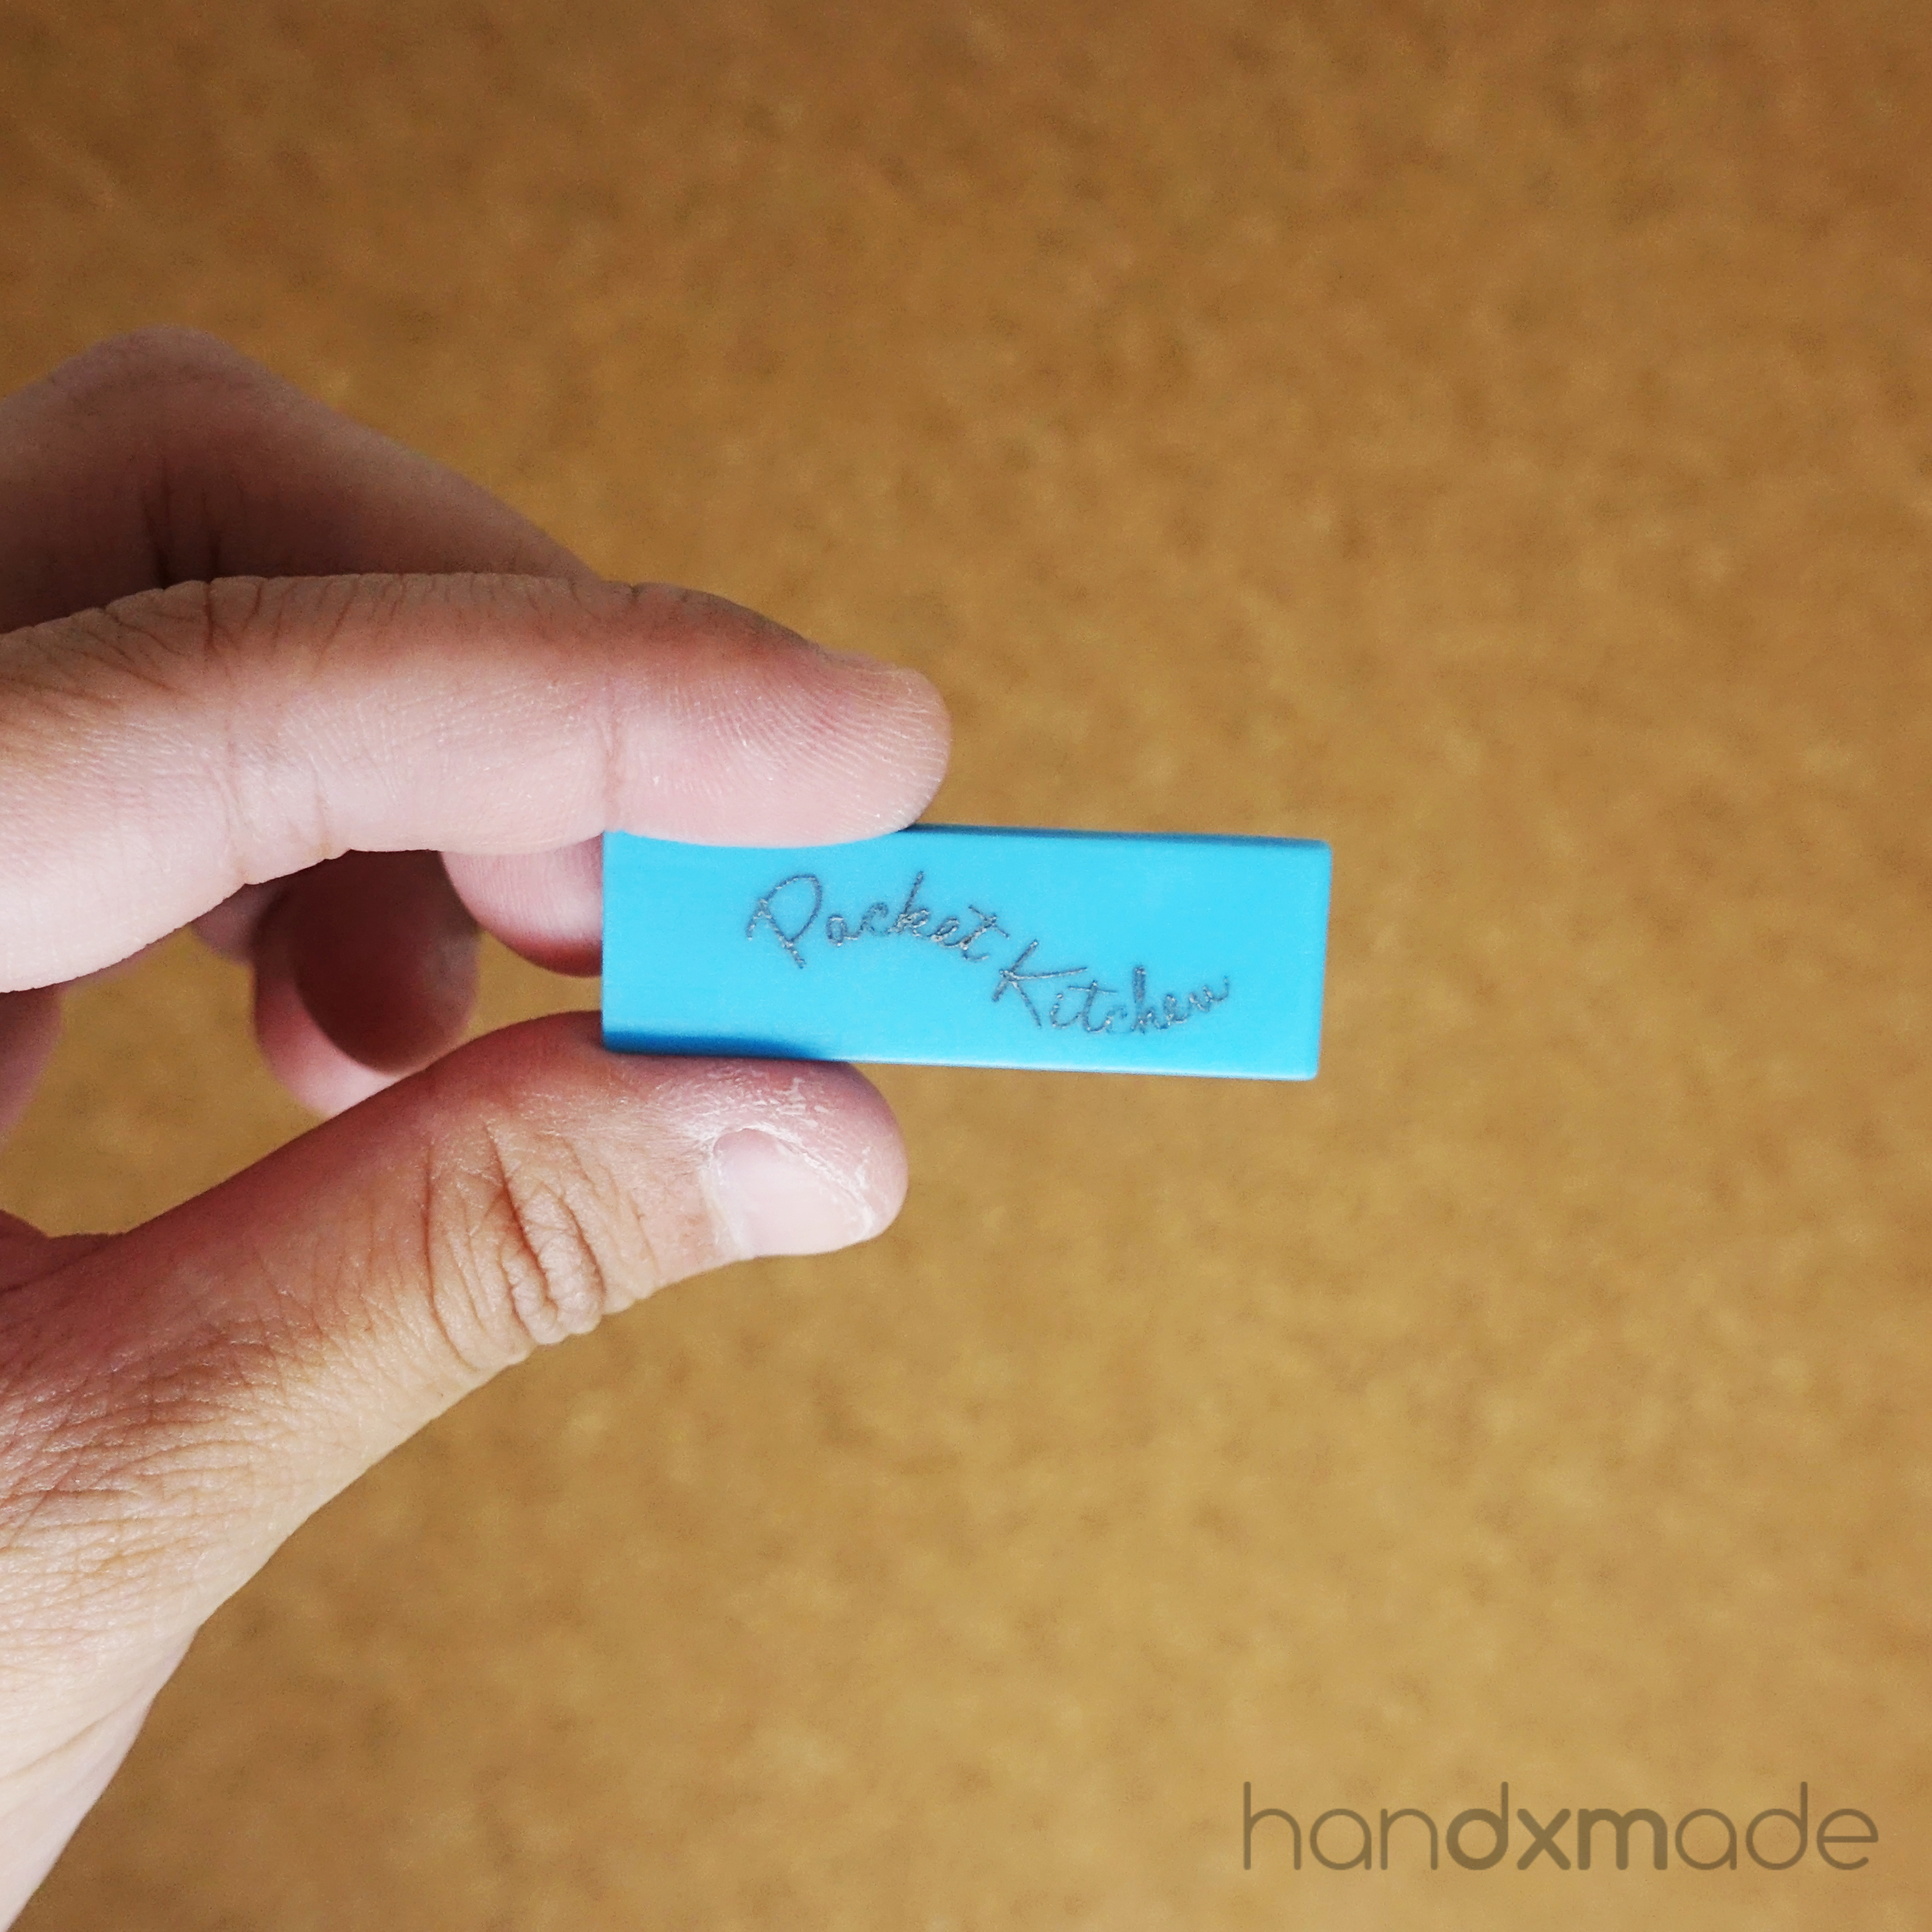
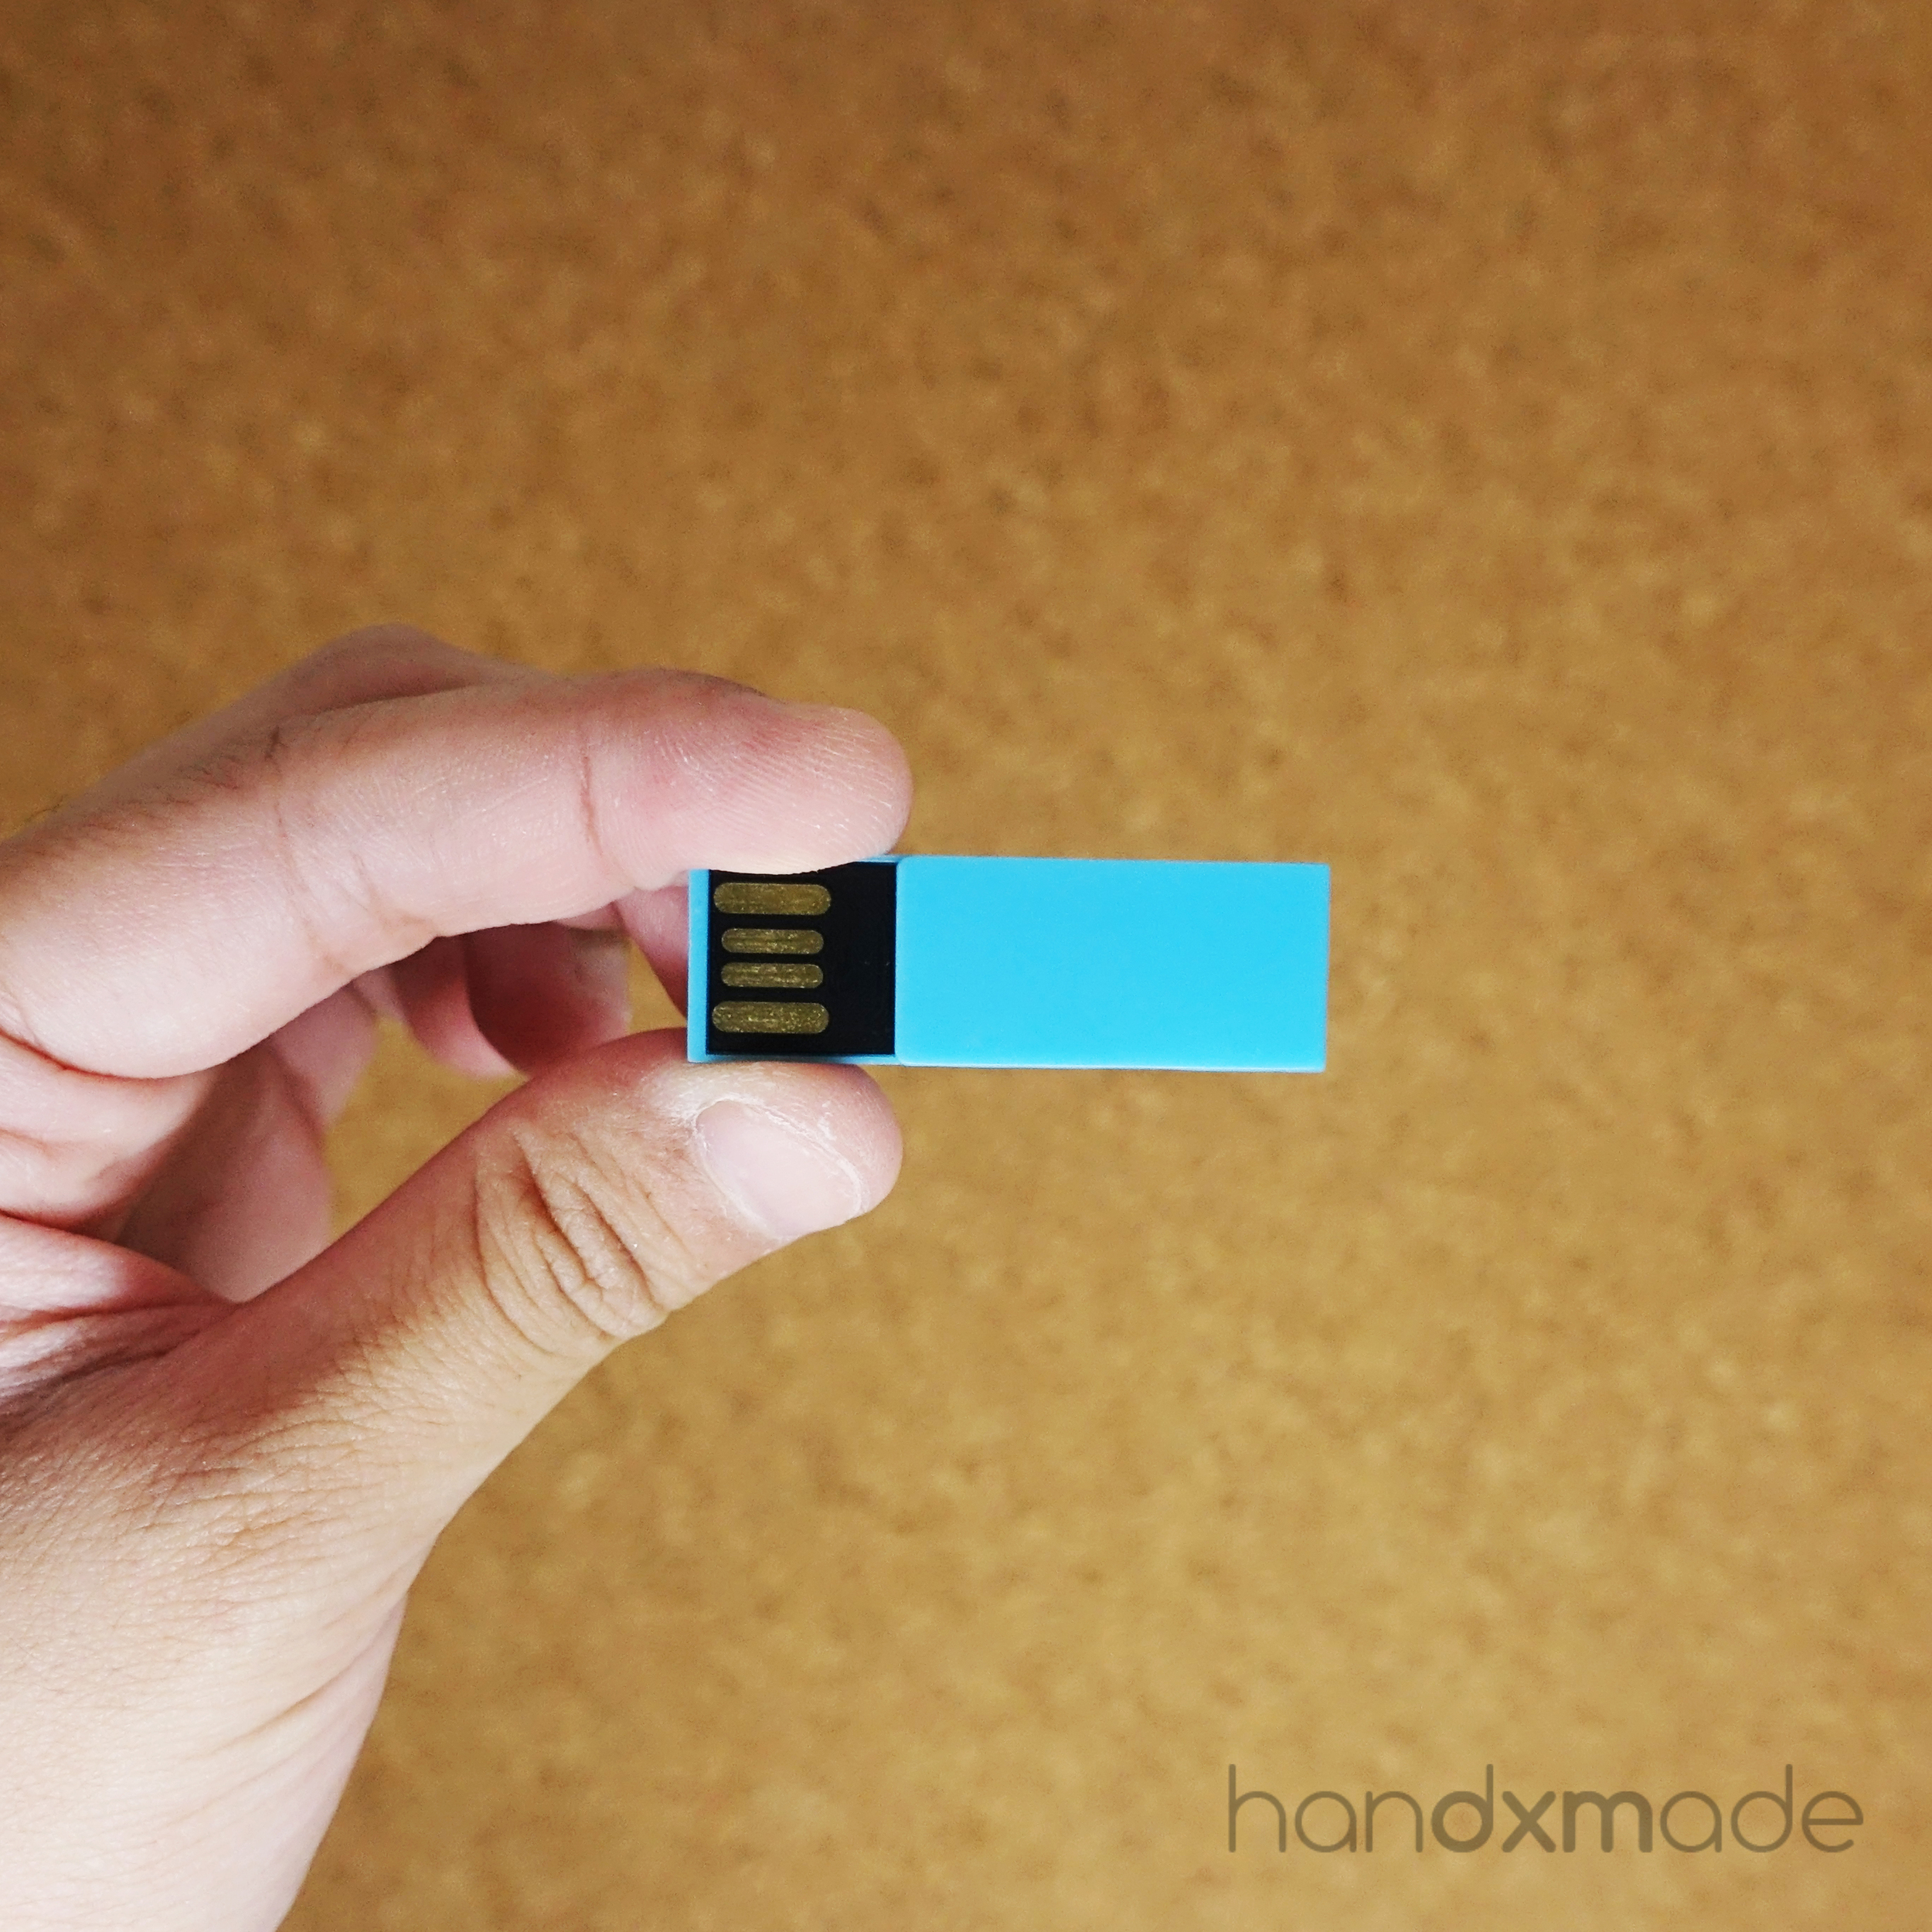
It's kept in a neat little thumbdrive, and I love how it was fitted inside snuggly hehe. If you don't take it out, you wouldn't even know it's a thumbdrive! Hahaha. I love how space efficient this whole thing is, really!

Honestly, she didn't need to have include so many miniature food tutorials leh but she did!!! TELL ME IF THE MONEY WASN'T WELL SPENT!!!
I watched all the beginner's tutorial, and even I learnt something from it!
I made sure to create something out of all the tutorials, and it was really easy to follow! It's also beginner friendly, and the nice photos definitely helps to encourage people to craft! I'll be posting the photo in her tutorials of the completed craft piece, and then mine!
Do note once again that only the photos that are watermarked with my logo is mine! Those that has POCKET KITCHEN water mark is screenshot from Jocelyn's tutorials.

Honestly, my work compared to Jocelyn's looks less polished hahahaha. Ah well.
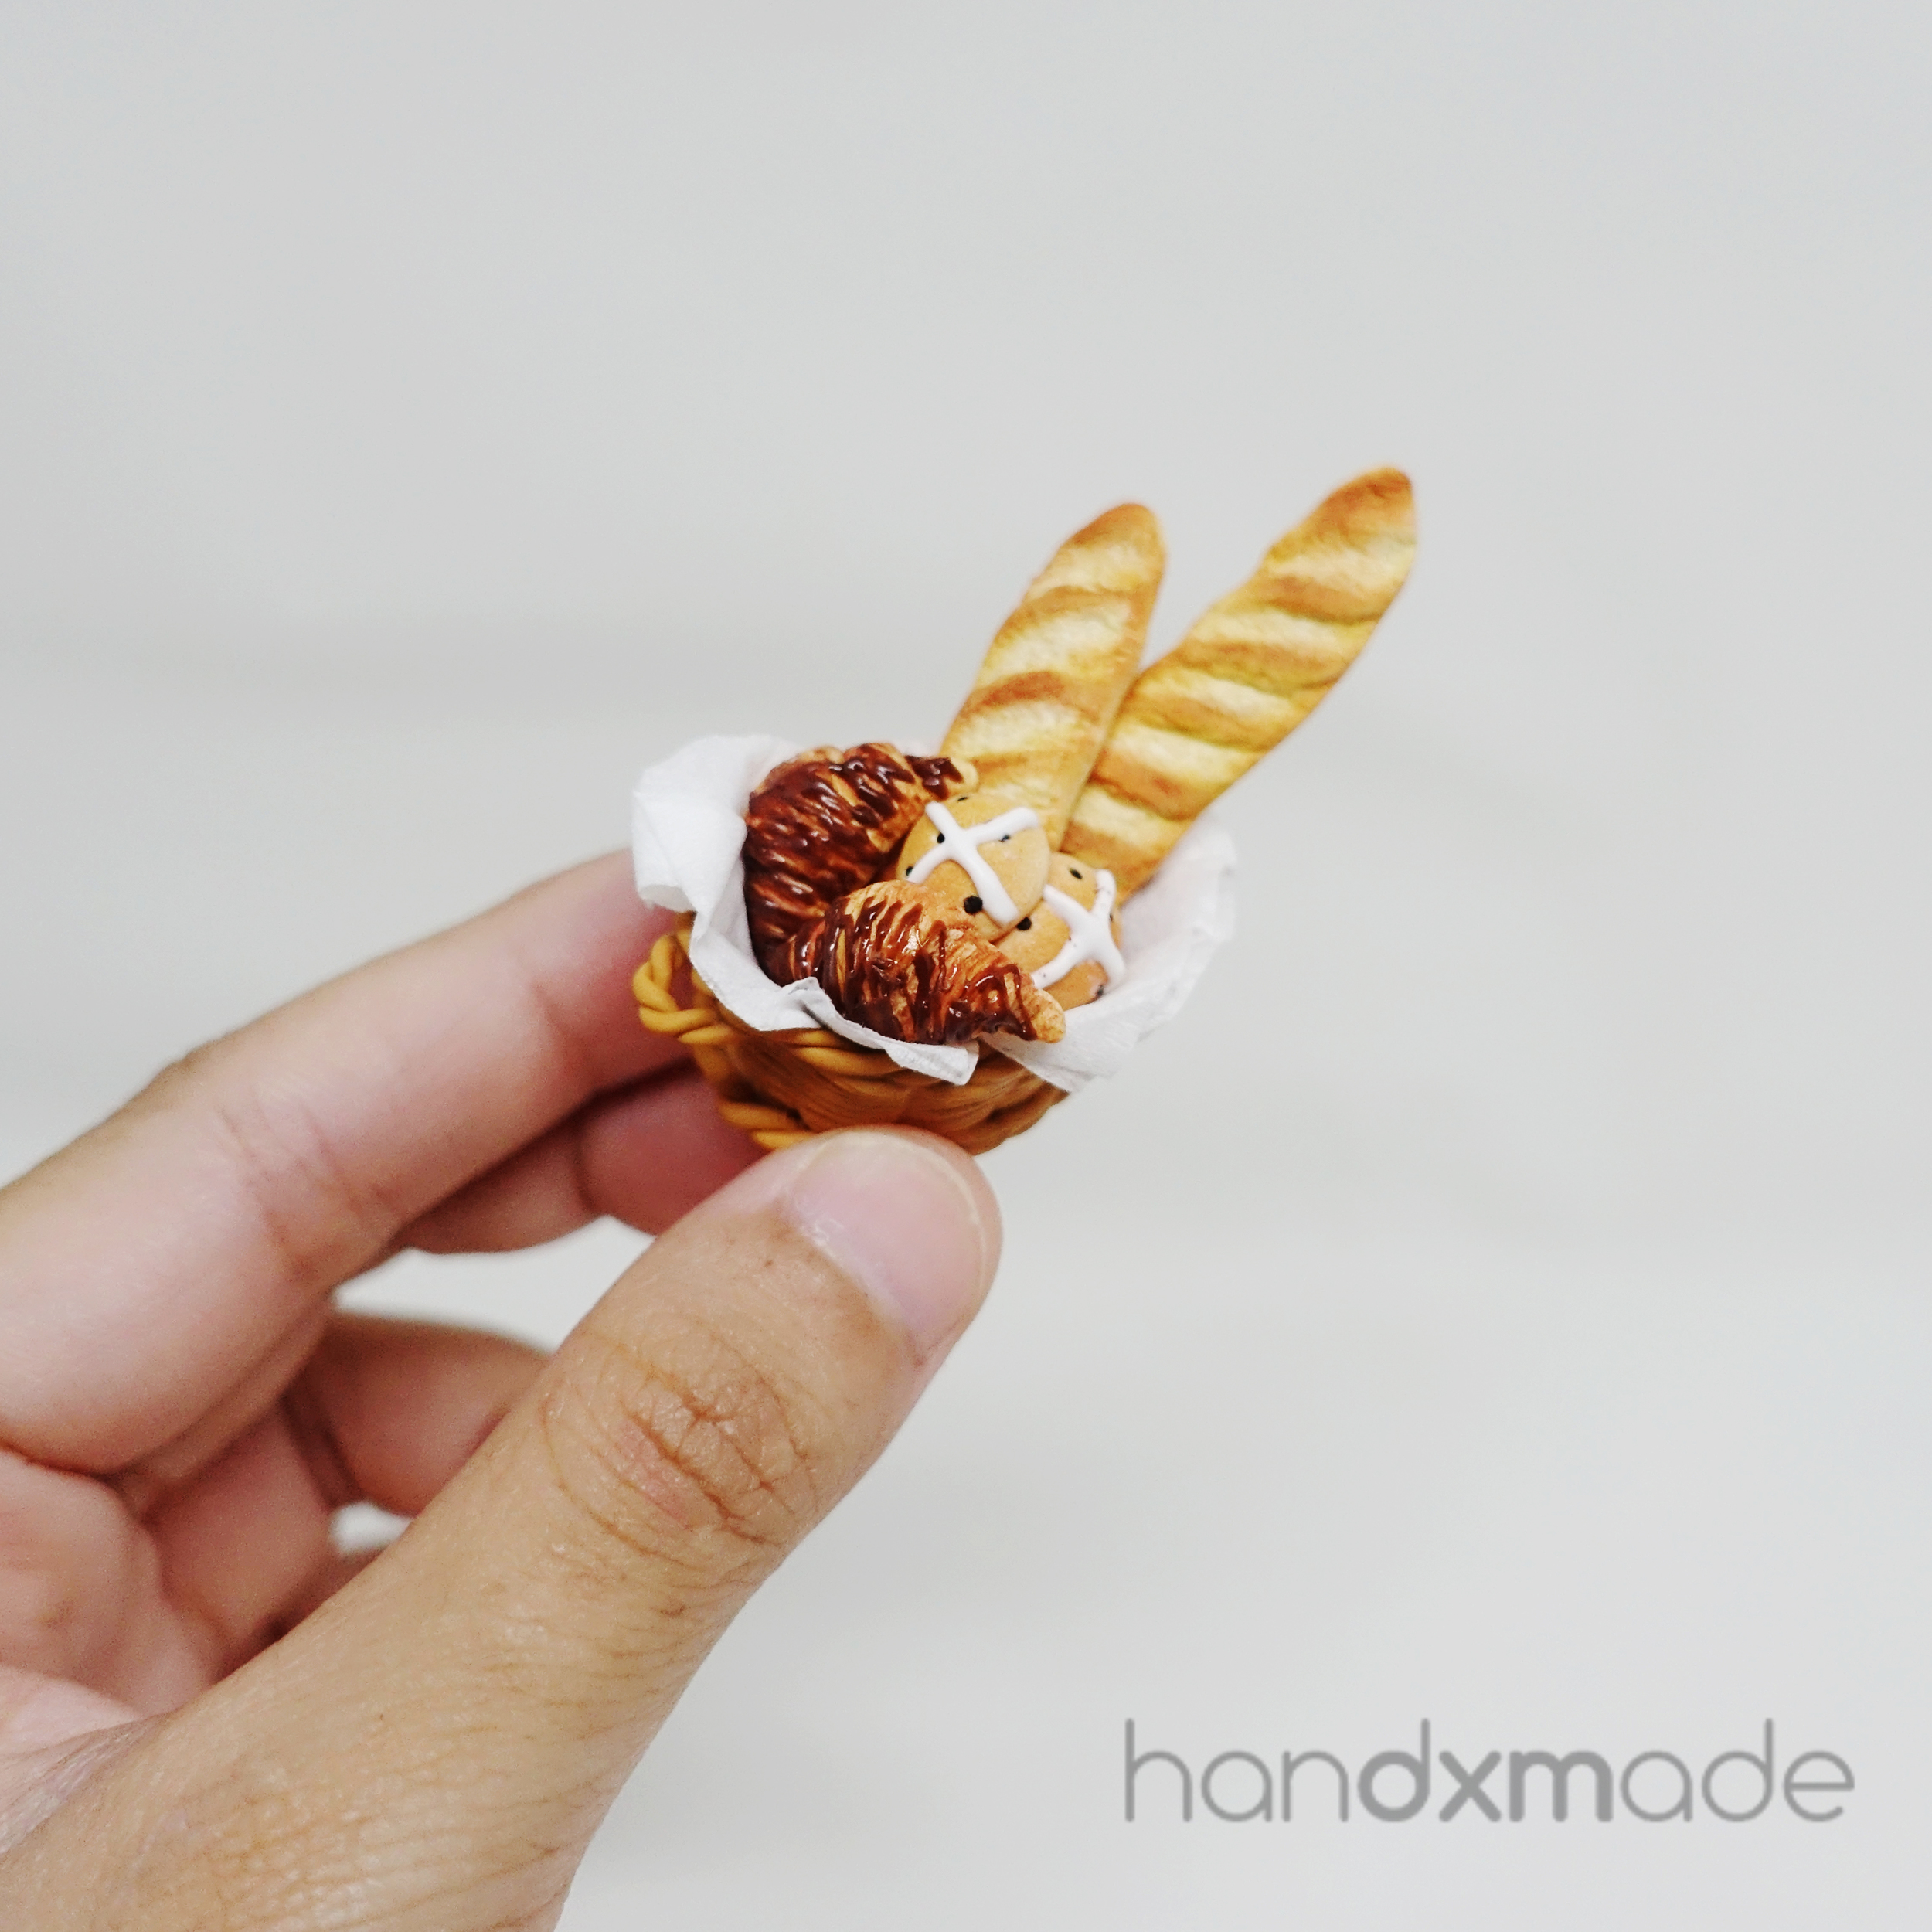
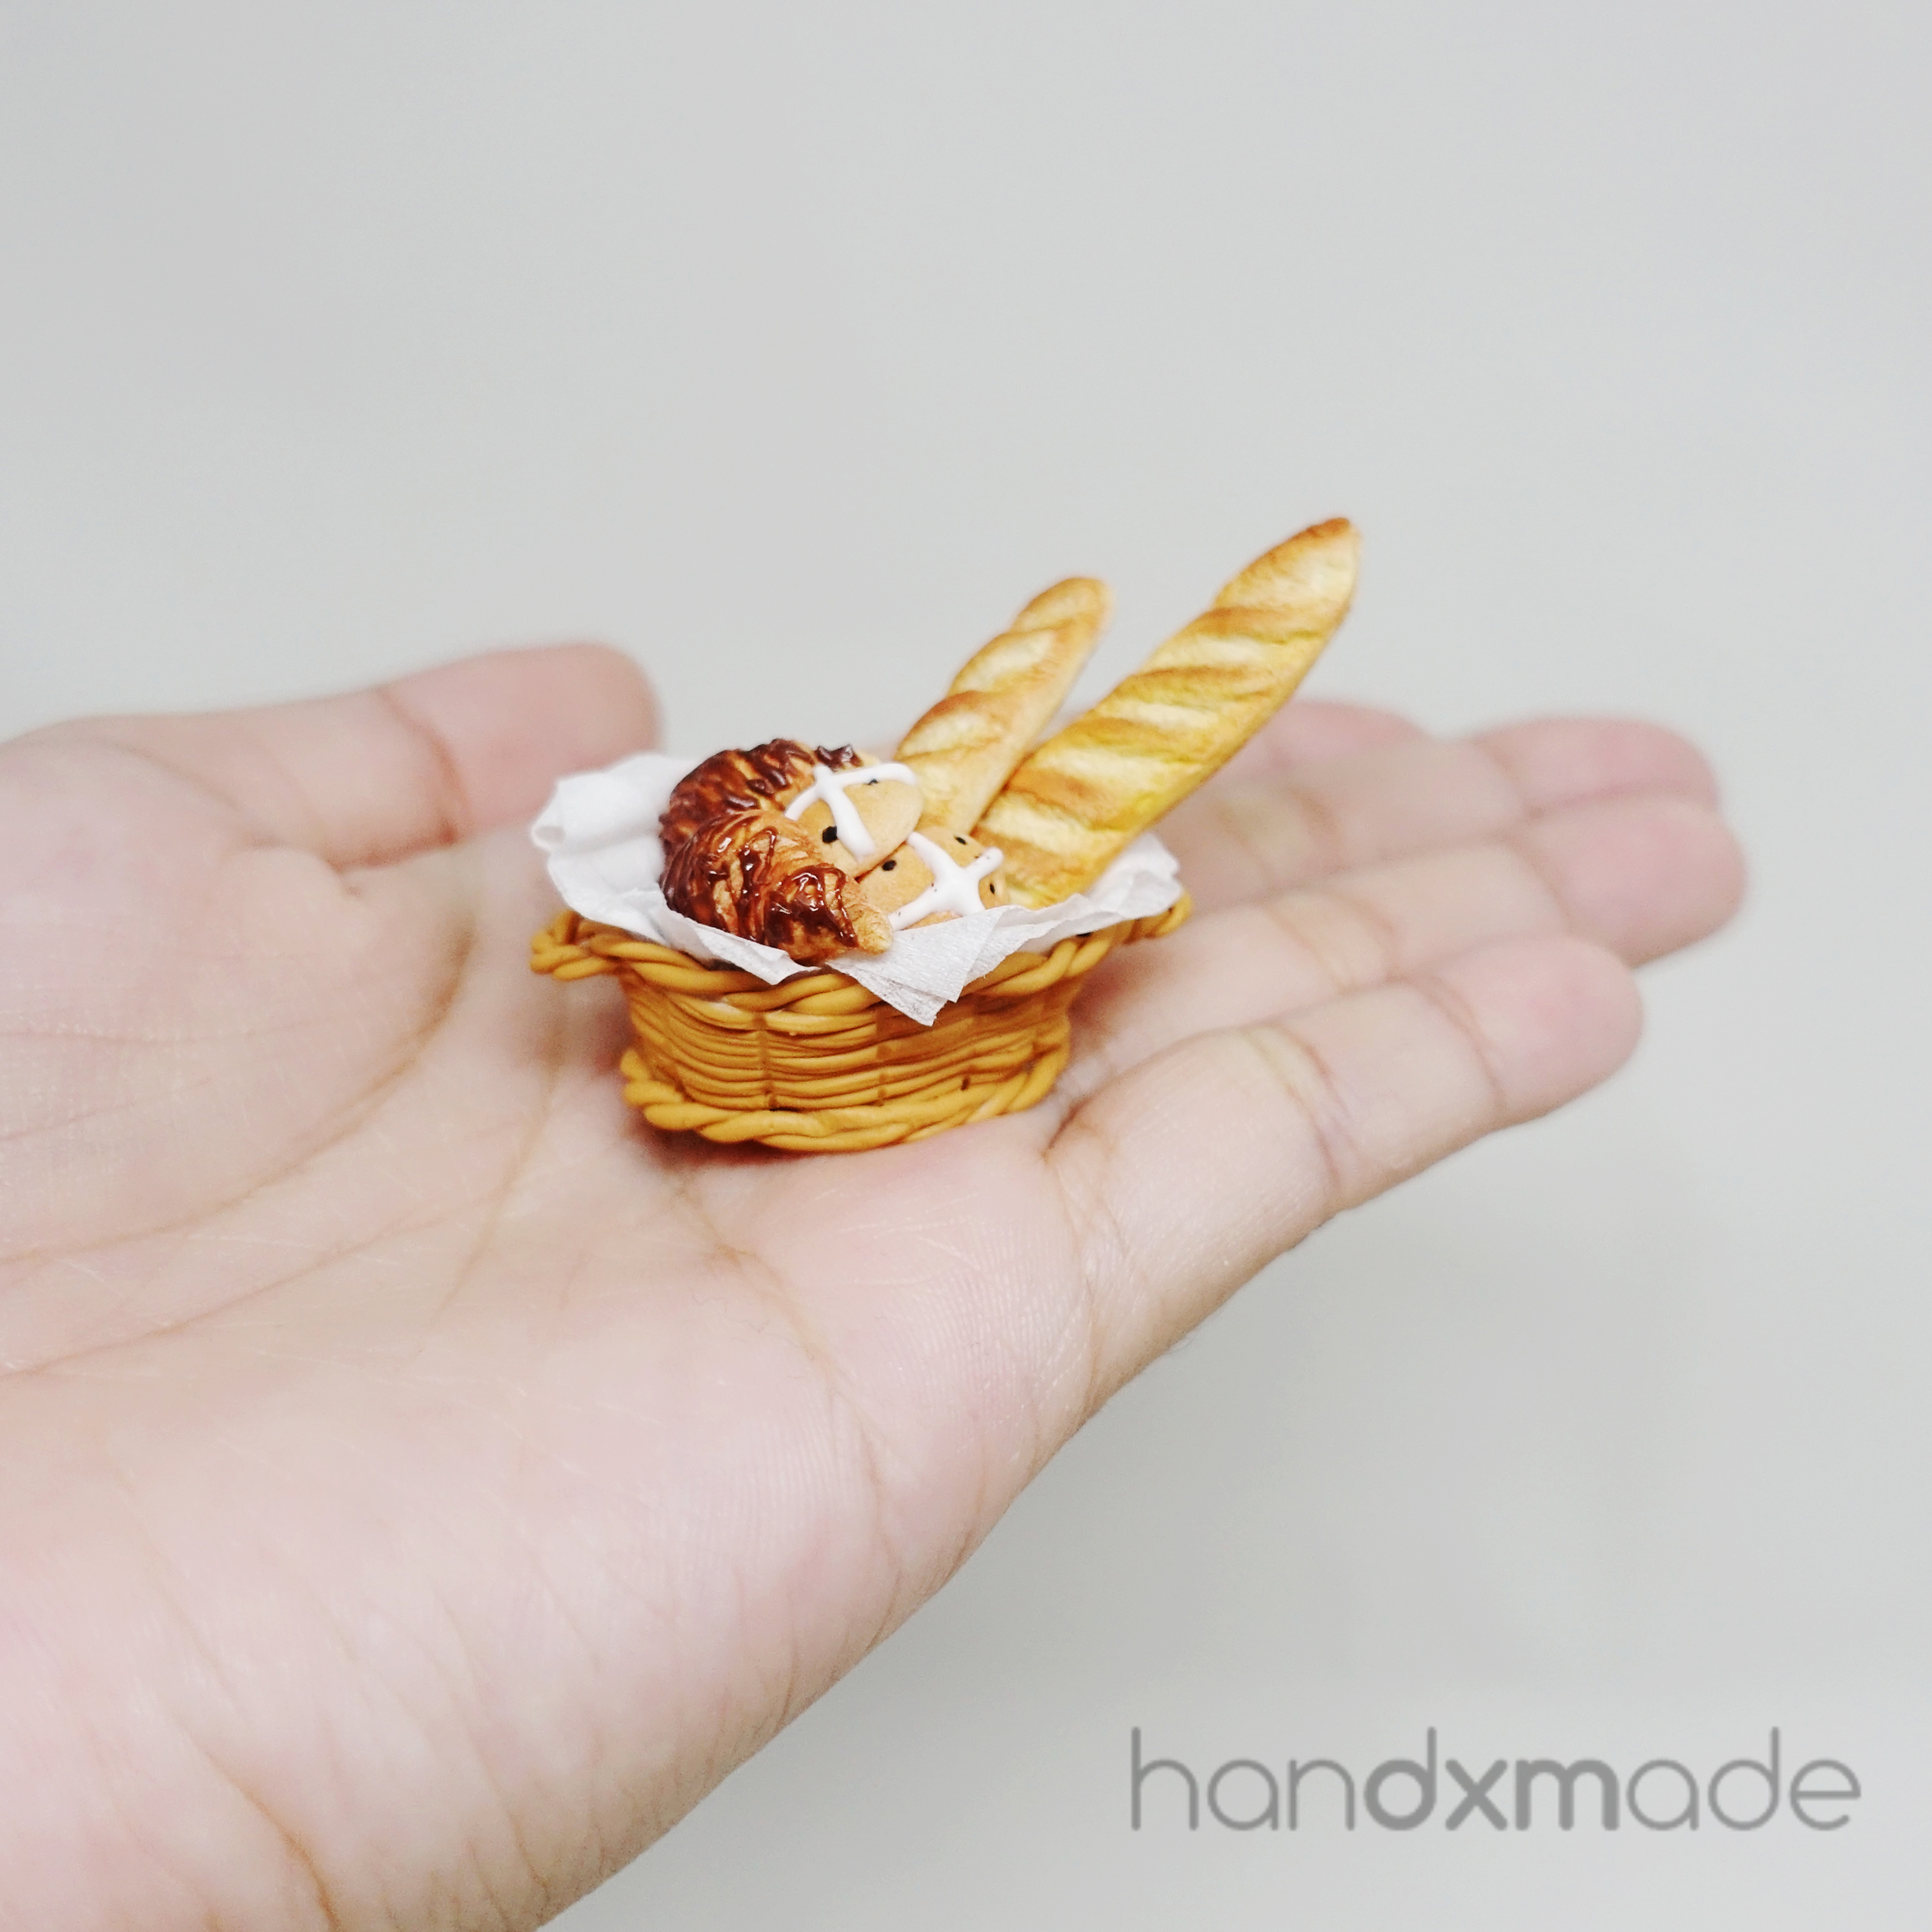
I made the basket with polymer clay too! I think having a basket is quite apt for the breads so I whipped out one.


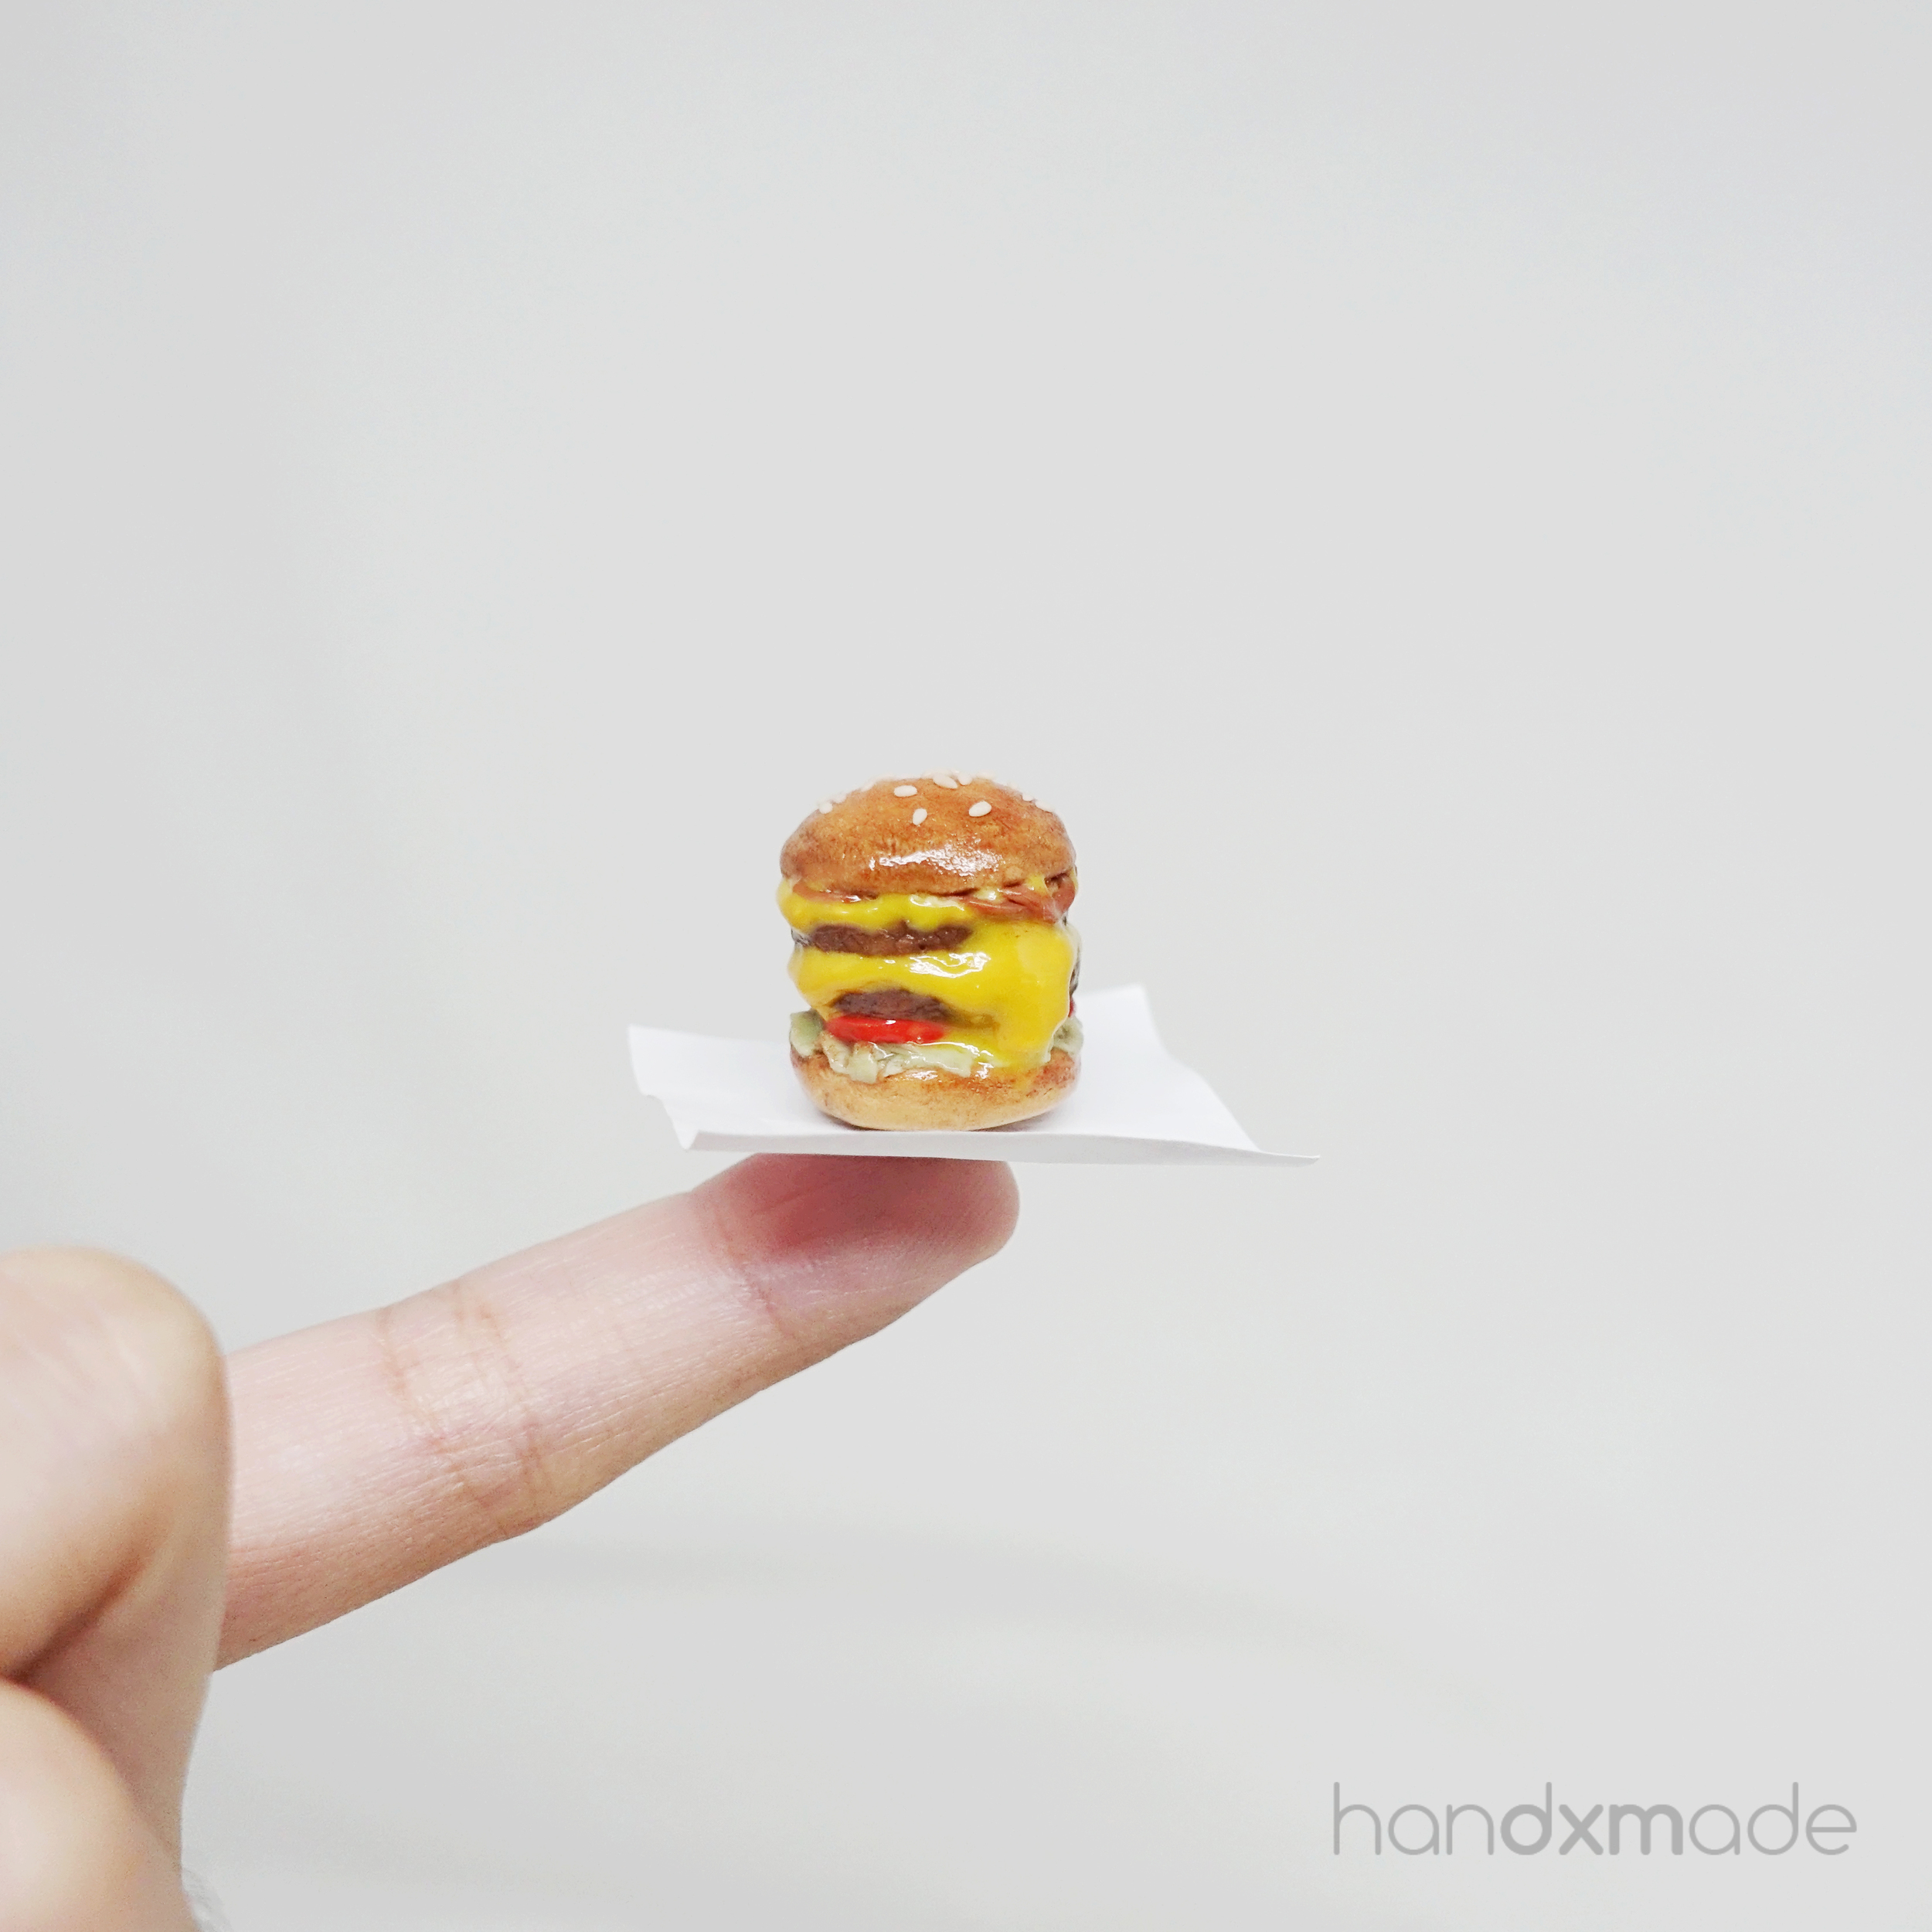
The one on the left is made following her tutorial, and the one on the right was made by looking as a reference photo of Wolf Burger (located in Pasarbella!) Btw their burgers are really good, really need to try hahaha. But anyway! Most of the things are the same, like the patties. But I made the cheese really melted because the ref photo has LOTS of melted cheese hehehe.
This really shows how you can improvise from the tutorials!

This is actually the last item I made but I'm going by alphabetical order instead hahaha. You can see my photo editing skills improved quite a bit compared to the first few ones lol!
I think I put too much gloss glaze in this one oops.
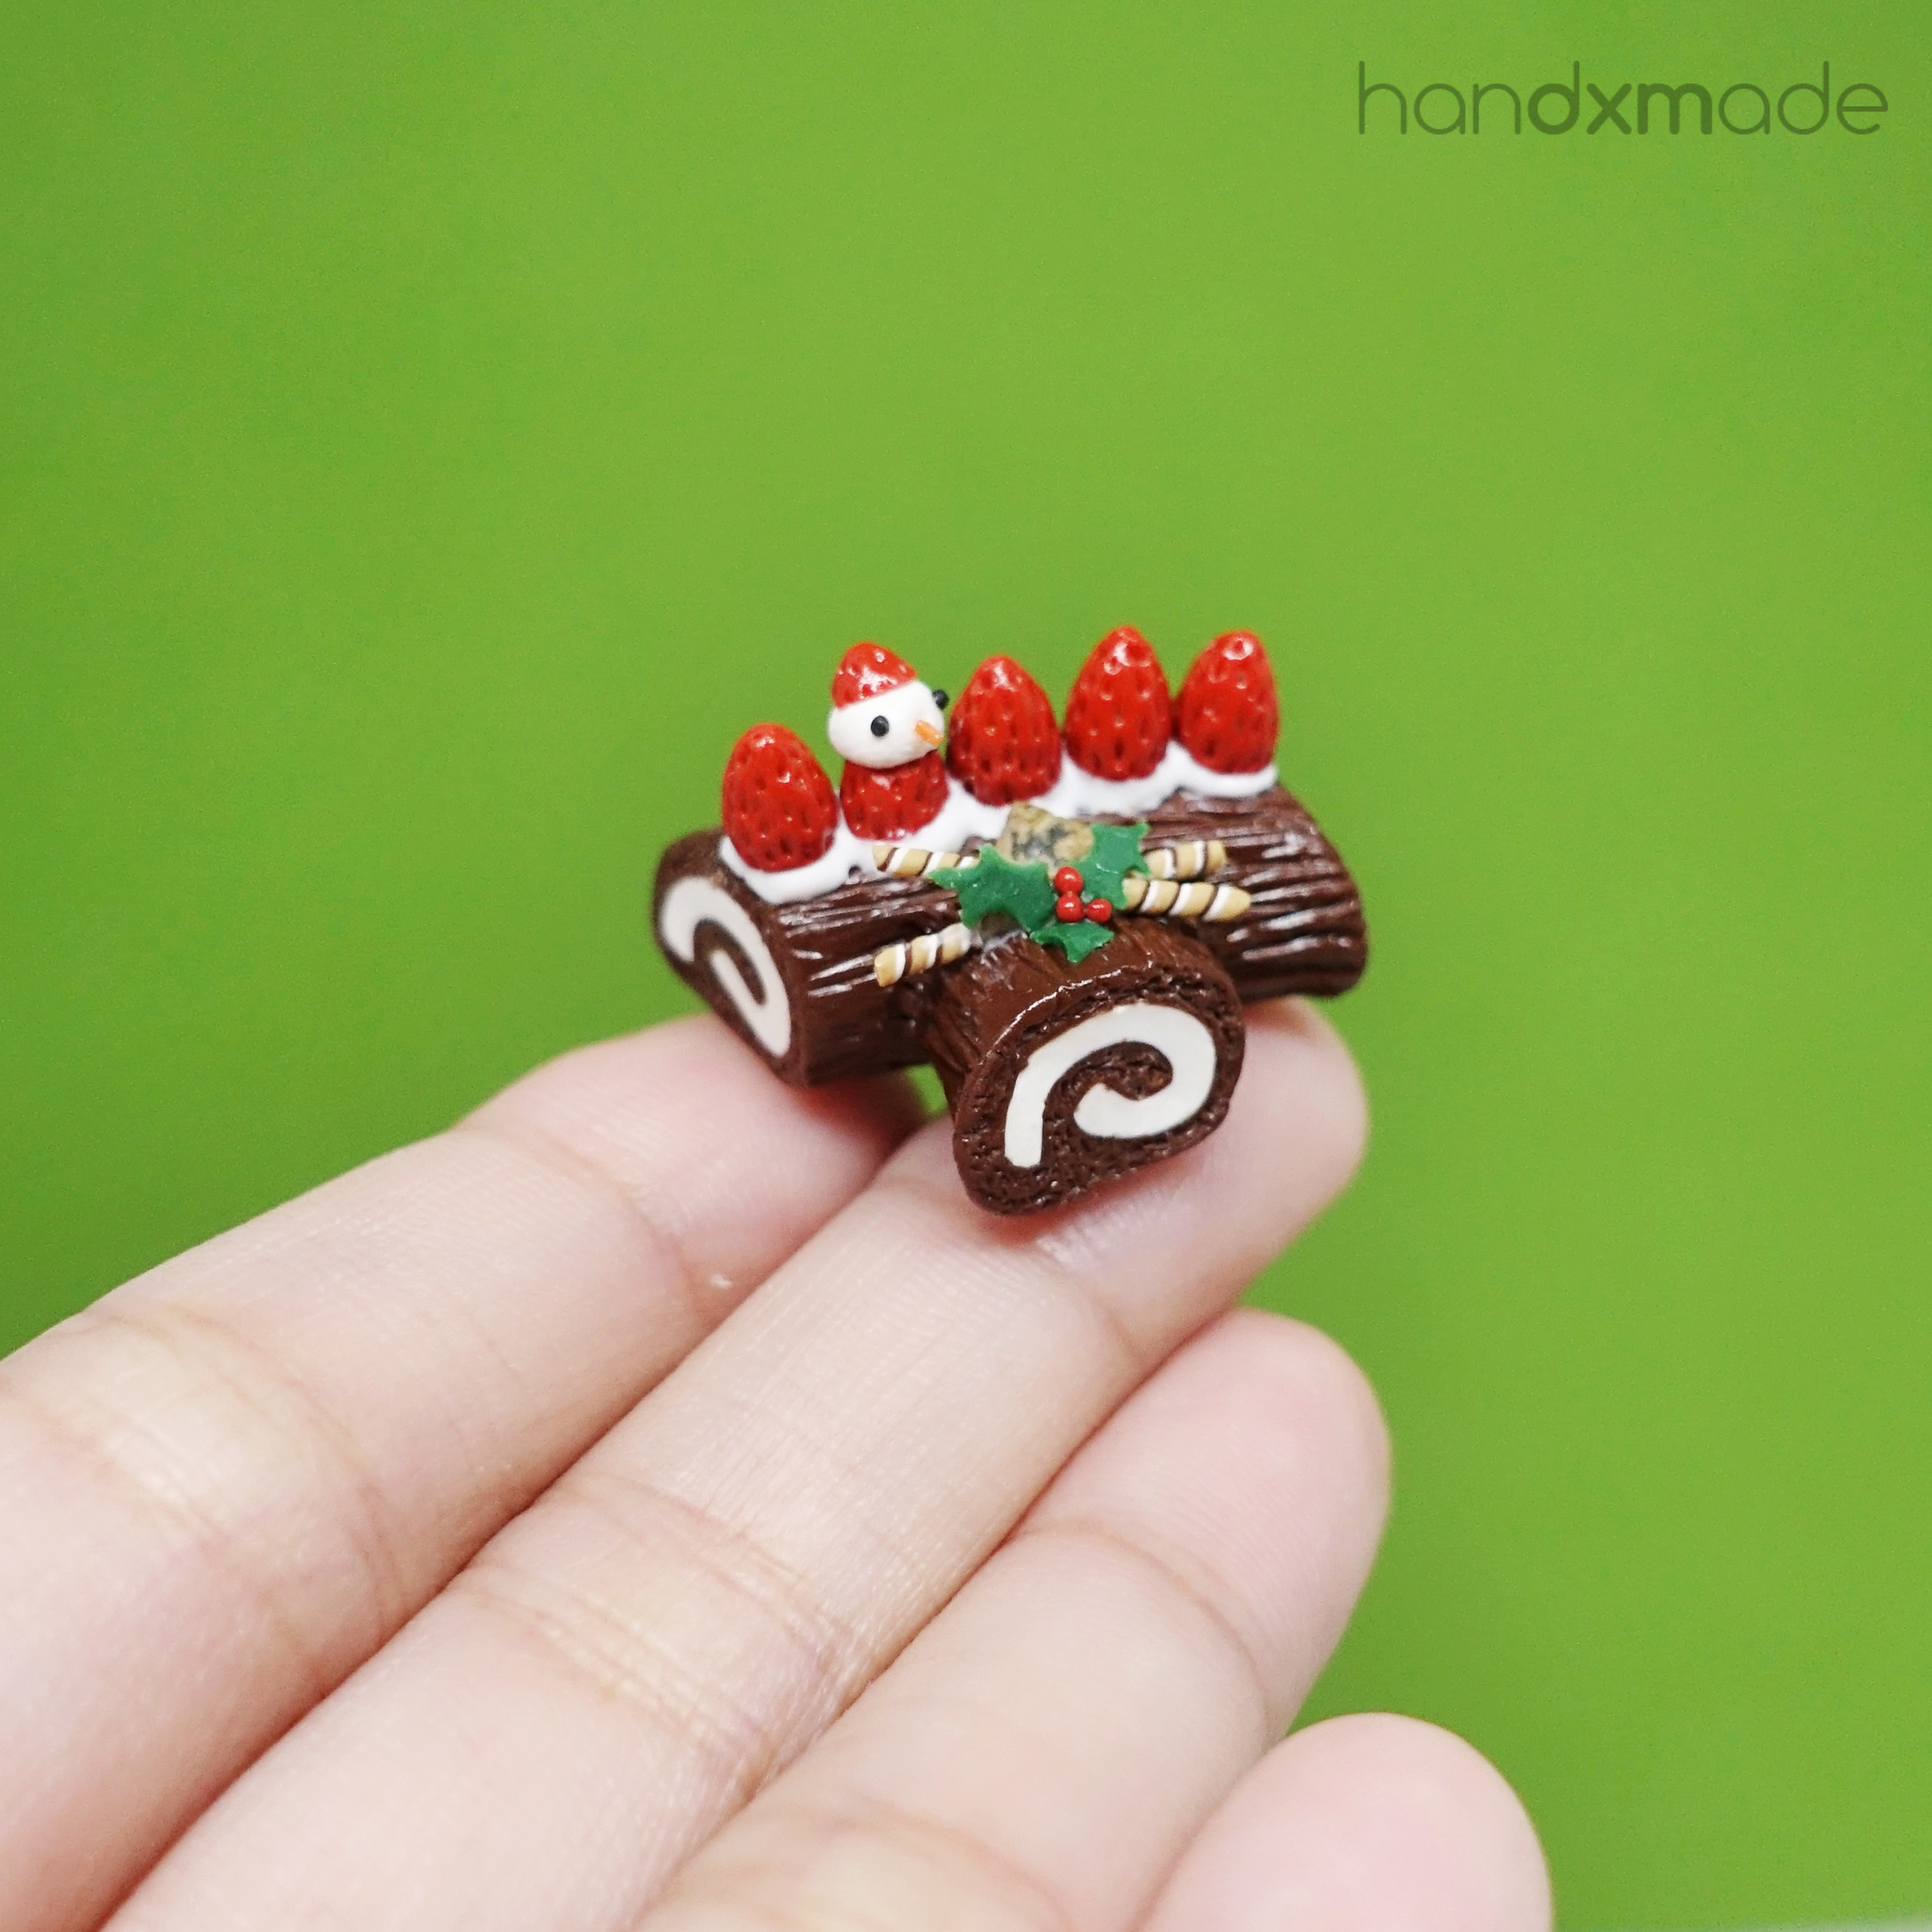
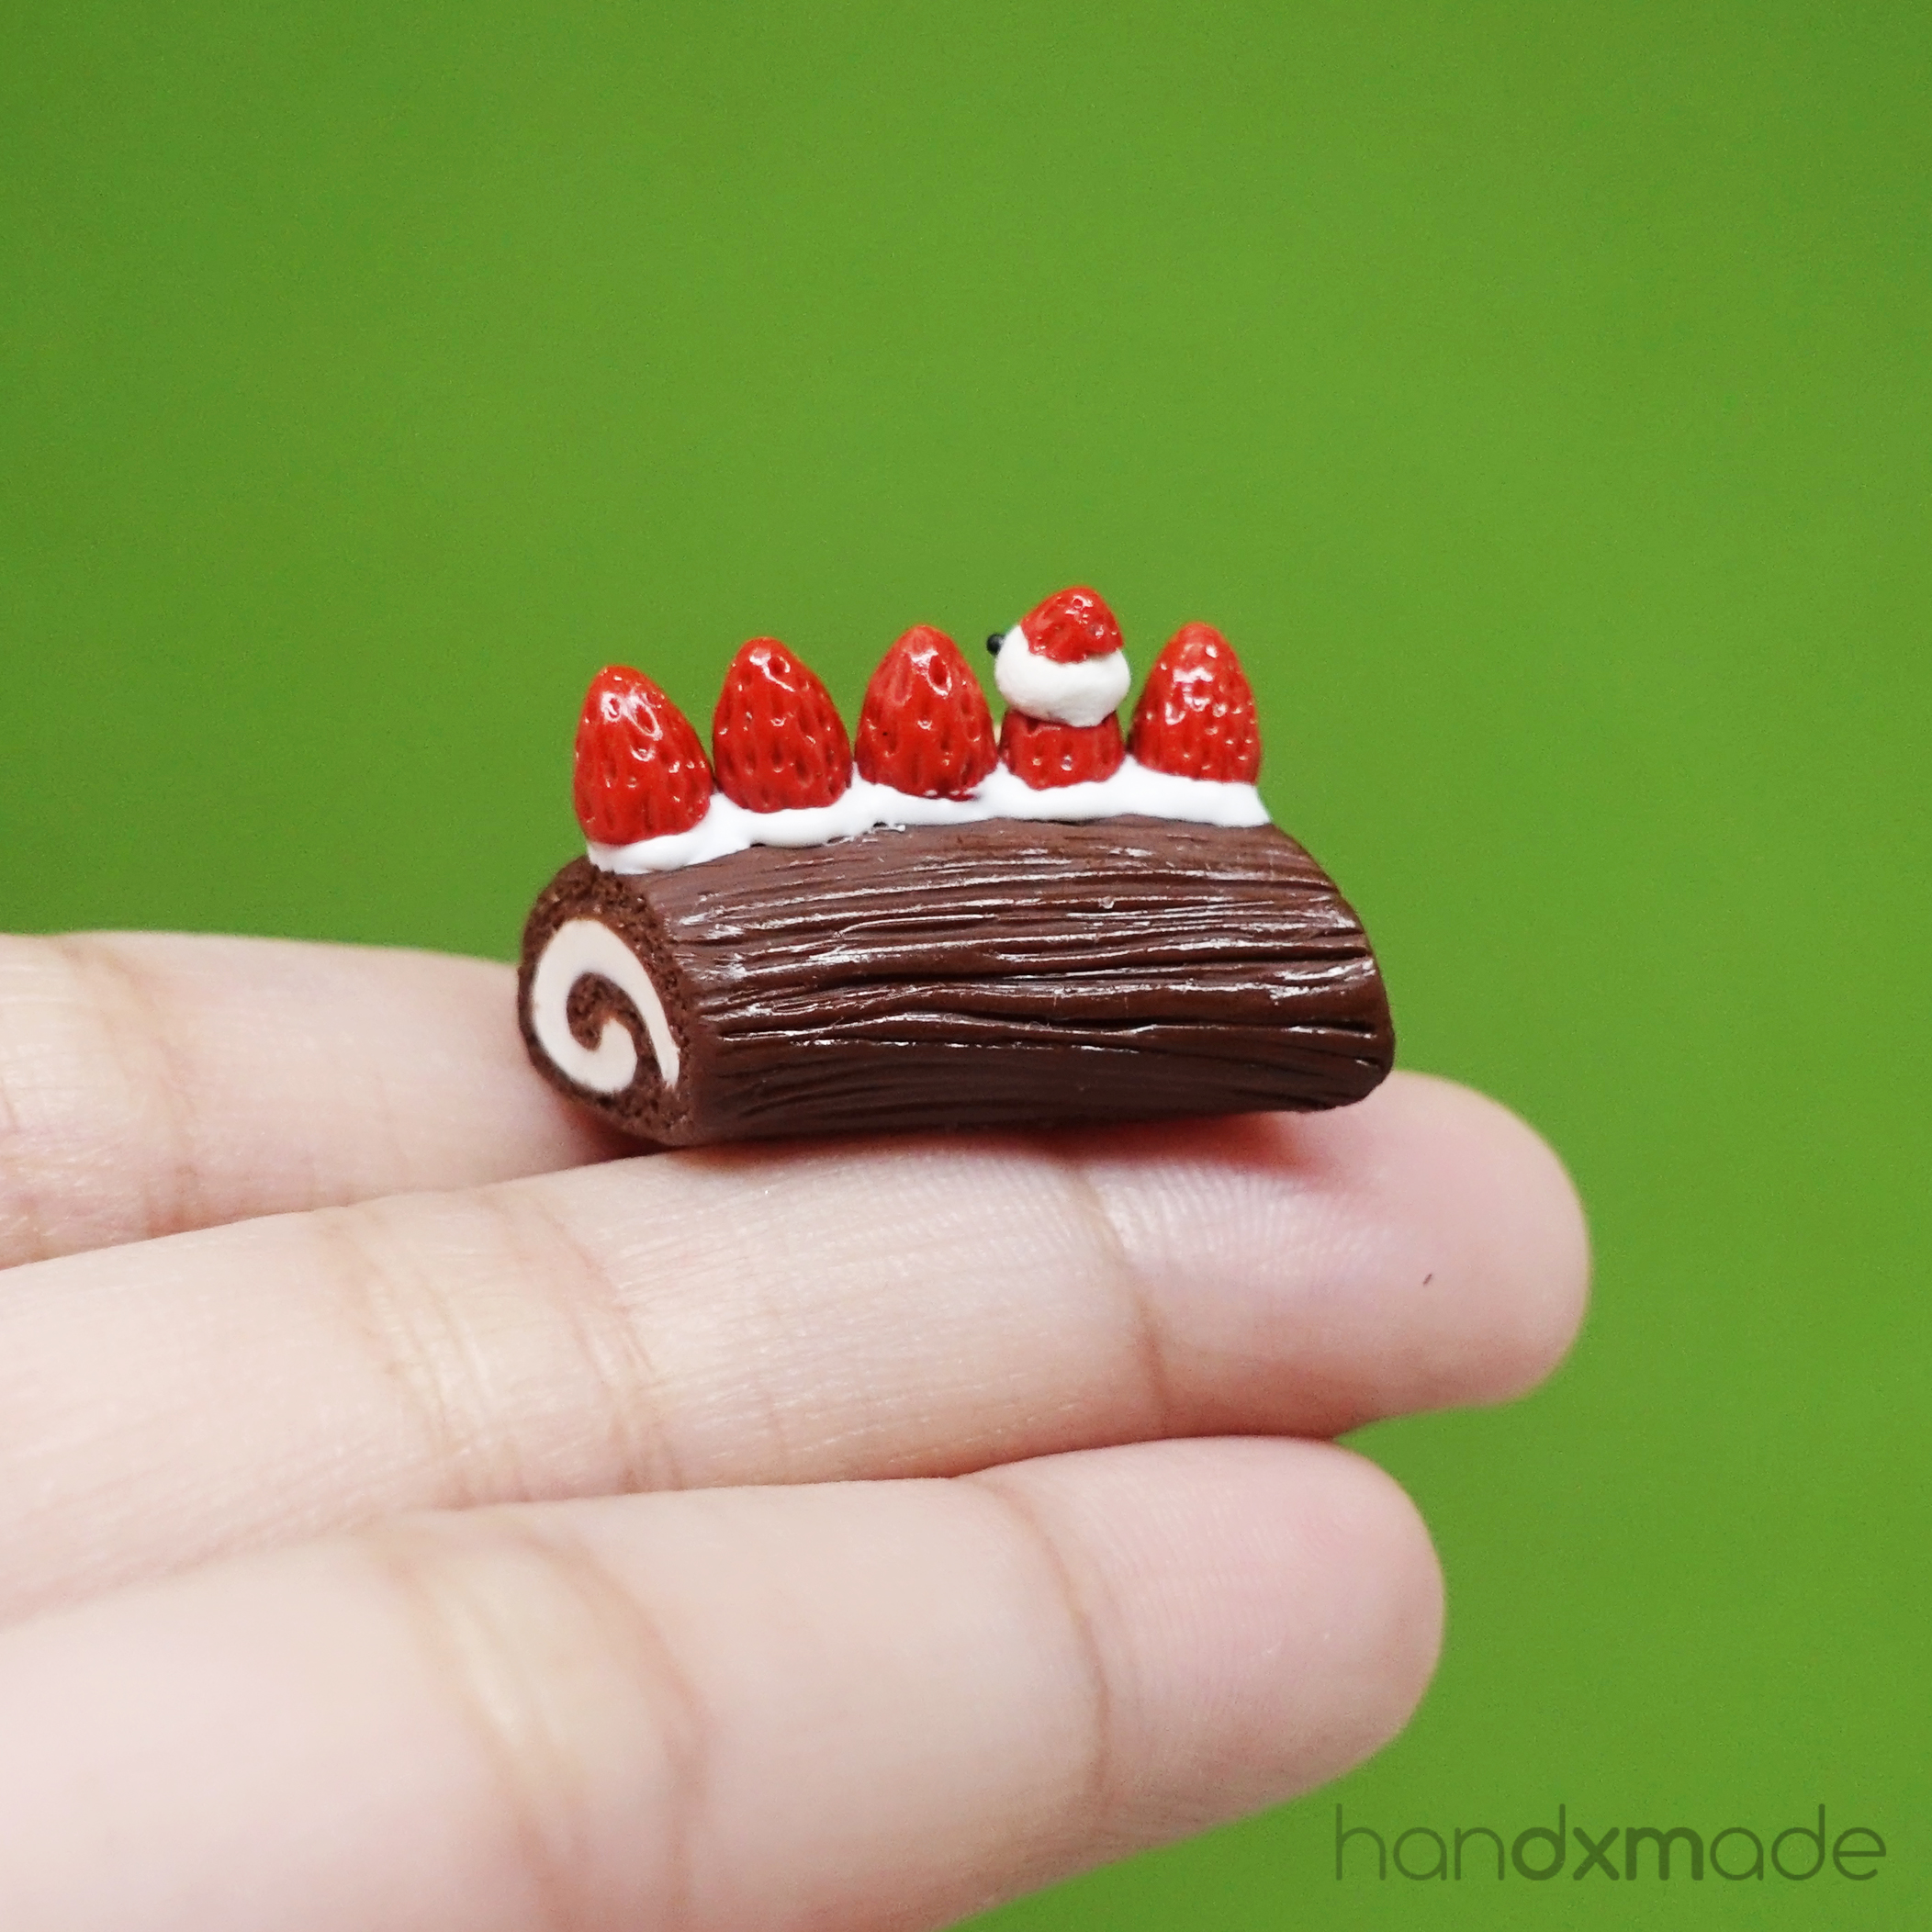
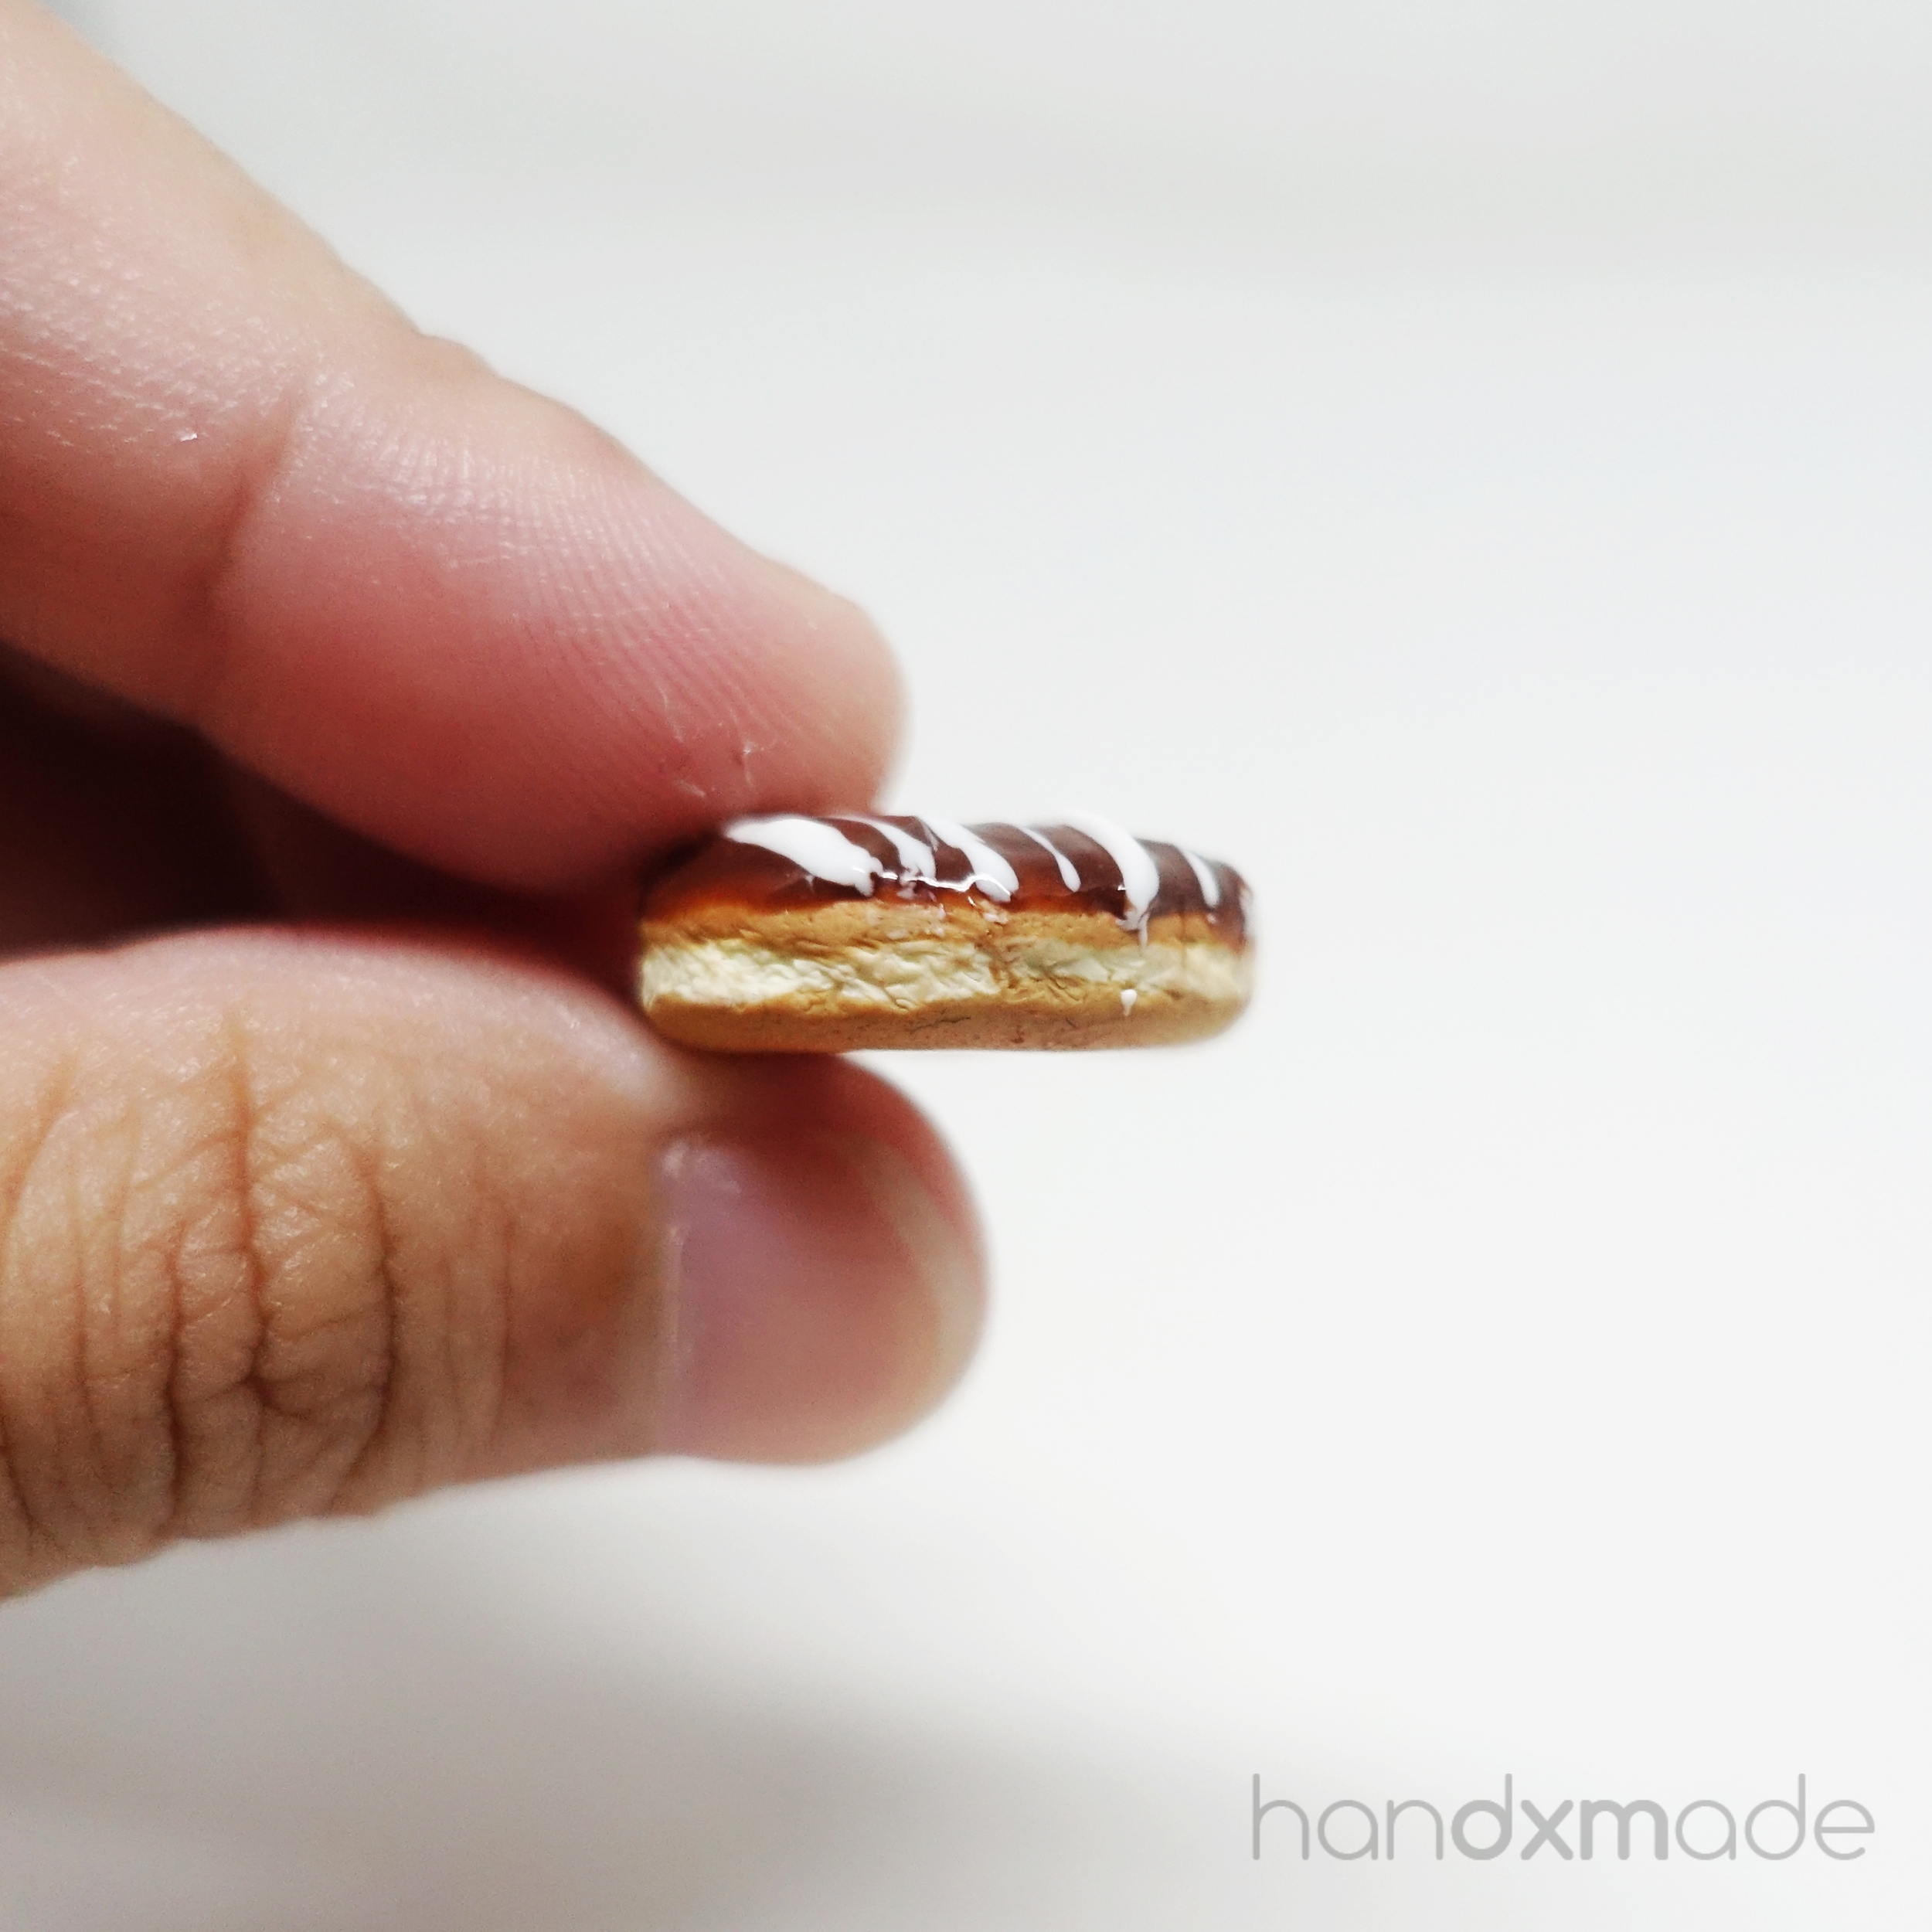
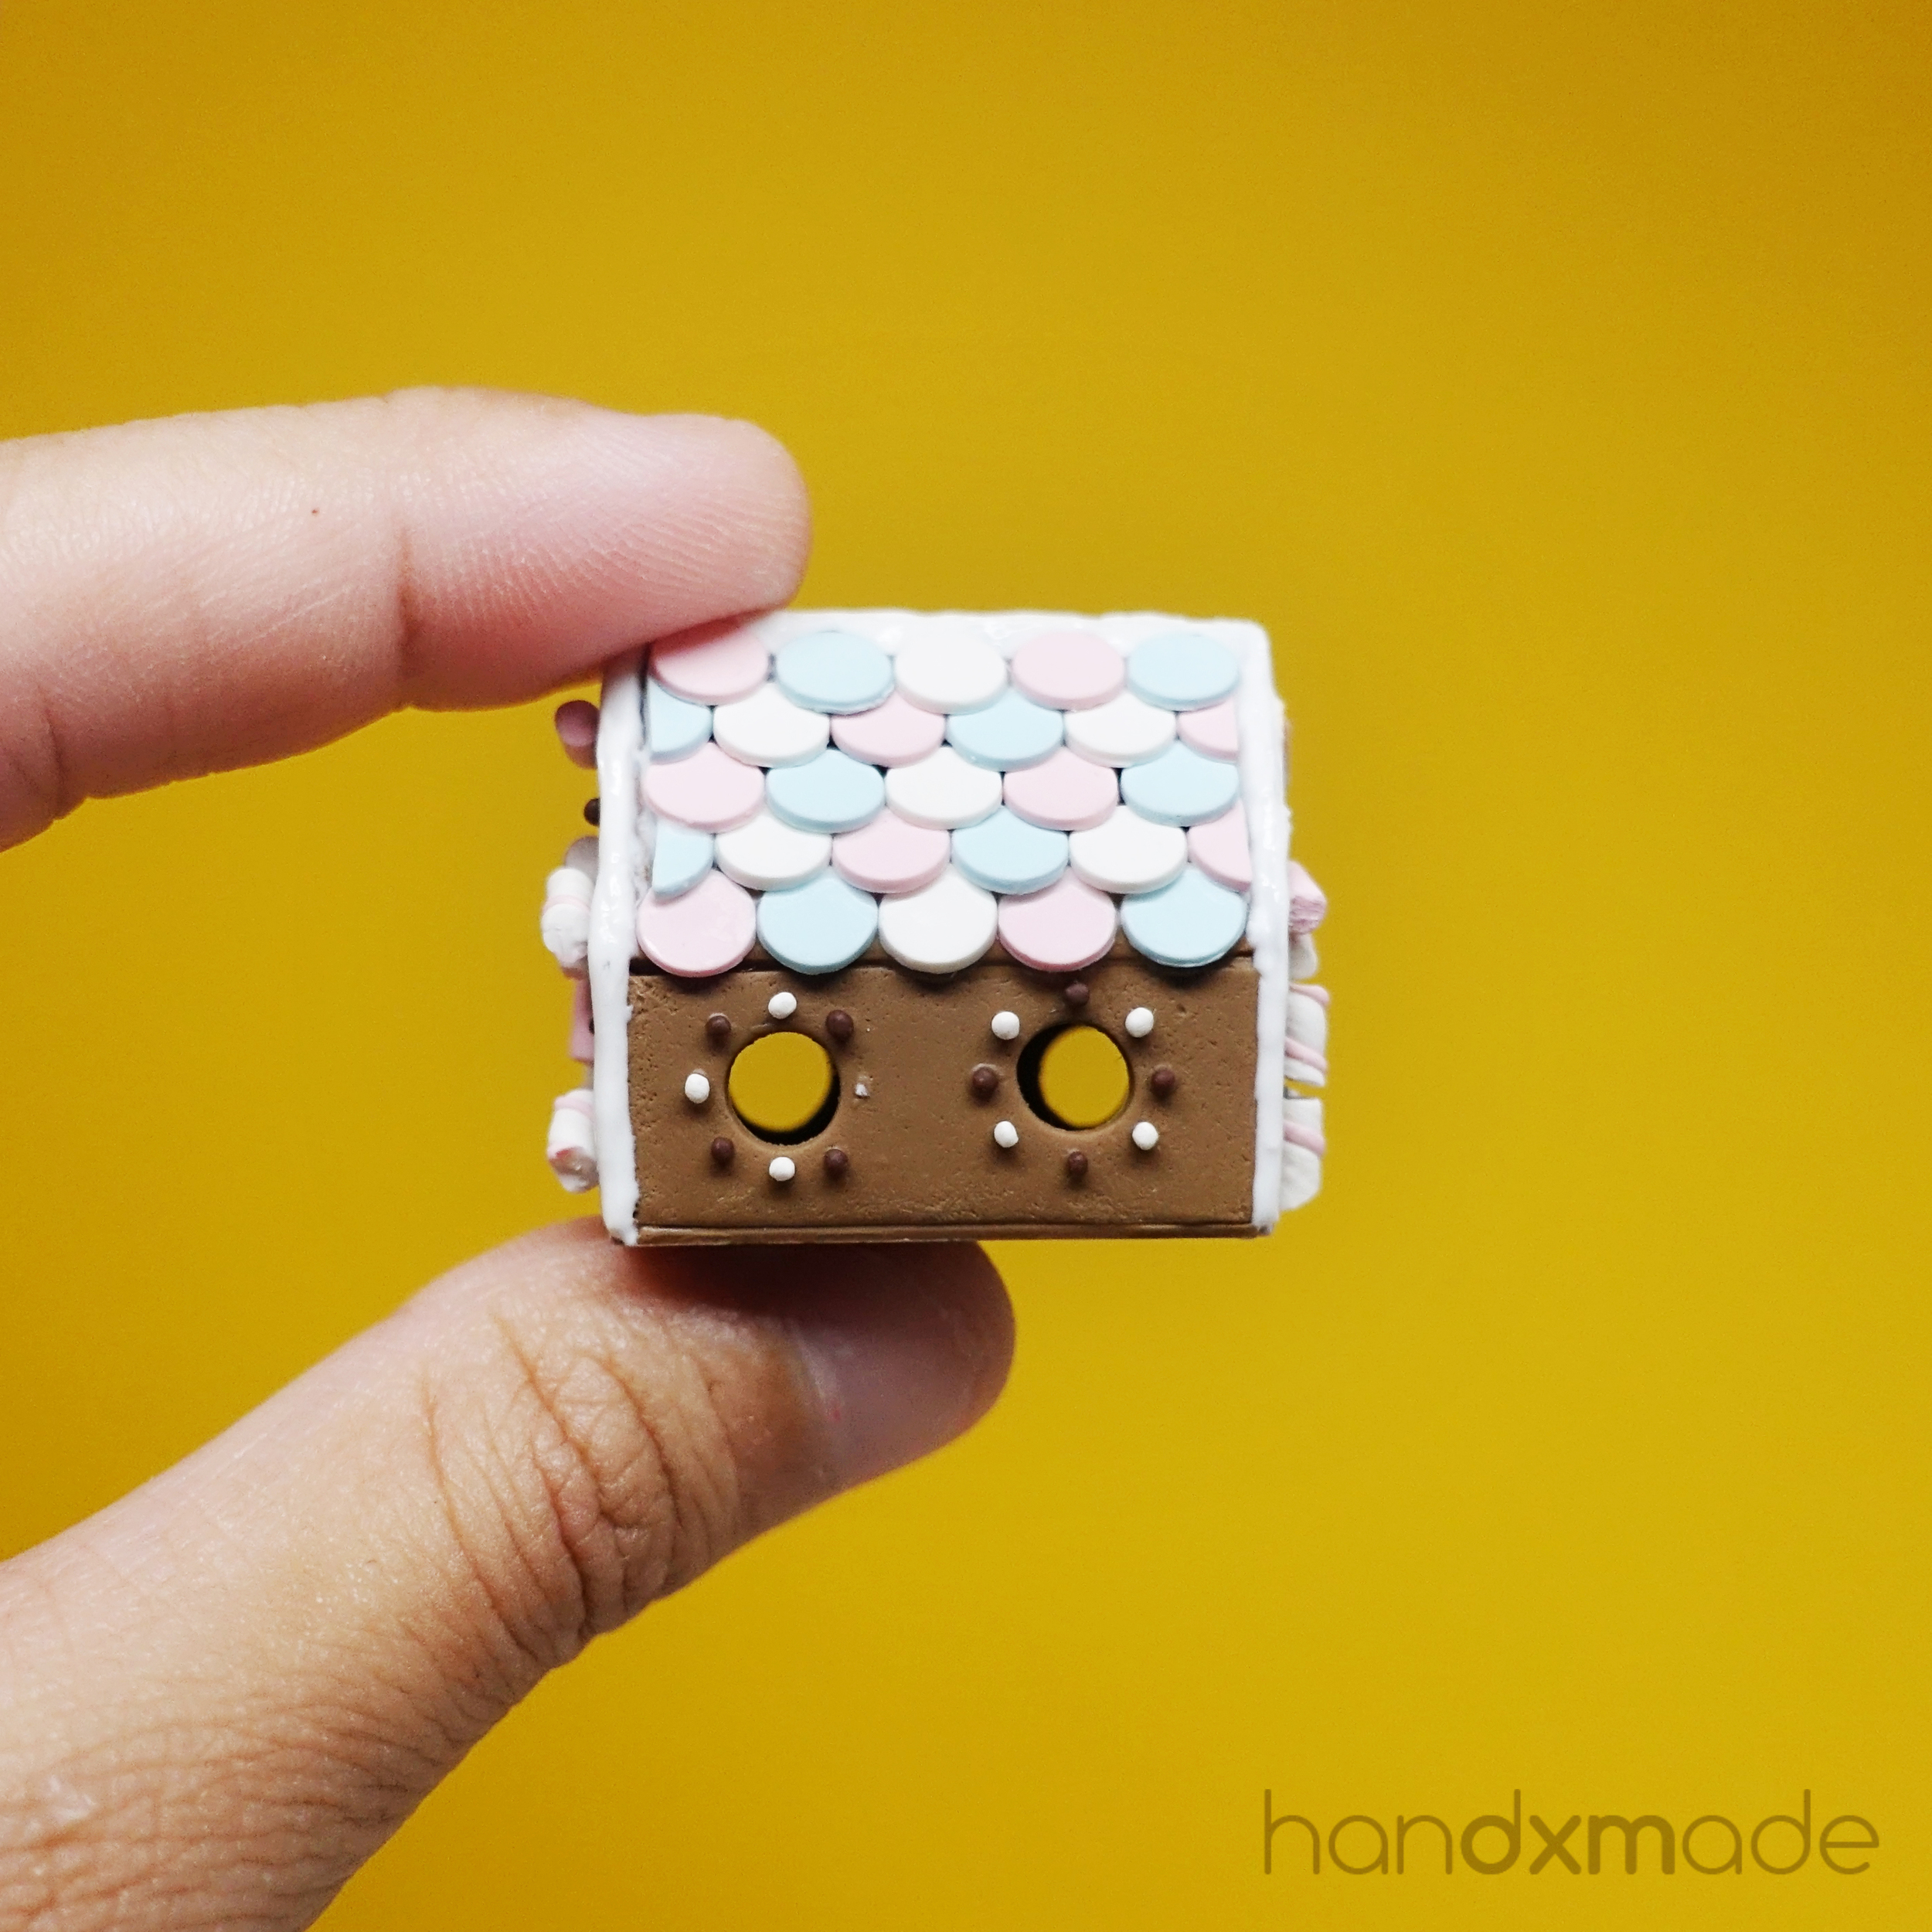
The snowman strawberry is also in the tutorial! SO ADORABLE RIGHT HAHAHA. The decorations here were actually quite tough to make, but look at the wafer biscuits!

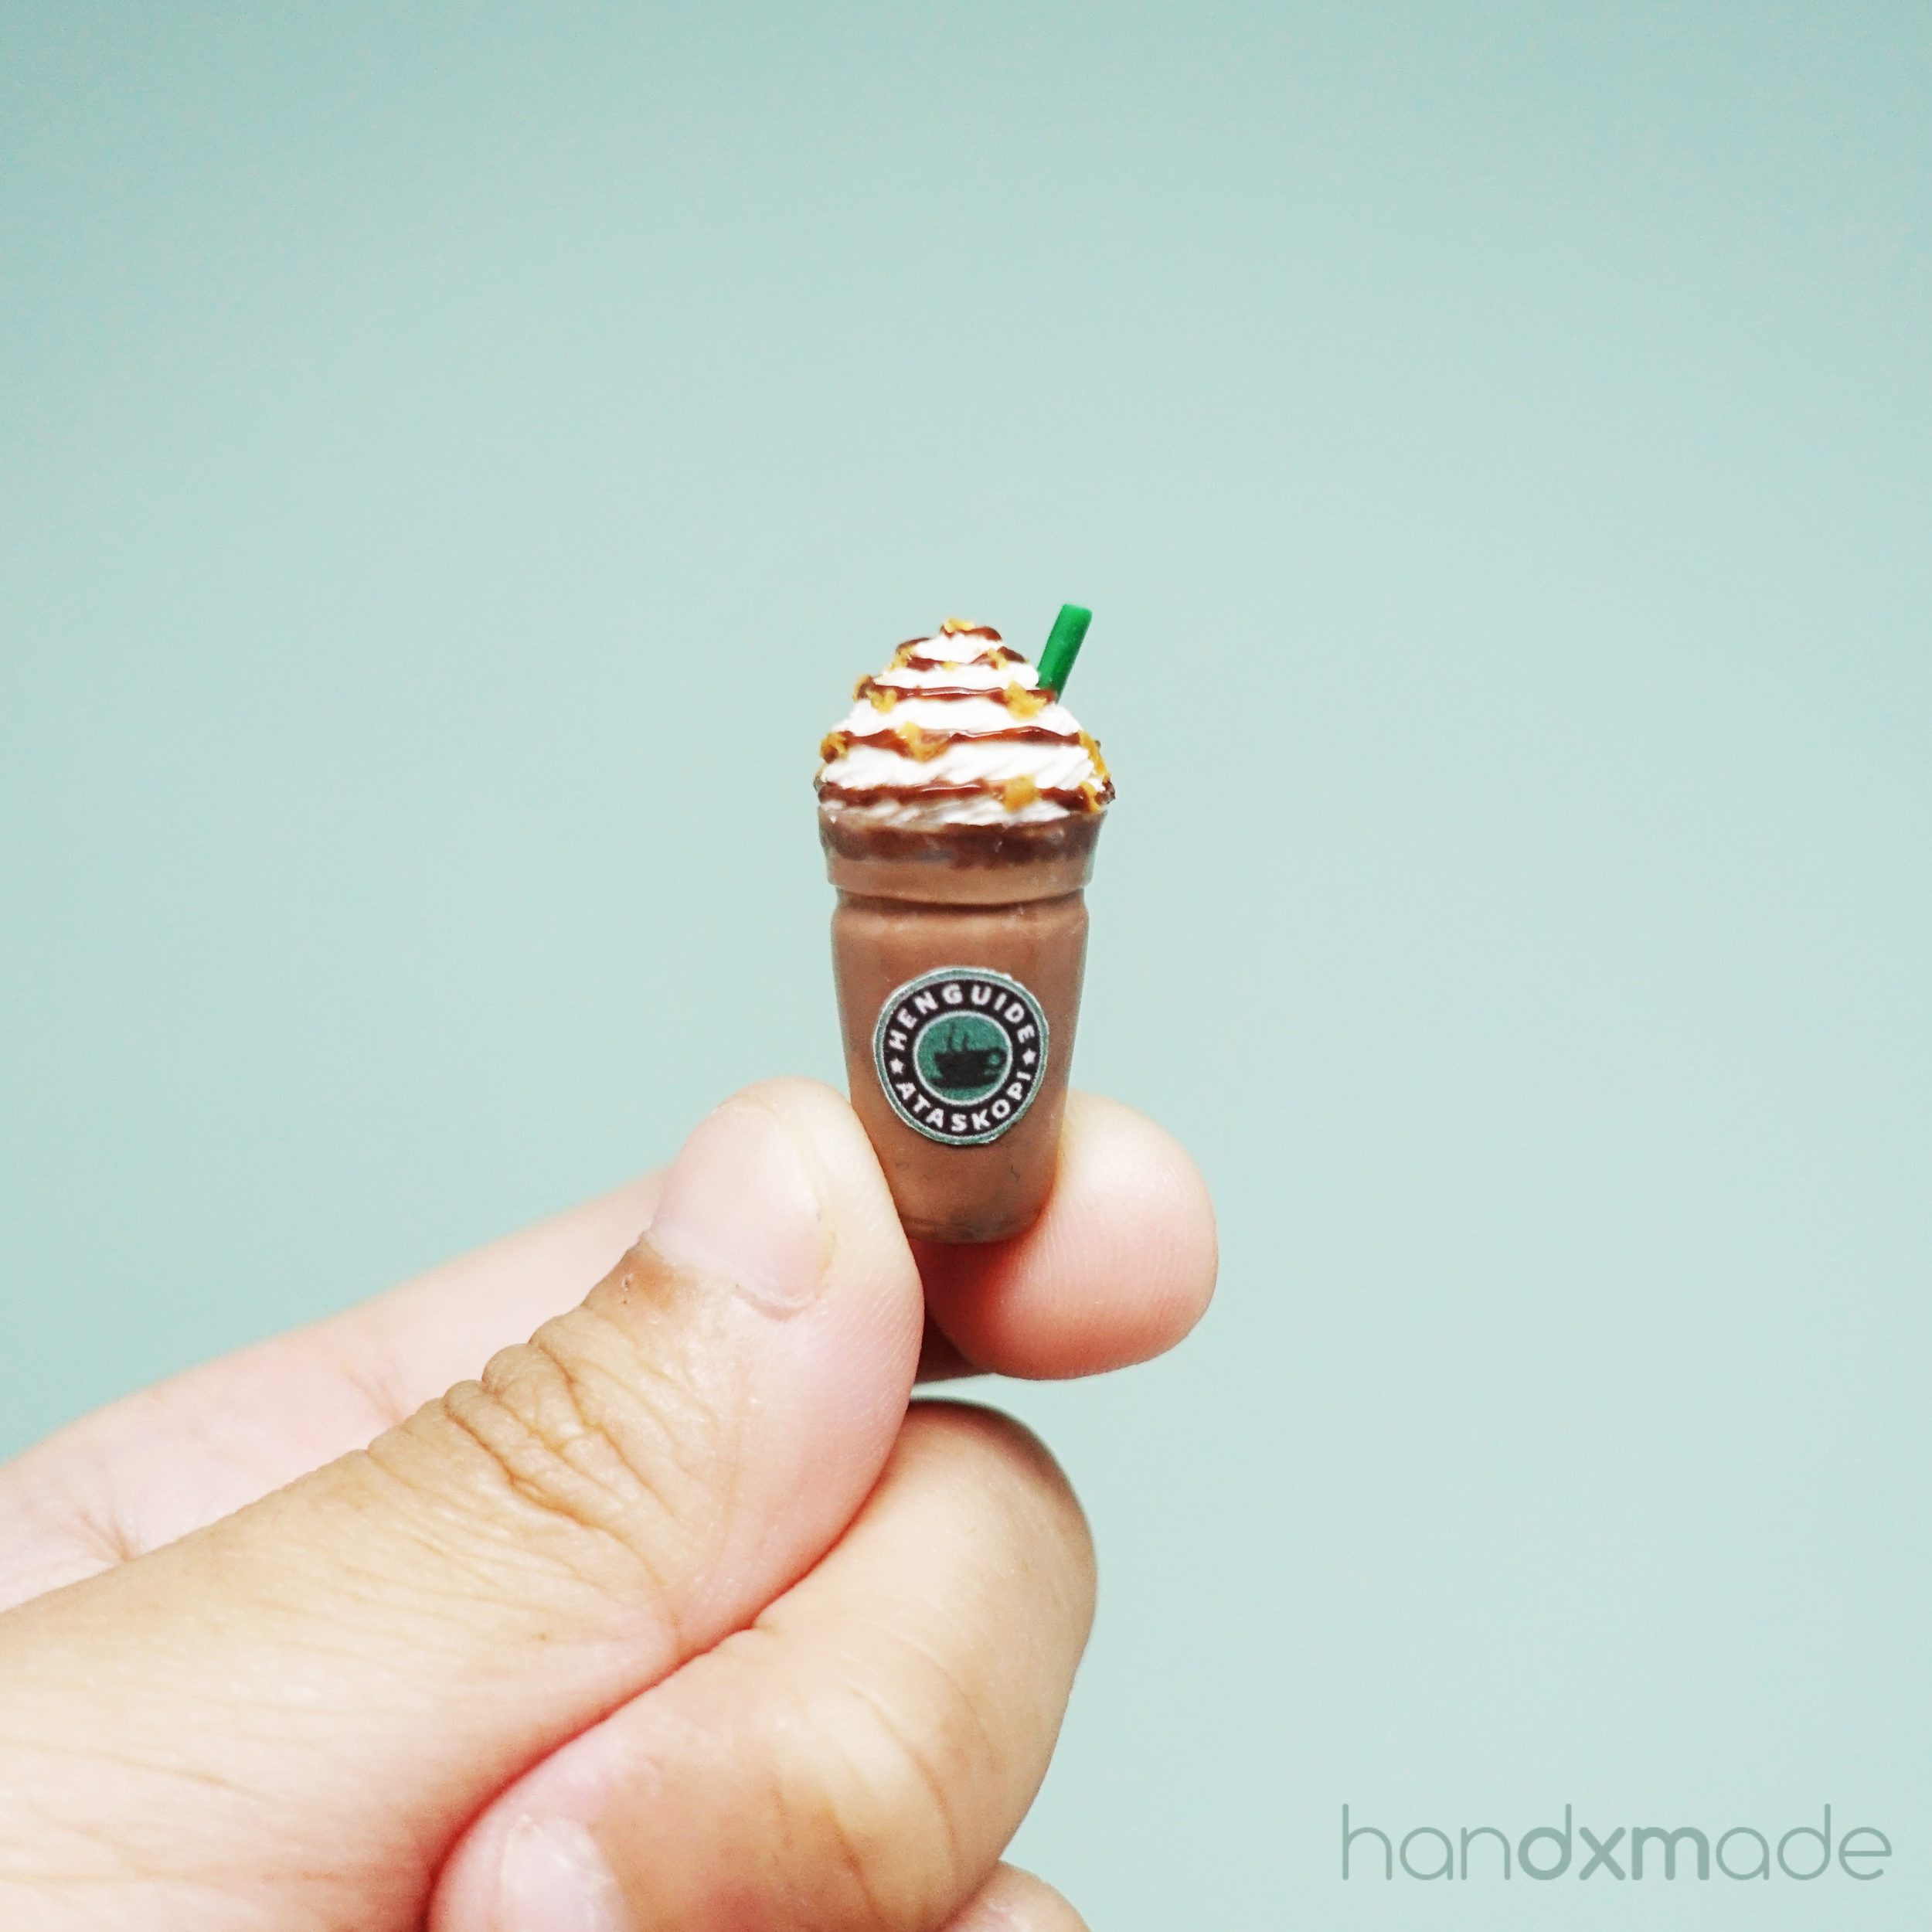
For this drink, you have to make the label yourself, but that's relatively easy to do! Just google a certain brand of coffee and print it! But I actually went to create my own one- all in the name of fun! So don't get angry when you read what I wrote on my label hahahaha.

For this tutorial, Jocelyn teaches you two type of cupcake tops!

Here's another one, an animal cupcake! So cute hahaha. But I was lazy...so I just made a simple swirl!
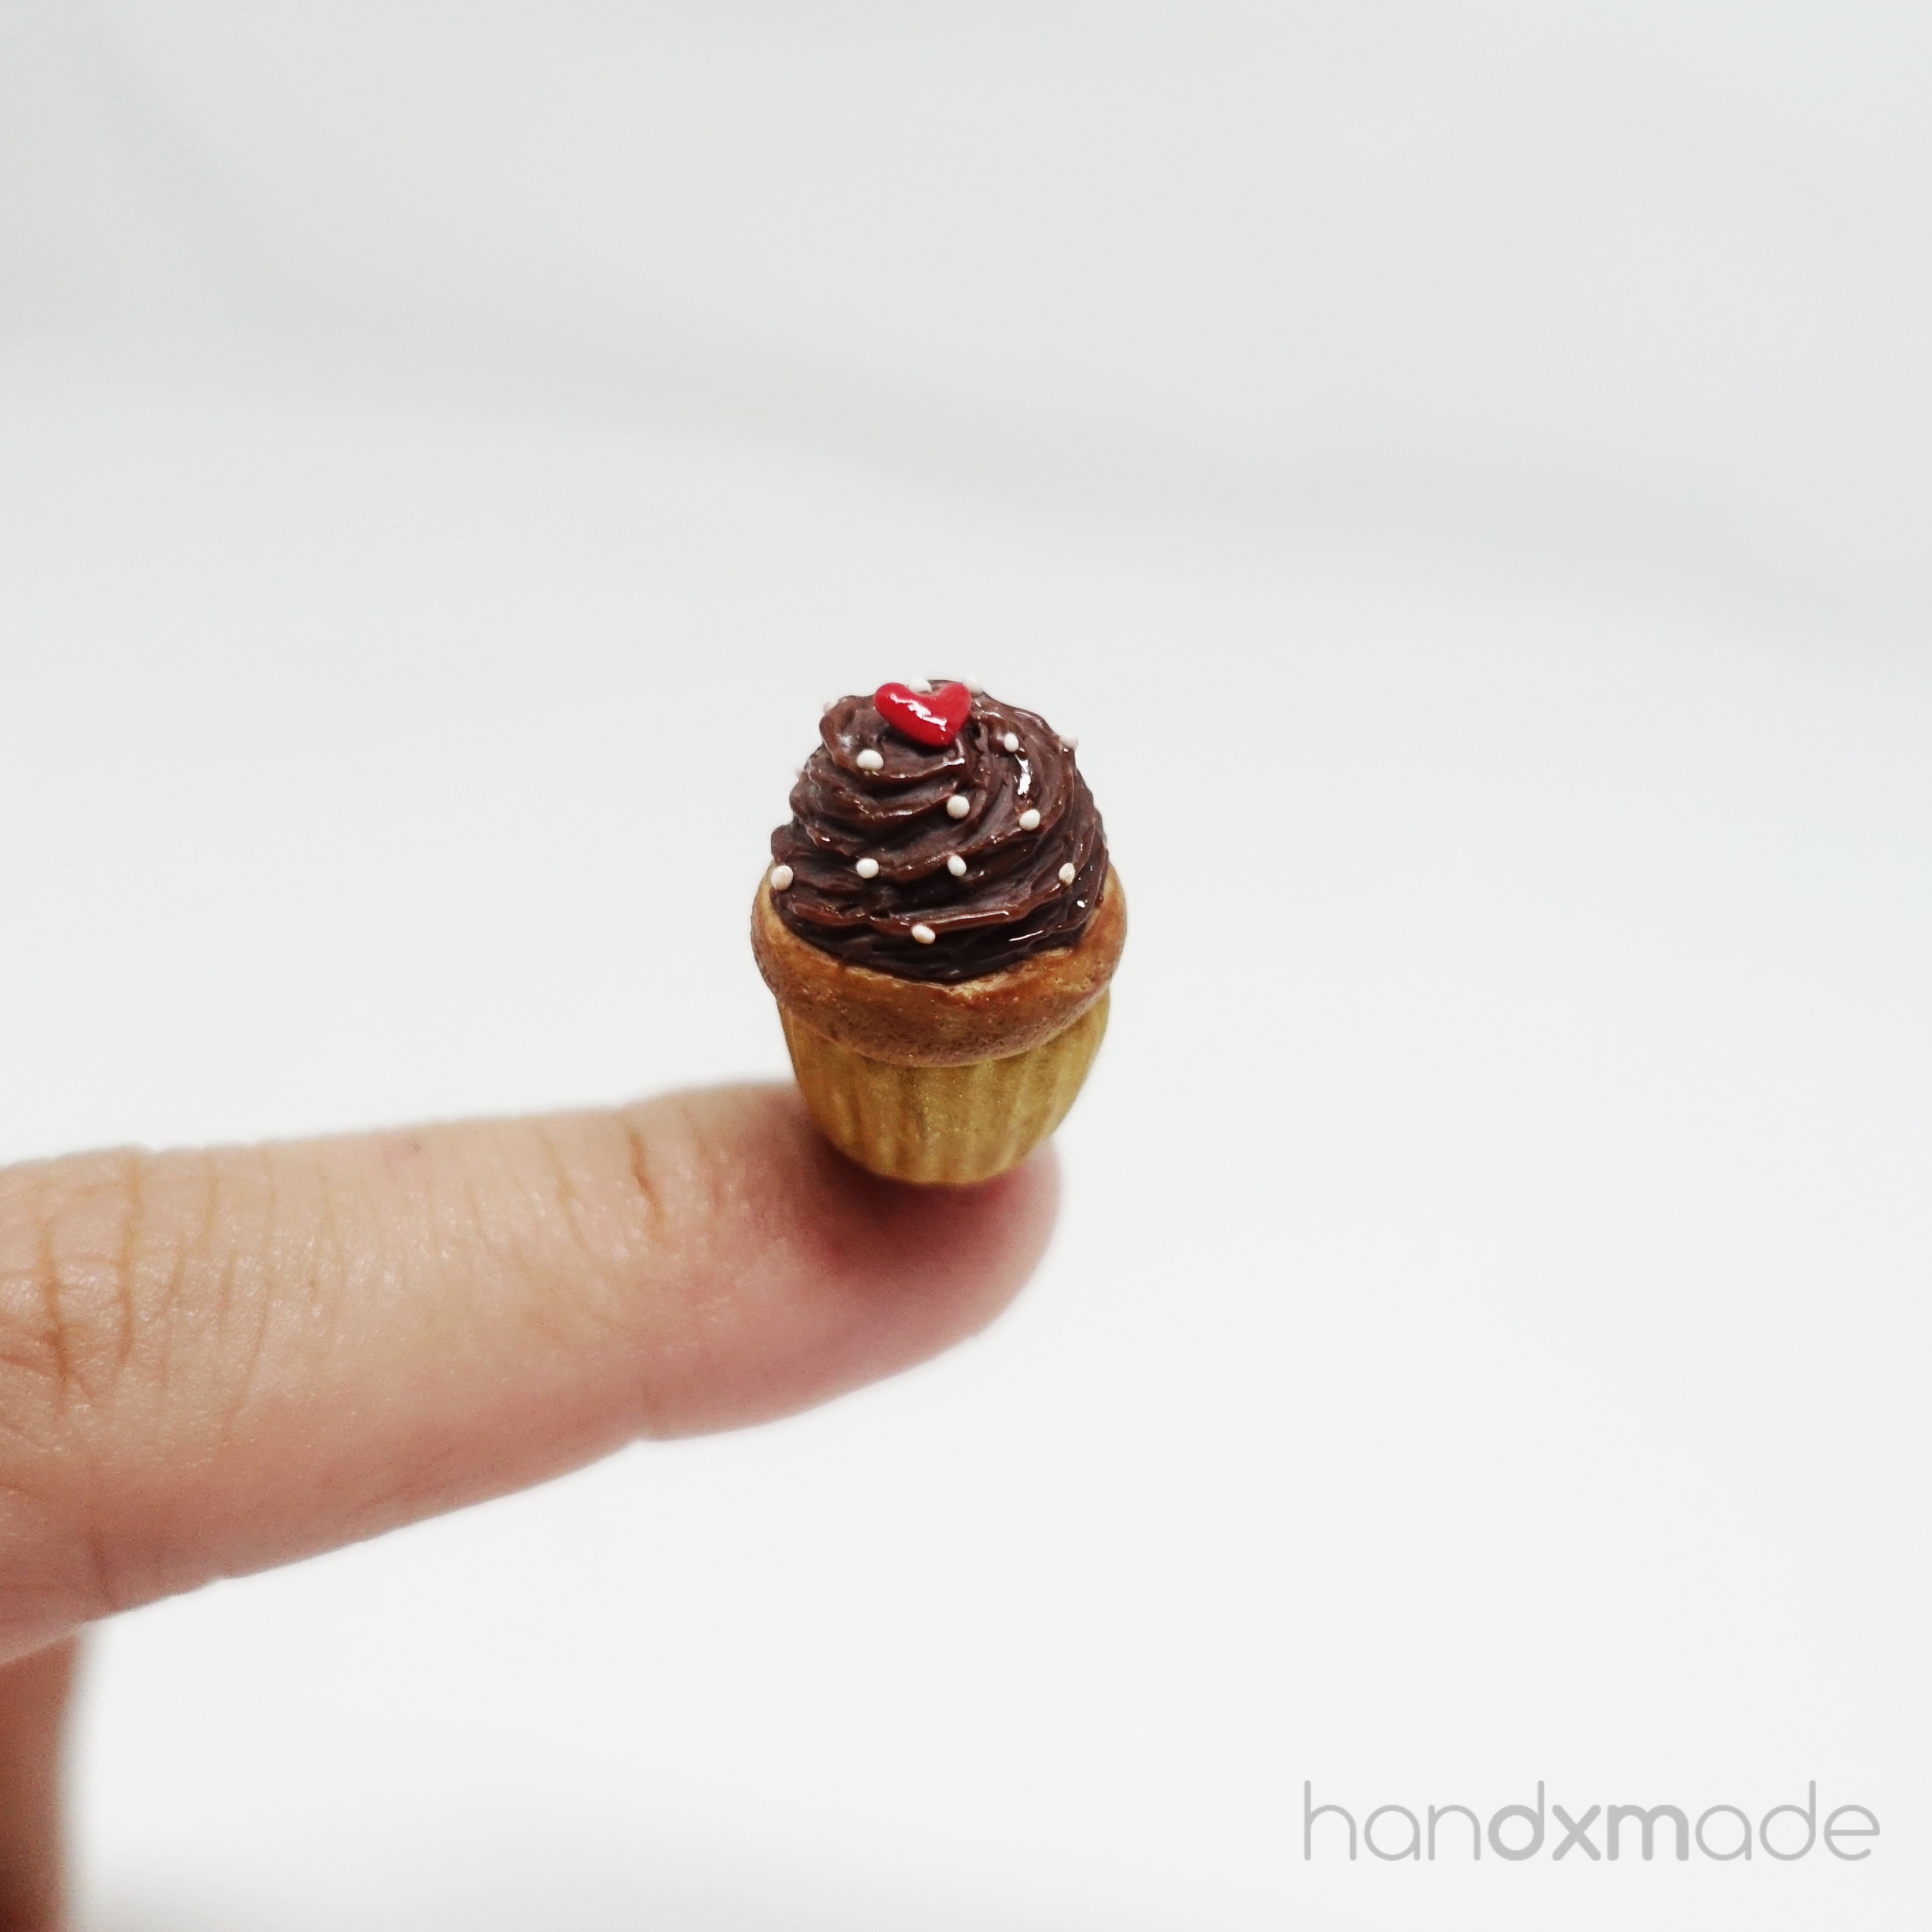
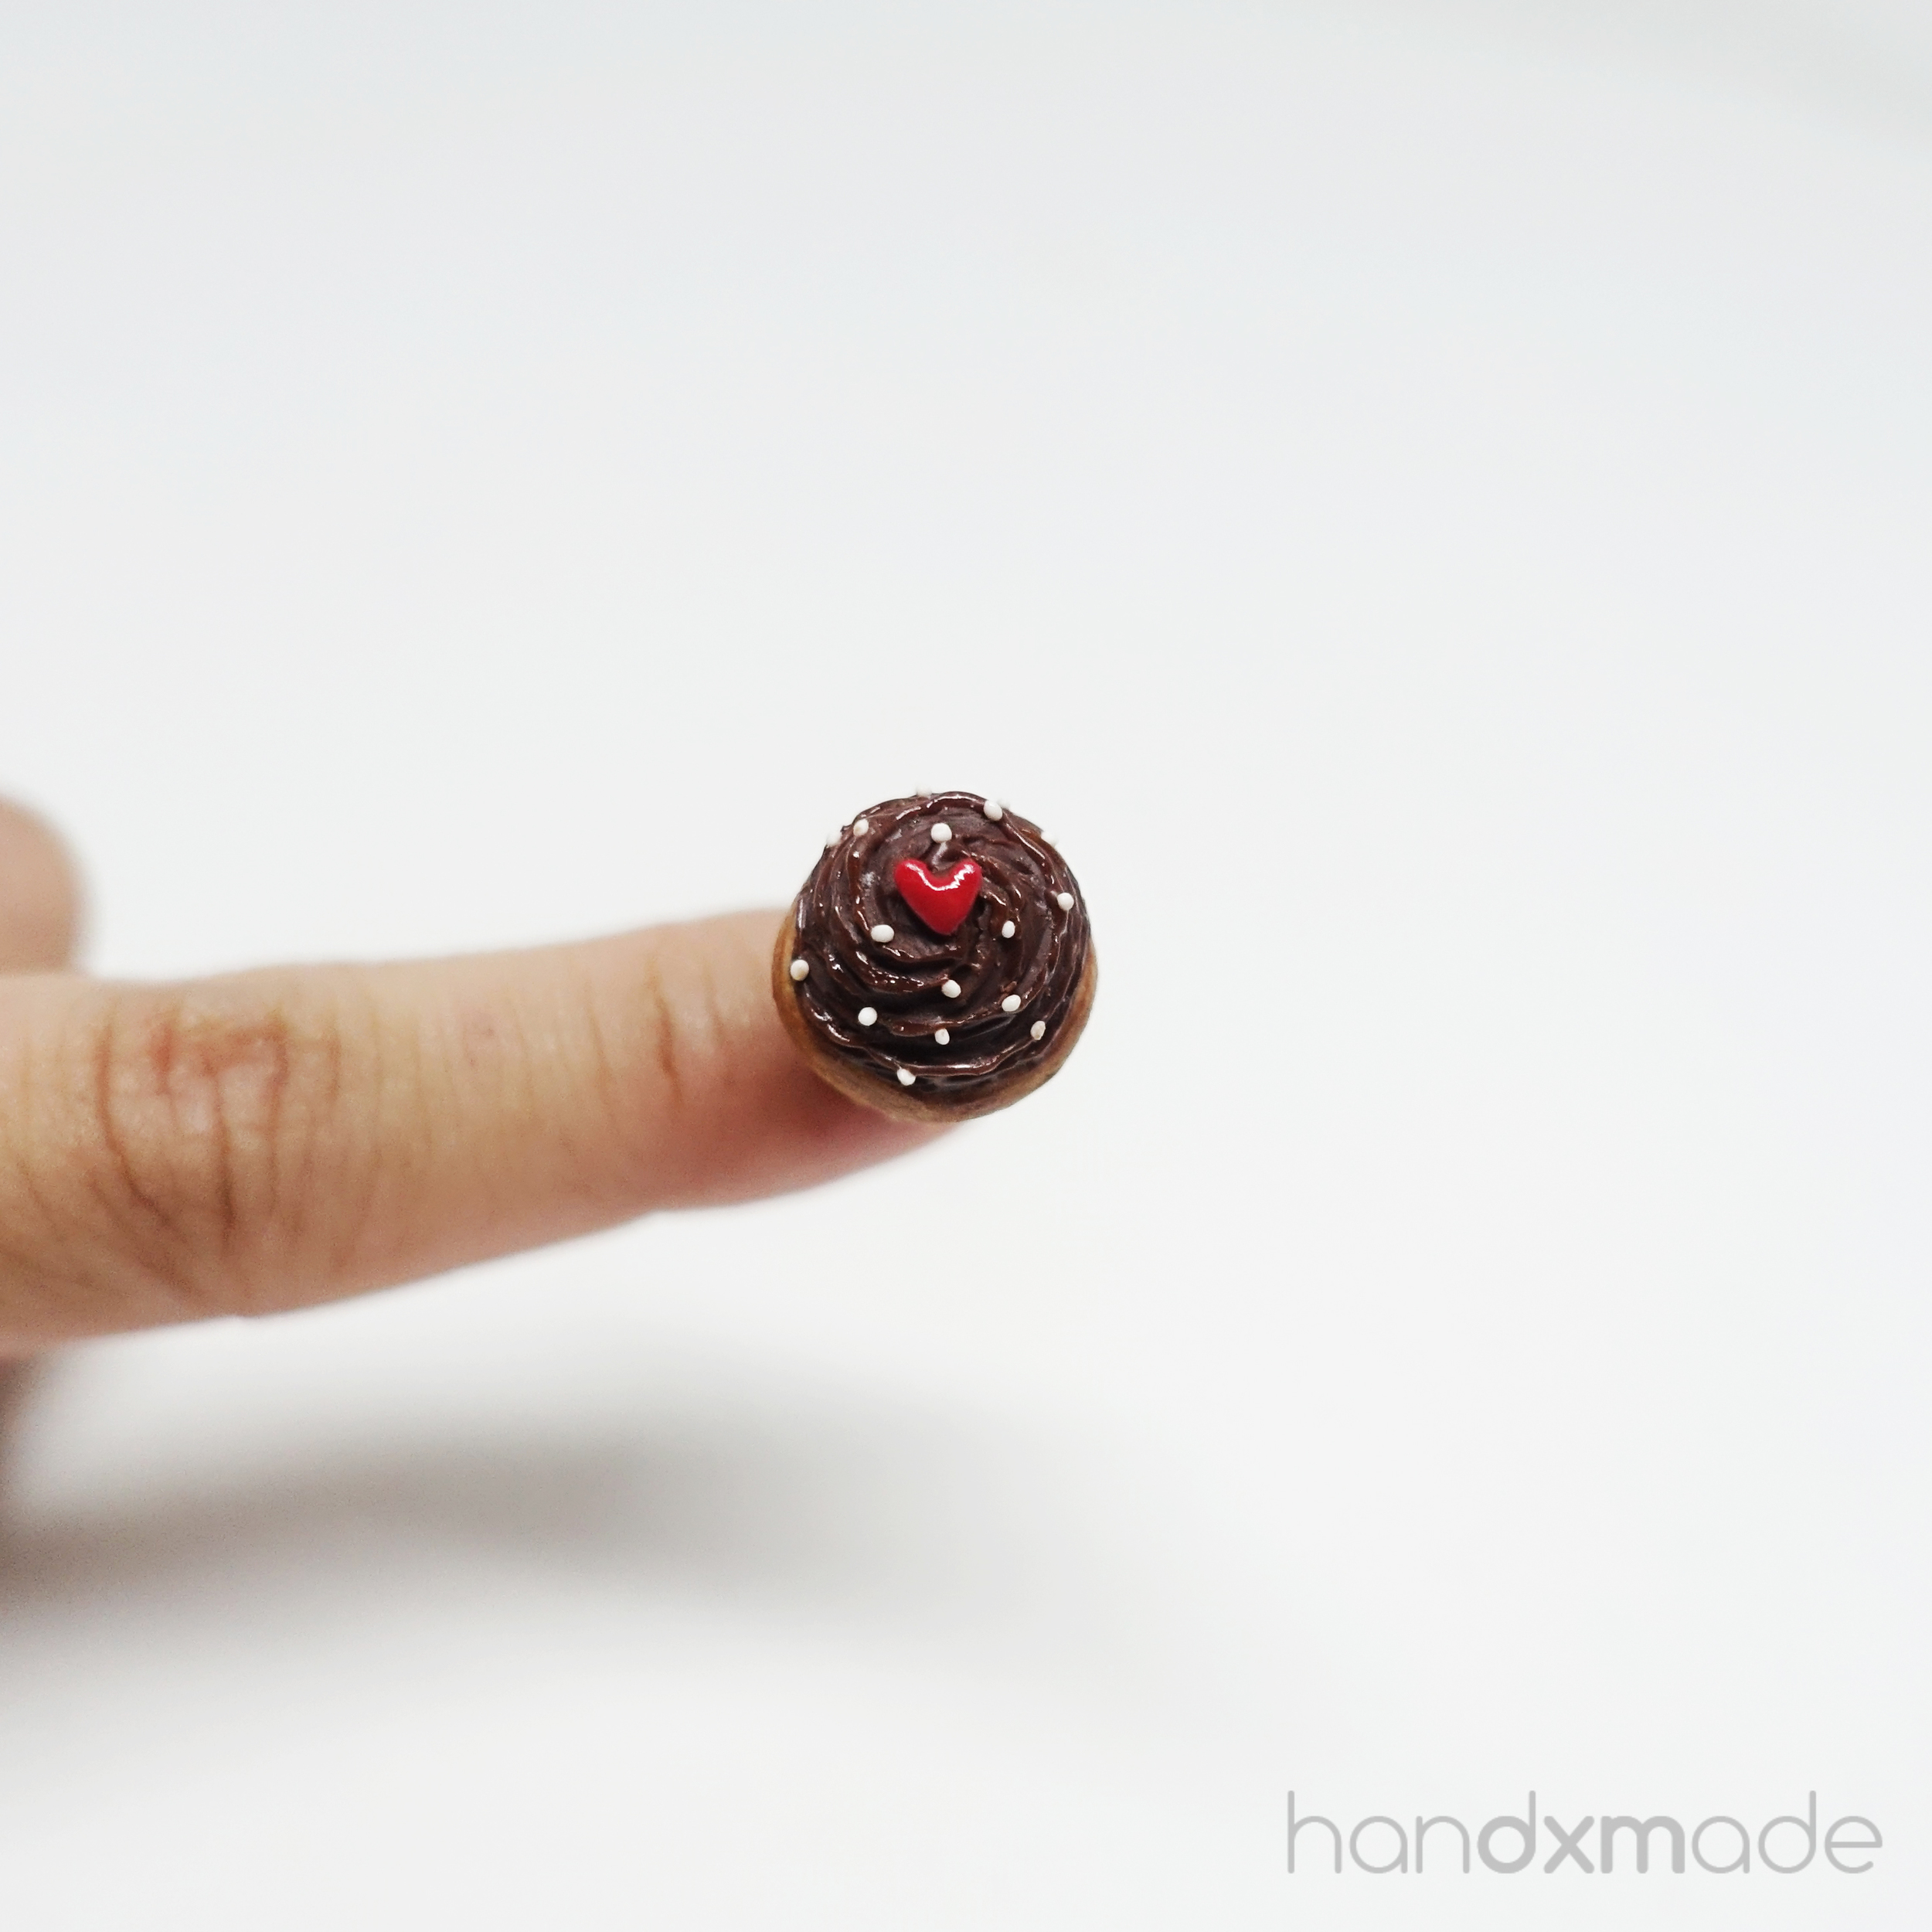
And anyhow decorate it LOL. This is another tutorial that you can do whatever you want, whatever you feel like! I also used gold clay for the cupcake base, just to see how it looks like!

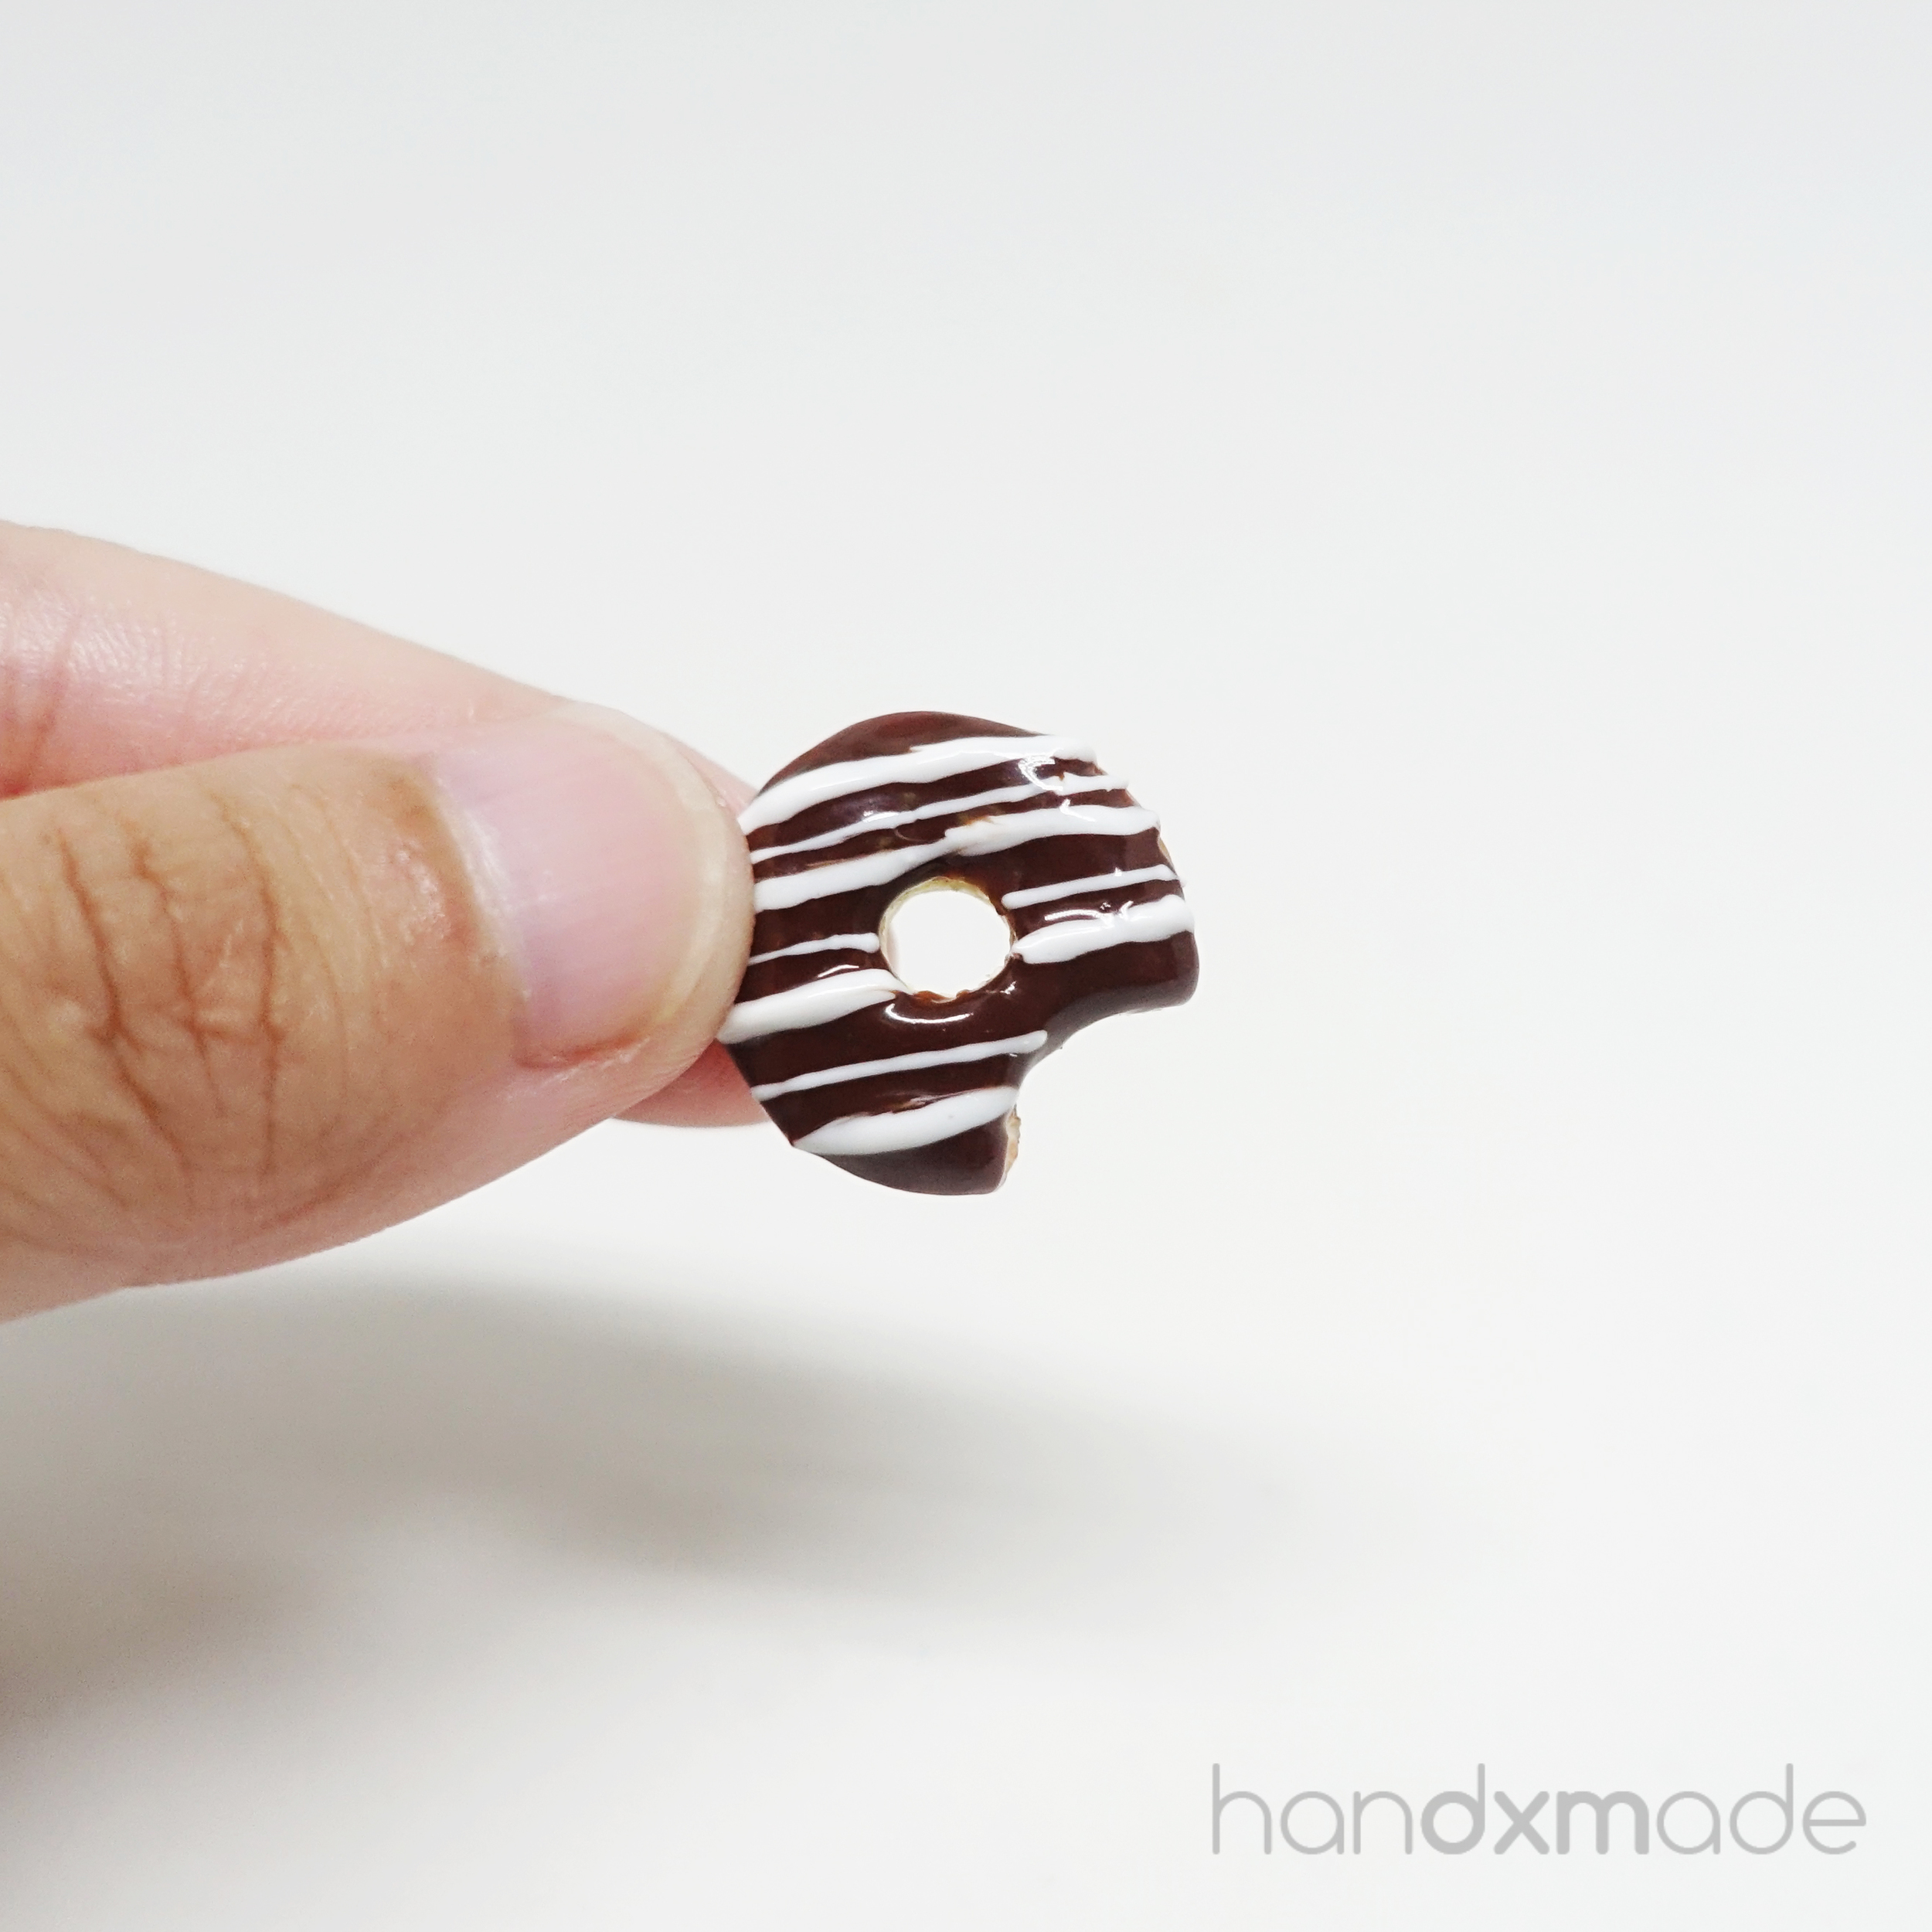

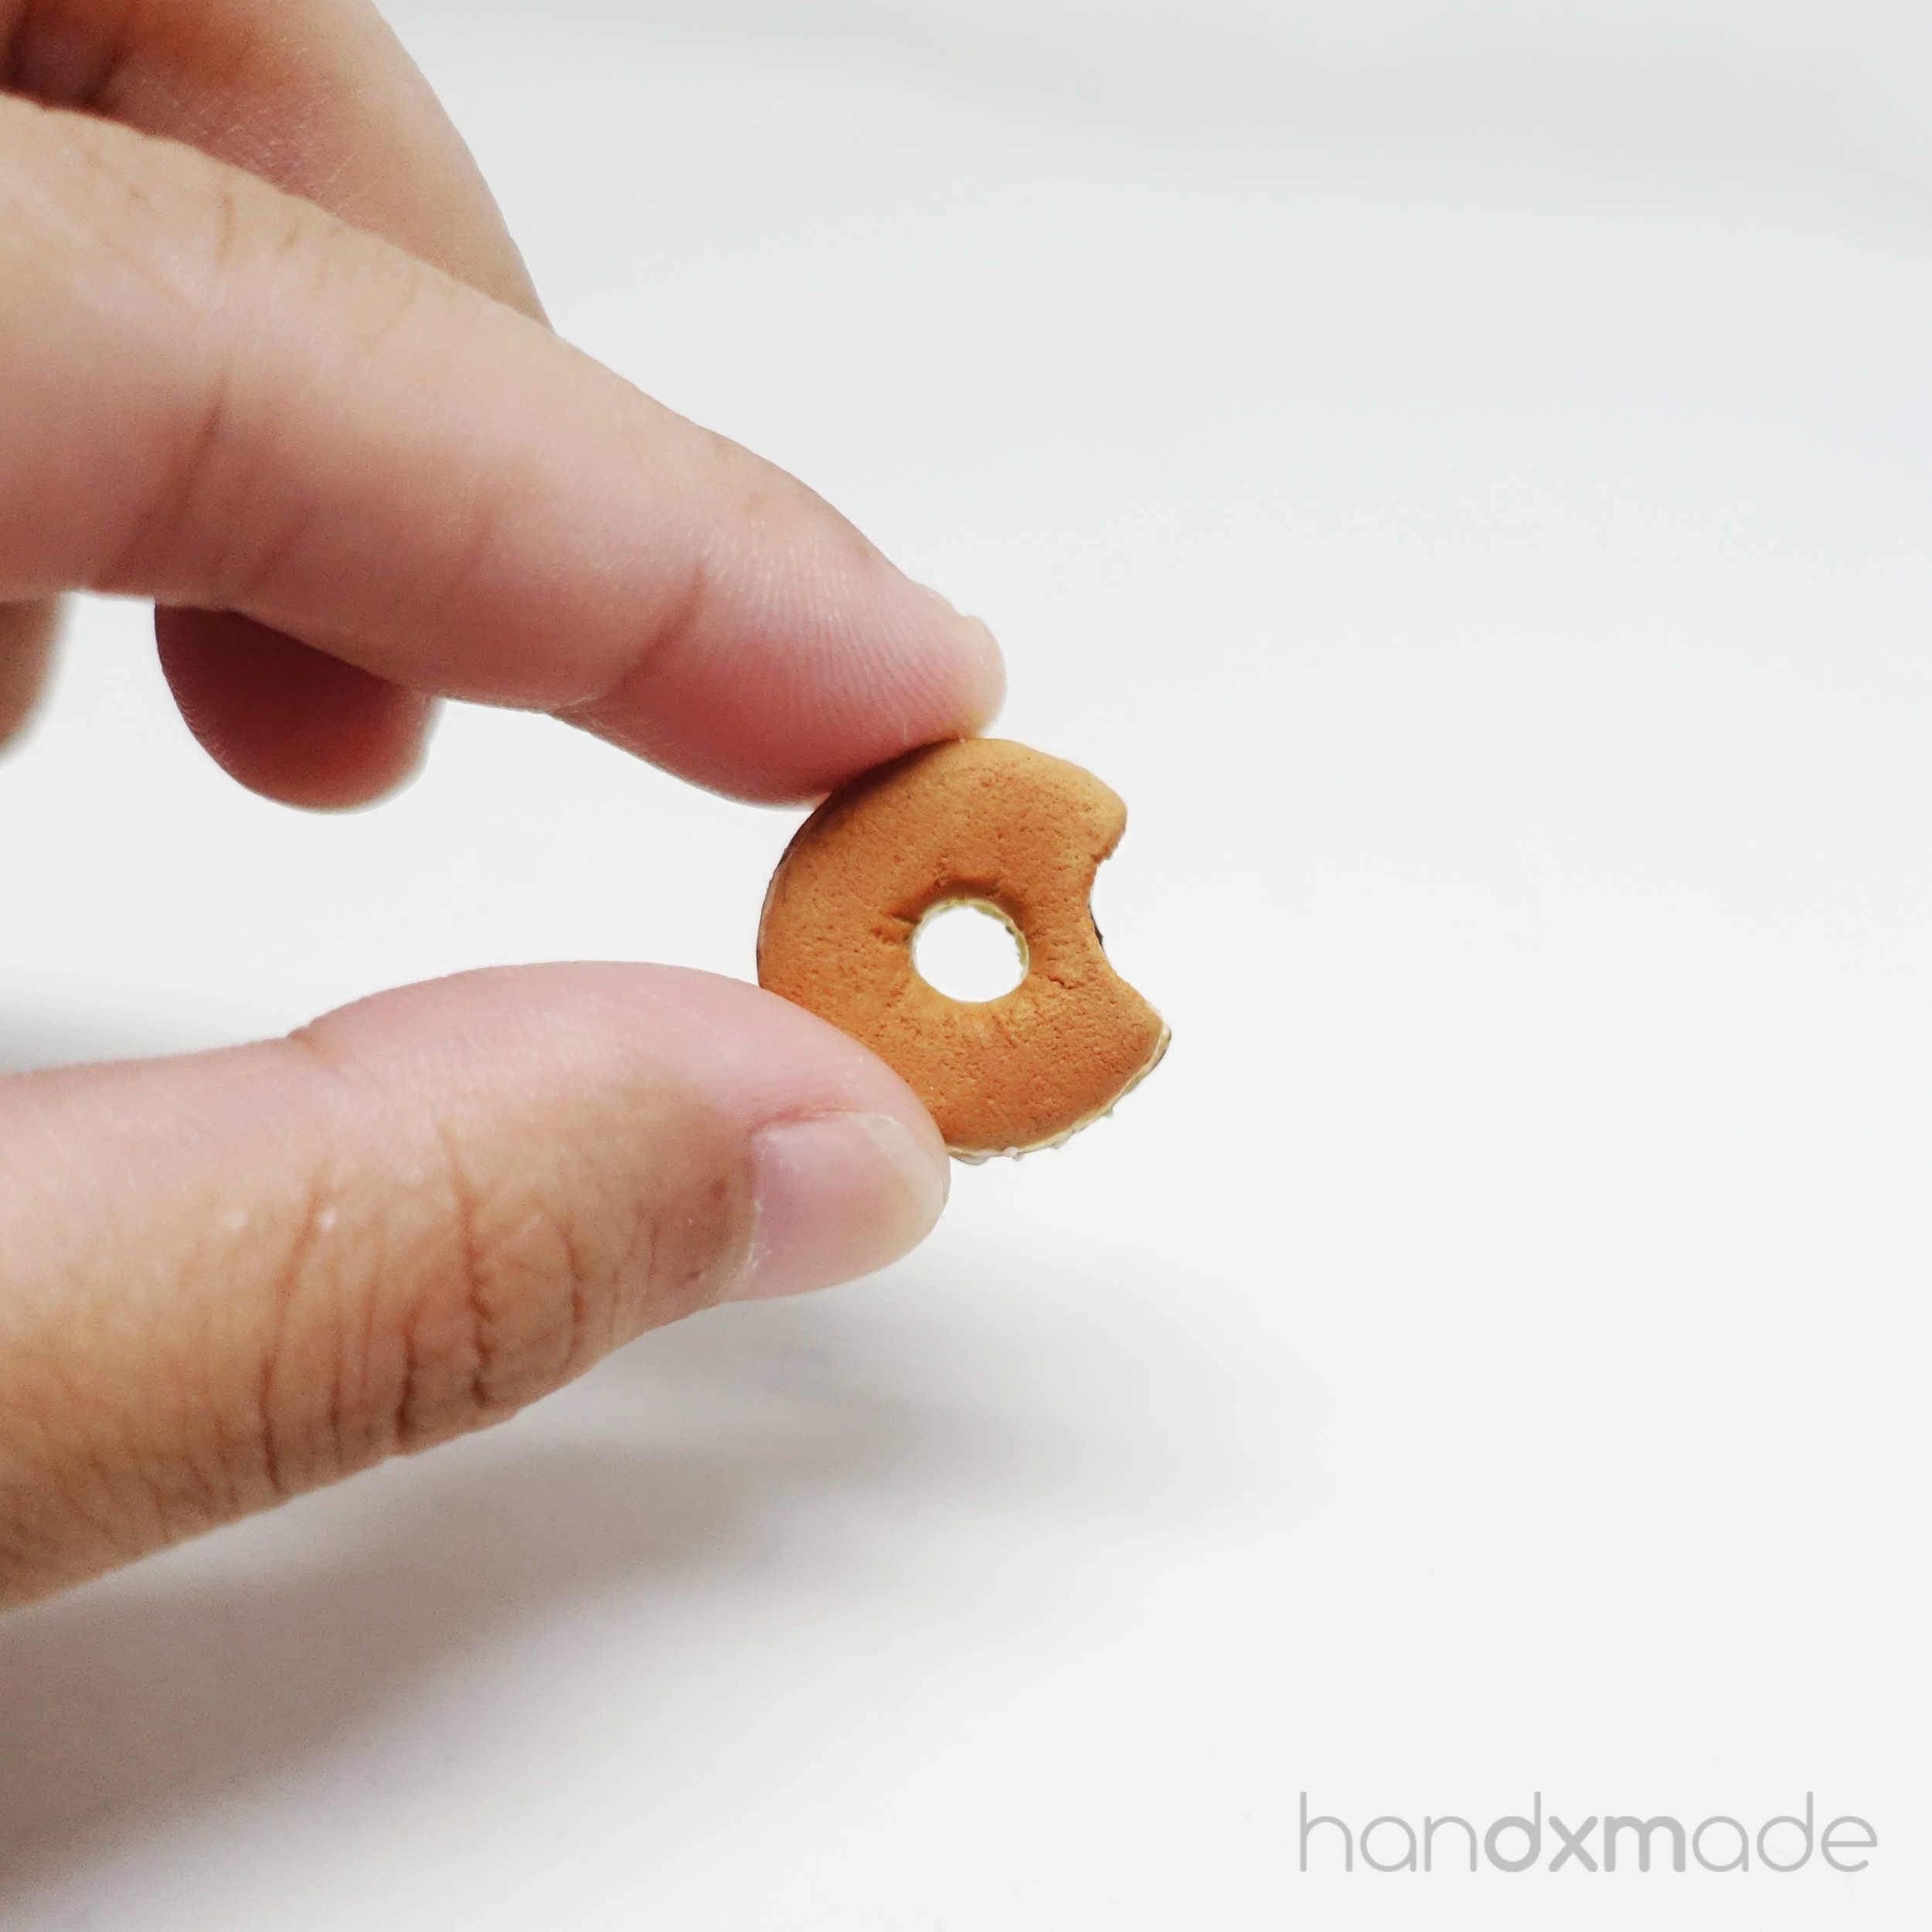
Again, I made a really simple topping, rather than making the sprinkles hahahaha. But I love how realistic the donut is here, as you can see from the sides!


This is another better edited photos hahaha. I recently got new backgrounds and I love all the popping colours! Hehe.
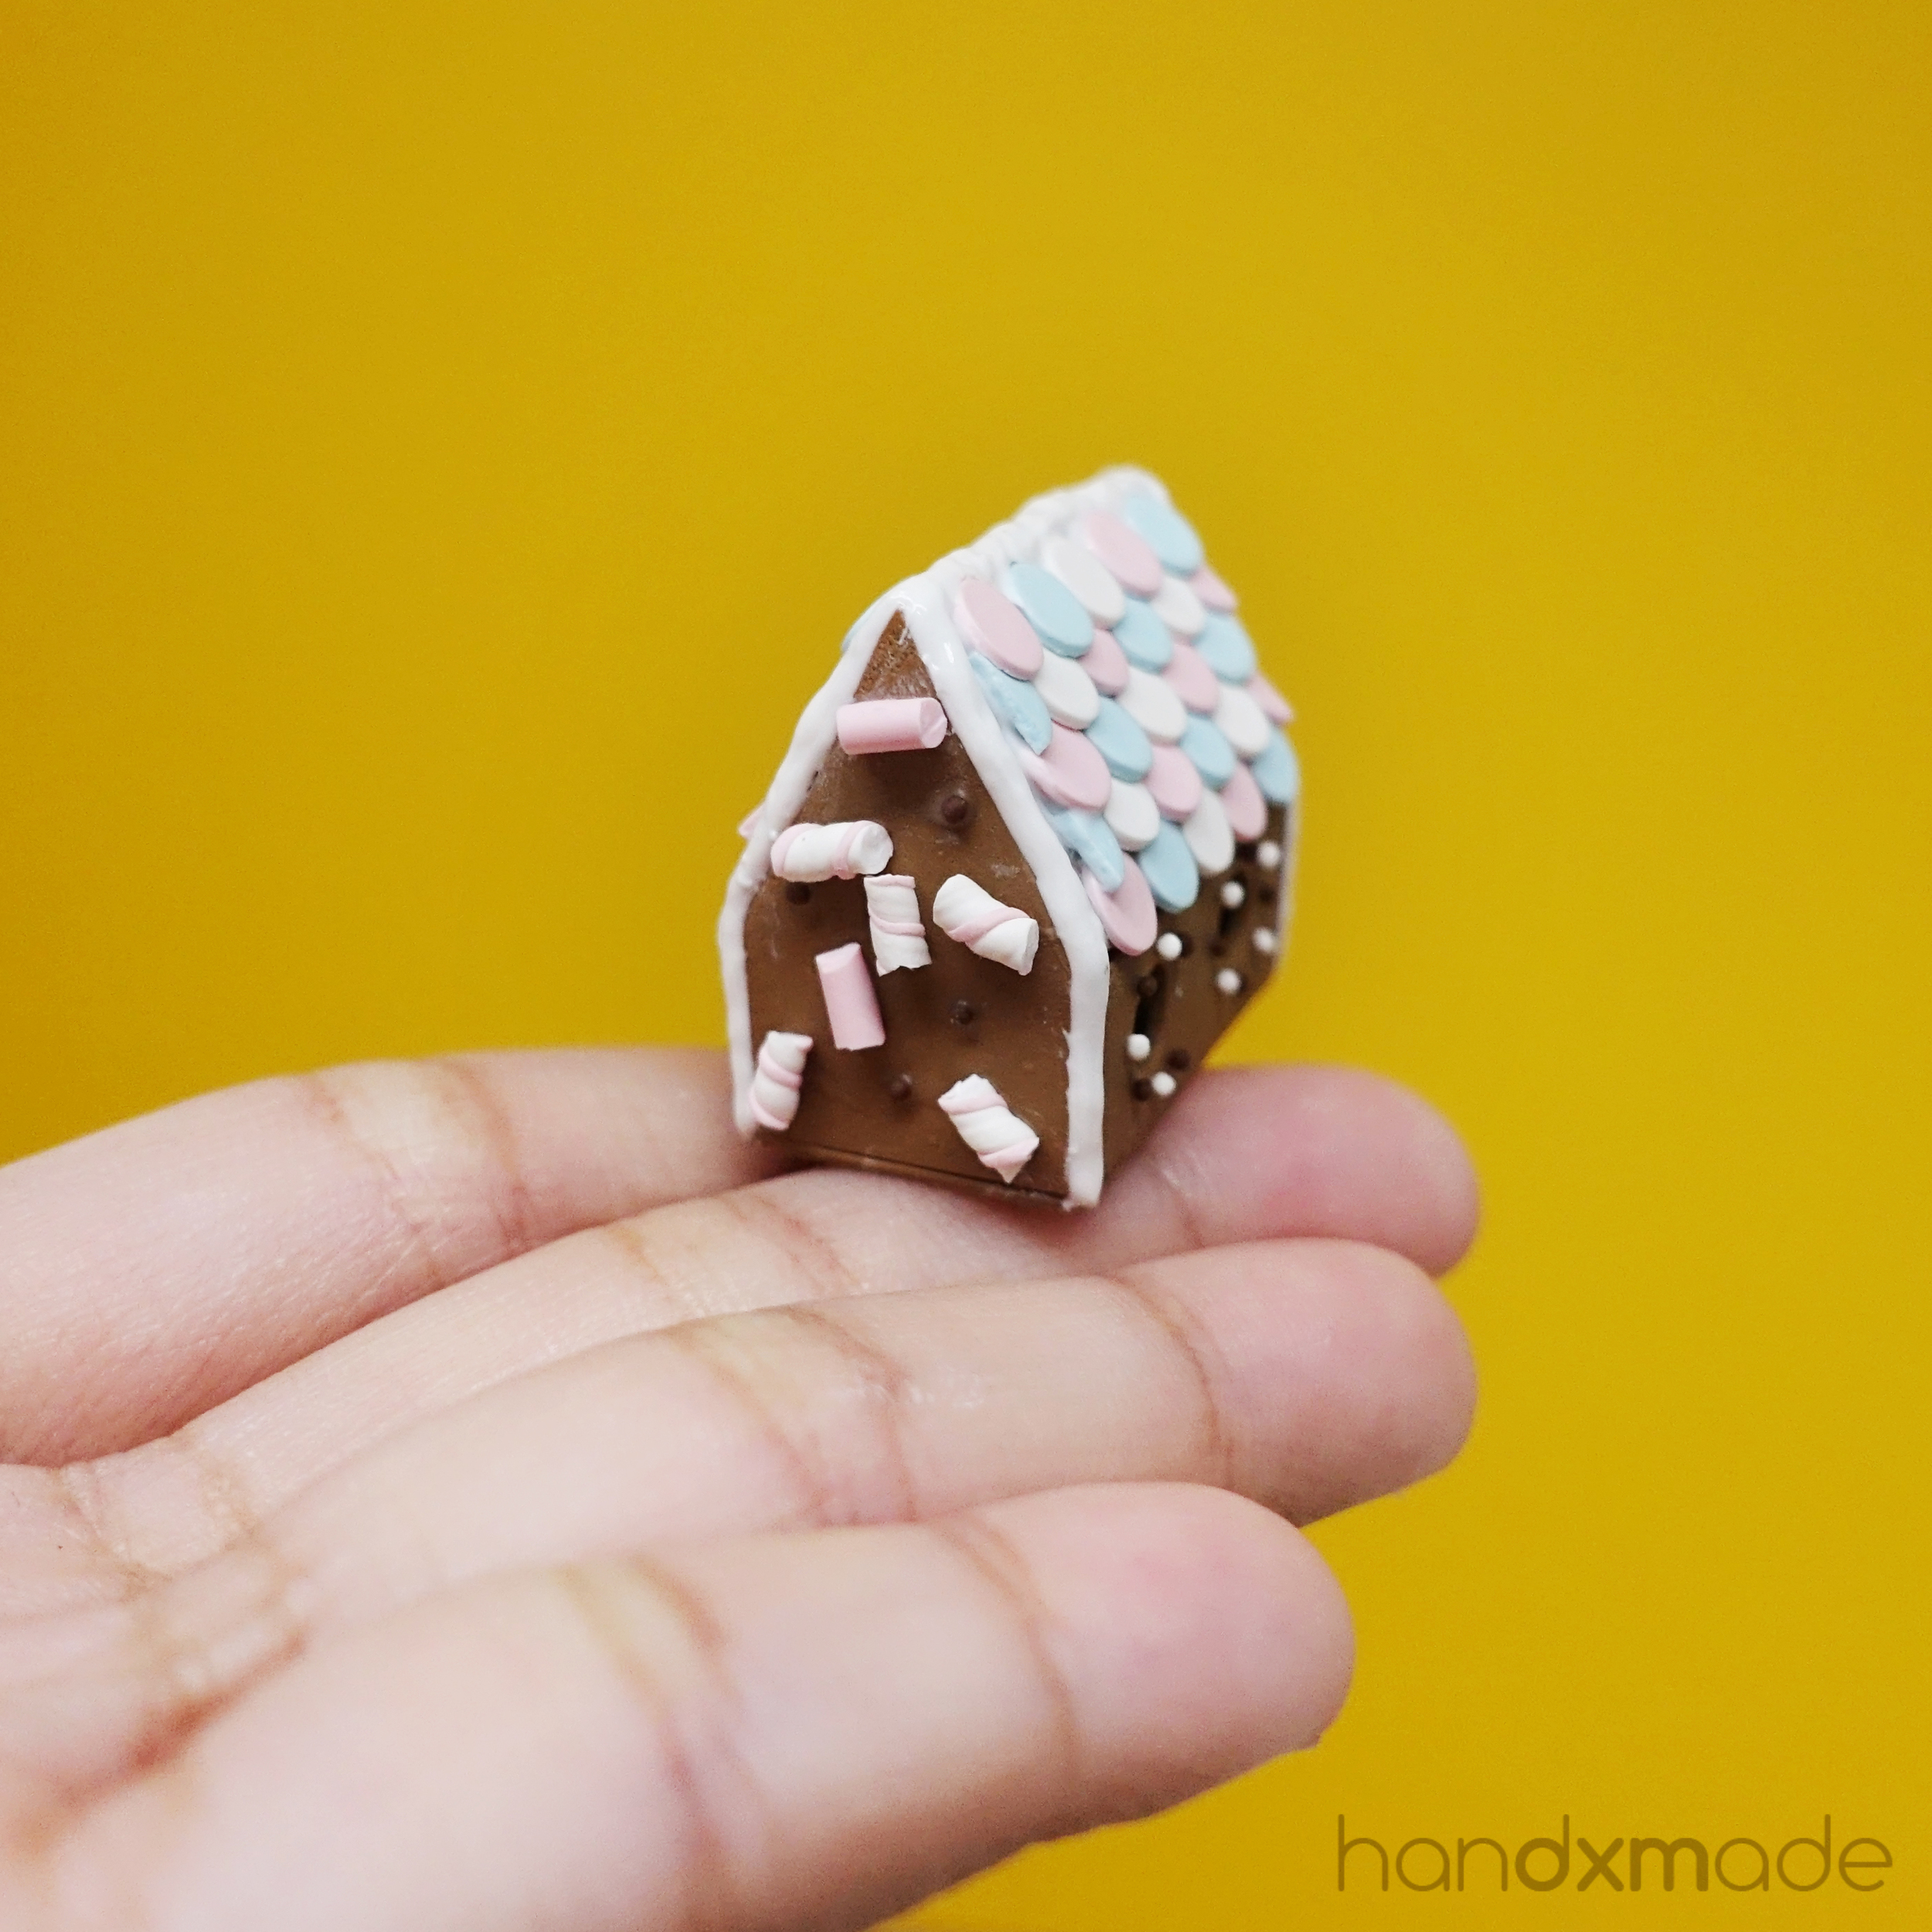
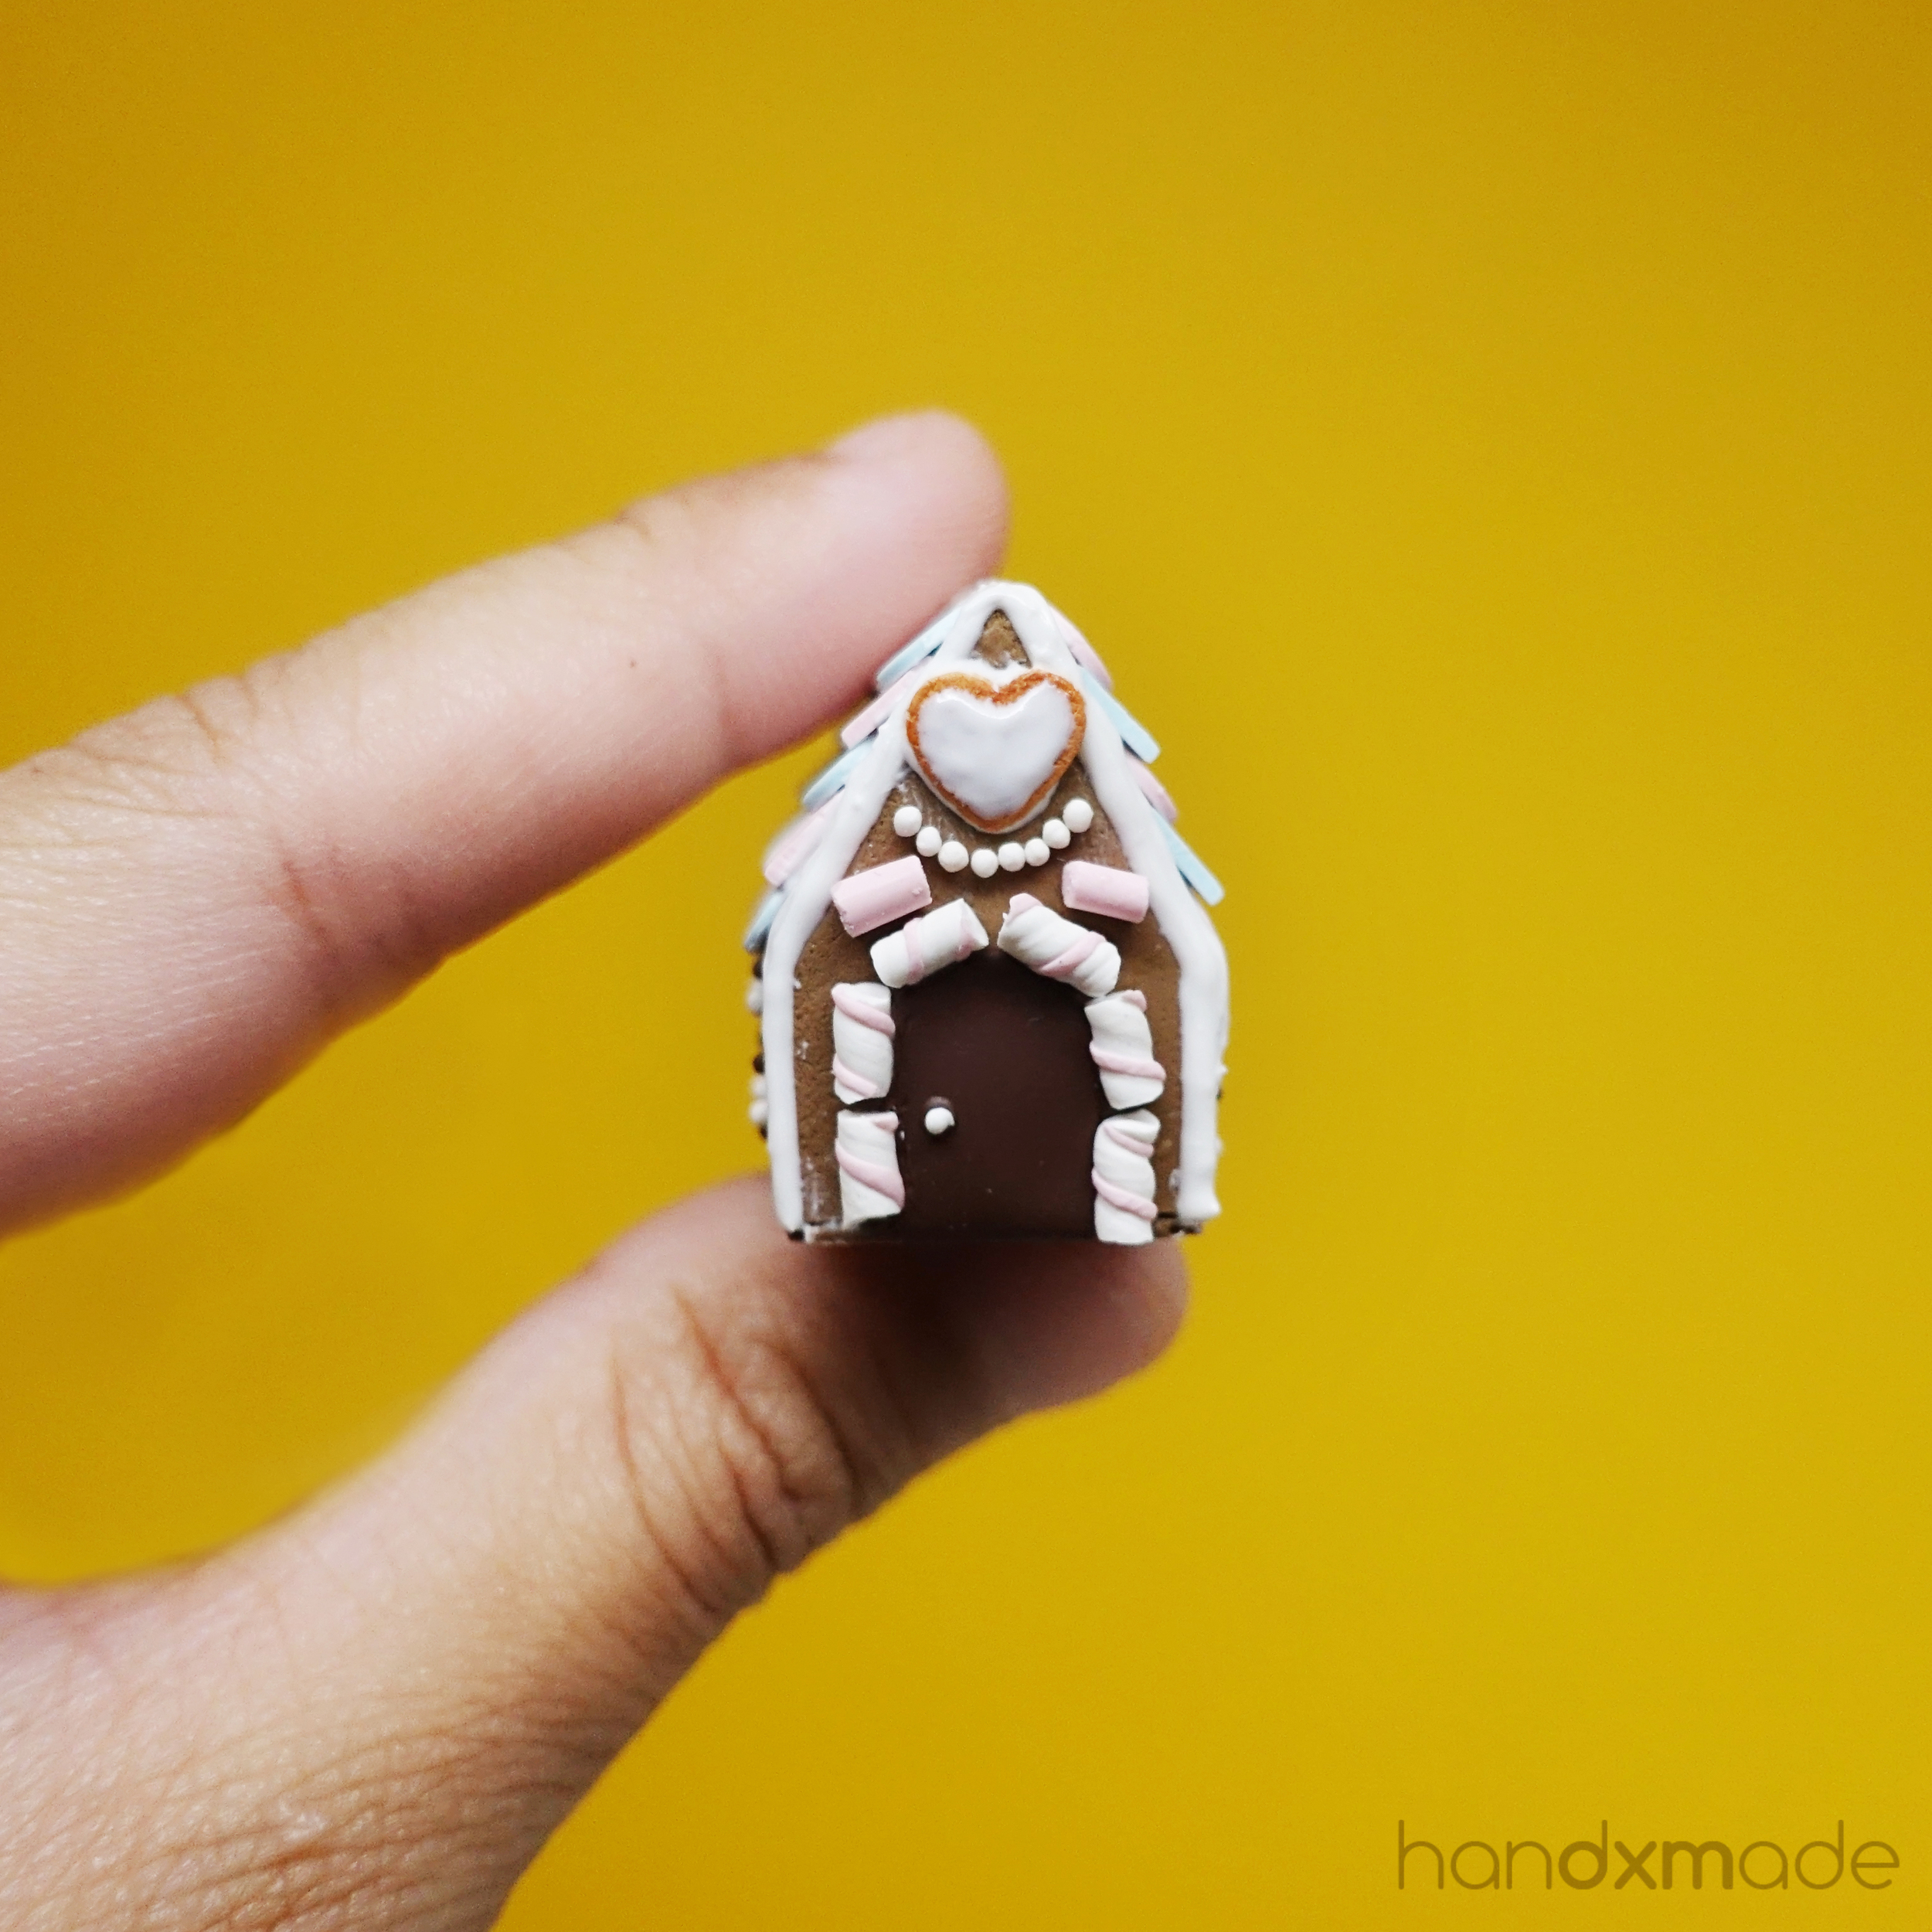
Anyway, this is another one with lots of decorations! It was really fun to make though, but my white cream was sticky and hard to manipulate so it was giving me some problems! It's definitely not as neat as Jocelyn's hahahaha. My marshmellow's a bit too big but I think it still looks pretty delicious hehe.

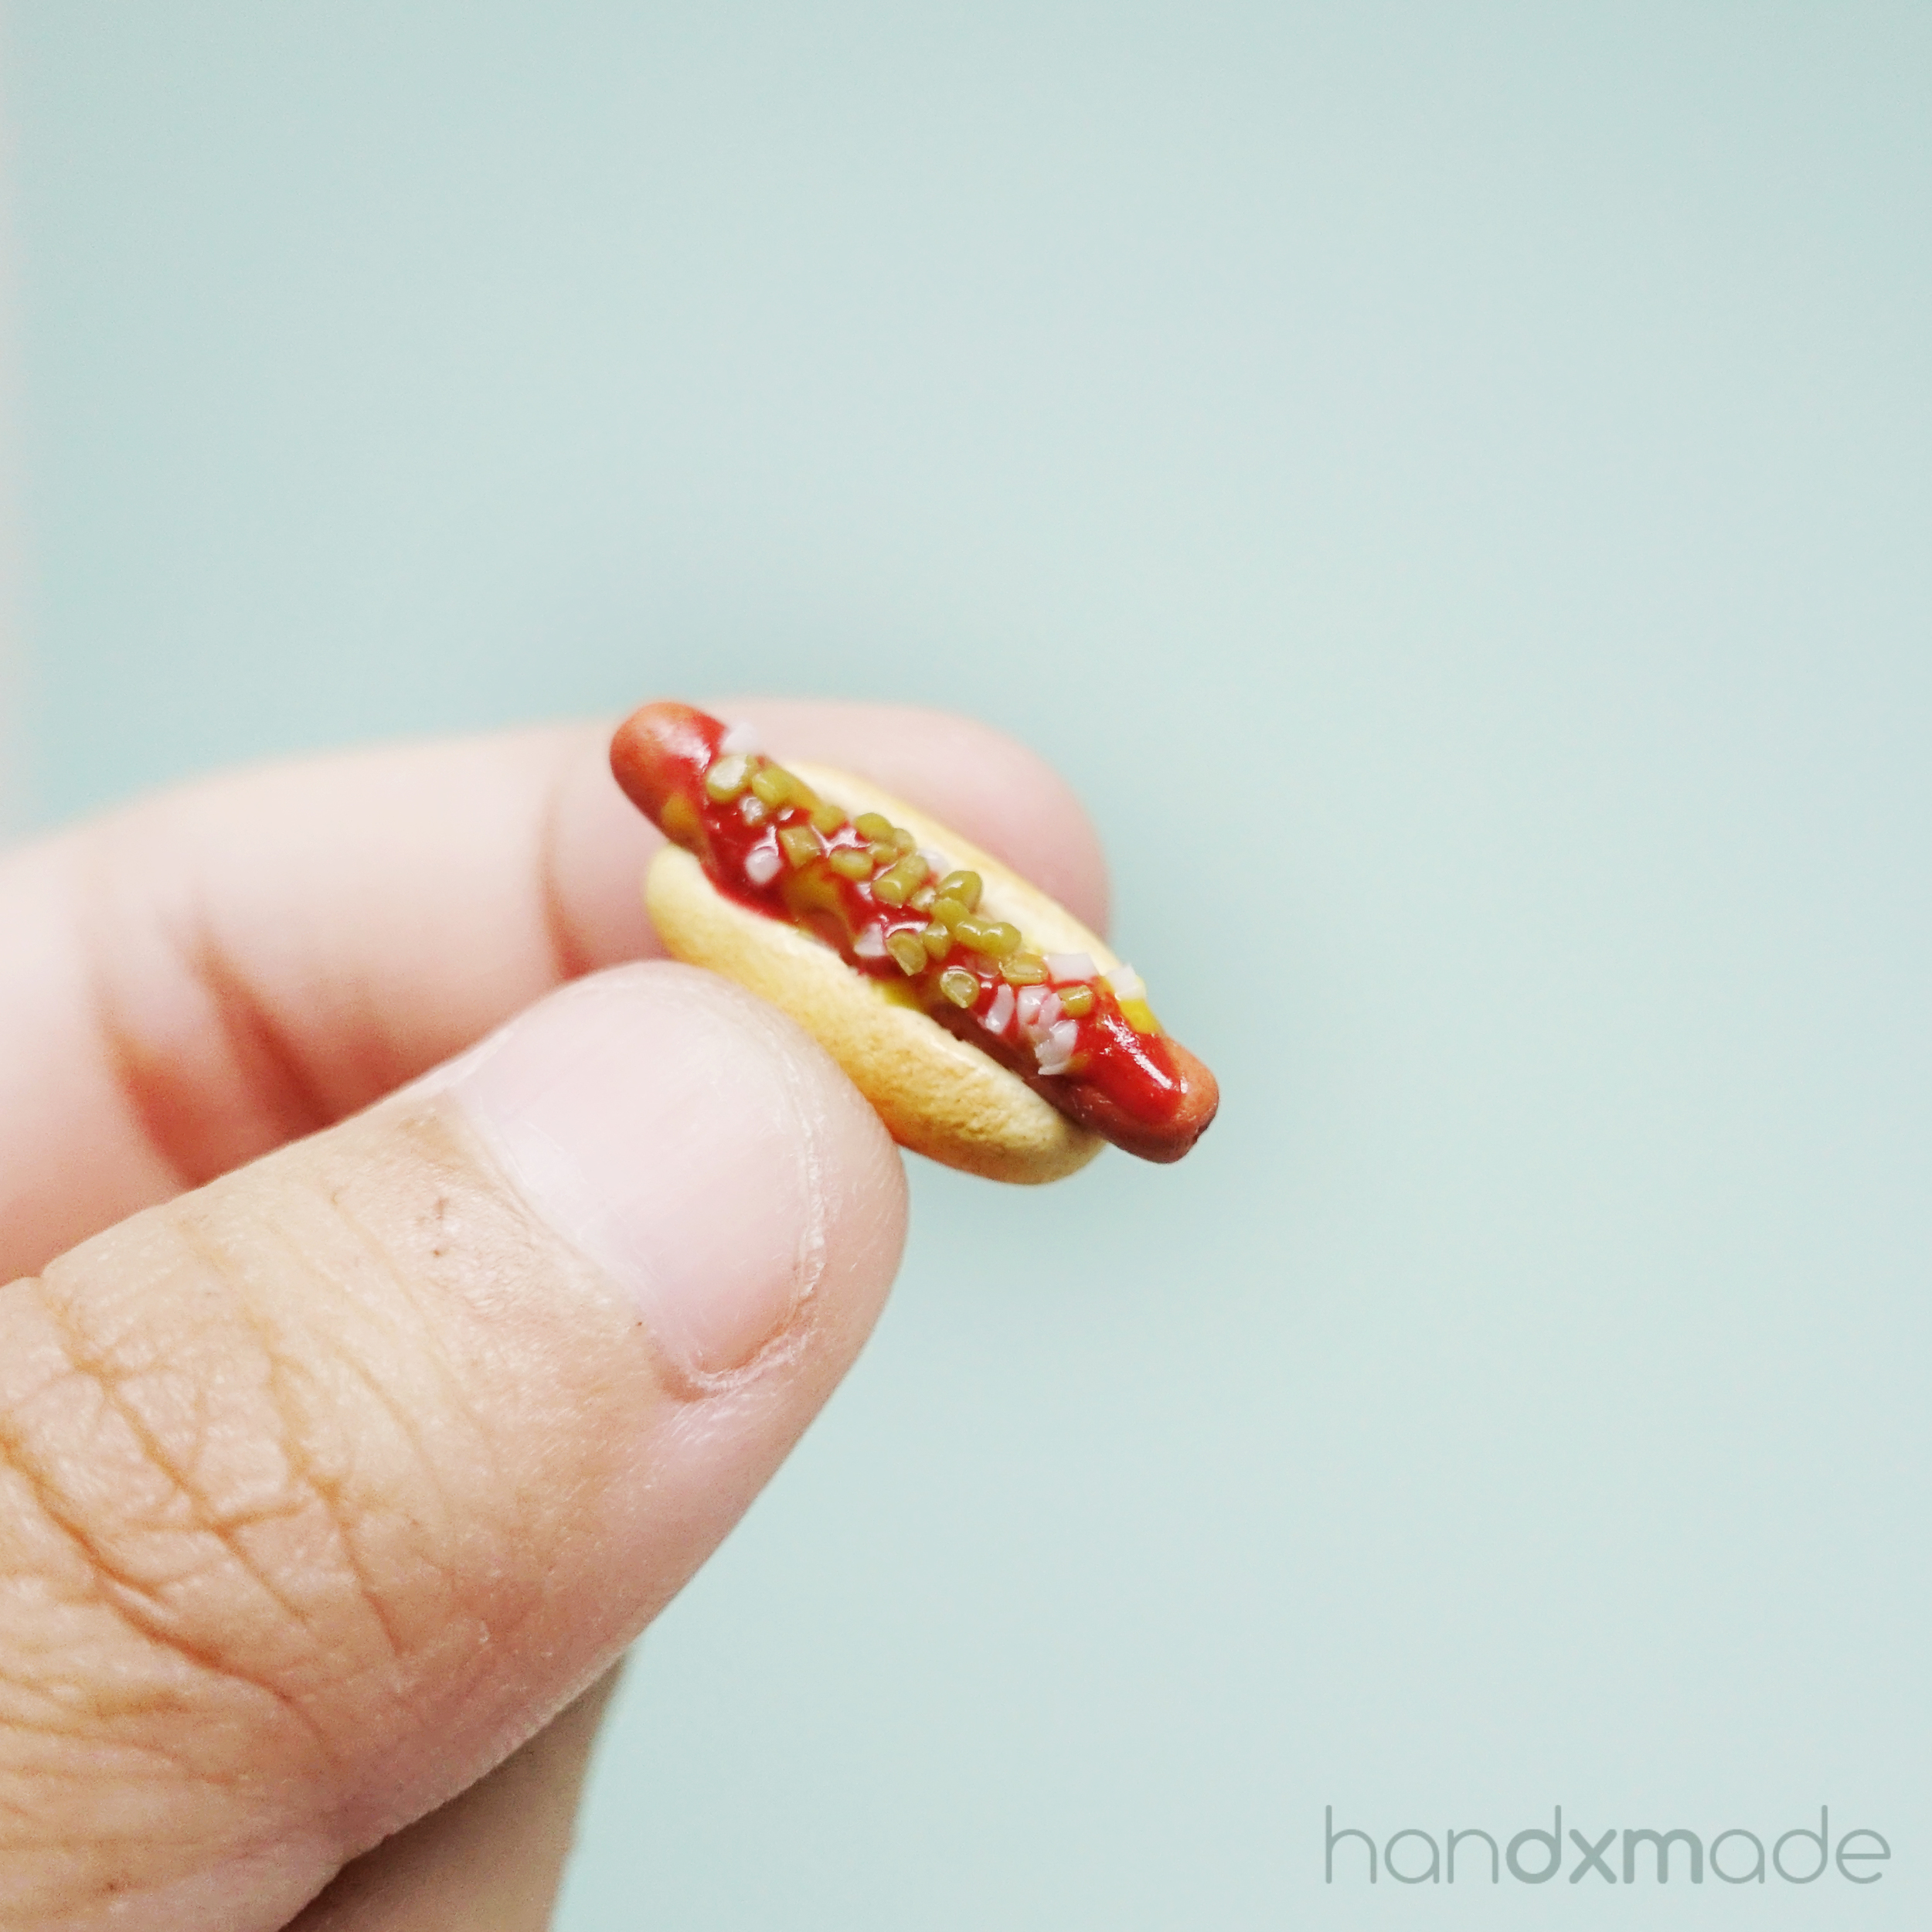
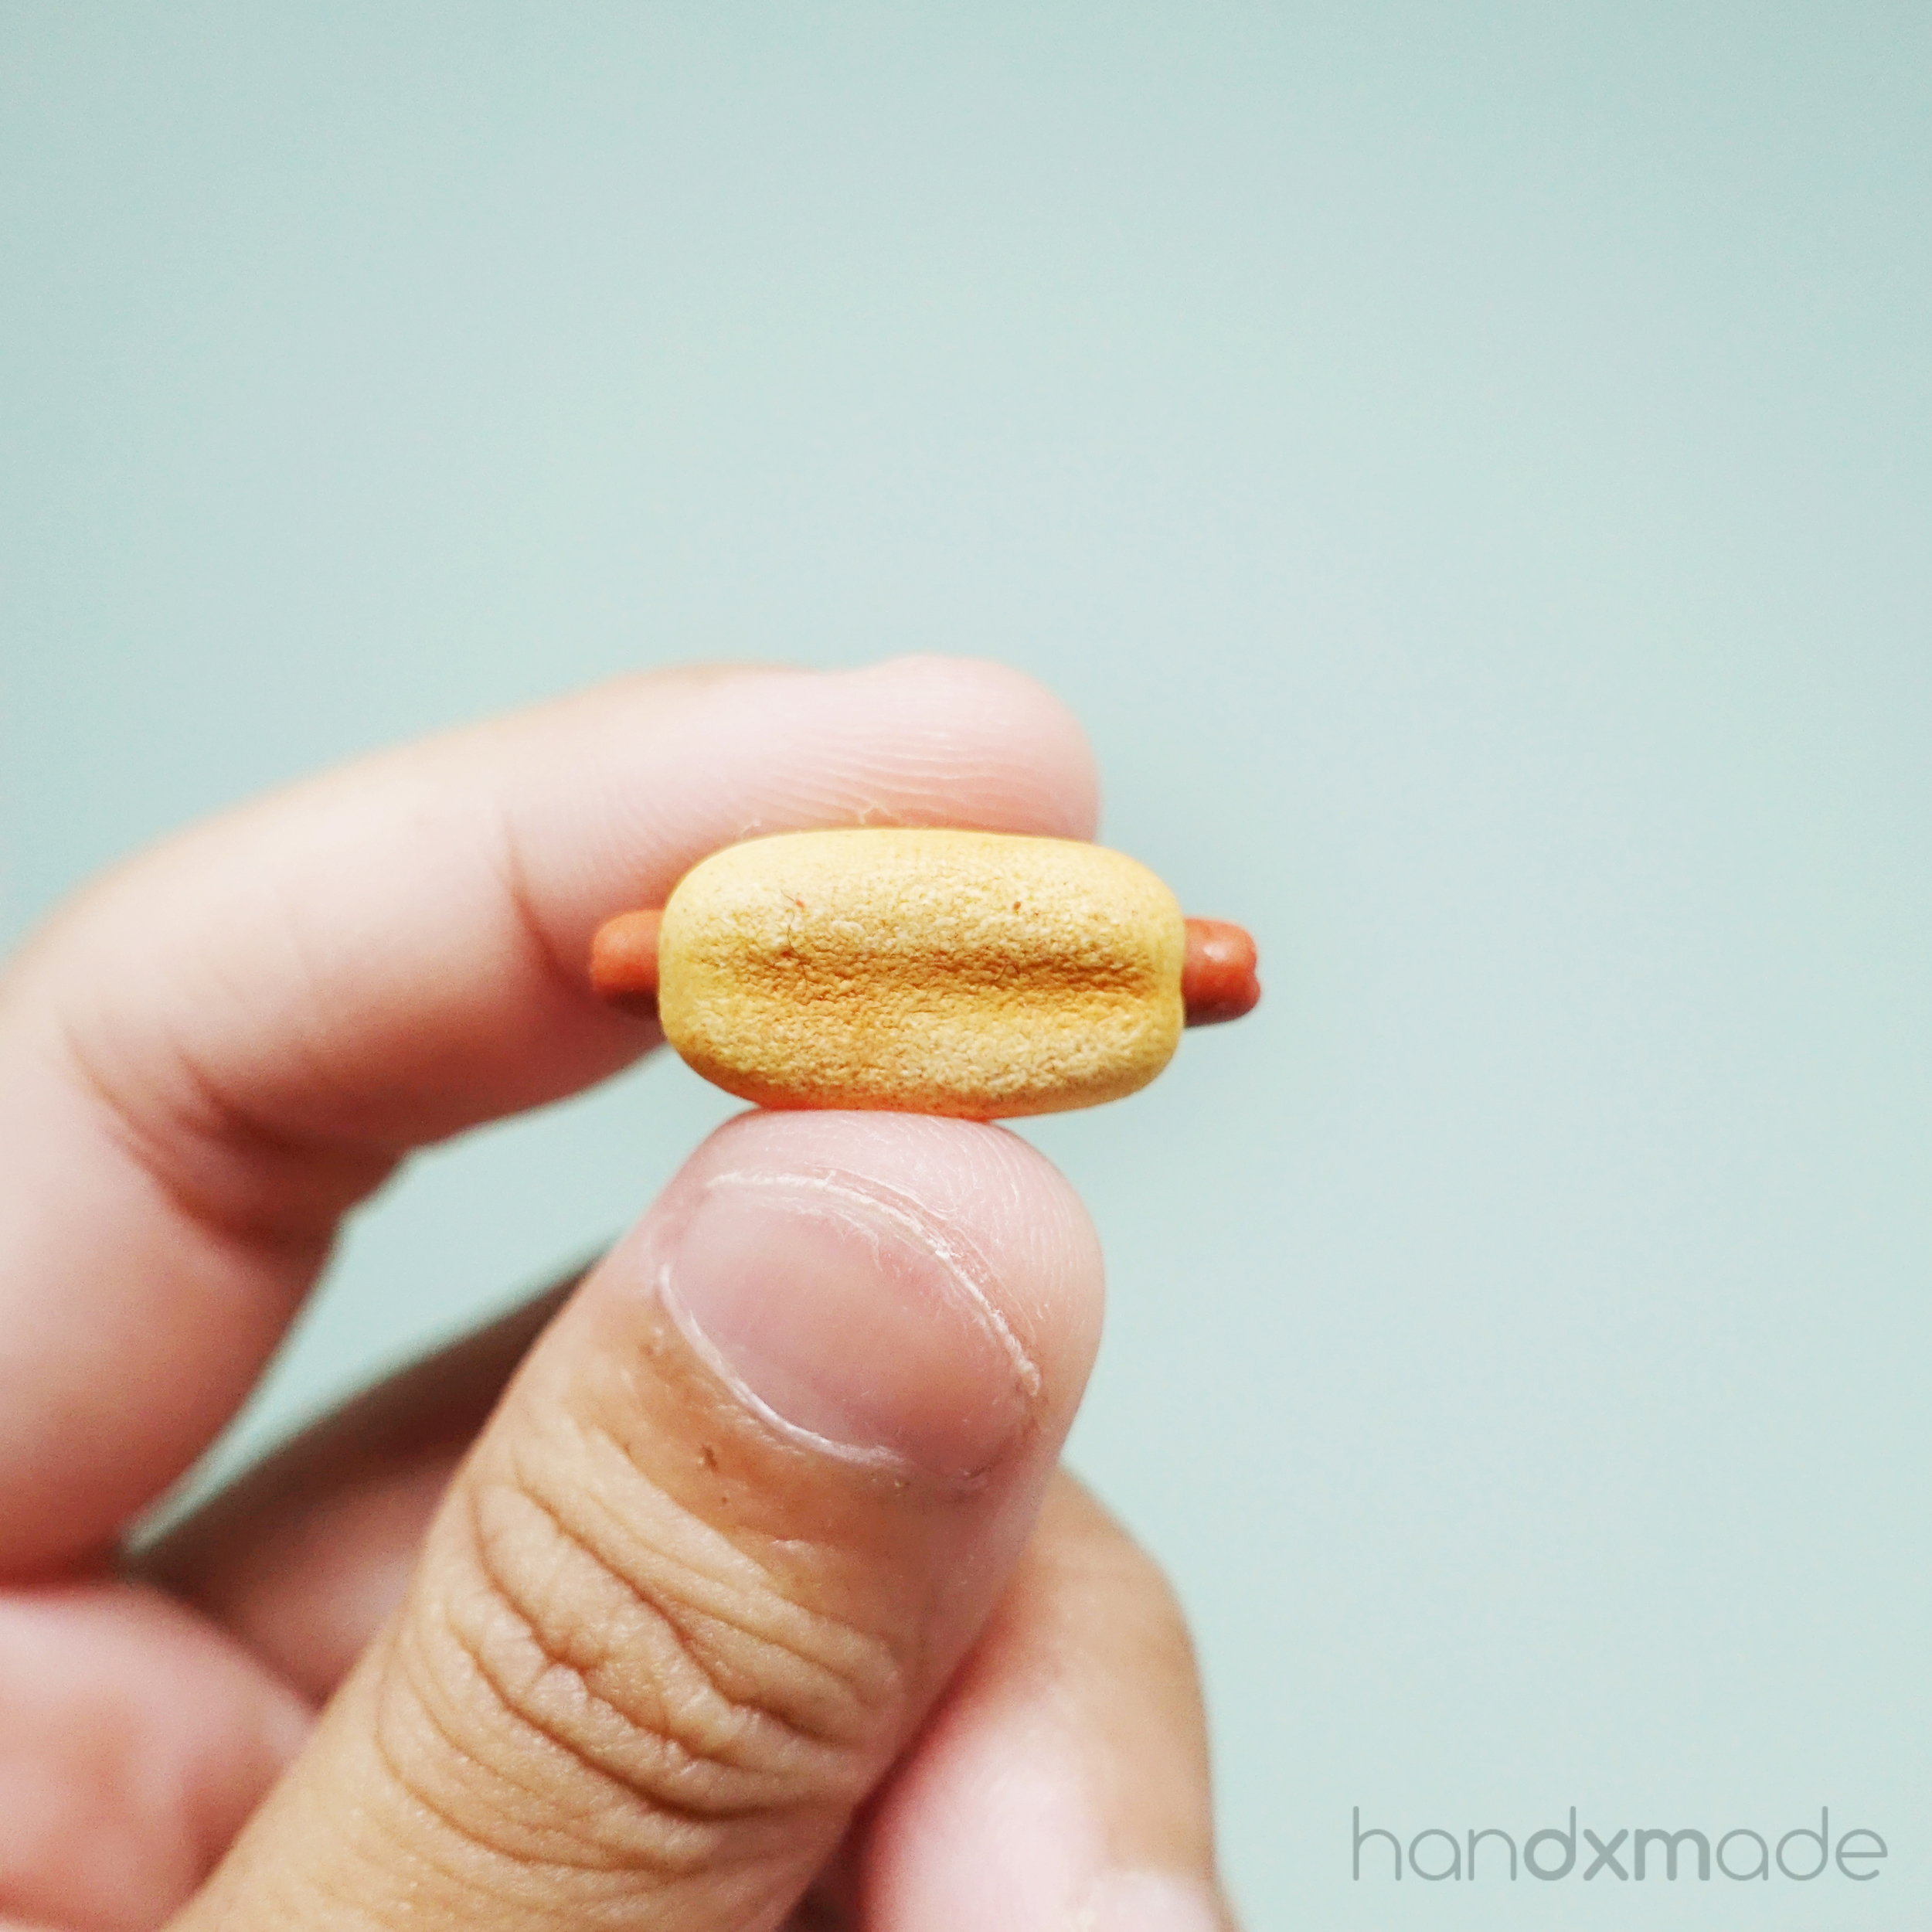
My hotdog bun is a little bit different in terms of shape, it's a little rounder at the ends! My sauce was mashed up together, cause I didn't follow Jocelyn's instruction to bake after putting one sauce. So I dumped lots of onions and pickles on top. MUAHAHAA. Another do whatever you see fit example XD

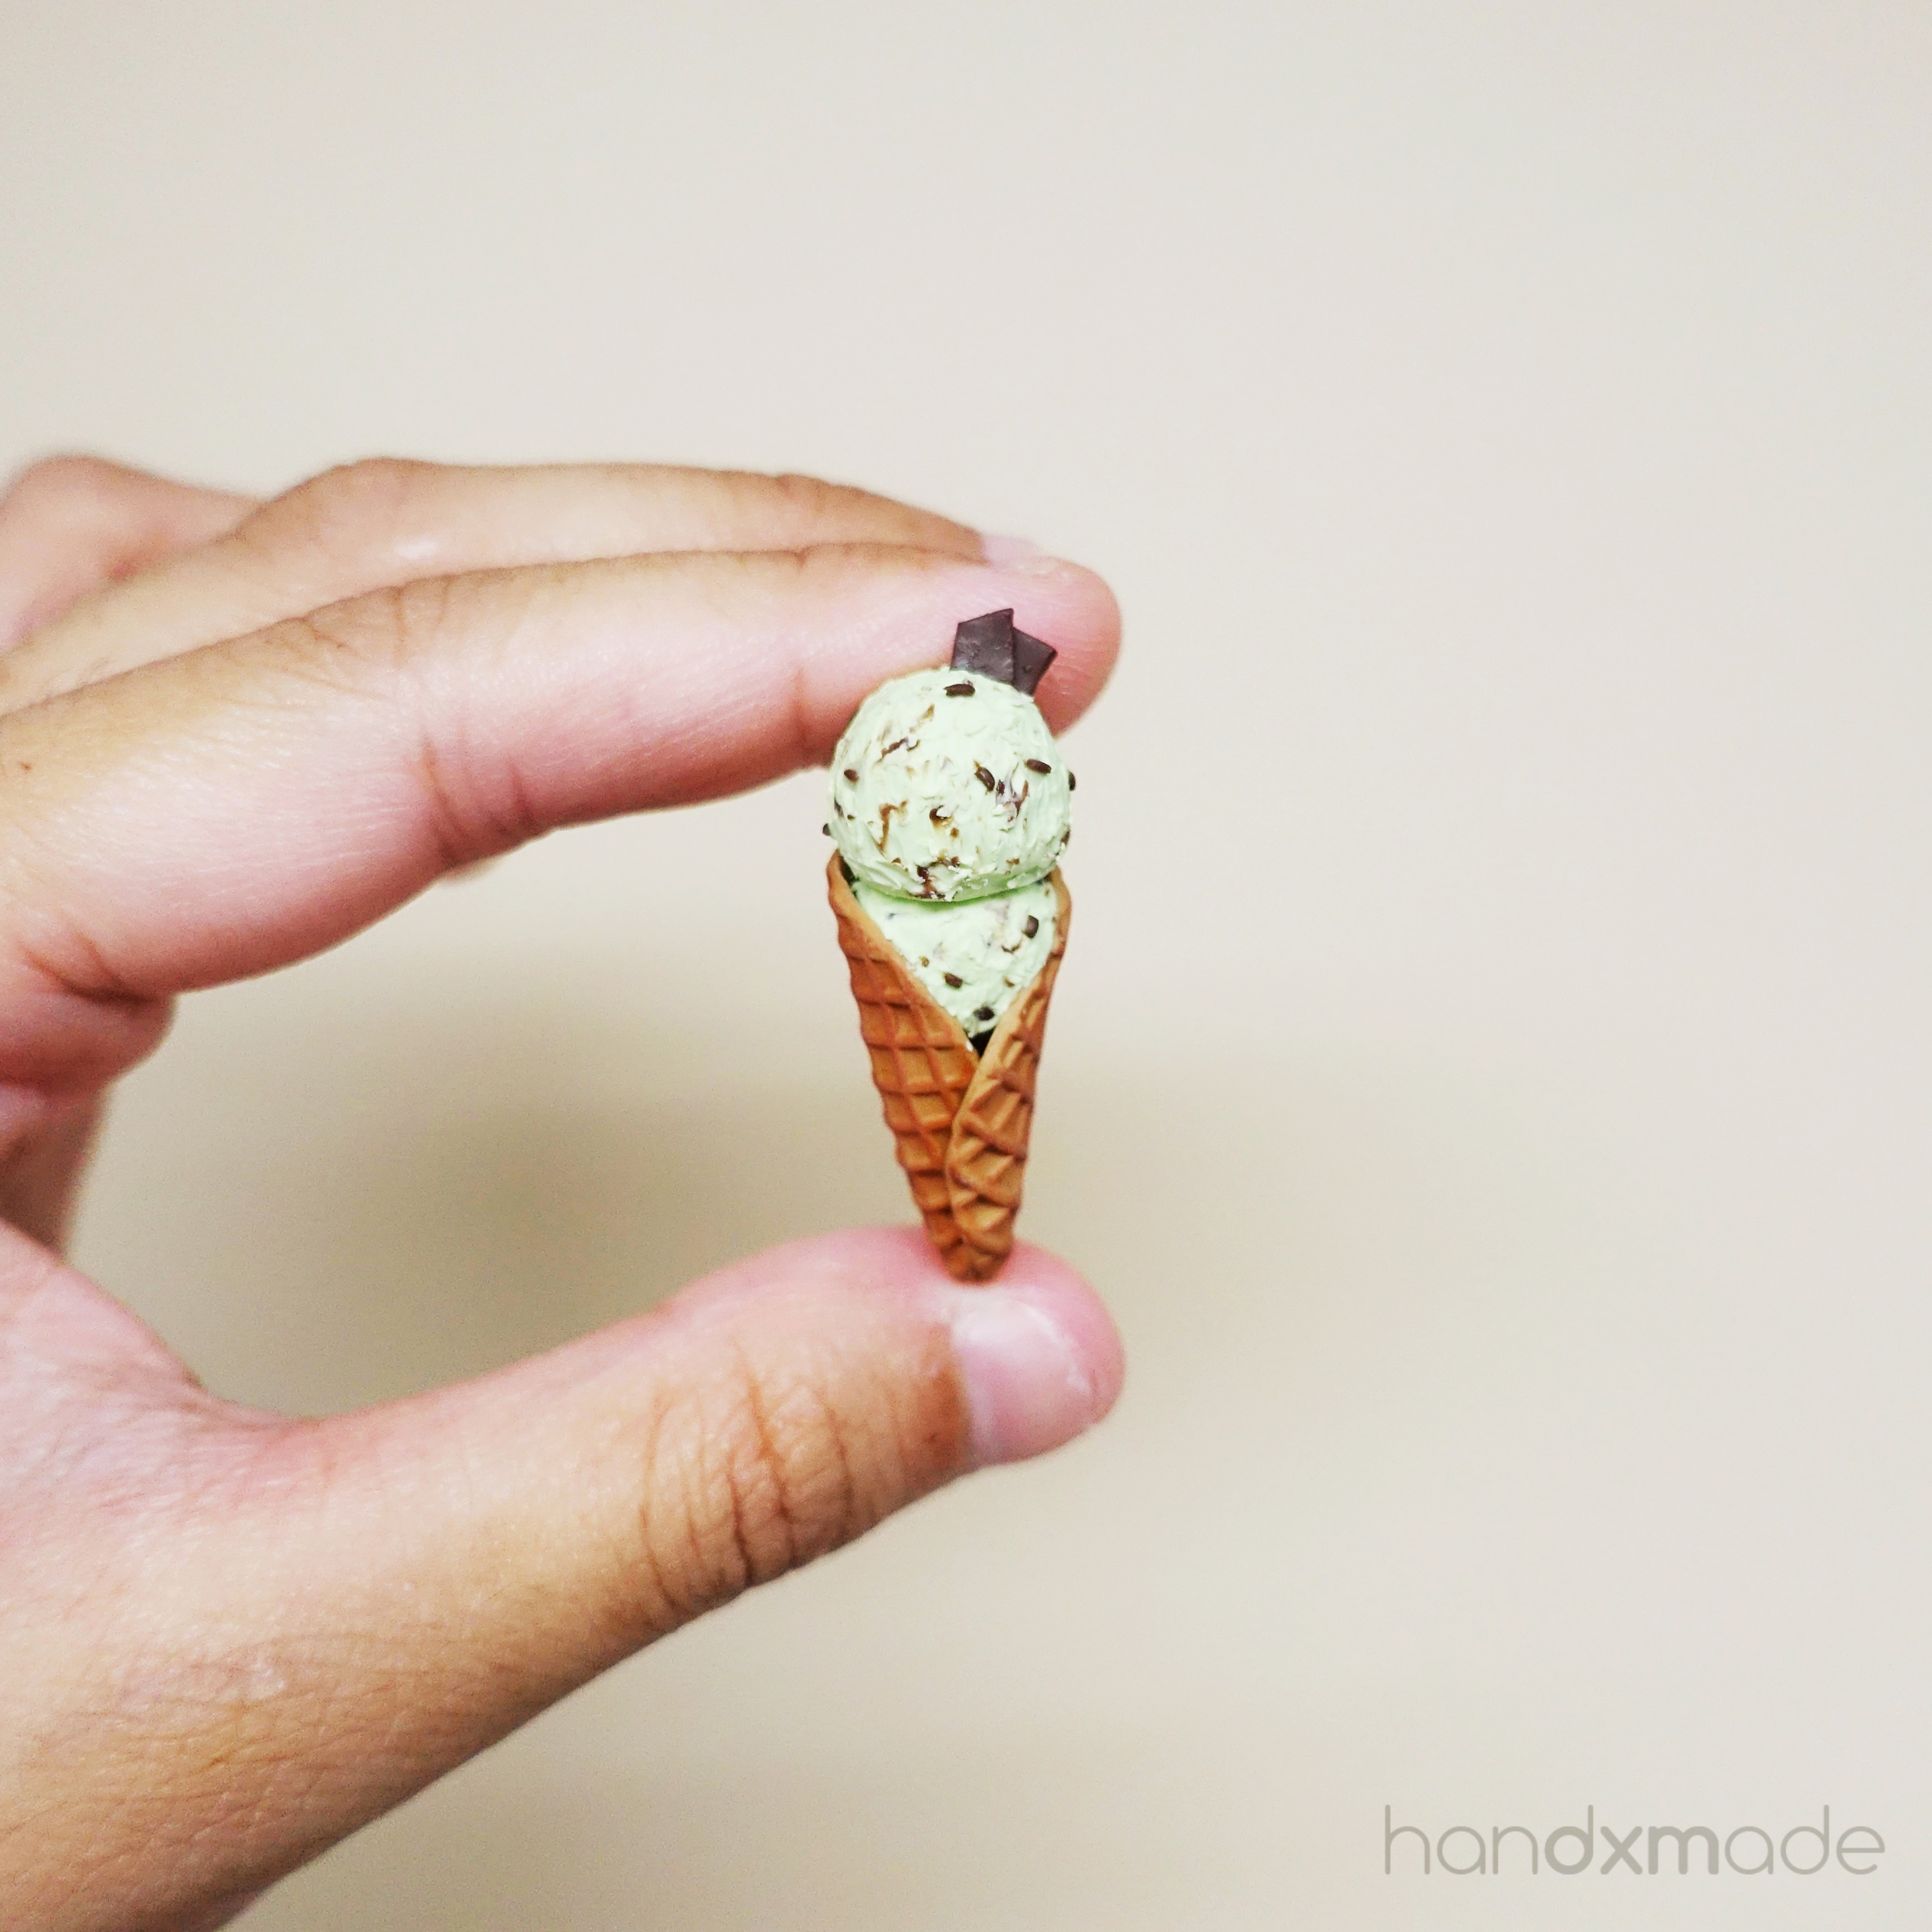
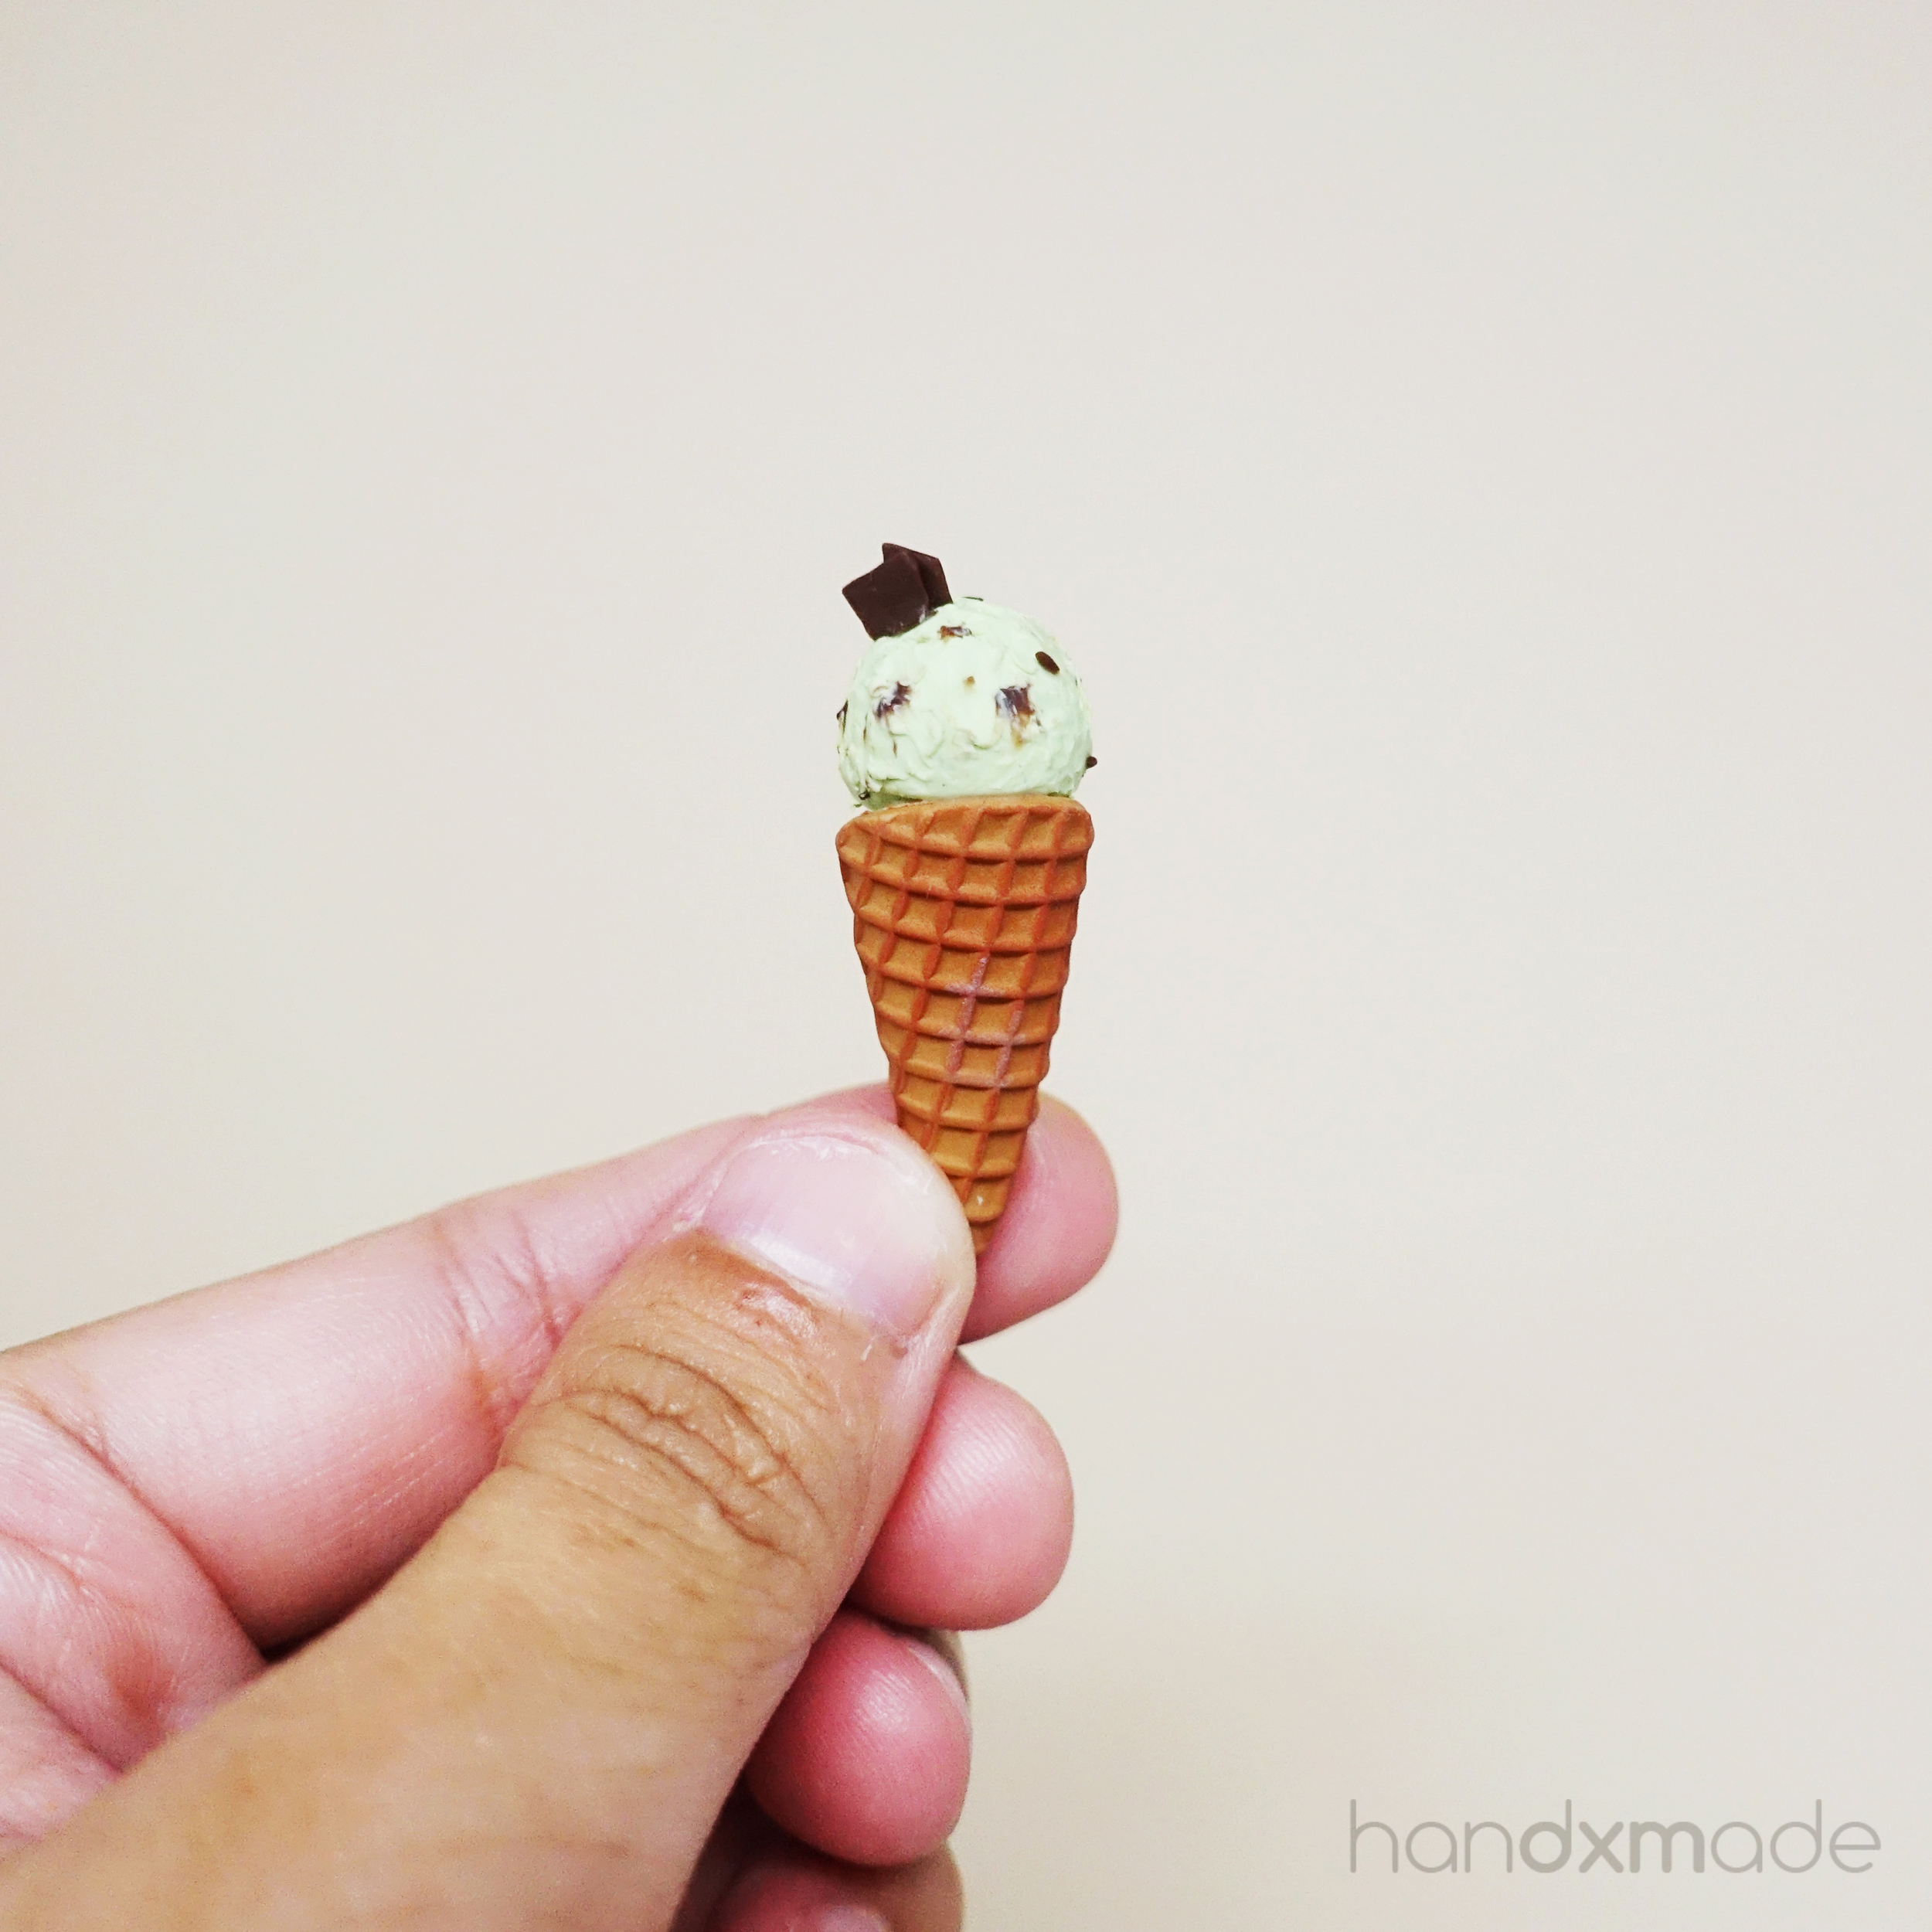
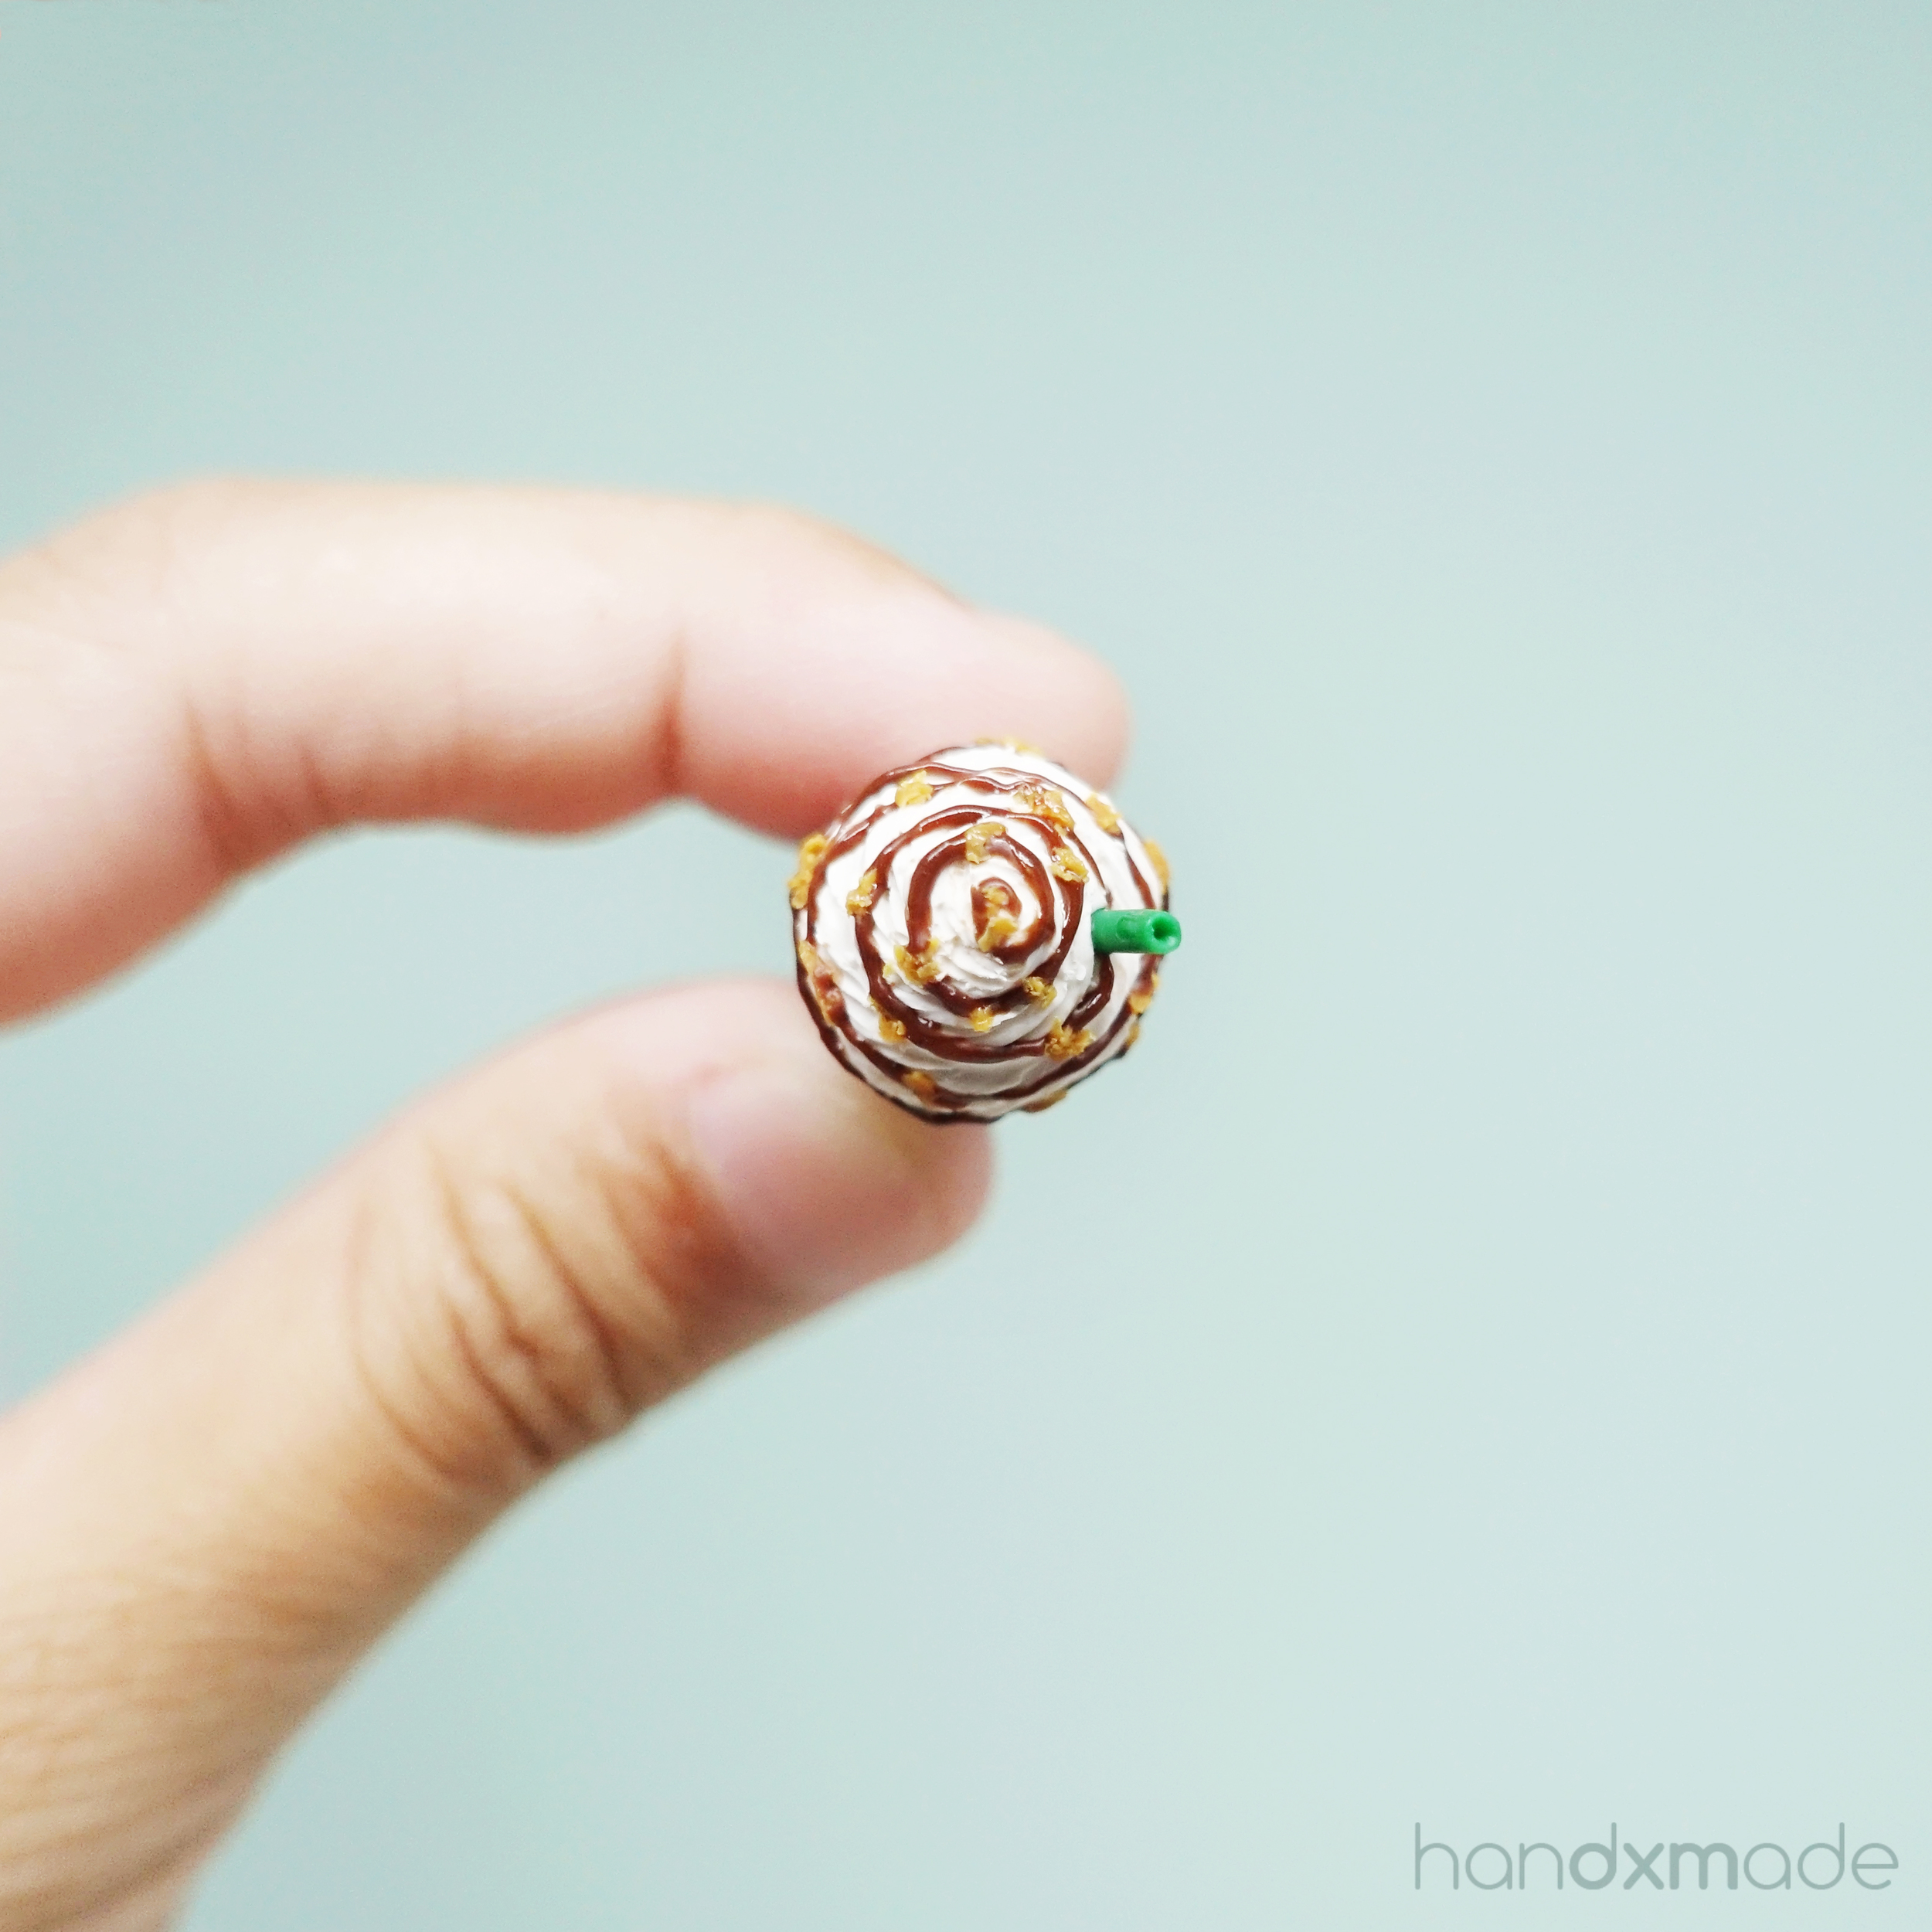
Mint icecream!!! Do you know why mint? BEAUSE NO SPRINKLES HAHAHAA.
Omg how lazy can you get XM hahahahaa. But I do love mint ice cream, and this is actually one of my favourite piece! I wear it as a necklace hehe. And yes I made two scoops instead of one cause I'm greedy.
Jk it's because the cone's opening was too big HAHAHAHAHA. #improvise

Oh god I think this is probably the worse photo edited in this whole series hahahaha.
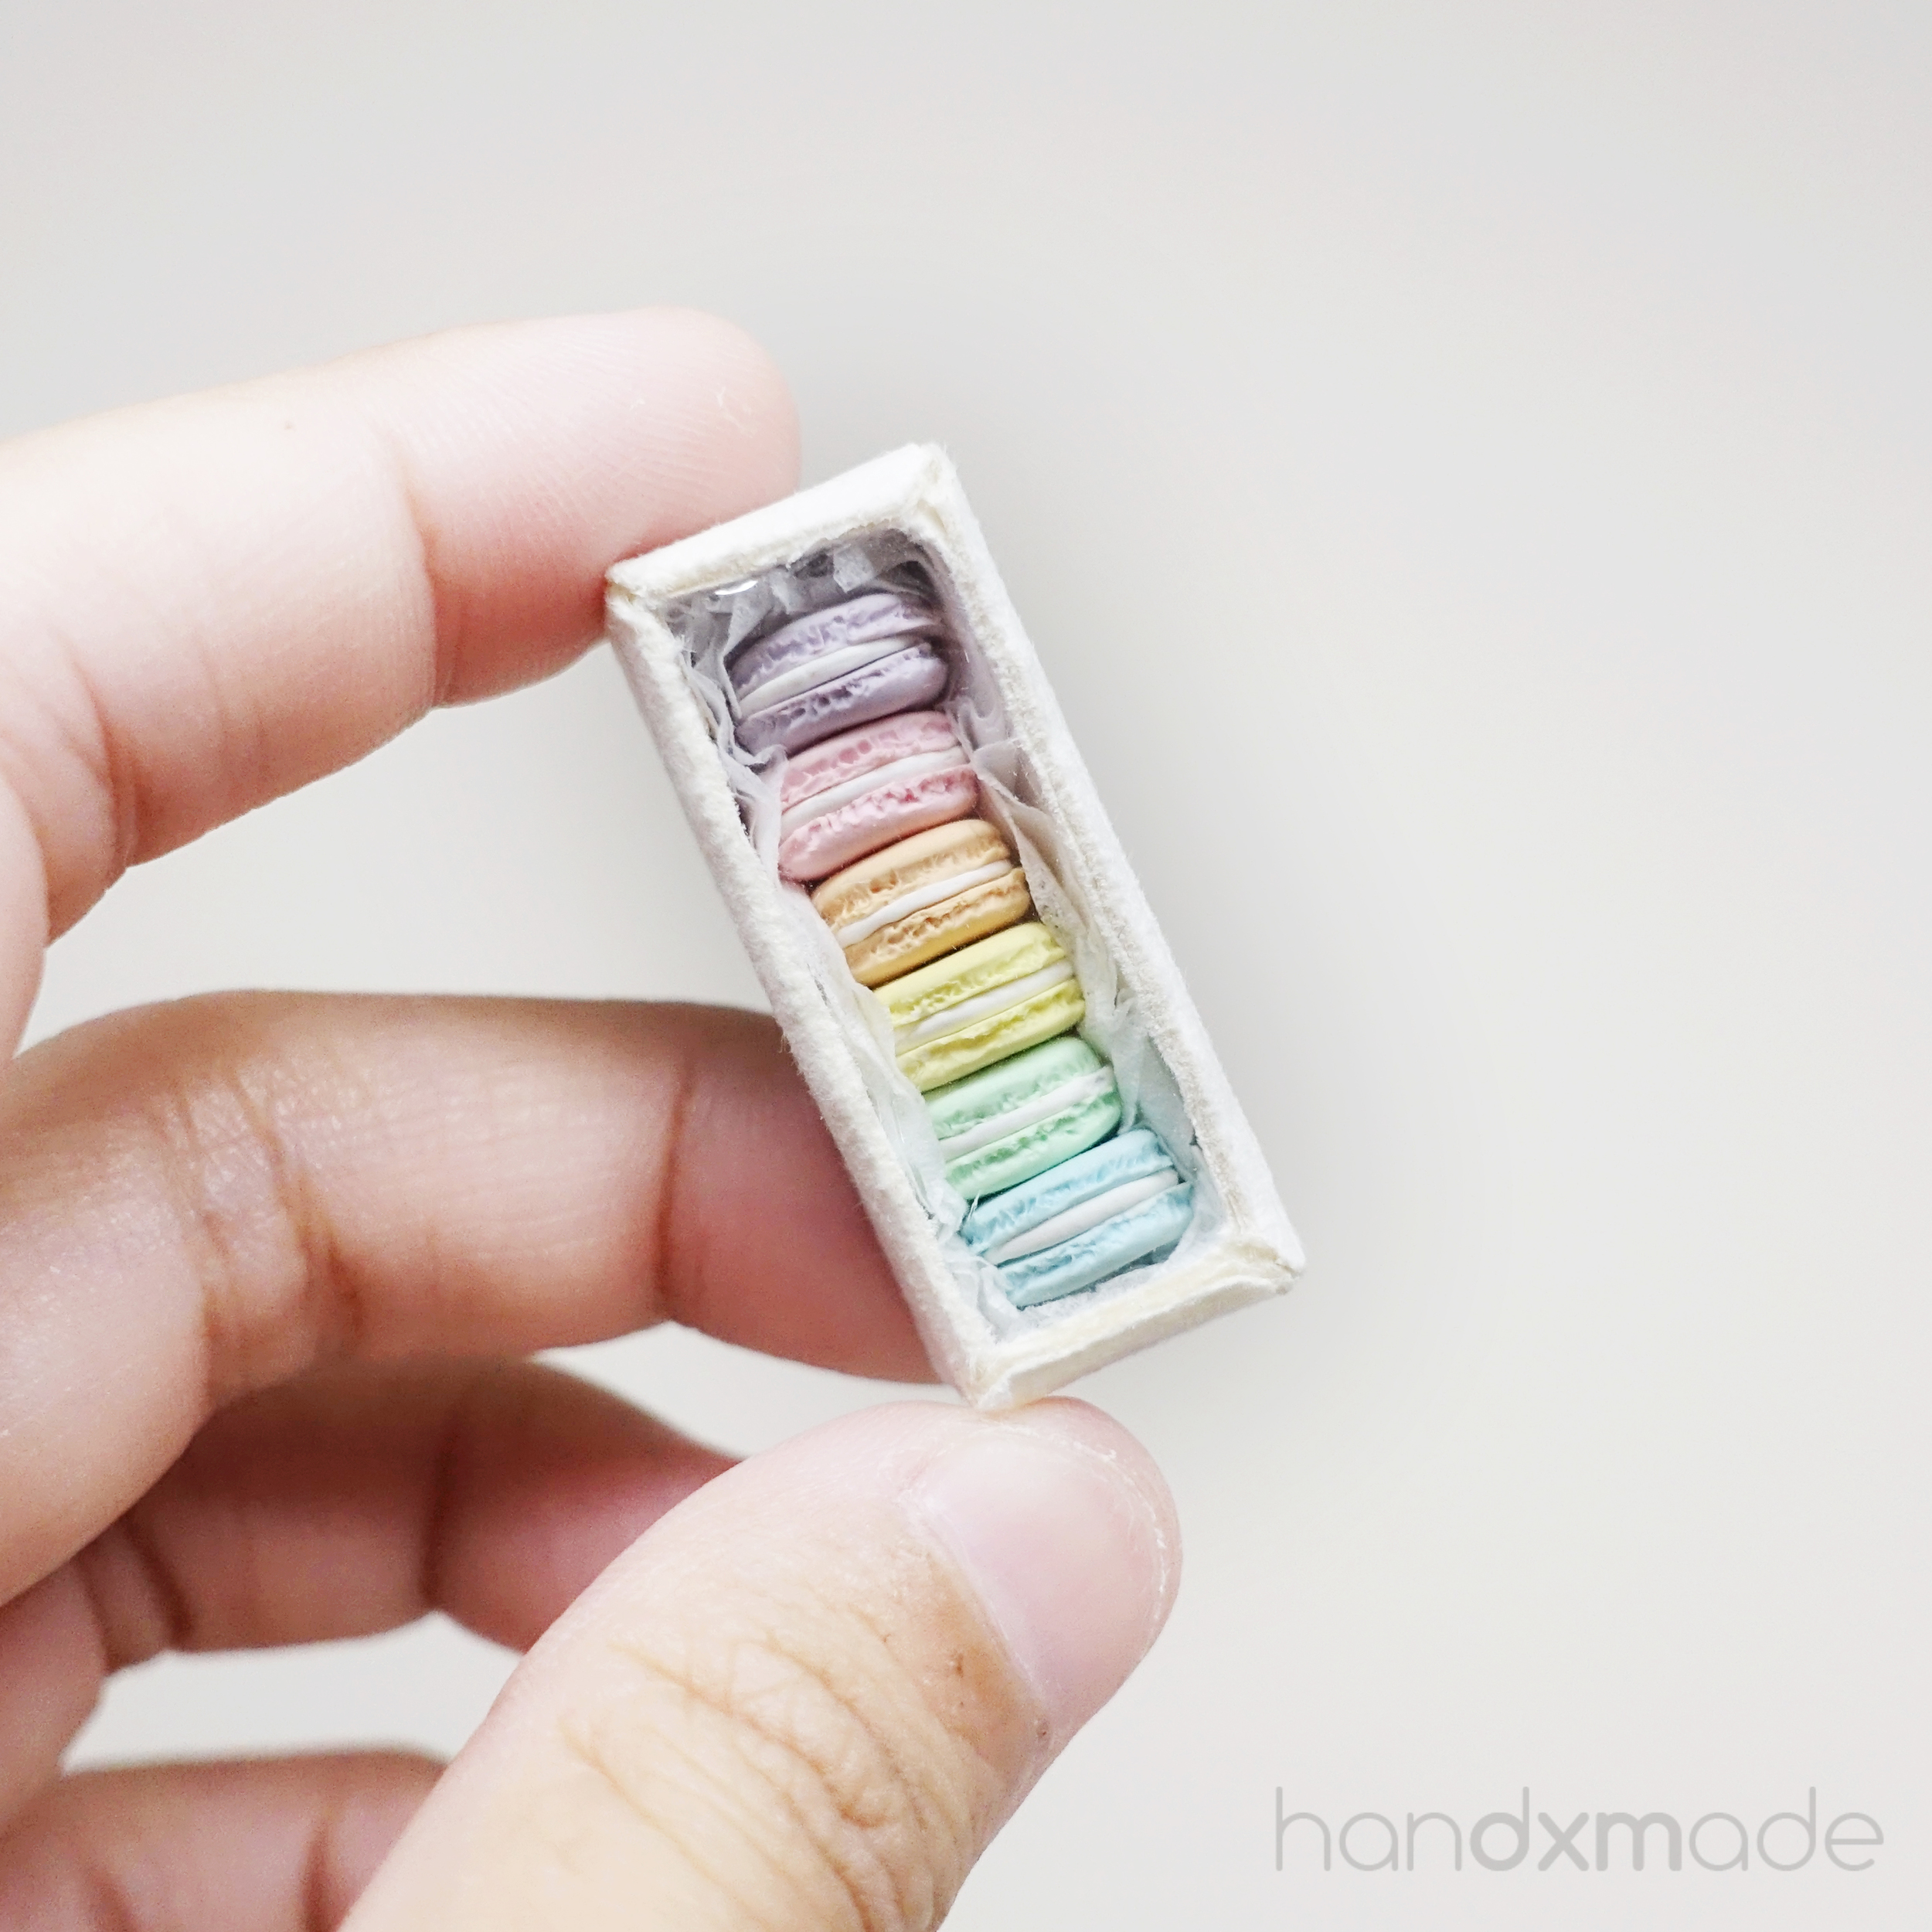
The box was another one of my last minute less than 30min creation so it wasn't really good. Plus the paper was a bit too thick hahahaa. I never really liked macarons cause they're so sweet, but they're sure pretty to look at! The pastel colours <3

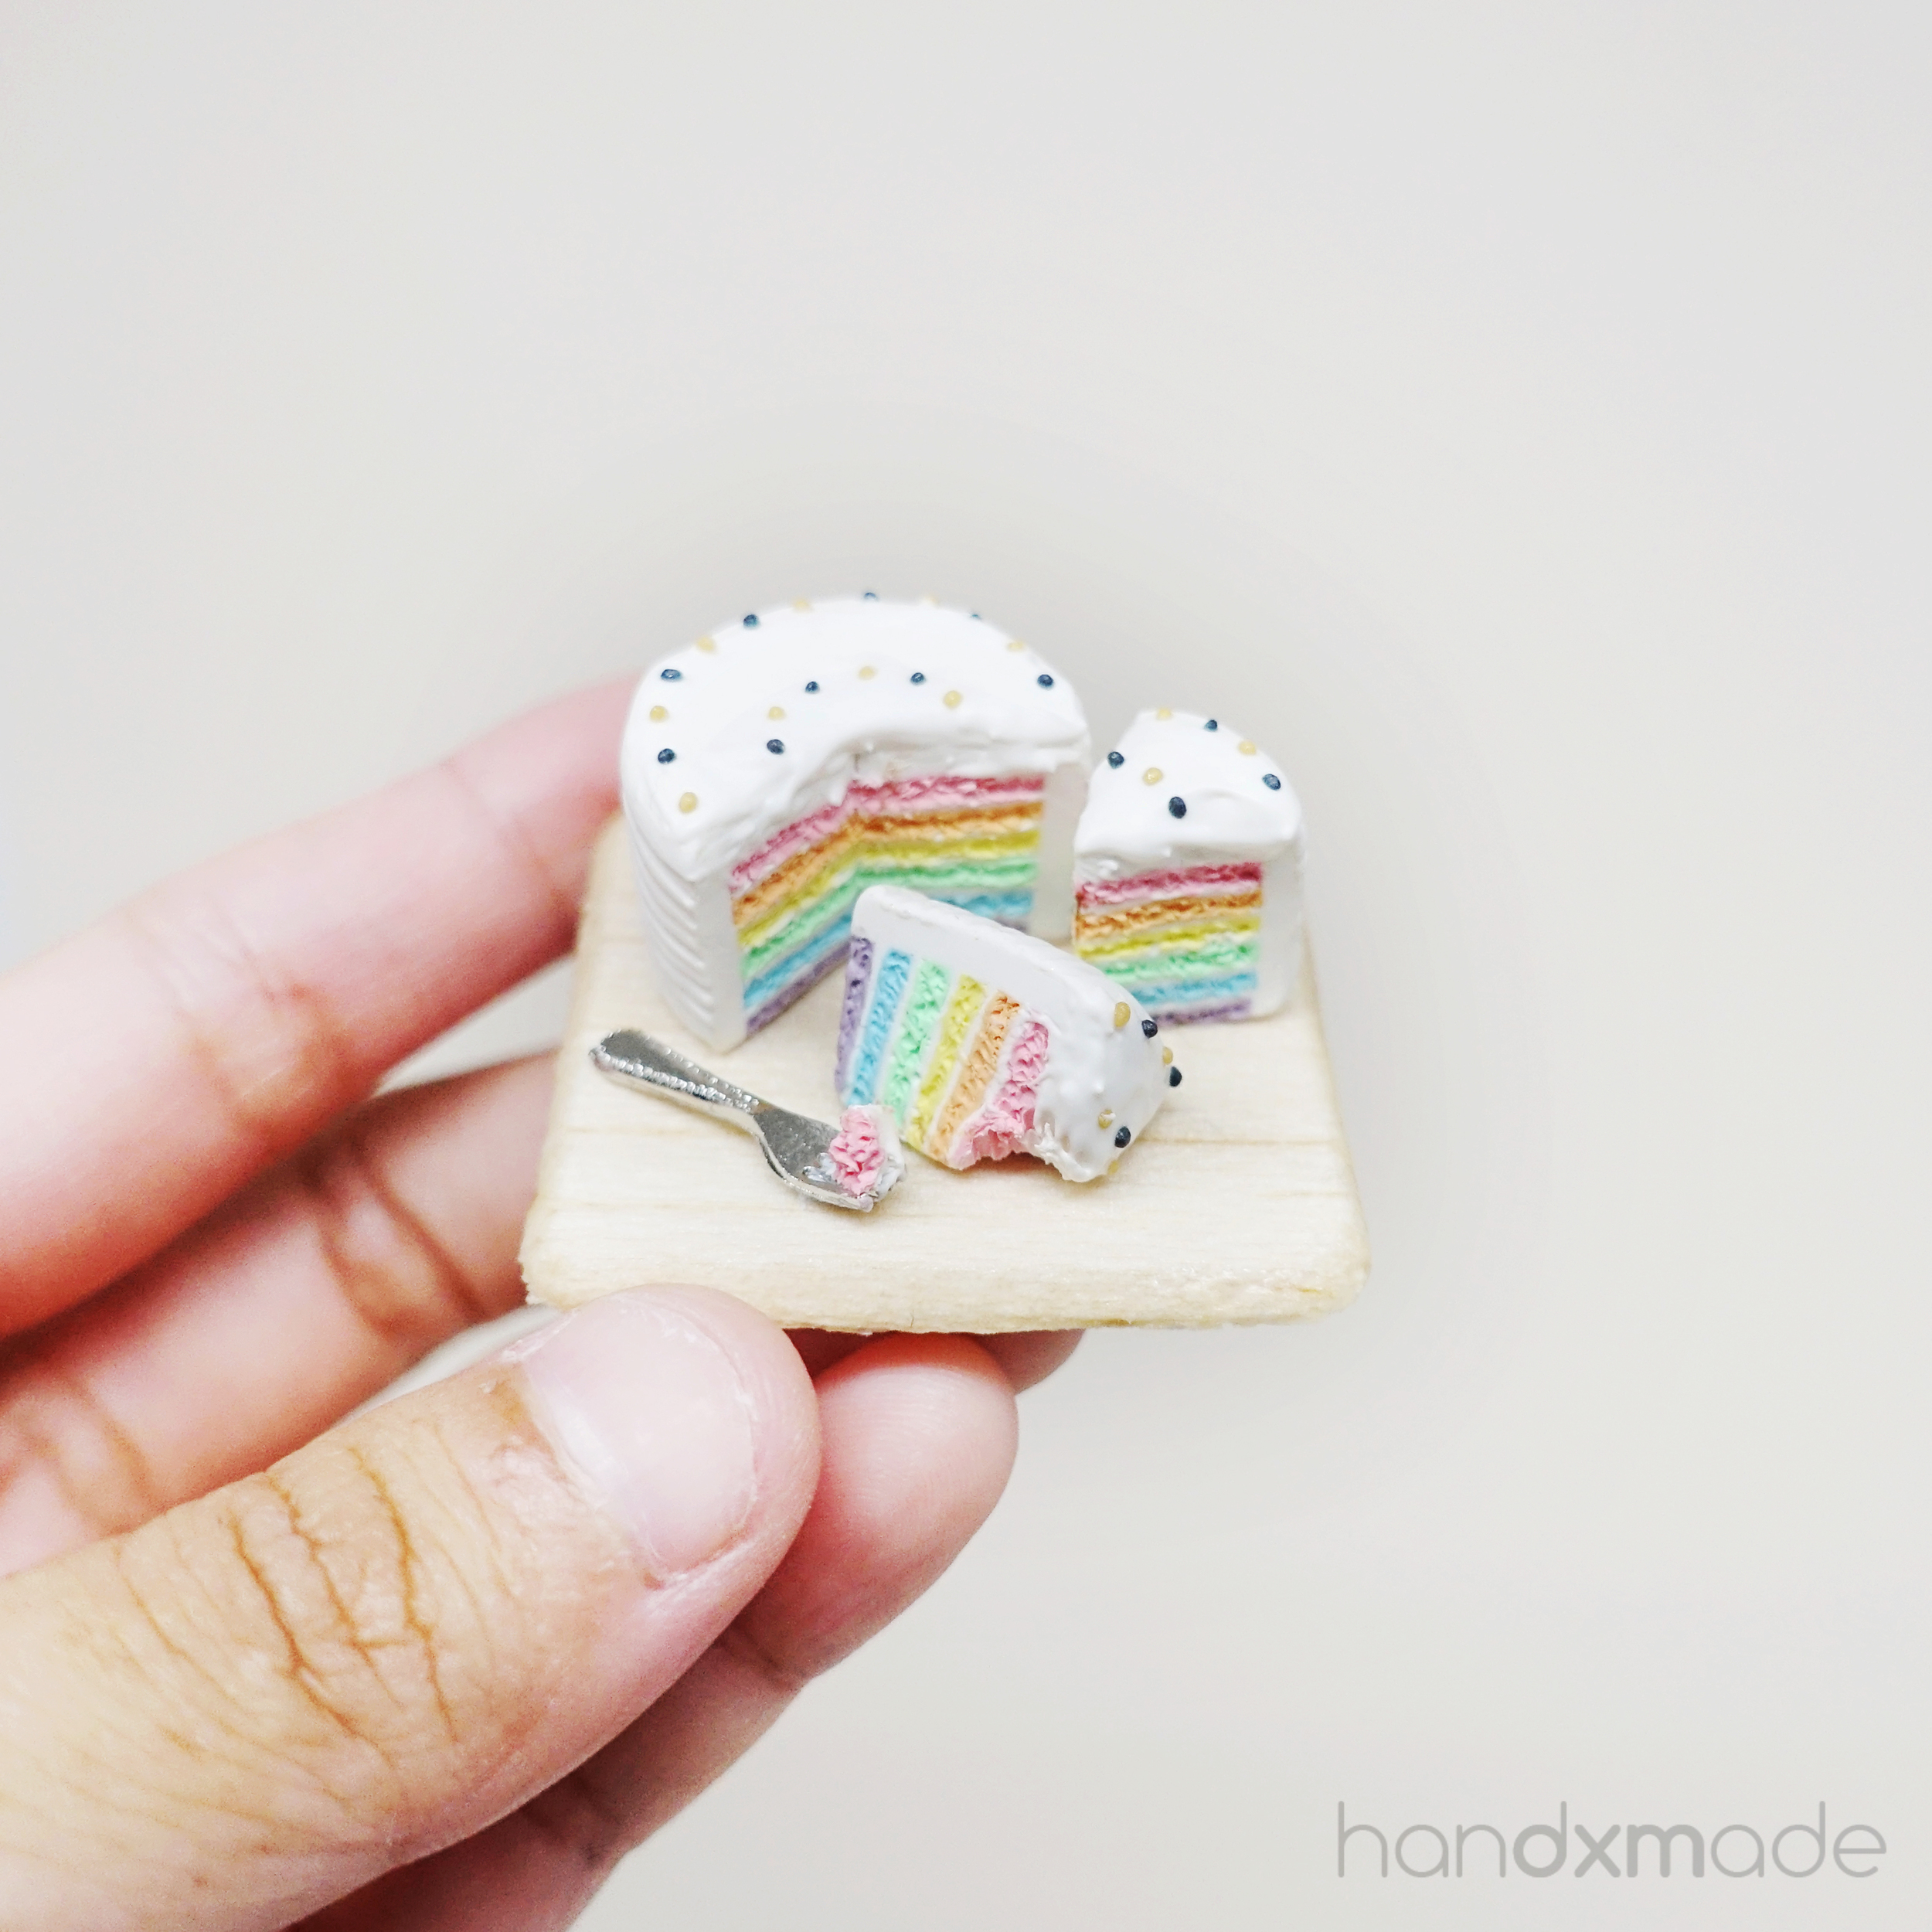
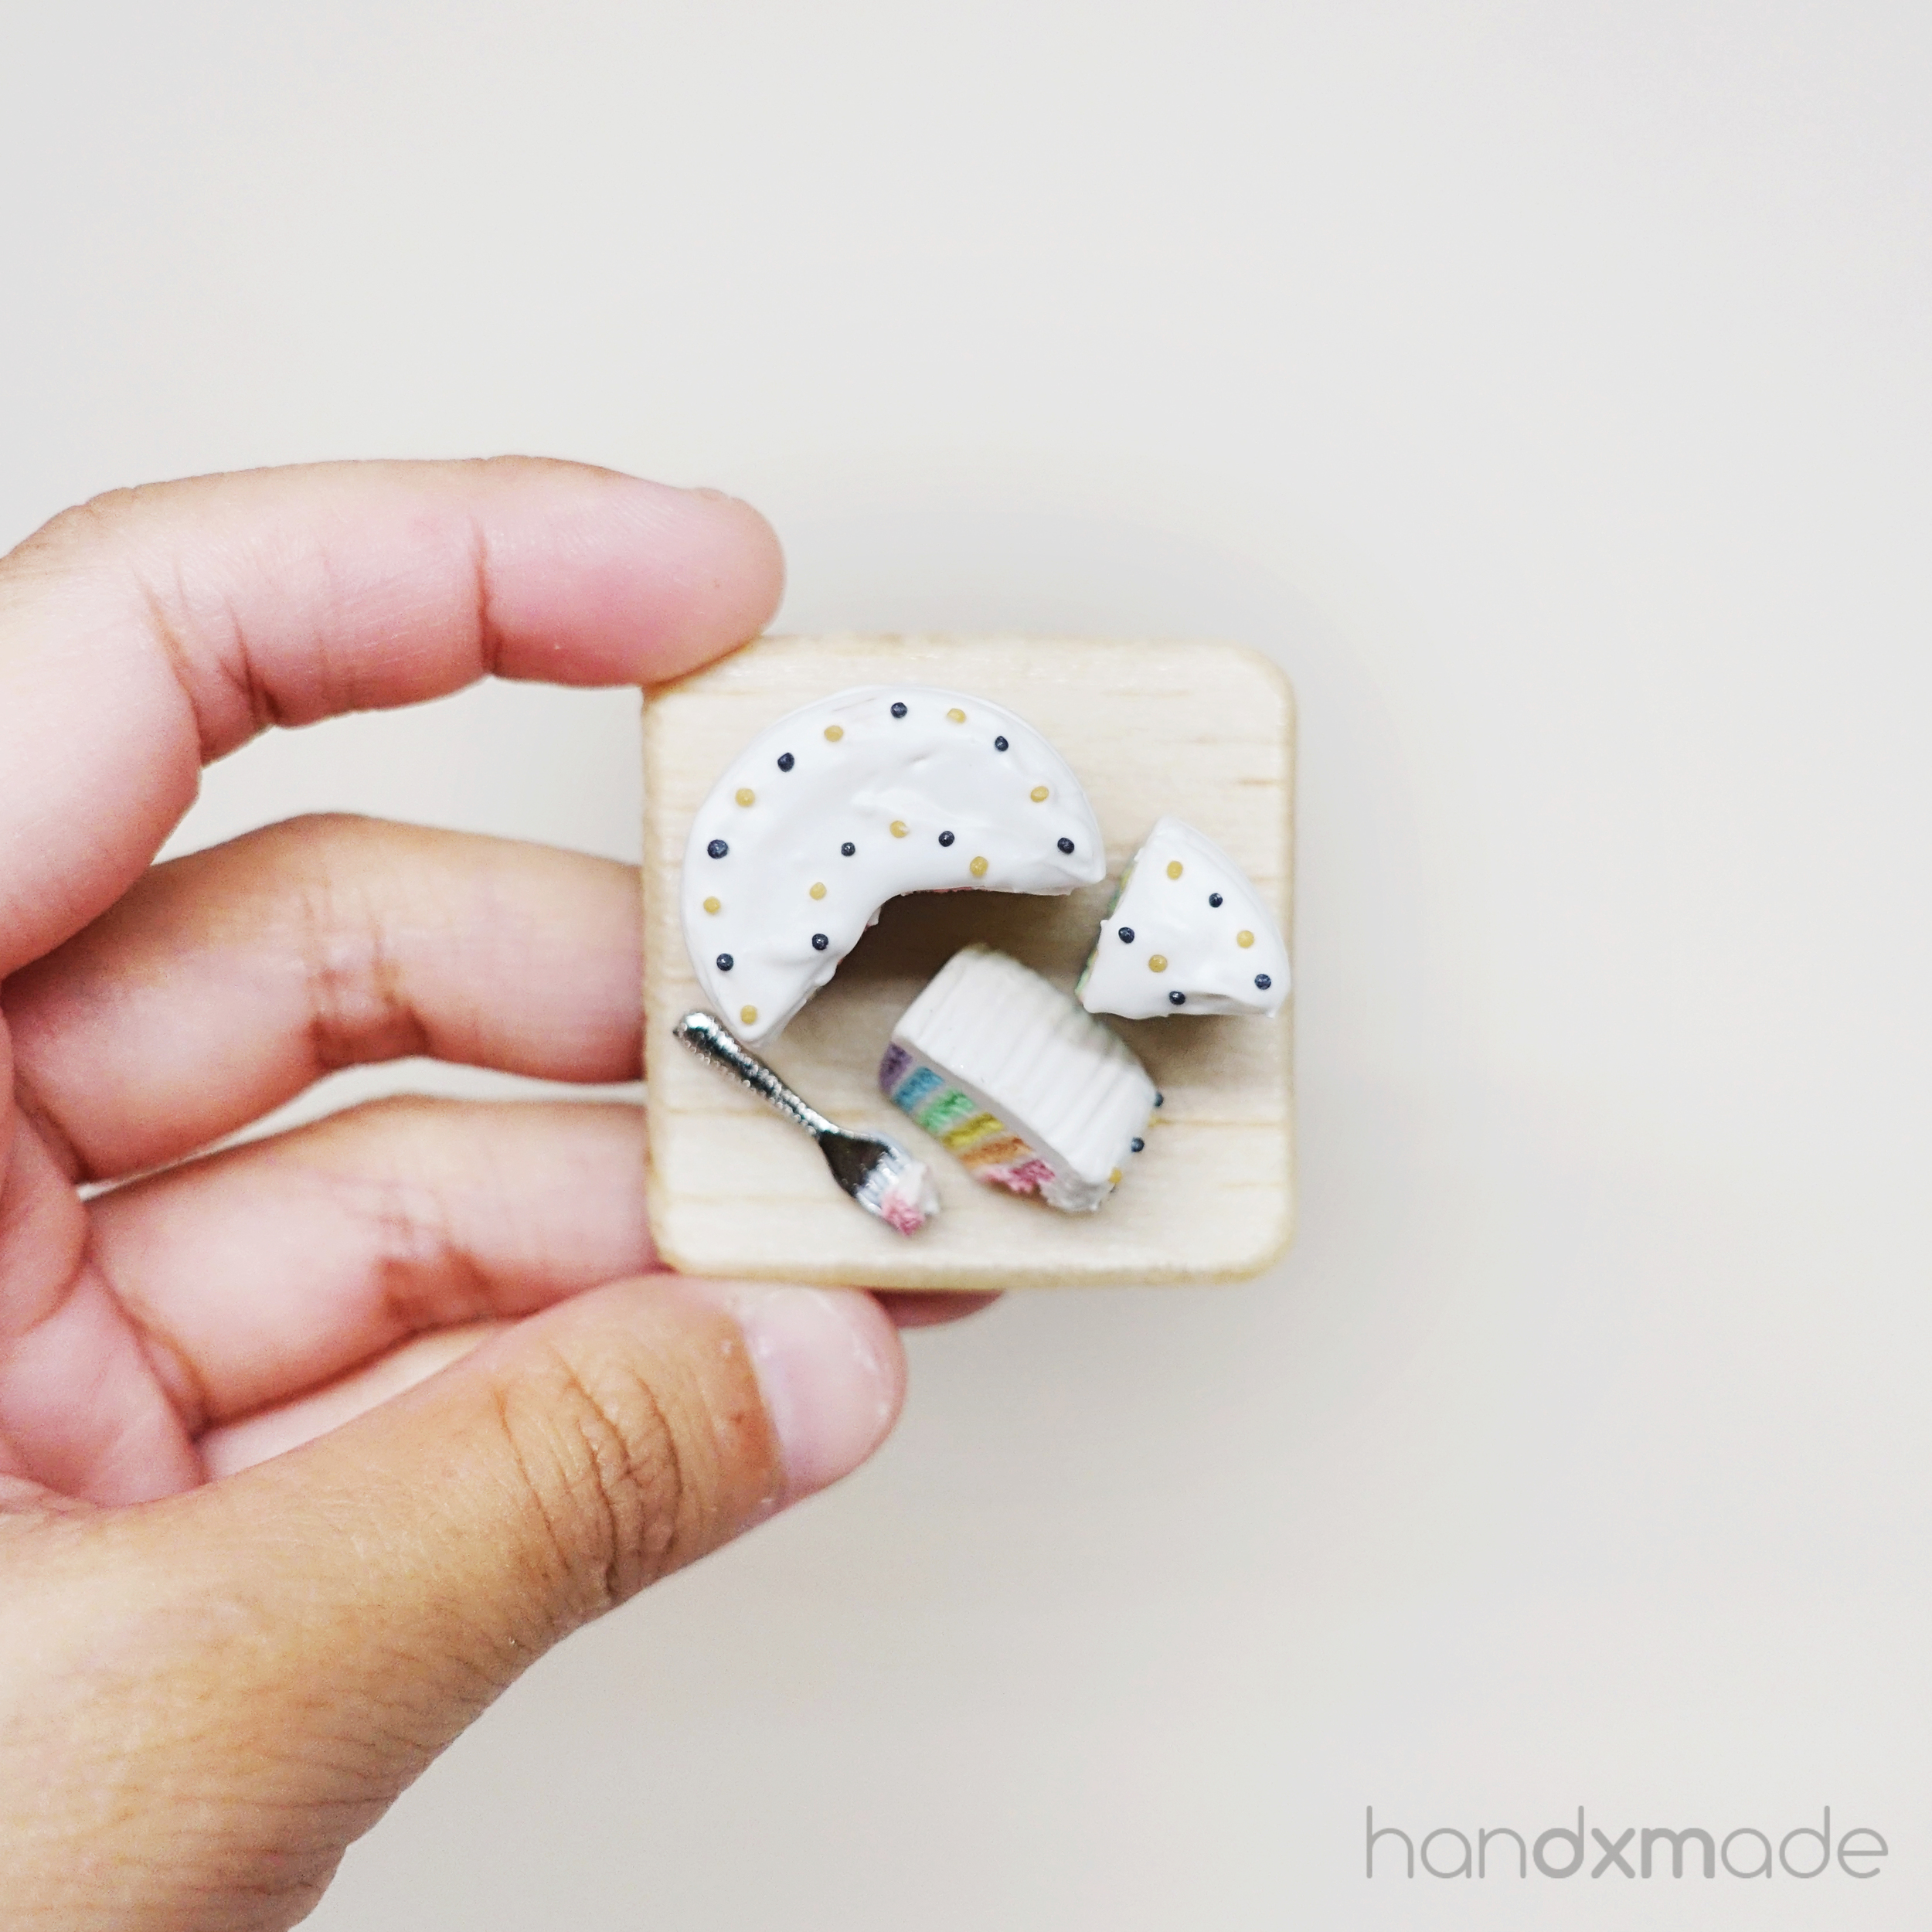
This rainbow cake makes me really happy whenever I look at it hahaha. I followed Jocelyn's placement of the cake because I love it so much! My board is a little bit cmi though, but still love it!

Better edited photos haha. For some reason darker background seems to edit better???
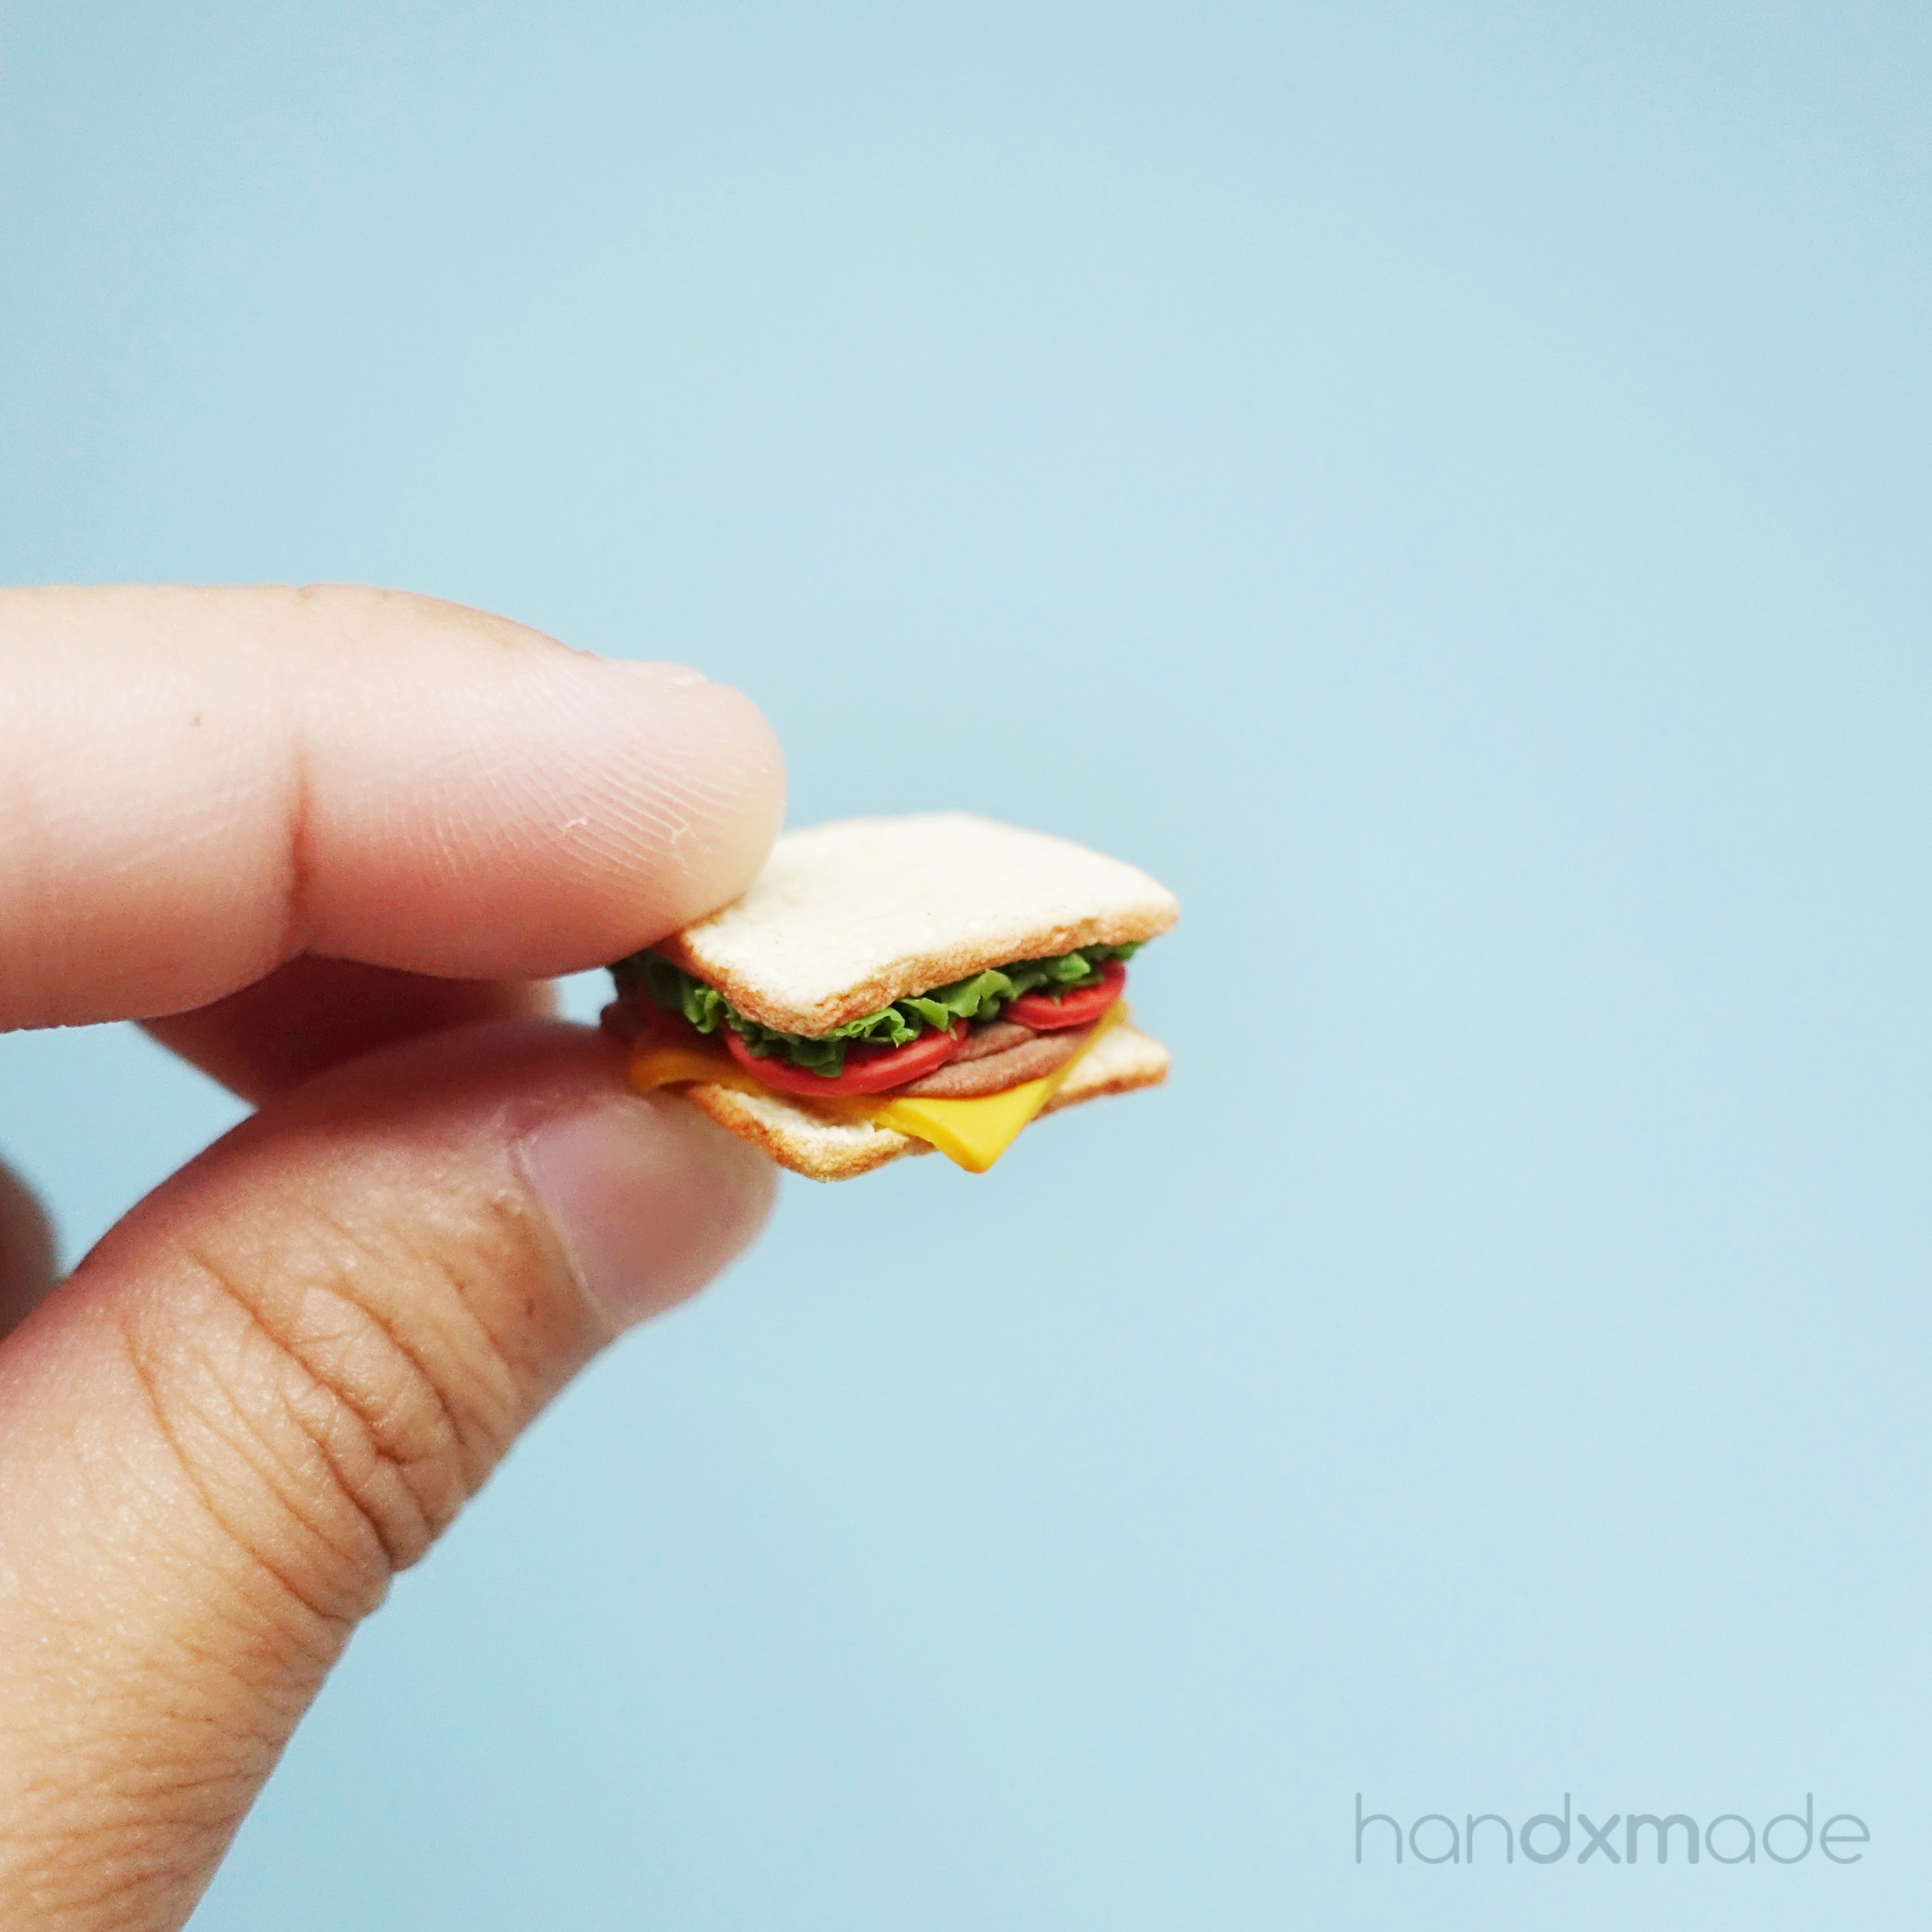
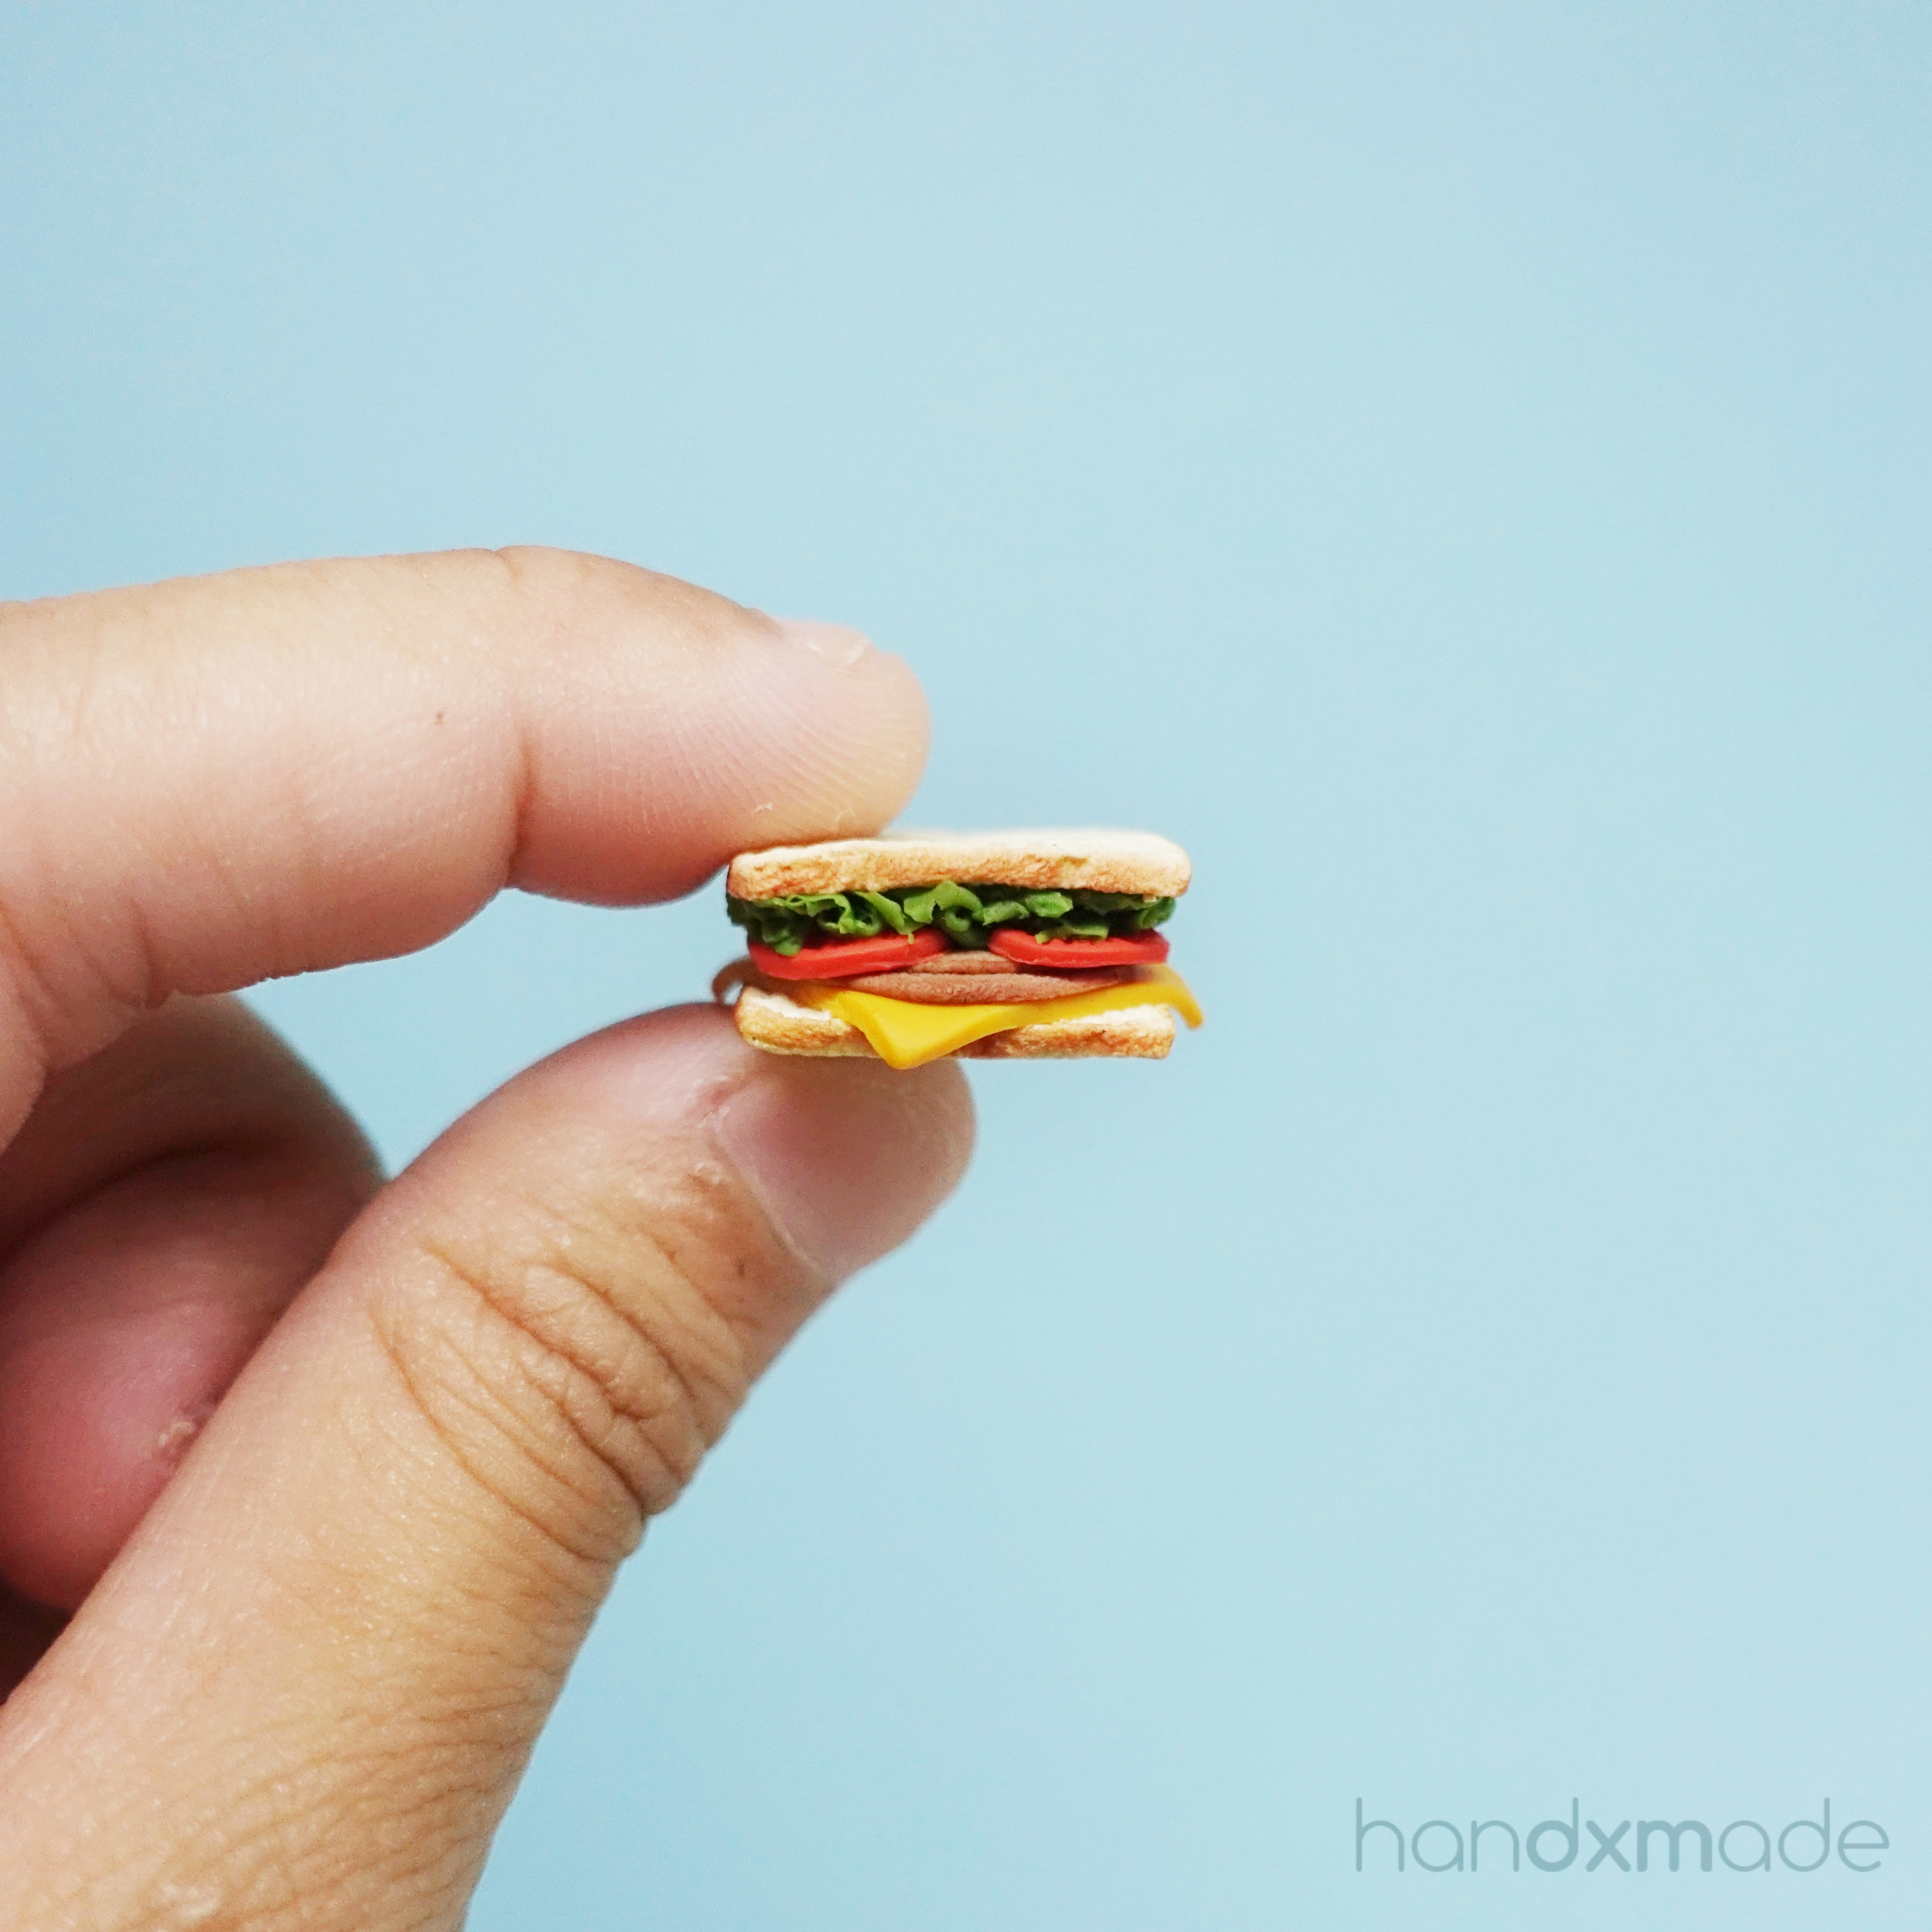
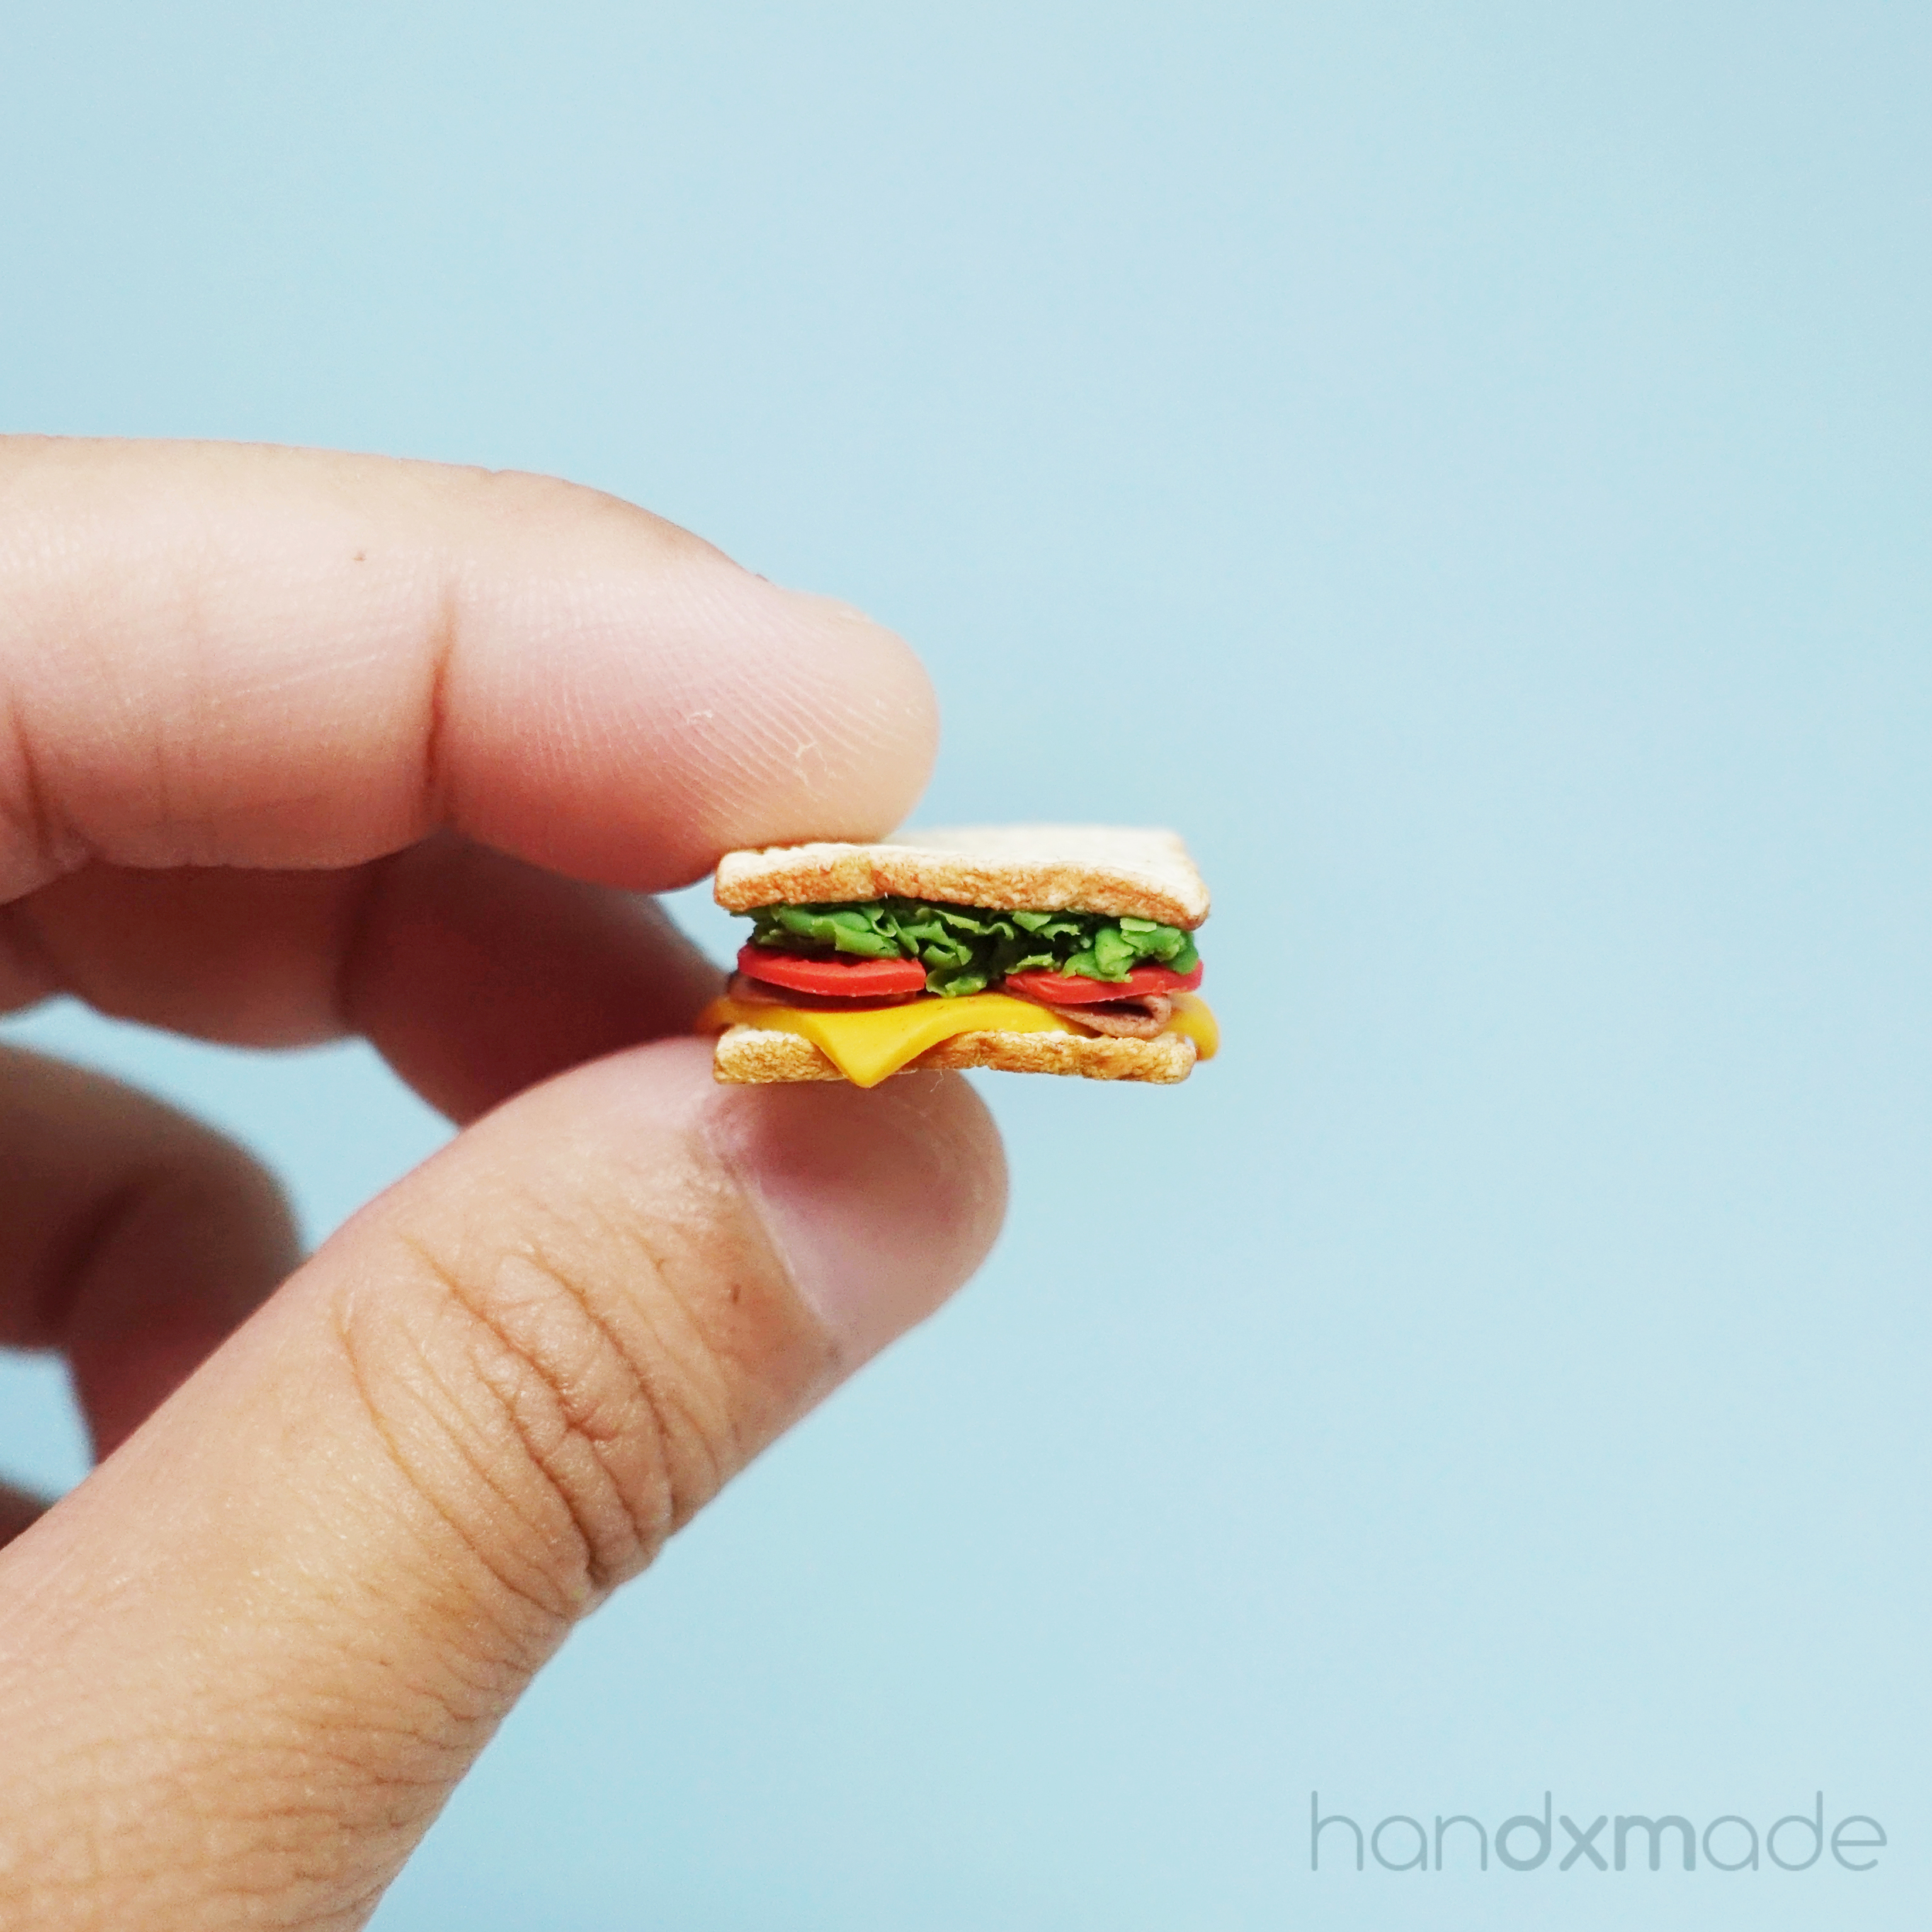
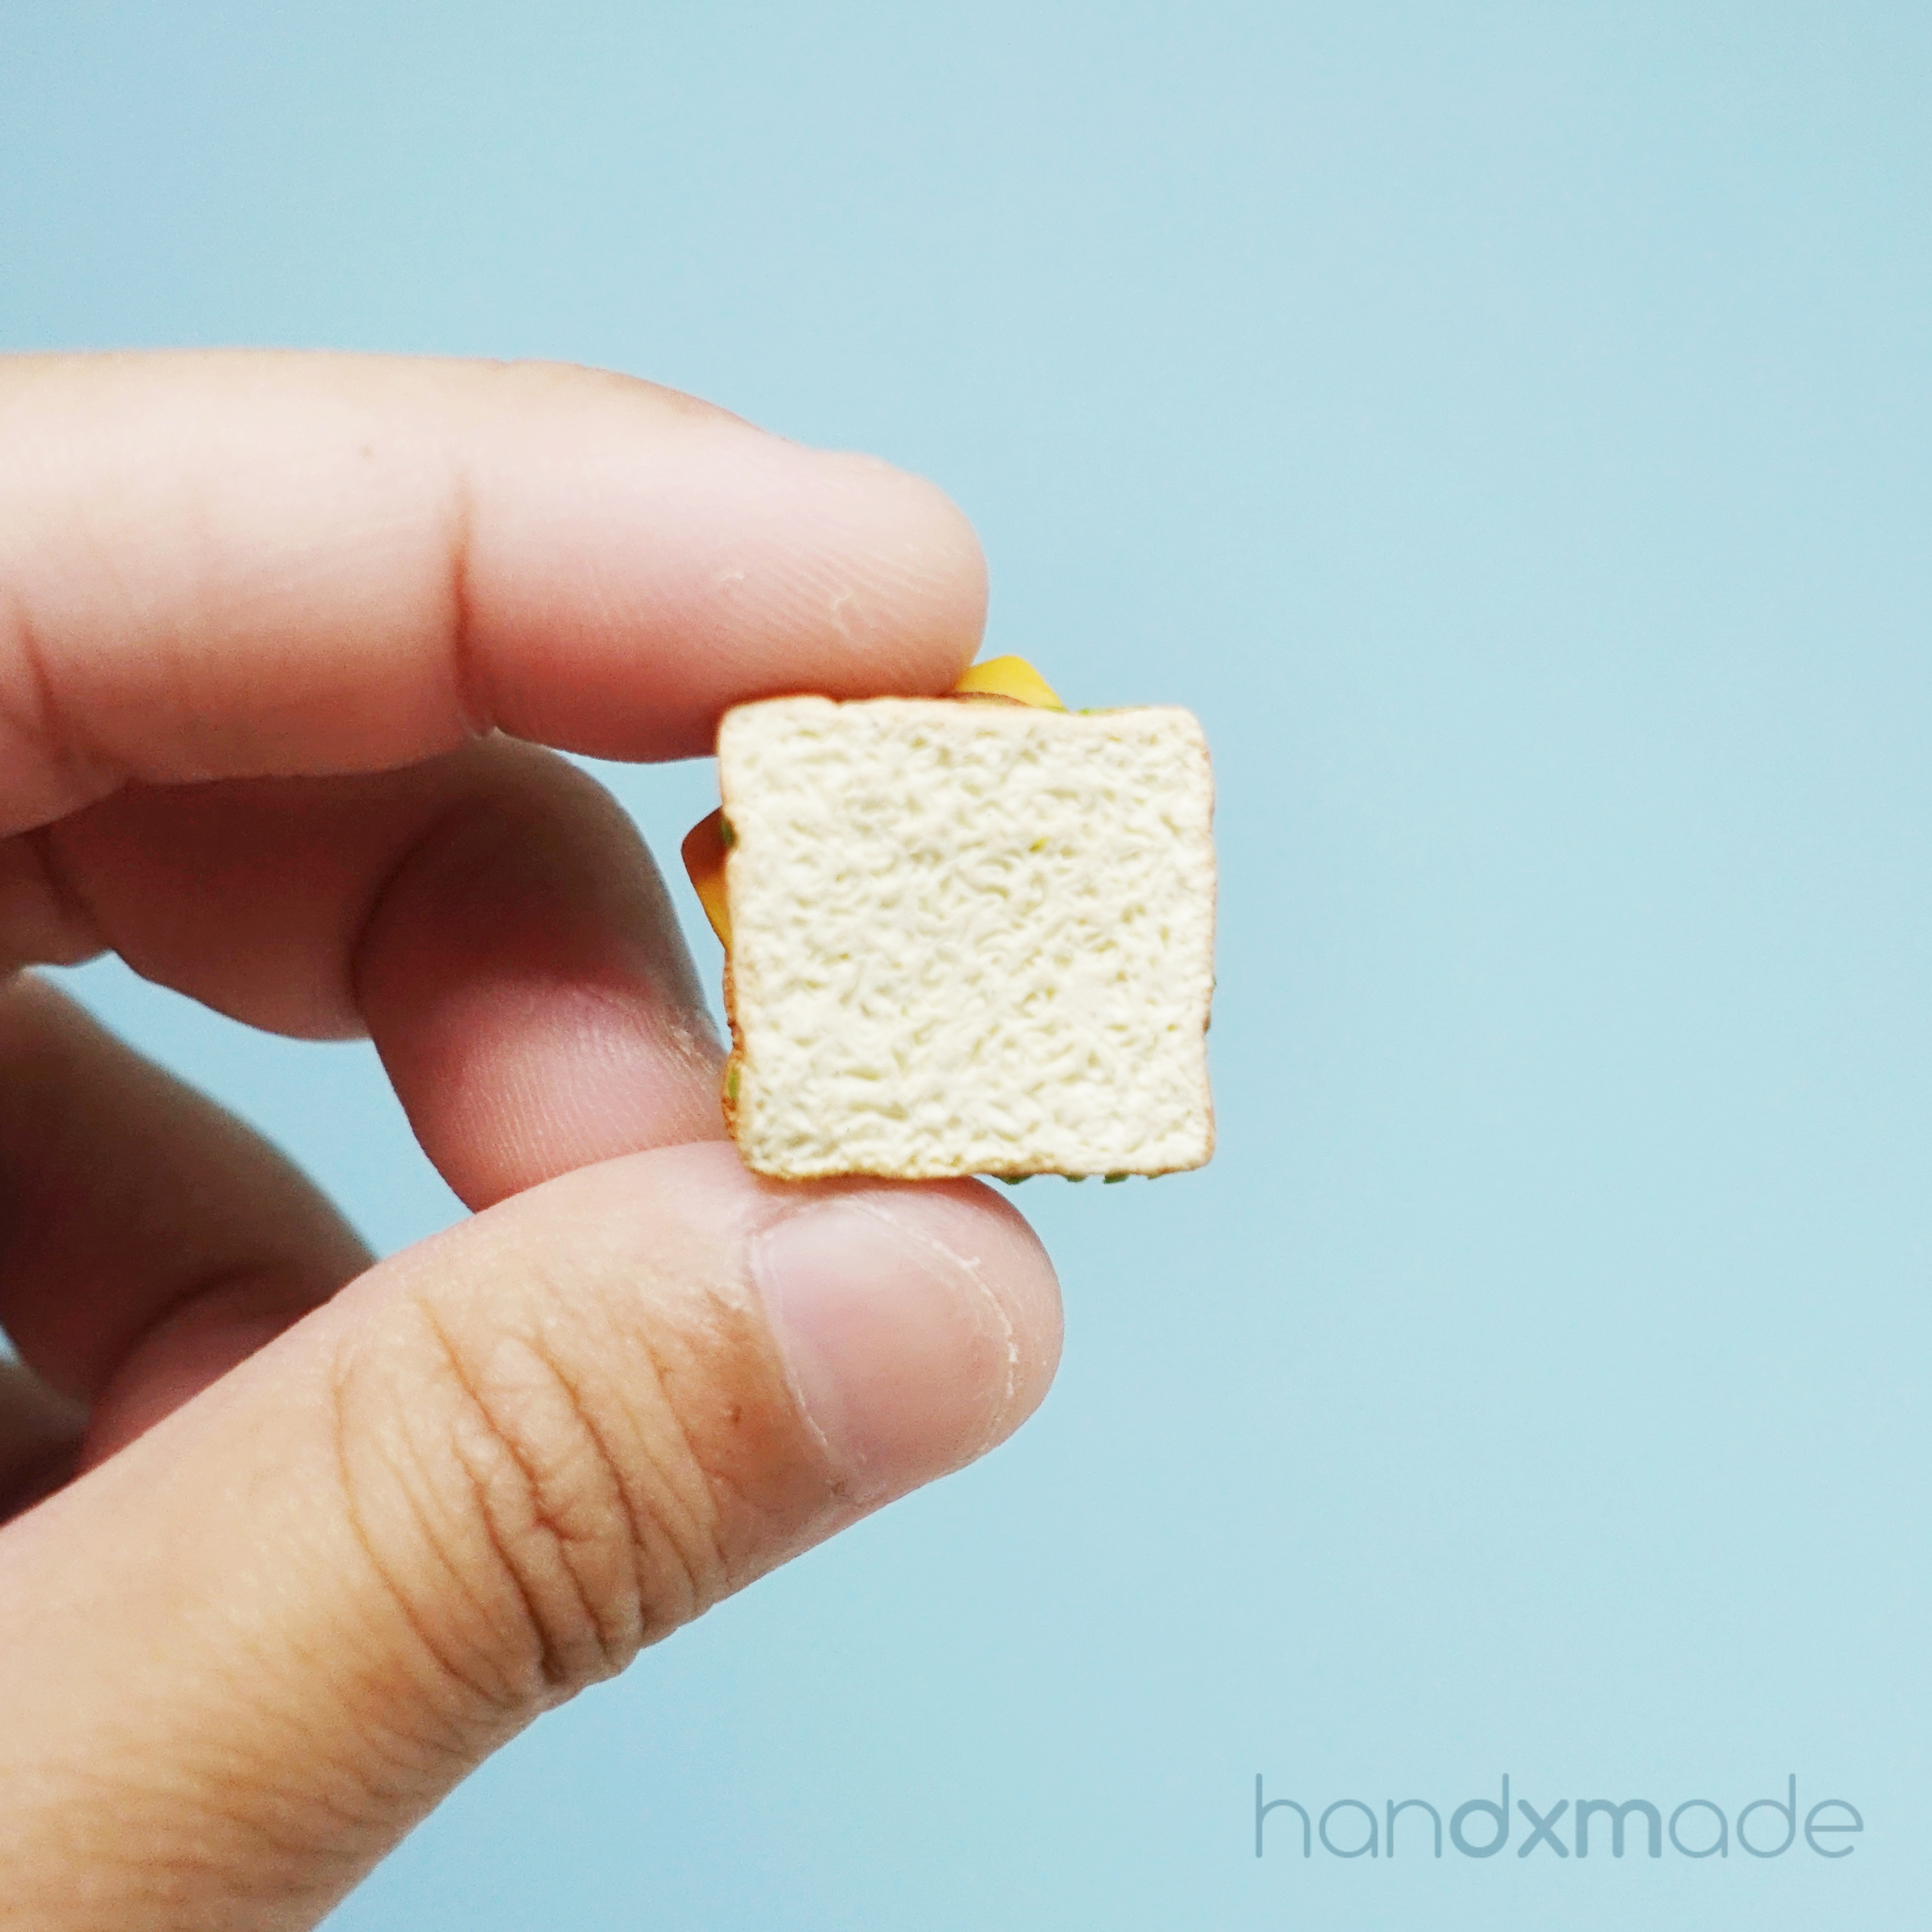
Anyway! This sandwich was really fun to make! The moment when the plain piece of clay look realistic with just a few brush of pastels and texturing was really satisfying!
So that's all for the tutorial photos! I guess I just wanted to show how you can create something different with the tutorials and there's so many ways of making one thing! One good thing about making food miniatures is that food usually isn't perfect anyway, so if you make a "mistake" it still works! Hahahaha.
I apologise for my bad editing skills in some of the photos though, I did improve a lot throughout this so I'm really glad! Hehe.
I do hope my points is relatable to others, and honestly the Pocket Roller is the best thing you will buy, ever!!
This Pocket Kitchen kit can be use for very long before you replenish the items, and the tutorials itself will definitely last you at least a month or more (if you attempt one every few days).
Now don't say I never share okay! ;)
P.S. I know this whole post is very one sided and it sounds like I'm trying very hard to sell it, but I really wouldn't spend four hours to write a review that I didn't think was worth it for no reason (AND not sponsored). It might sound like I'm joking but I have NO DISLIKE OR DISAPPROVAL OF ANY KIND for Pocket Kitchen! Even the pricing imo is TOO CHEAP because look at the amount of tools and skills you'll learn?!? (Seriously you WILL spend more than S$238 on tools and materials if you want to make charms as a serious hobby I guarantee you.)
It truly is a PERFECT kit in my opinion! #noregrets