
DAYRE ORDERS
Dayre, a place I've been updating almost daily with random day-to-day musings, food and sometimes rants, since I got back to it on November 2015!
I was actually on Dayre in 2014 for a few months, before I stopped due to school work and part time work in general. Oh my, I was still crocheting then! And throwback to my first post on Dayre after the long break, where I talked about wanting to work as Jocelyn's Assistant for AiClay!
It was just a good place for me to upload photos with story etched with them, and unless Dayre's server crashed...(touch wood) they'll be there forever. DON'T SAY NO TO FREE STORAGE HAHAHA. It's a mobile based blogging experience, and it has made blogging on the go SO CONVENIENT.
Slowly, I started meeting new people on Dayre, thanks to Editor's Pick! I really think it was one of the reason that made me stayed on Dayre, because I get to have a peek into other people's life, be it a cook, baker, artist, and more. Editor's Pick is where your posts will be on everyone's timeline for a week, and if they like what you write...they'll want more and follow you!
And one day....I was picked as Editor's Pick!!

What a sweet write up :')
Back then, Handxmade is basically NOTHING, and nobody barely know about me hahahahaha. So being Editor's Pick was like a gift sent from heaven, where SO MANY PEOPLE could see my works, and follow if they're interested!
Dayre community is so friendly and supportive, it was almost unreal. Of course, as time goes by and more people gets on to the bandwagon, there's bound to be trolls. But that's a story for another day. I STILL LOVE DAYRE. I even made friends, and met some of them! How amazing is that :')

In the end, I decided to give discount for my orders, and I was pleasantly surprised that I got more than 15 orders altogether! Although one or two dropped out a bit, it was still an whooping amount of people (compared to....like.....0 at that point of time LOL)
I was suppose to take...10 orders? But I ended up taking more haha.
I also spent A FEW MONTHS to finally get all of them done, and throughout the way...I've improved TONS, and also realise that the current pricing was impossible for me to survive if I really want to keep it a full time job.
Now, I've changed how I price my custom orders, a better FAQ section, fix my rushing for deadline problem (hopefully), figurines are consistent in how they look, and also improved my forms (big thanks to Kaye from Pixelandcode! <3)
It's been a looooooong while since I updated handxmade blog, and I'm going to post all the works I've done for Dayre supporters! :')
Need to keep my "portfolio" alive right hahaha.
*I'm going to post the photos based on their submission, but I worked on them differently because of different deadlines (despite saying I am only taking orders without deadlines....)
LONG POST AHEAD!
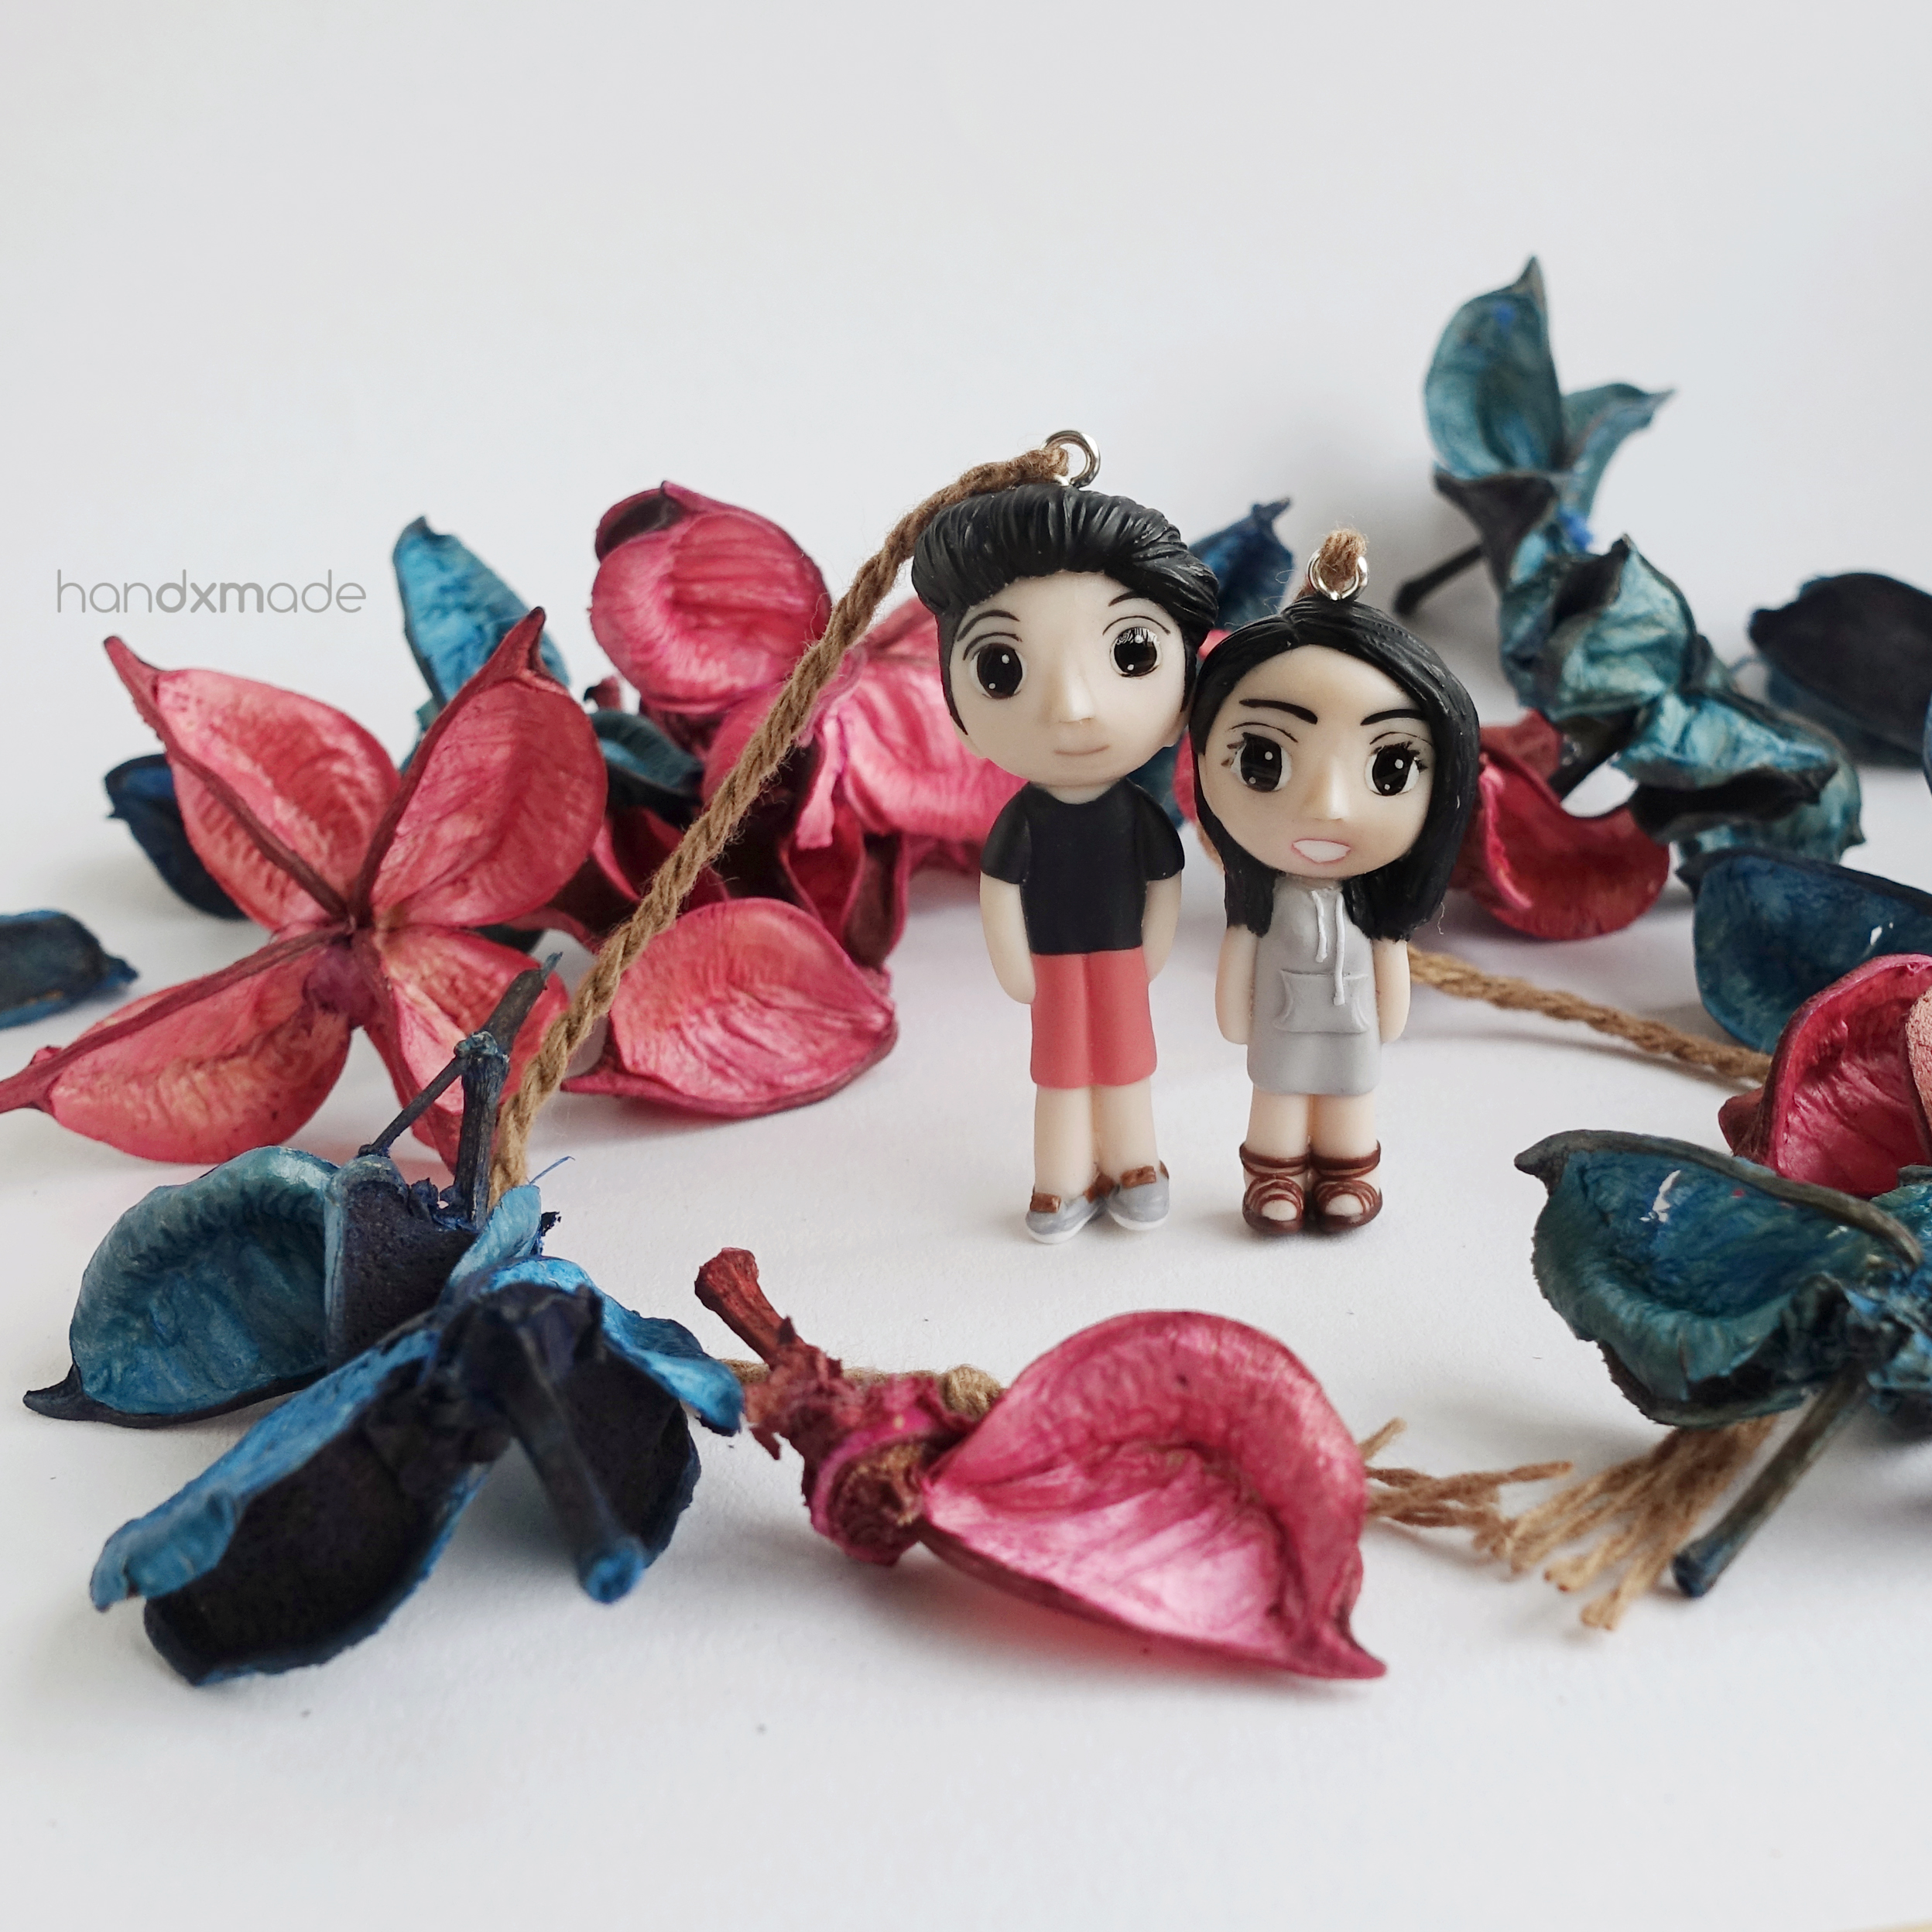
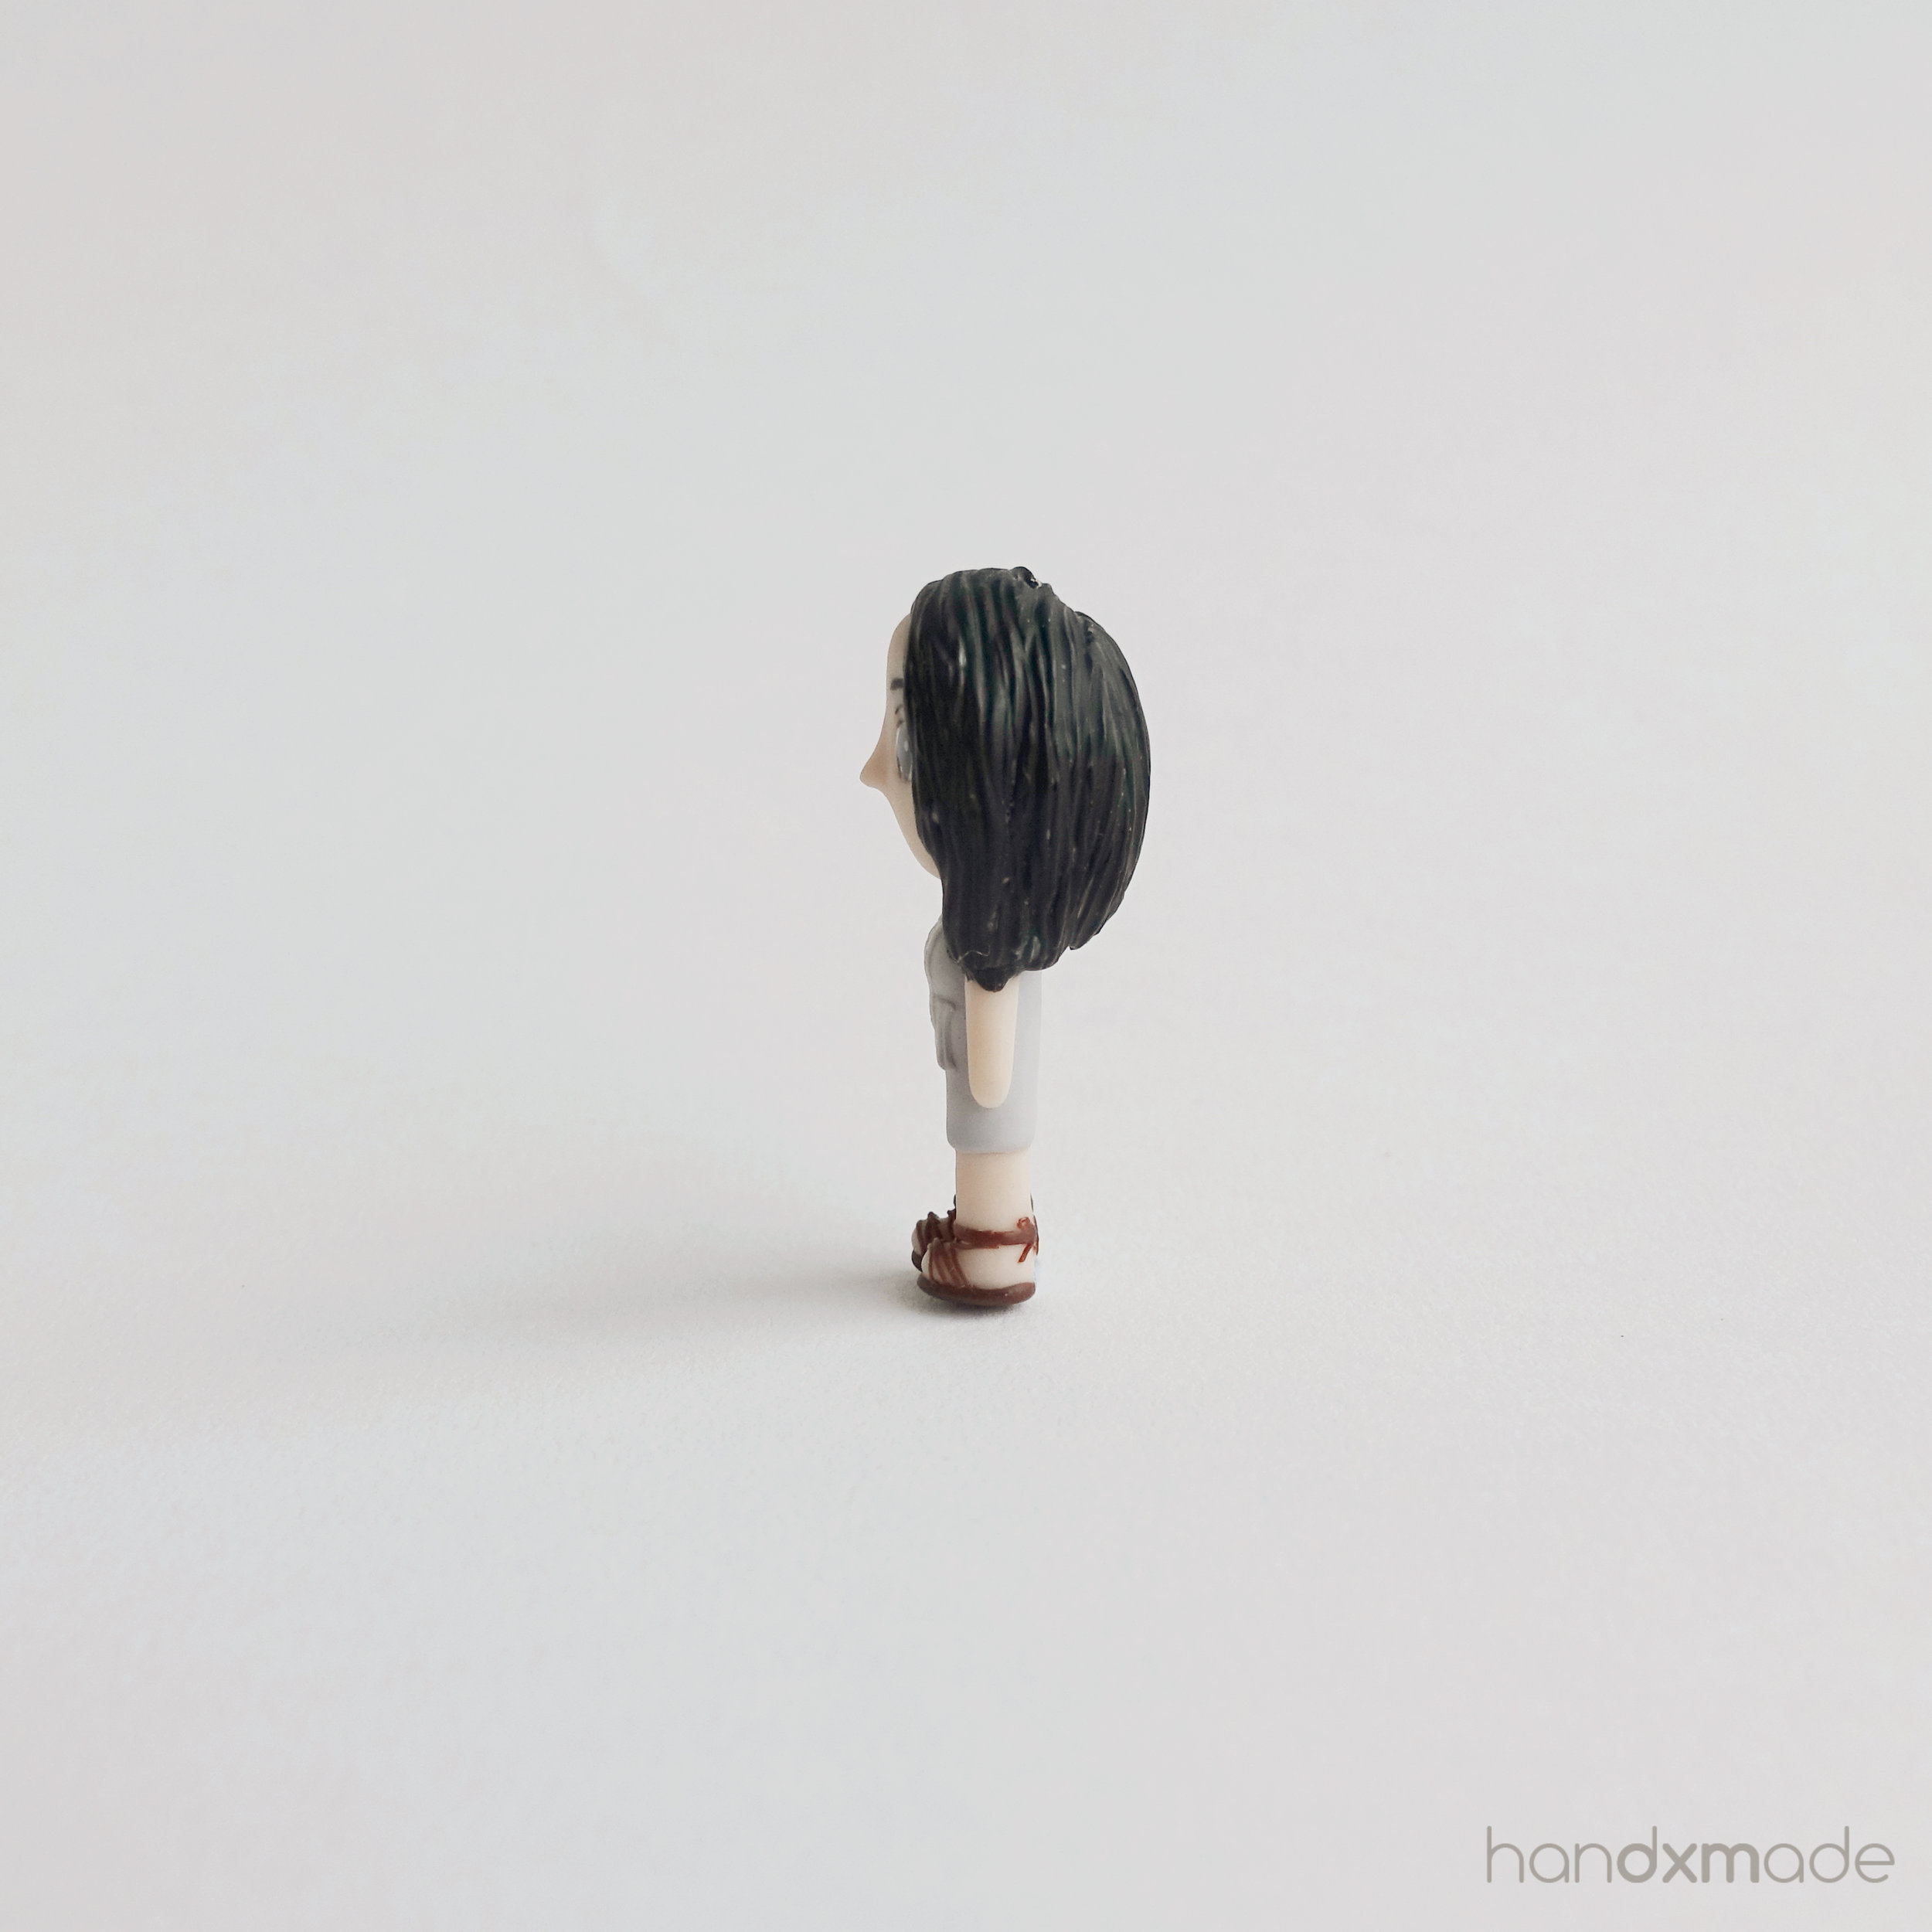
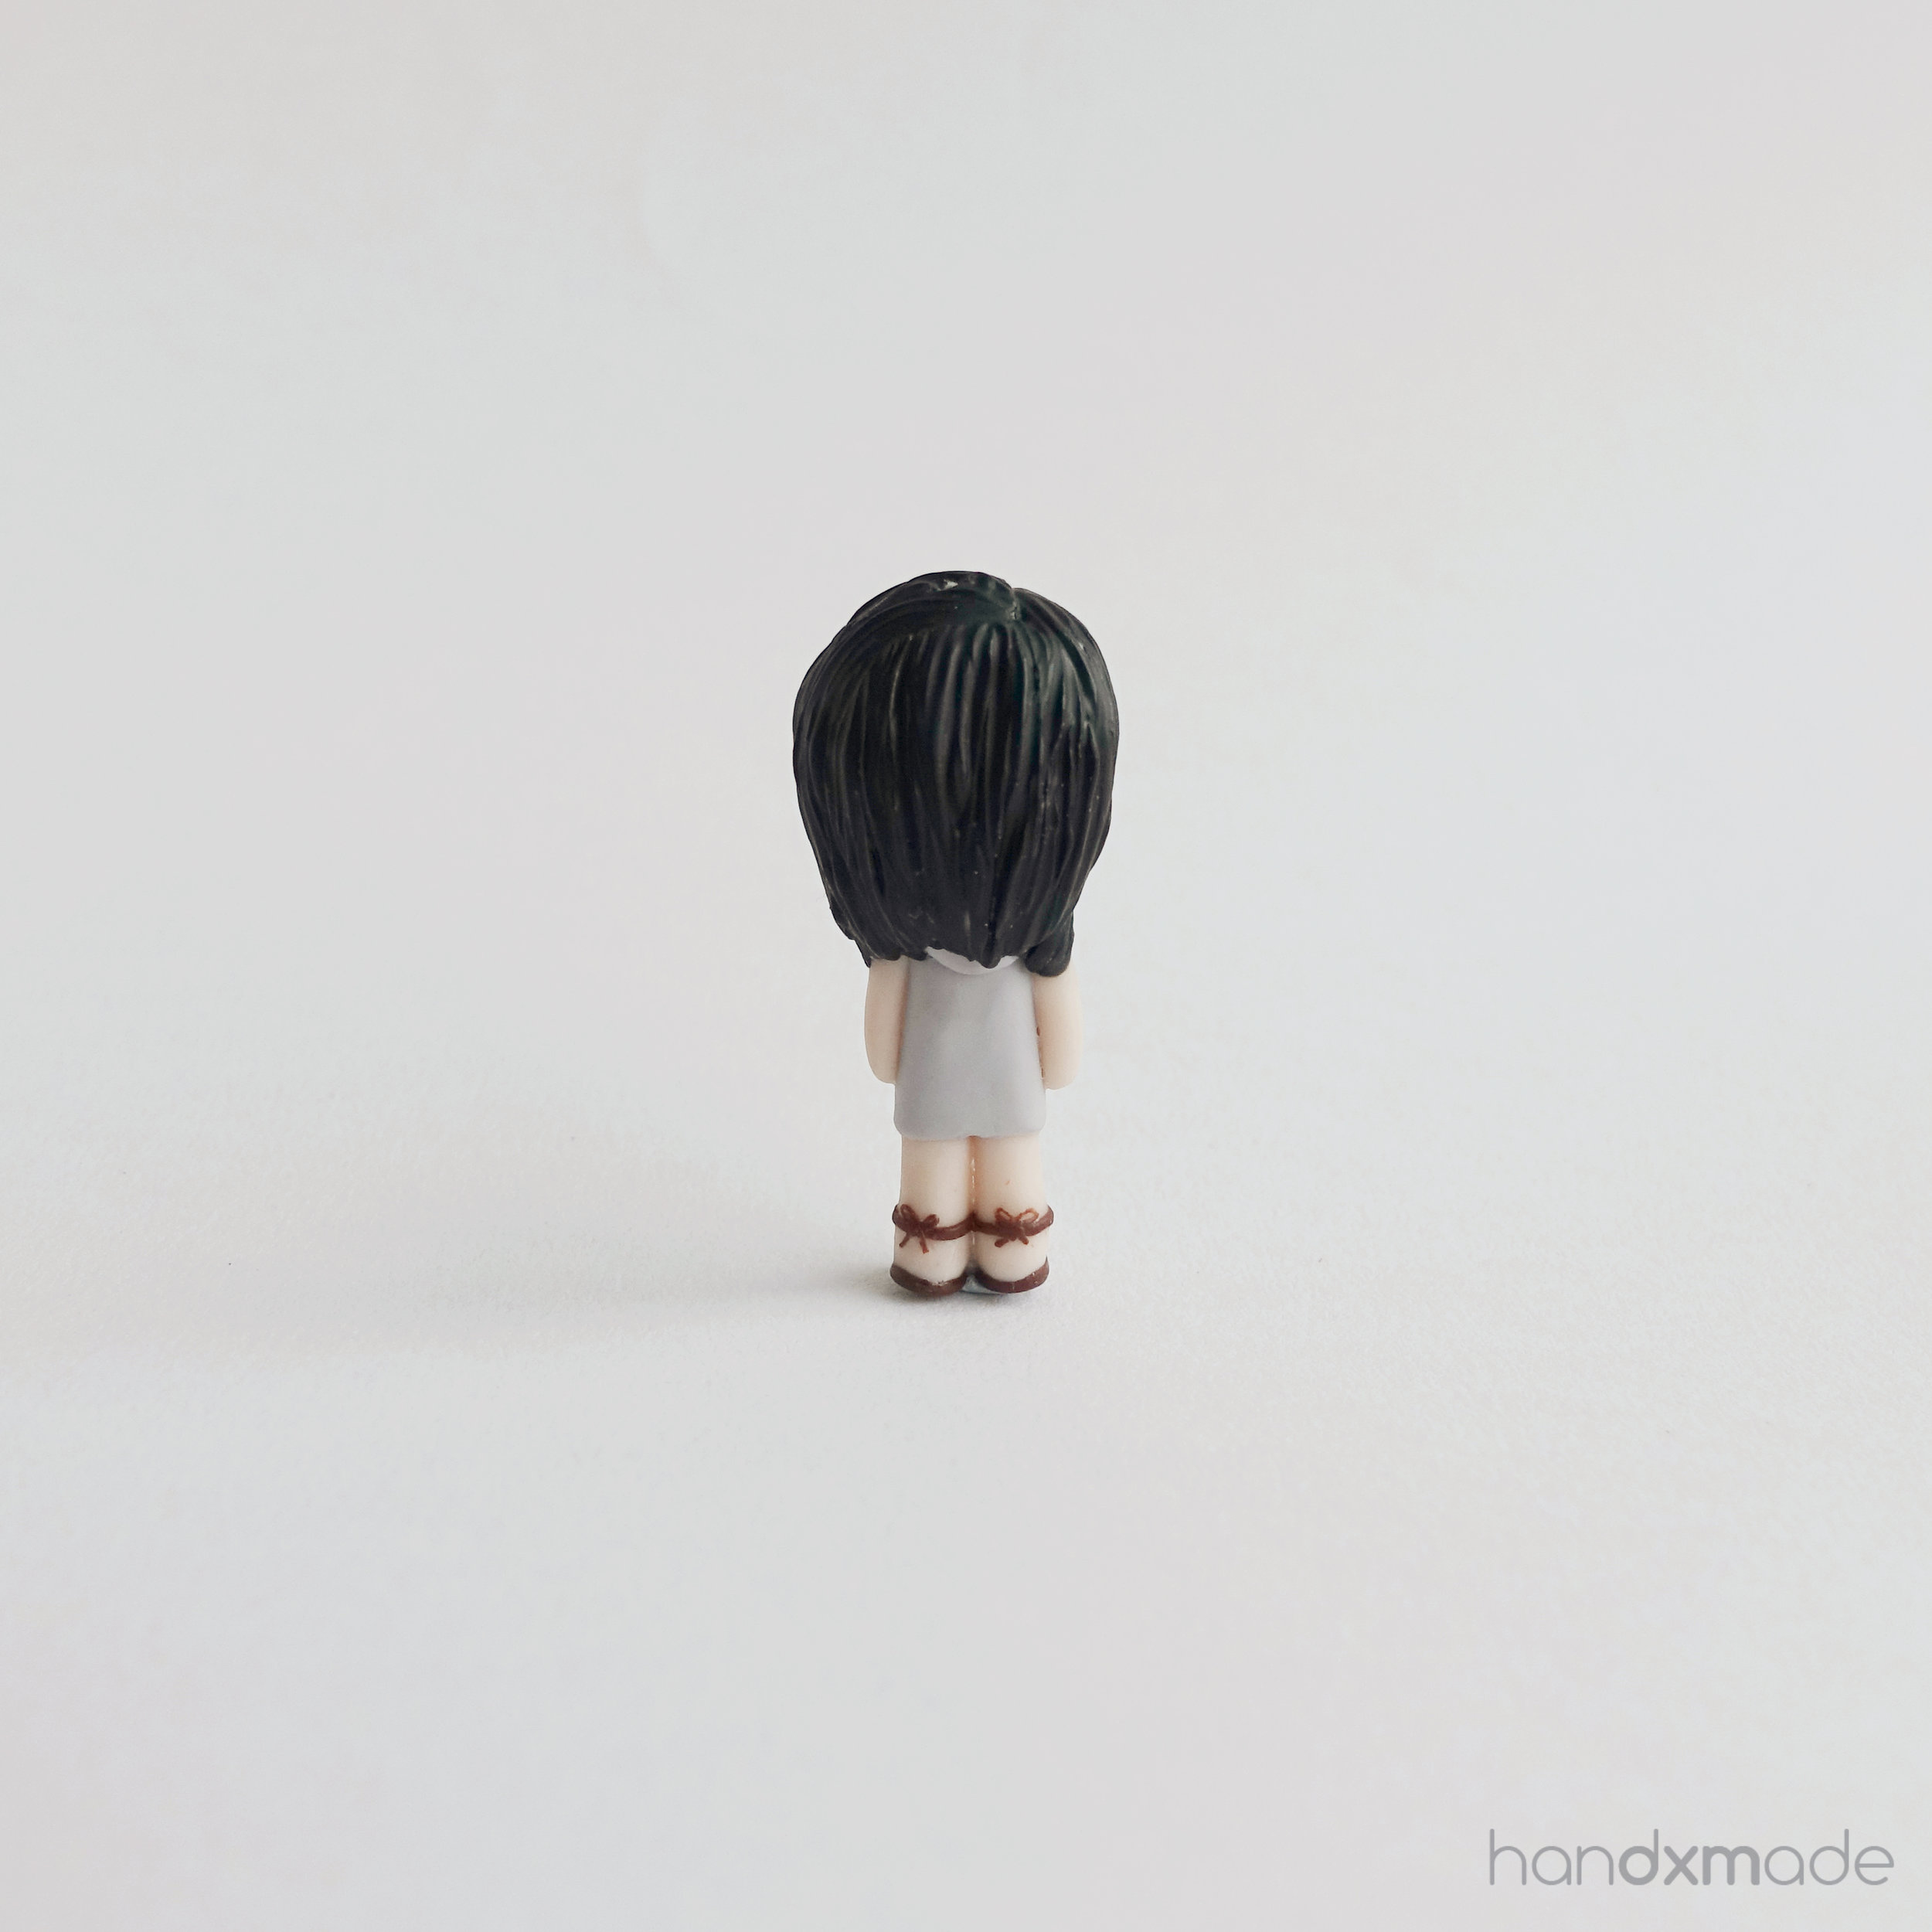
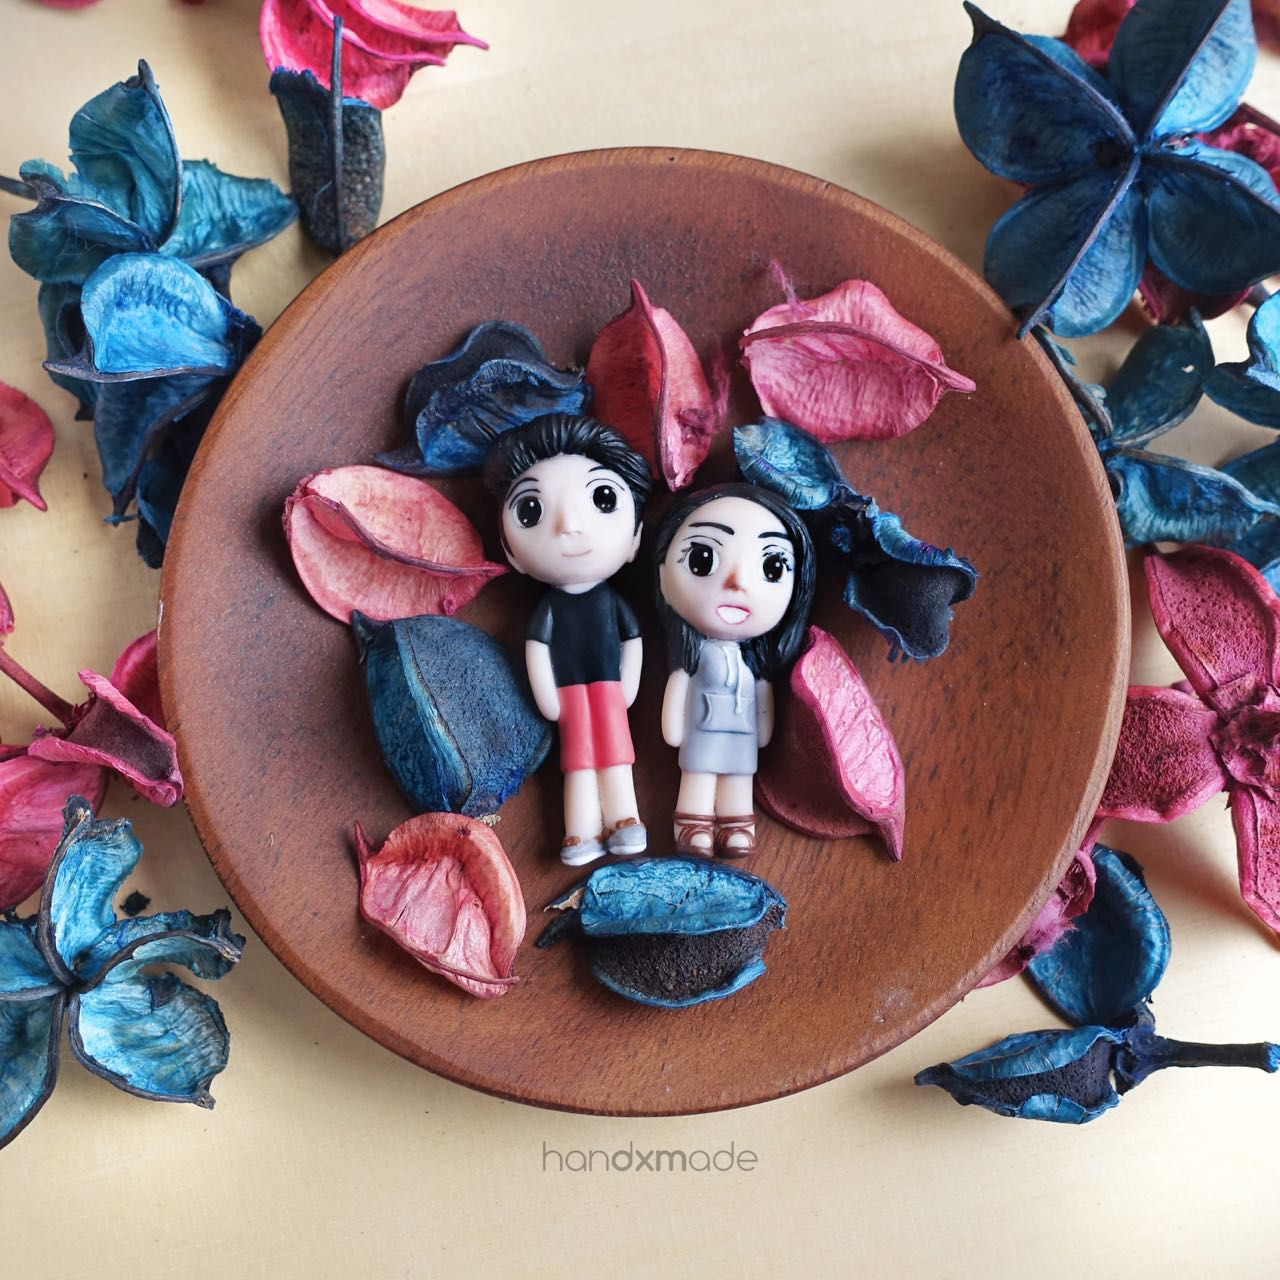
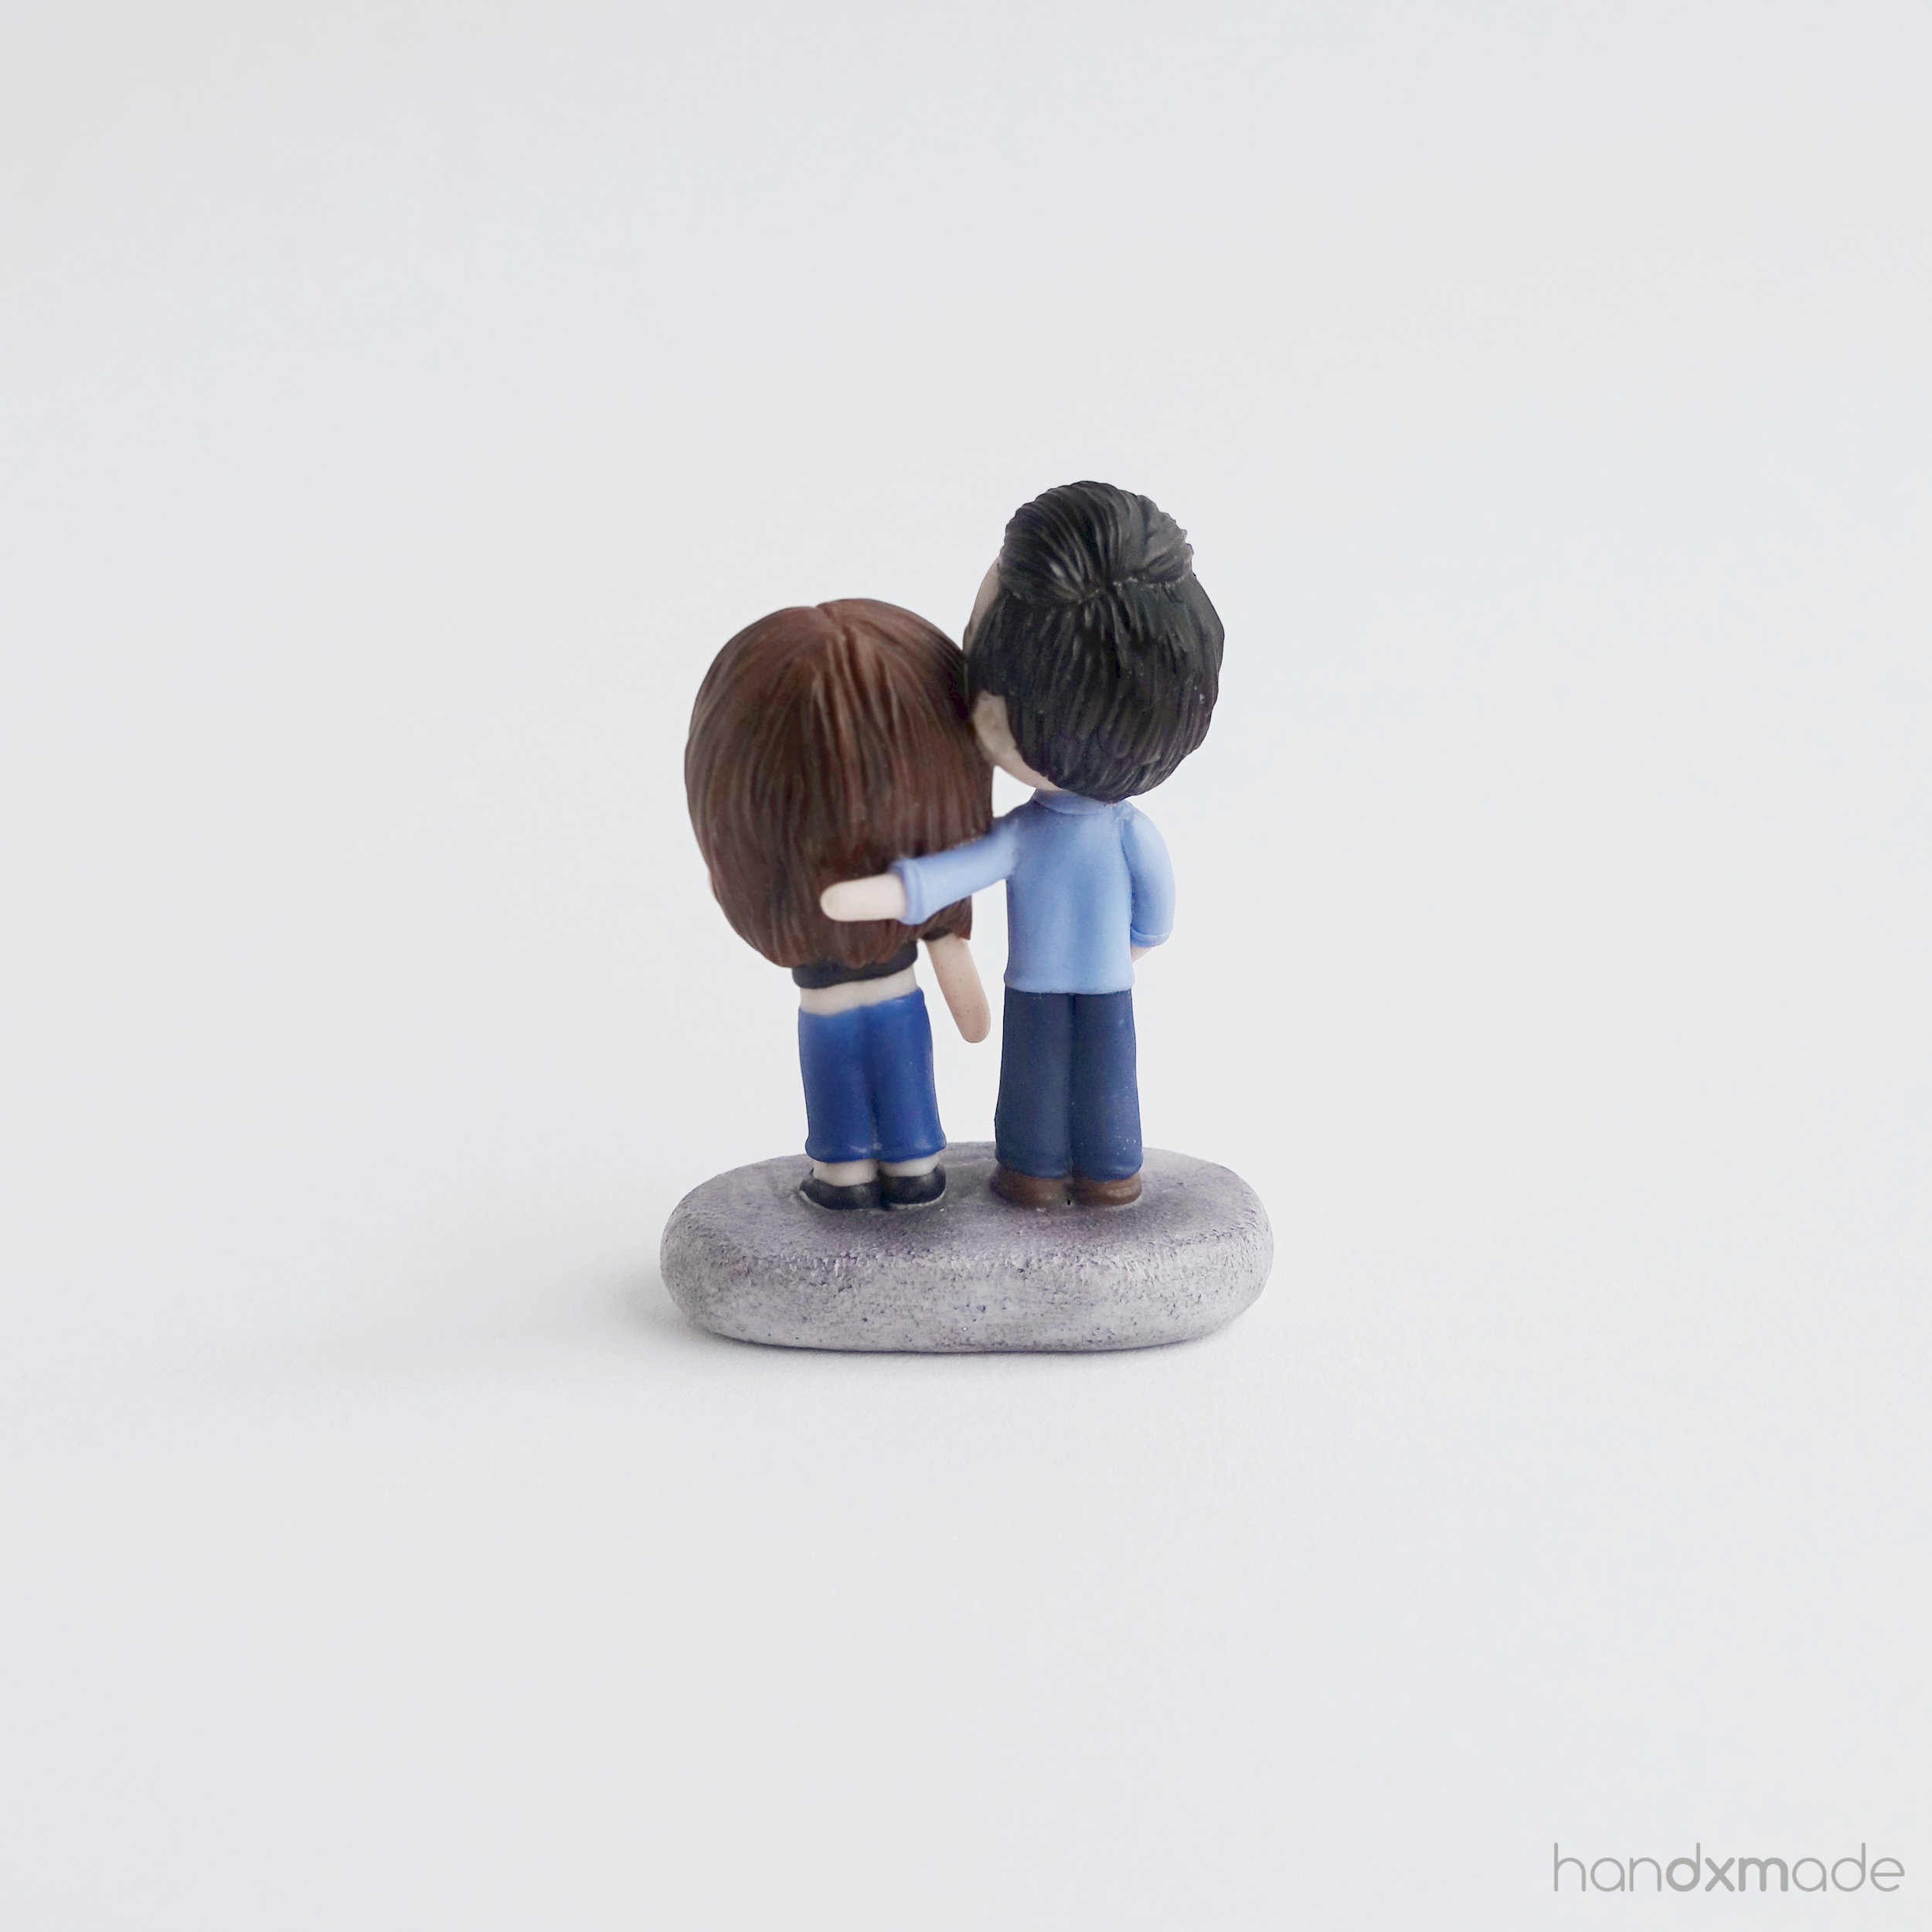
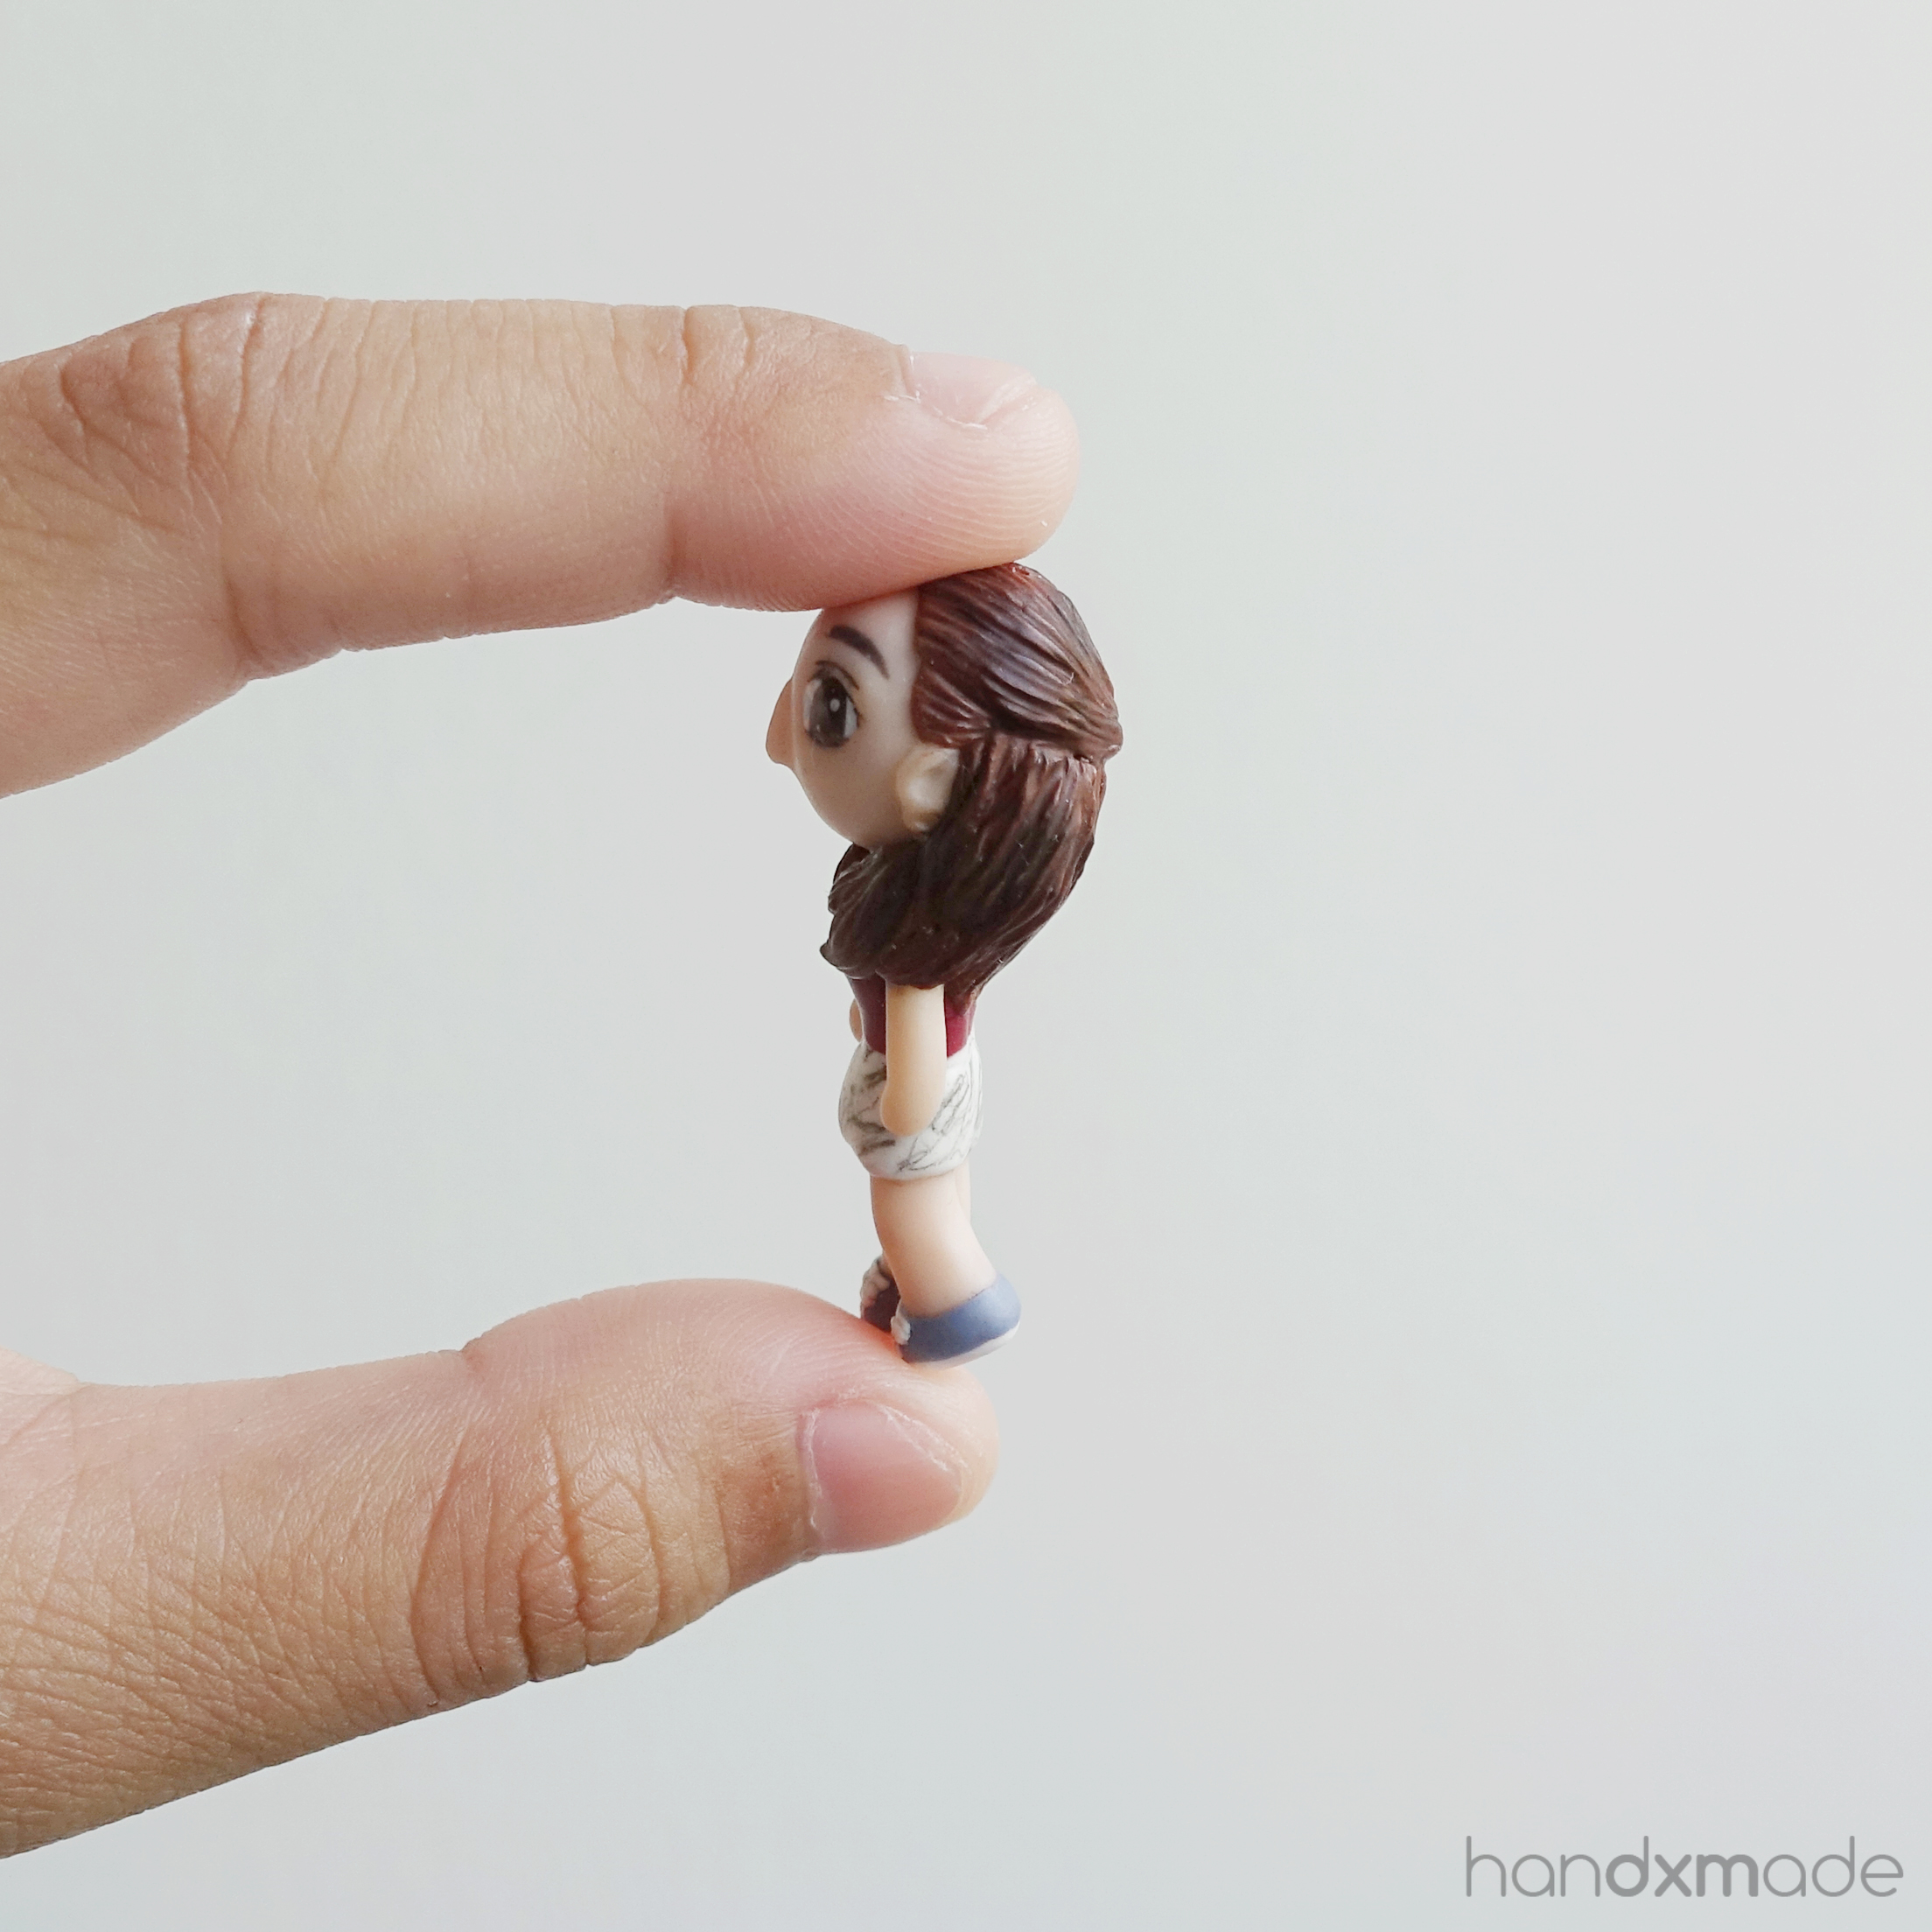
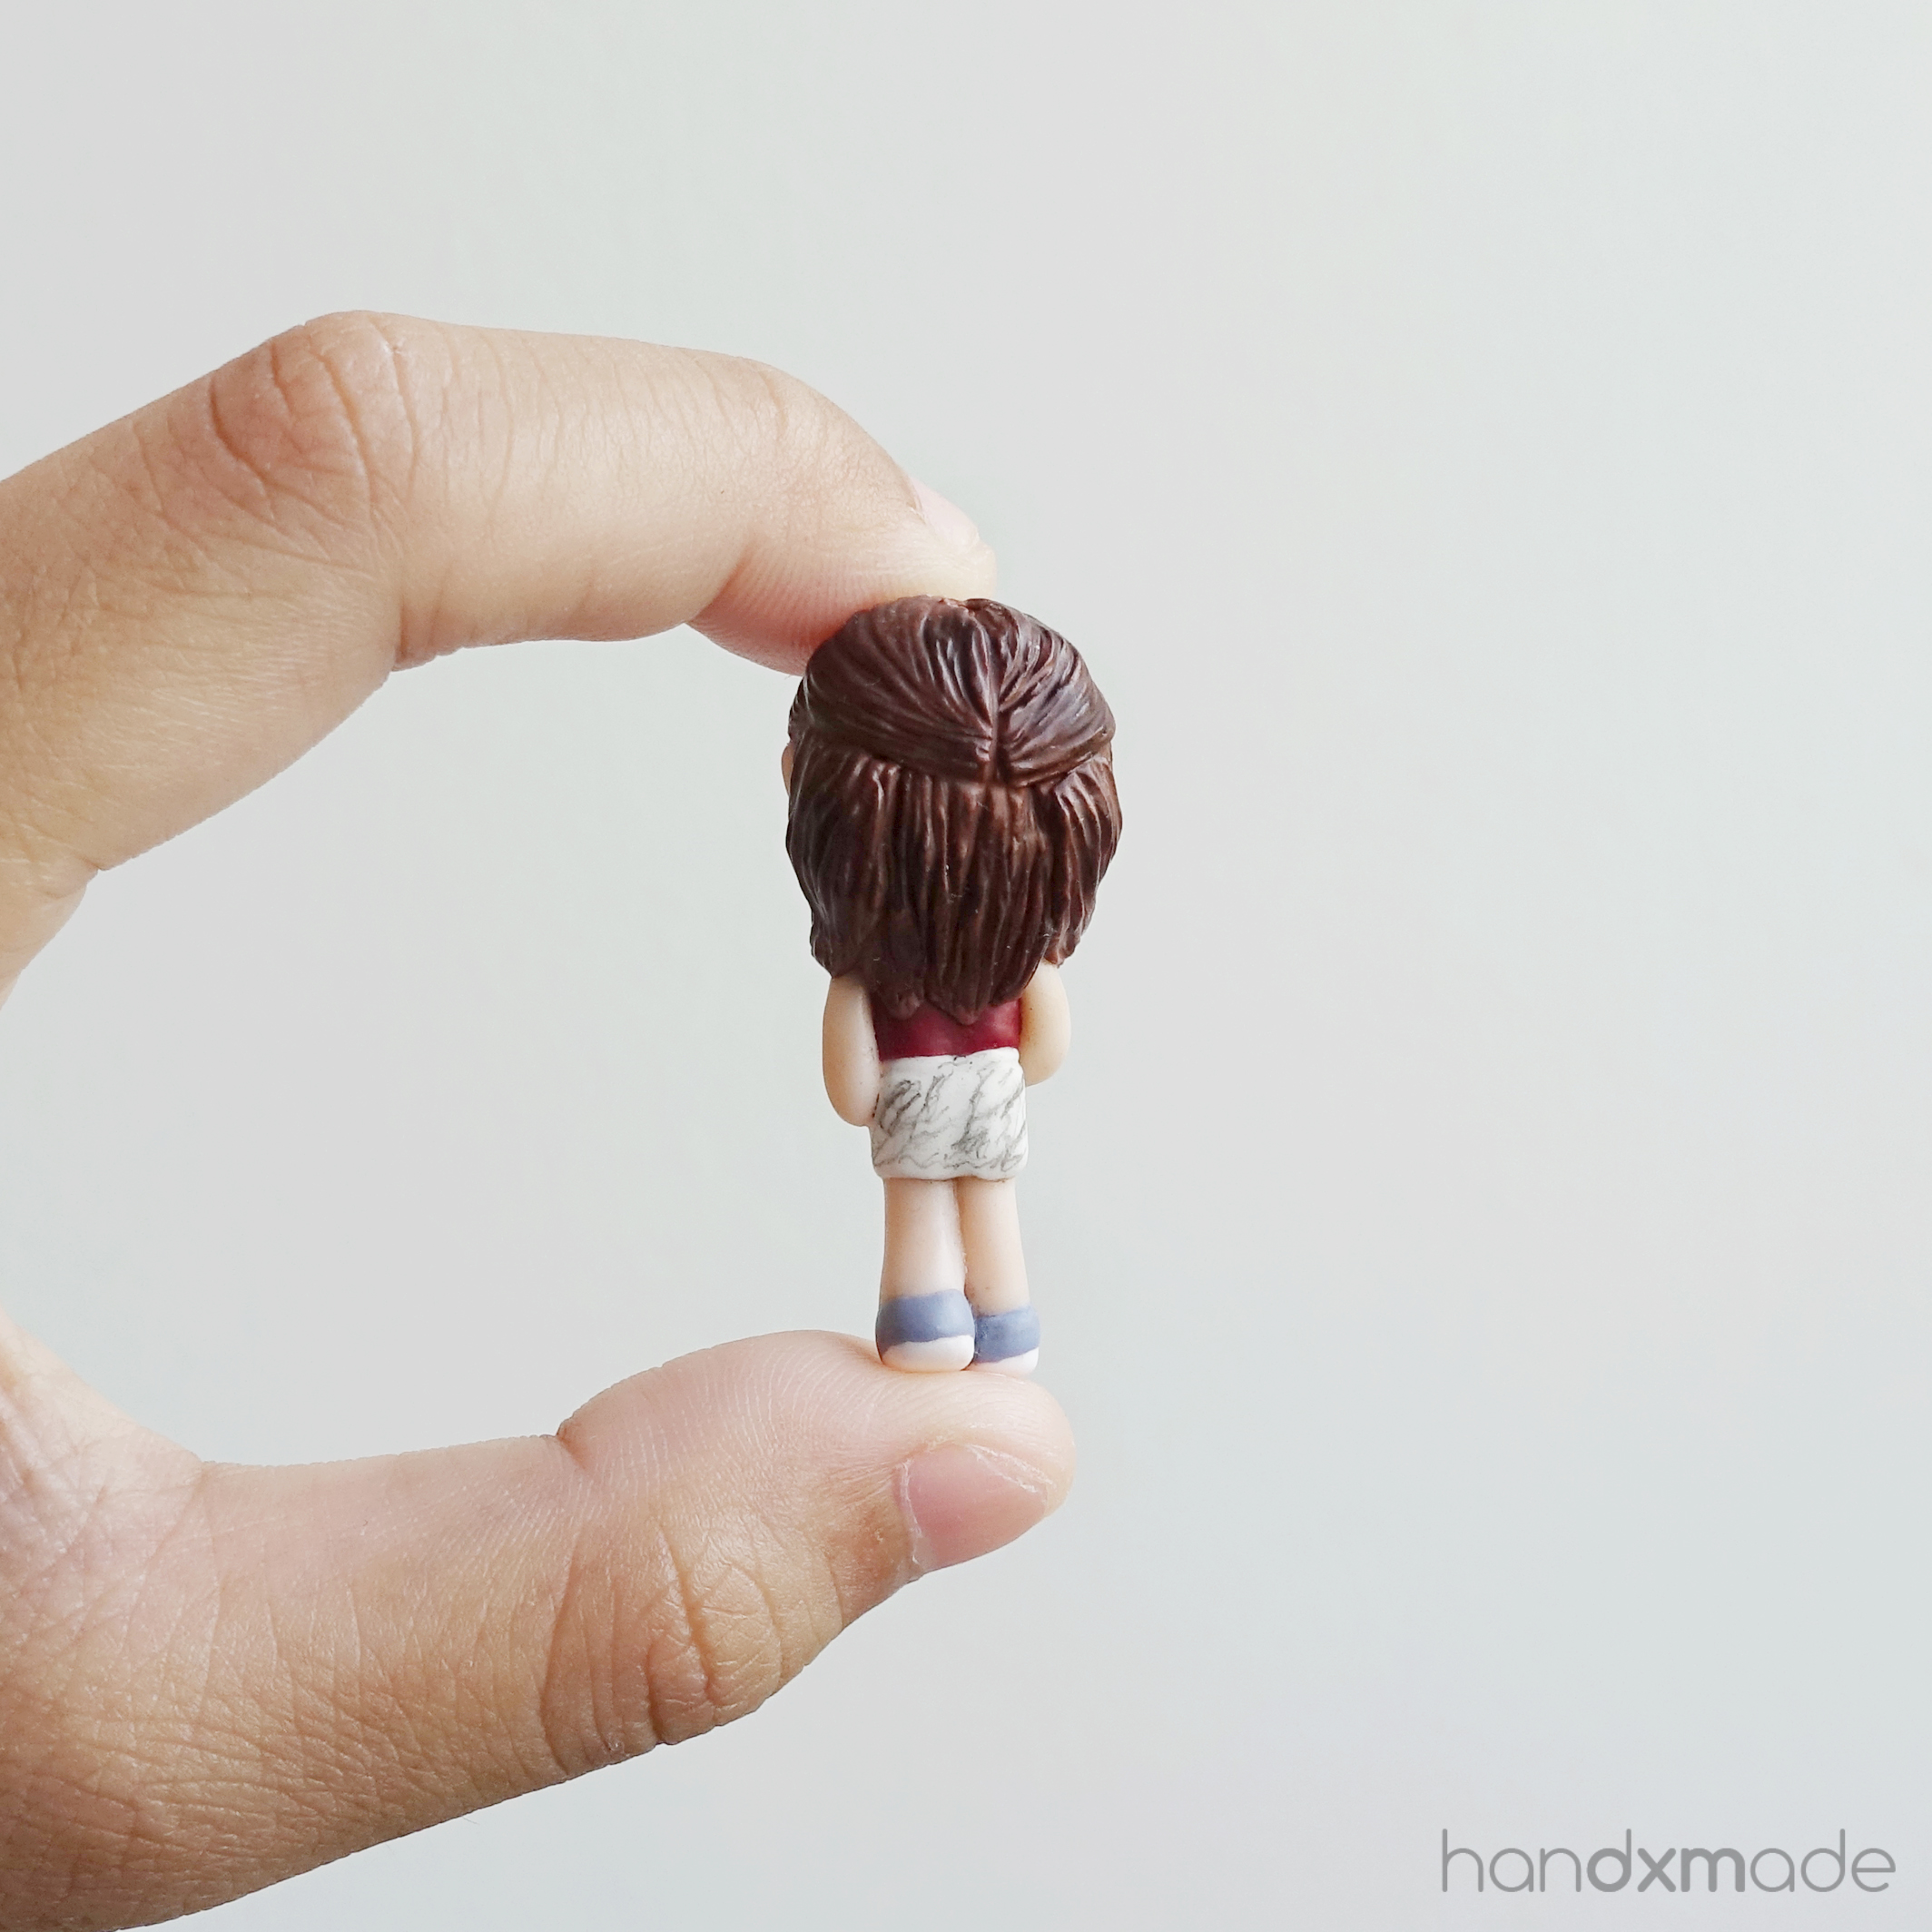
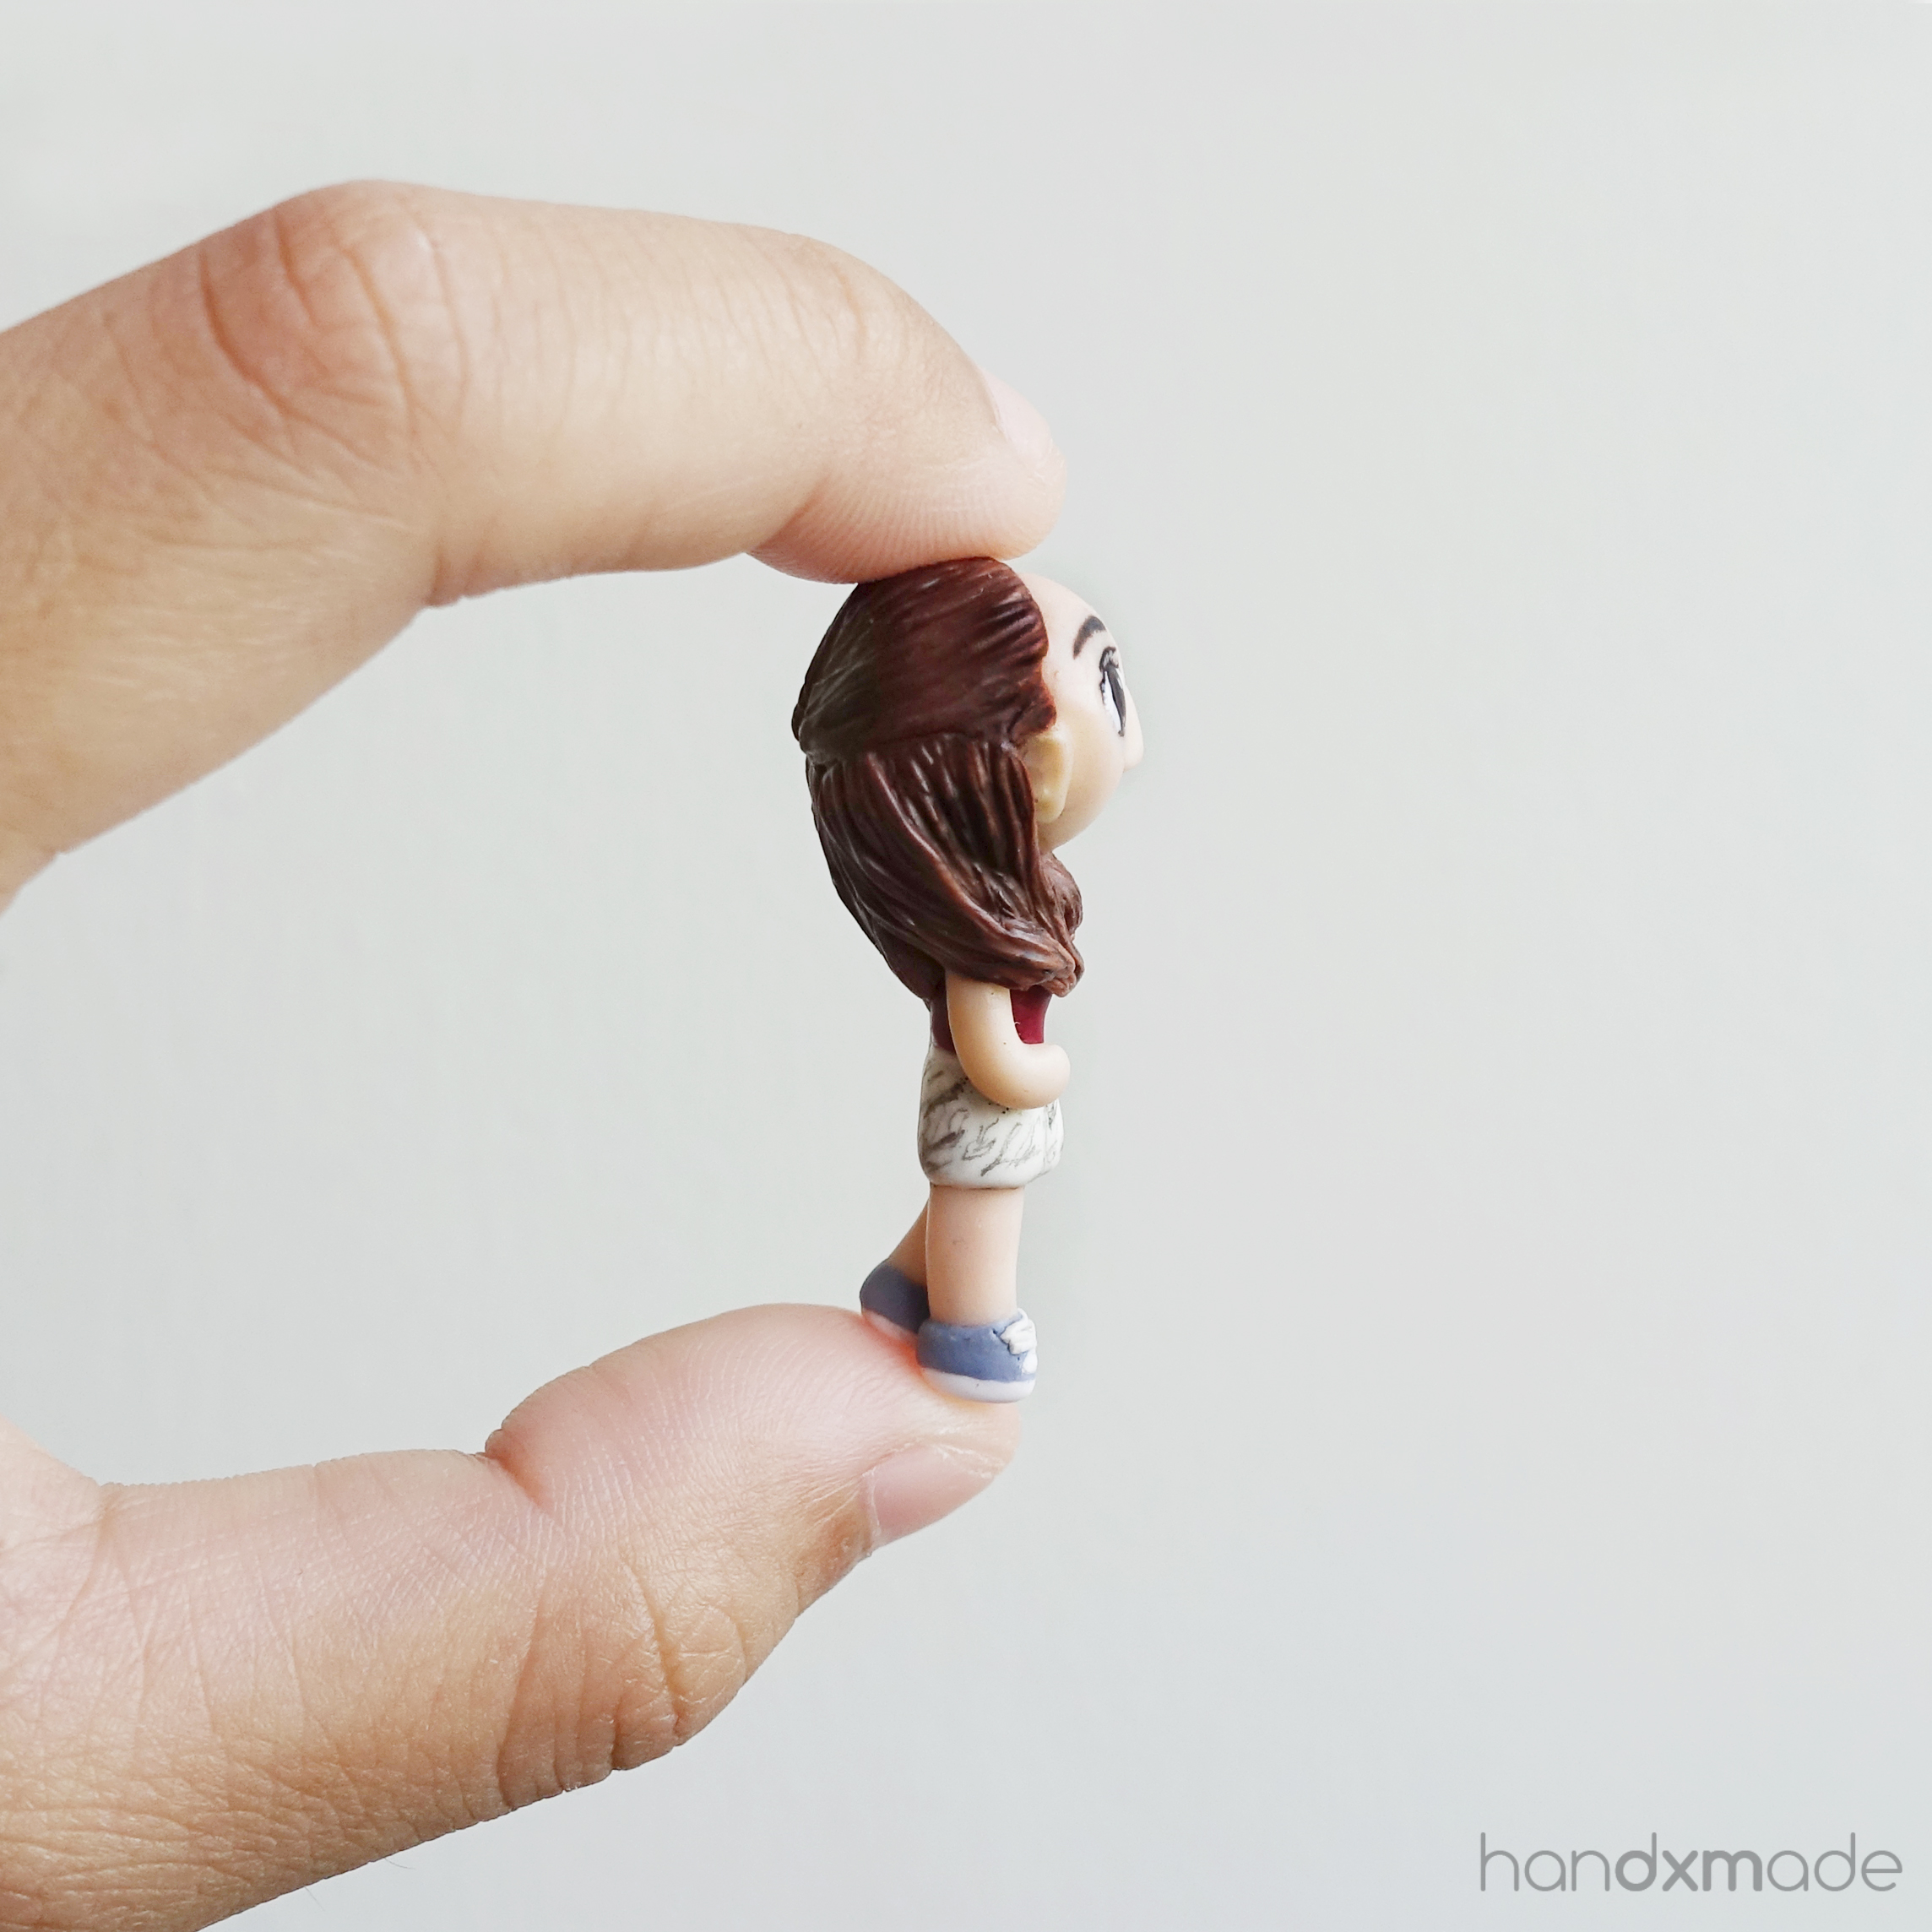
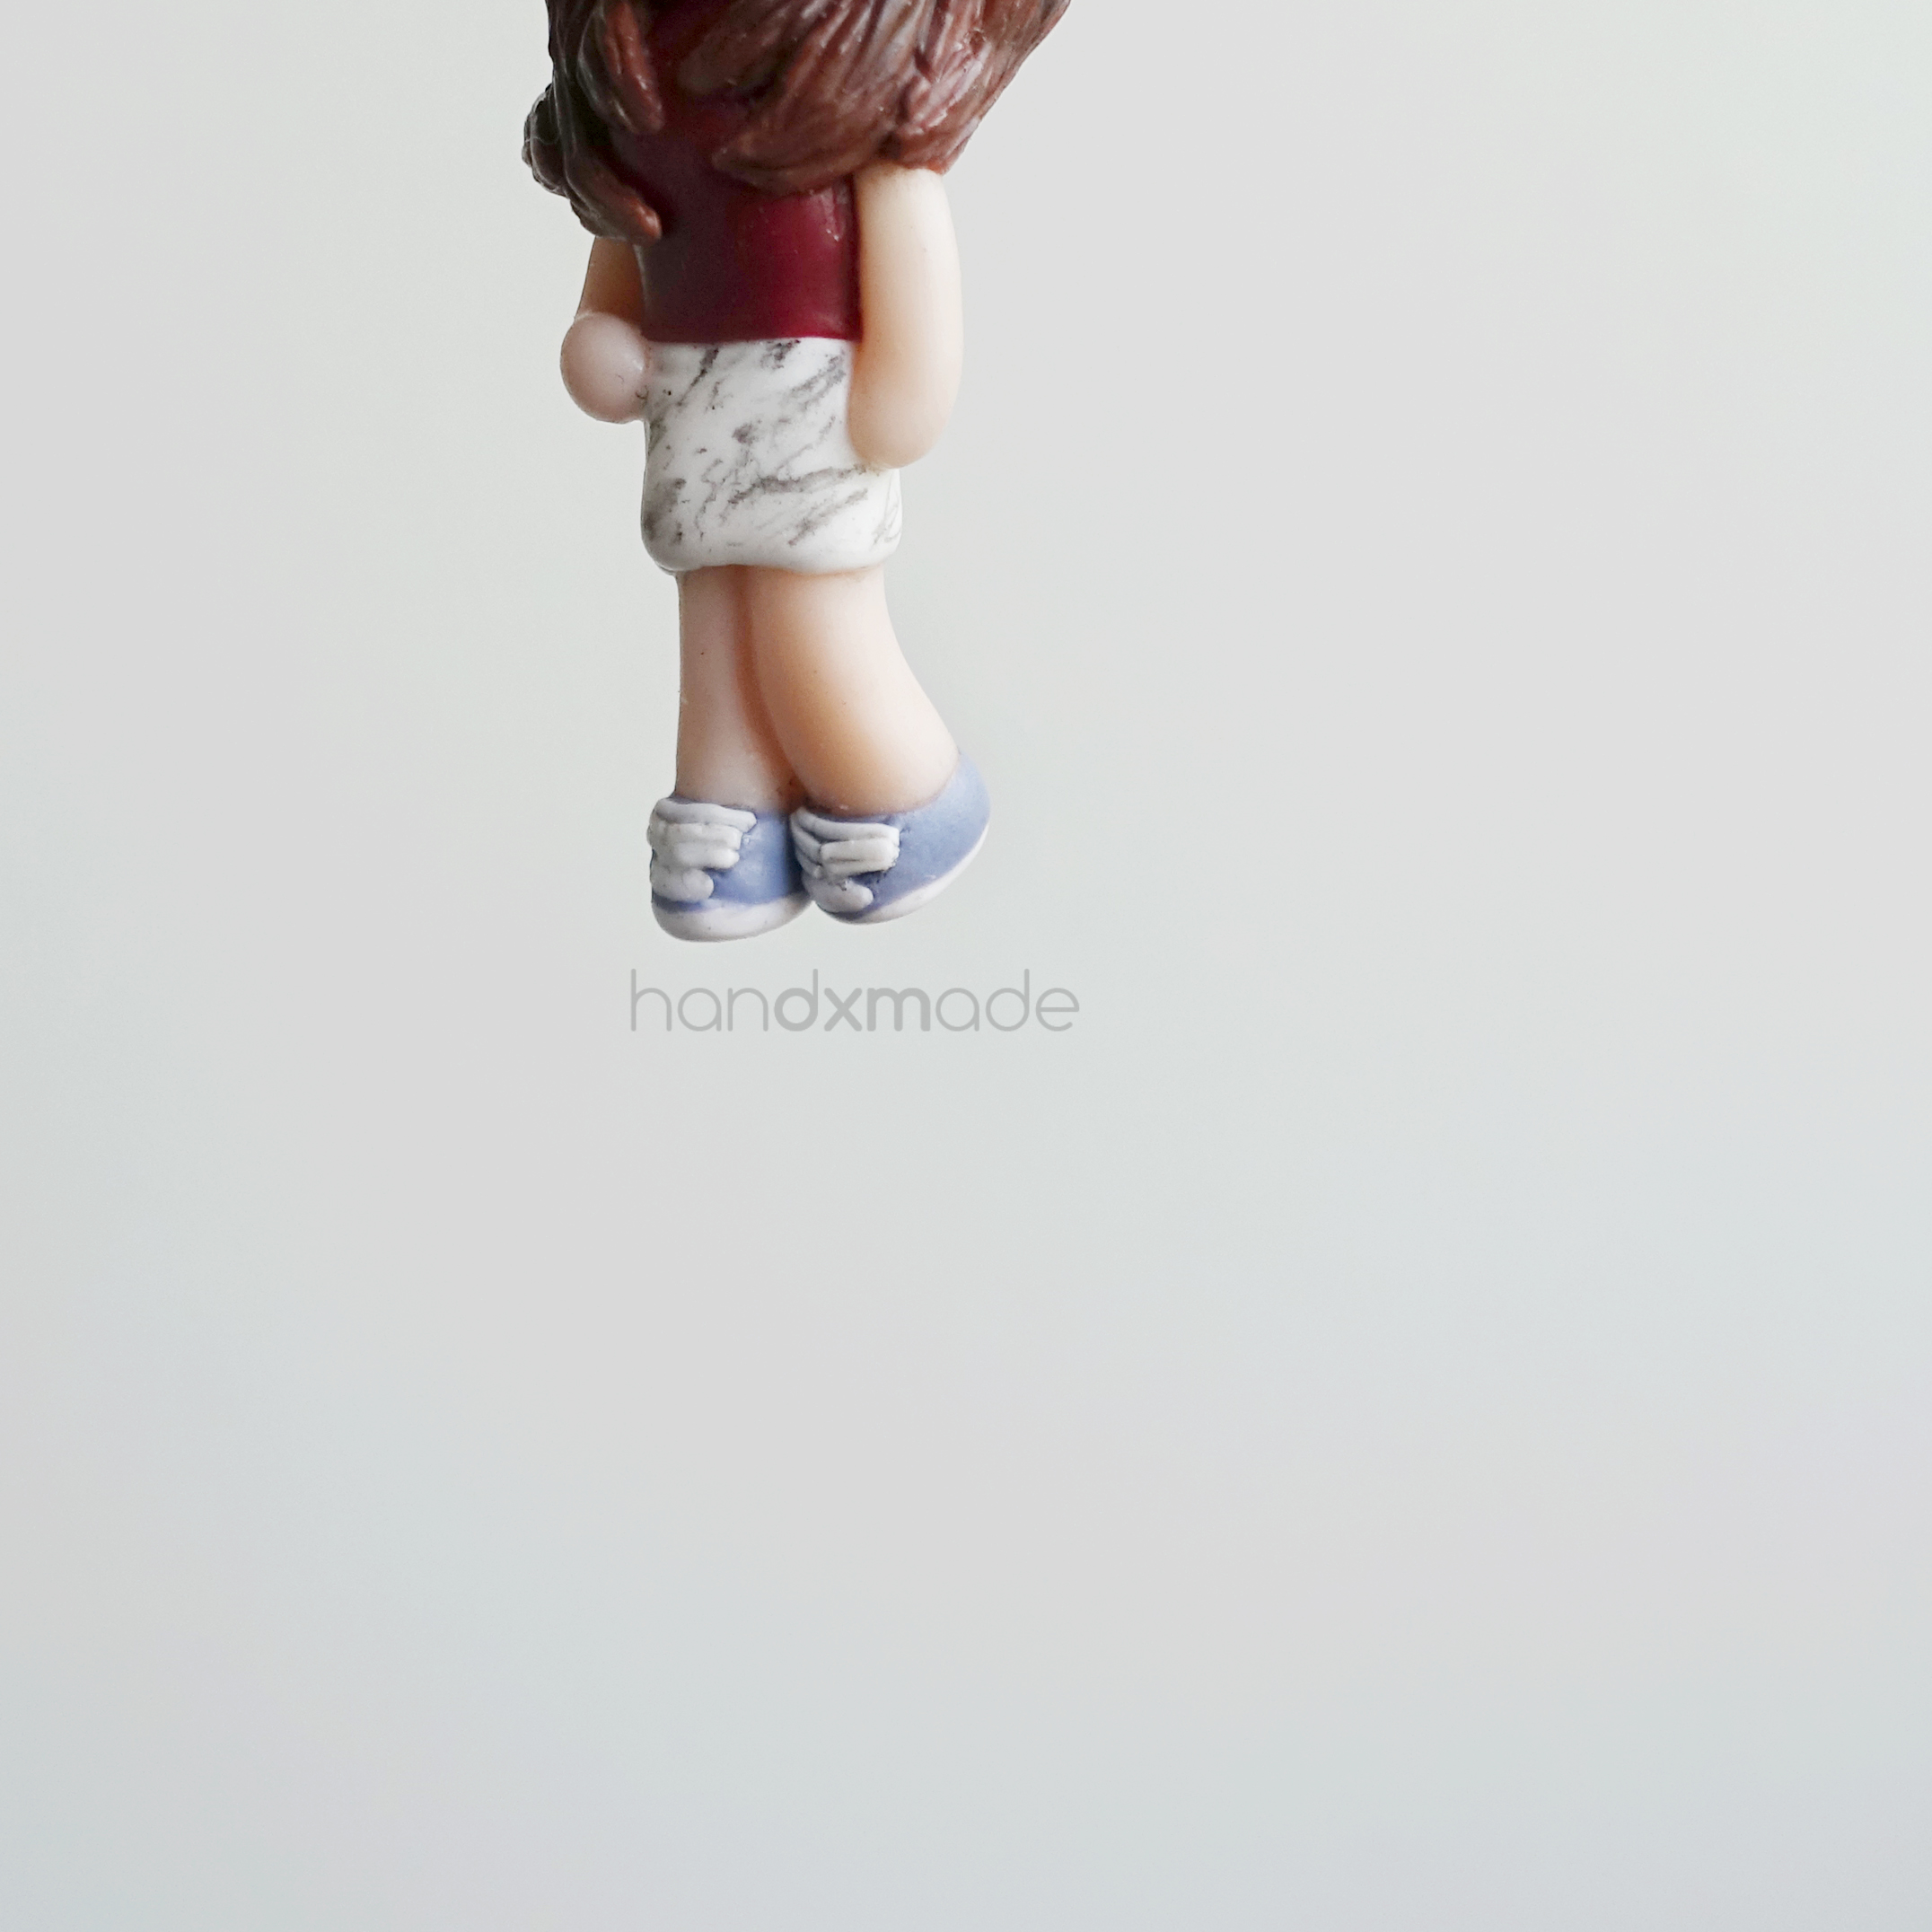
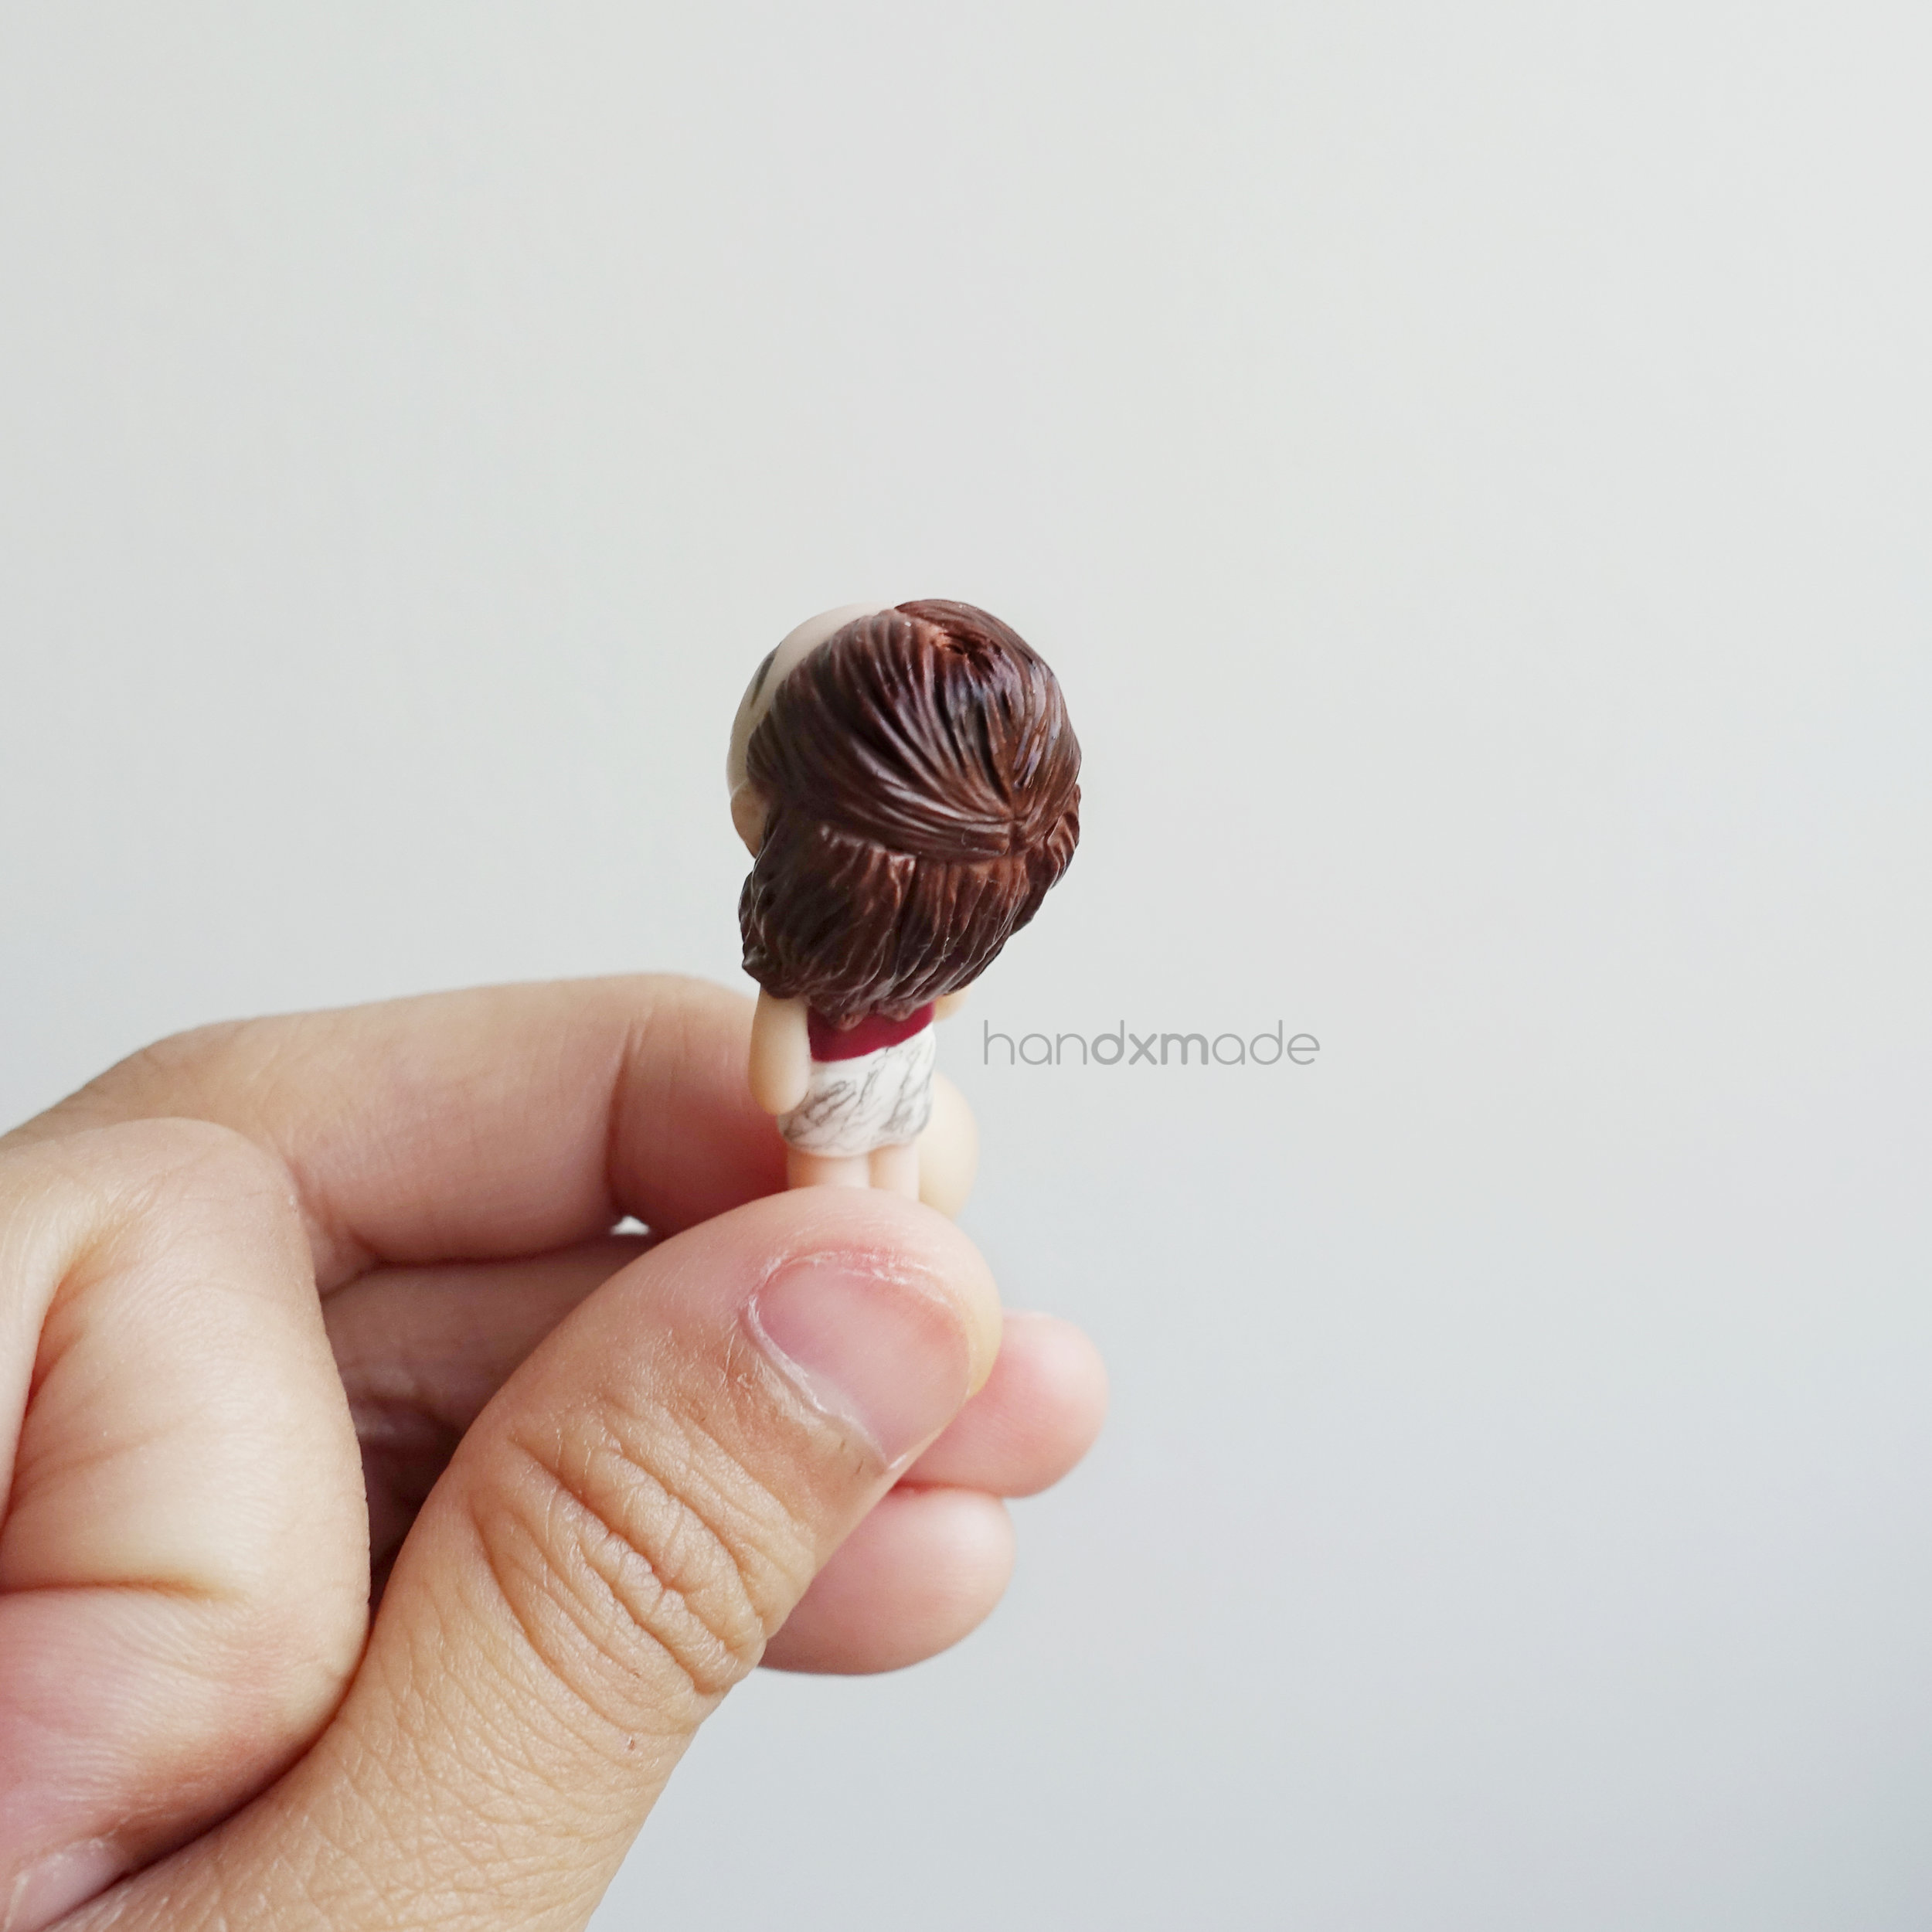
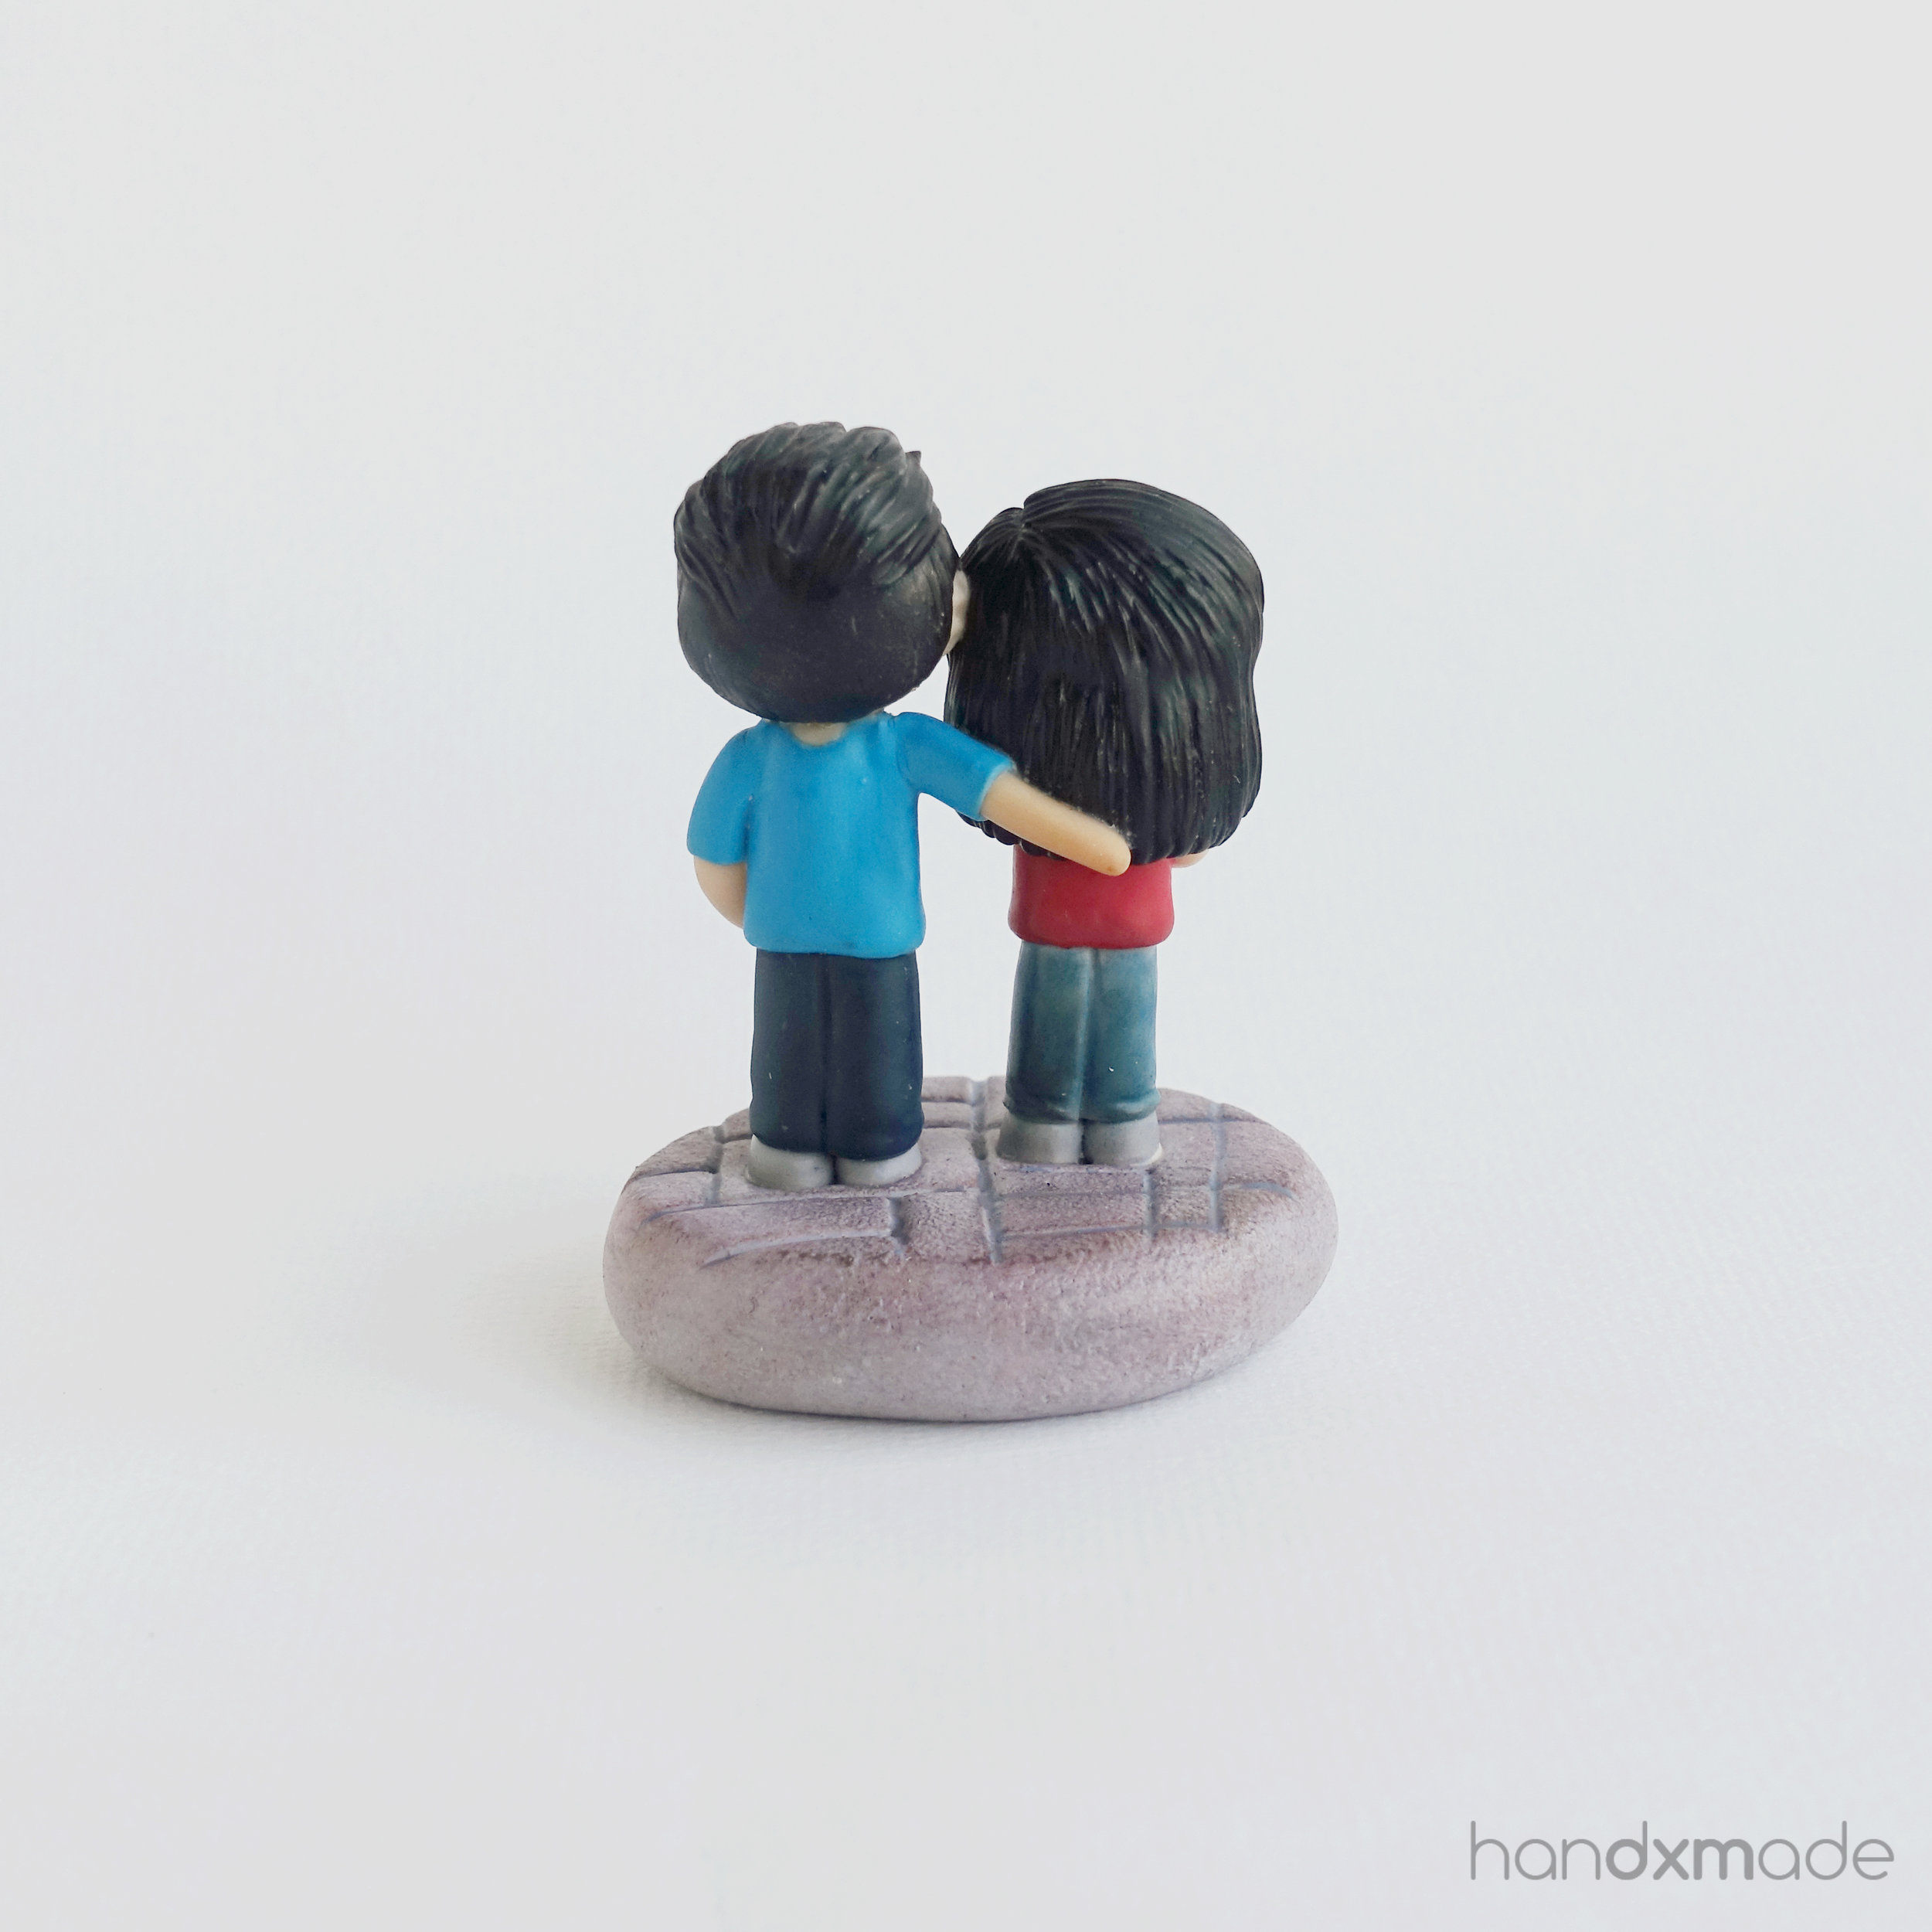
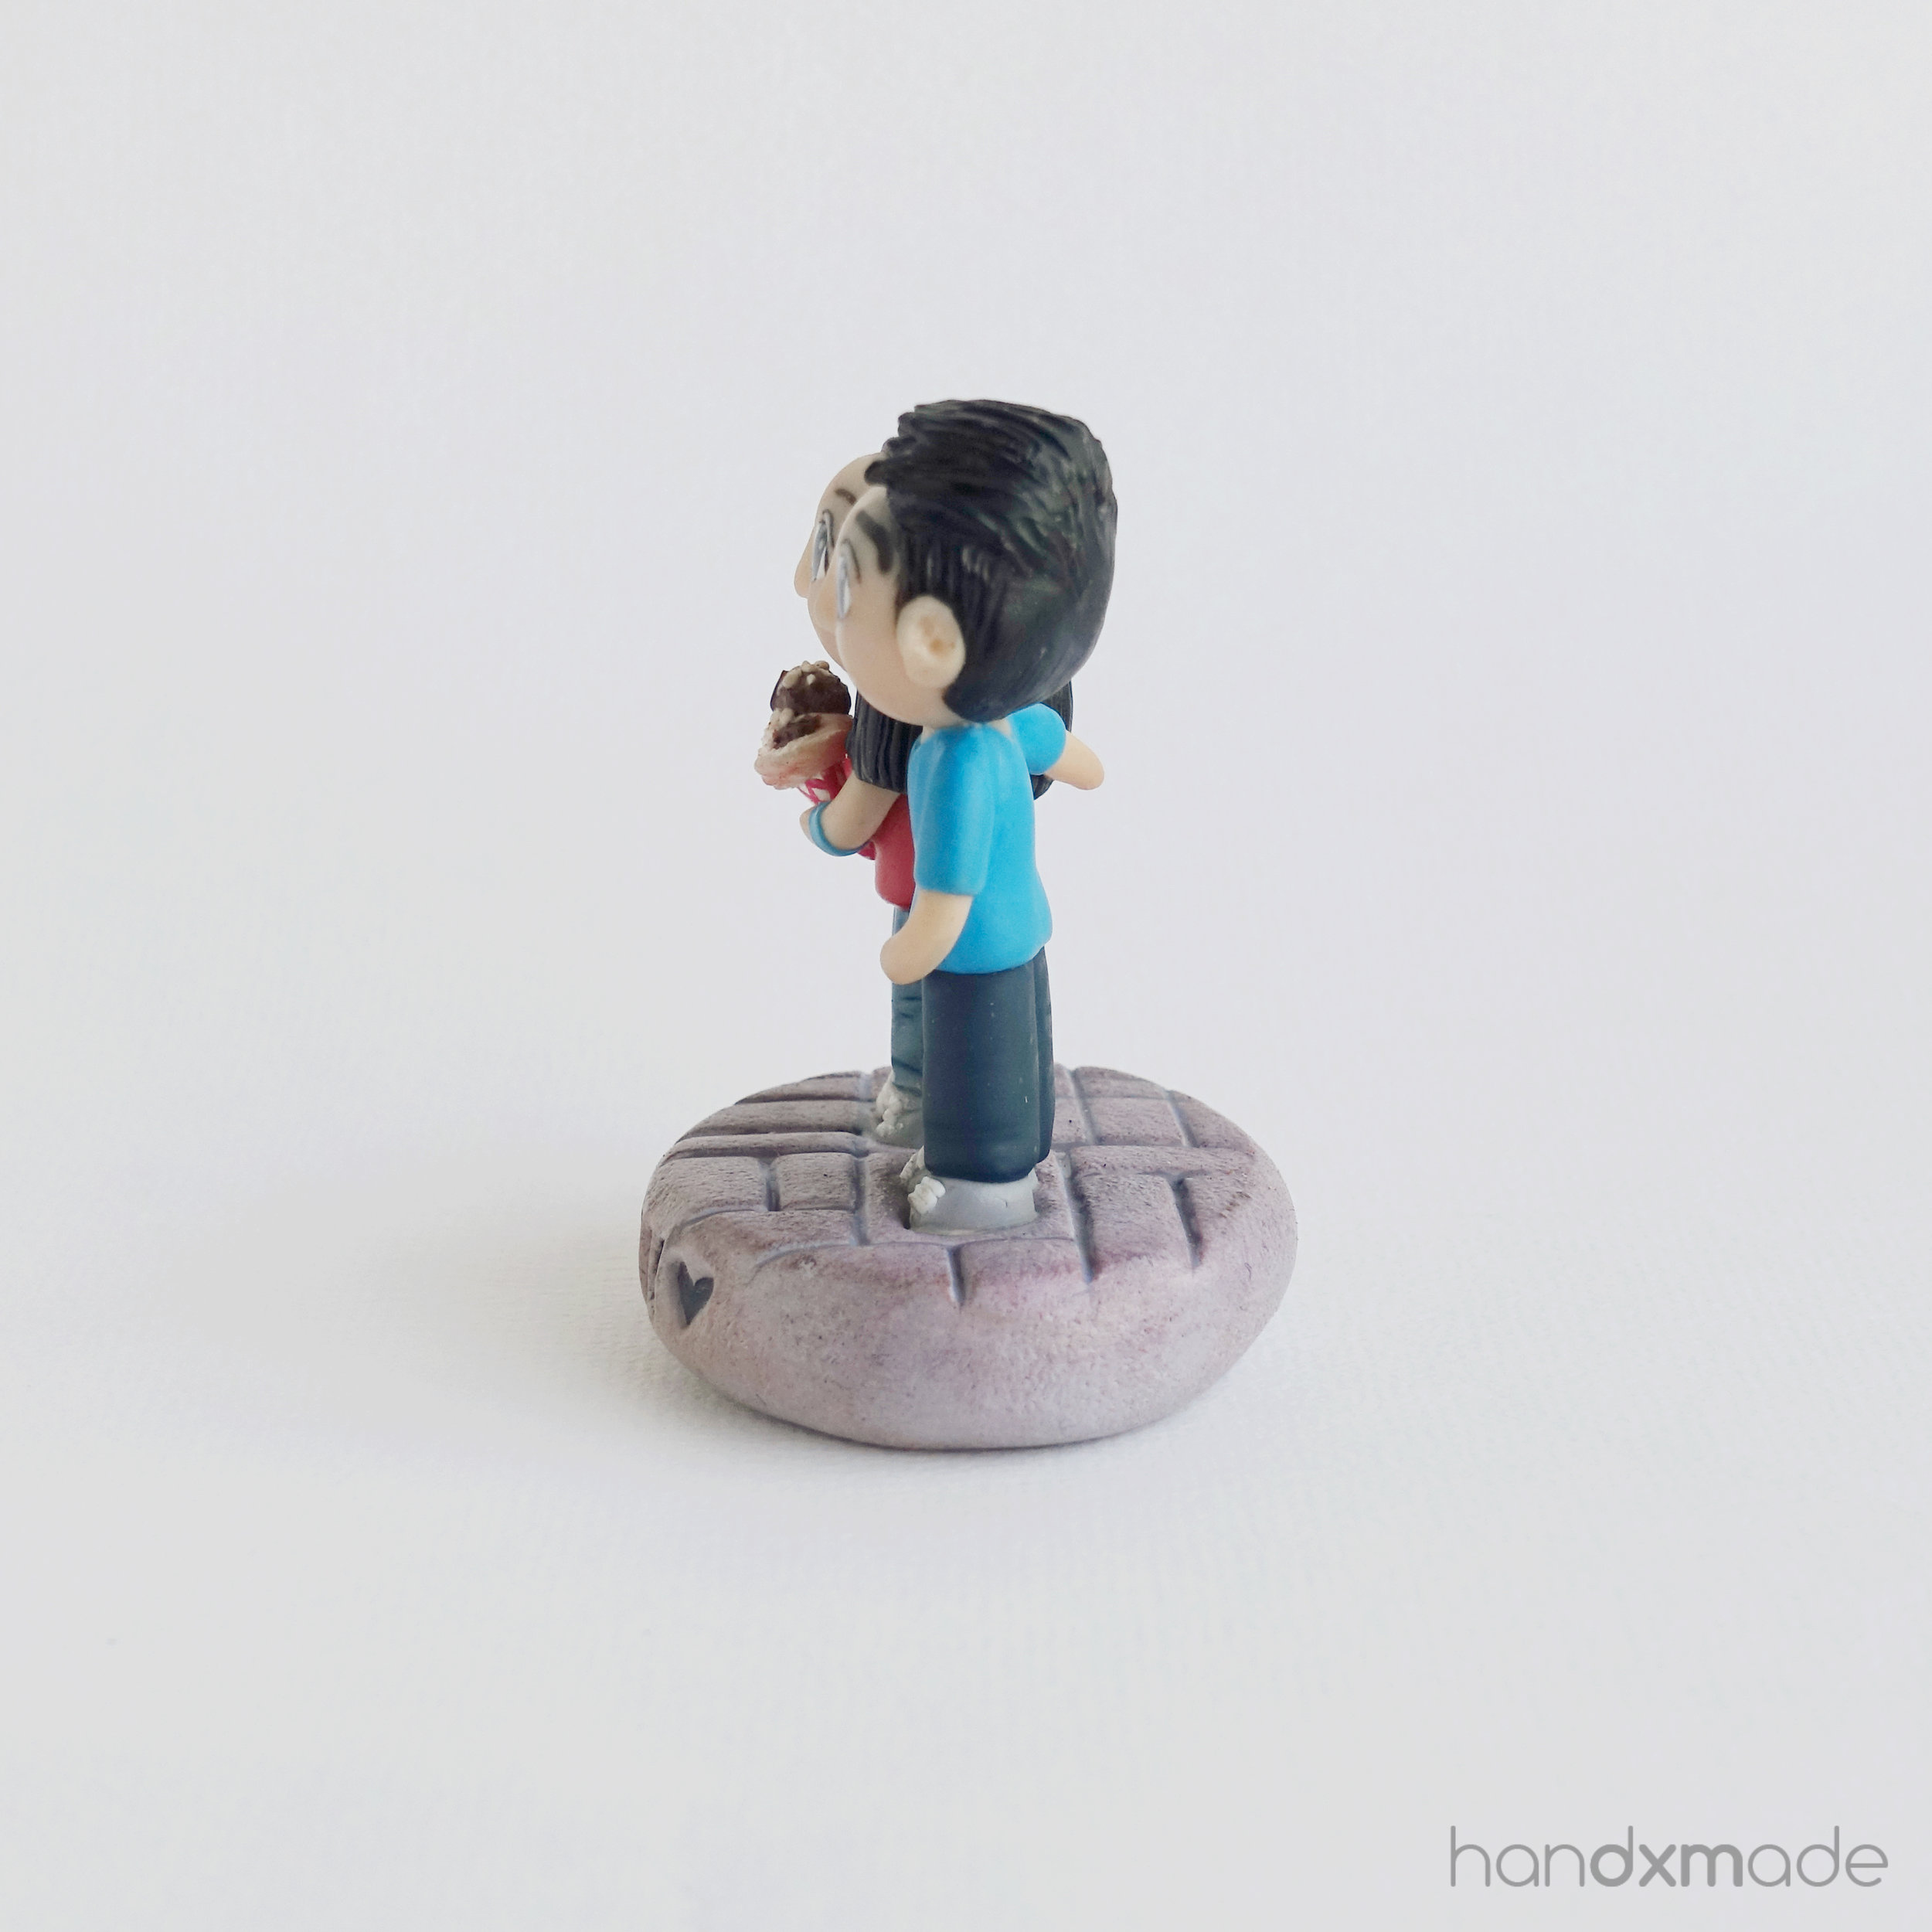
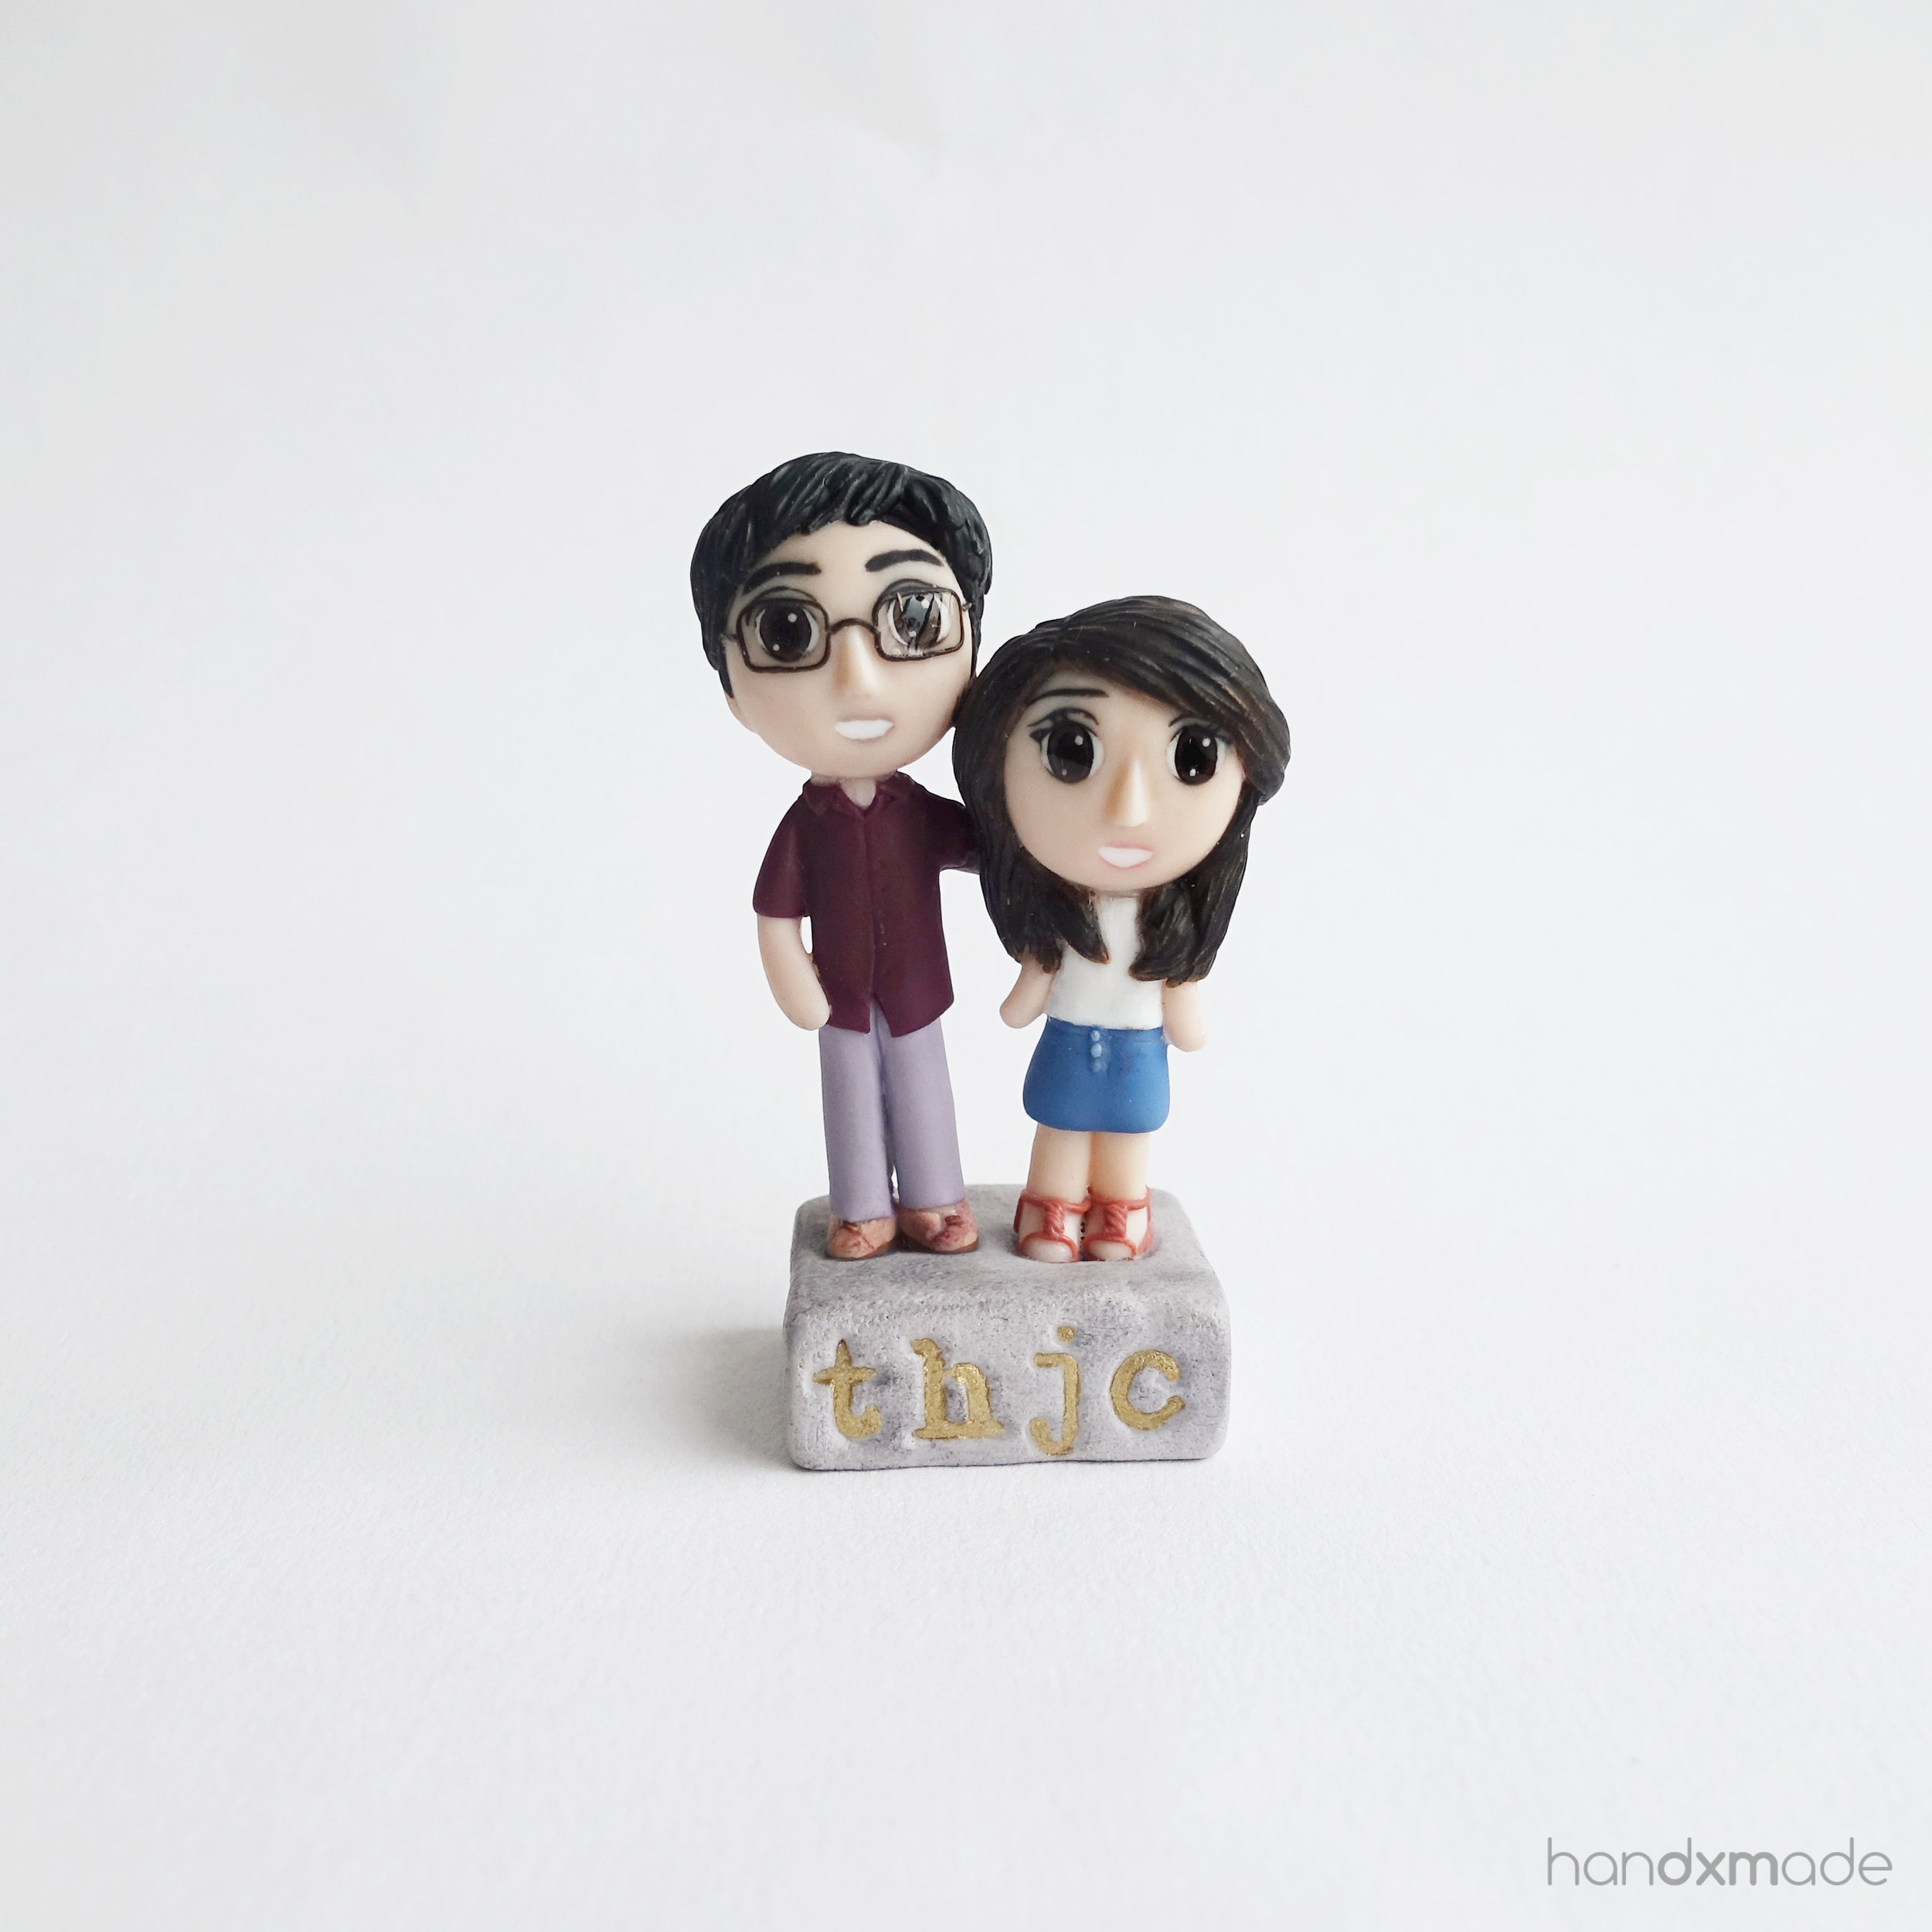
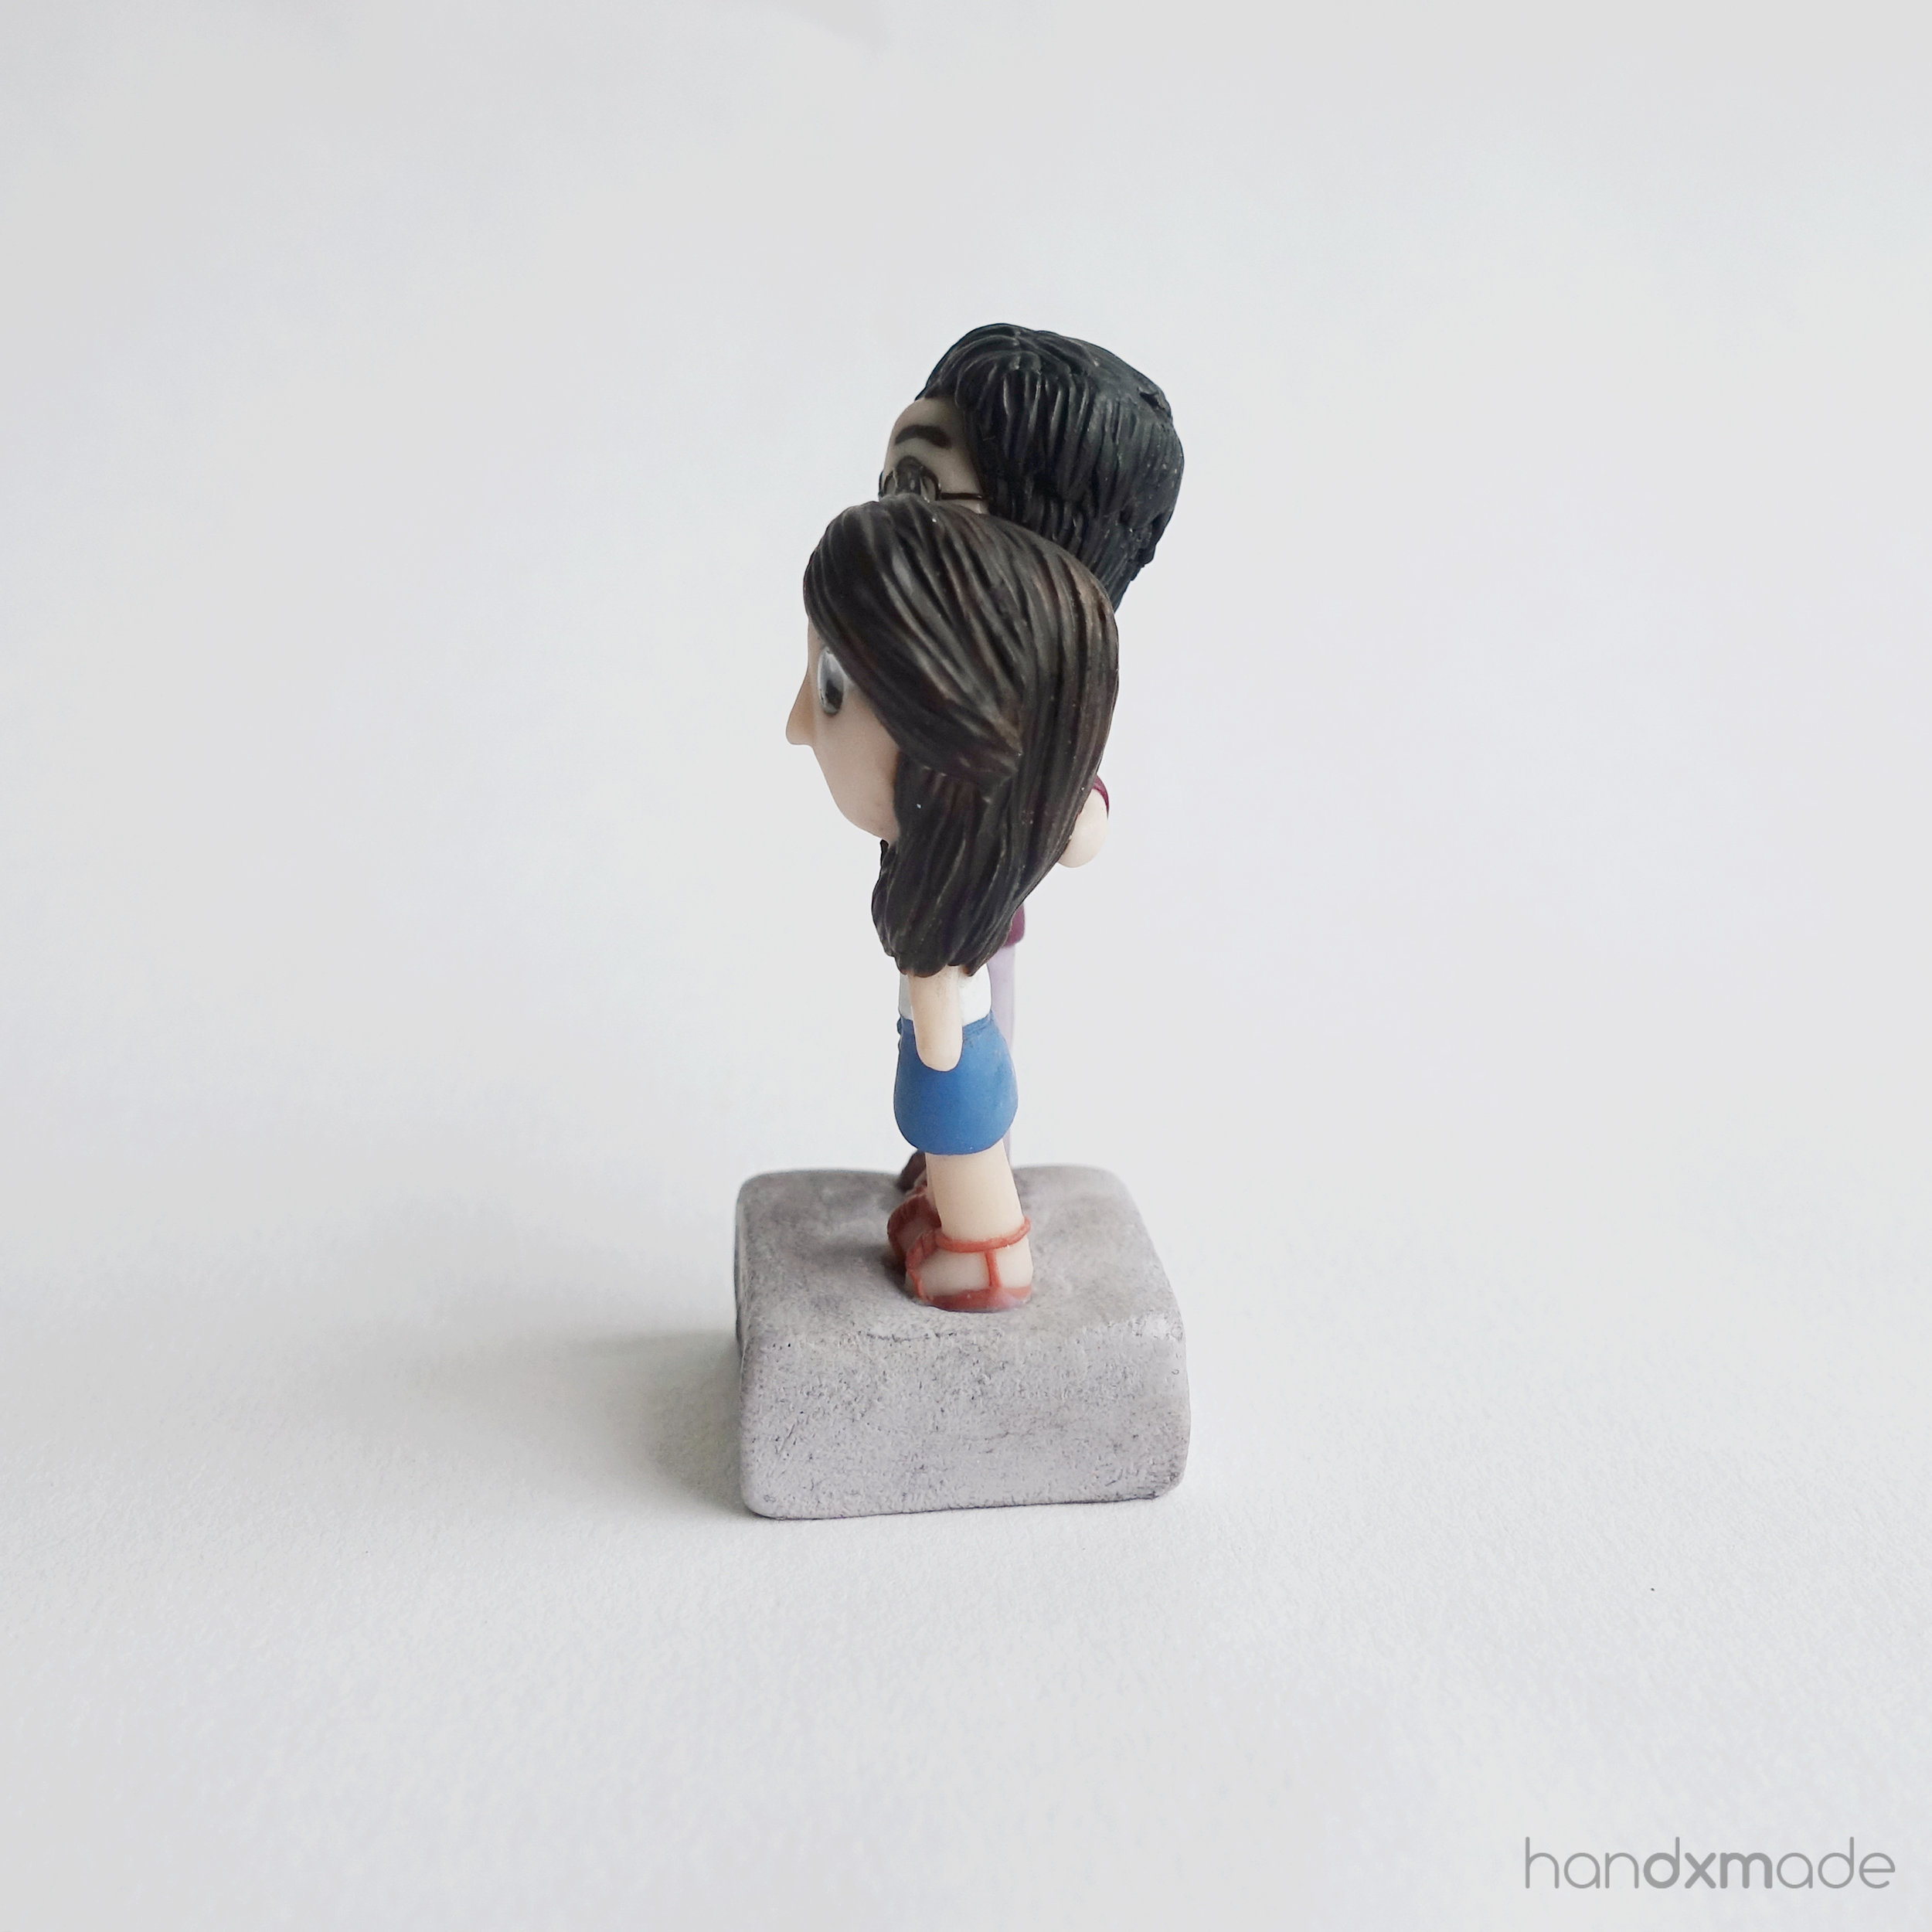
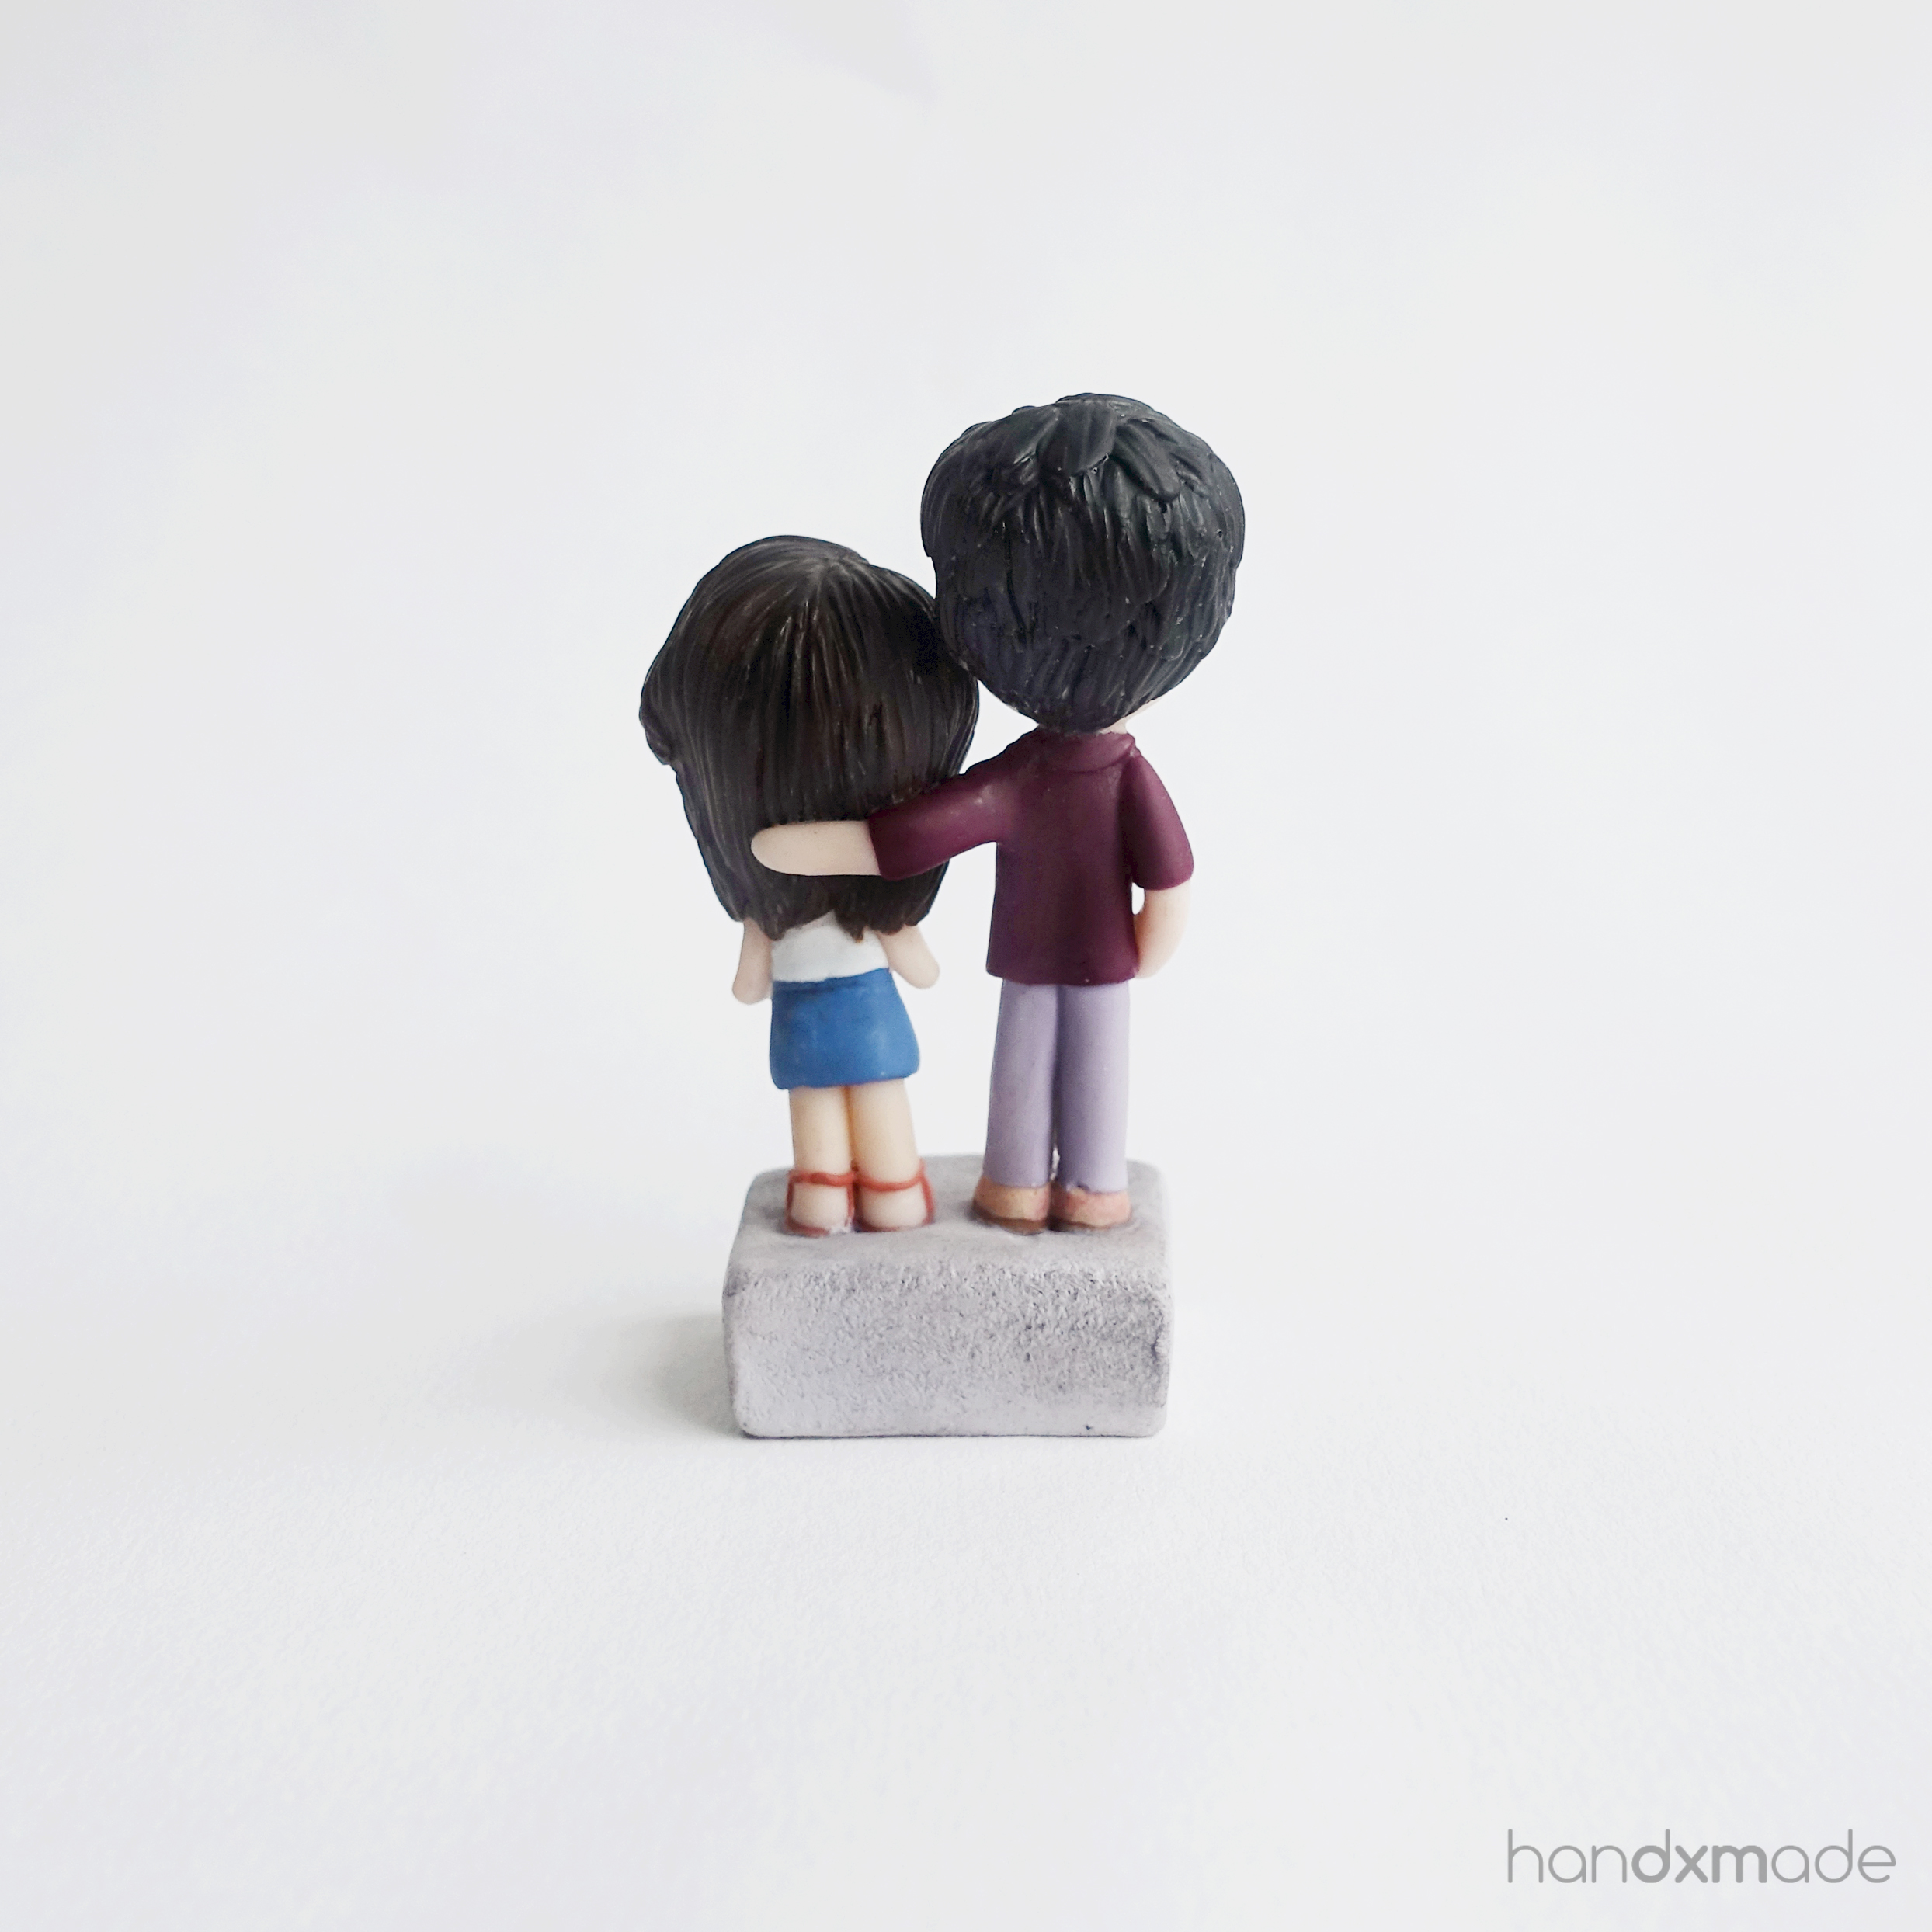
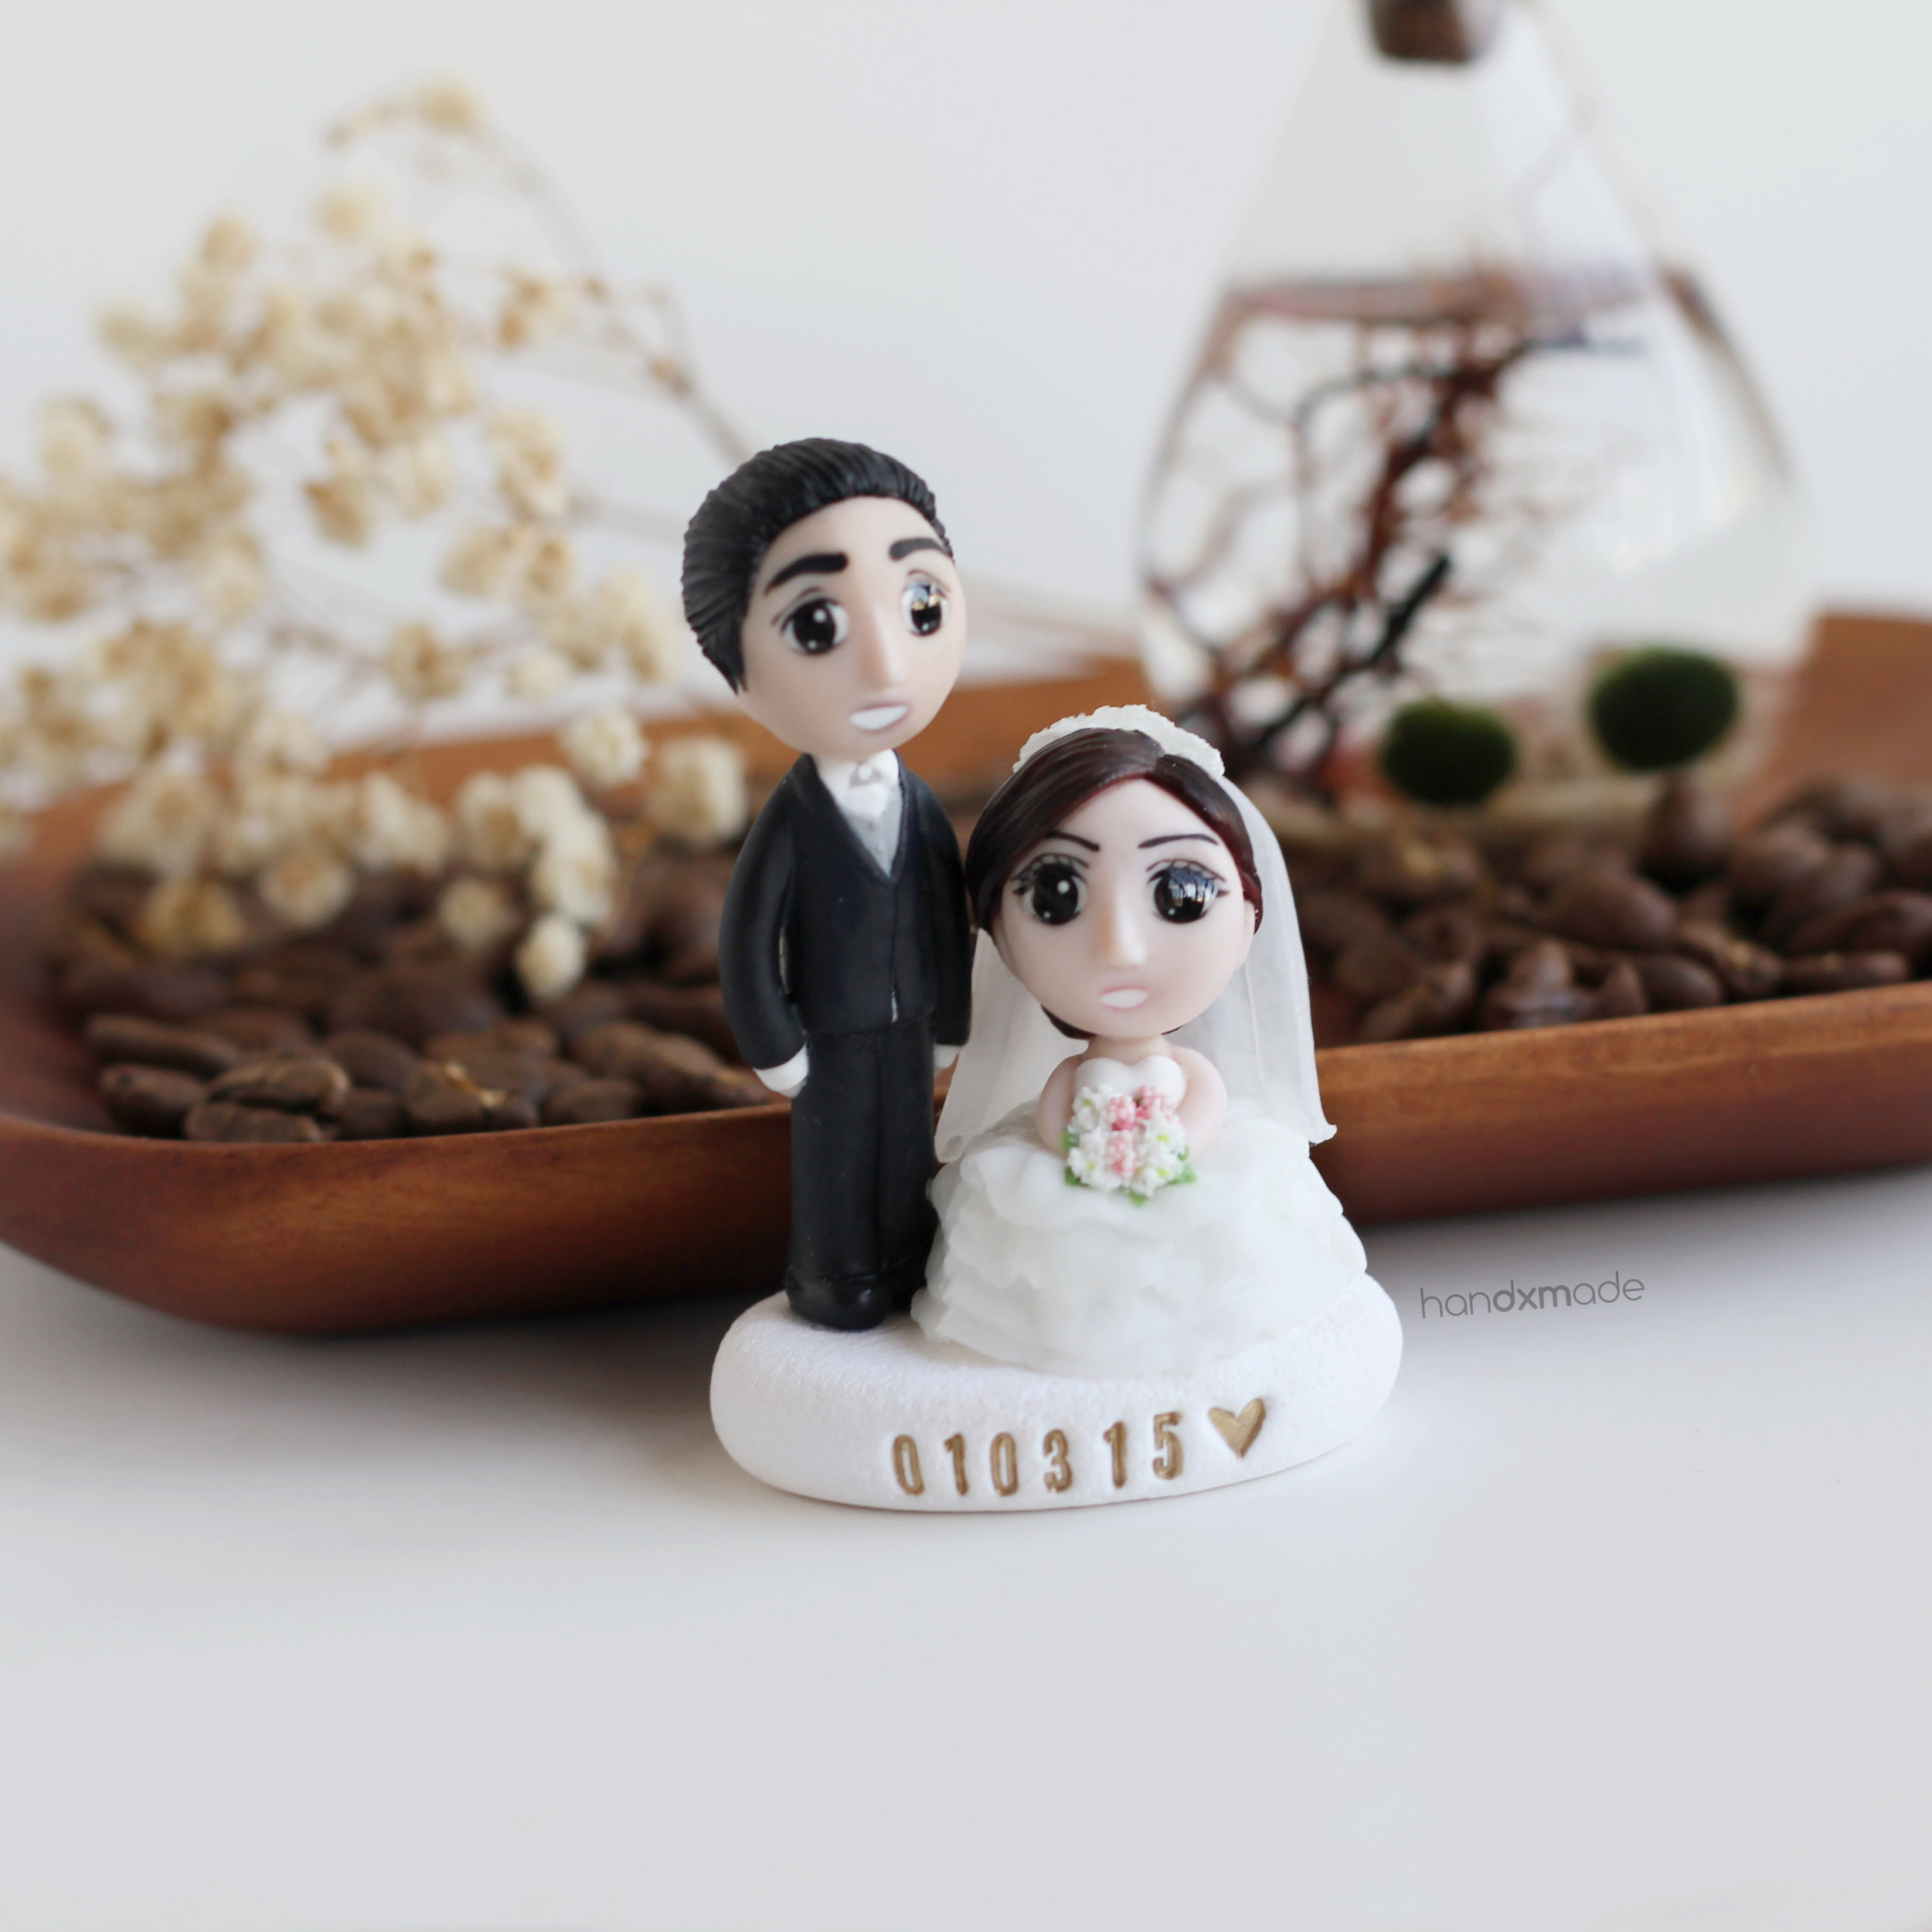
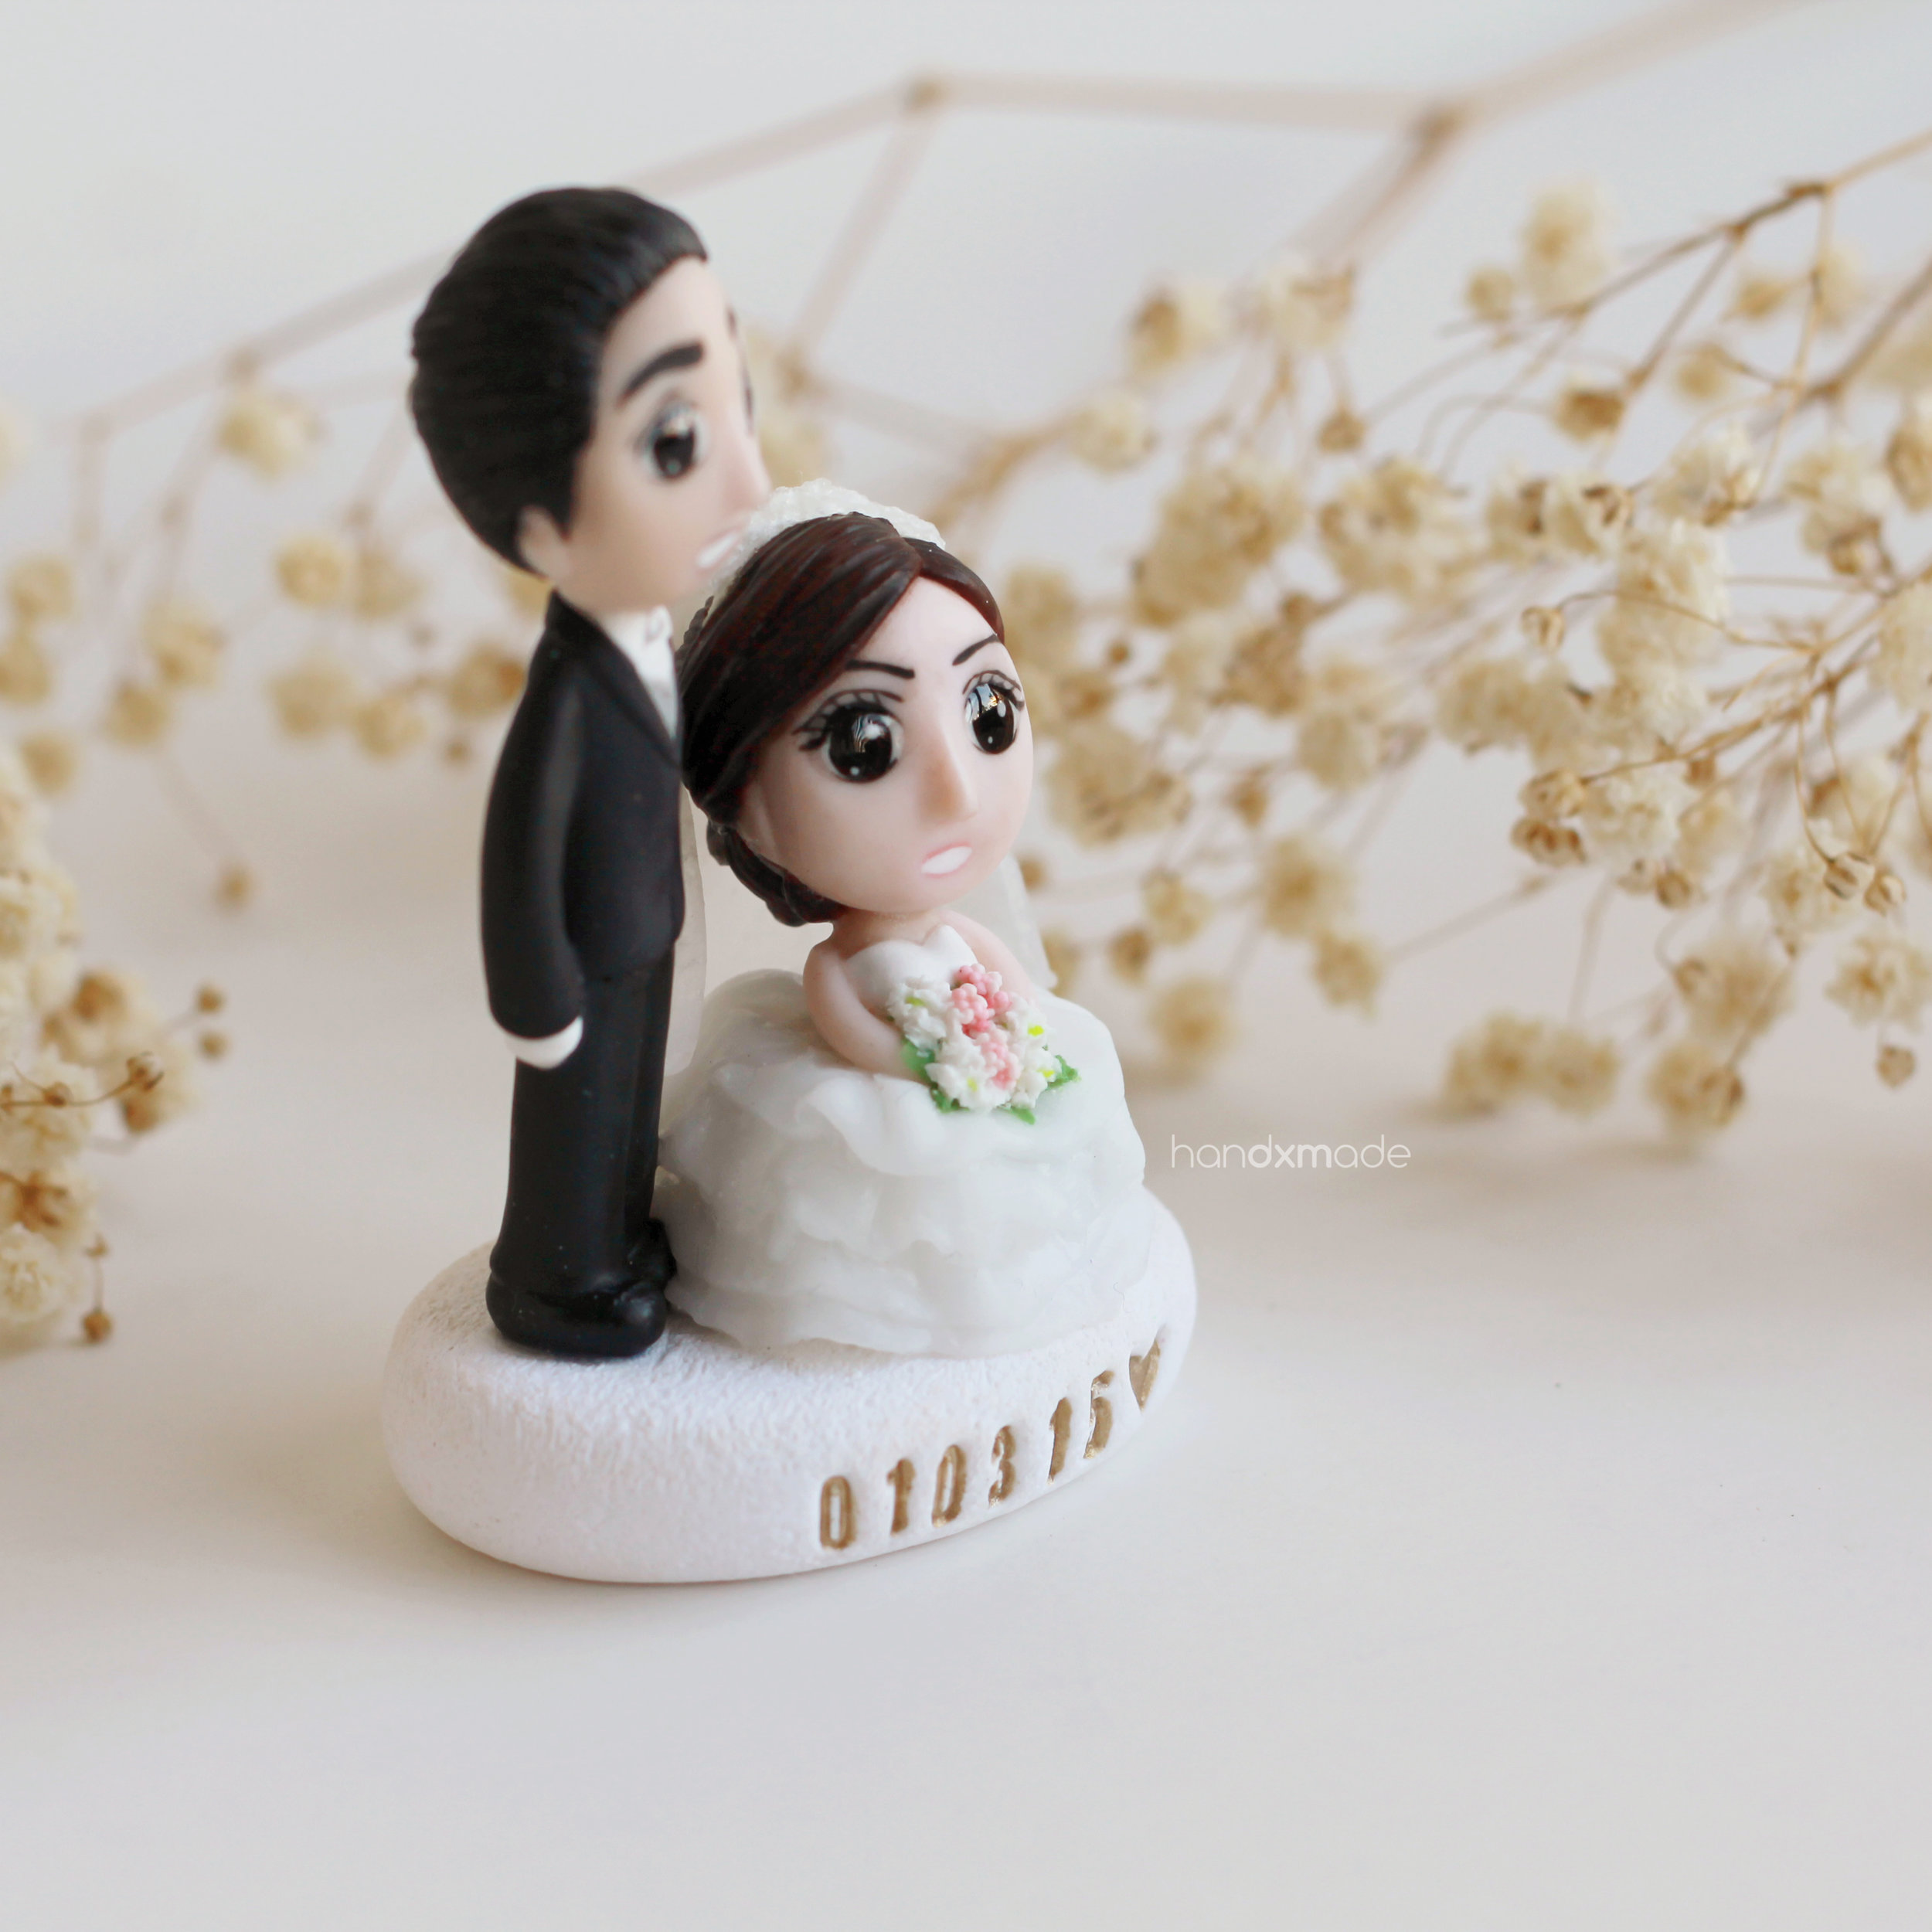
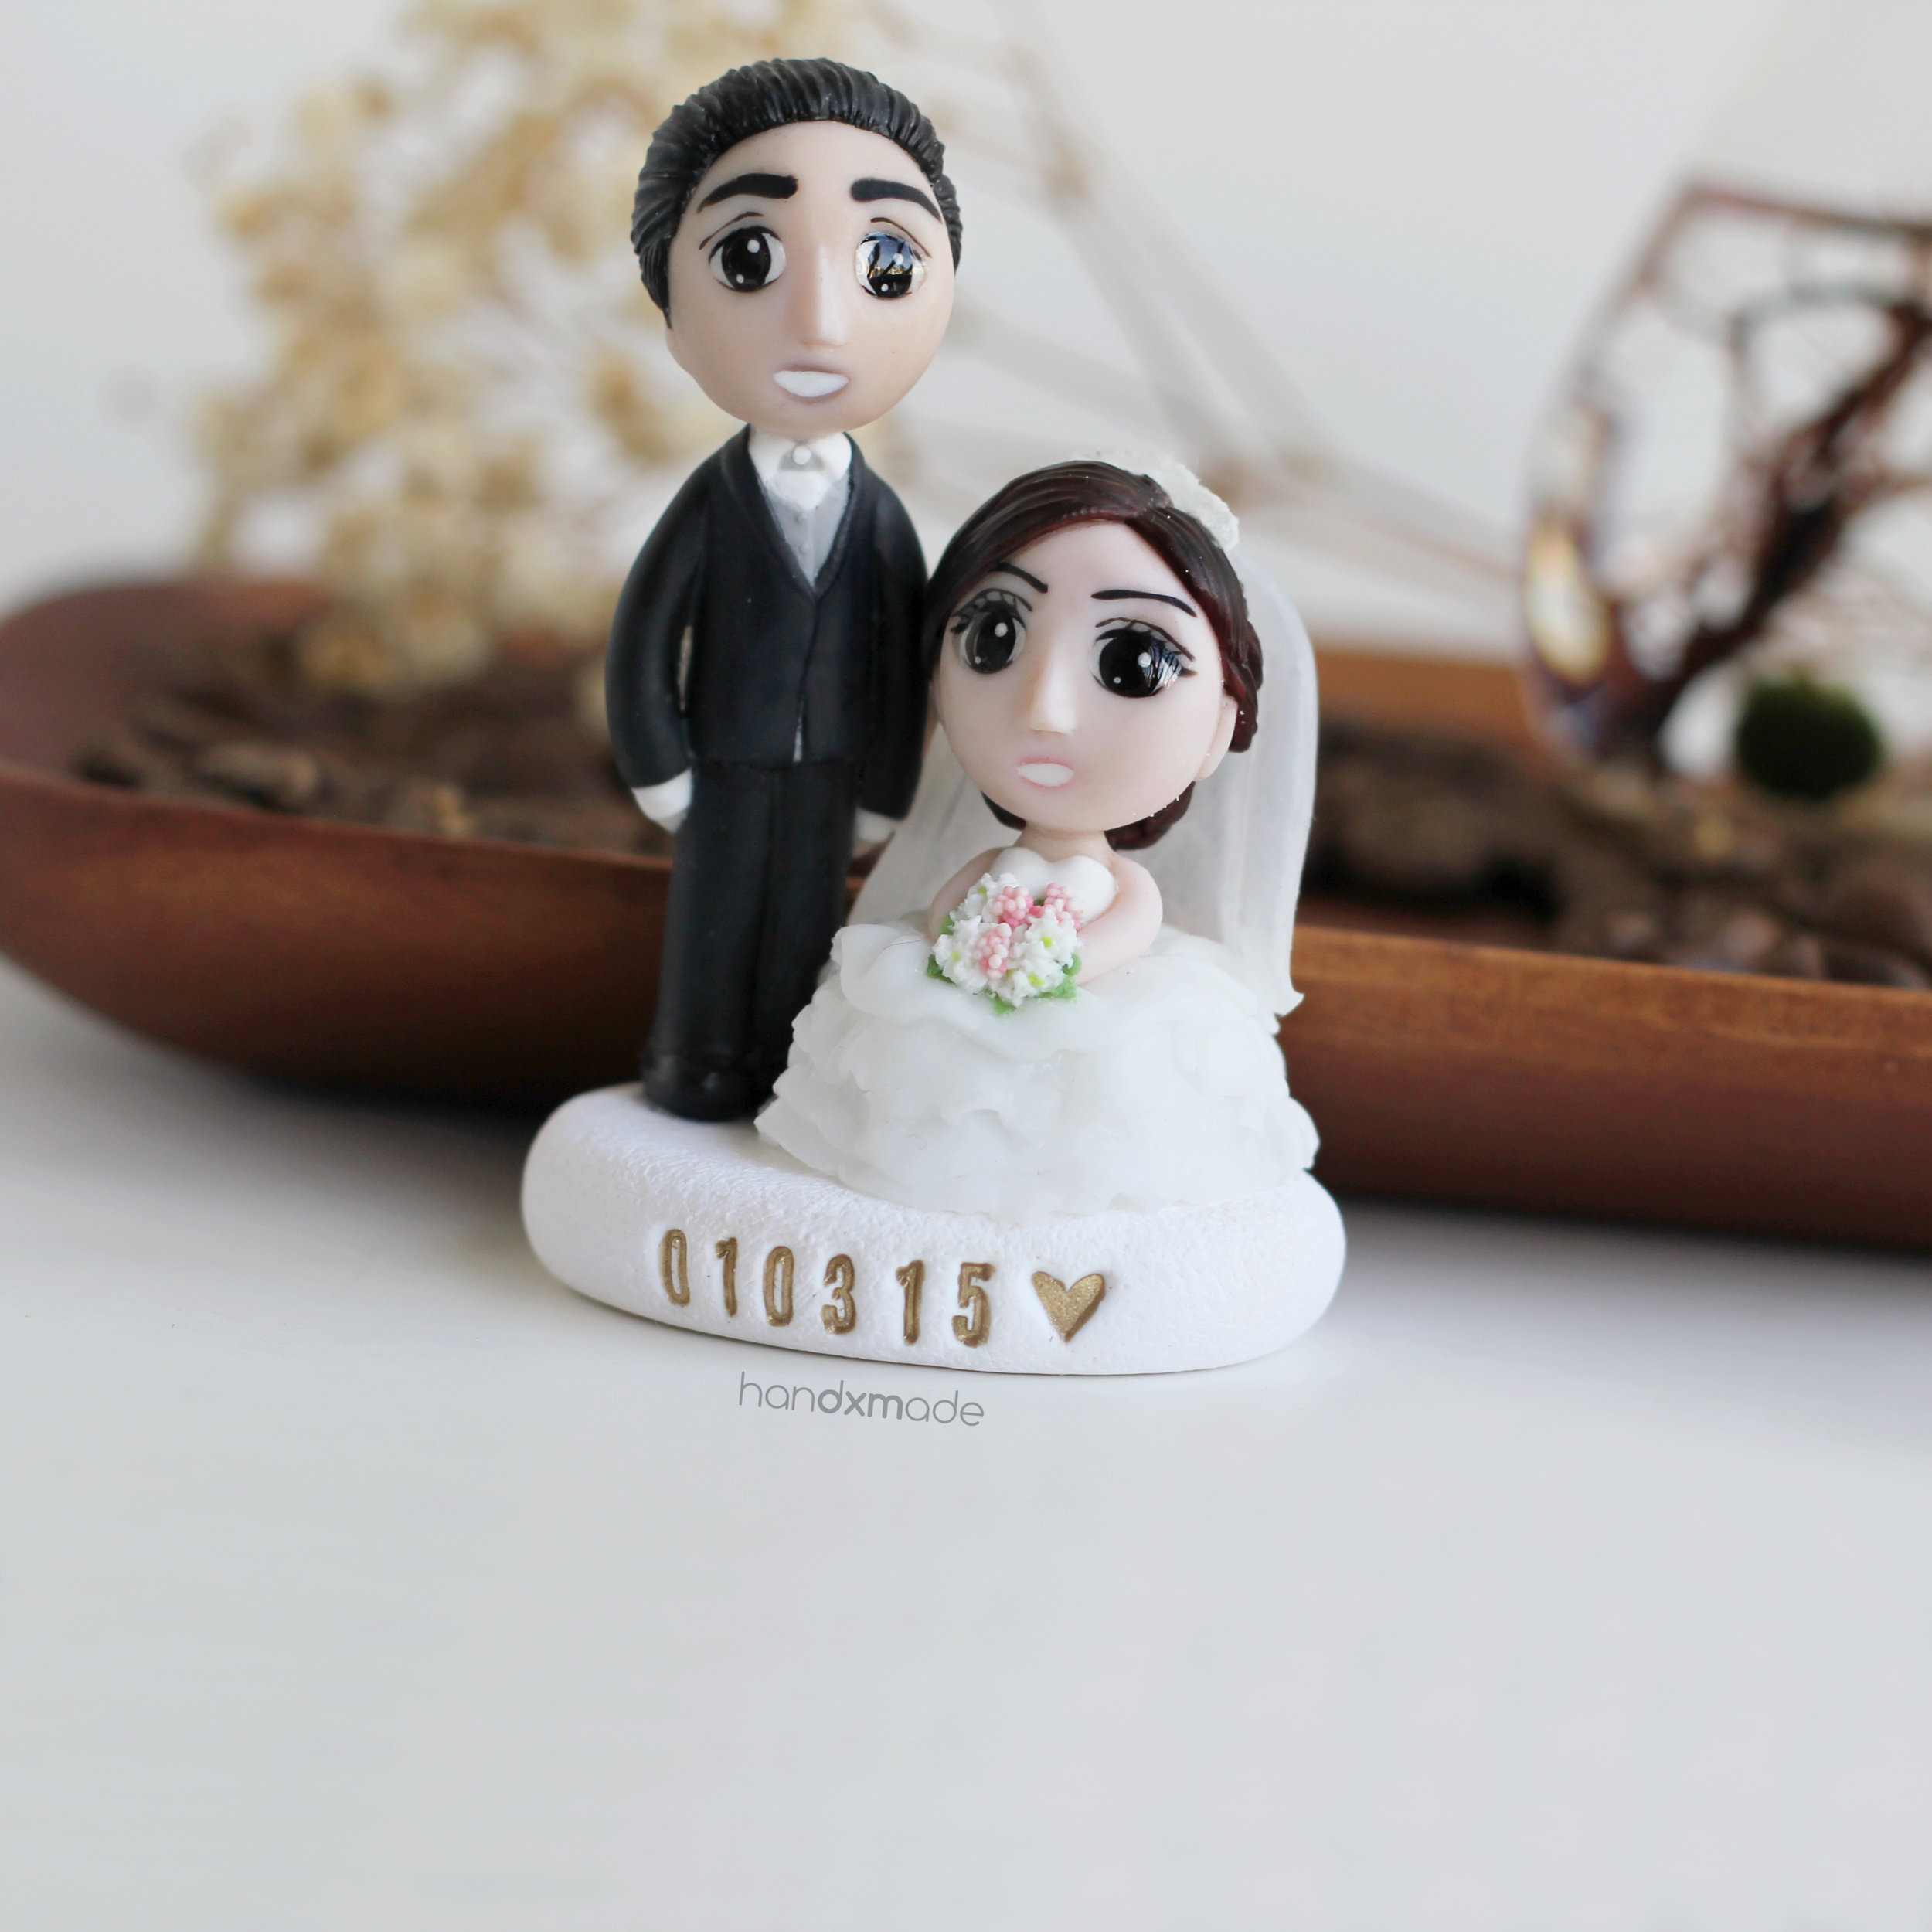
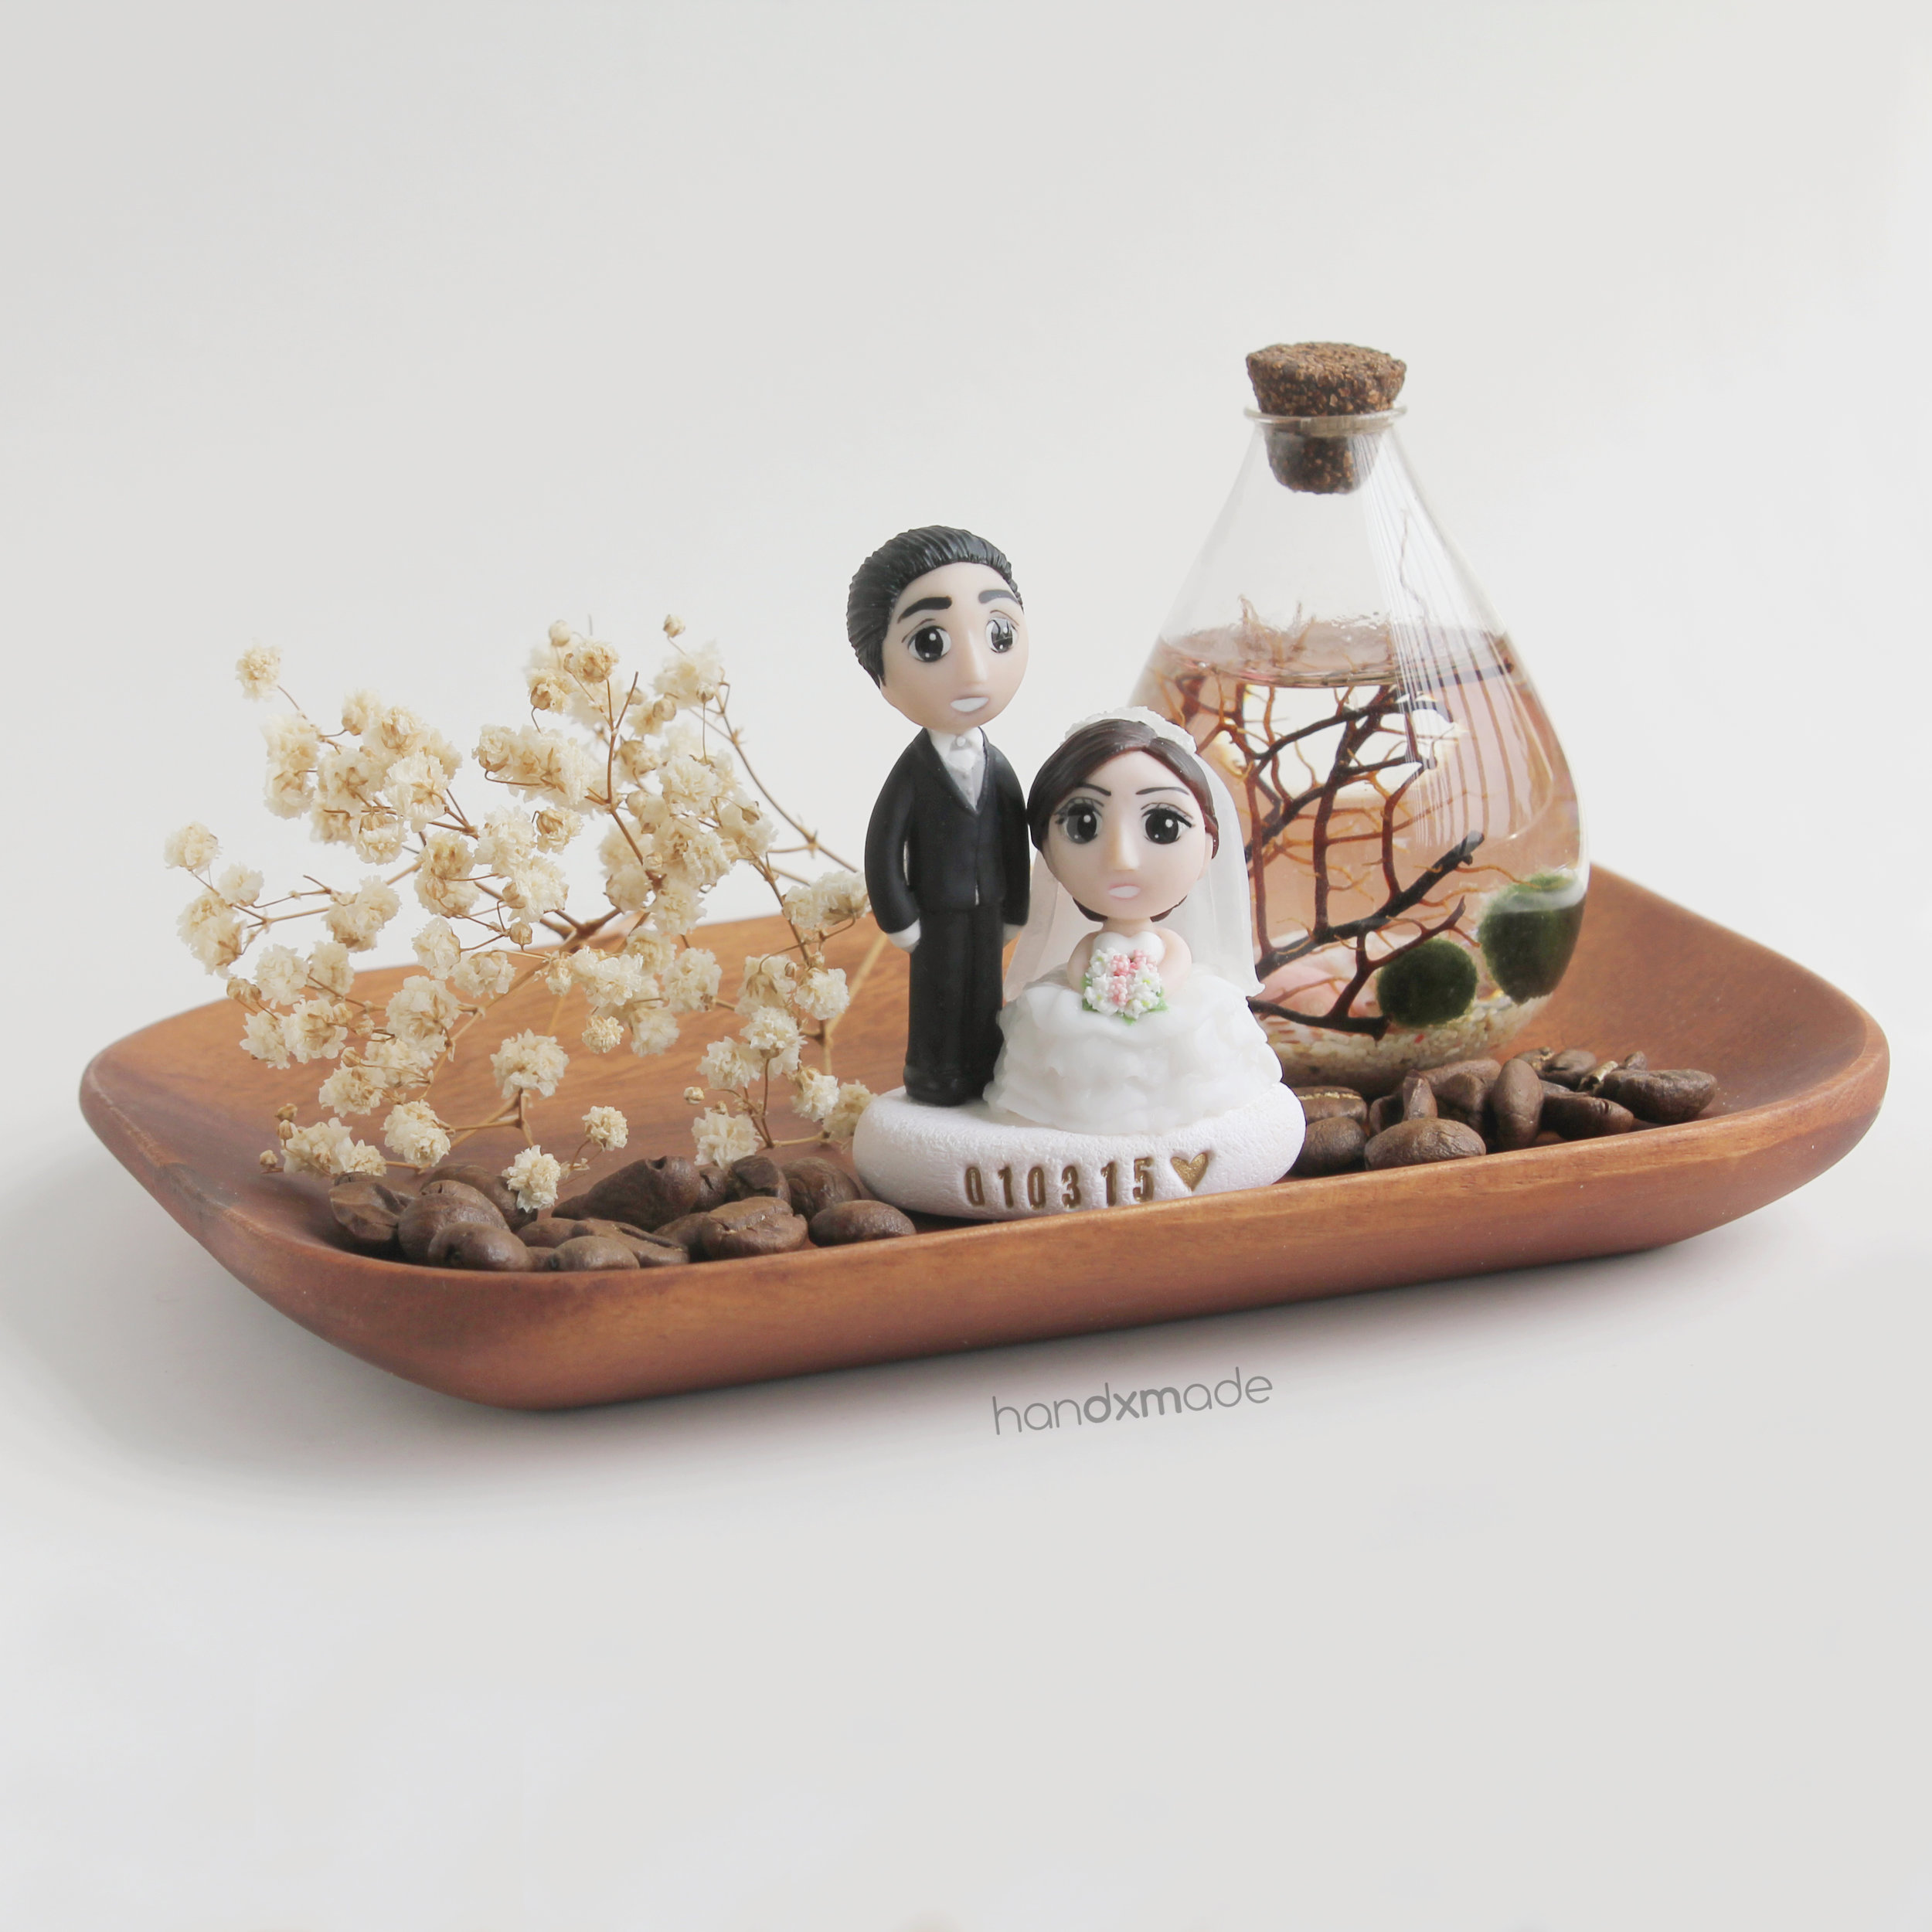
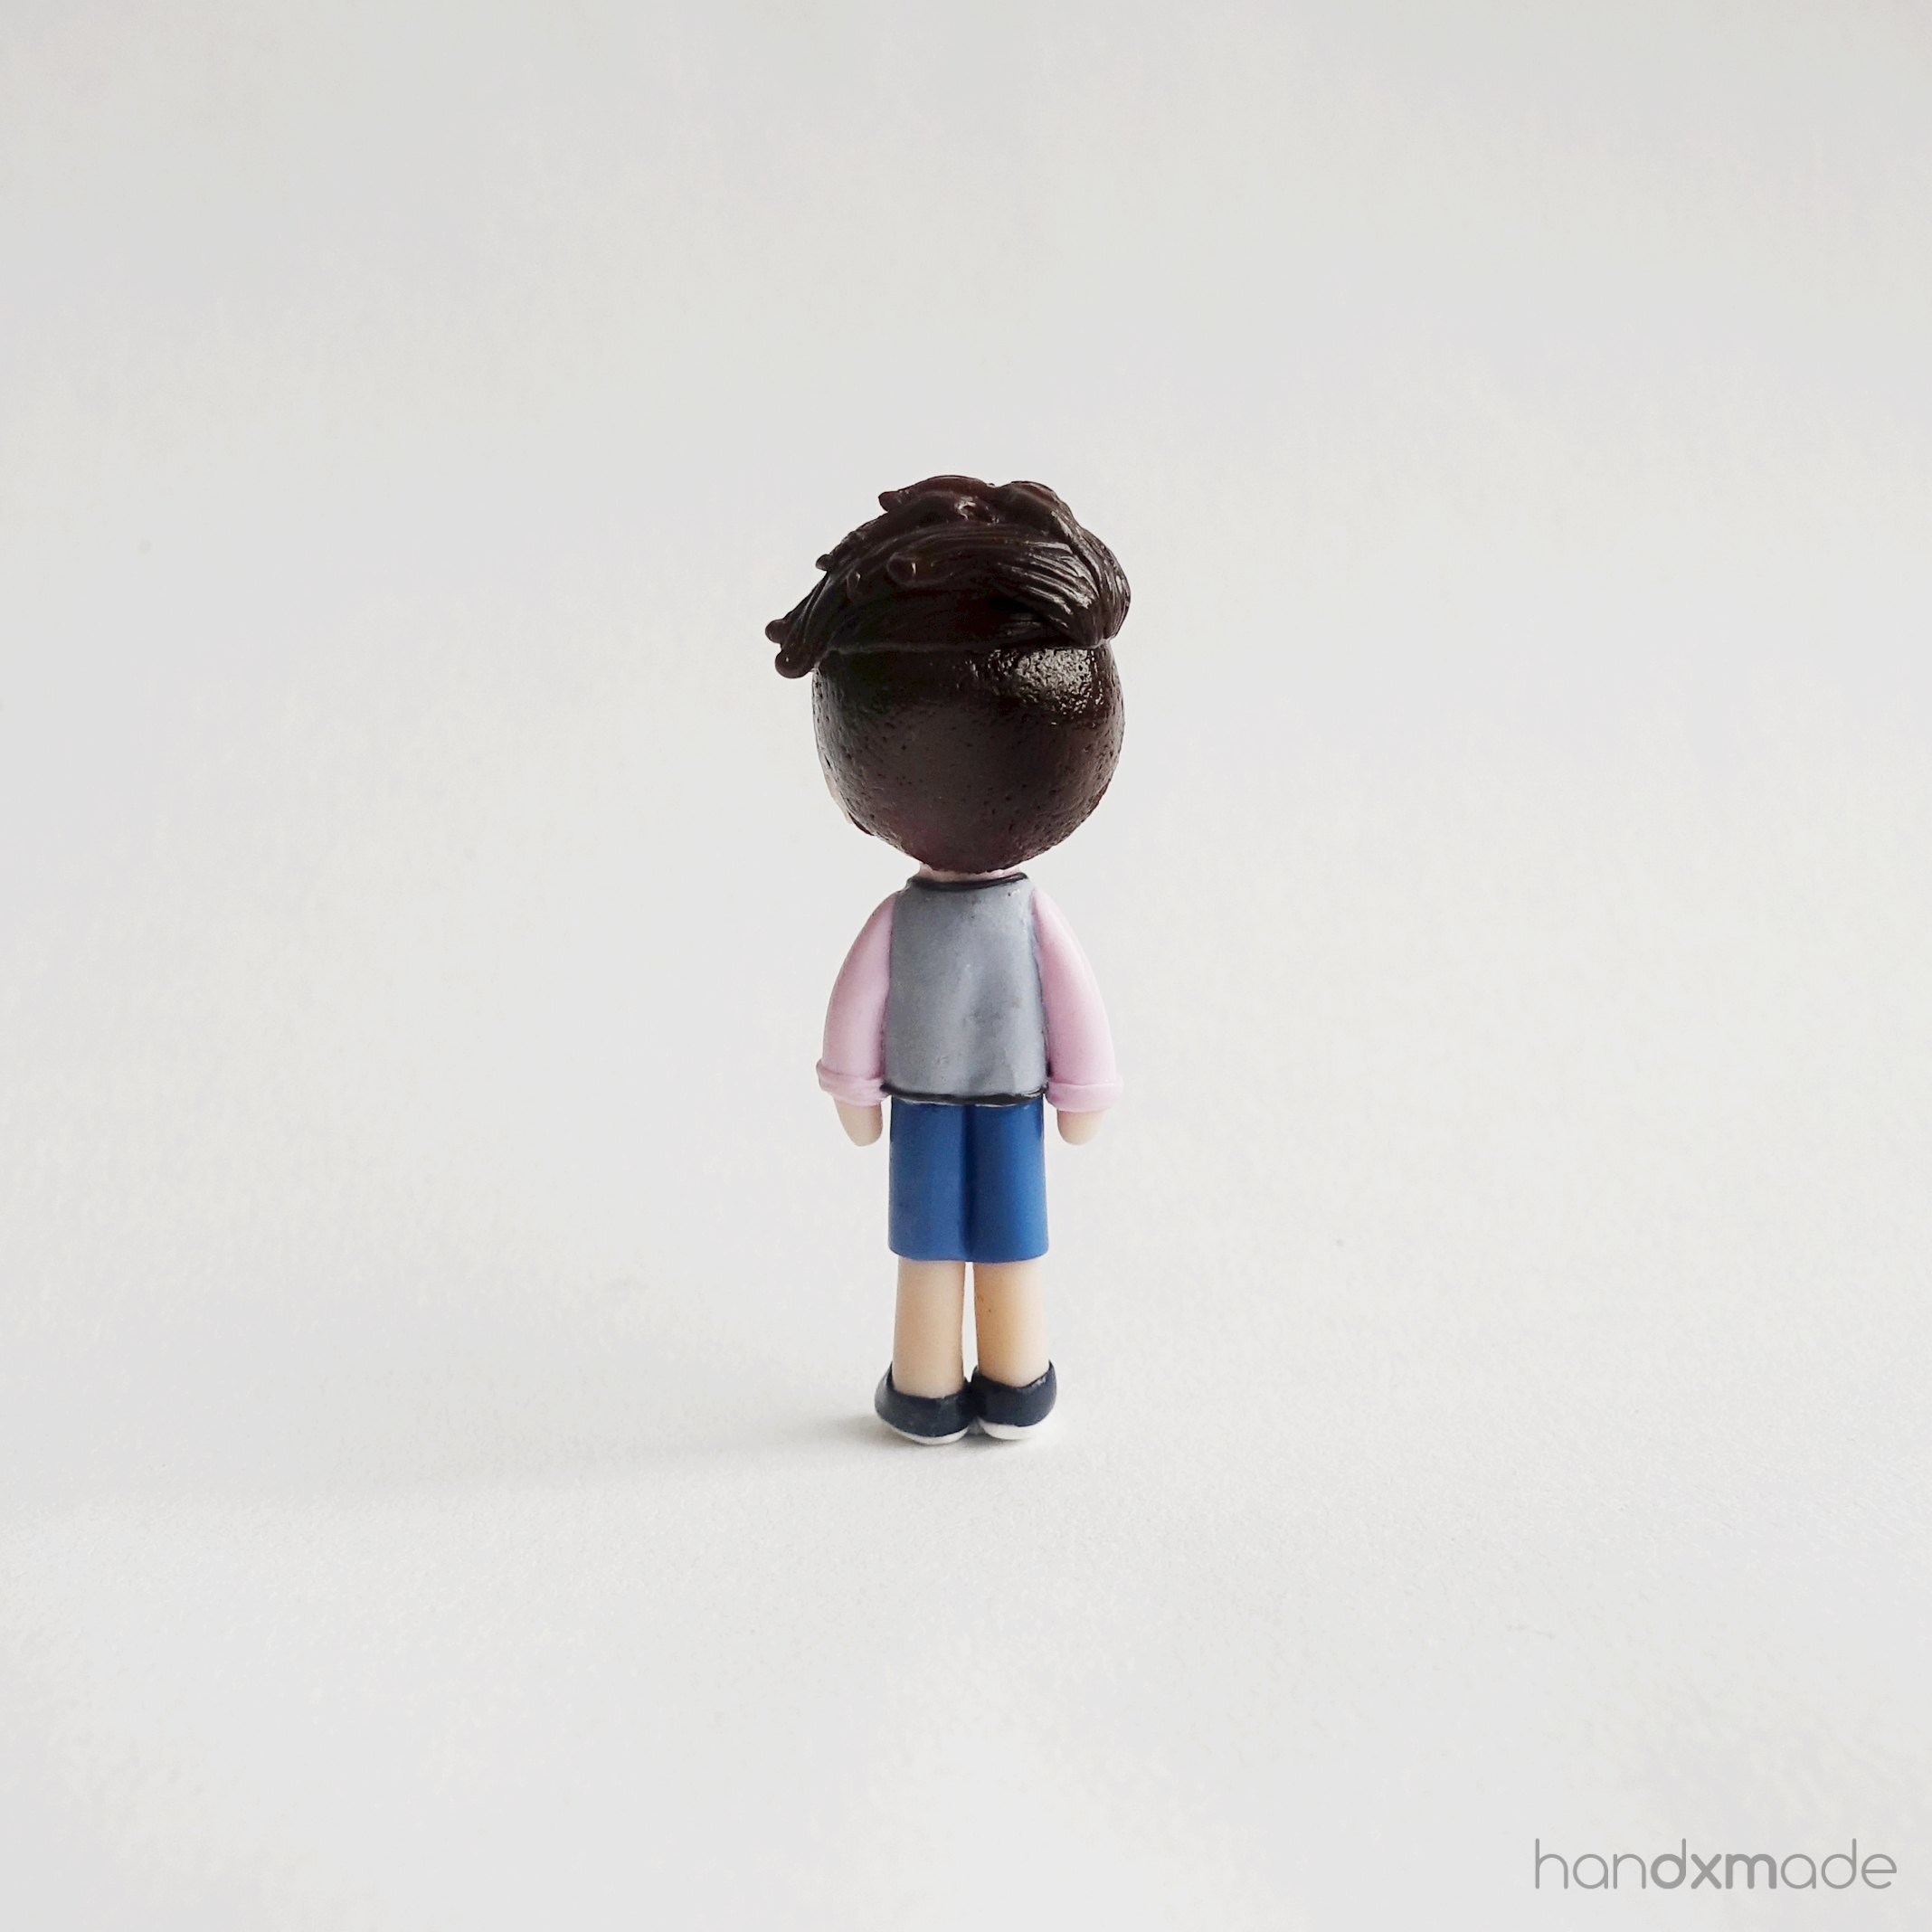
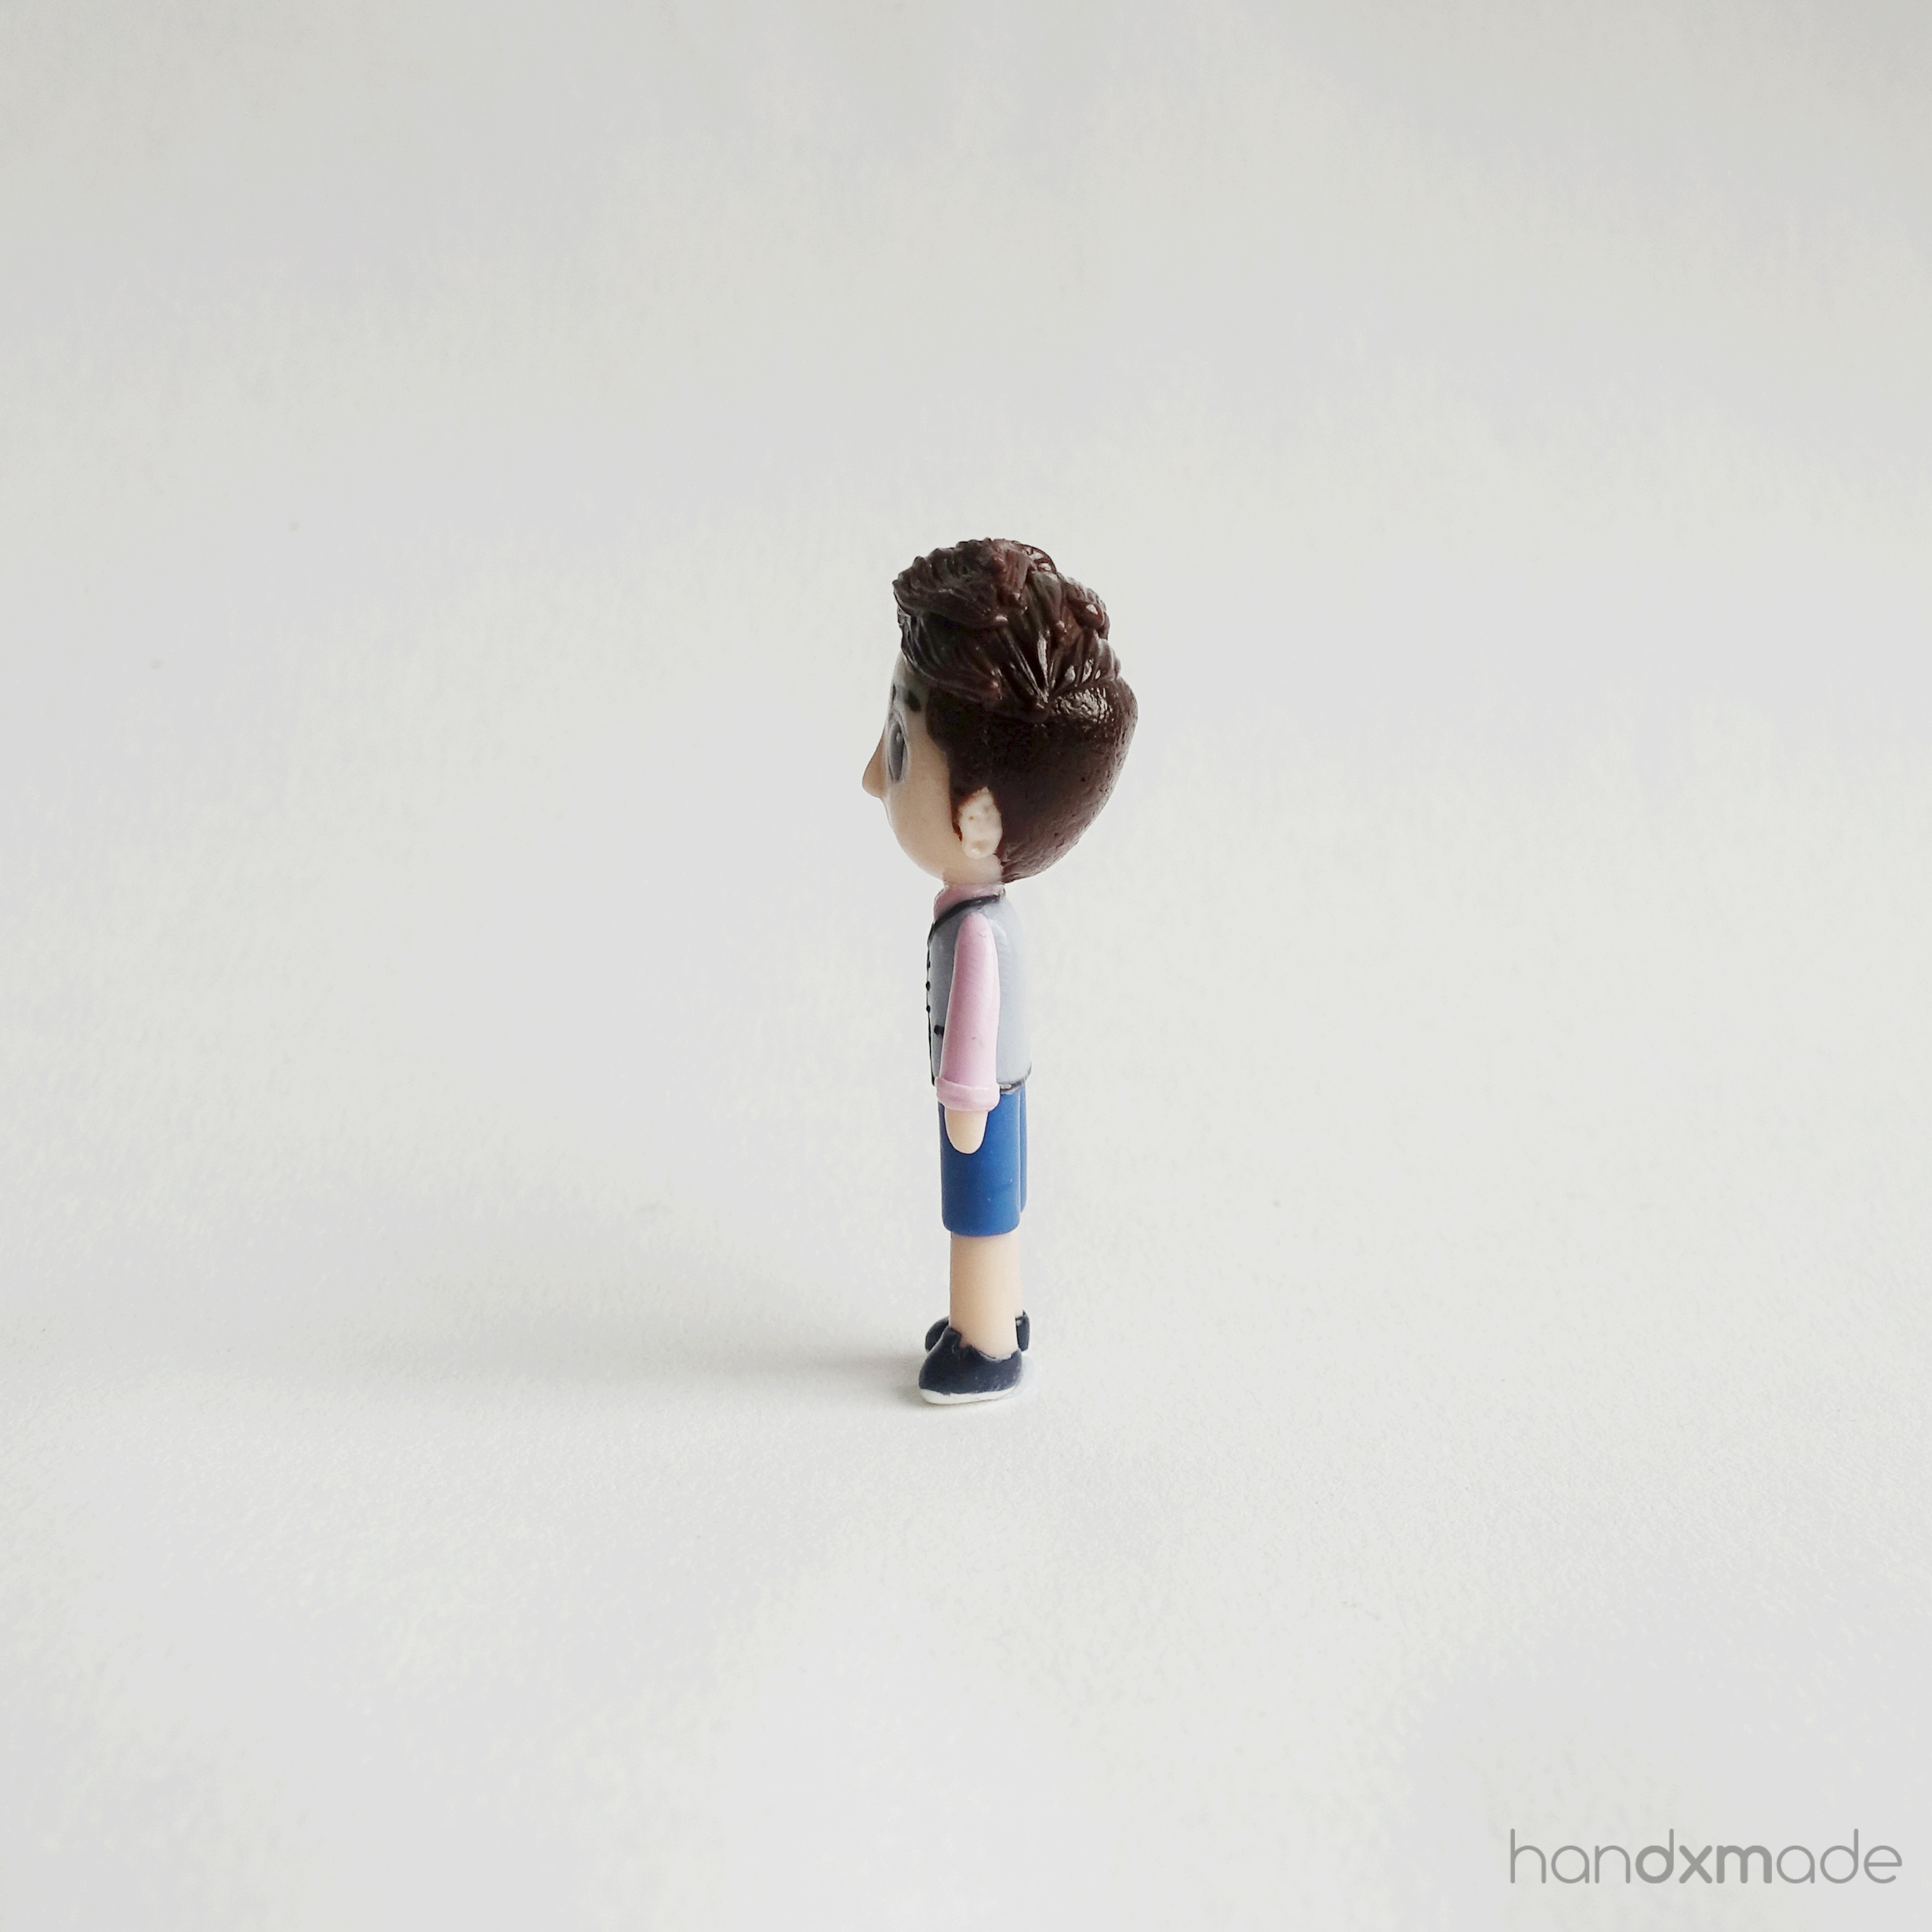
The couple keychains with distinctive dress
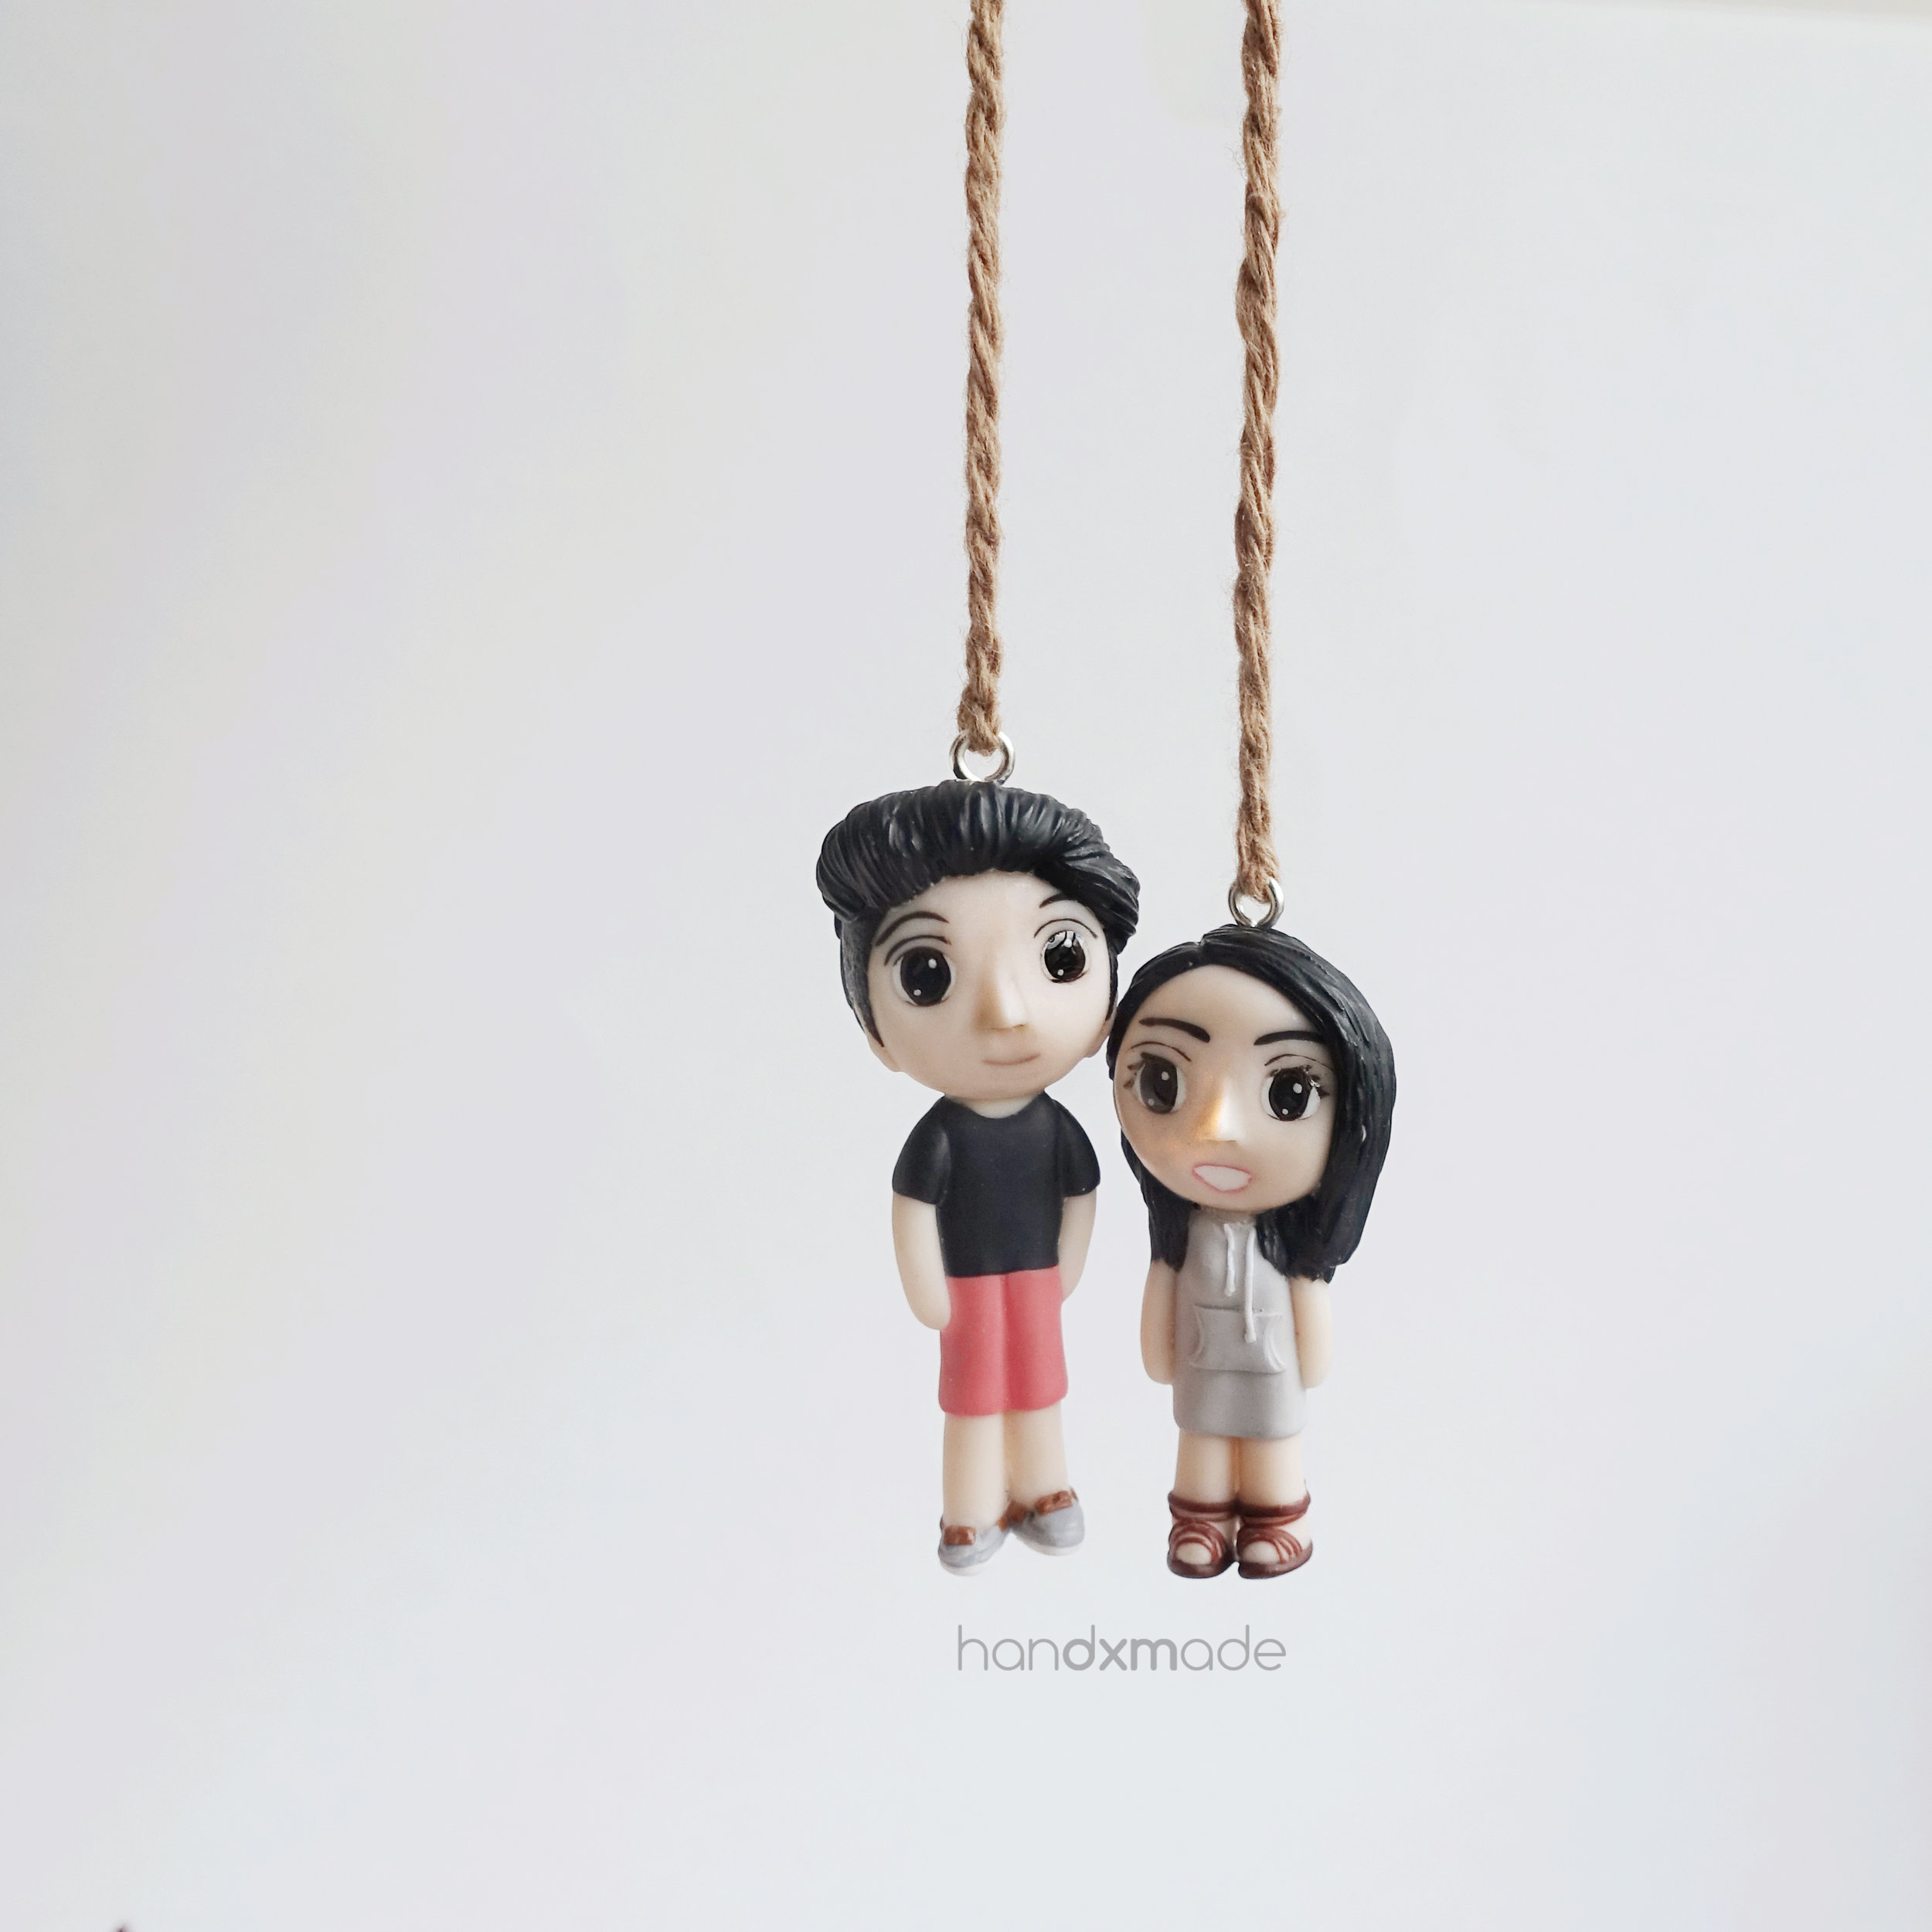
I really love the female's dress, and really enjoyed making it! There's even a hood at the back, and I think the dress does make the figurine special to that someone - because it's just so rare.

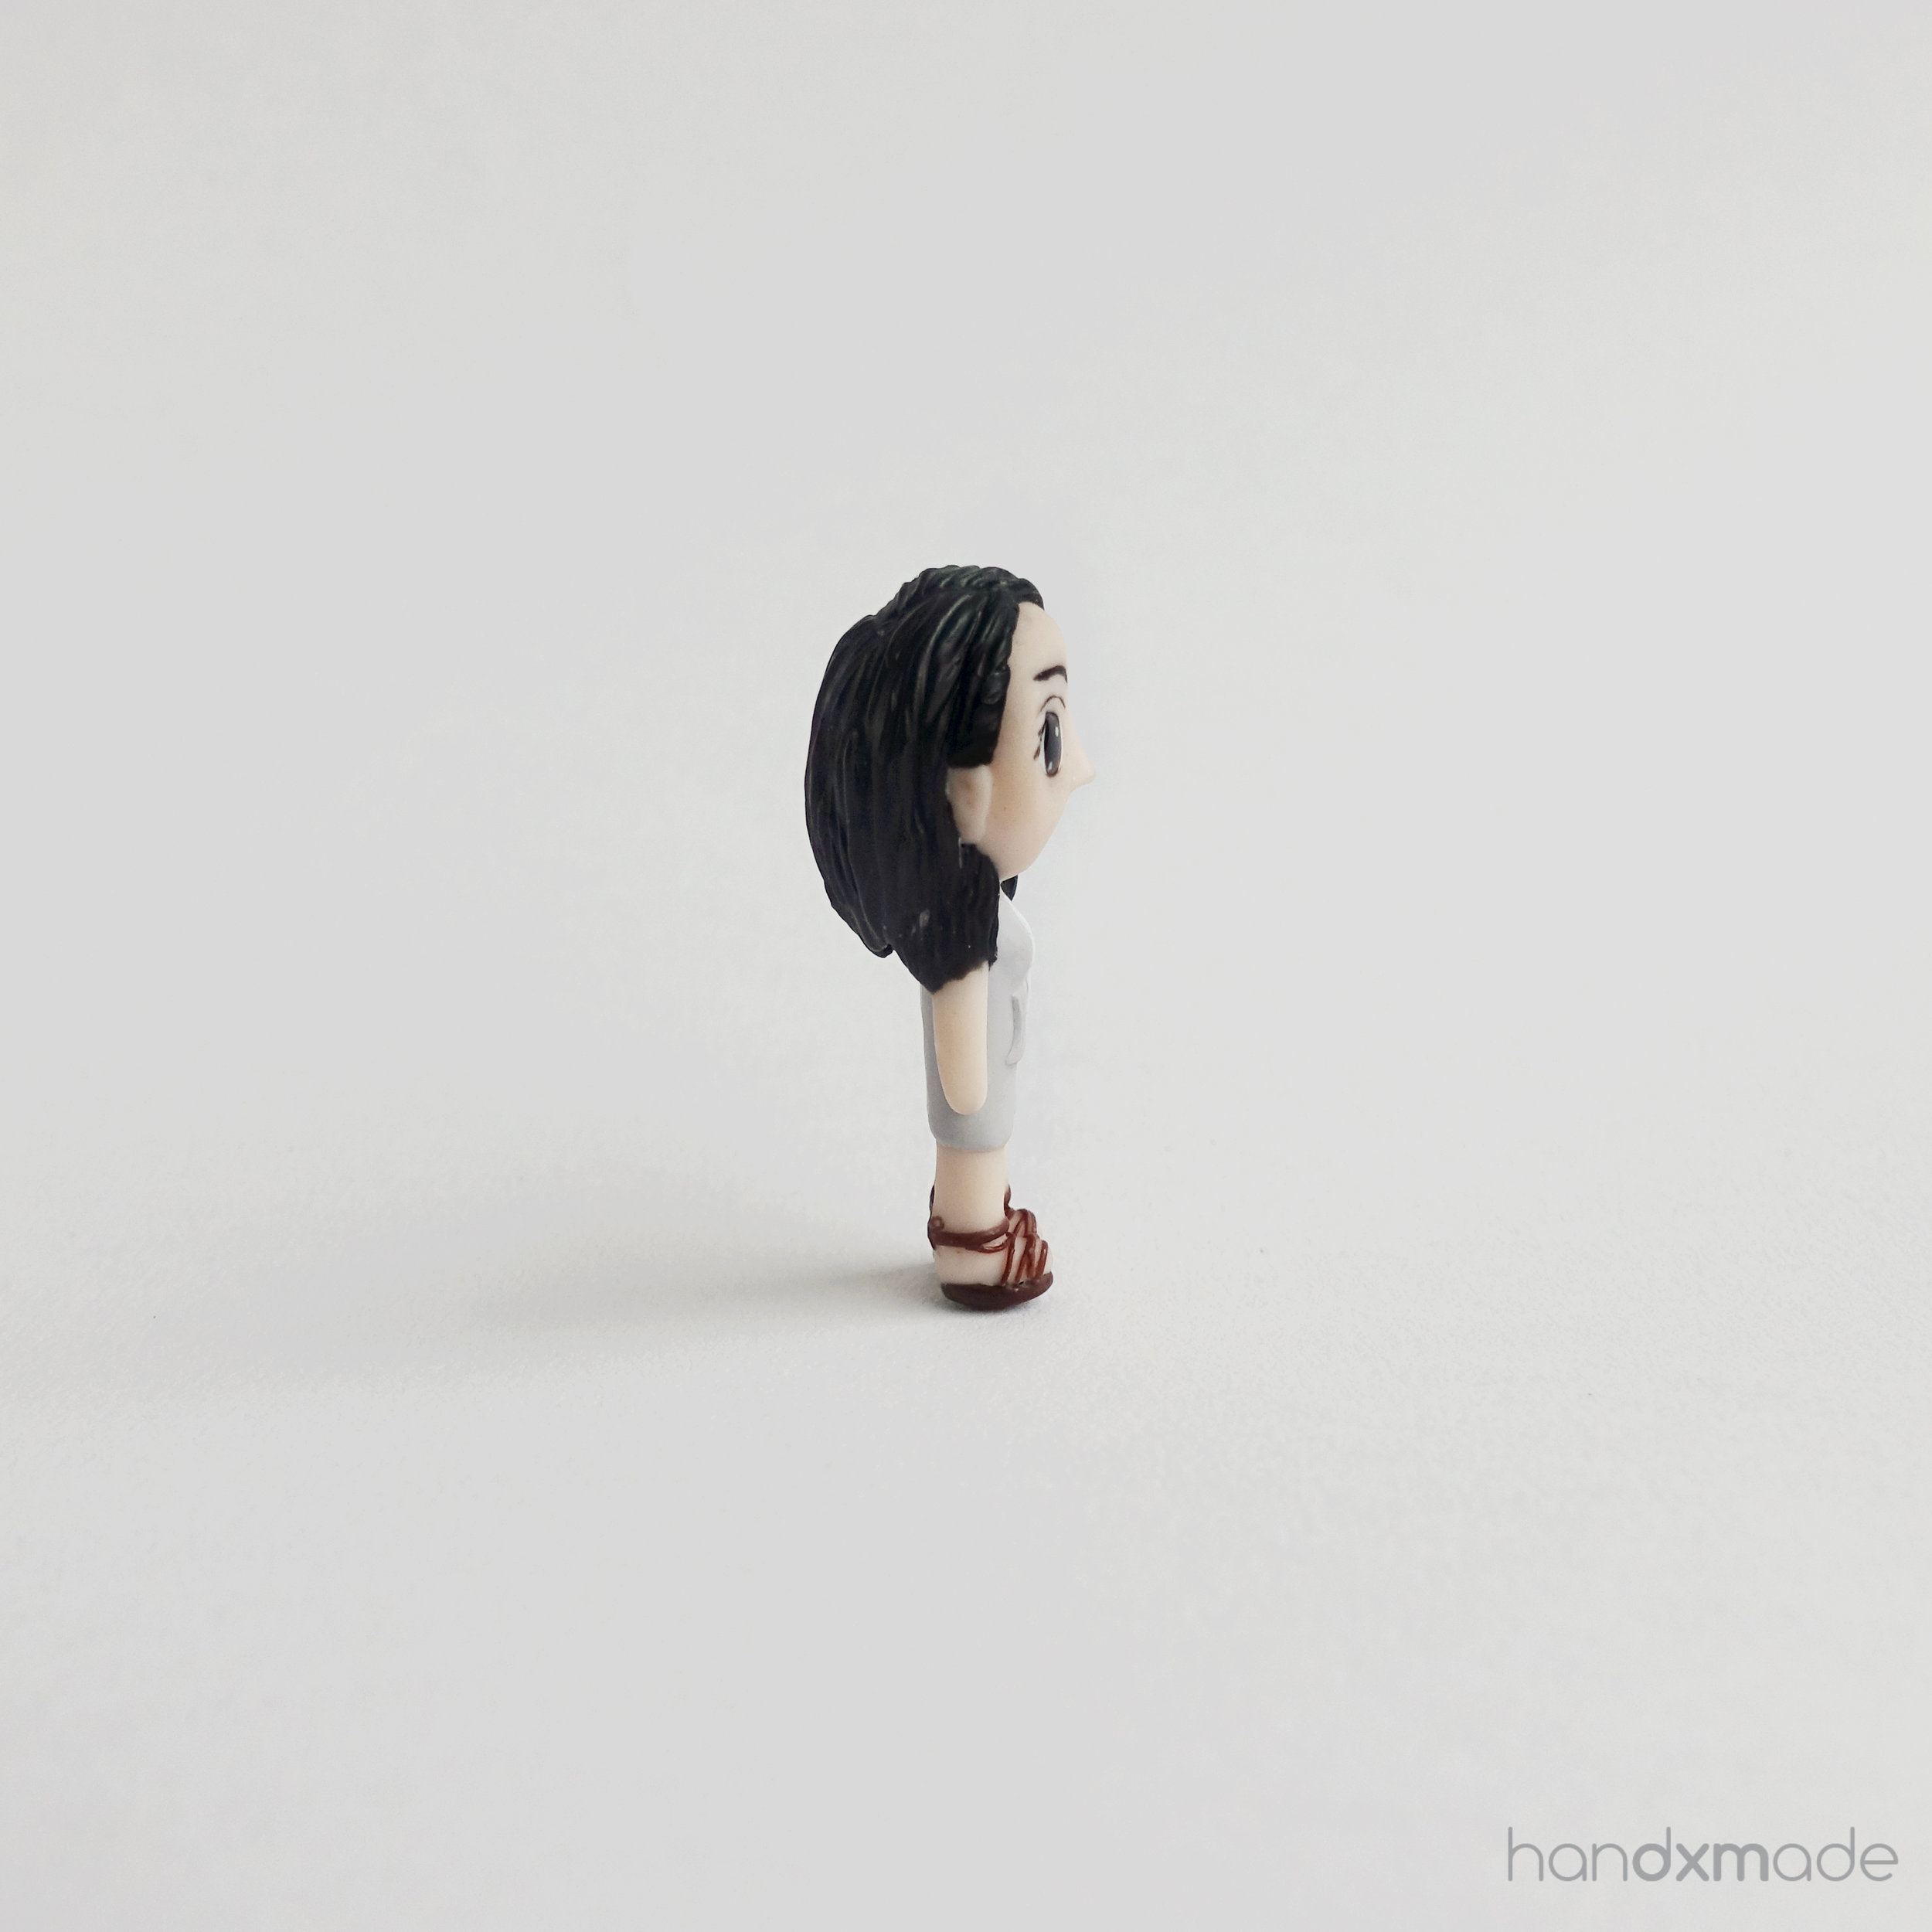

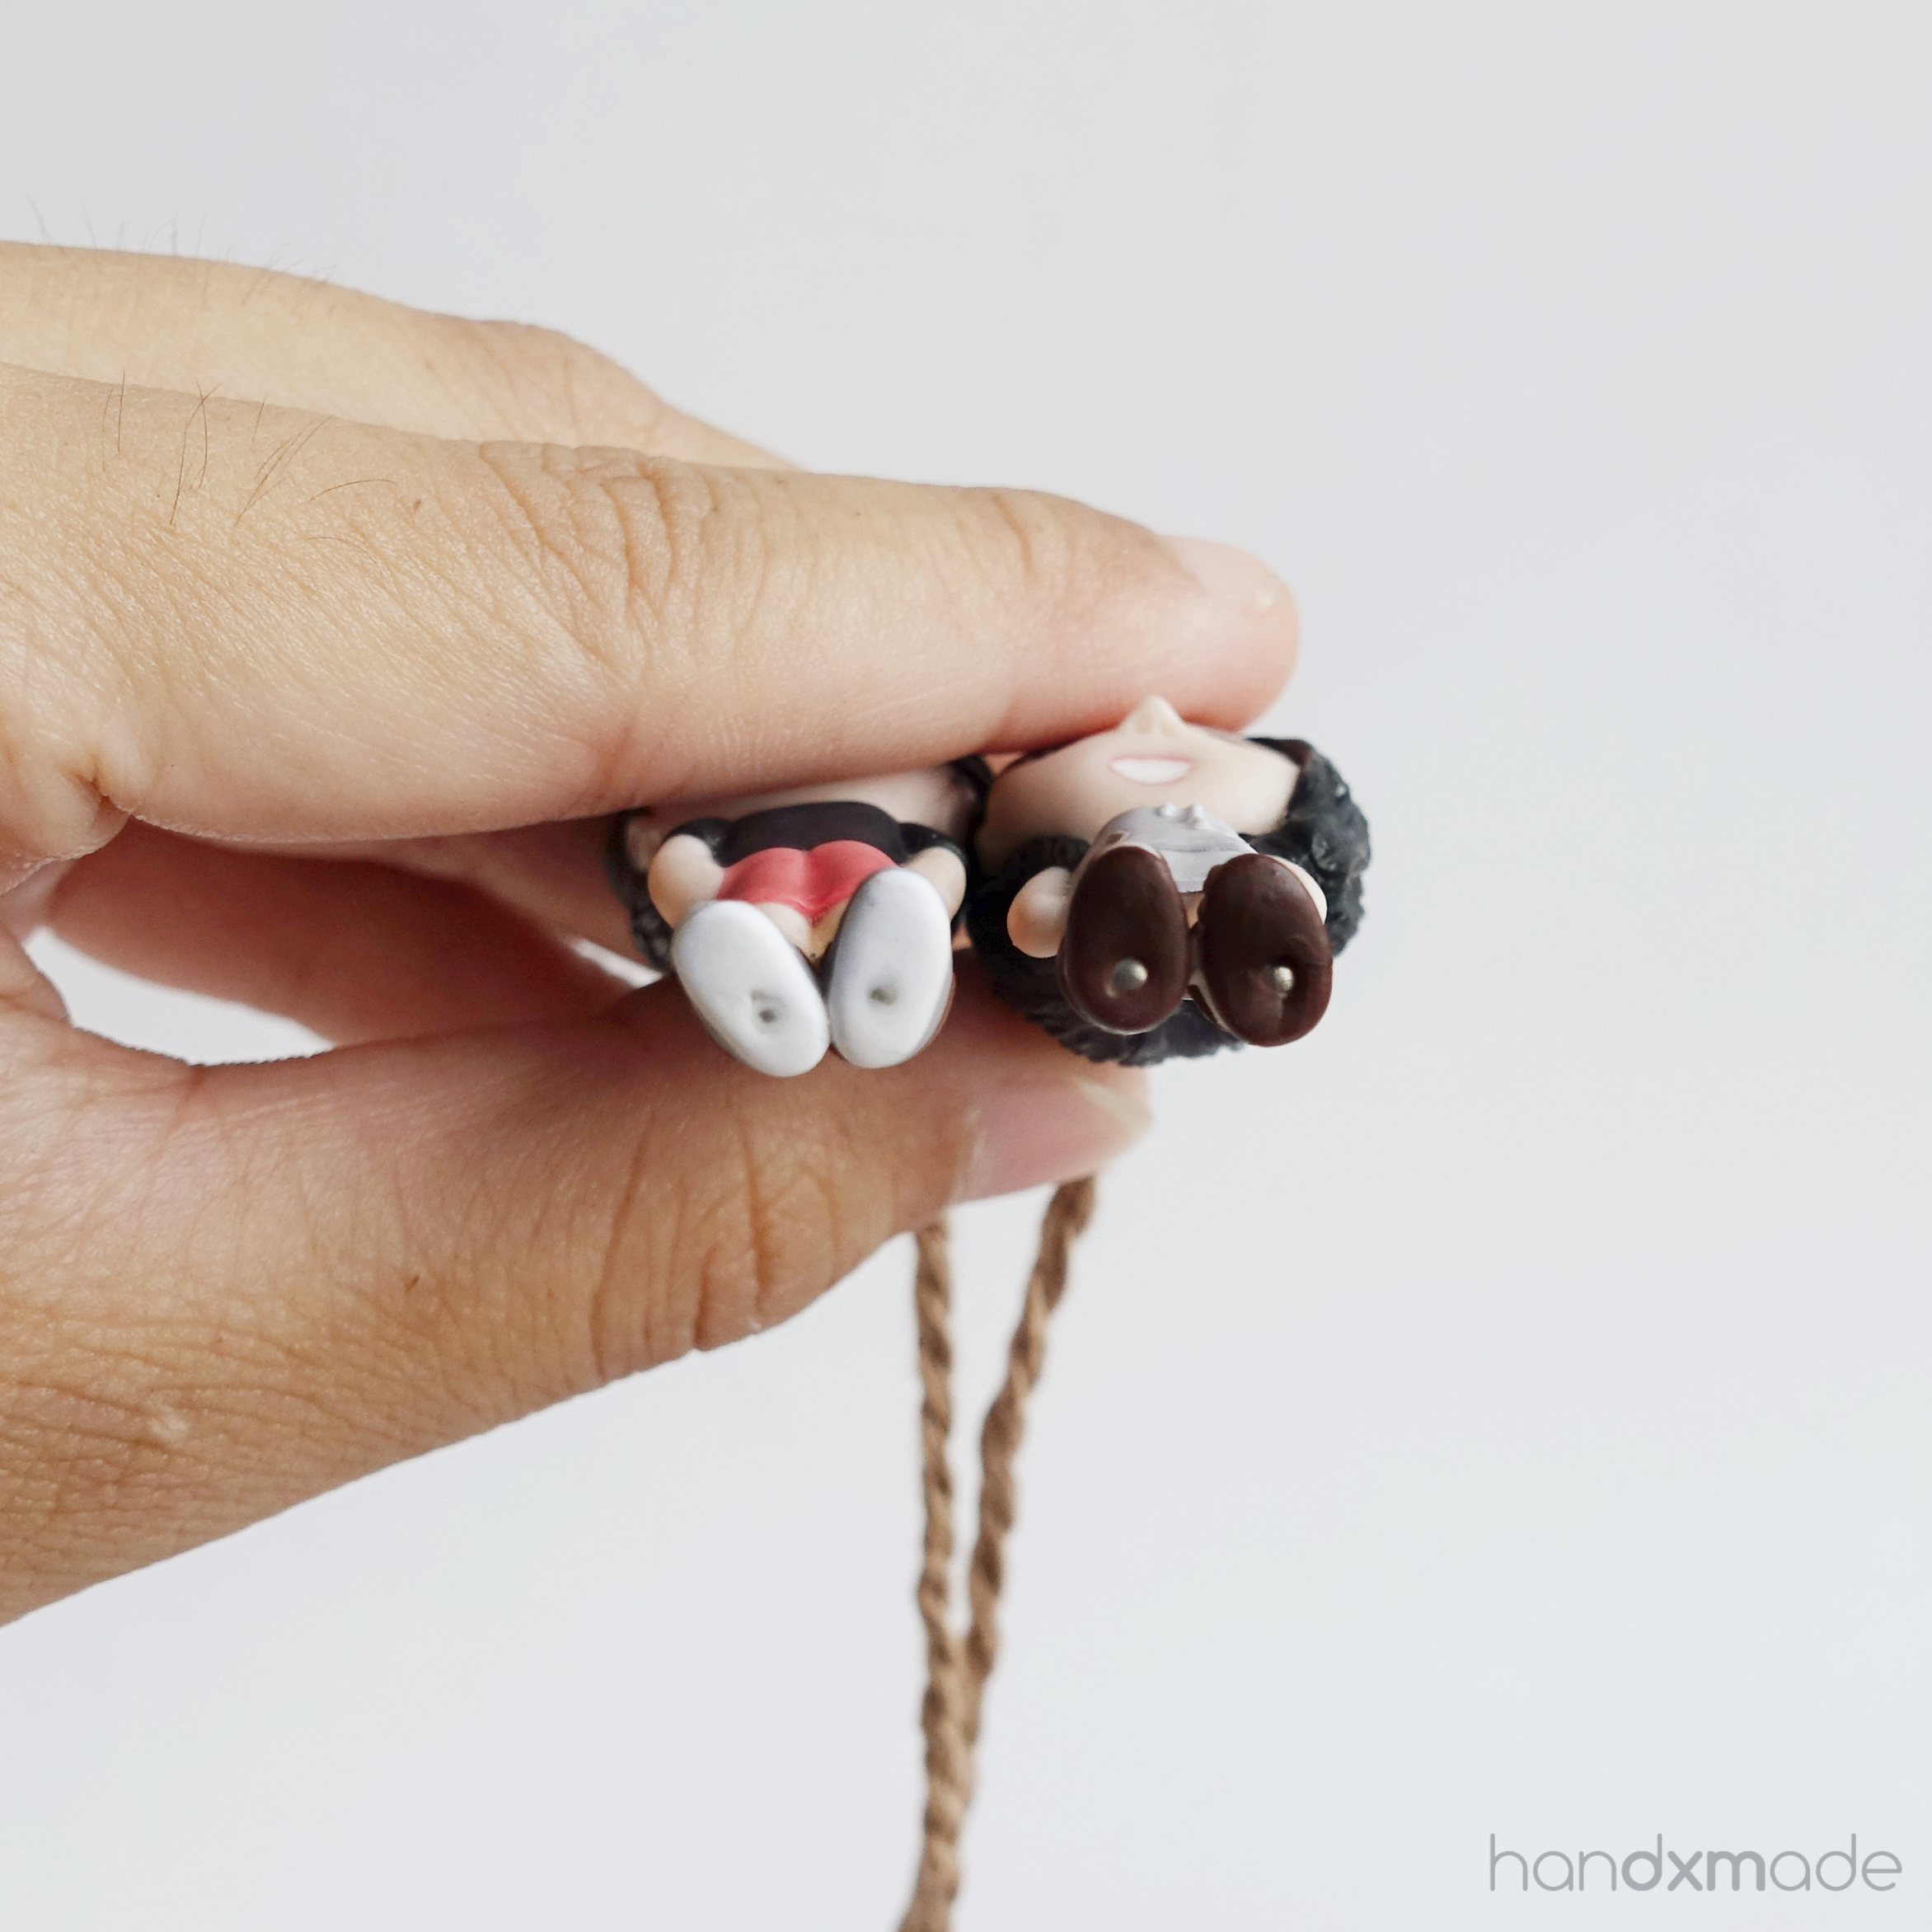
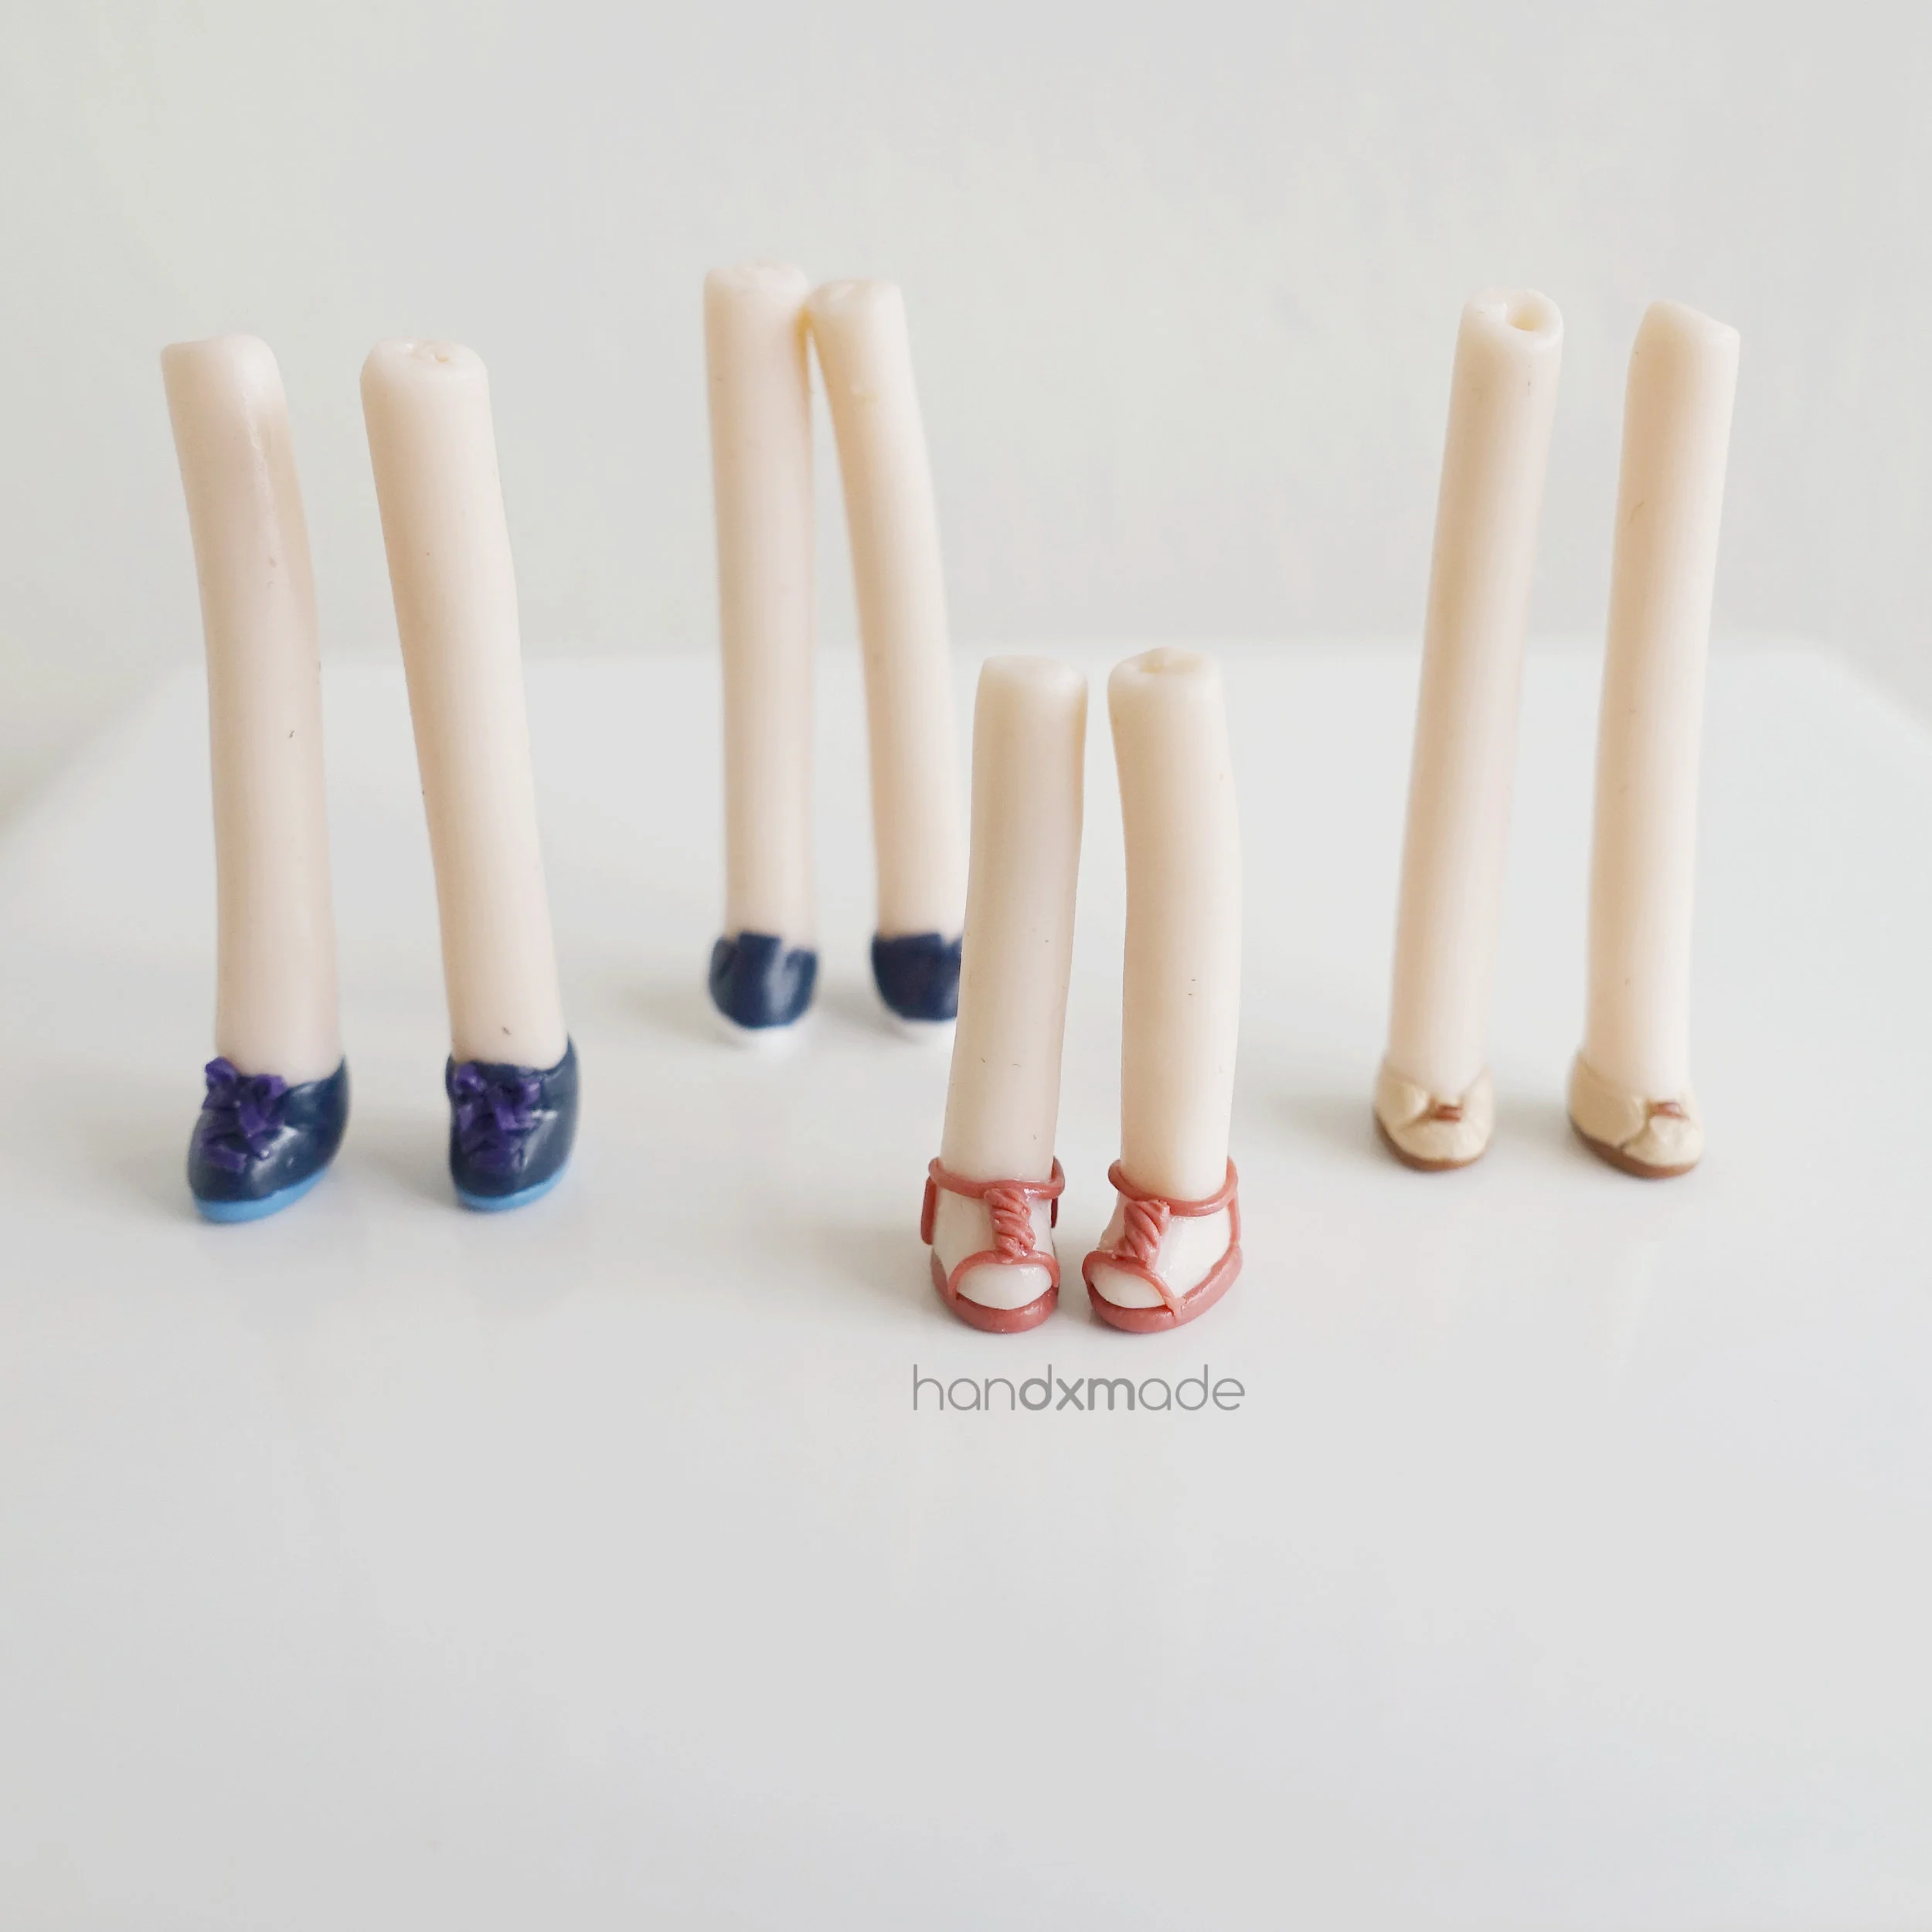
By the end of all orders, I have started putting headpins on all the legs of the figurines, just so they will be more stable! It's actually really tedious, but for long lasting figurines, anything is worth it hurhur.
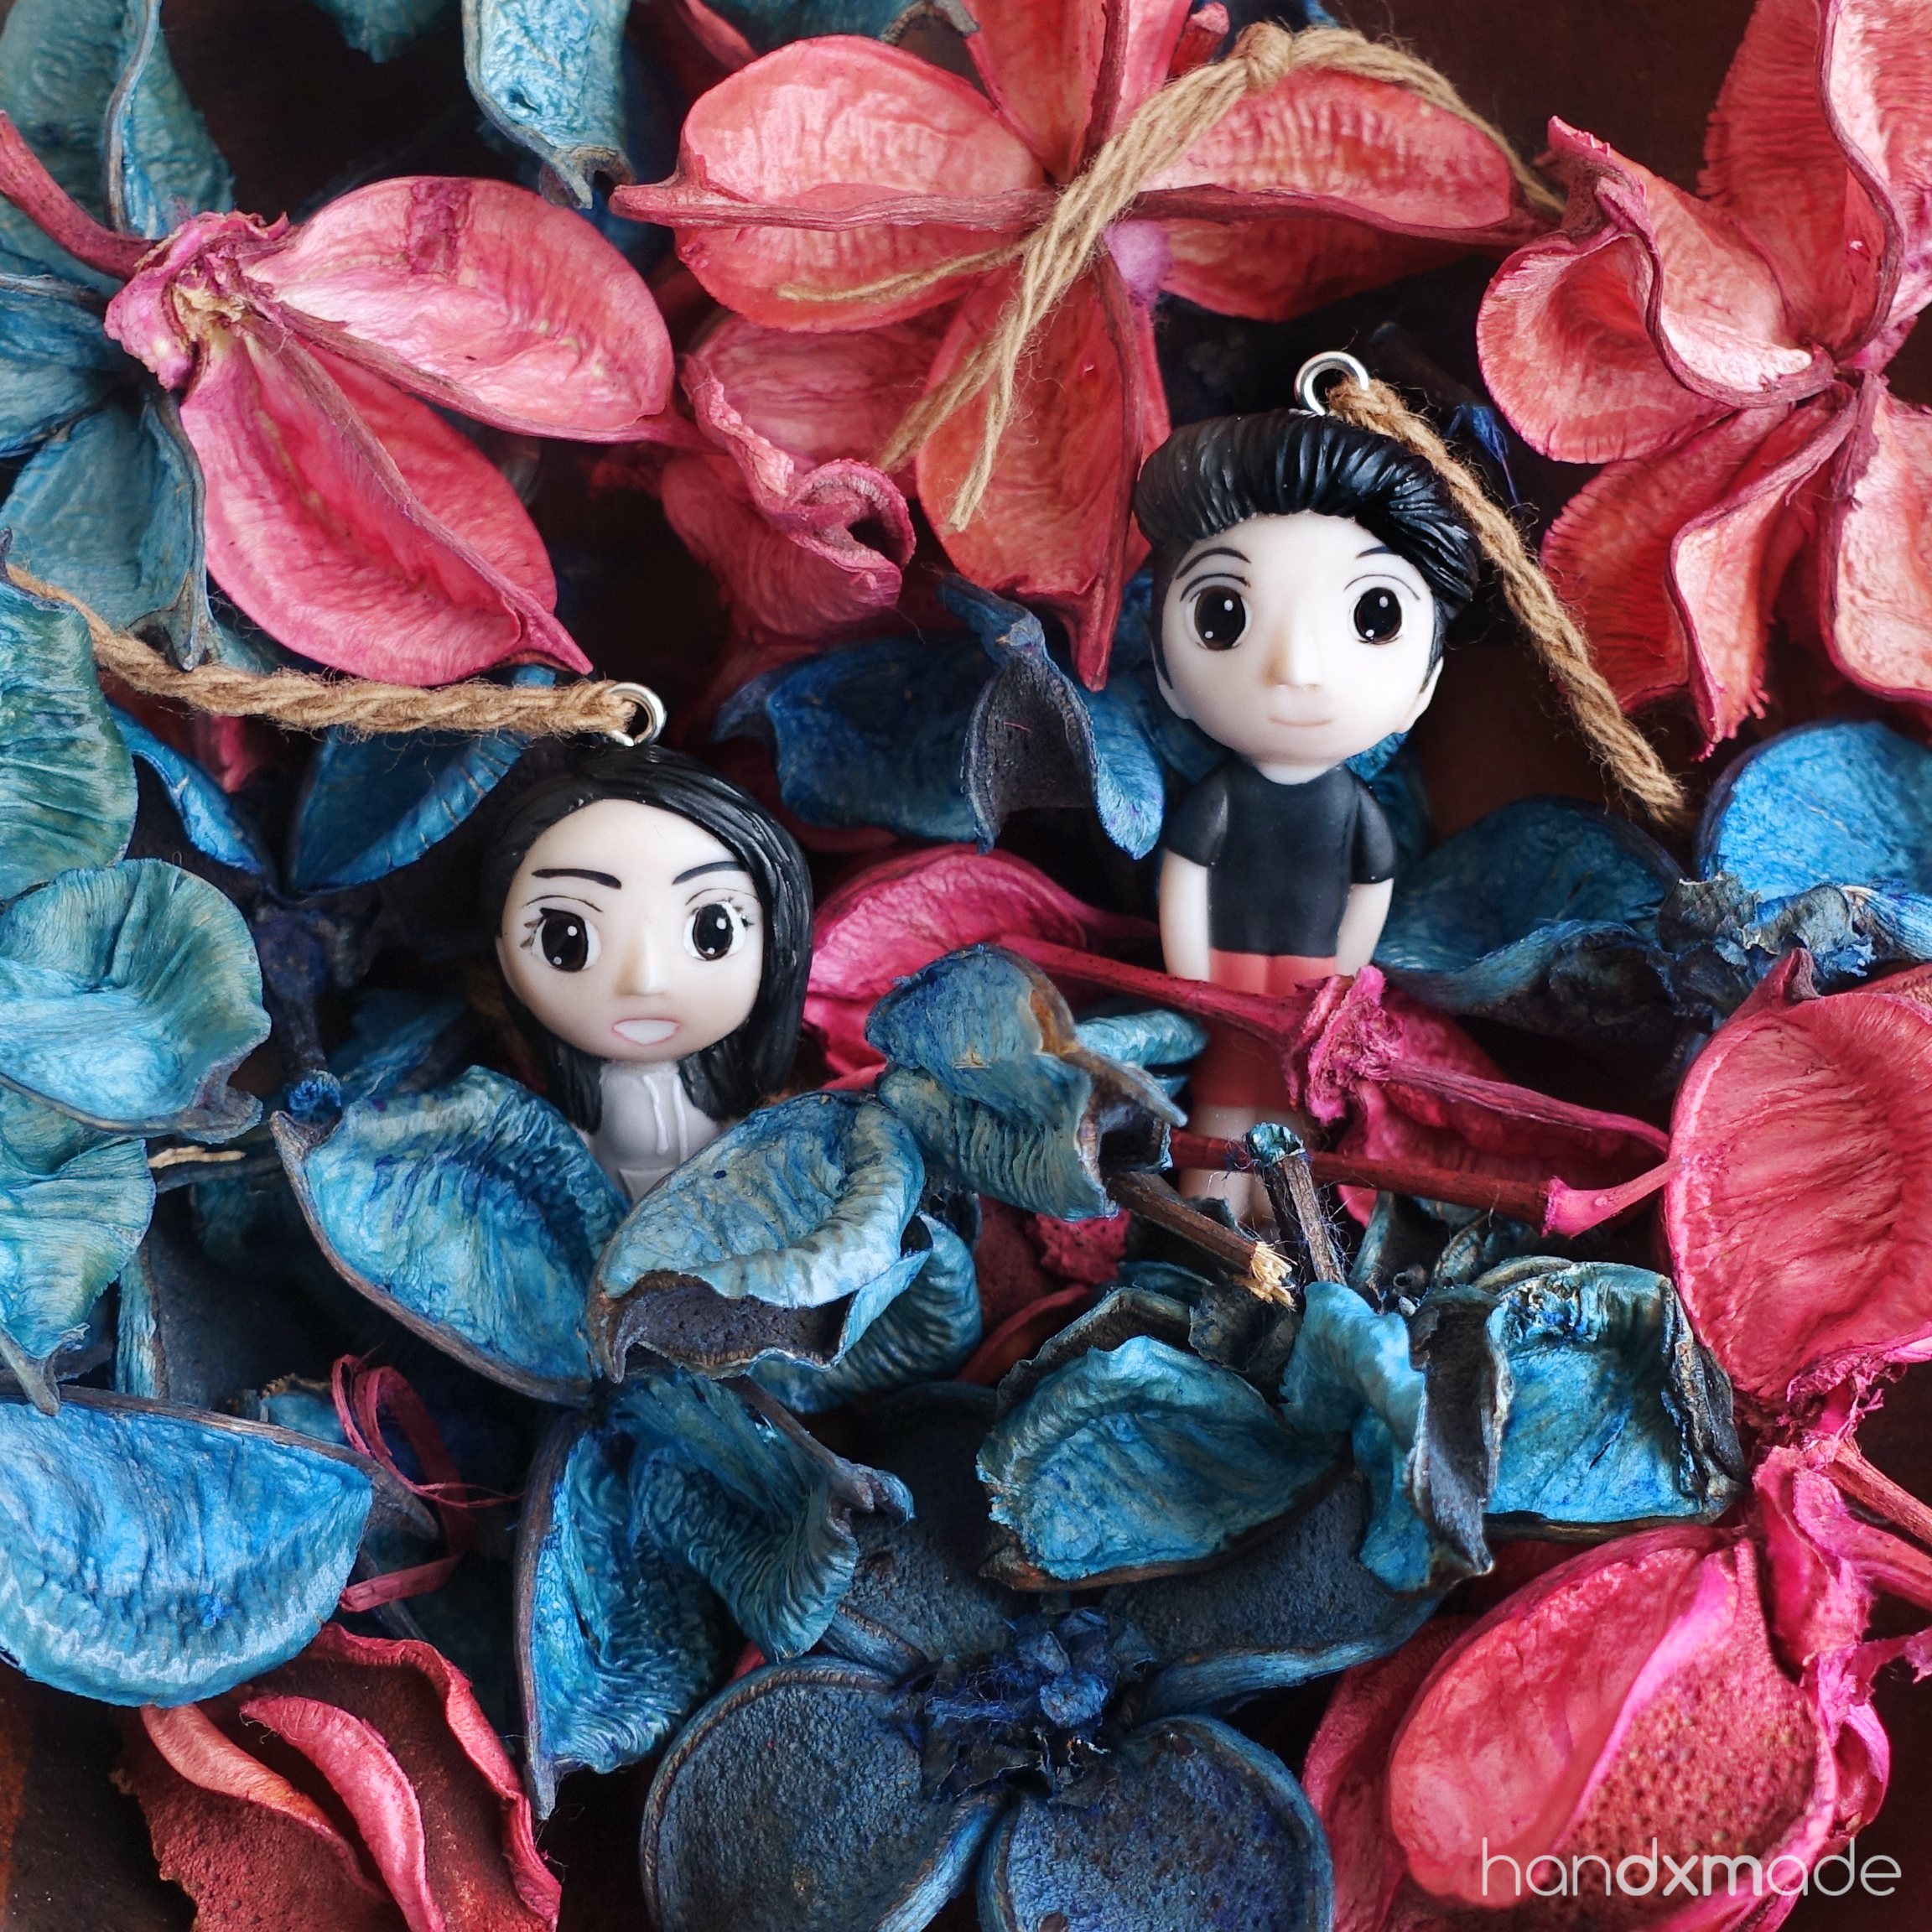
The figurines hiding in the bed of dried flowers cracked me up though!!!!! HAHAHAHAHA.

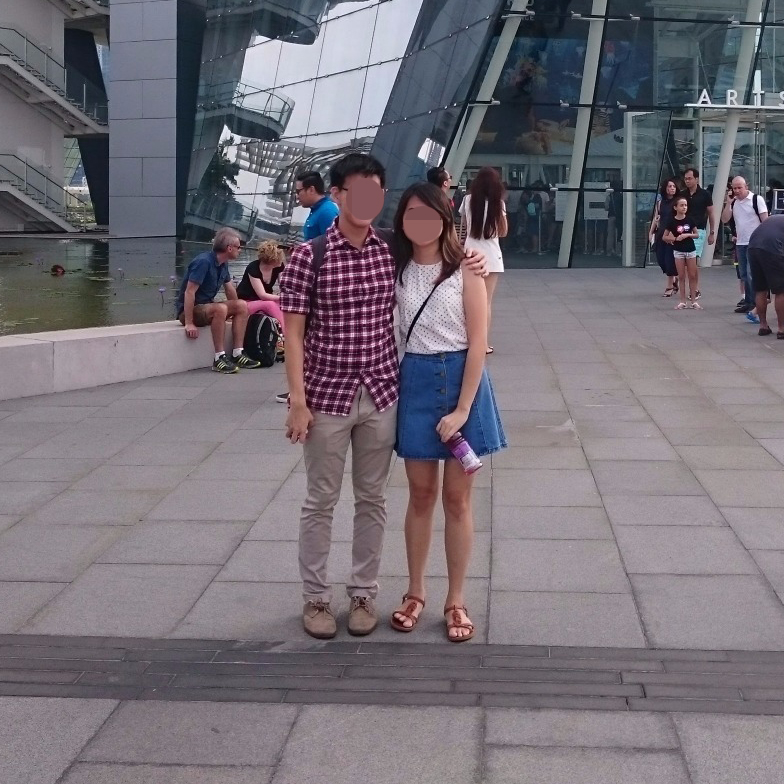
And of courseeeeee, reference photo hehe.
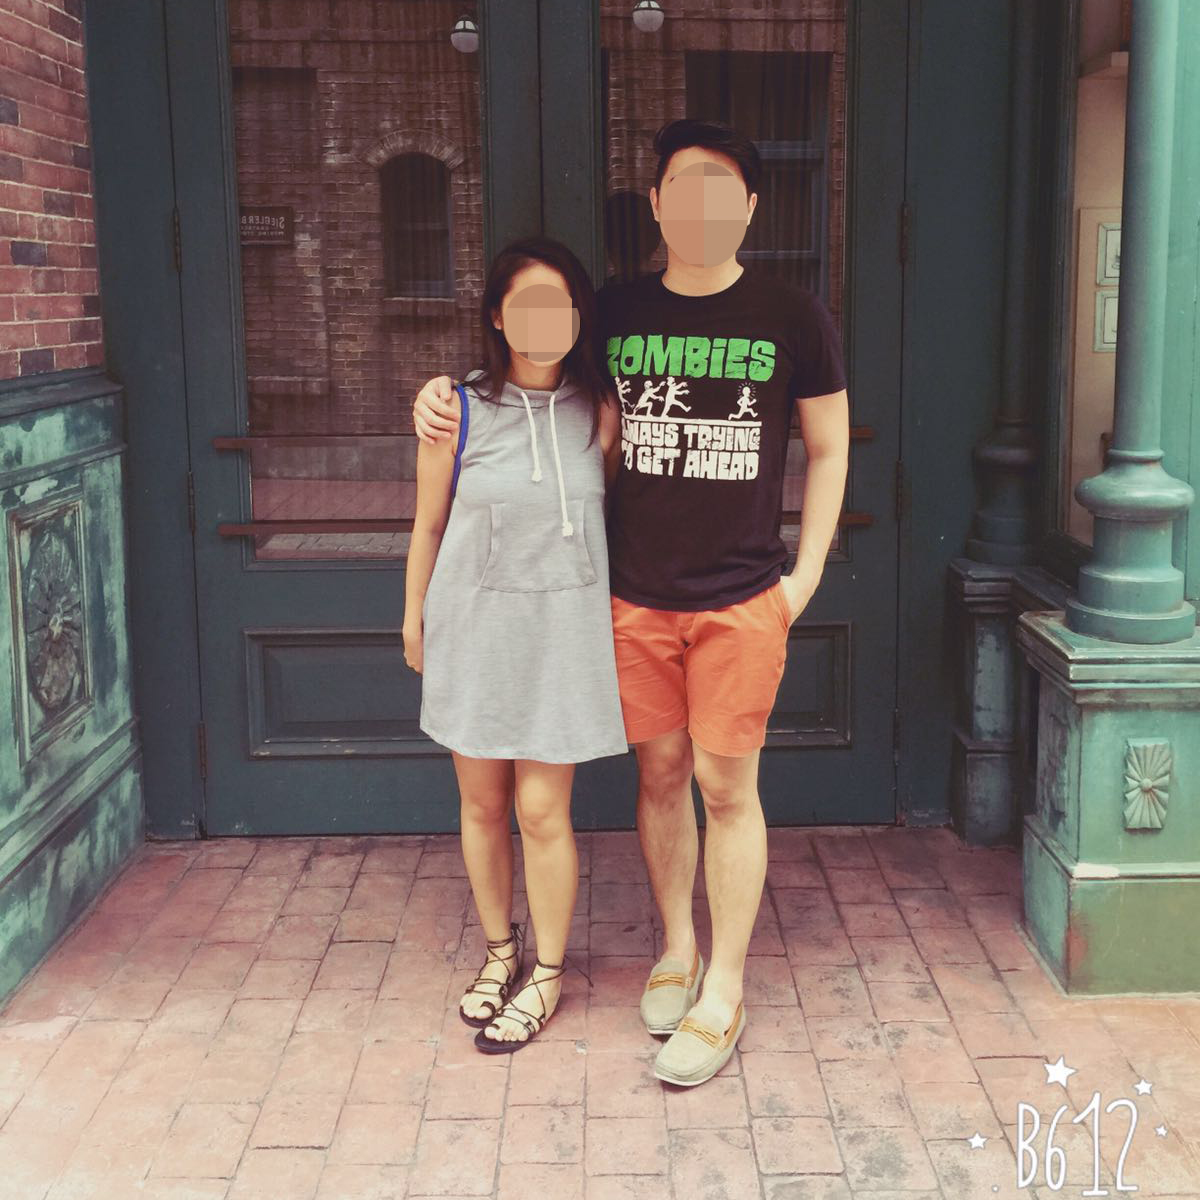
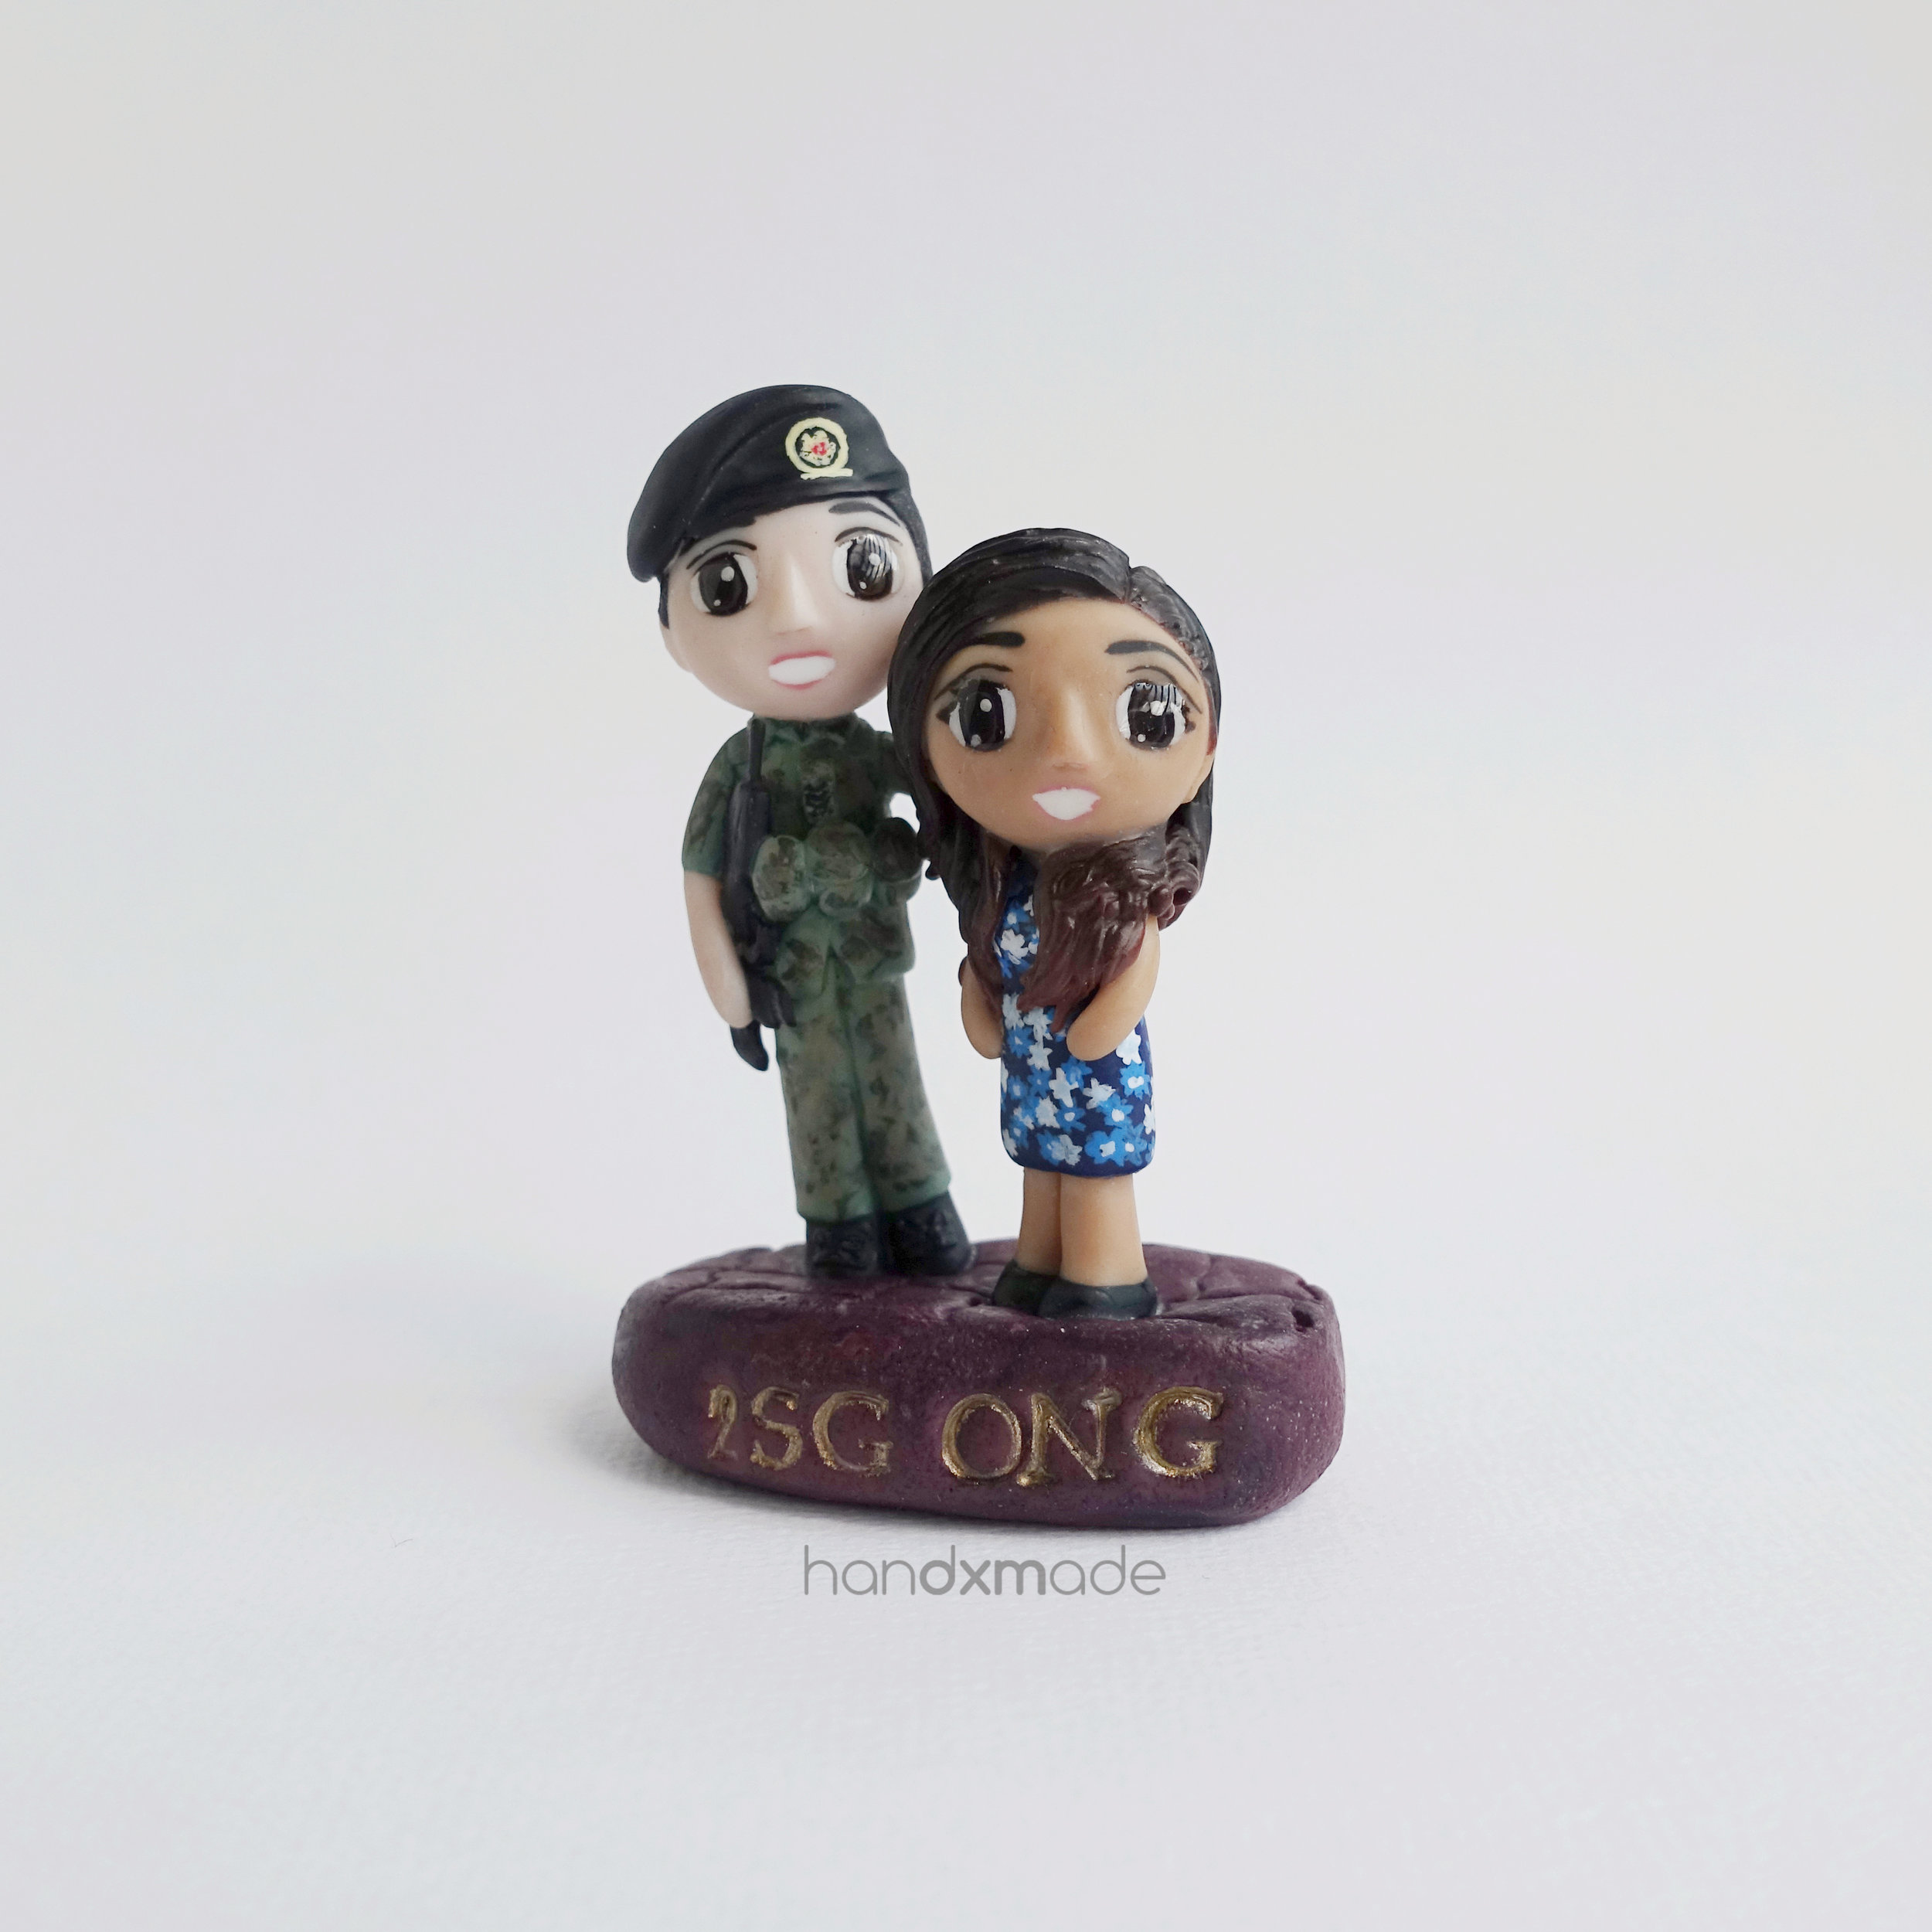
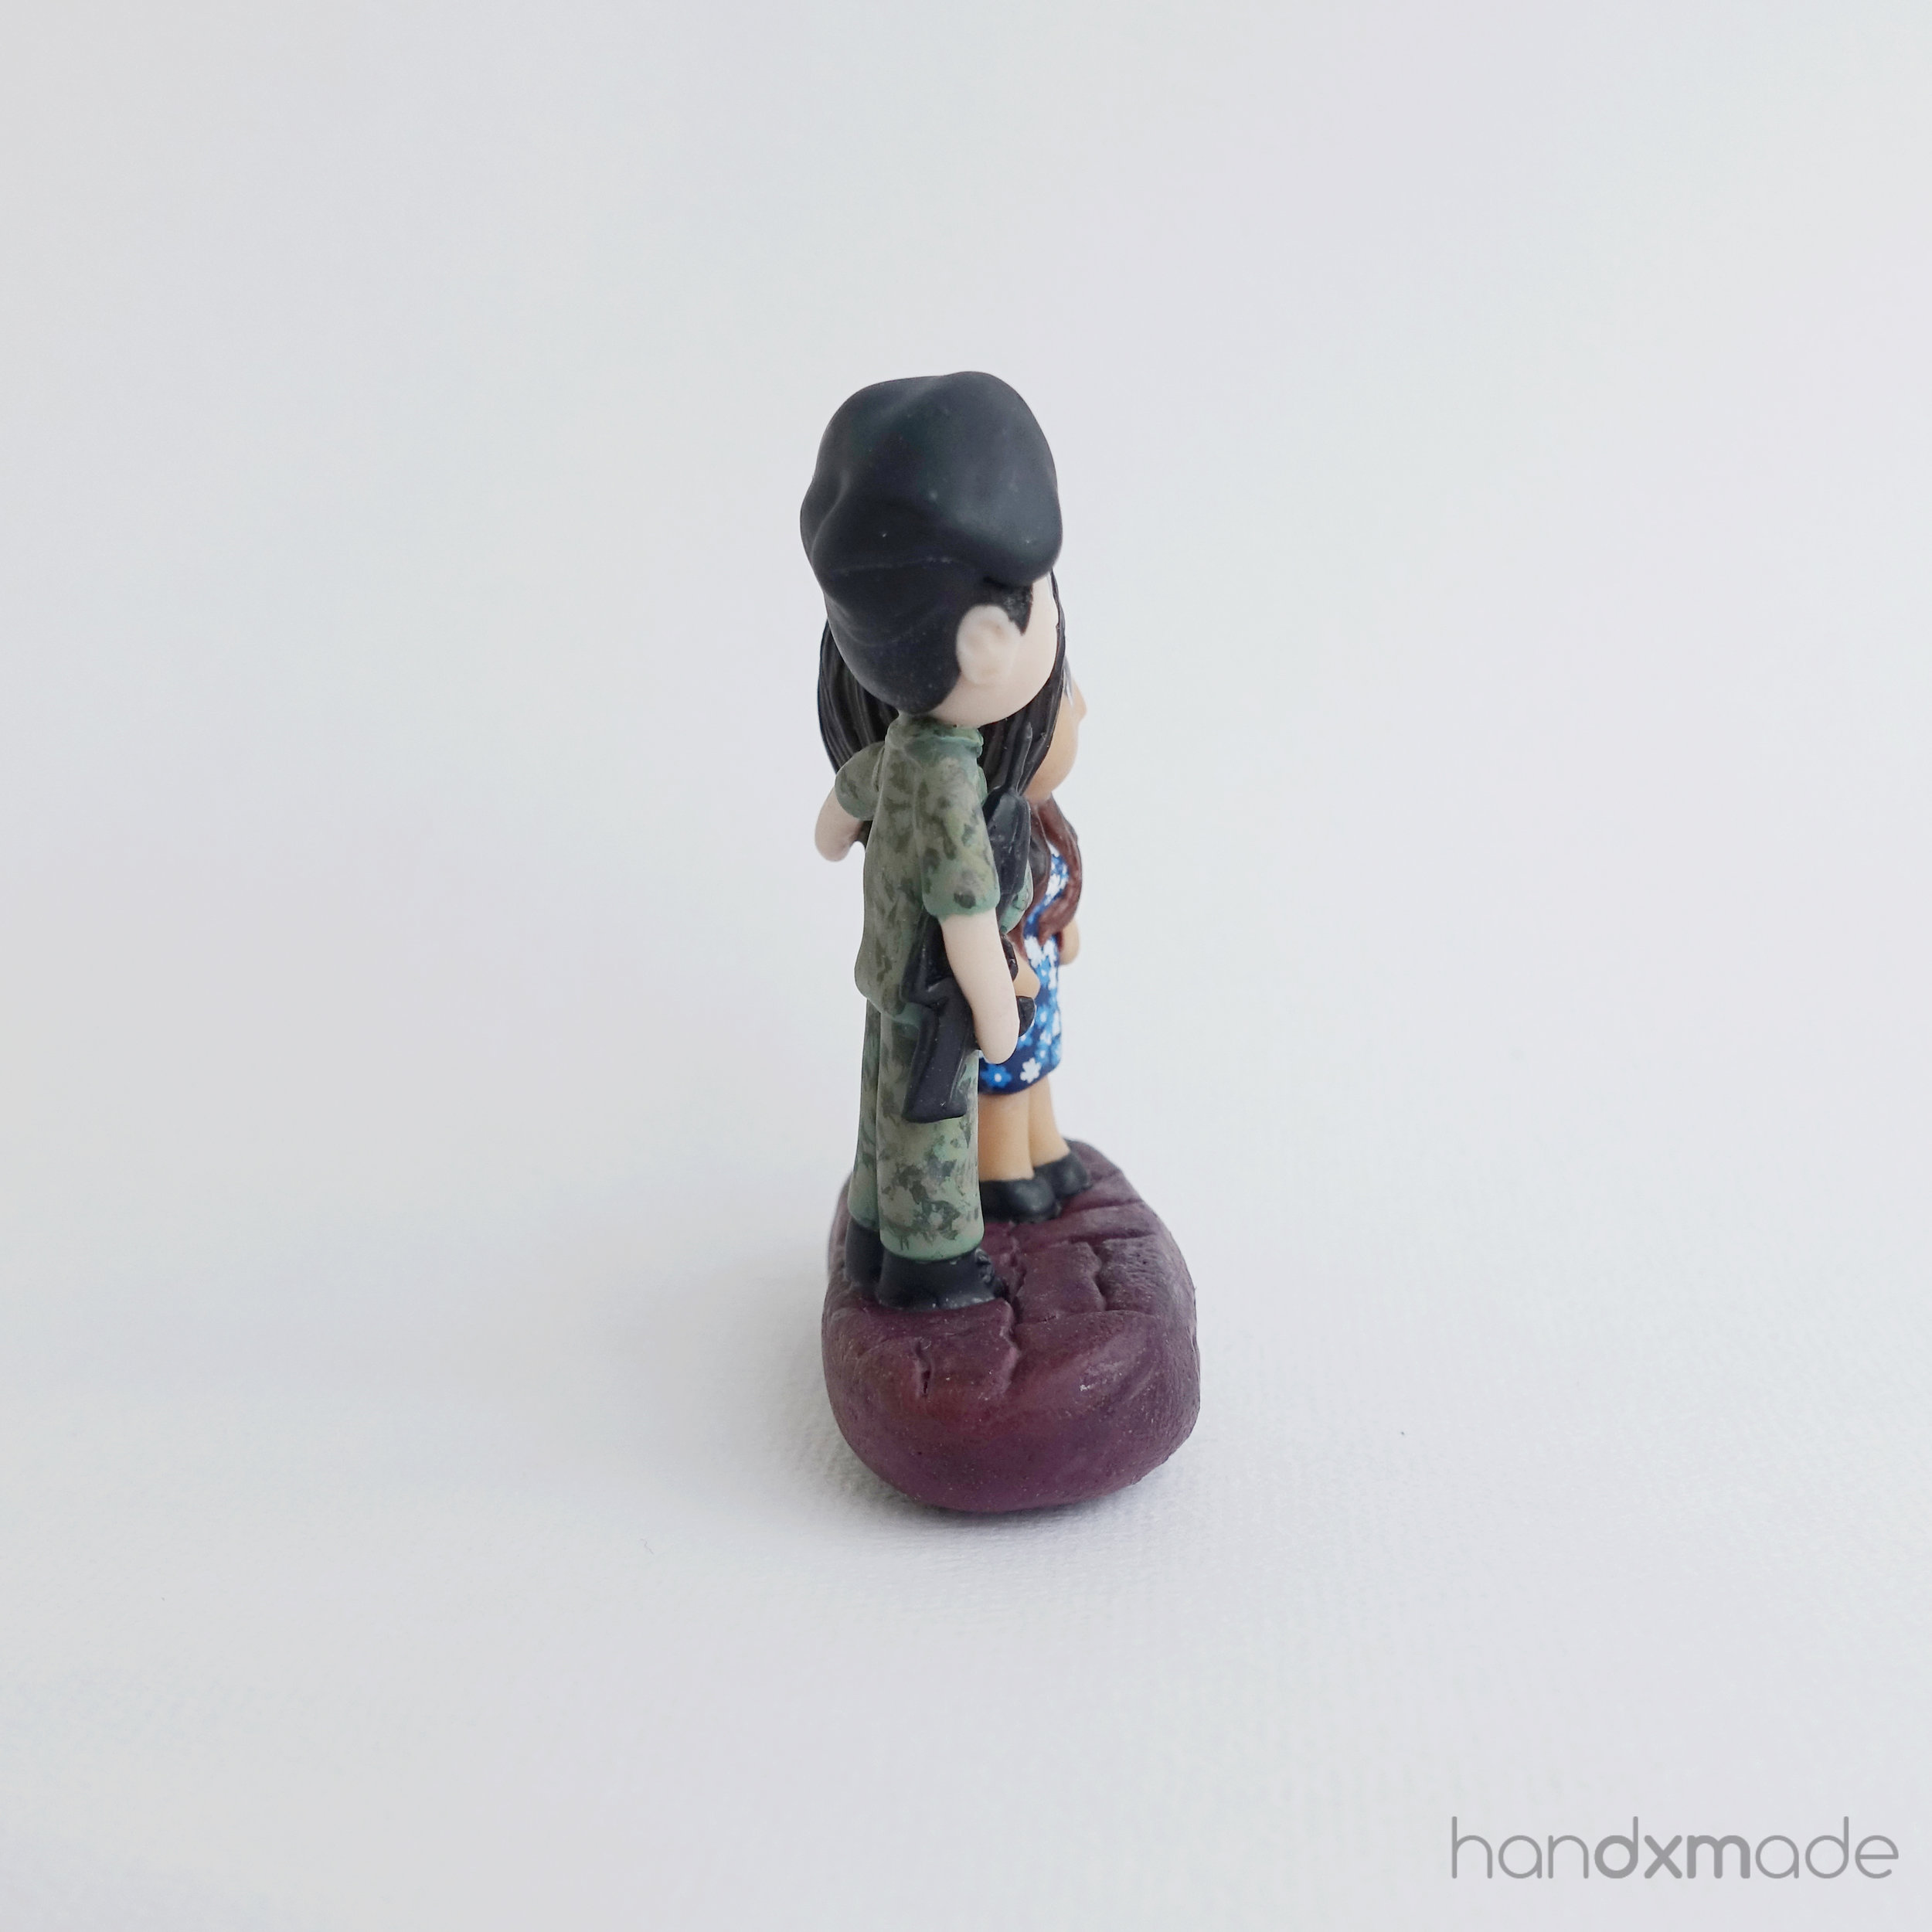
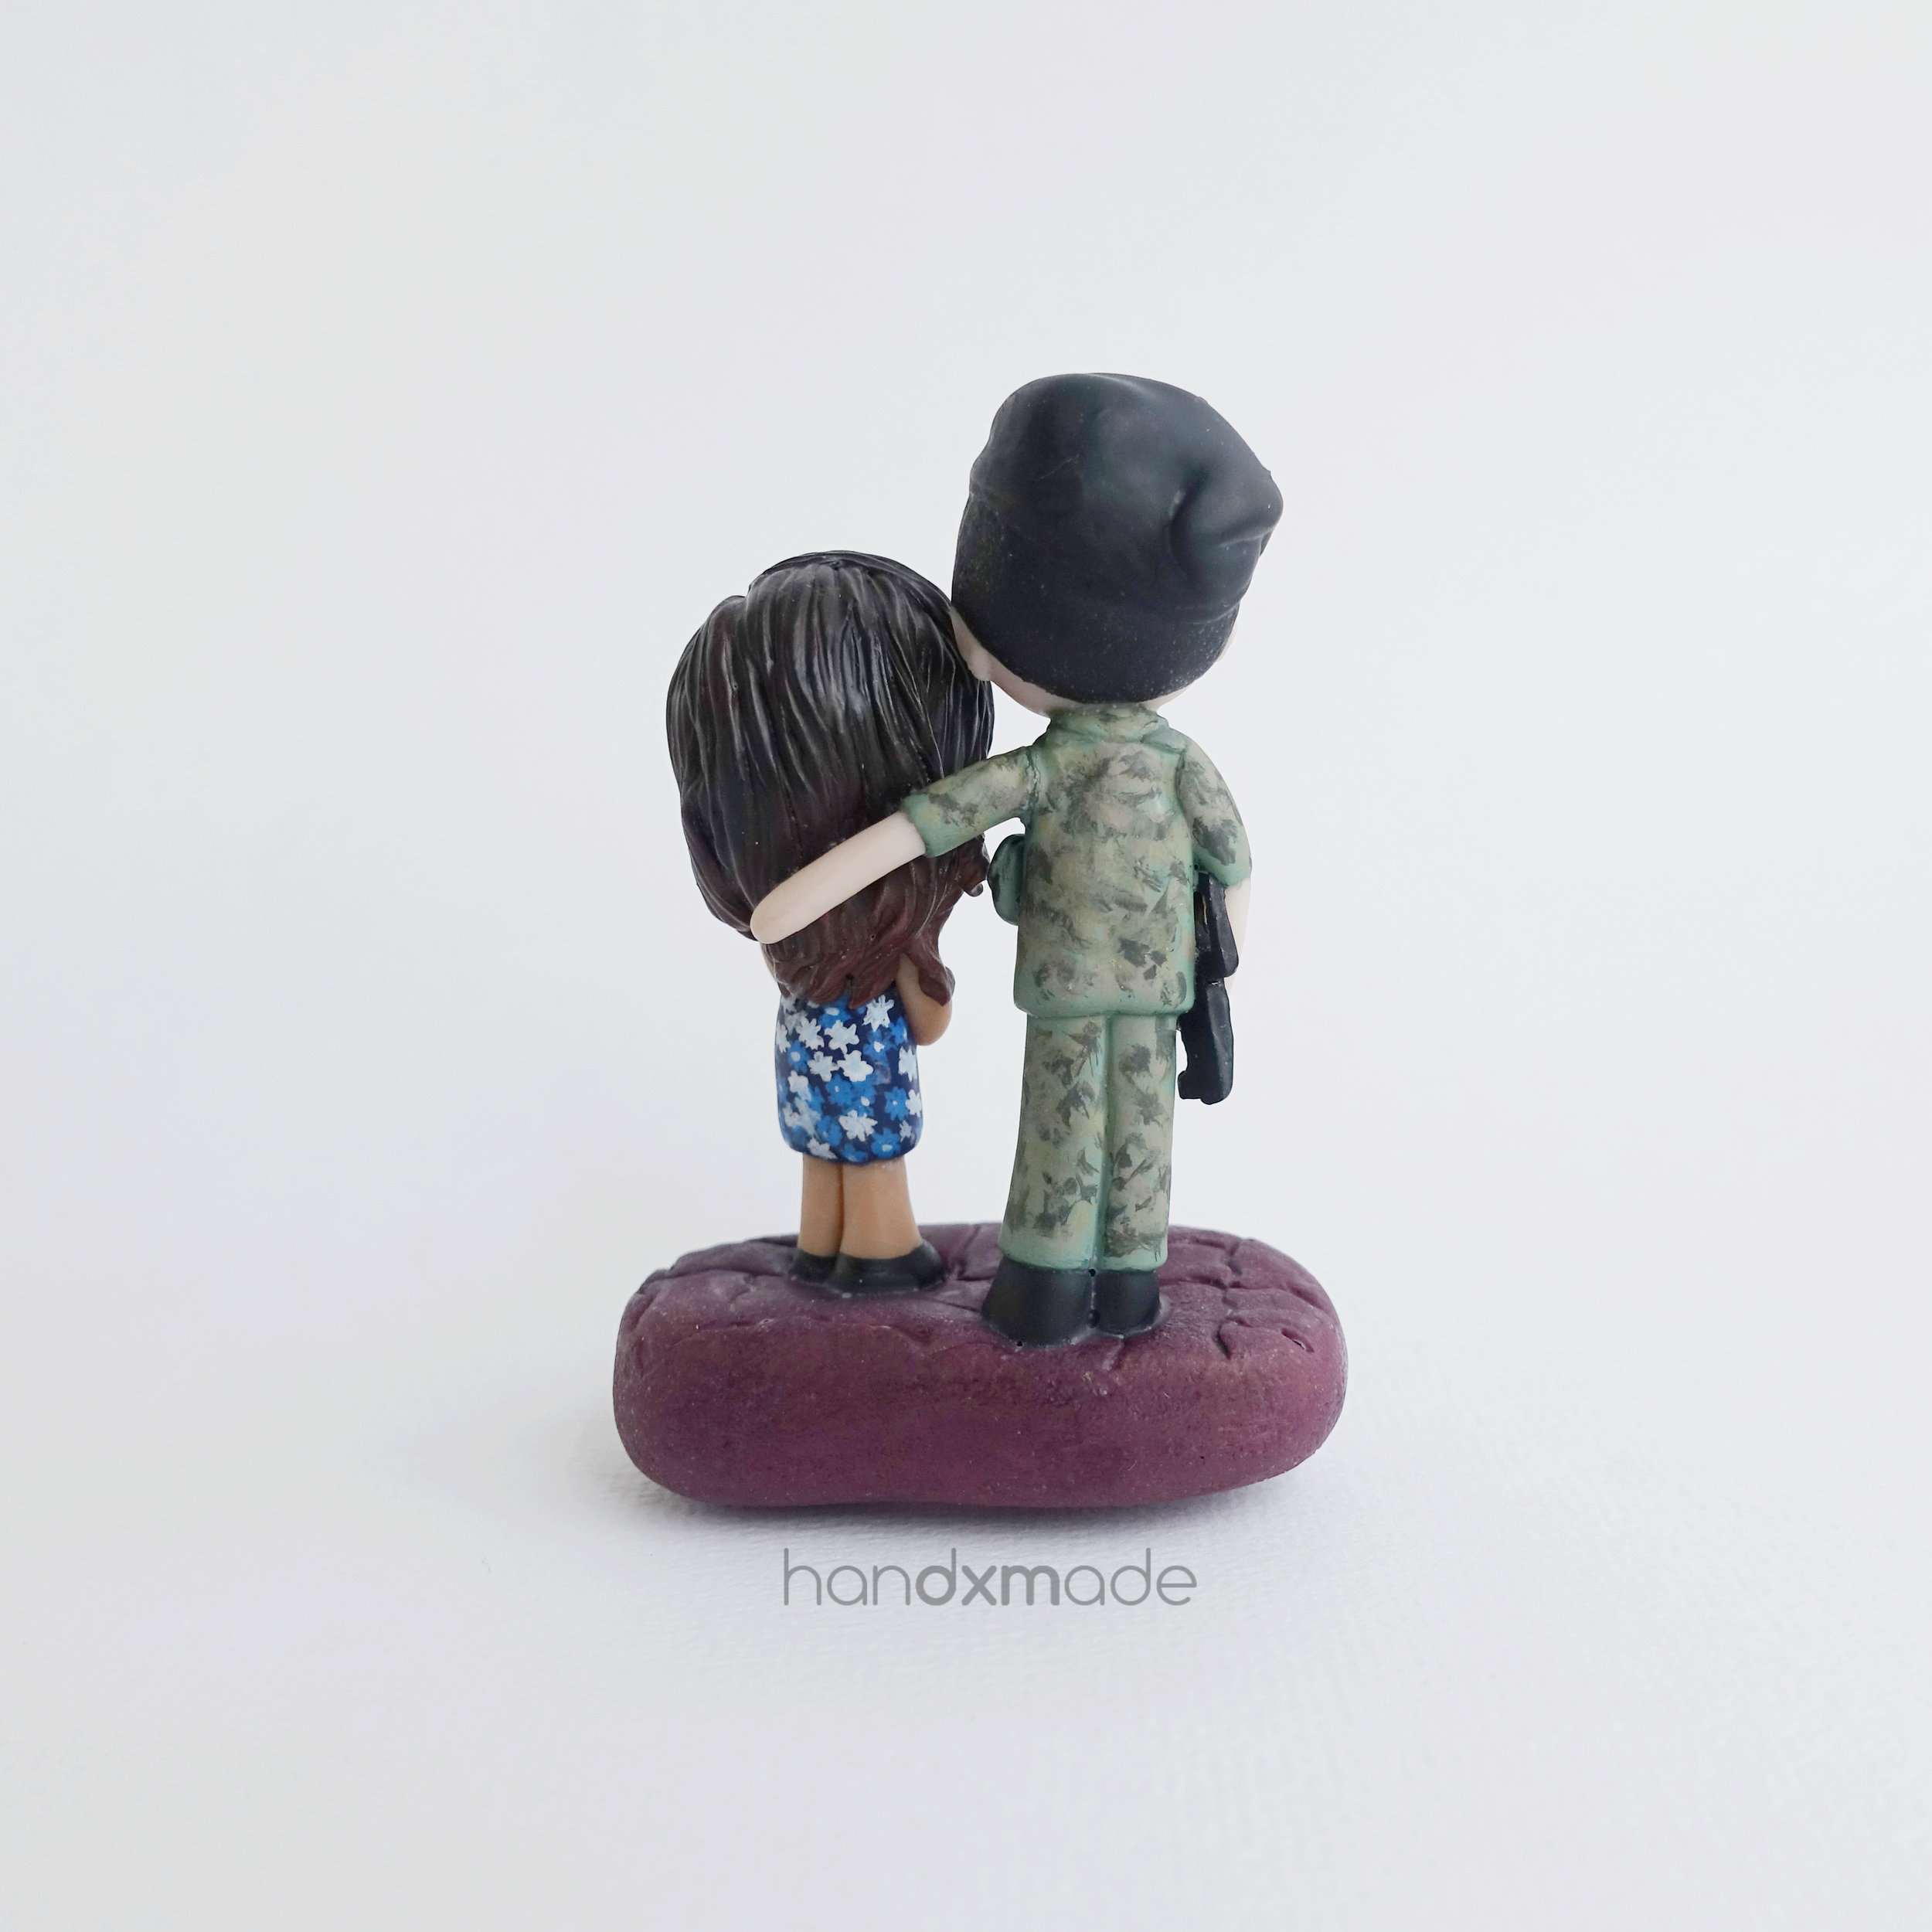
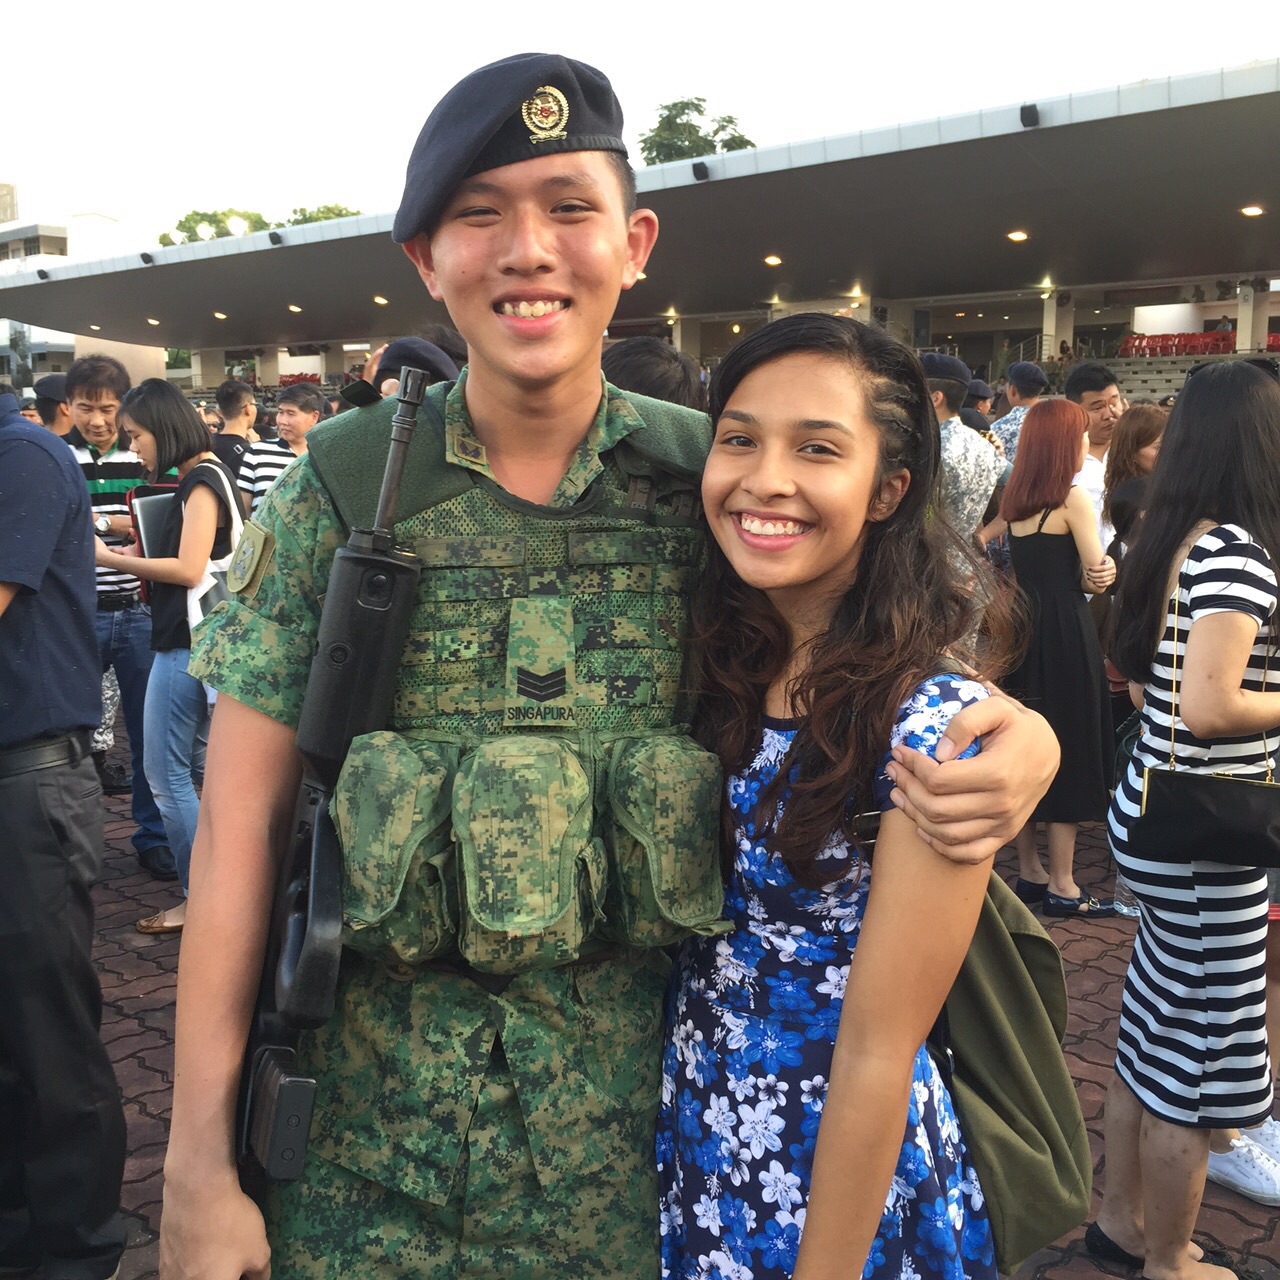
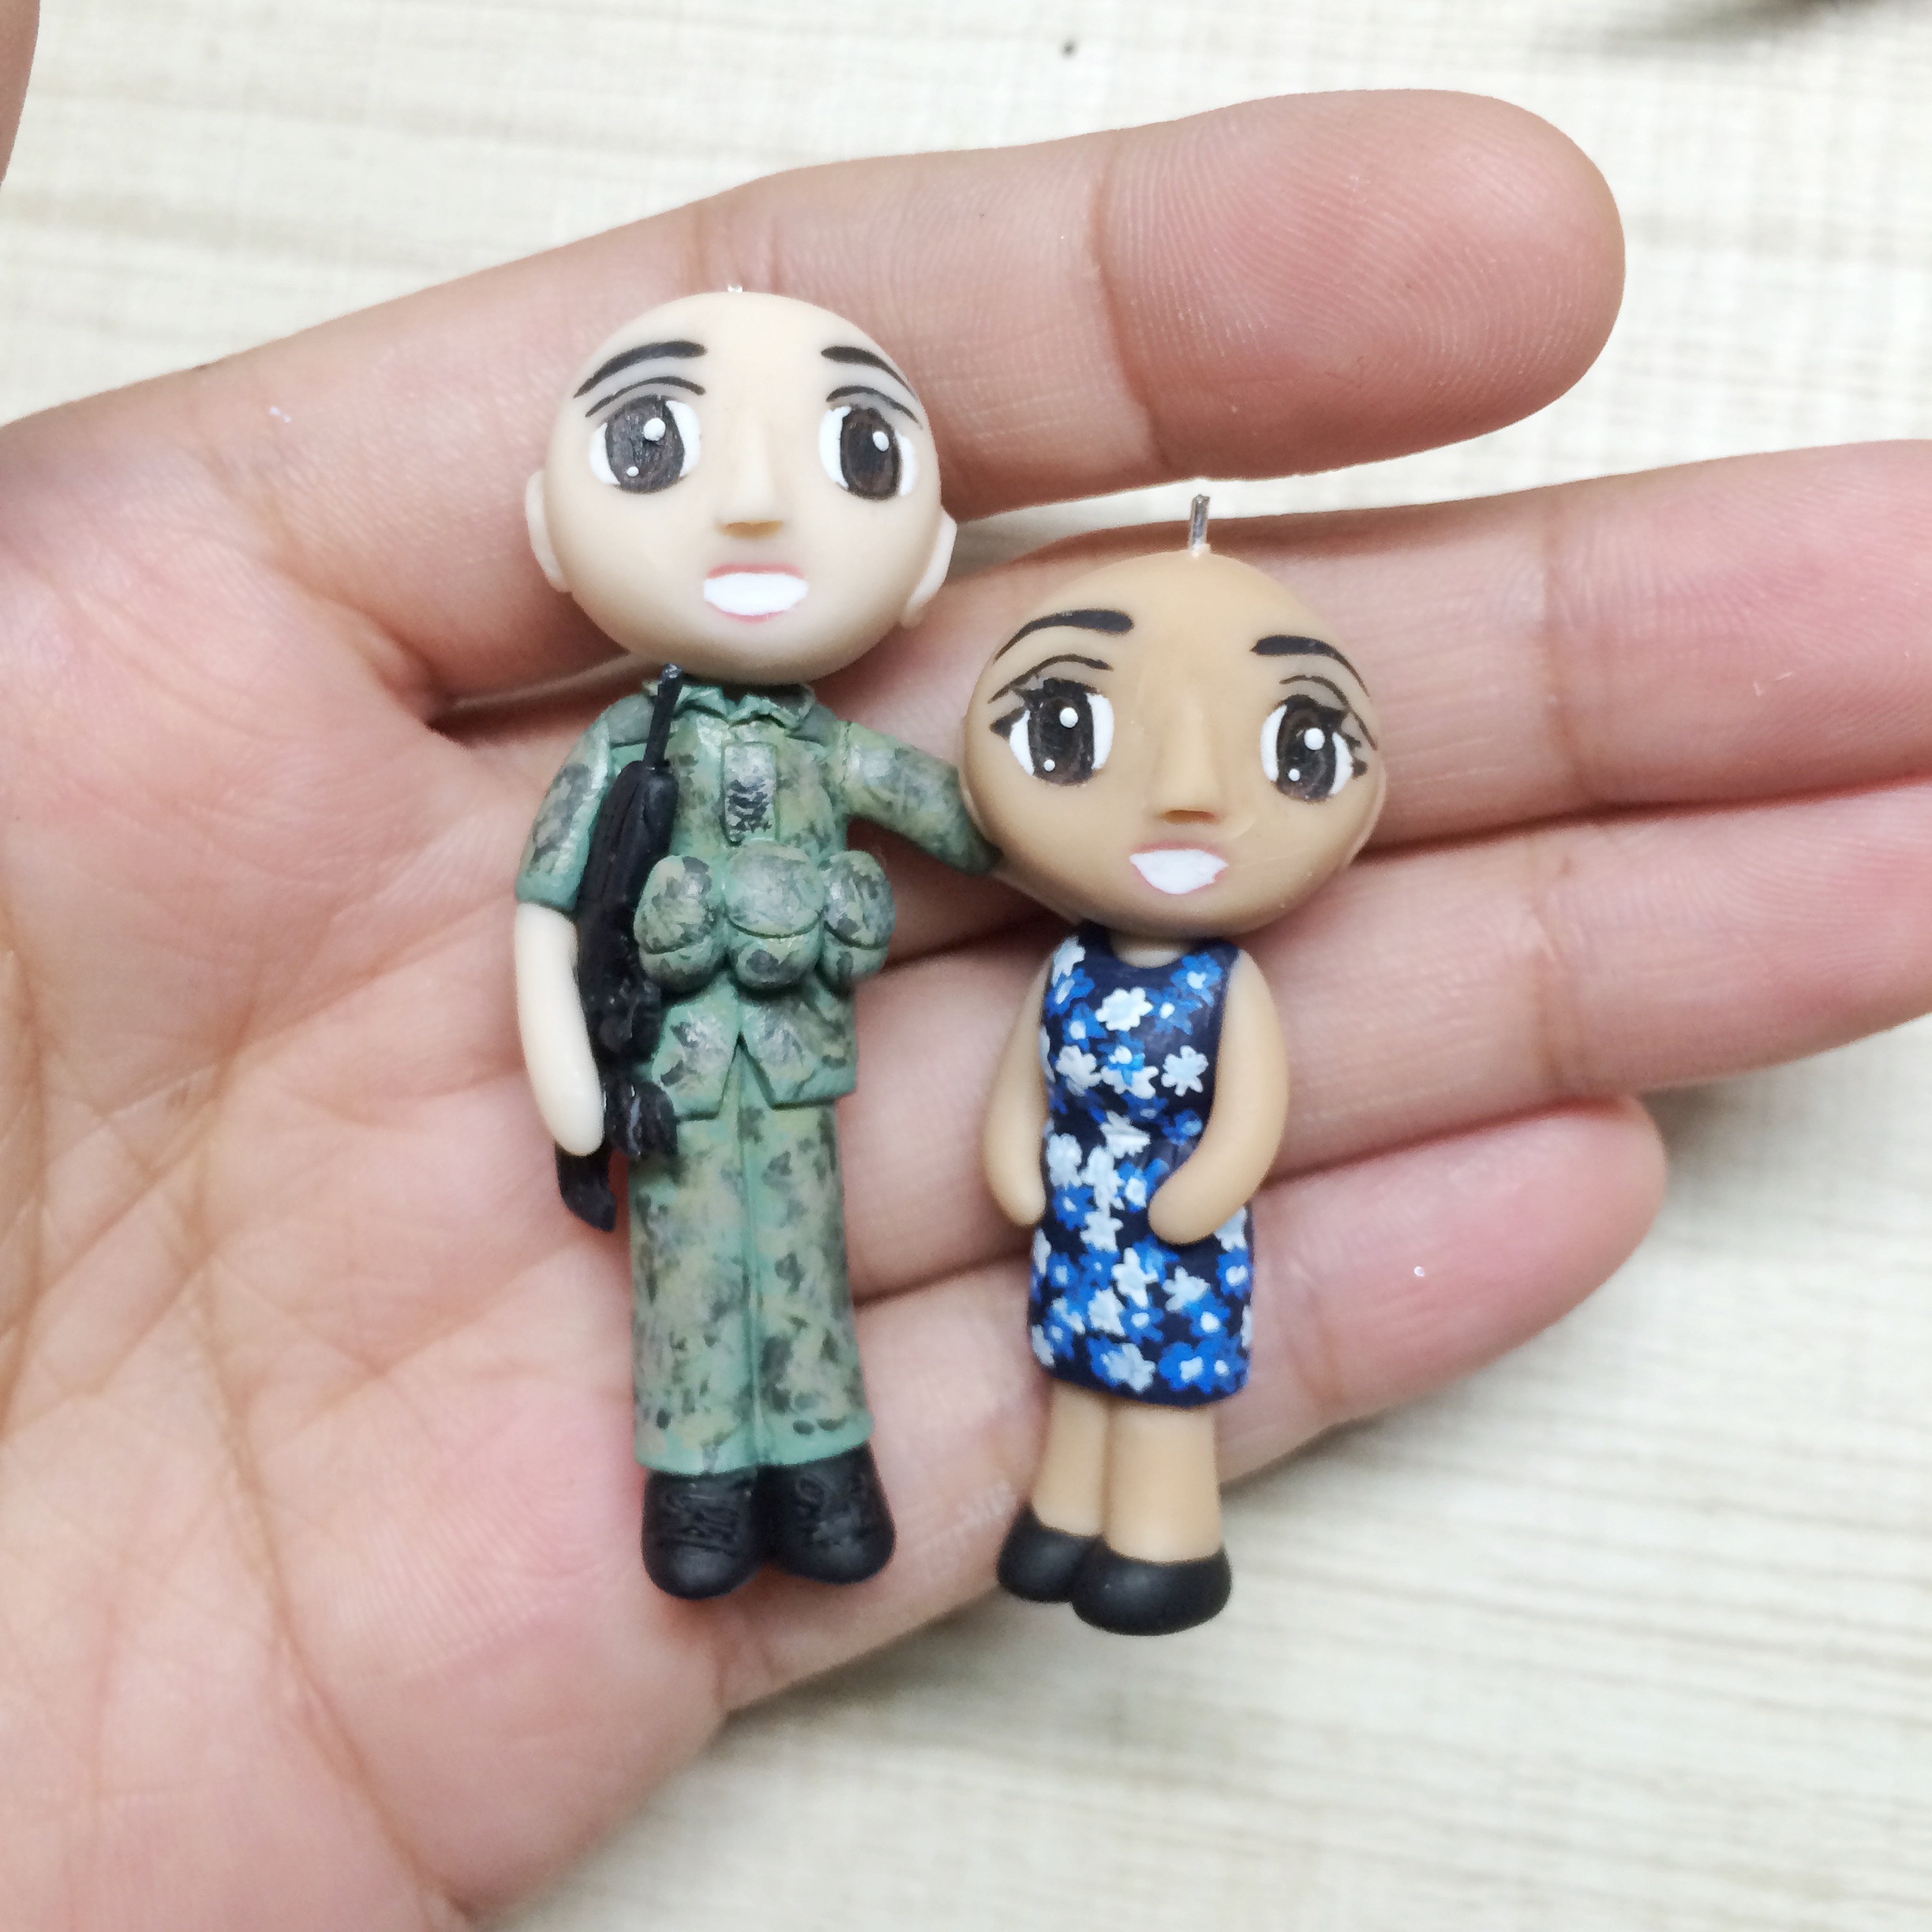
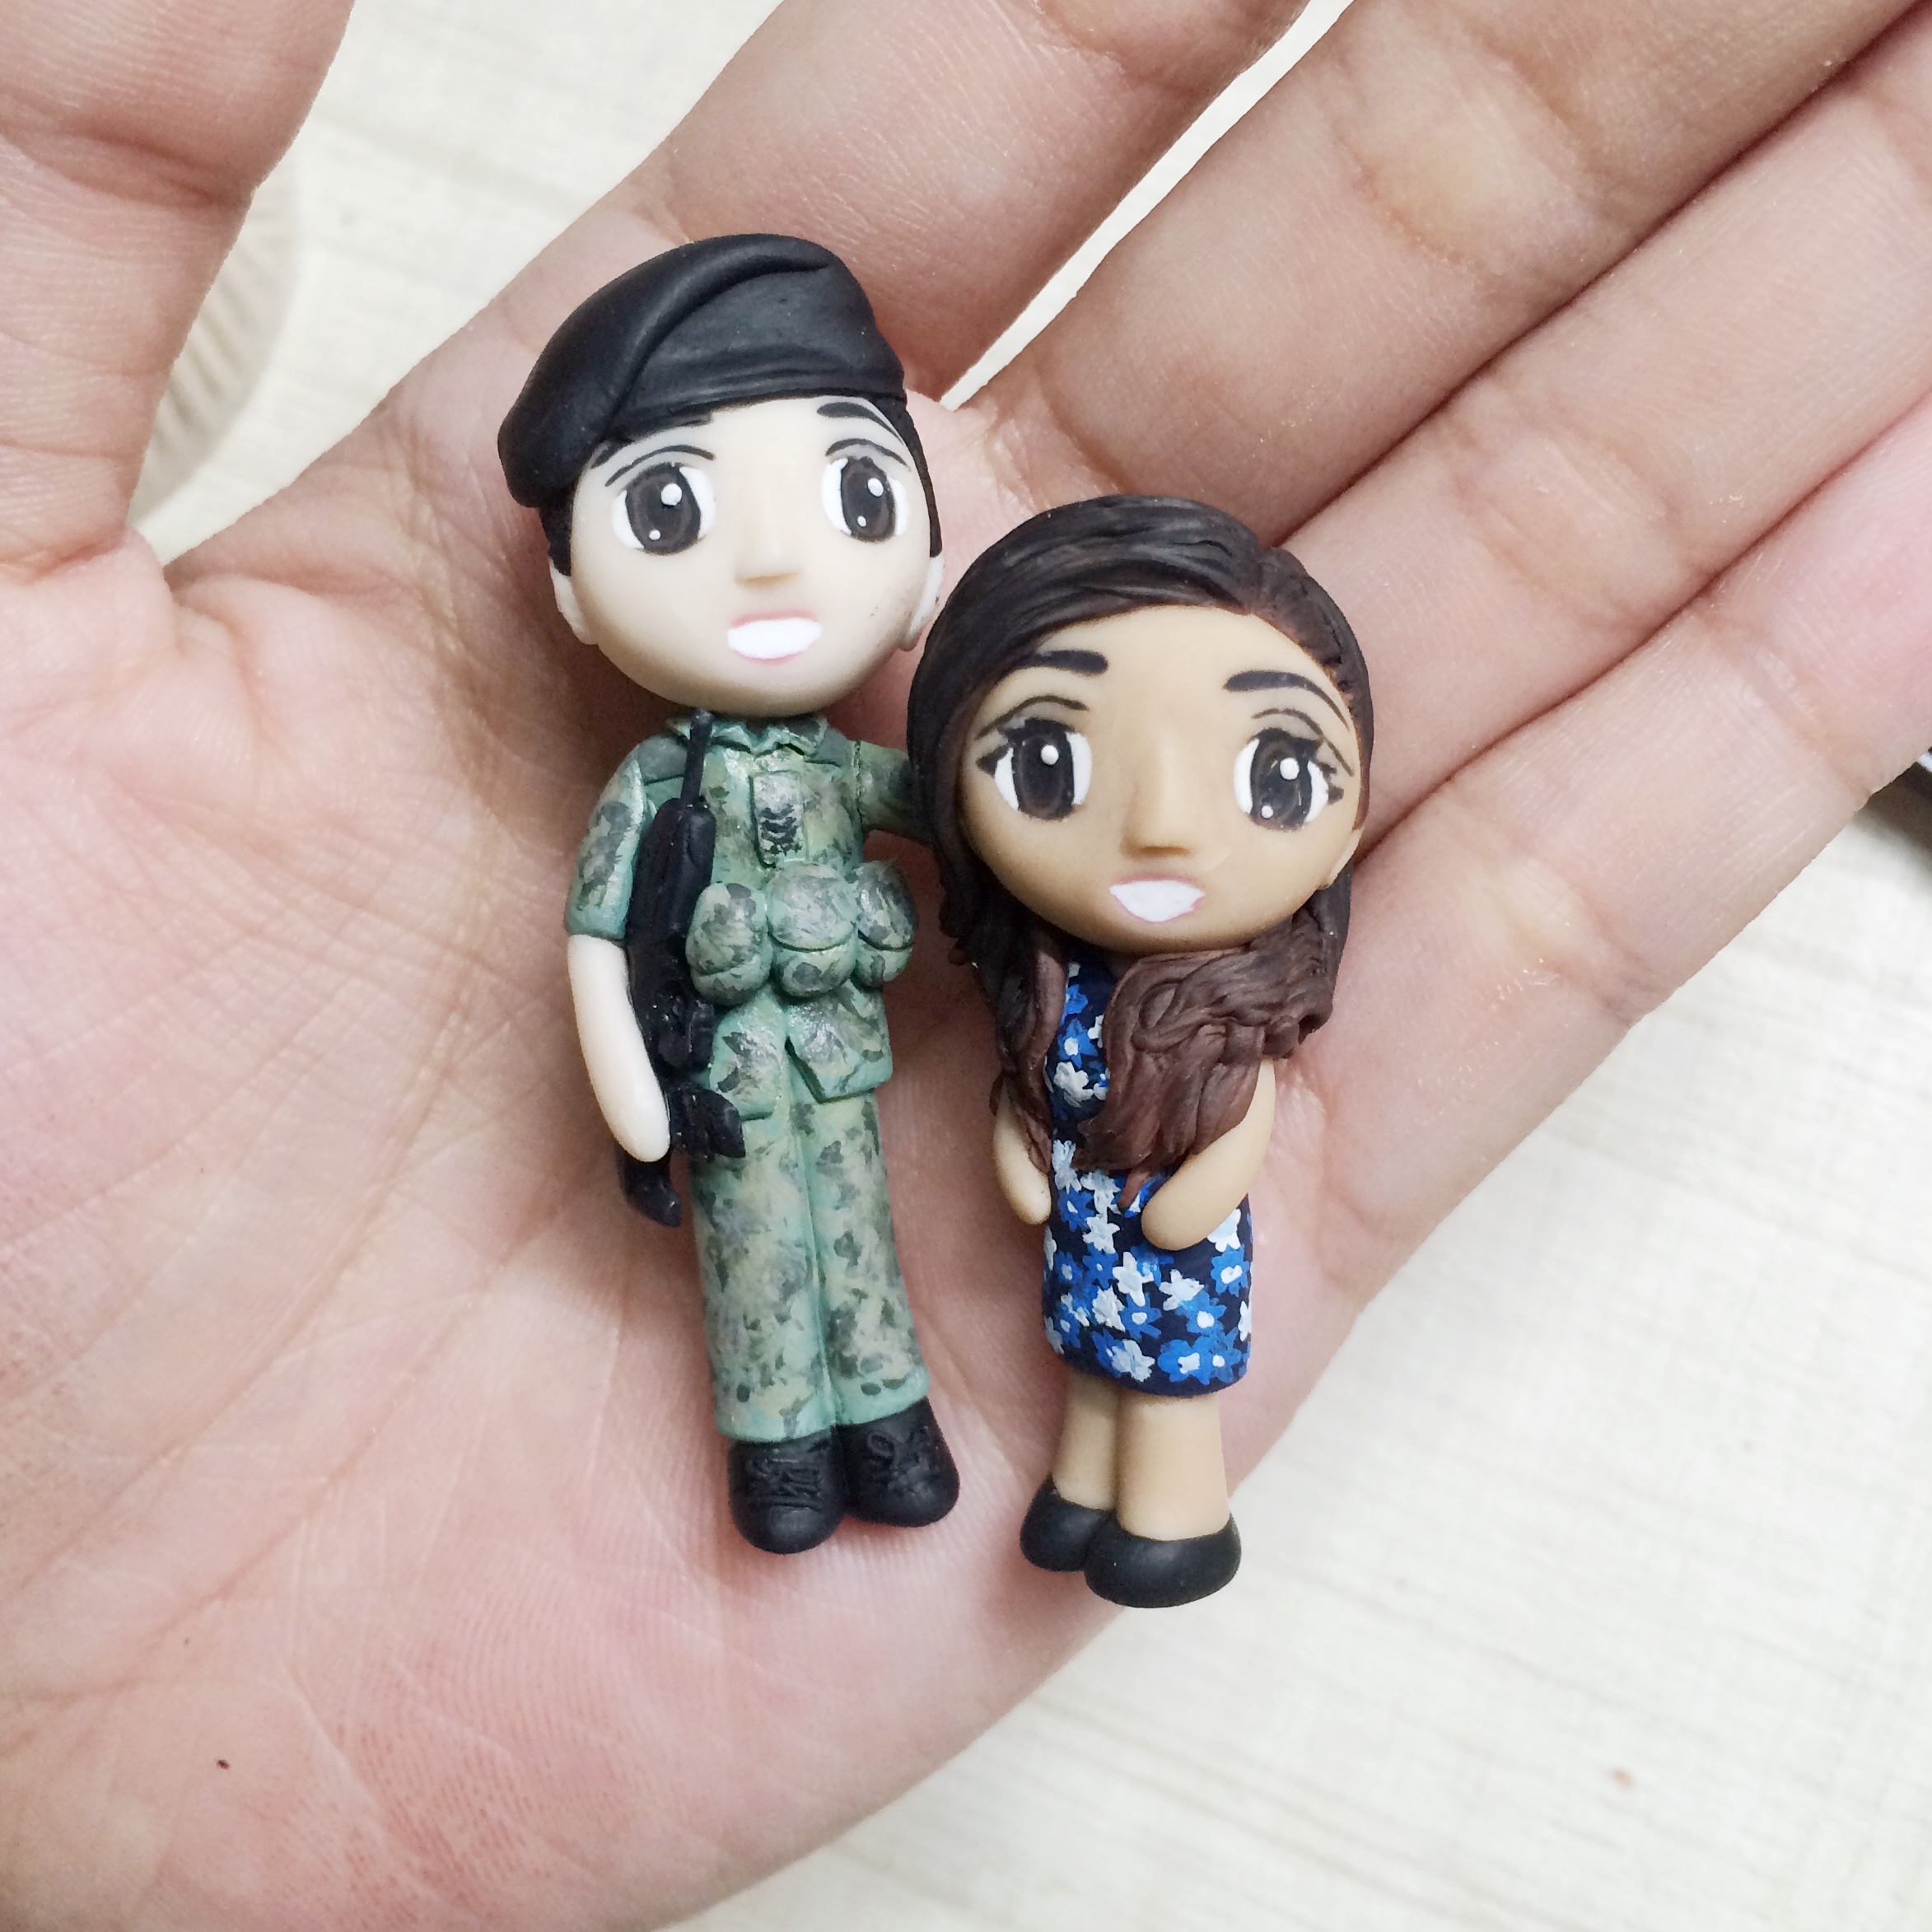
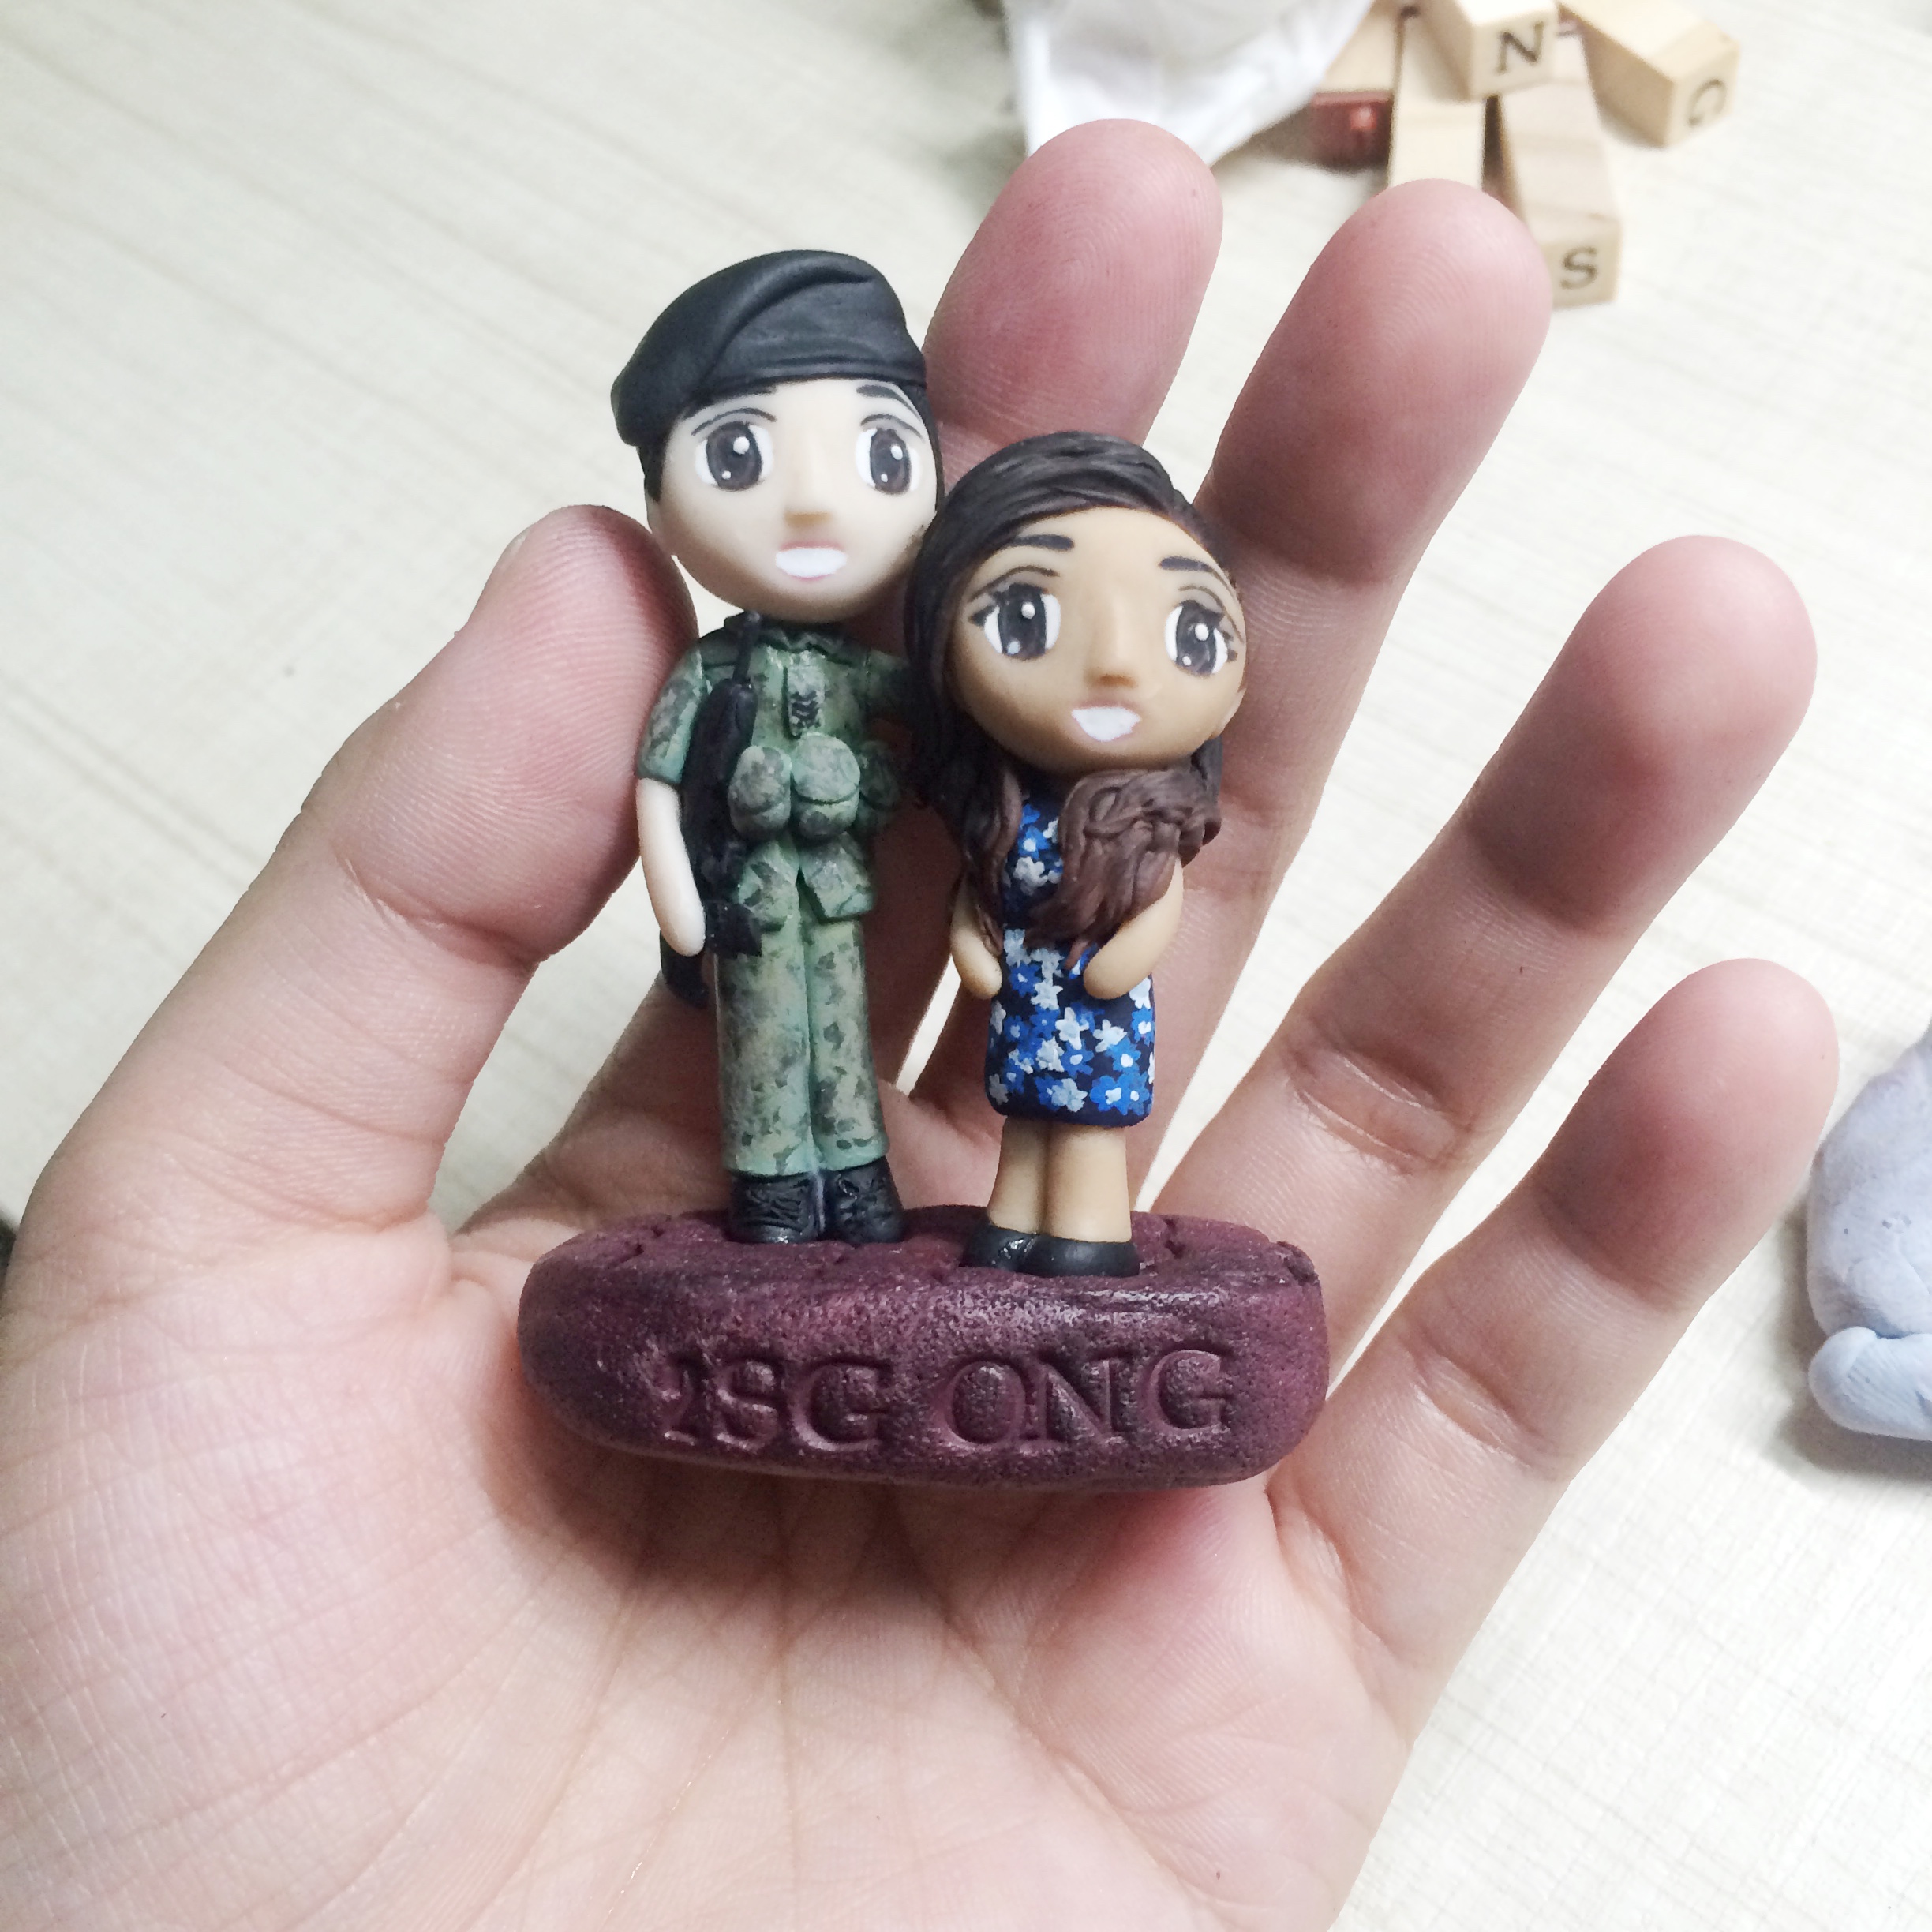
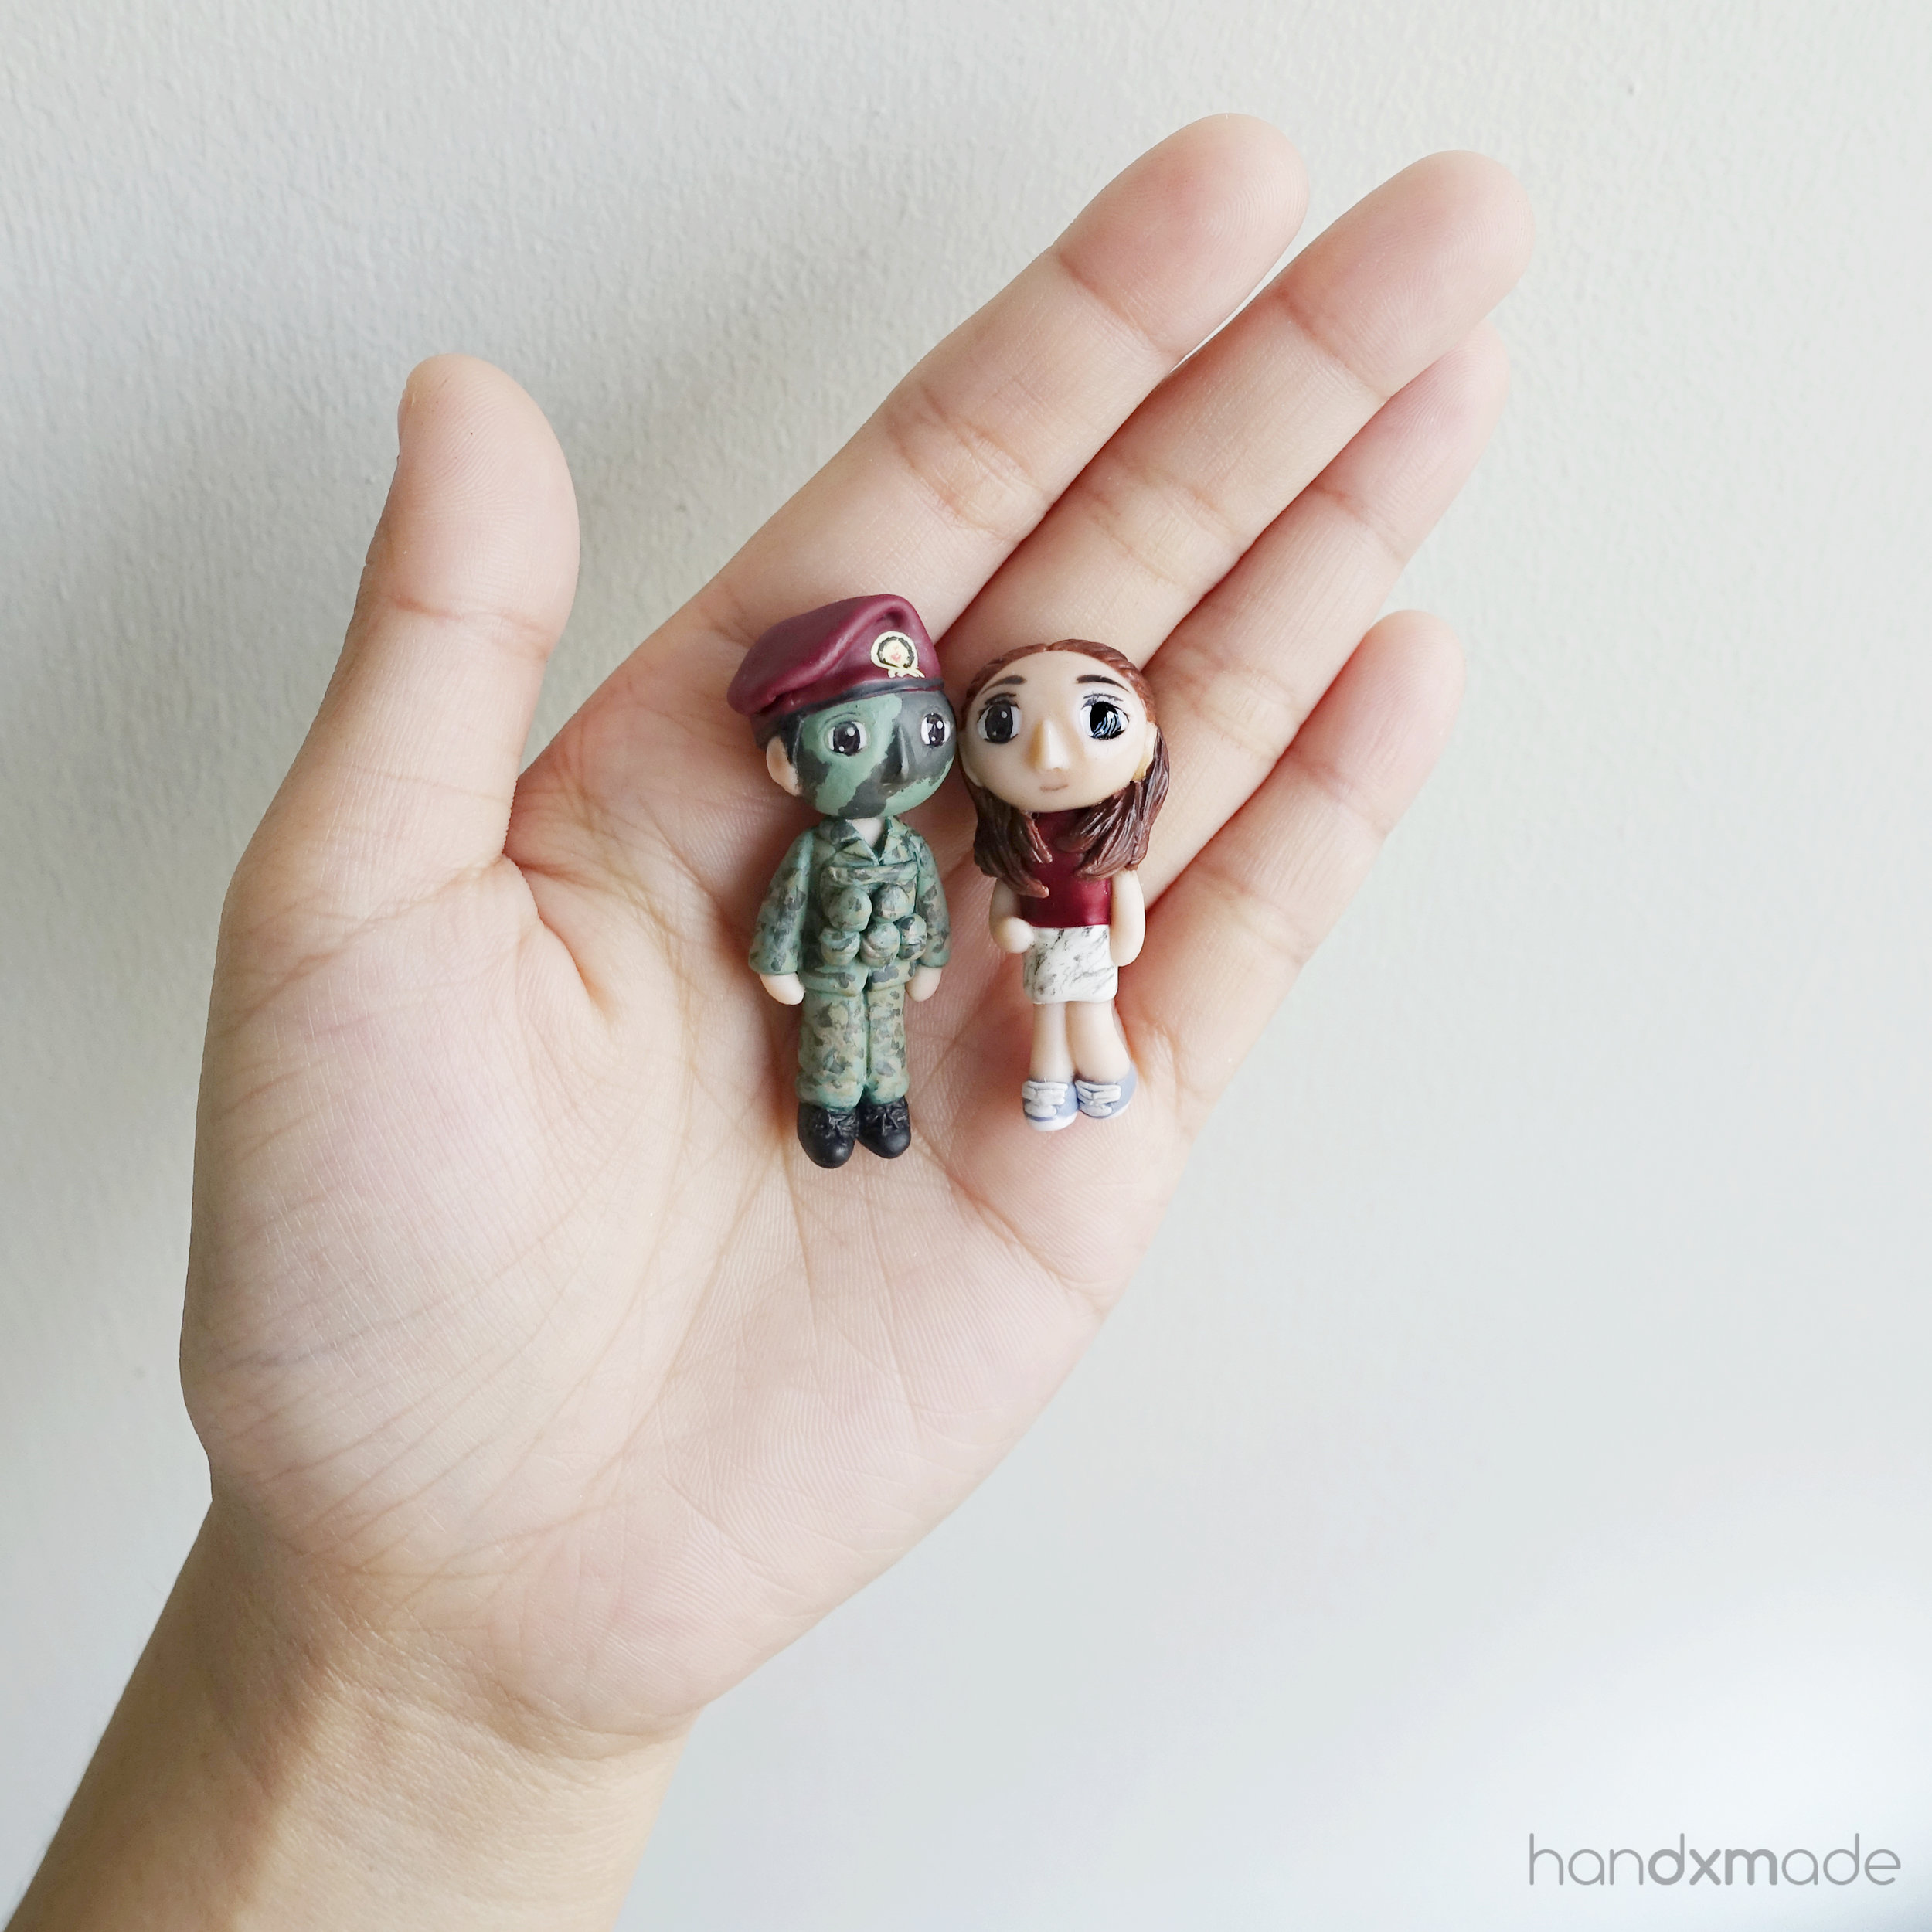
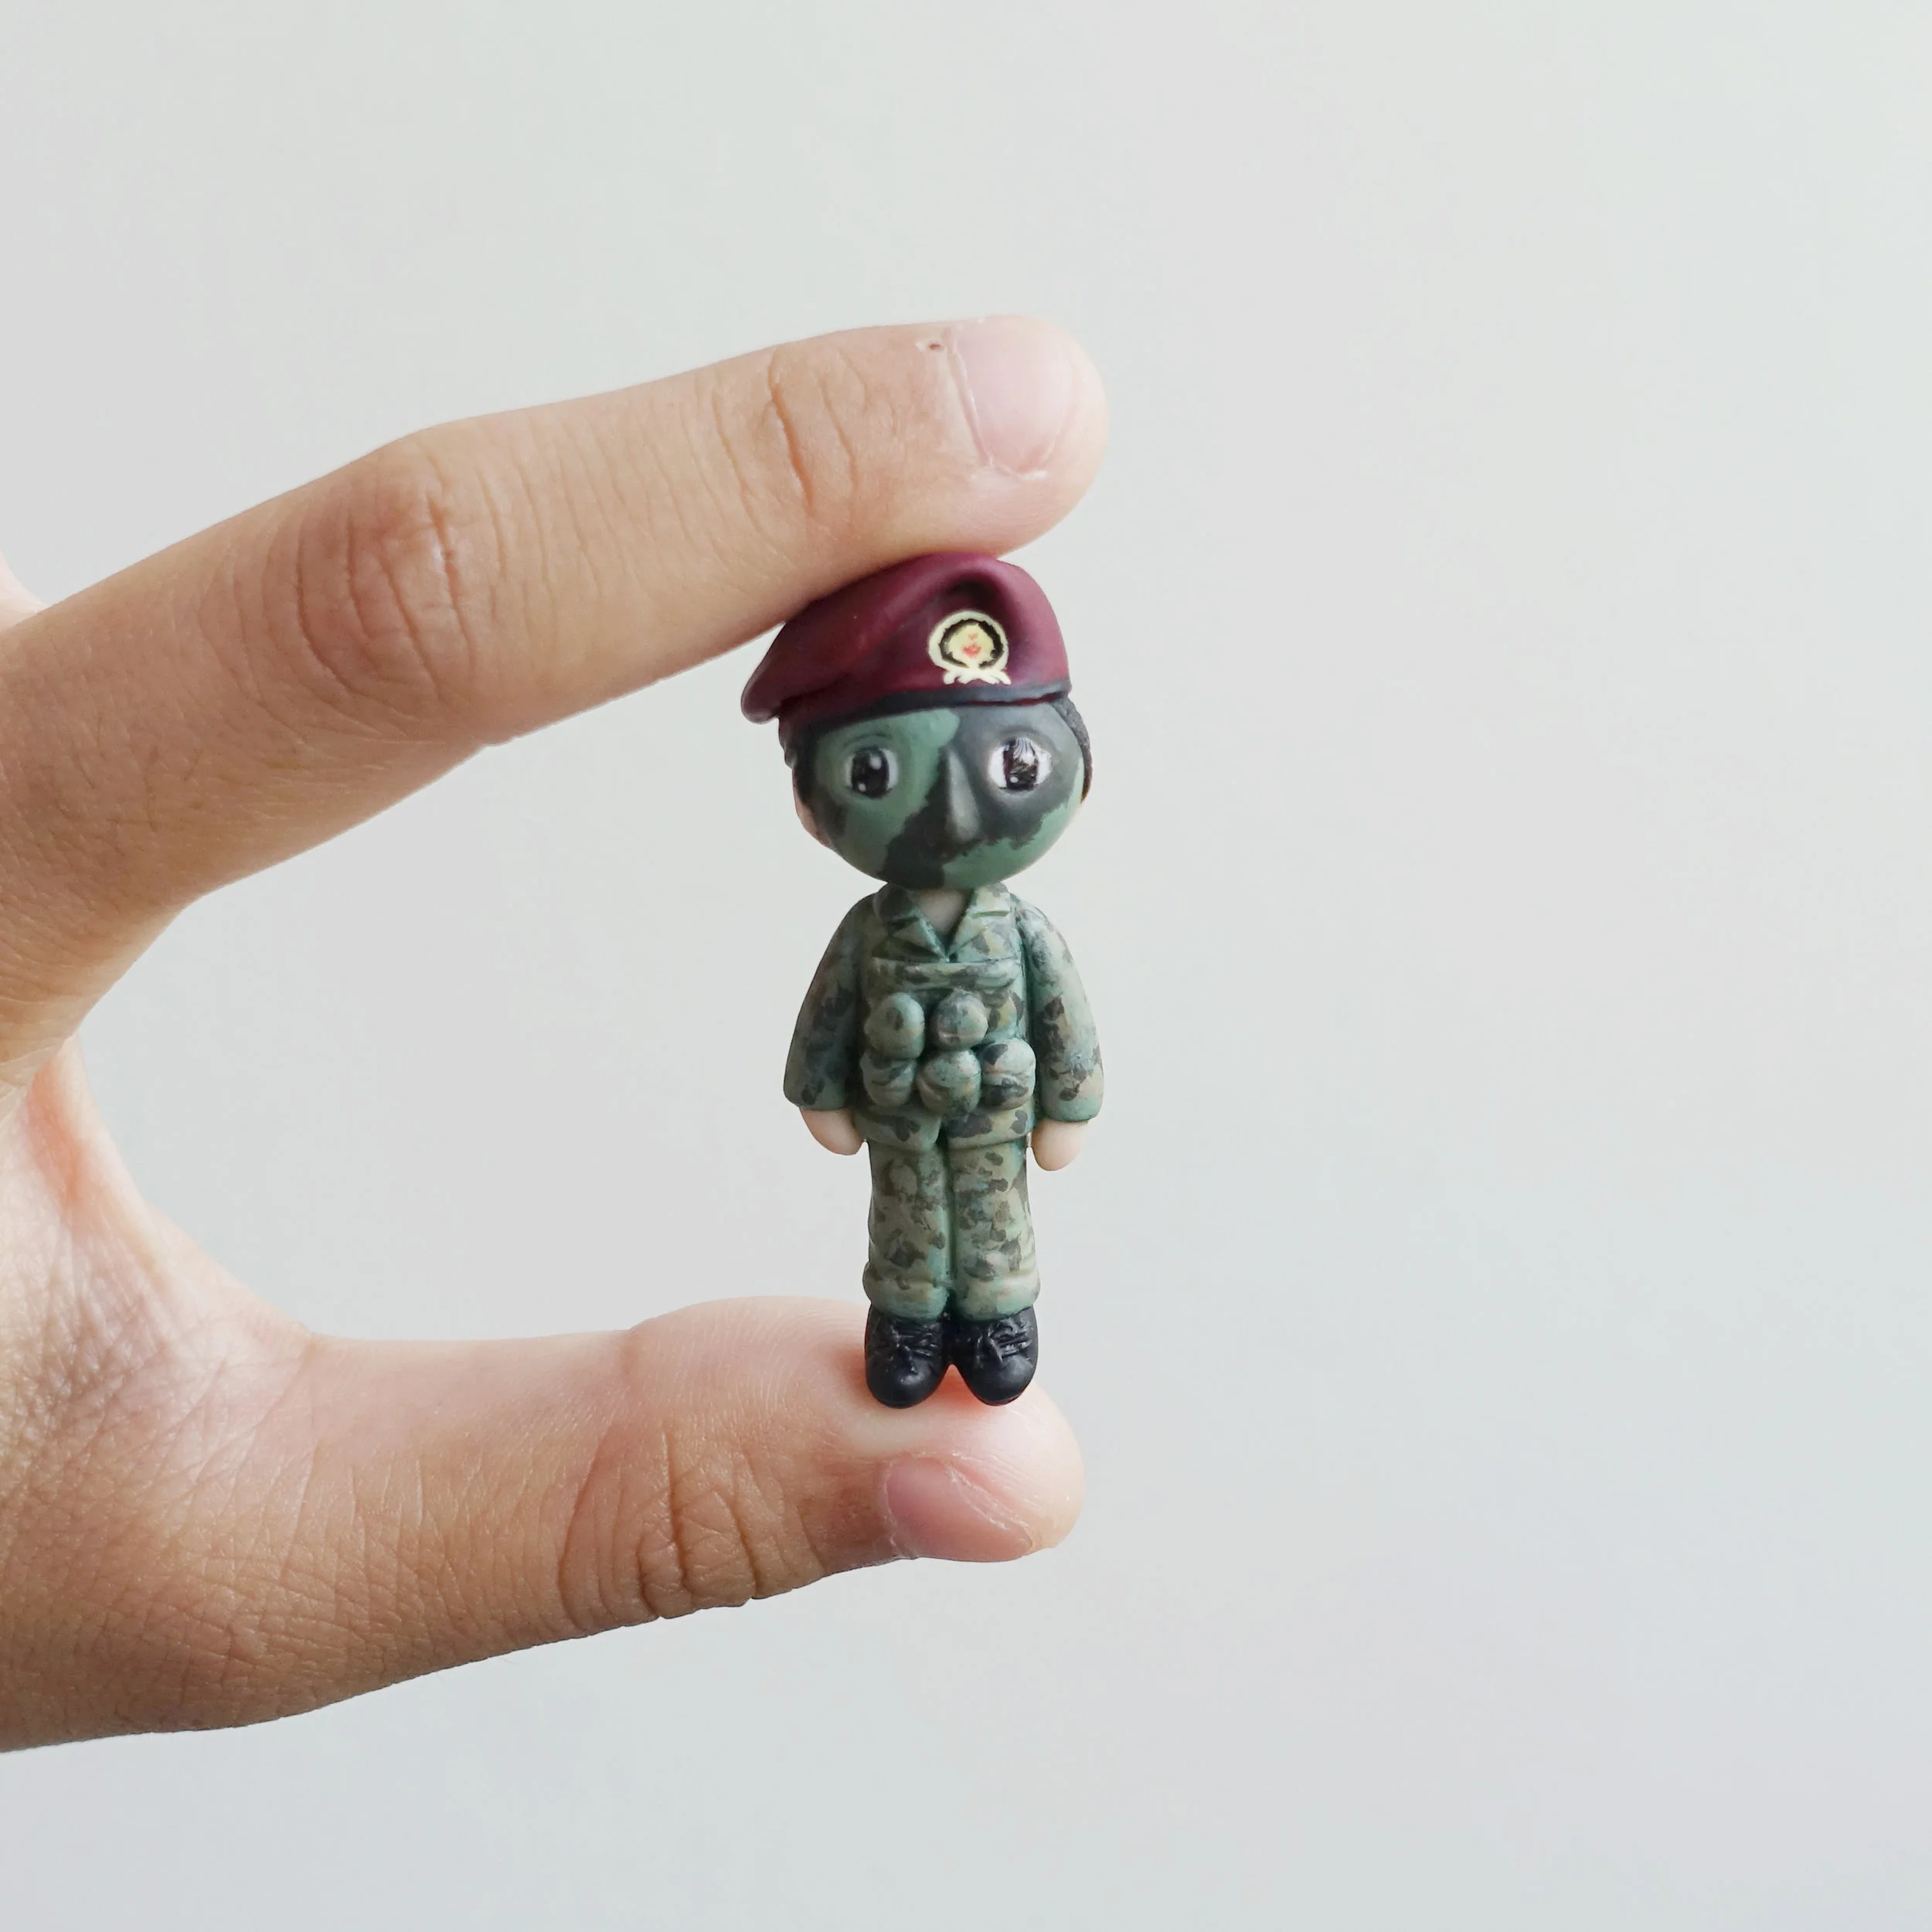
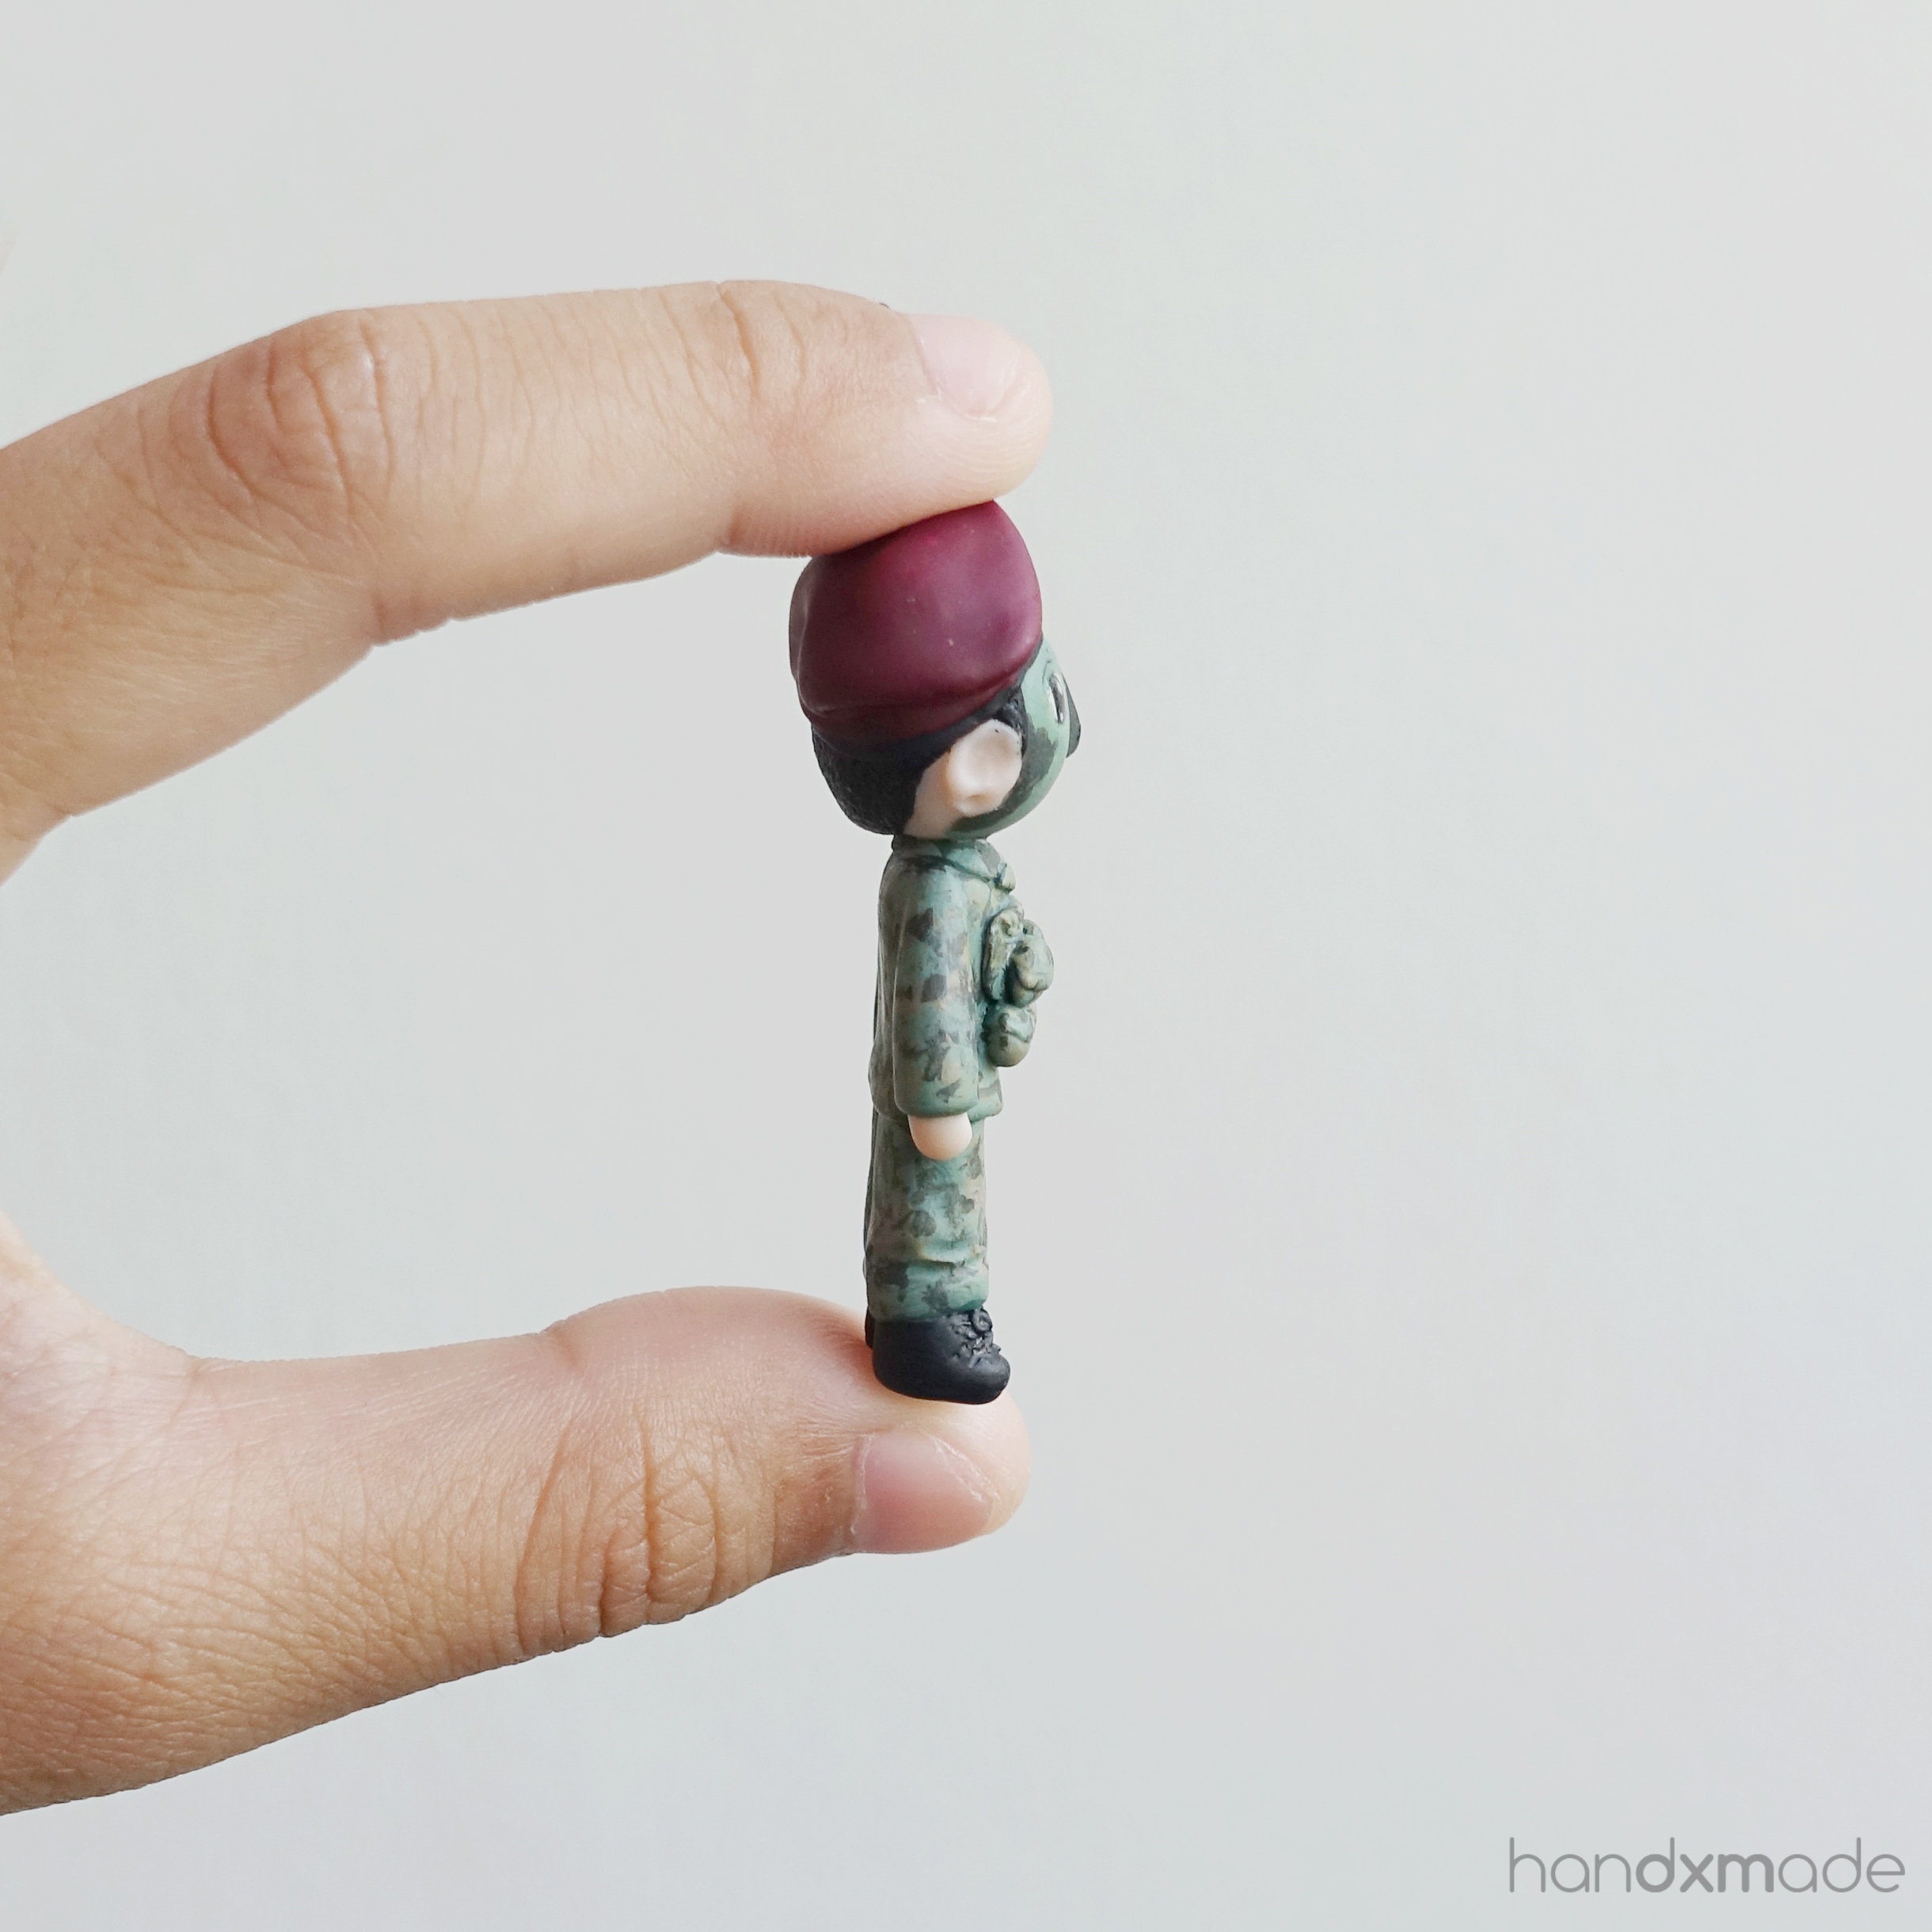
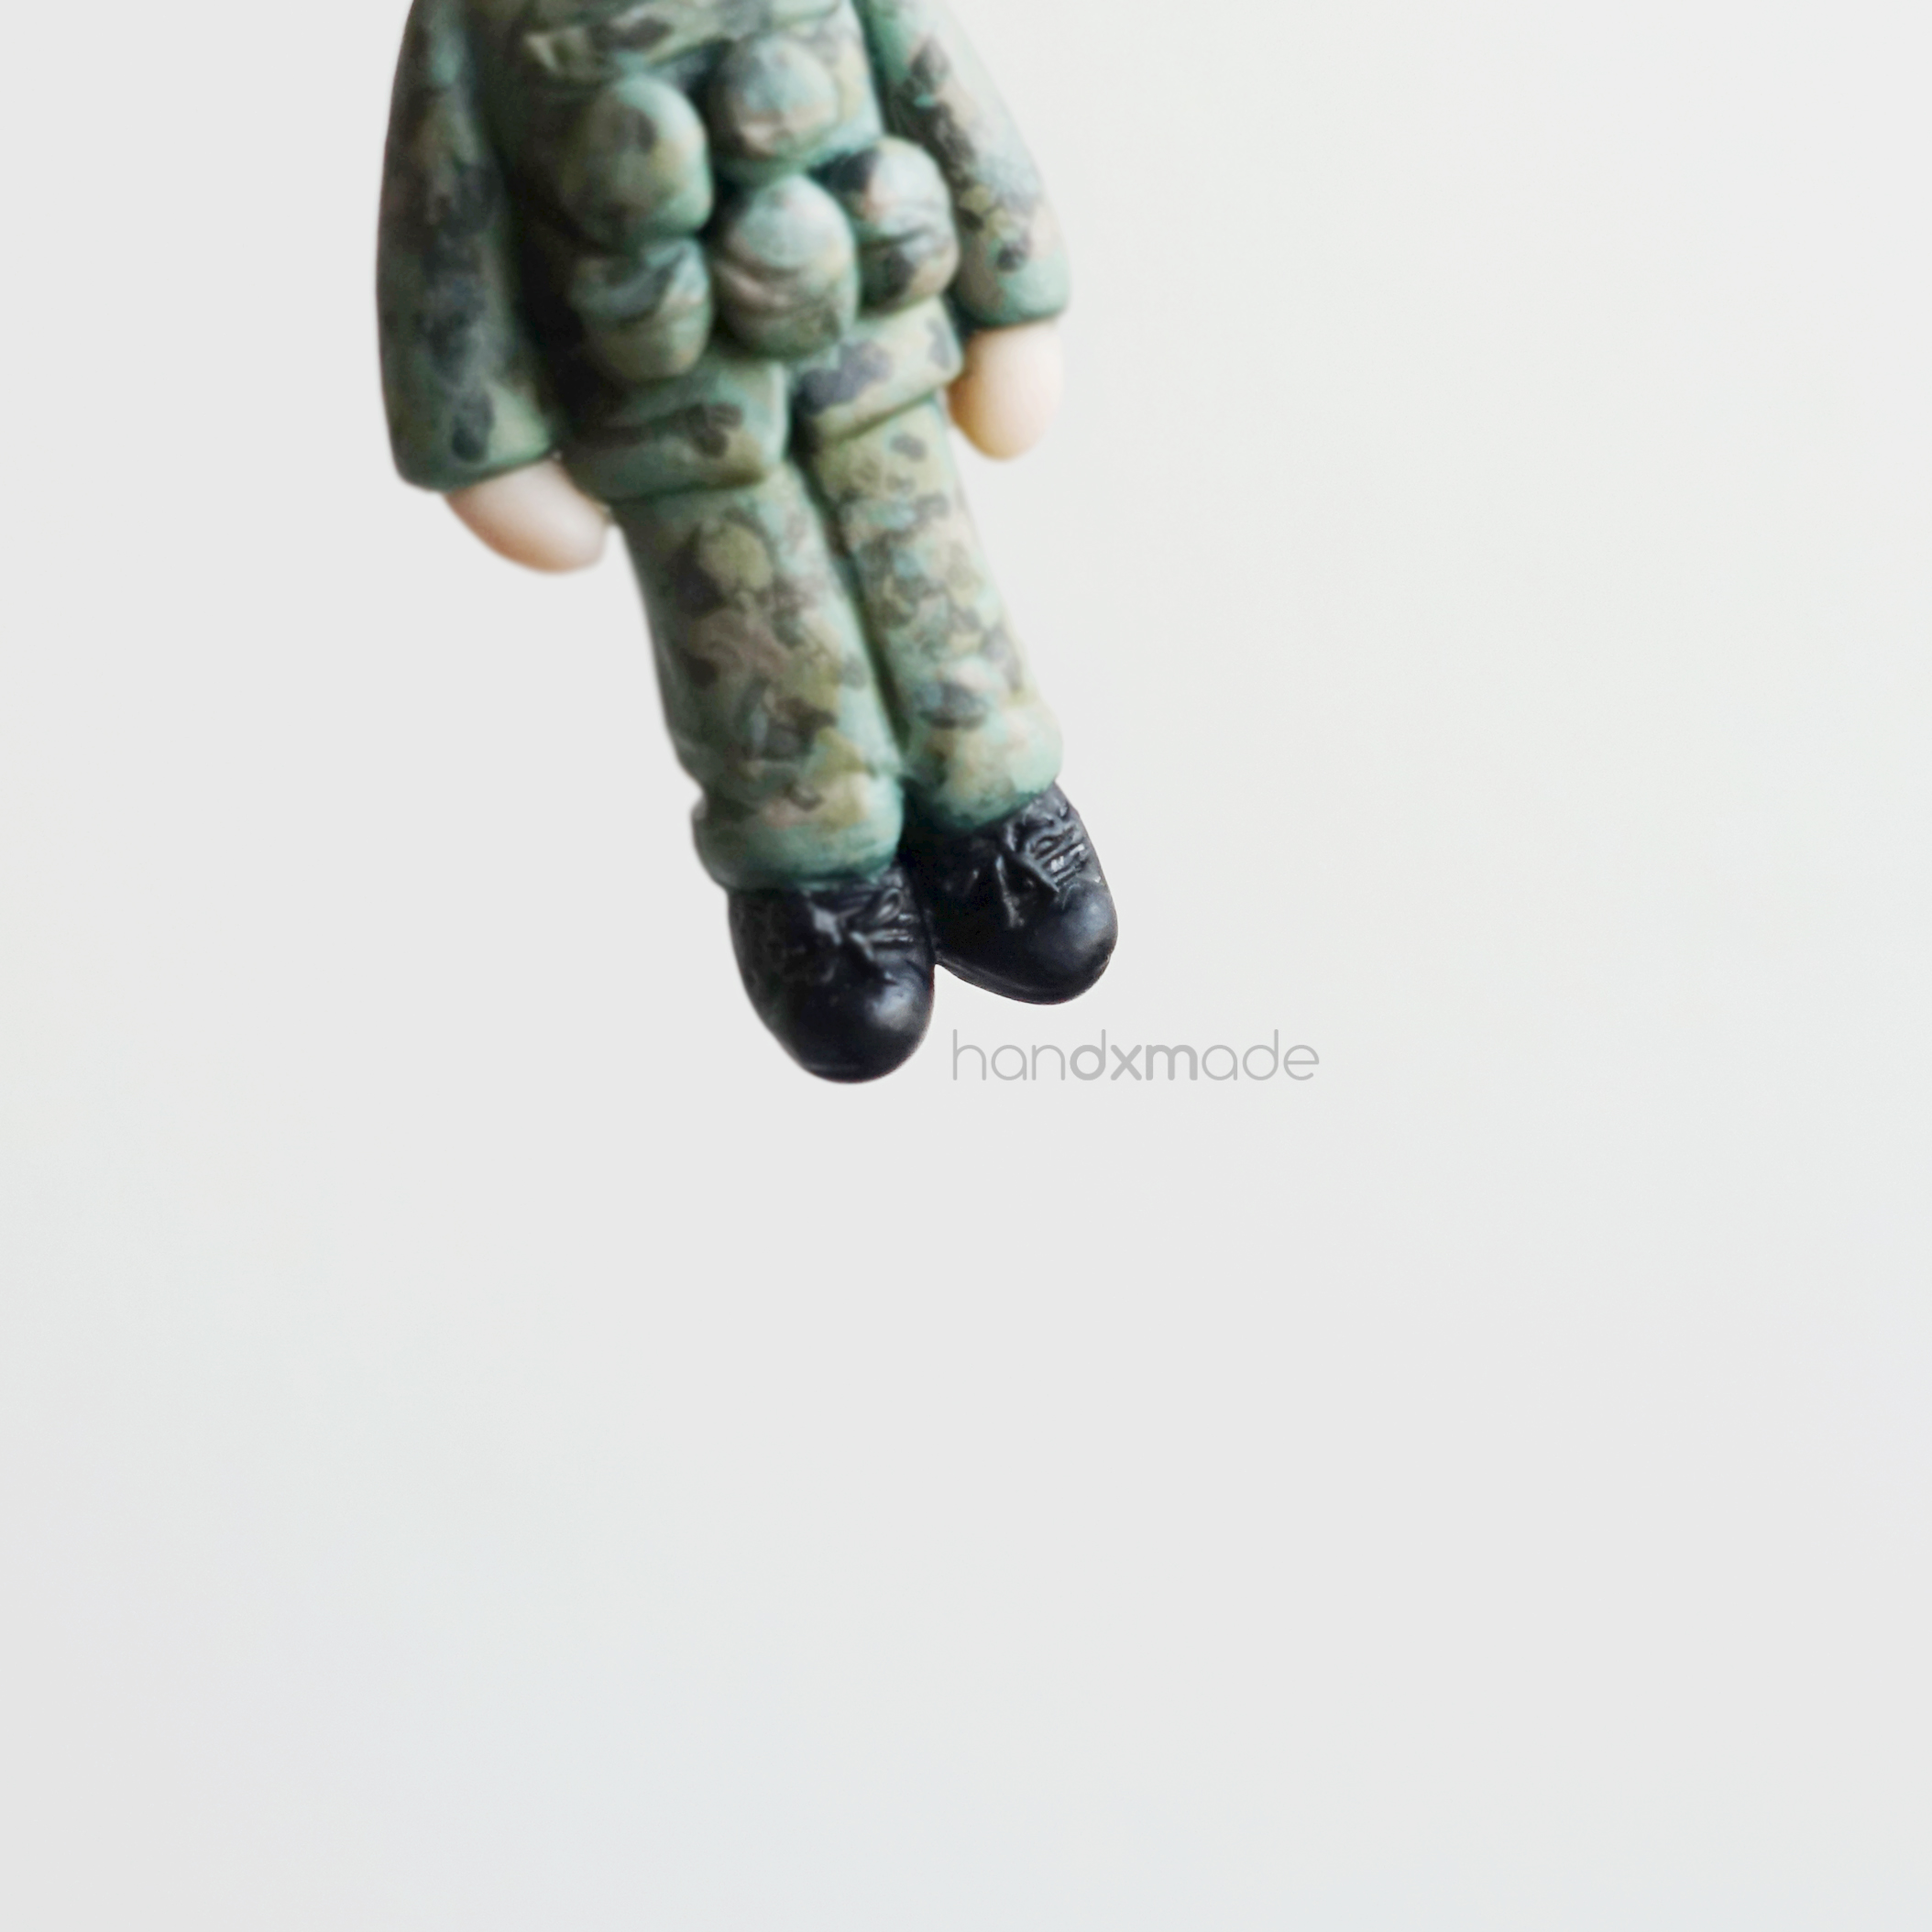
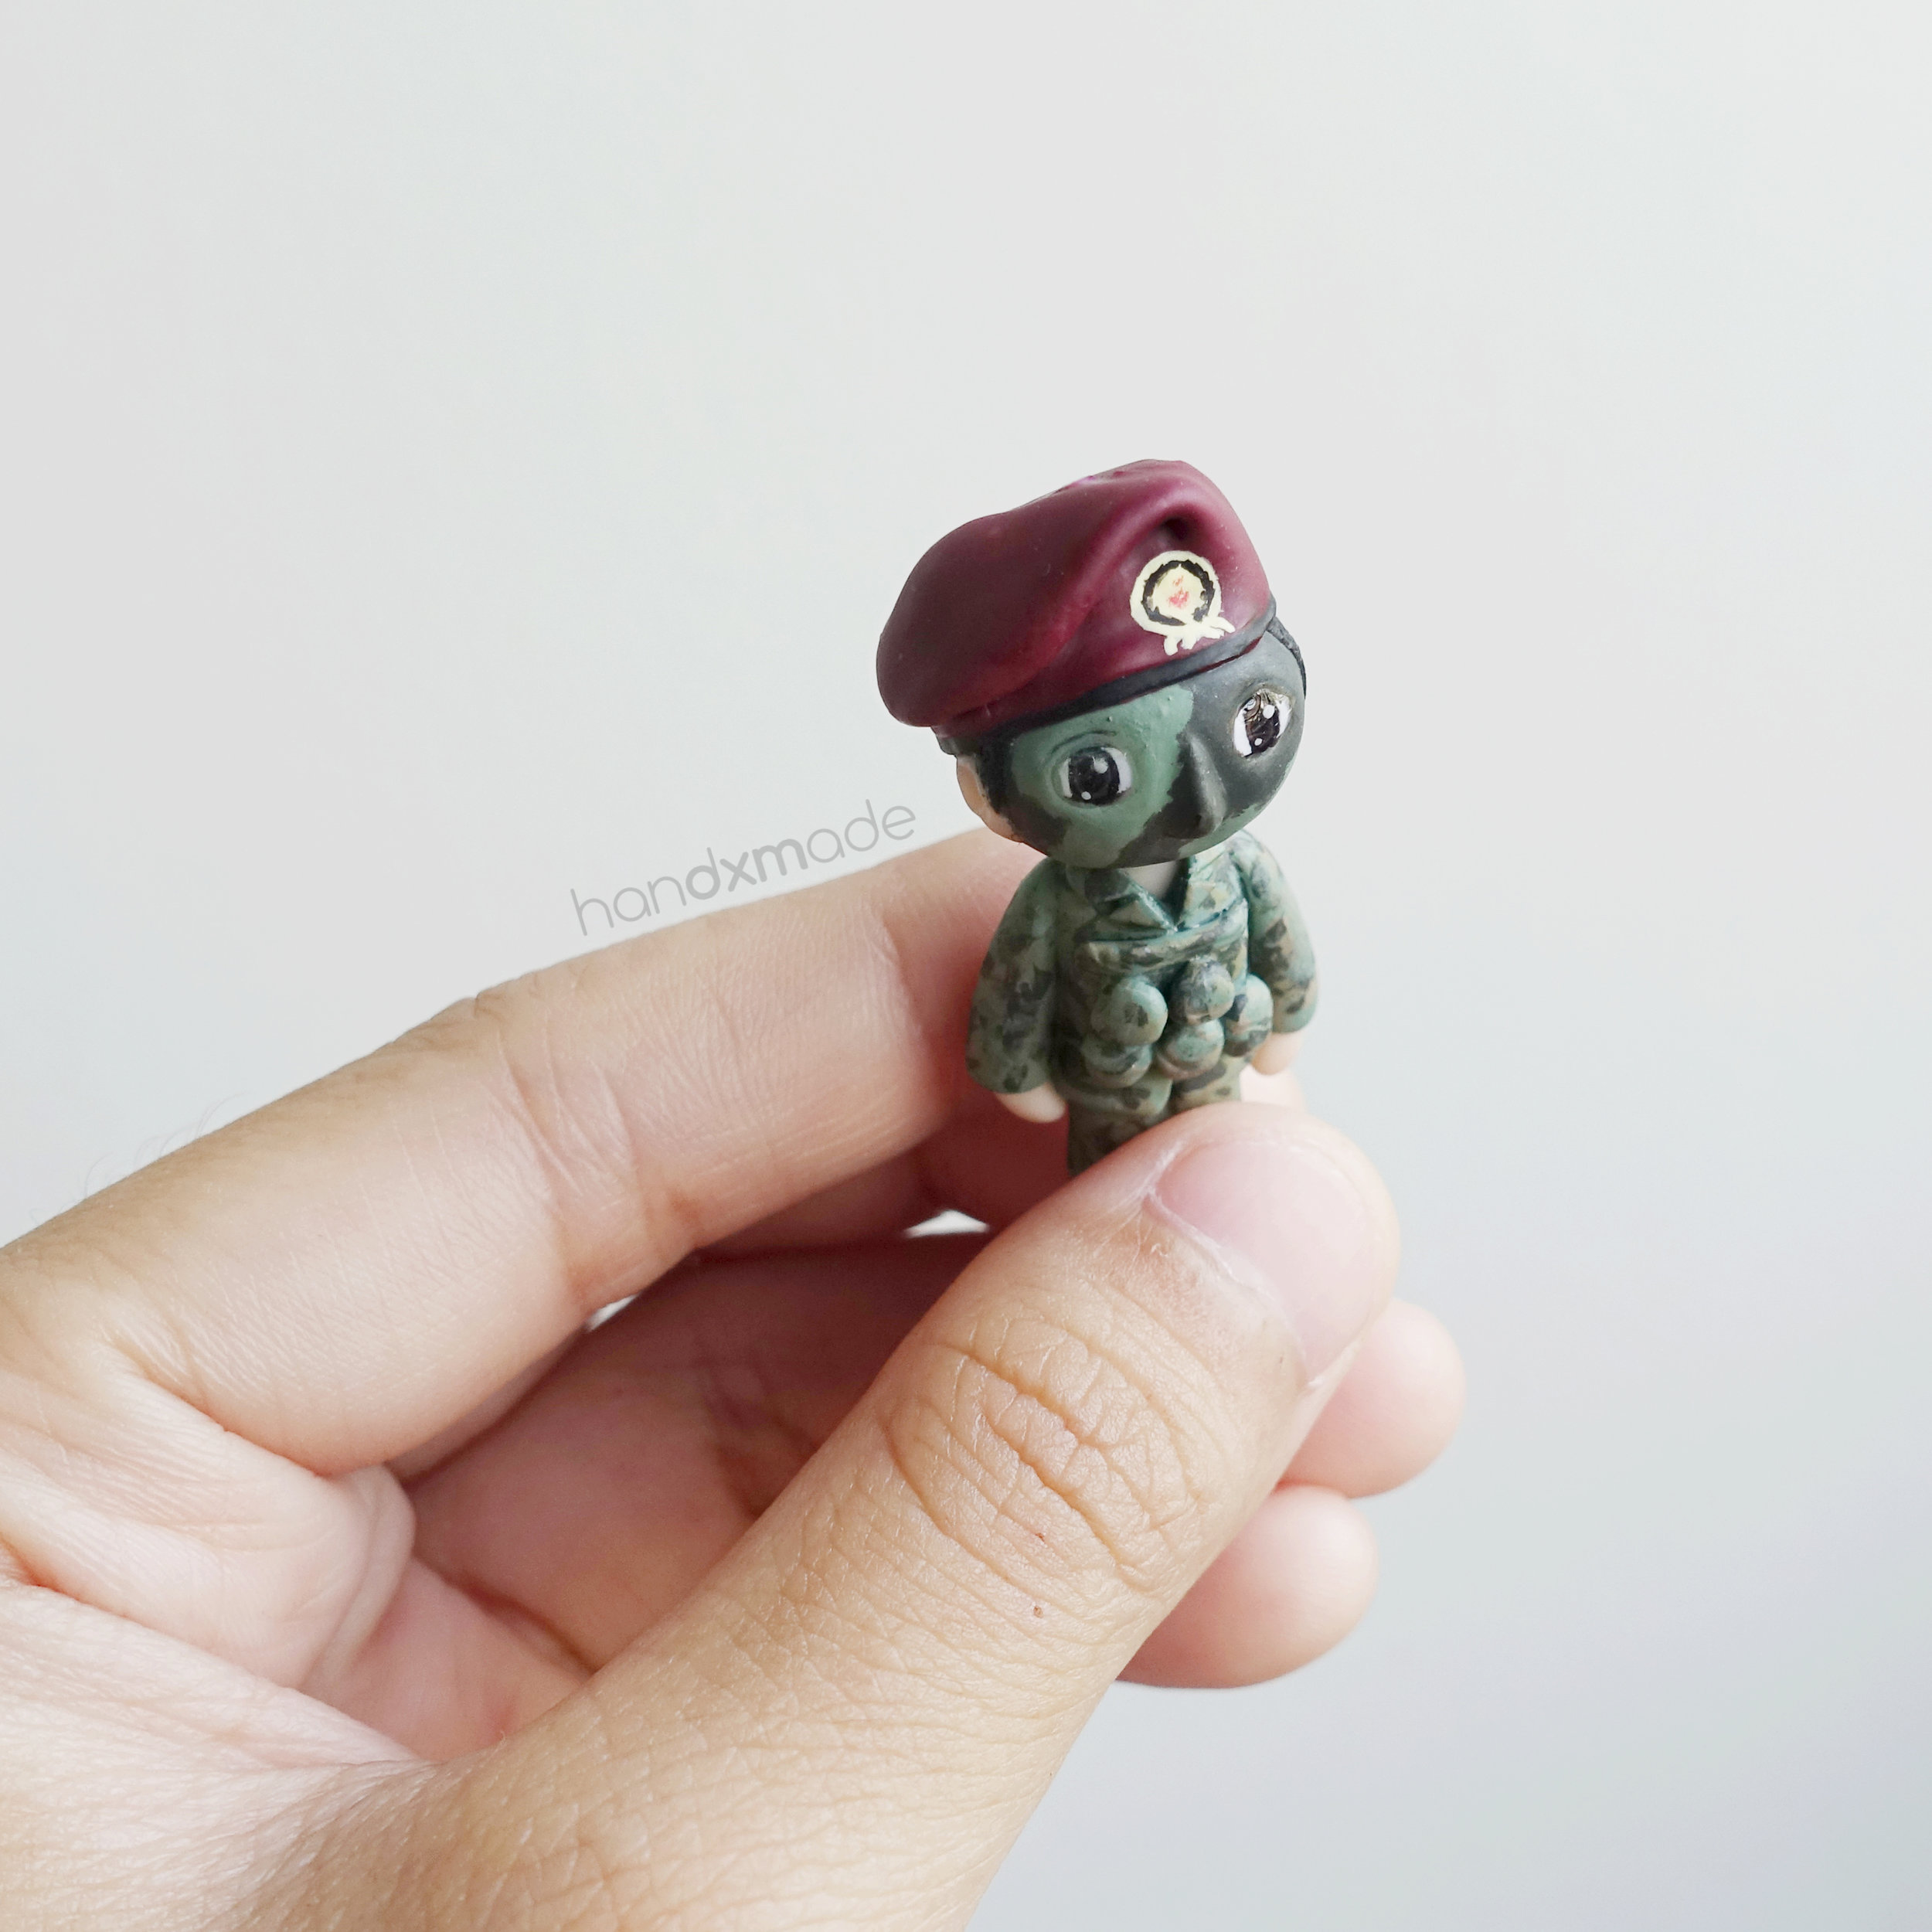
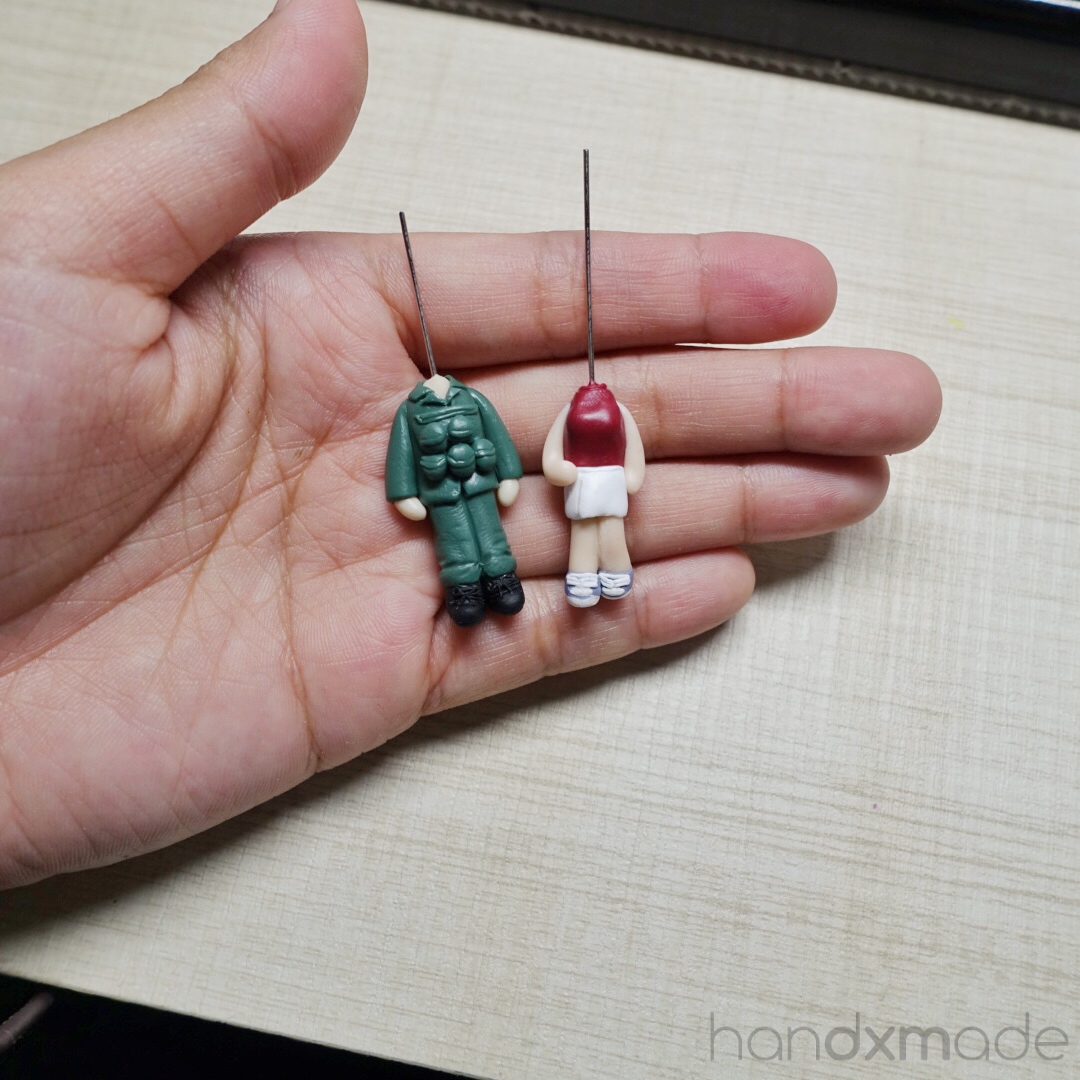
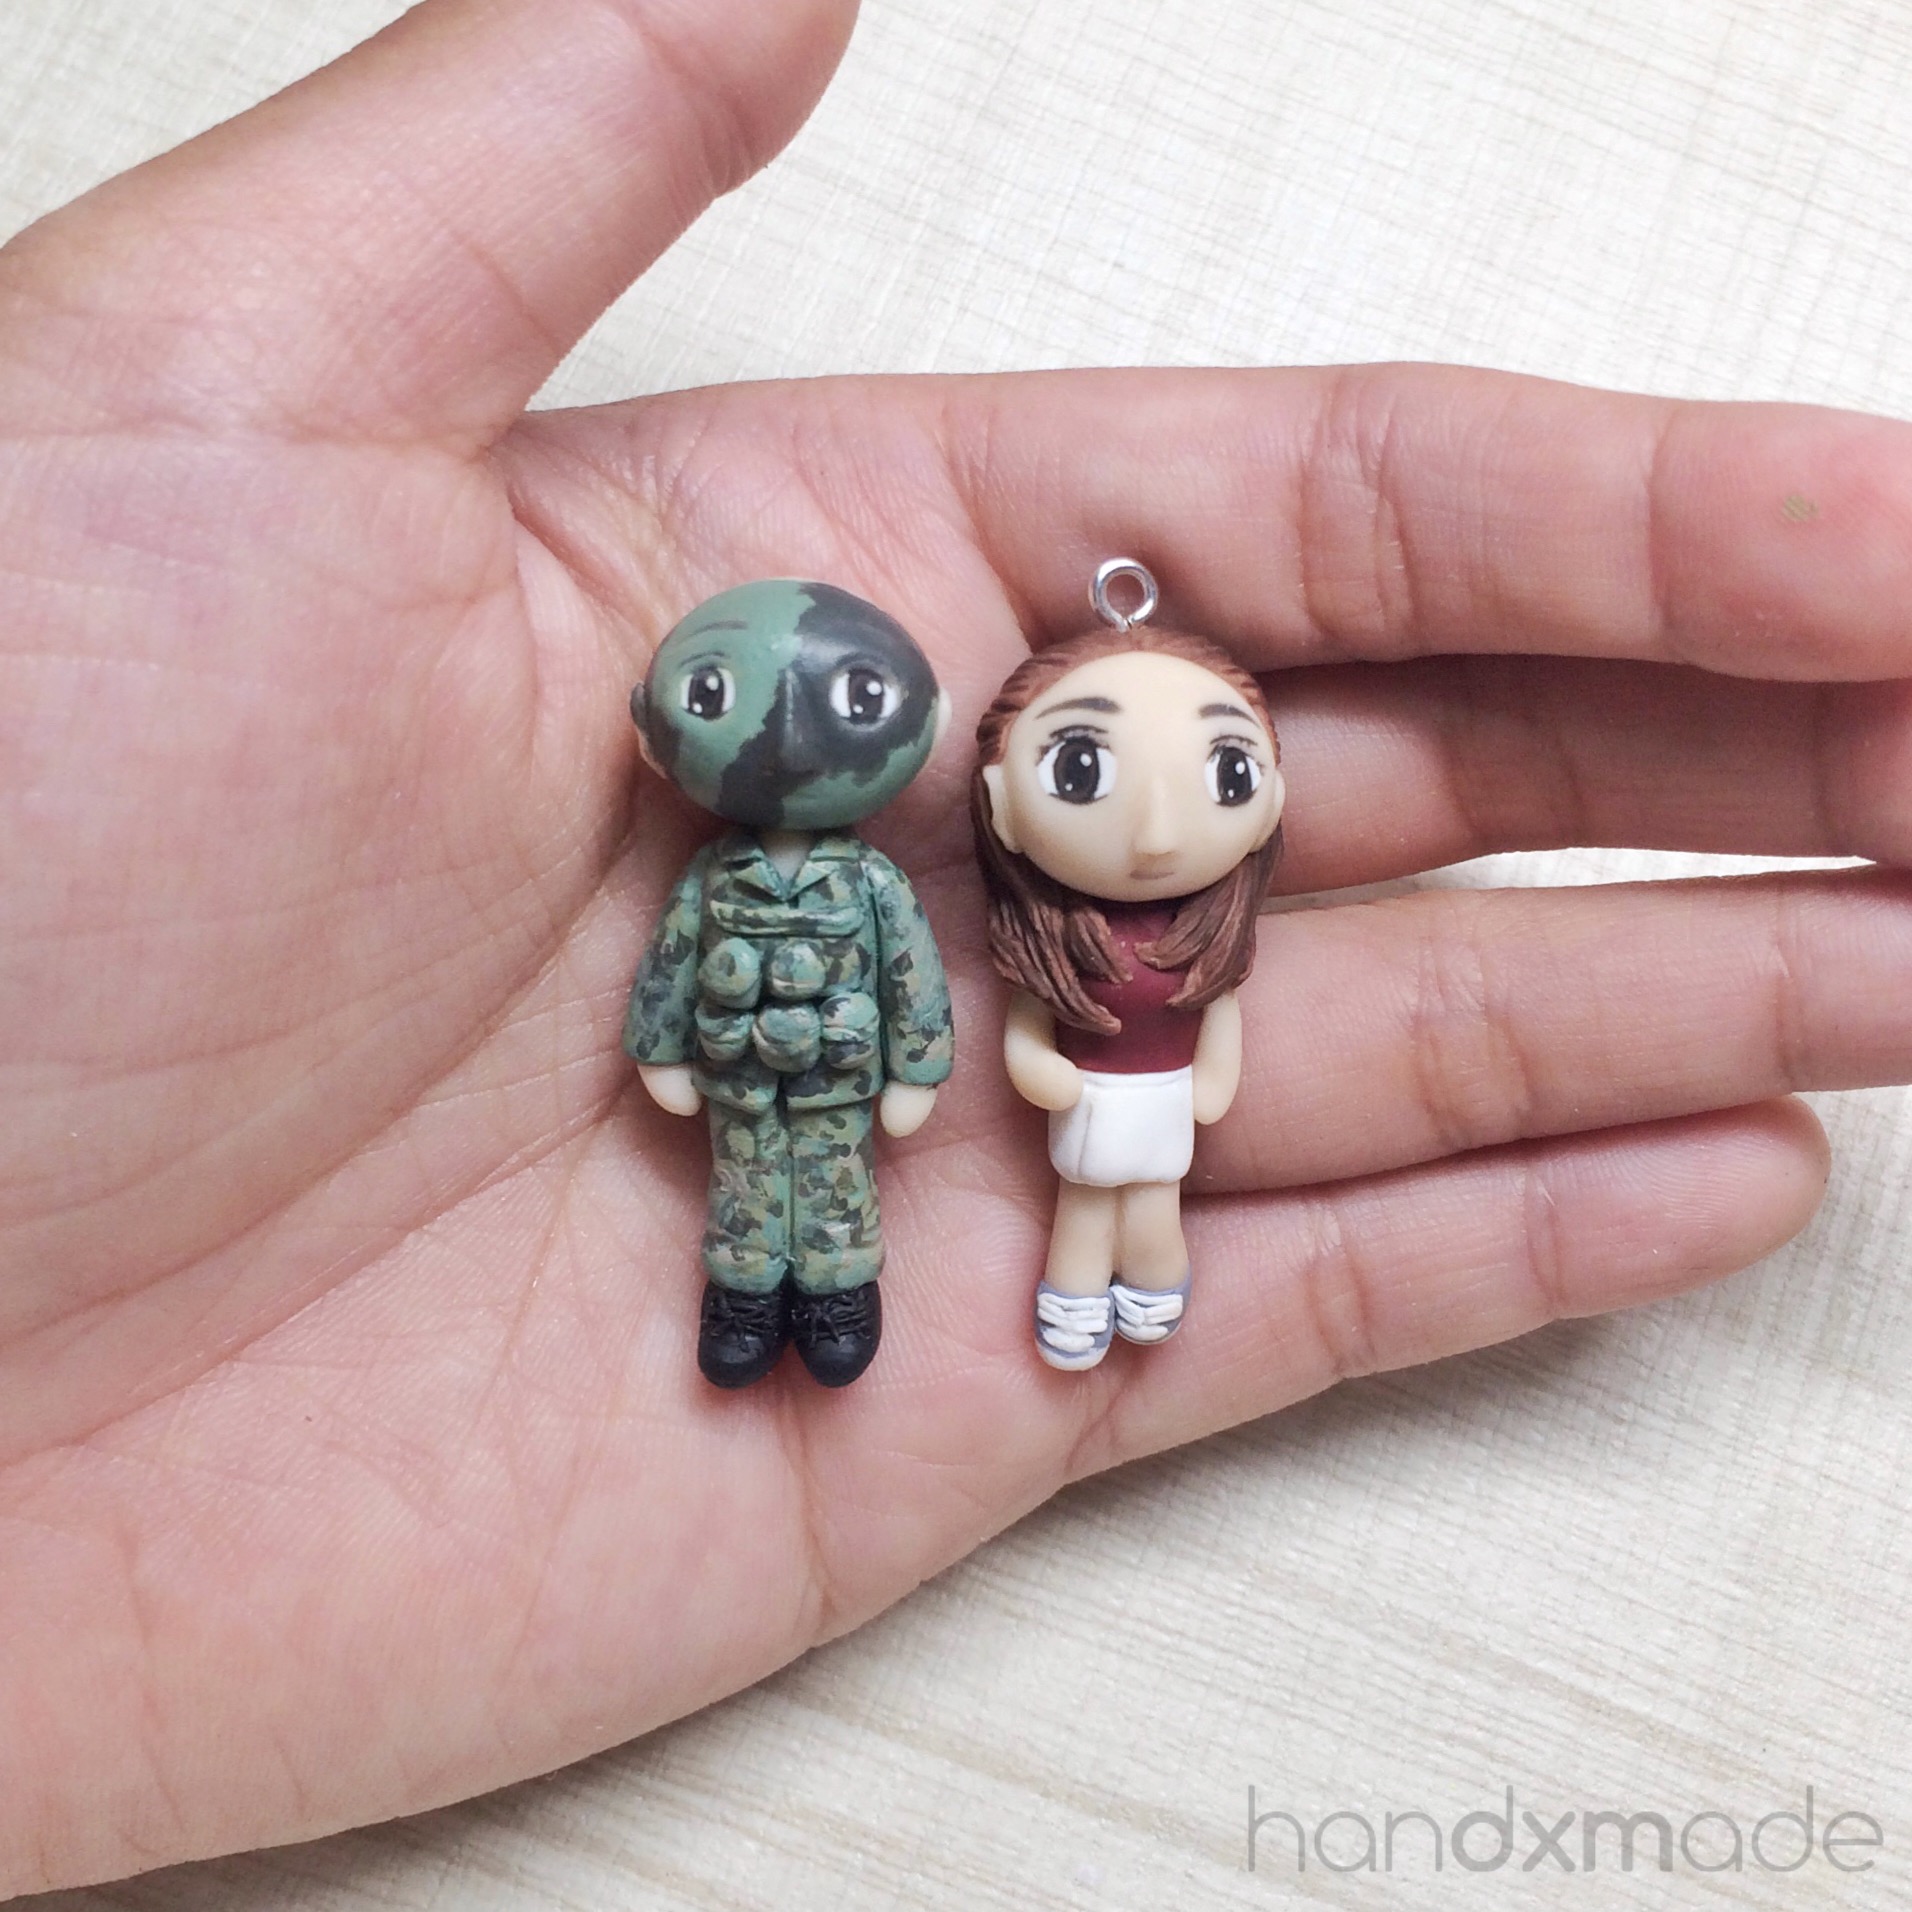
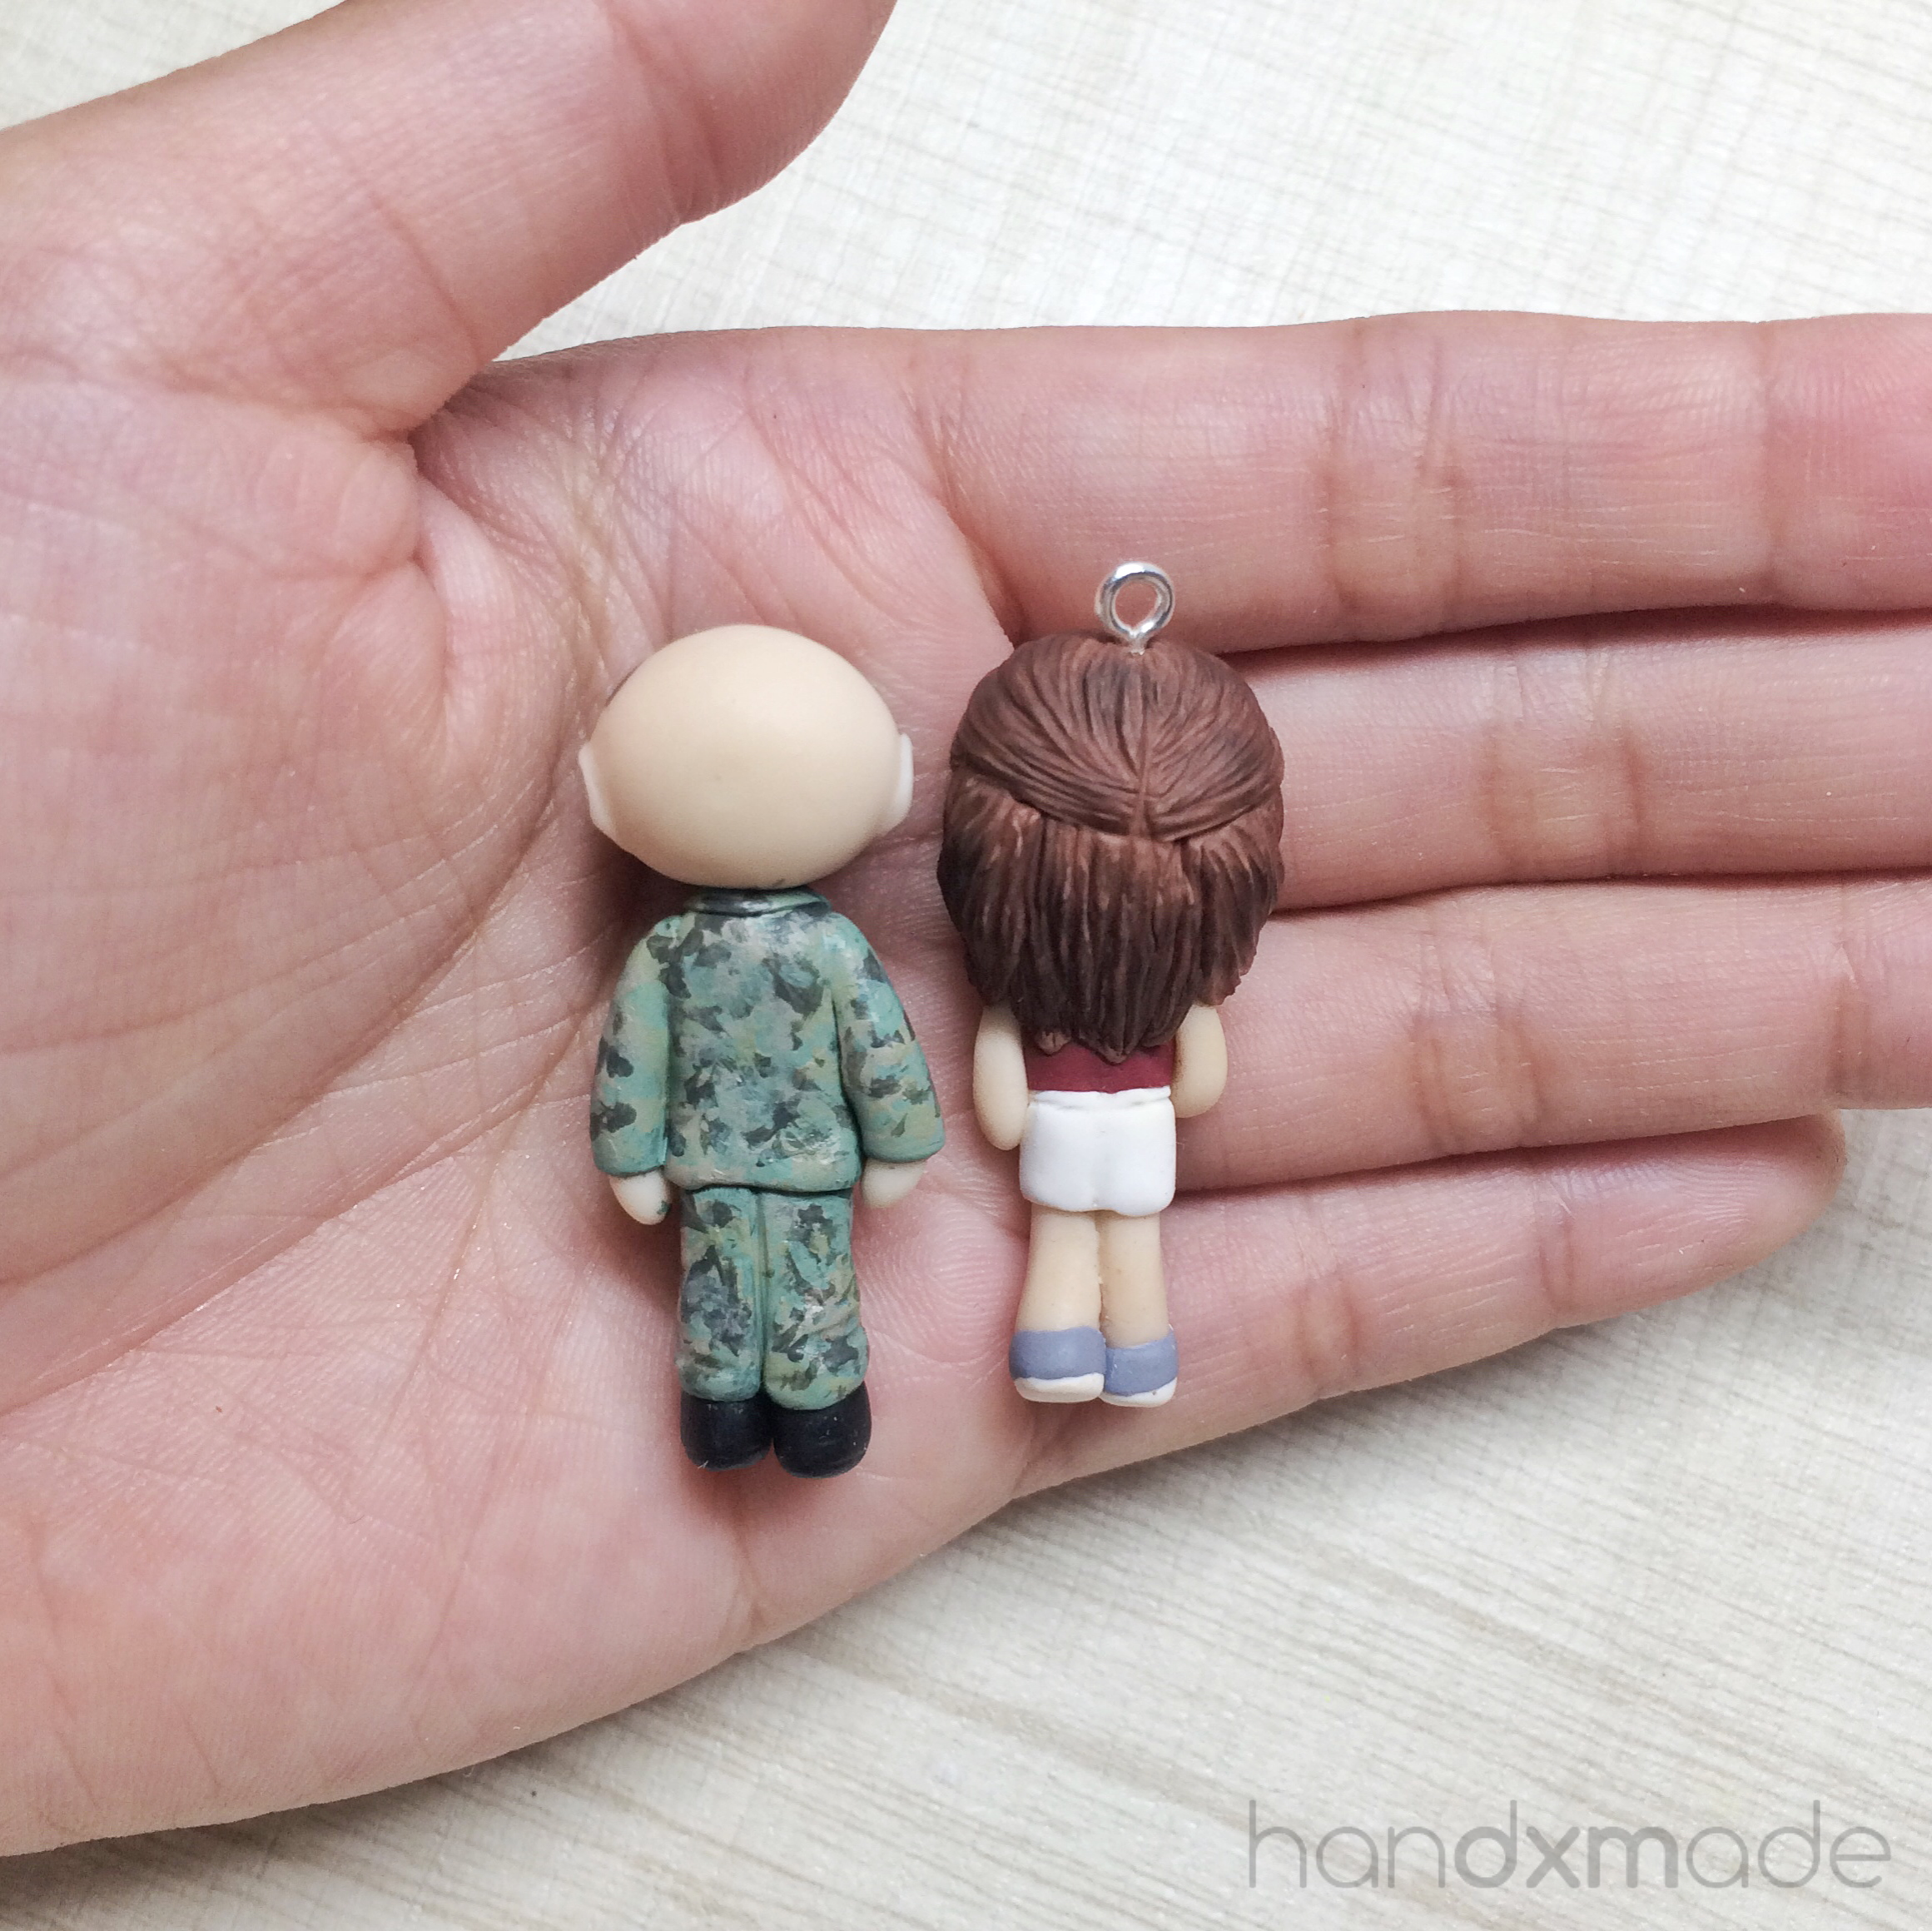
The army guy
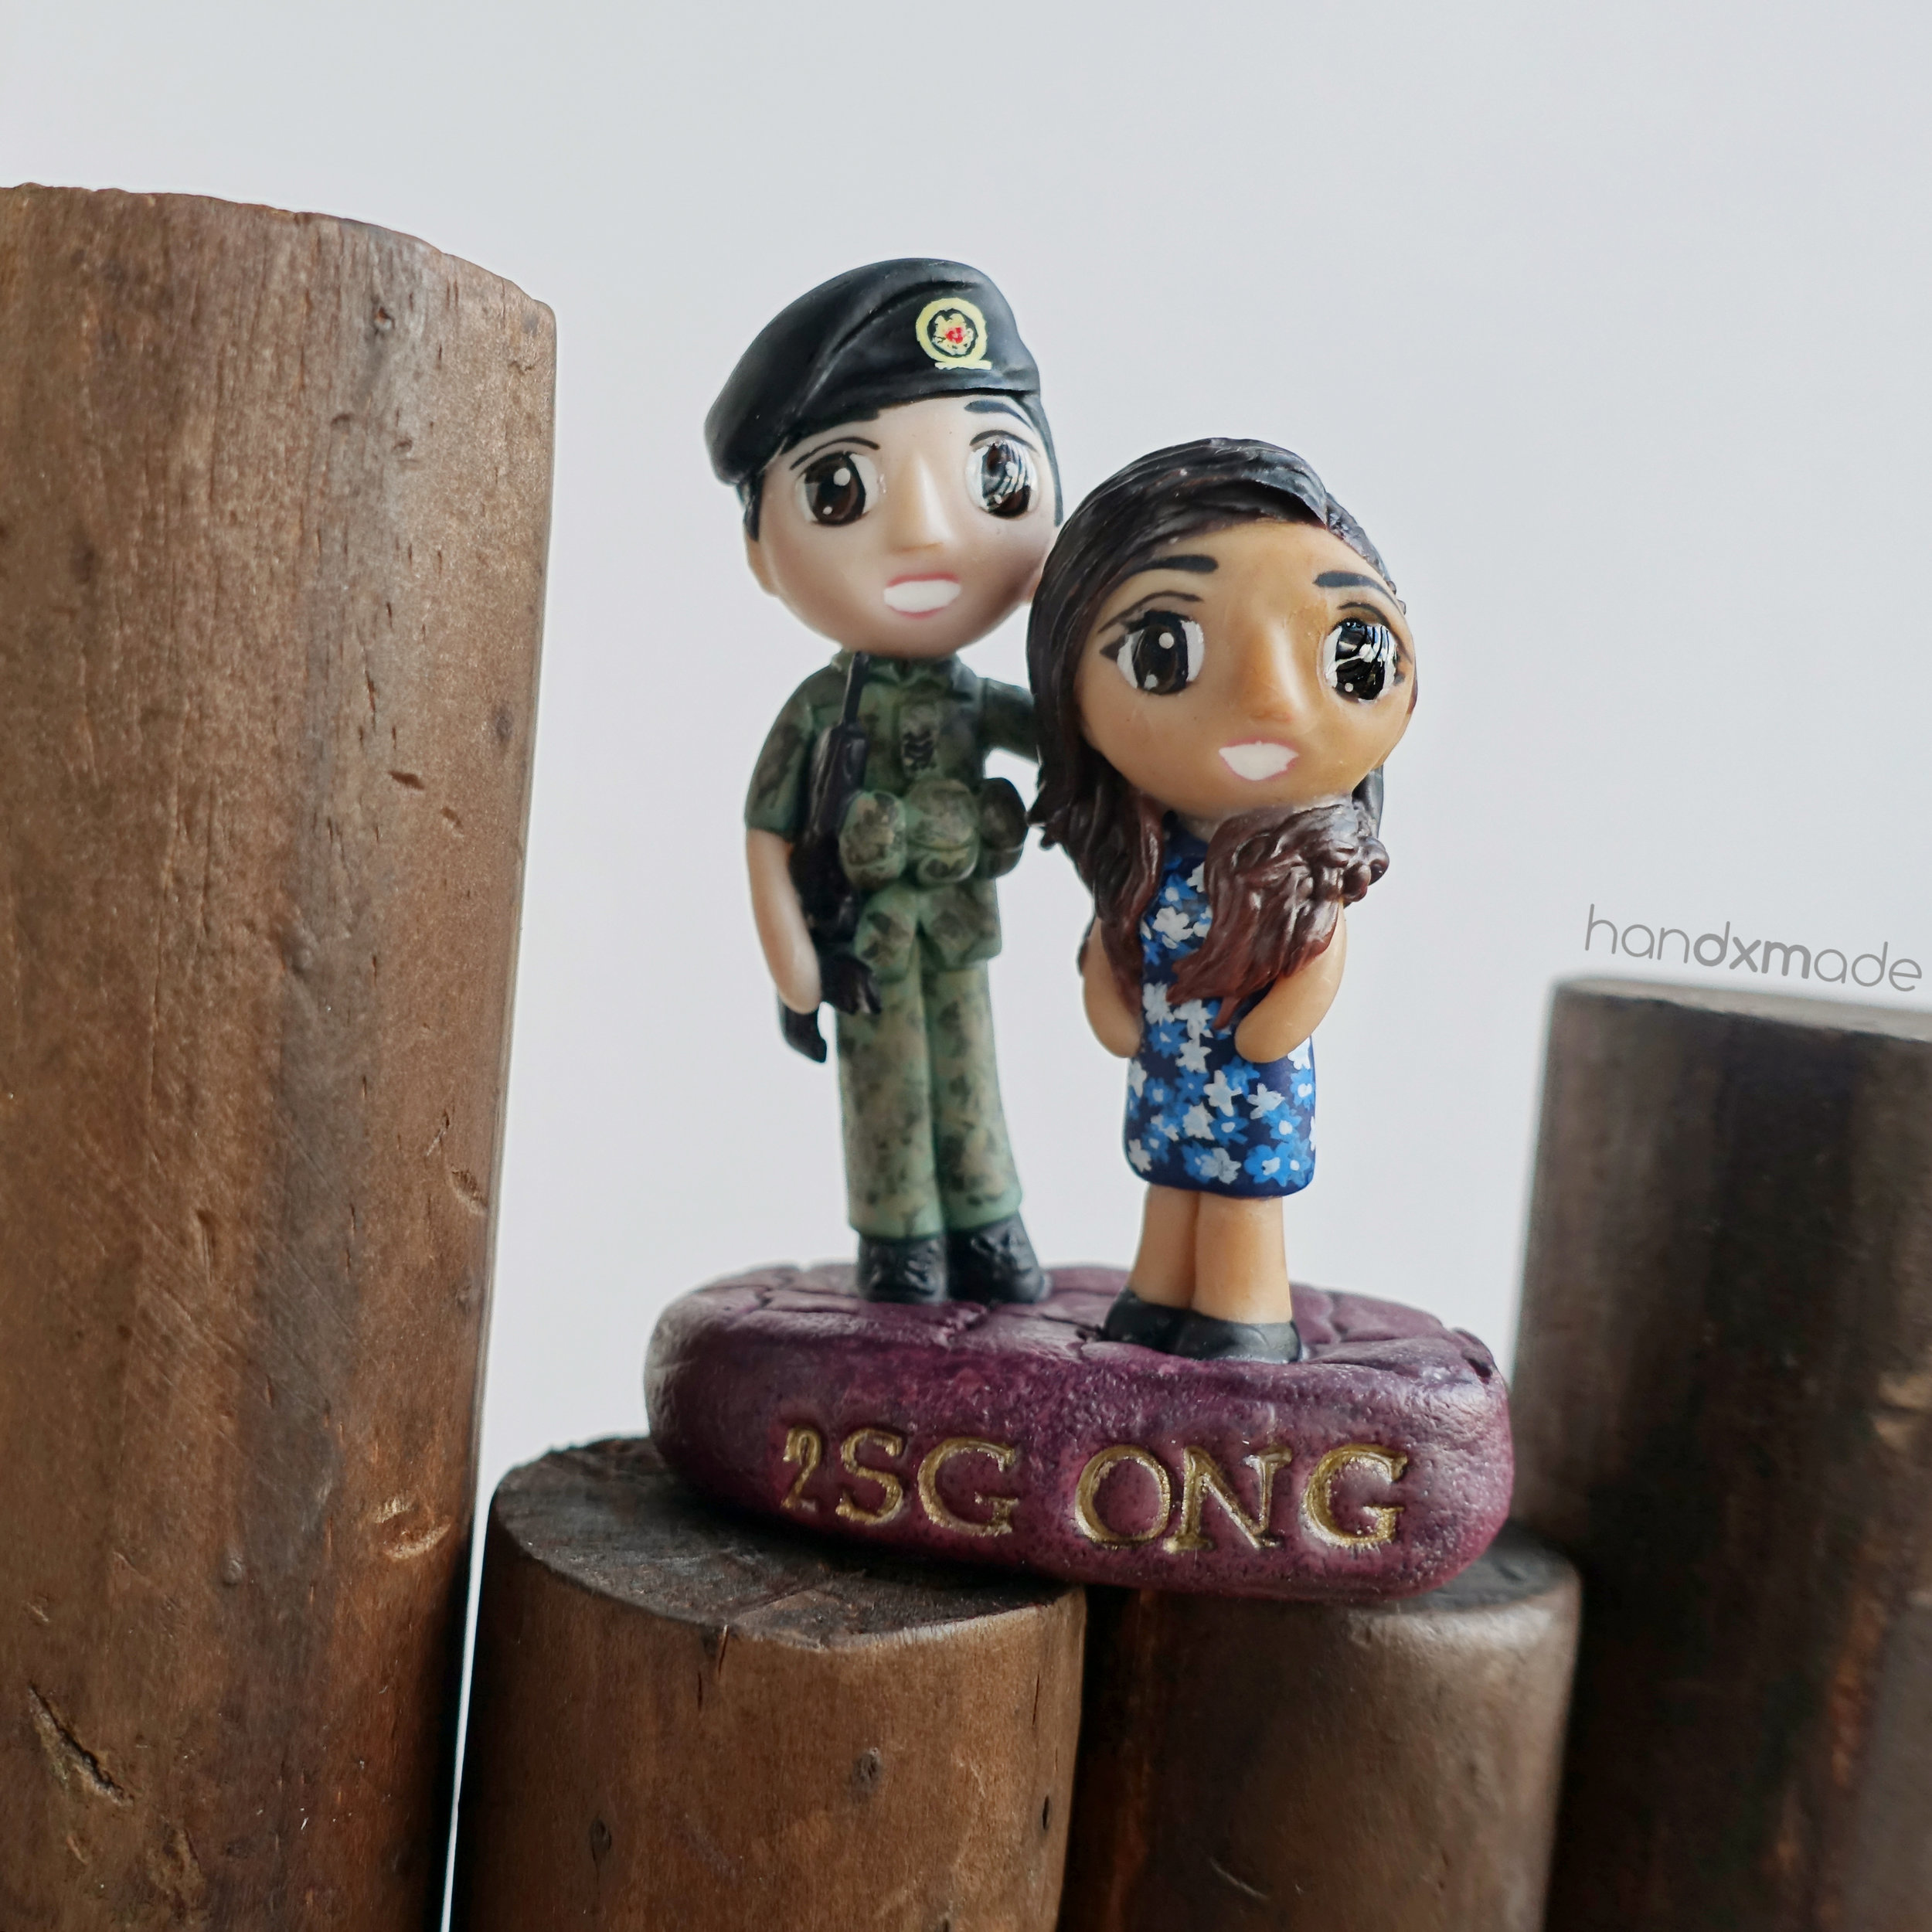
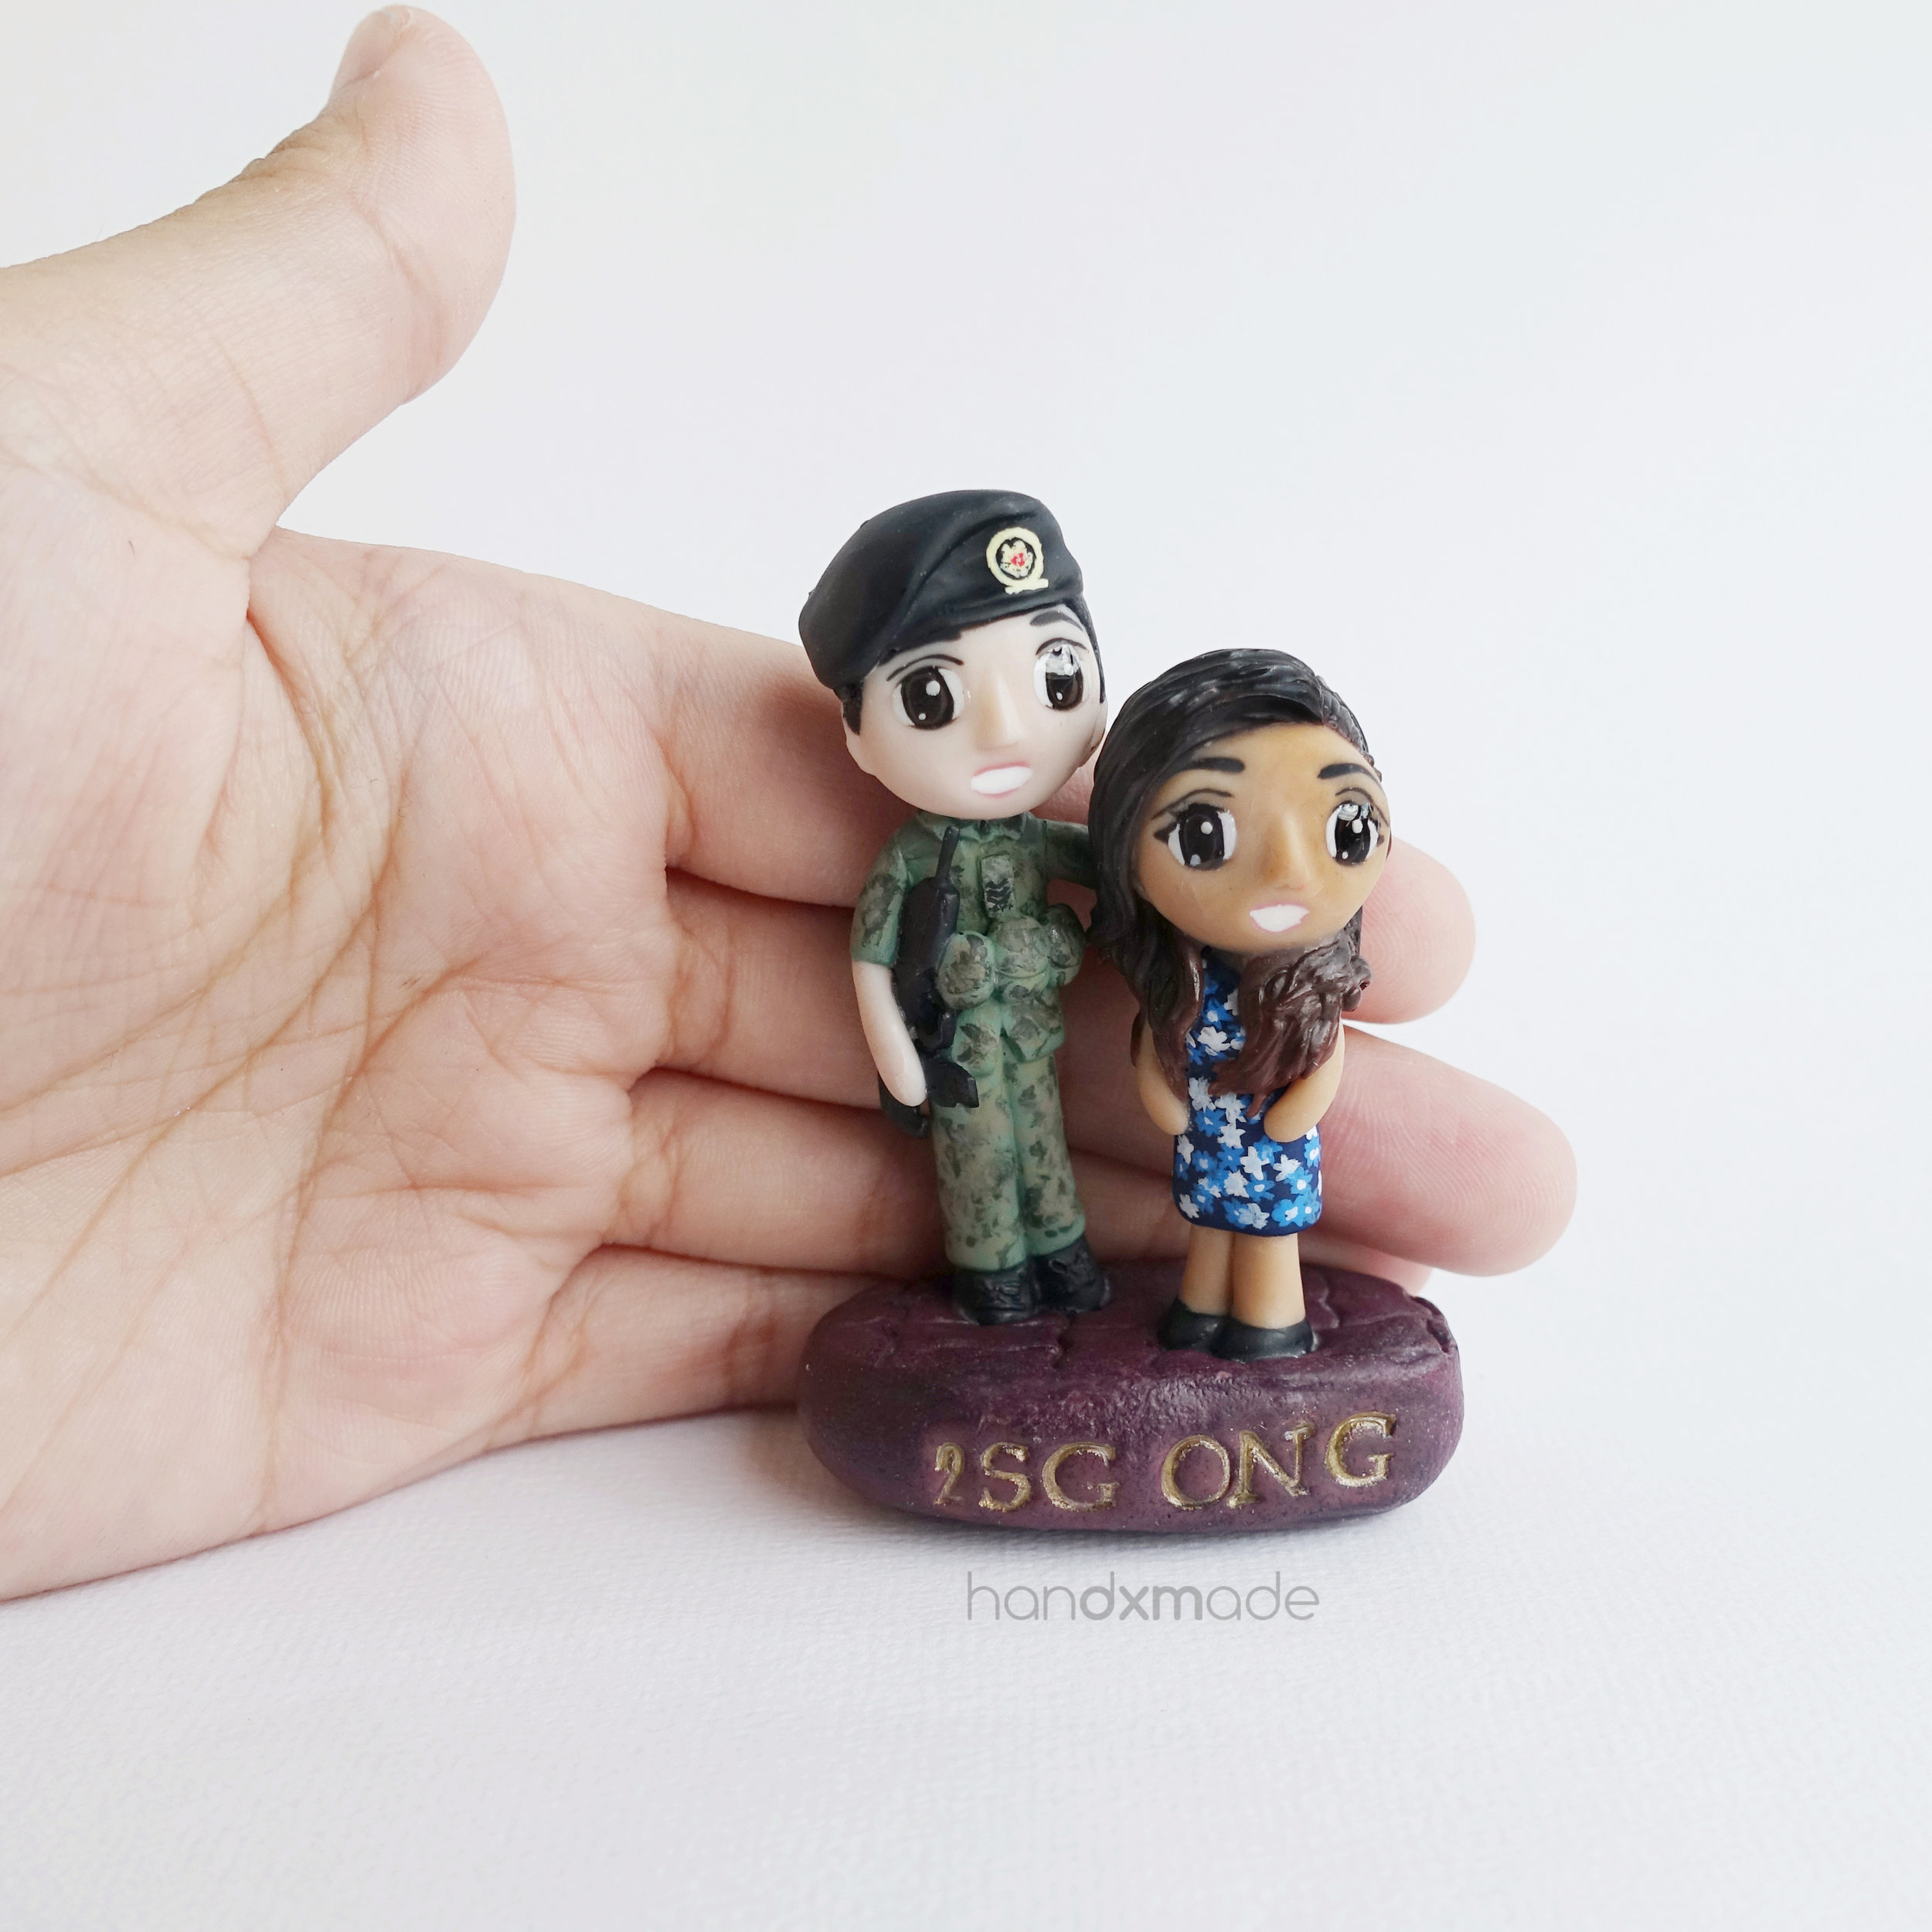
This was the first time I made a malay figurine, and it was really fun!!
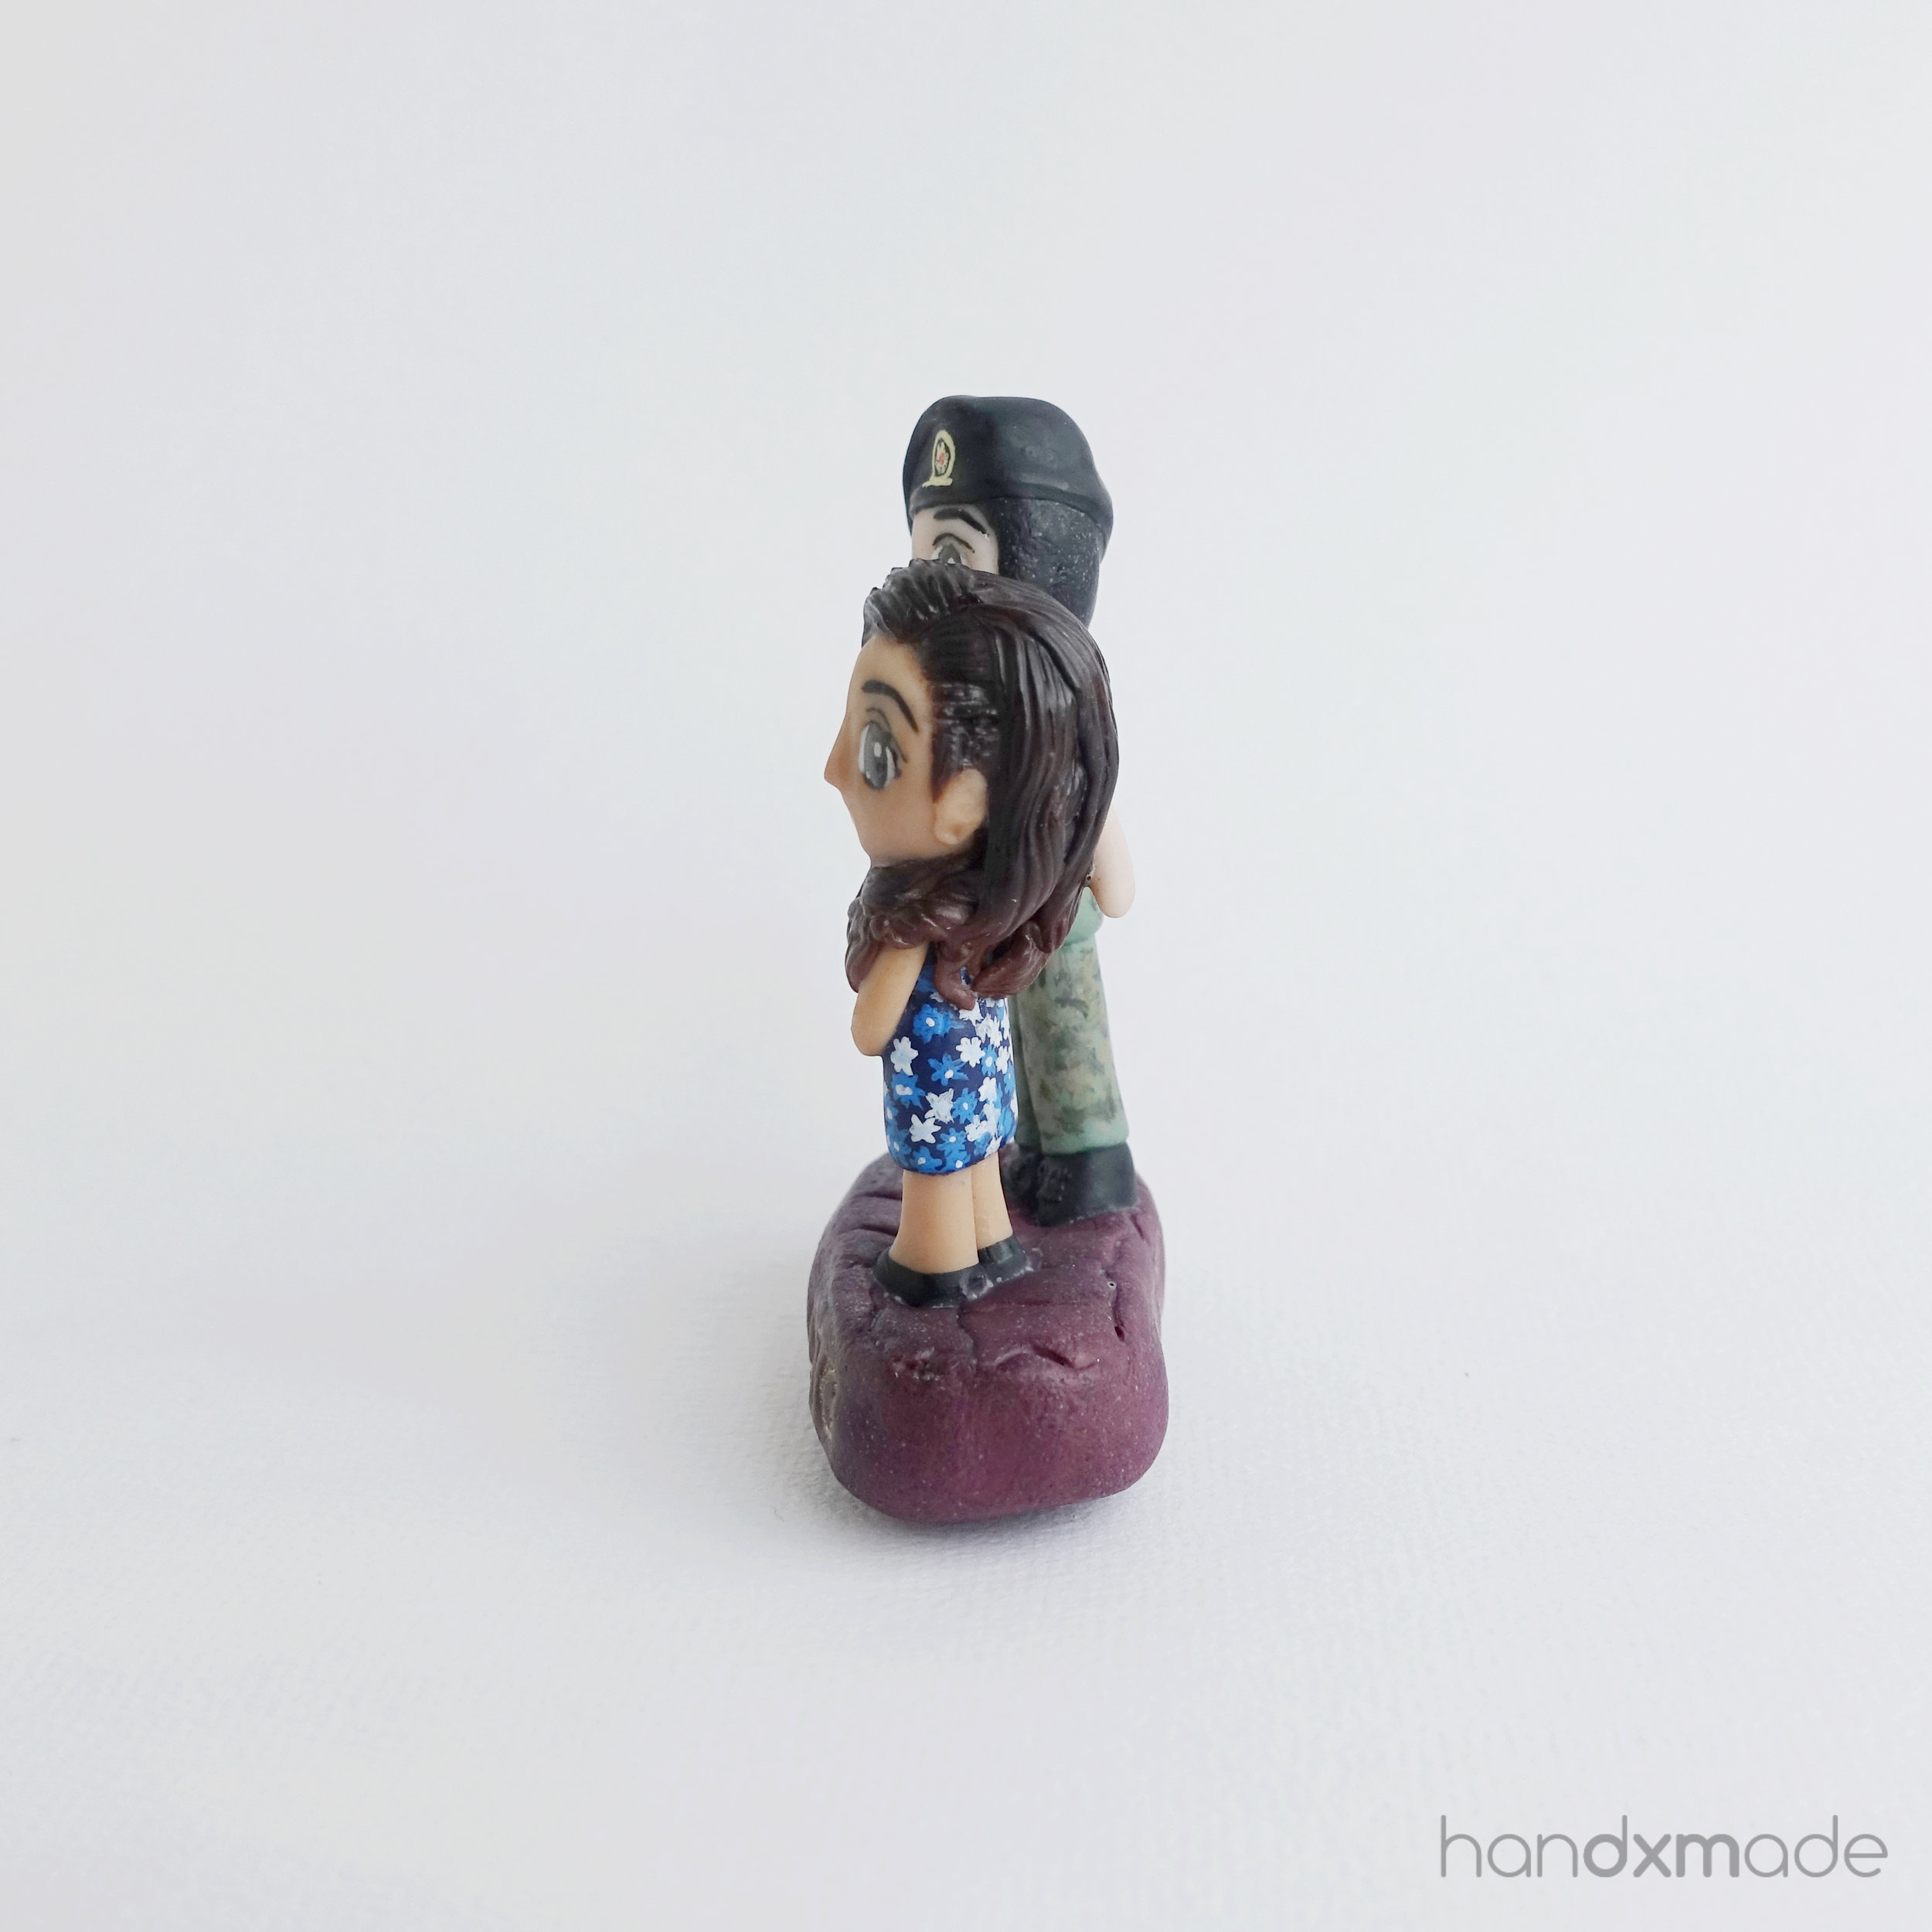
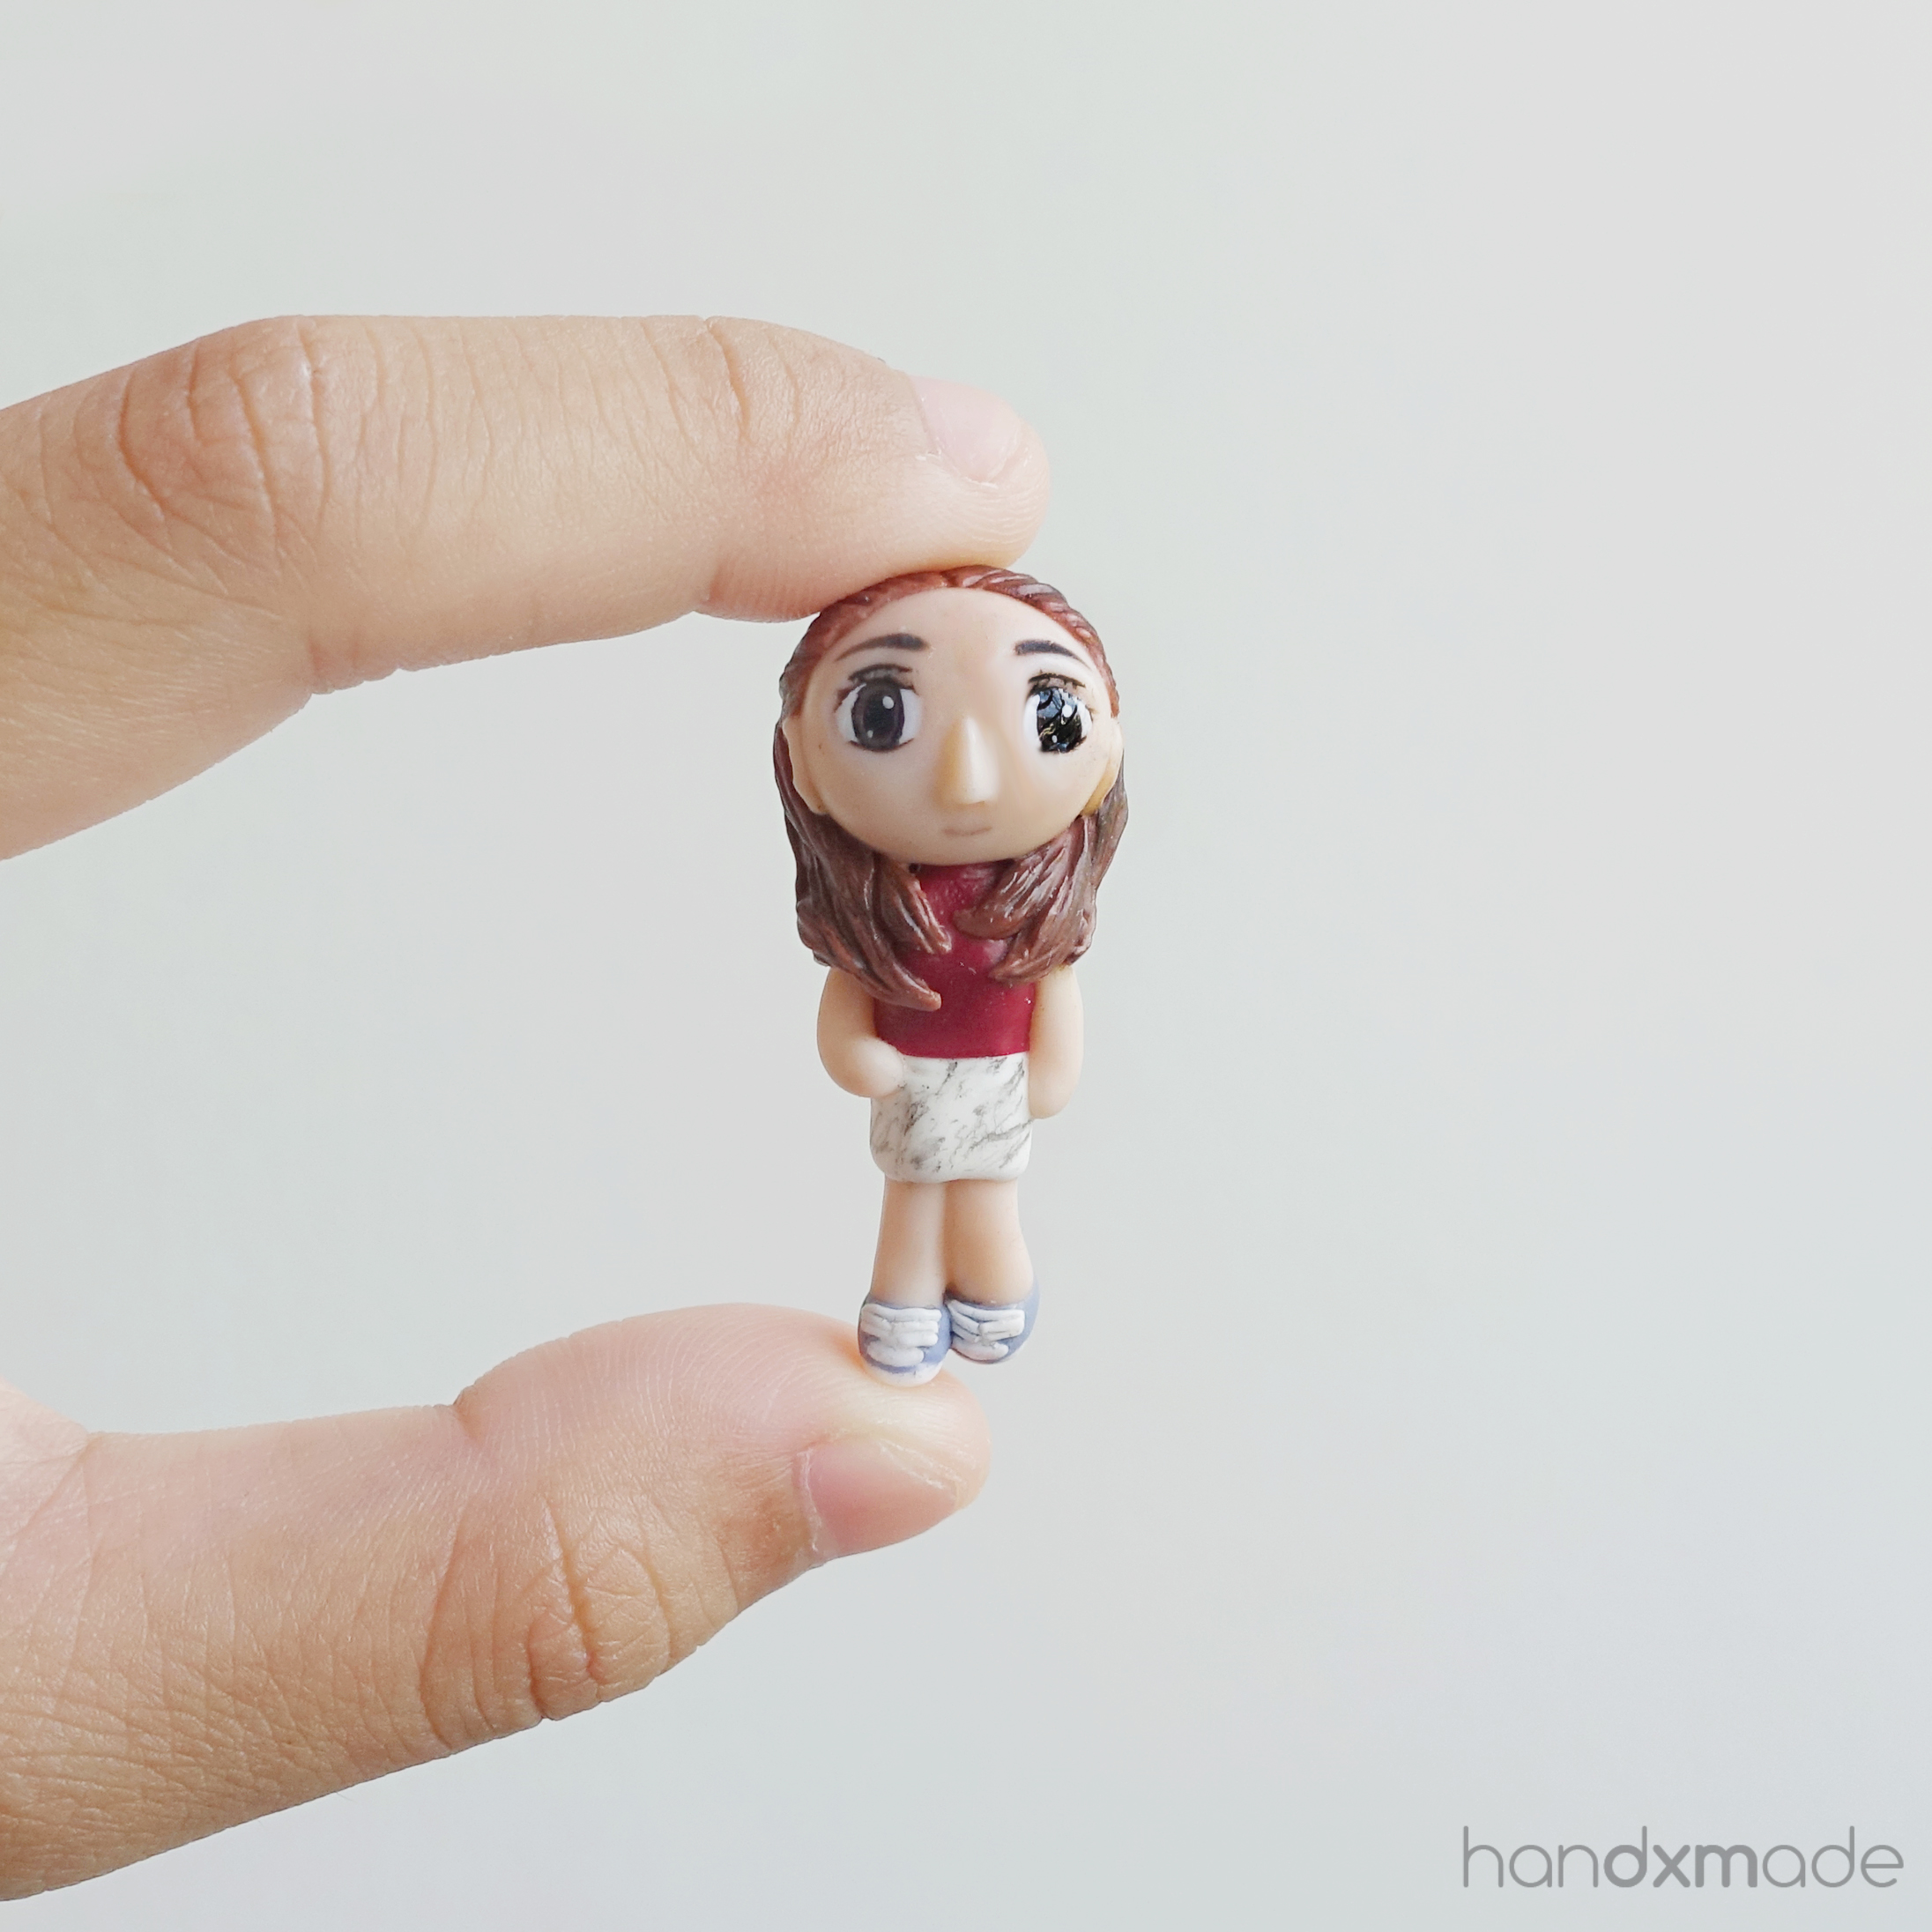
I love her dress, and of course the original looked much better, but I do think it was pretty similar!
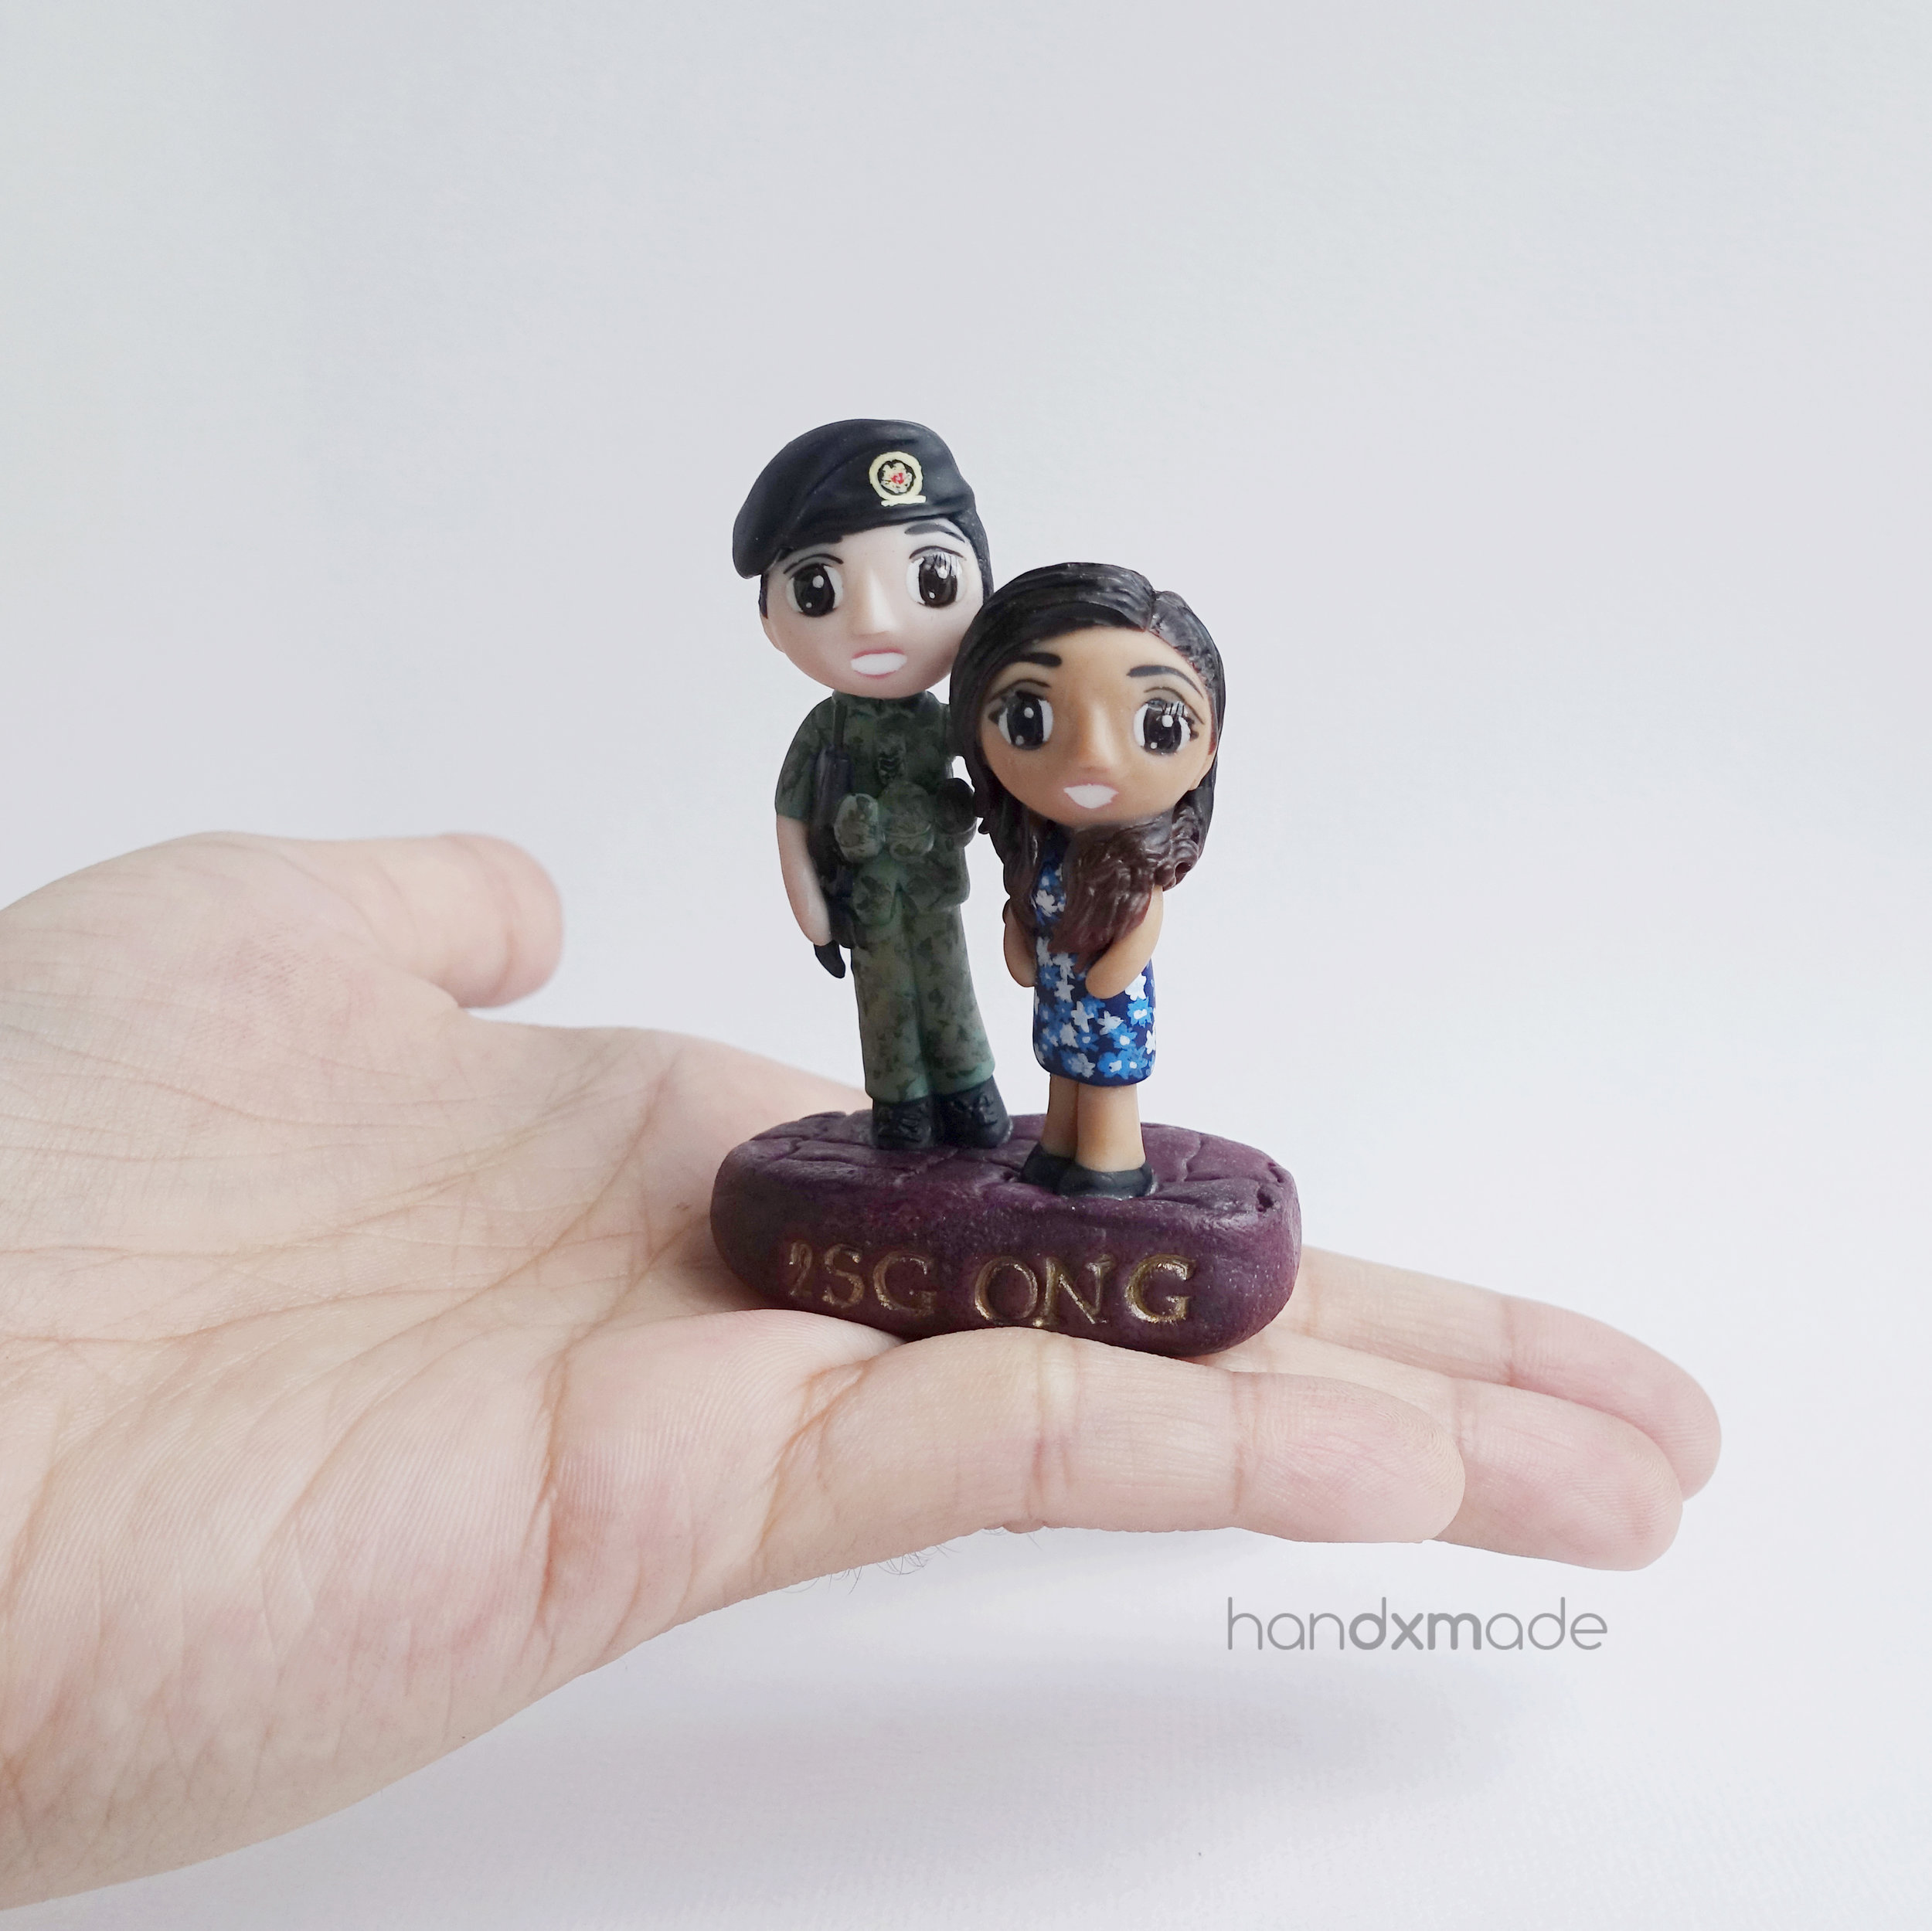
I also tried to sculpt the braid at the side of her head, although it's not very obvious.


Some WIP!
It was the first time I tried making this kind of texture for floor, and I was determined to get it right! I even asked on Dayre in hopes that someone would take a photo of such floor tiles (because there was none near me, and I didn't know what to Google...), and a couple of people really emailed me, or those who had my number sent them to me! I remember feeling really grateful, and thinking "this is the power of internet"
This was the first time I made camo prints, and also a beret! Really glad I managed to pull it off *phew*
The one I made friends with
Cheryl has been a really good friend, and I'm proud to say that I know her through Dayre 100%! She taught me how to use my DSLR (Yes I got one, shall write about it another day hehe), and even accompanied me to watch Train to Busan when my partner wasn't free (he rarely is, and I really wanted to watch it tsk)
I quite like the peace sign, hehehe.
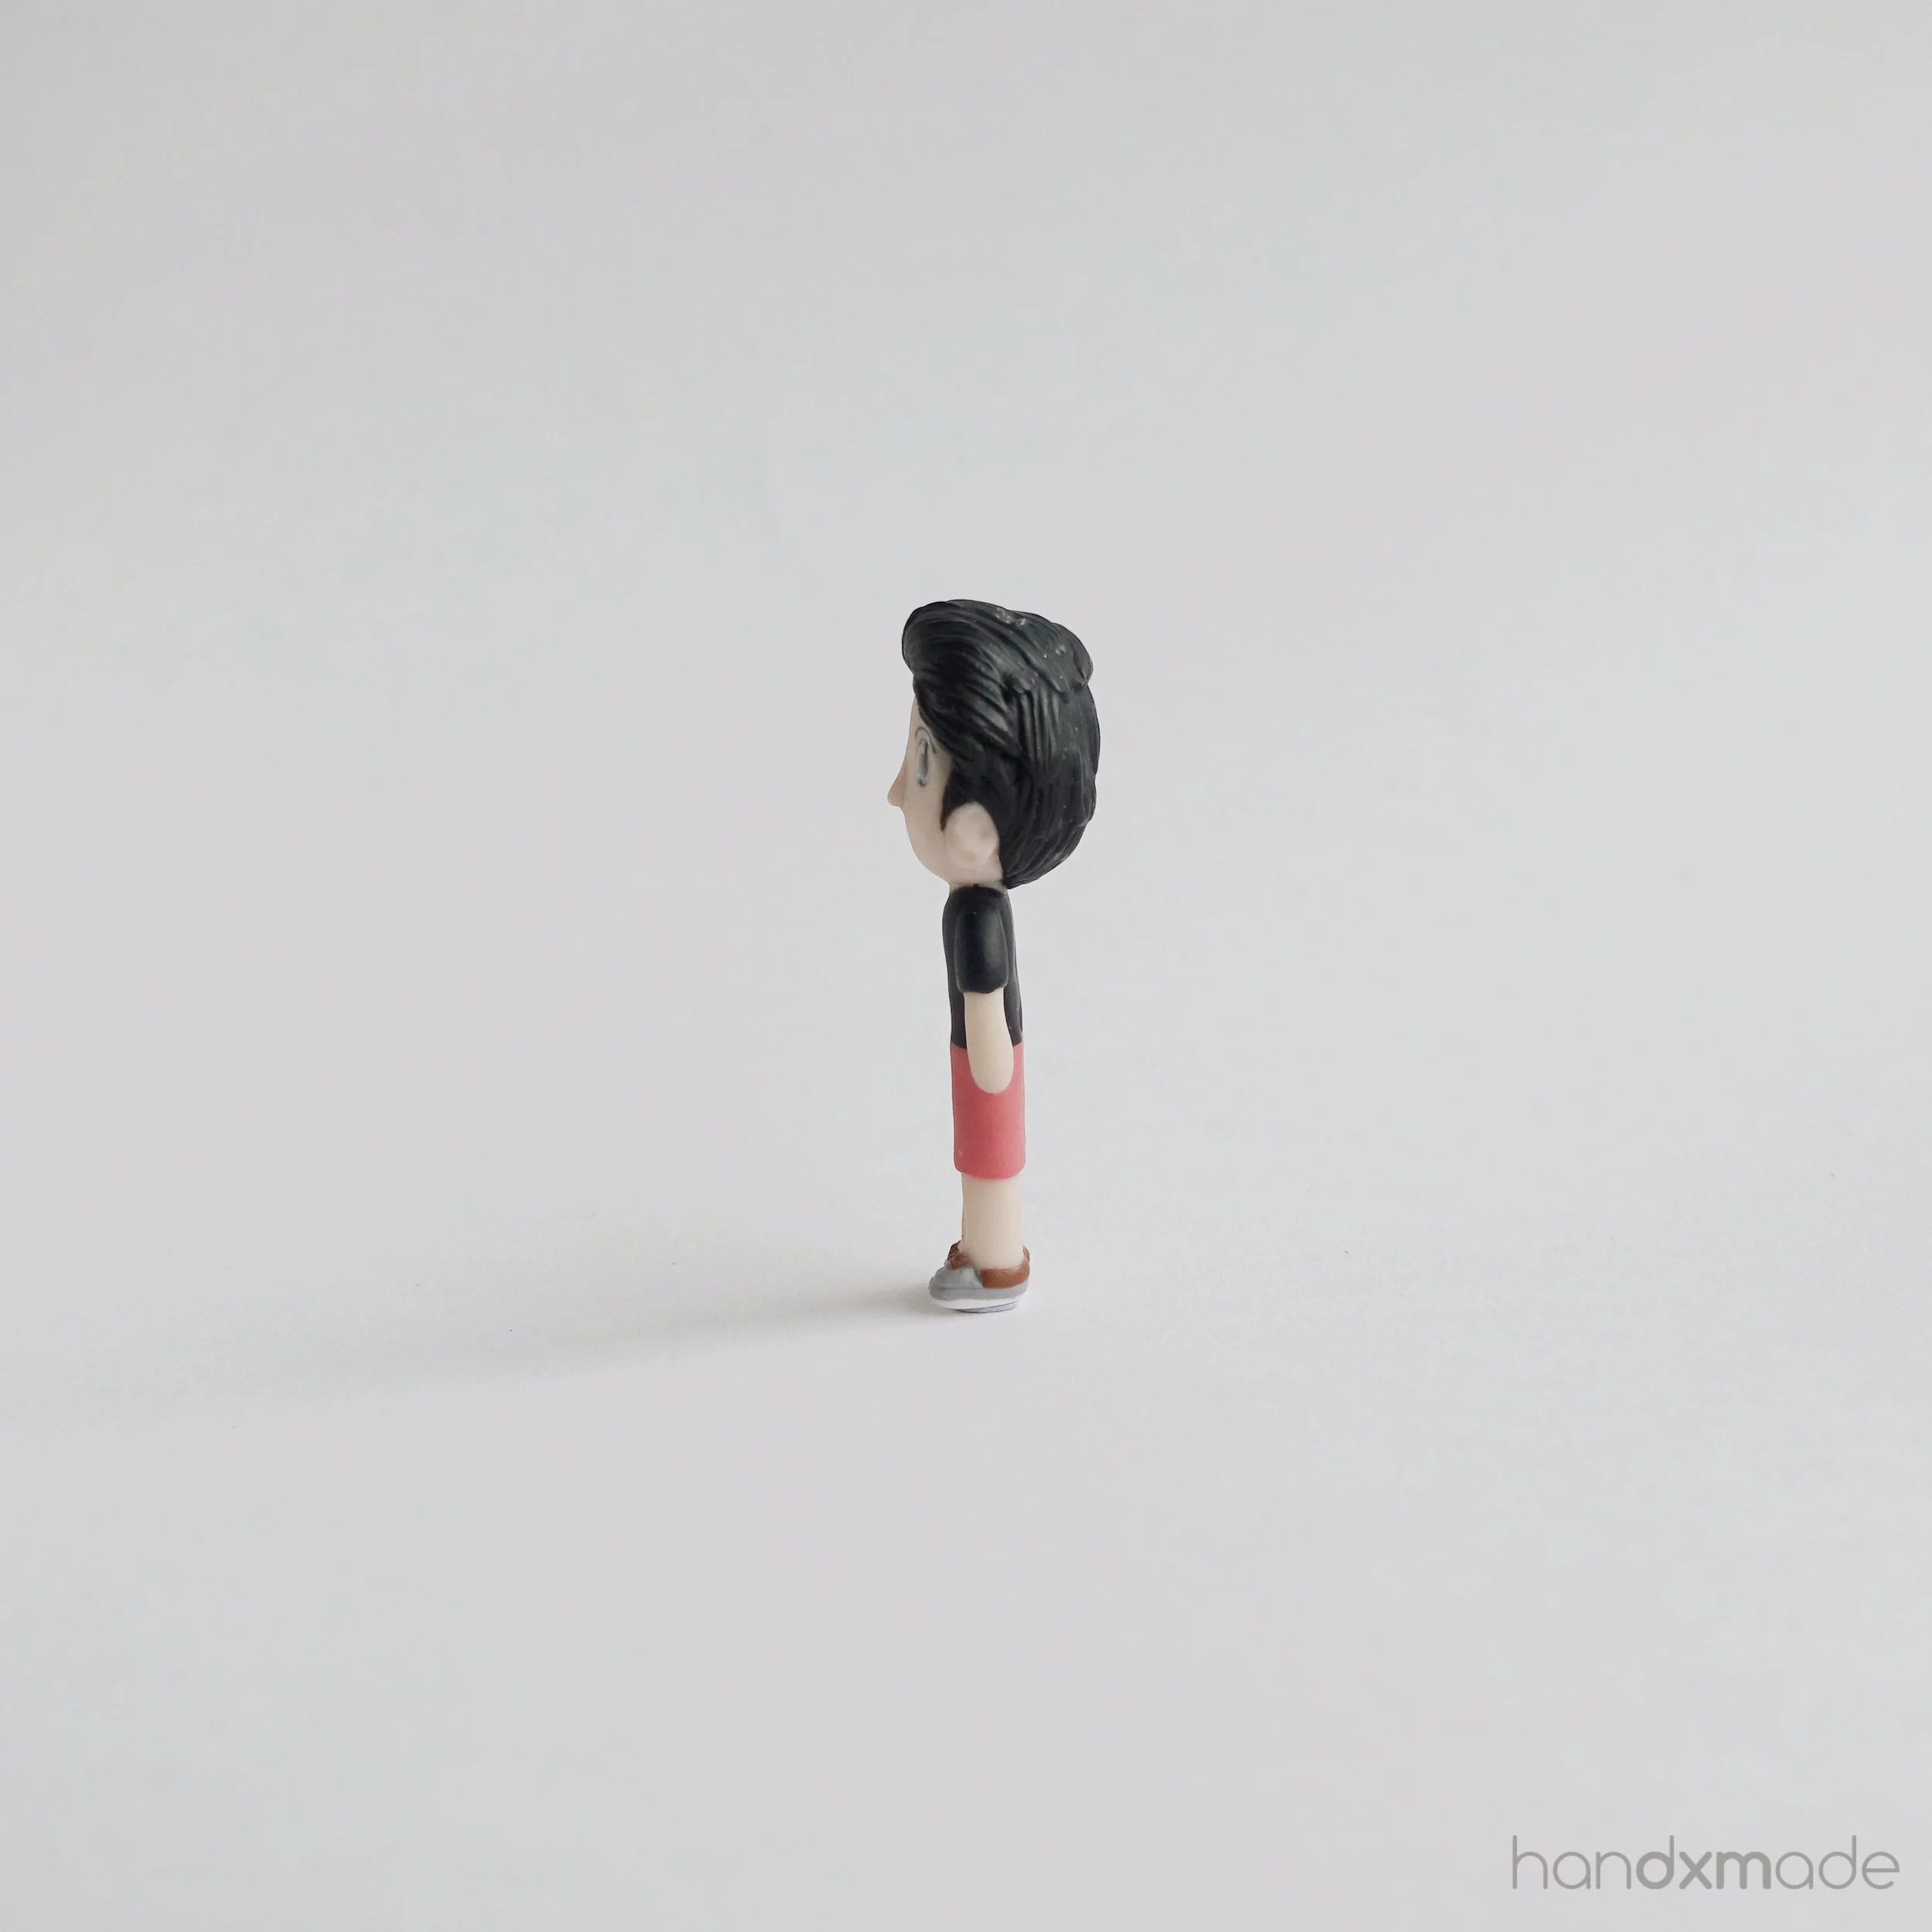
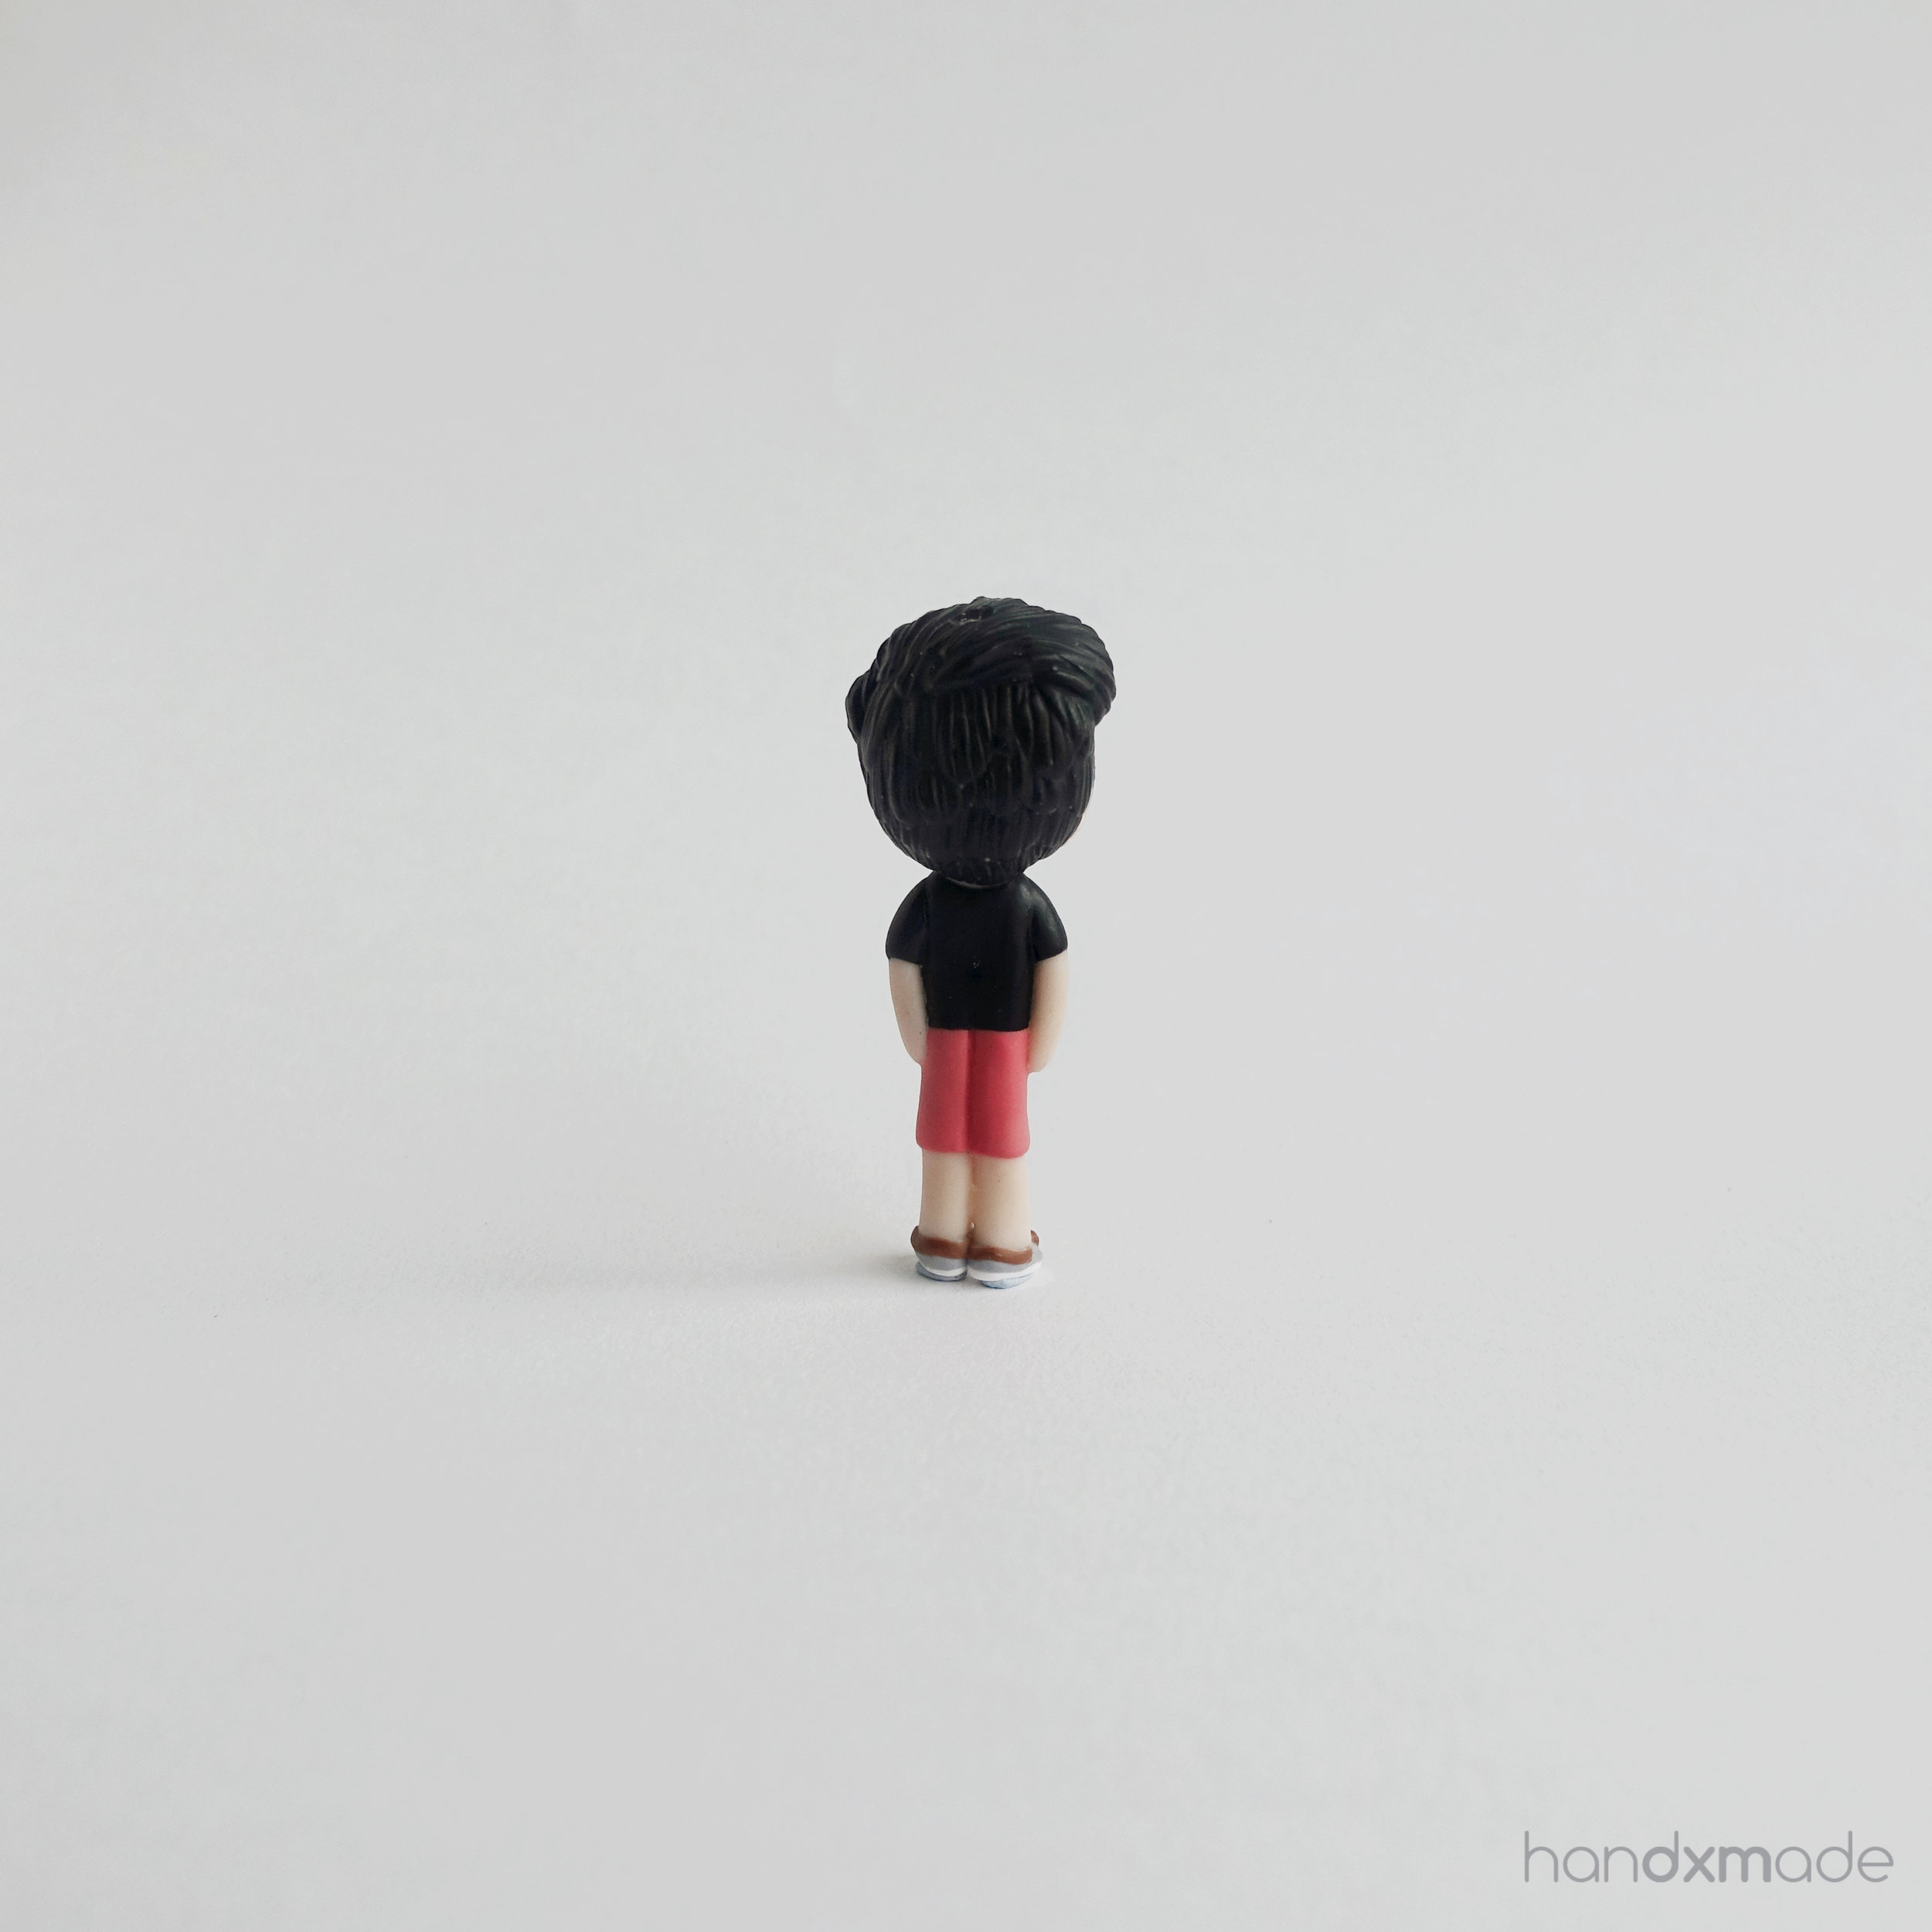
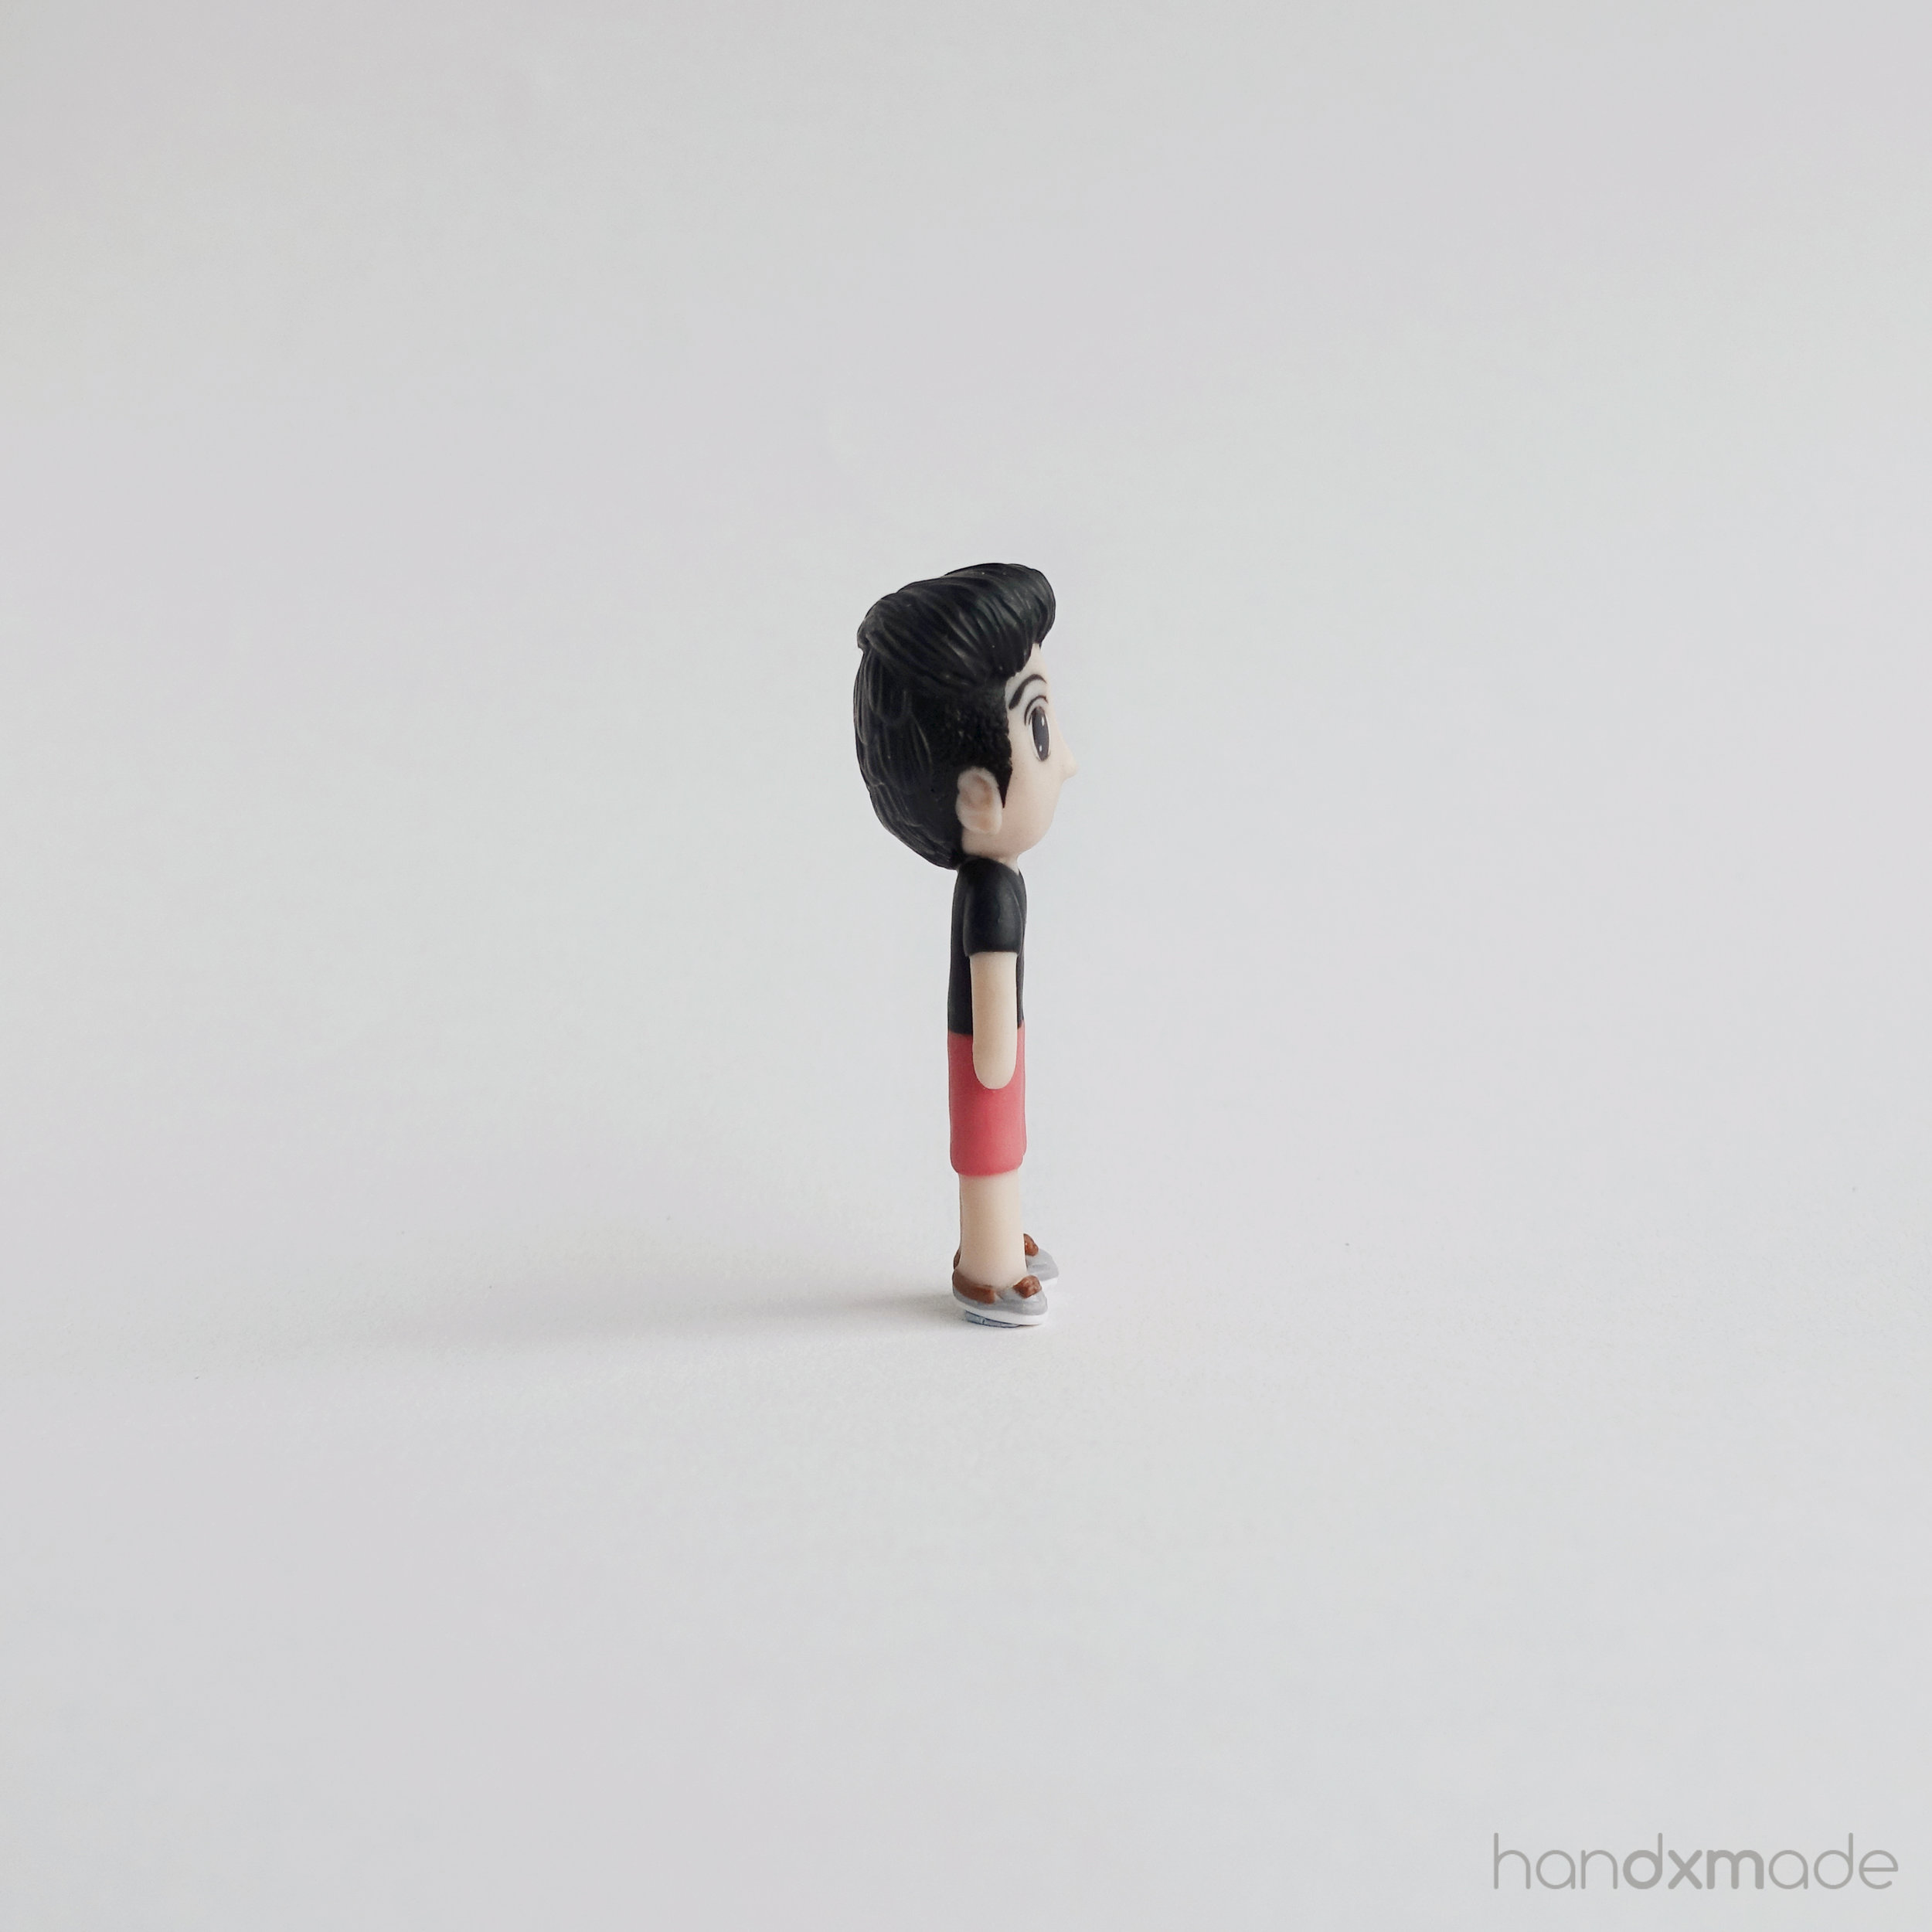
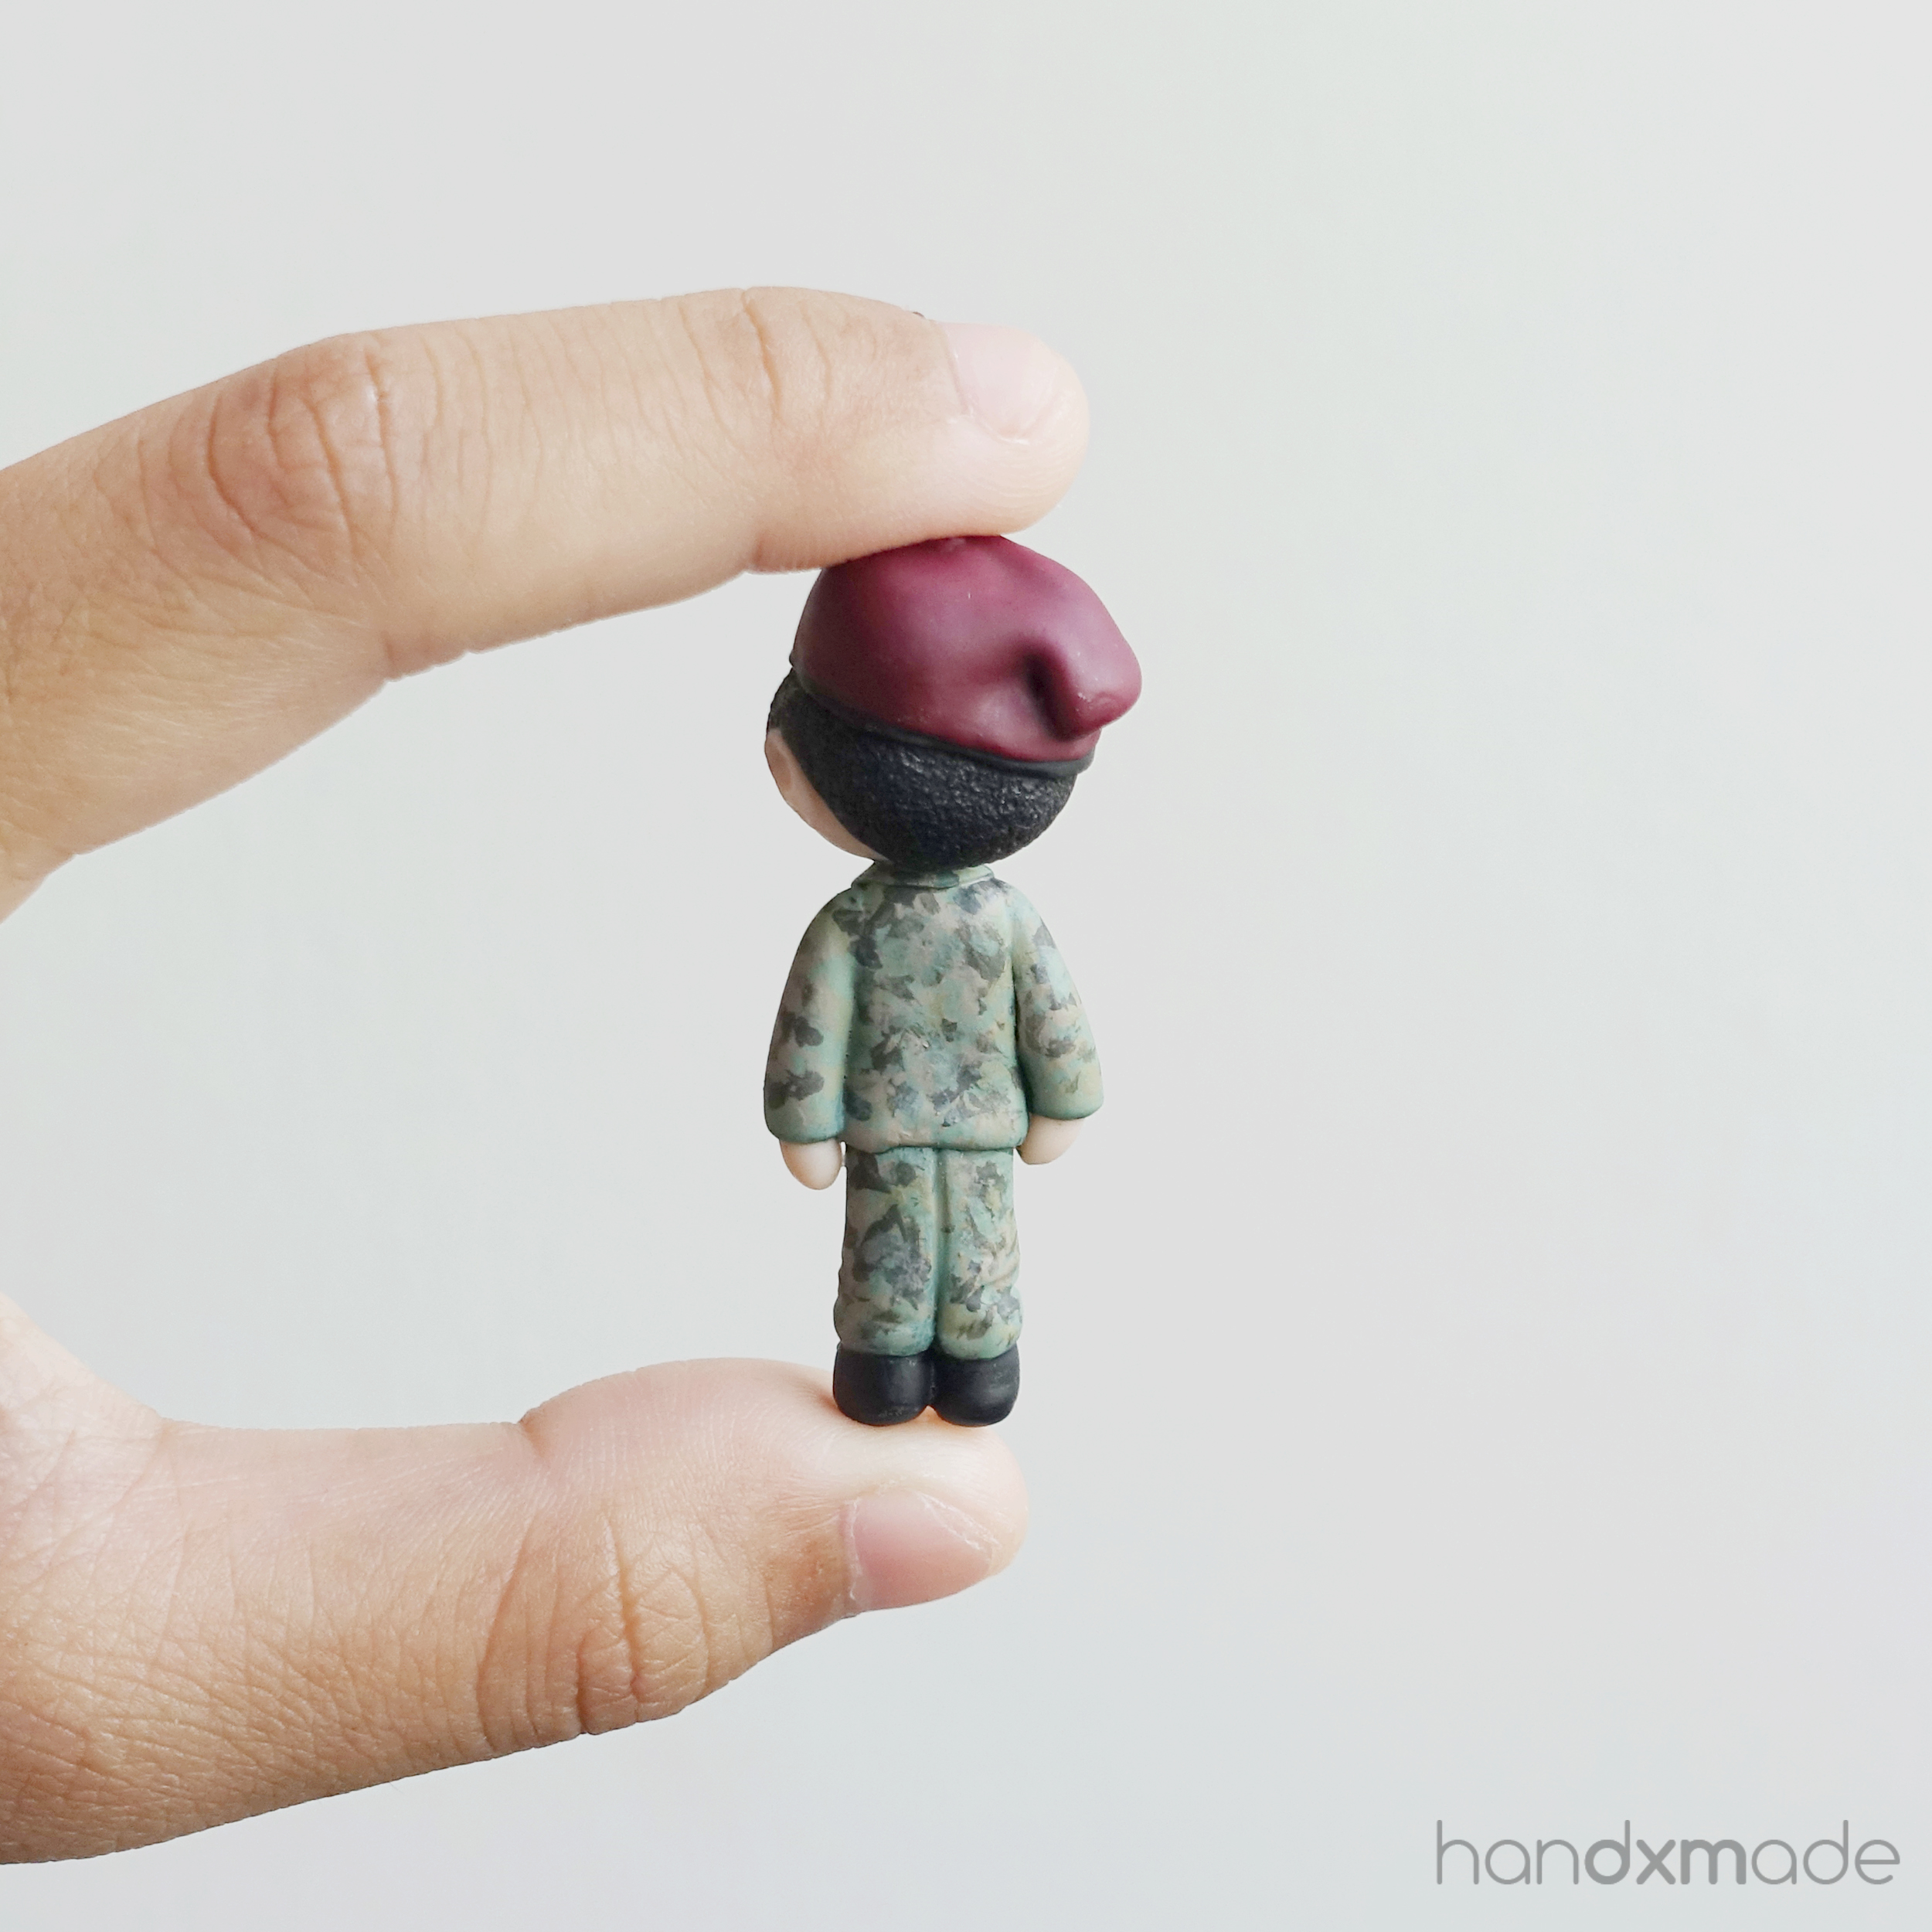
Army man 2

I was really lucky to get two orders in a go for army boyfriends! Hehehe. This time, I was ready with the correct paint, and mold for the beret!
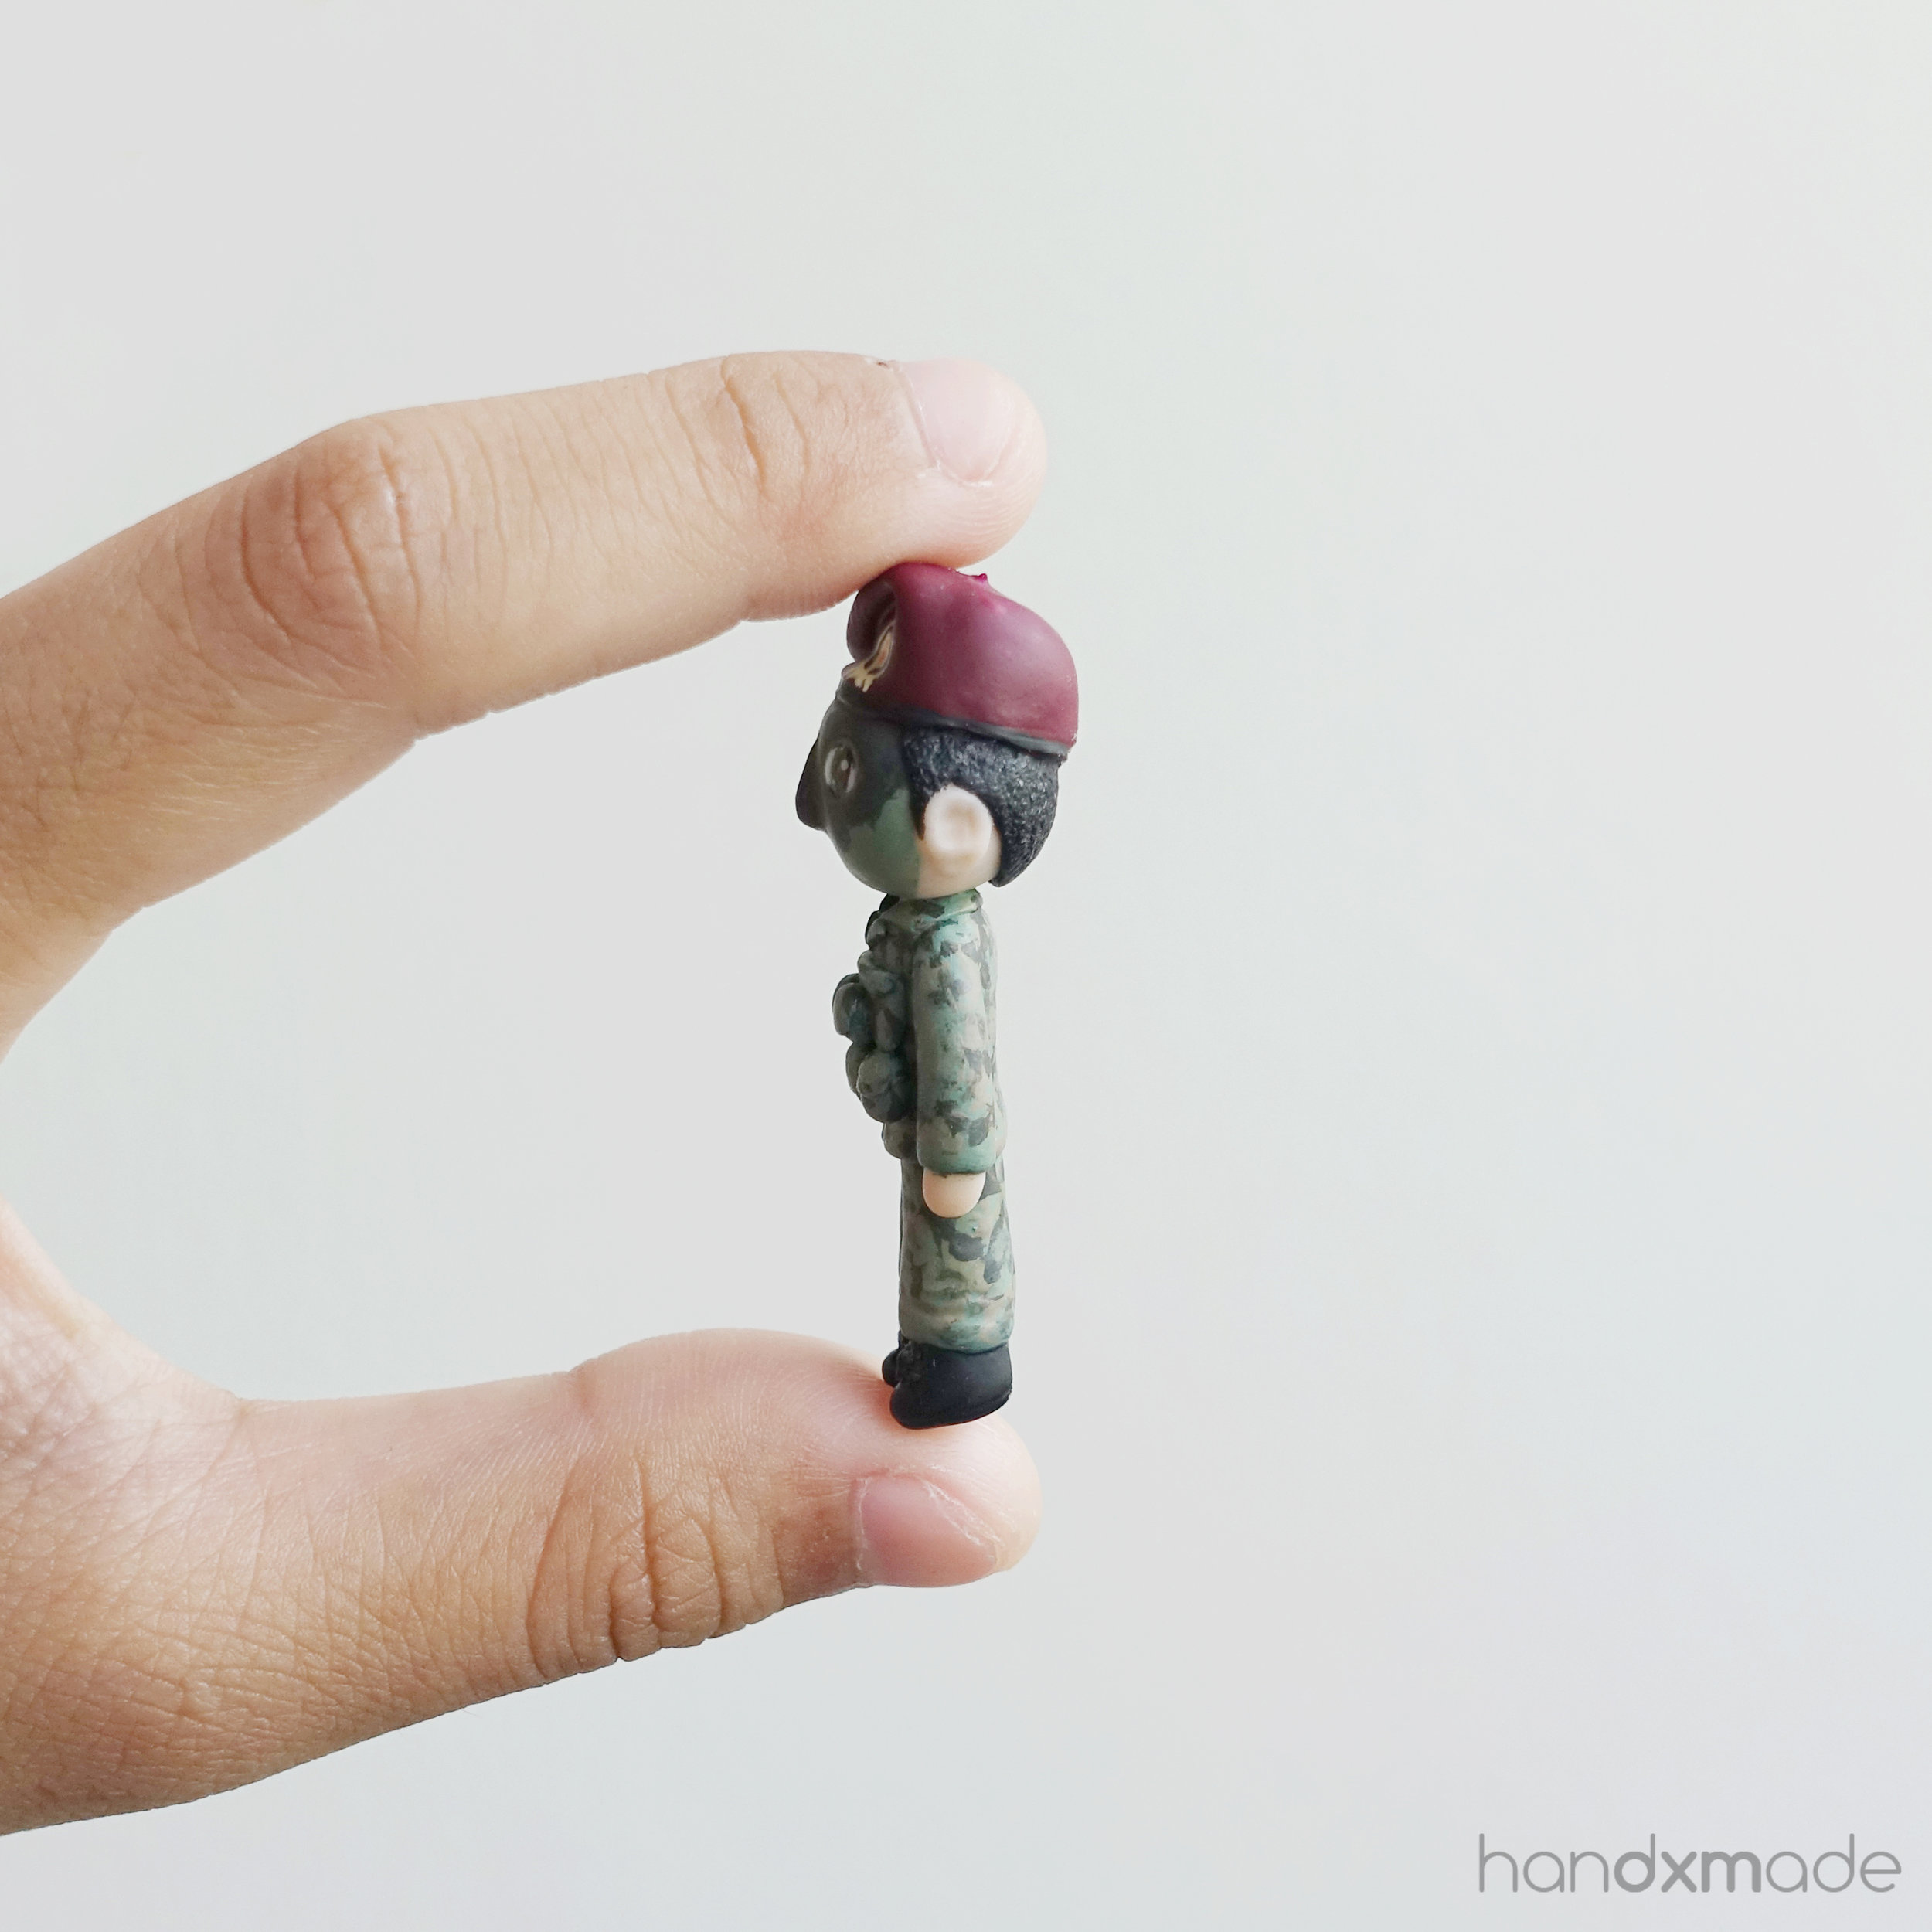
It's nice to make keychains, because I can take individual shots like this hehe.
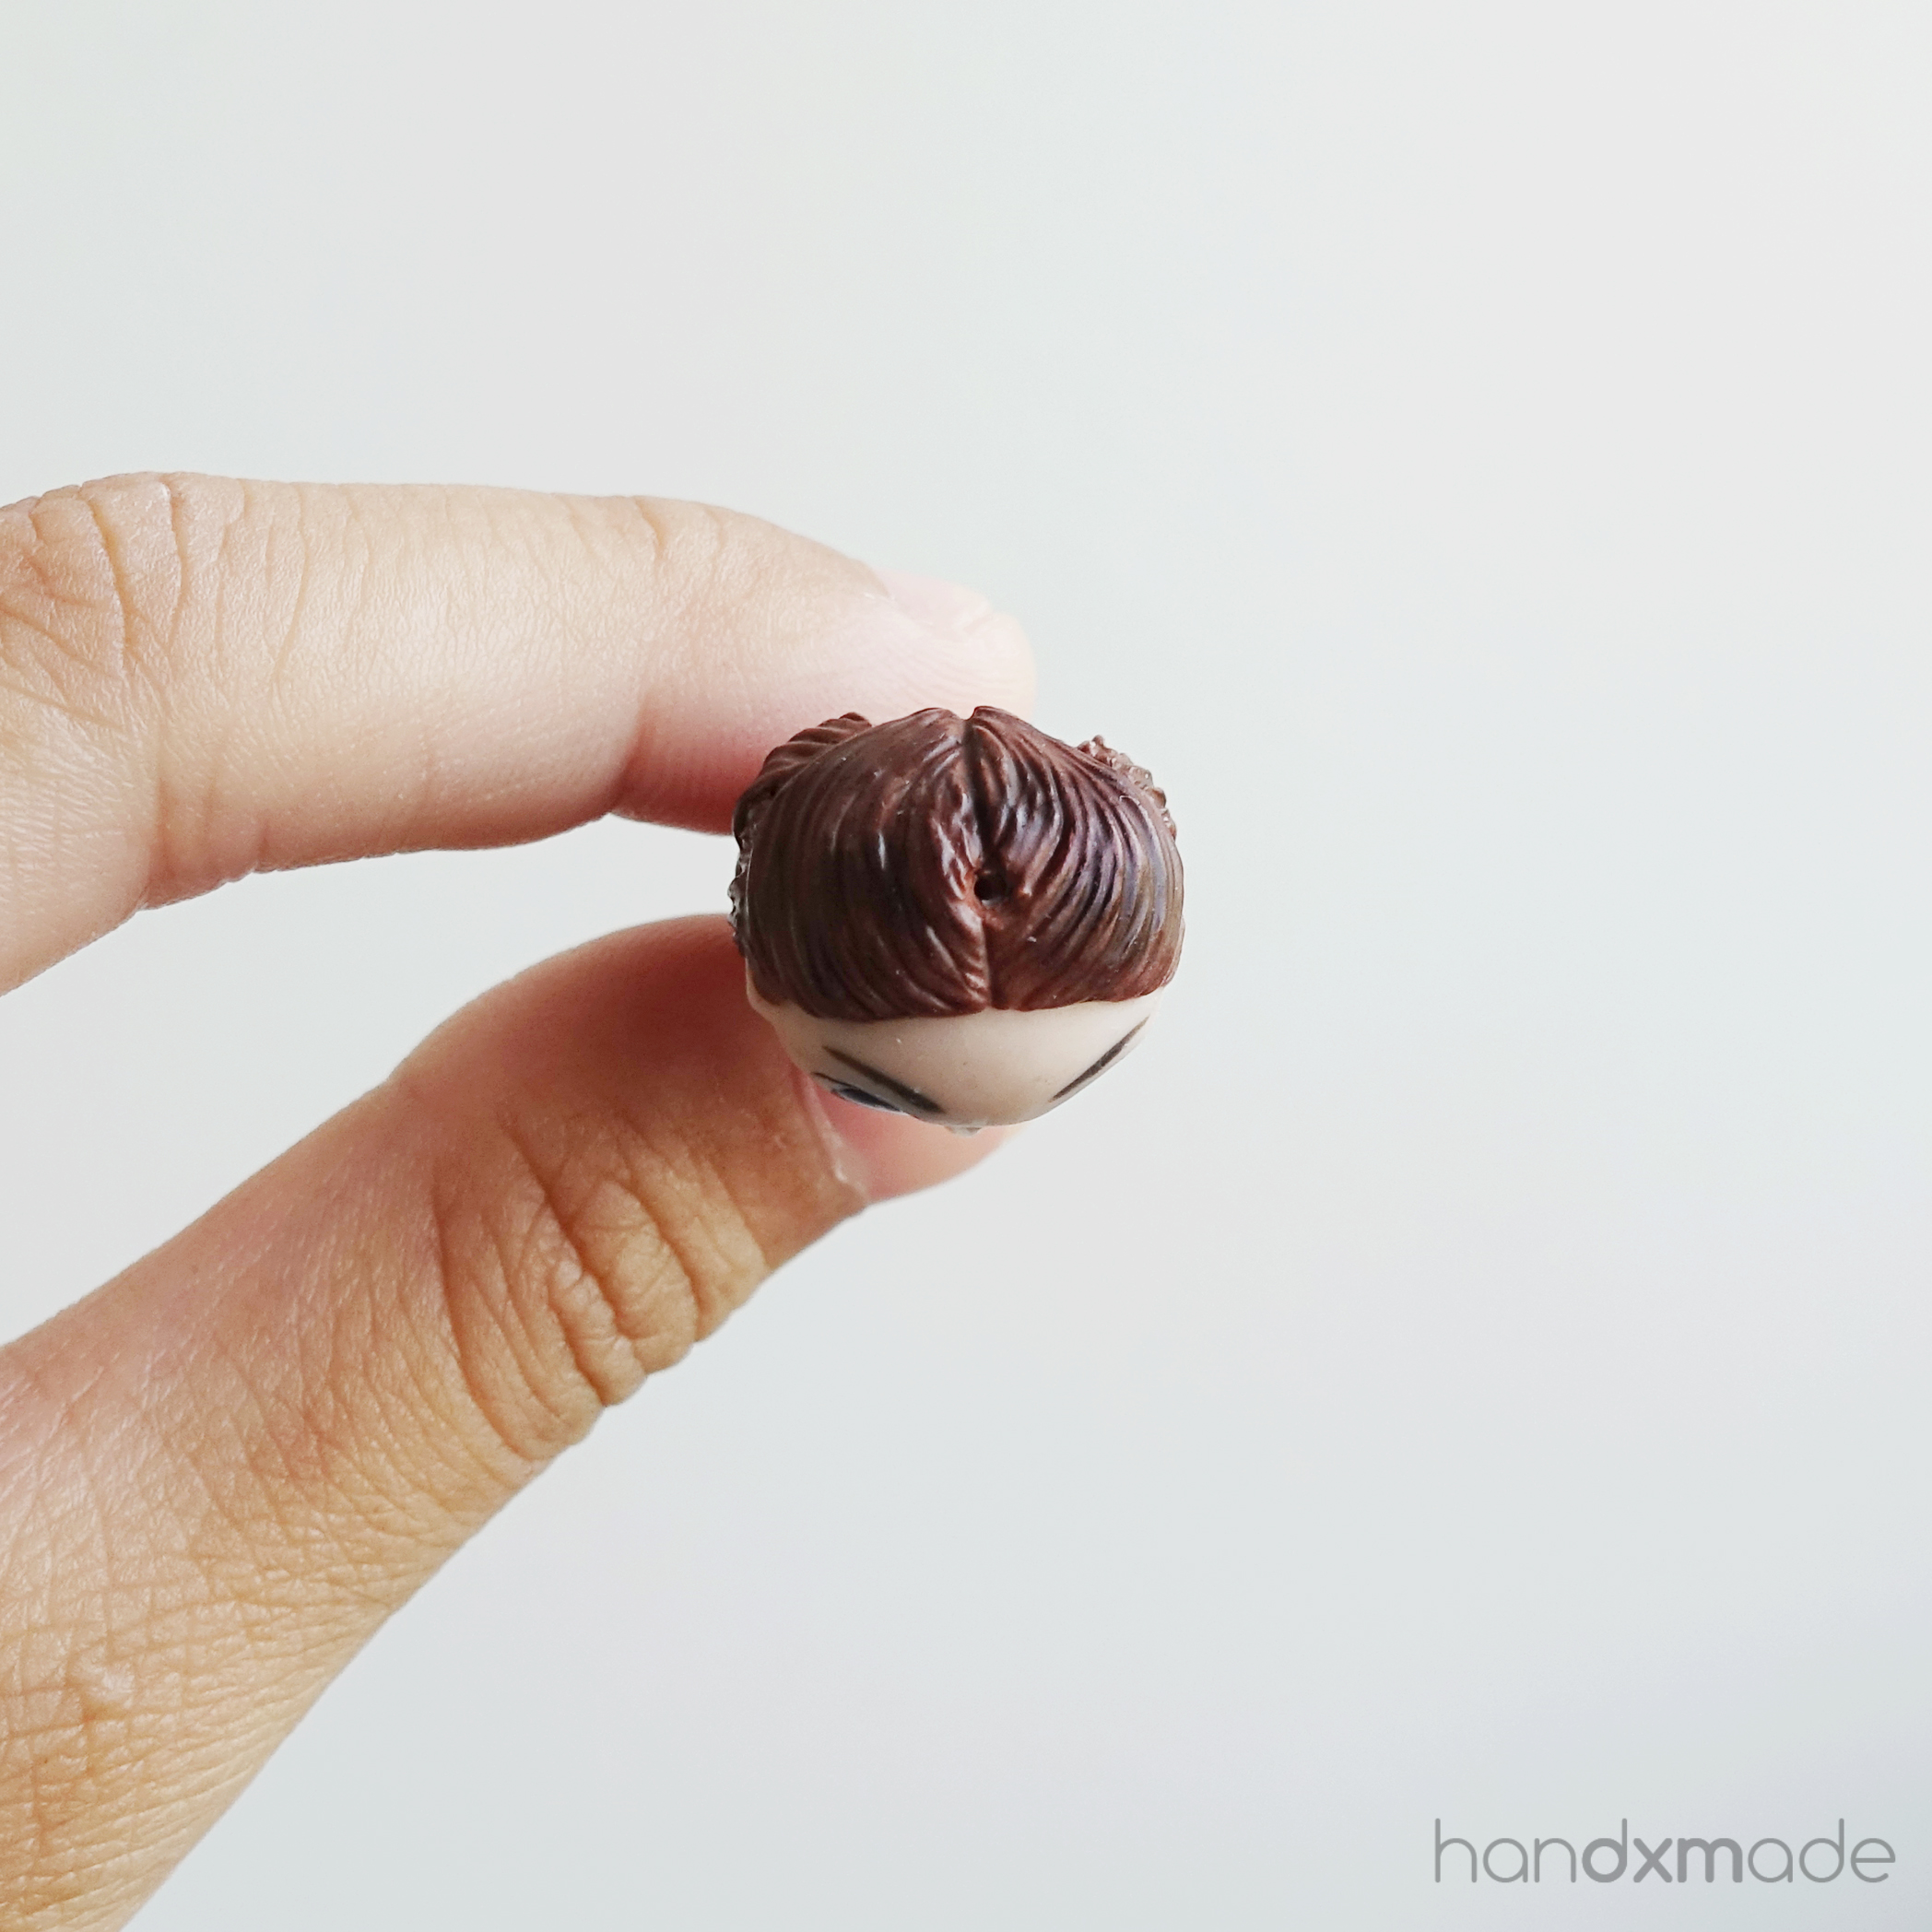
I'm gonna regret saying this, because I think it can't be unseen afterwards.....but the male's face looks like watermelon HAHAHAHAA. It's just that my figurine's faces are all kinda round..so.........
Some WIP. You can see the watermelon shape clearer here..... *ahem*
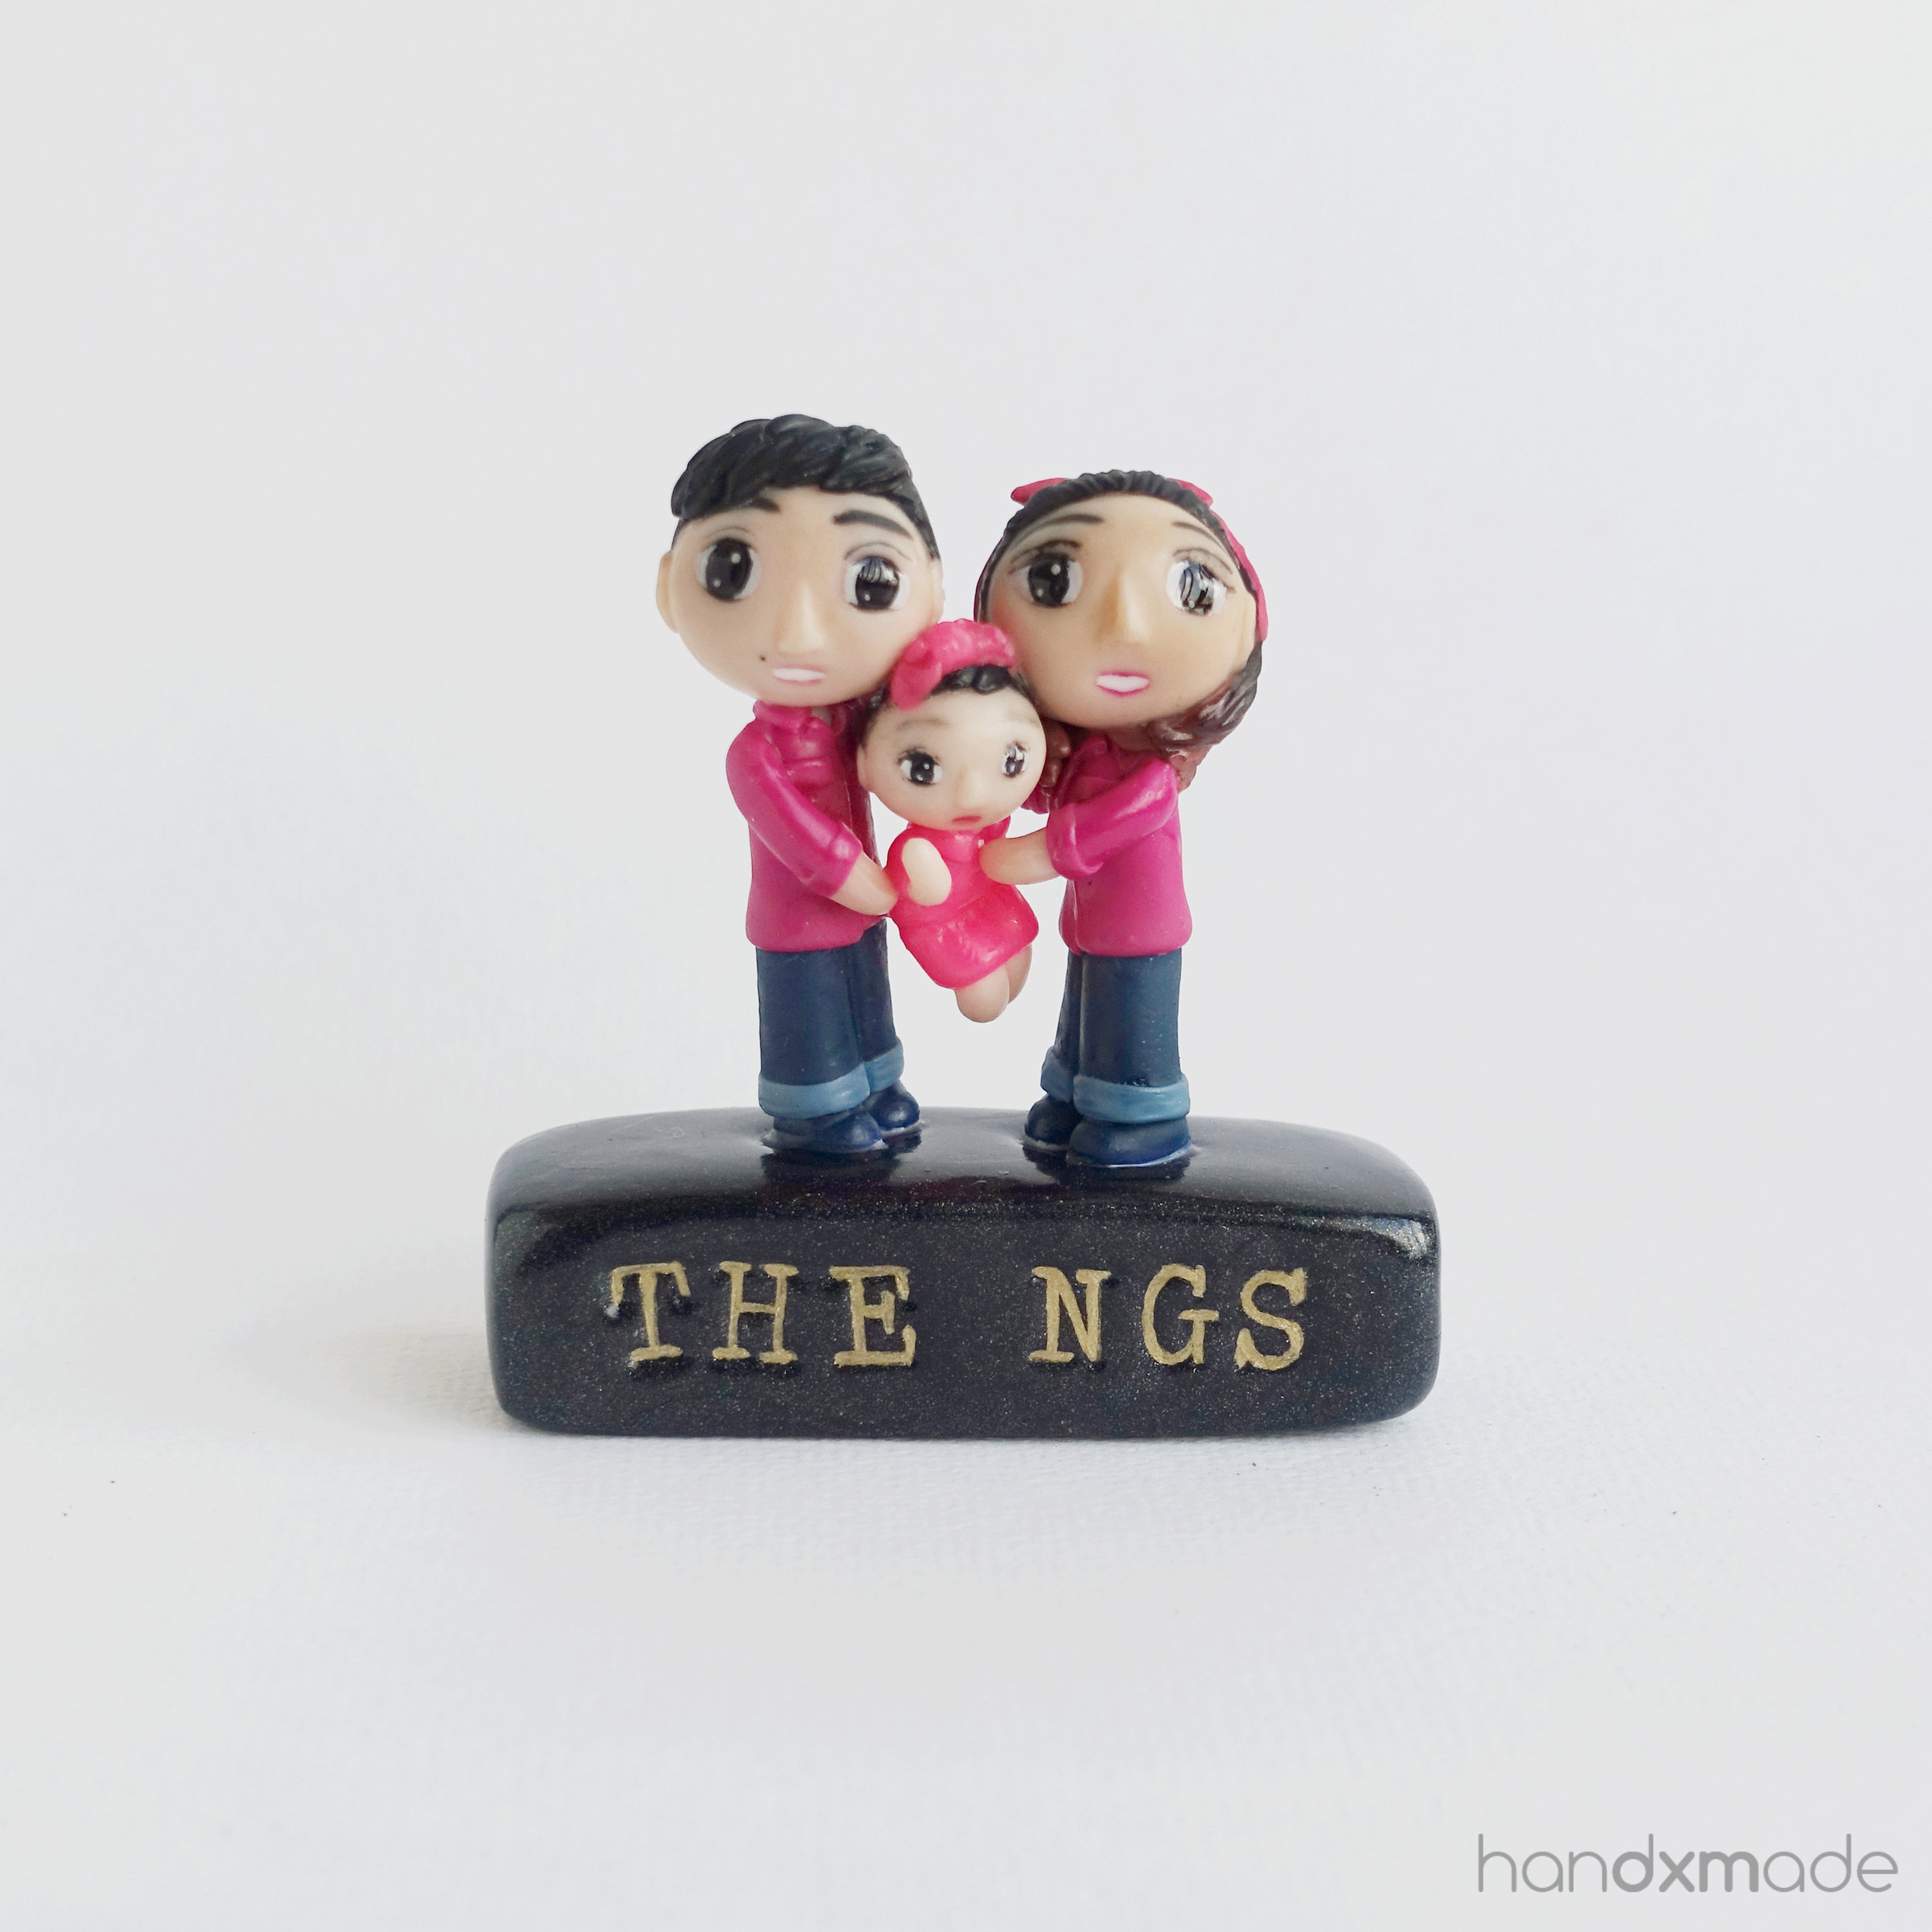
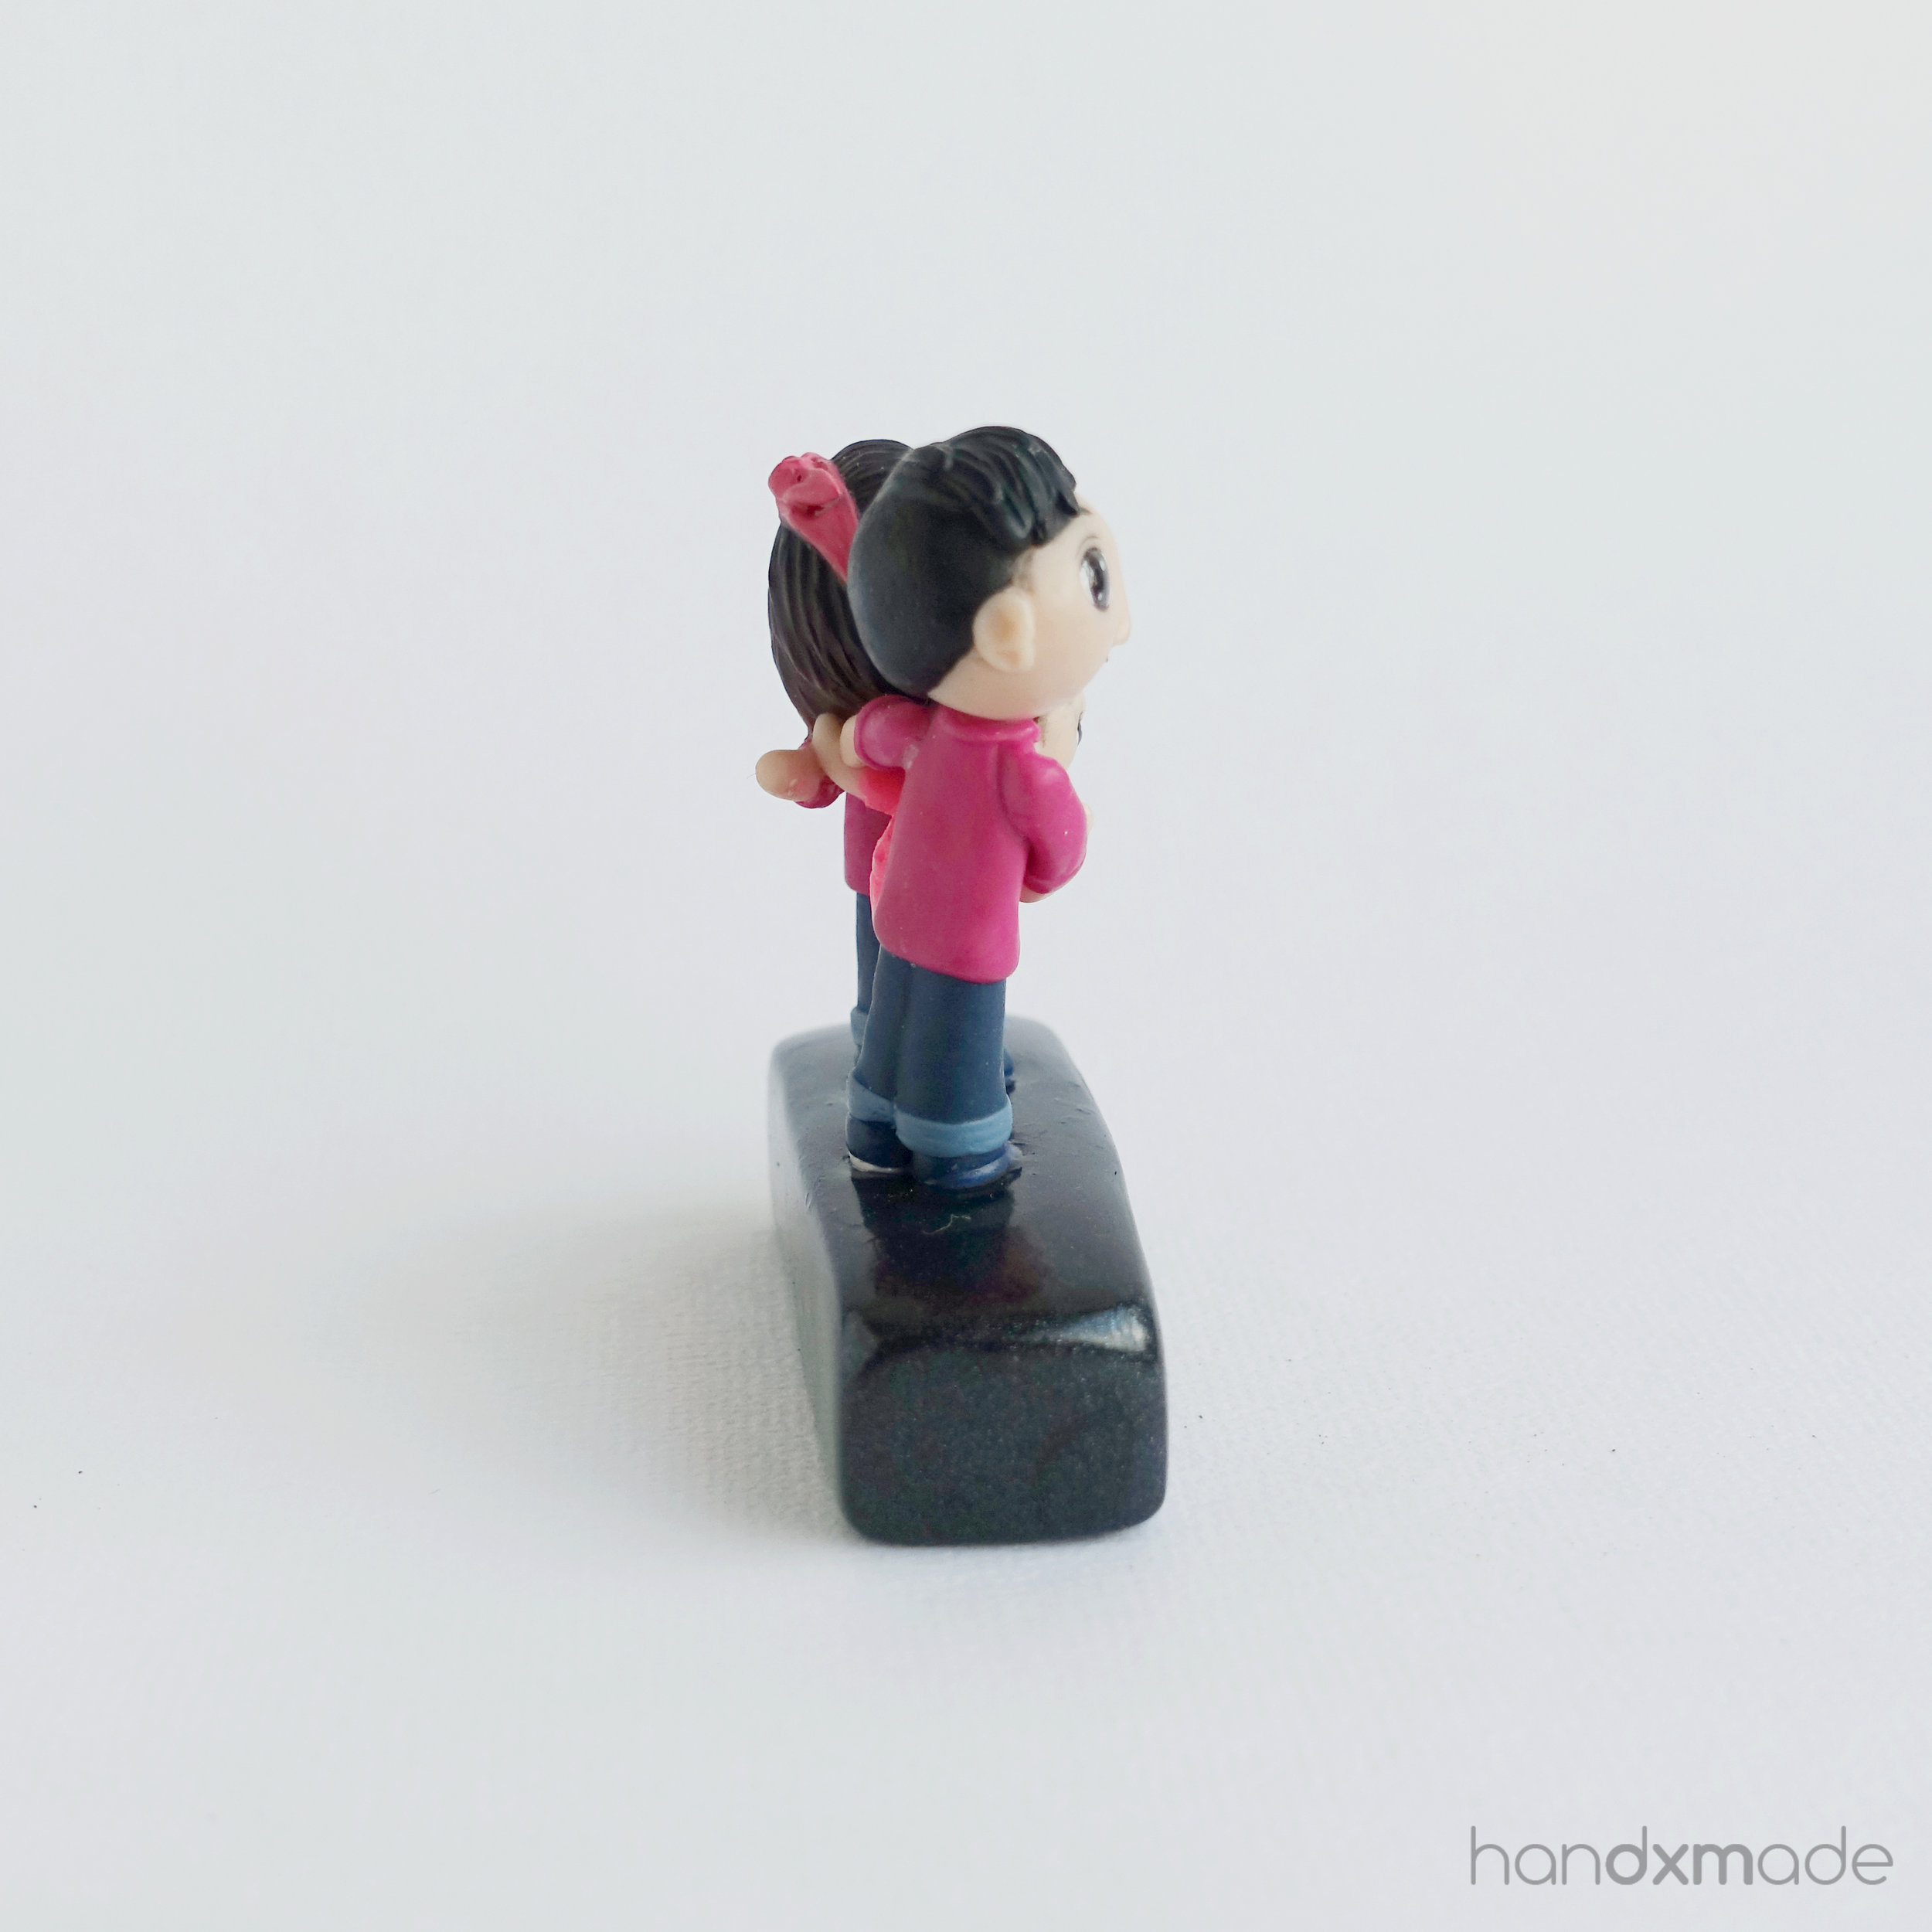
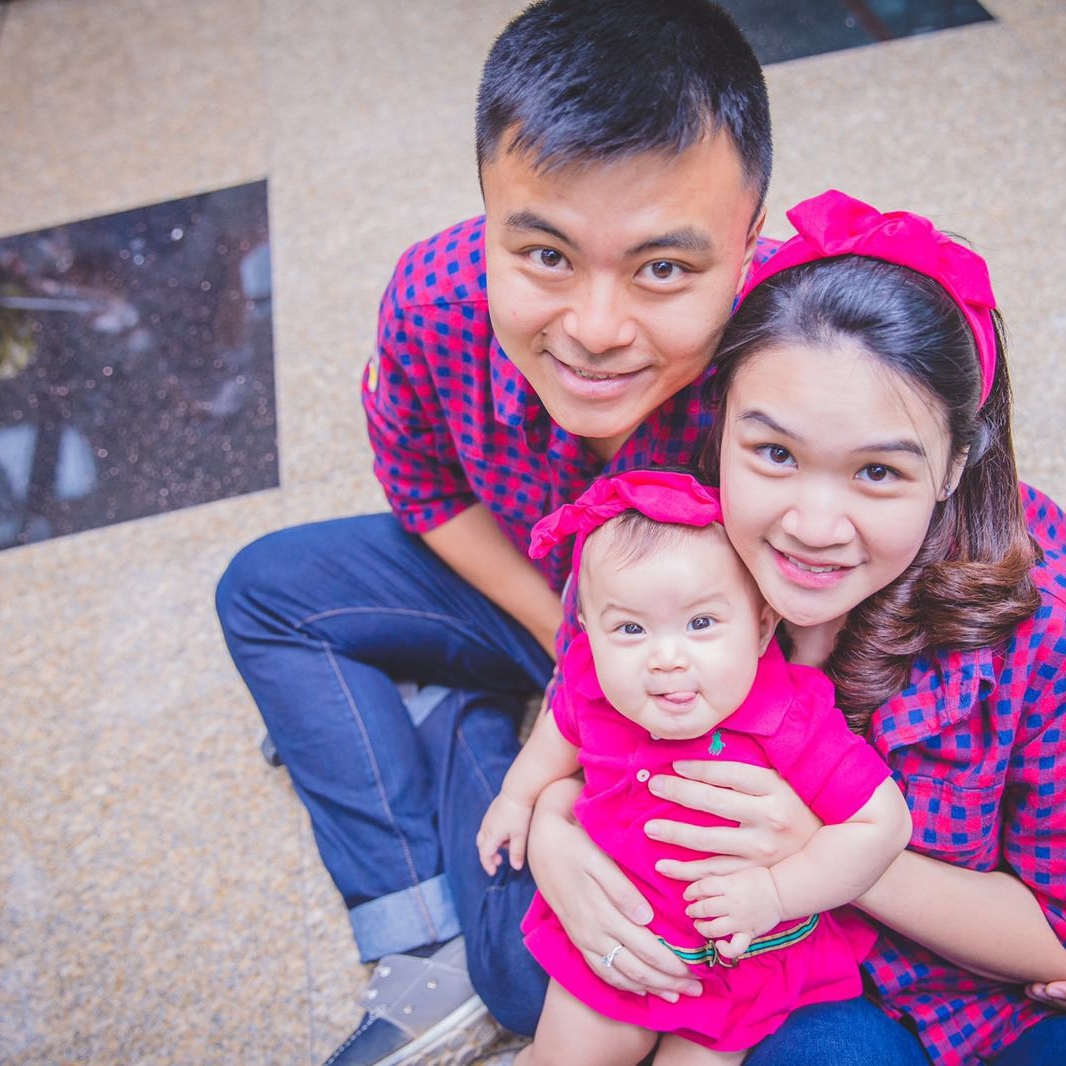
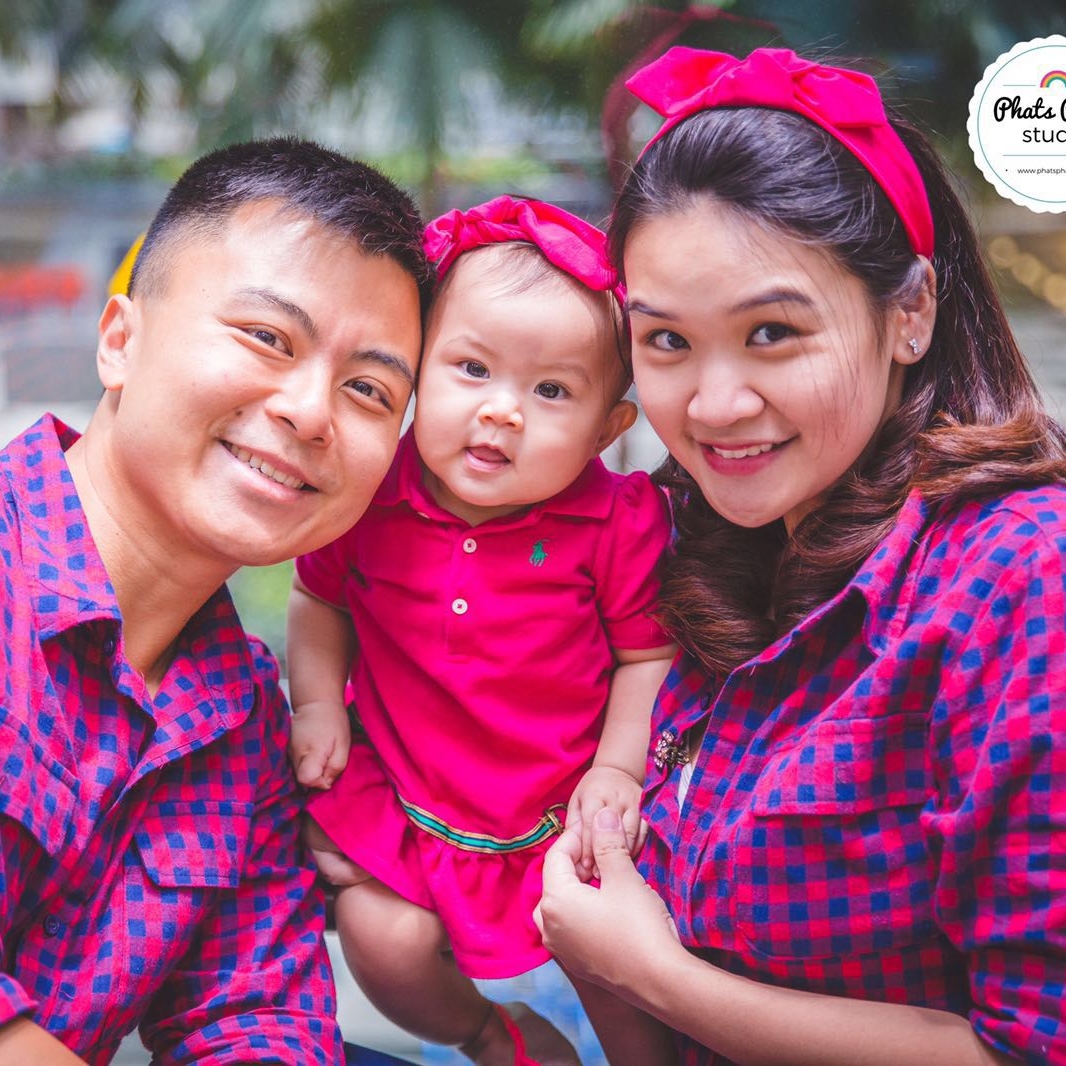
The baby
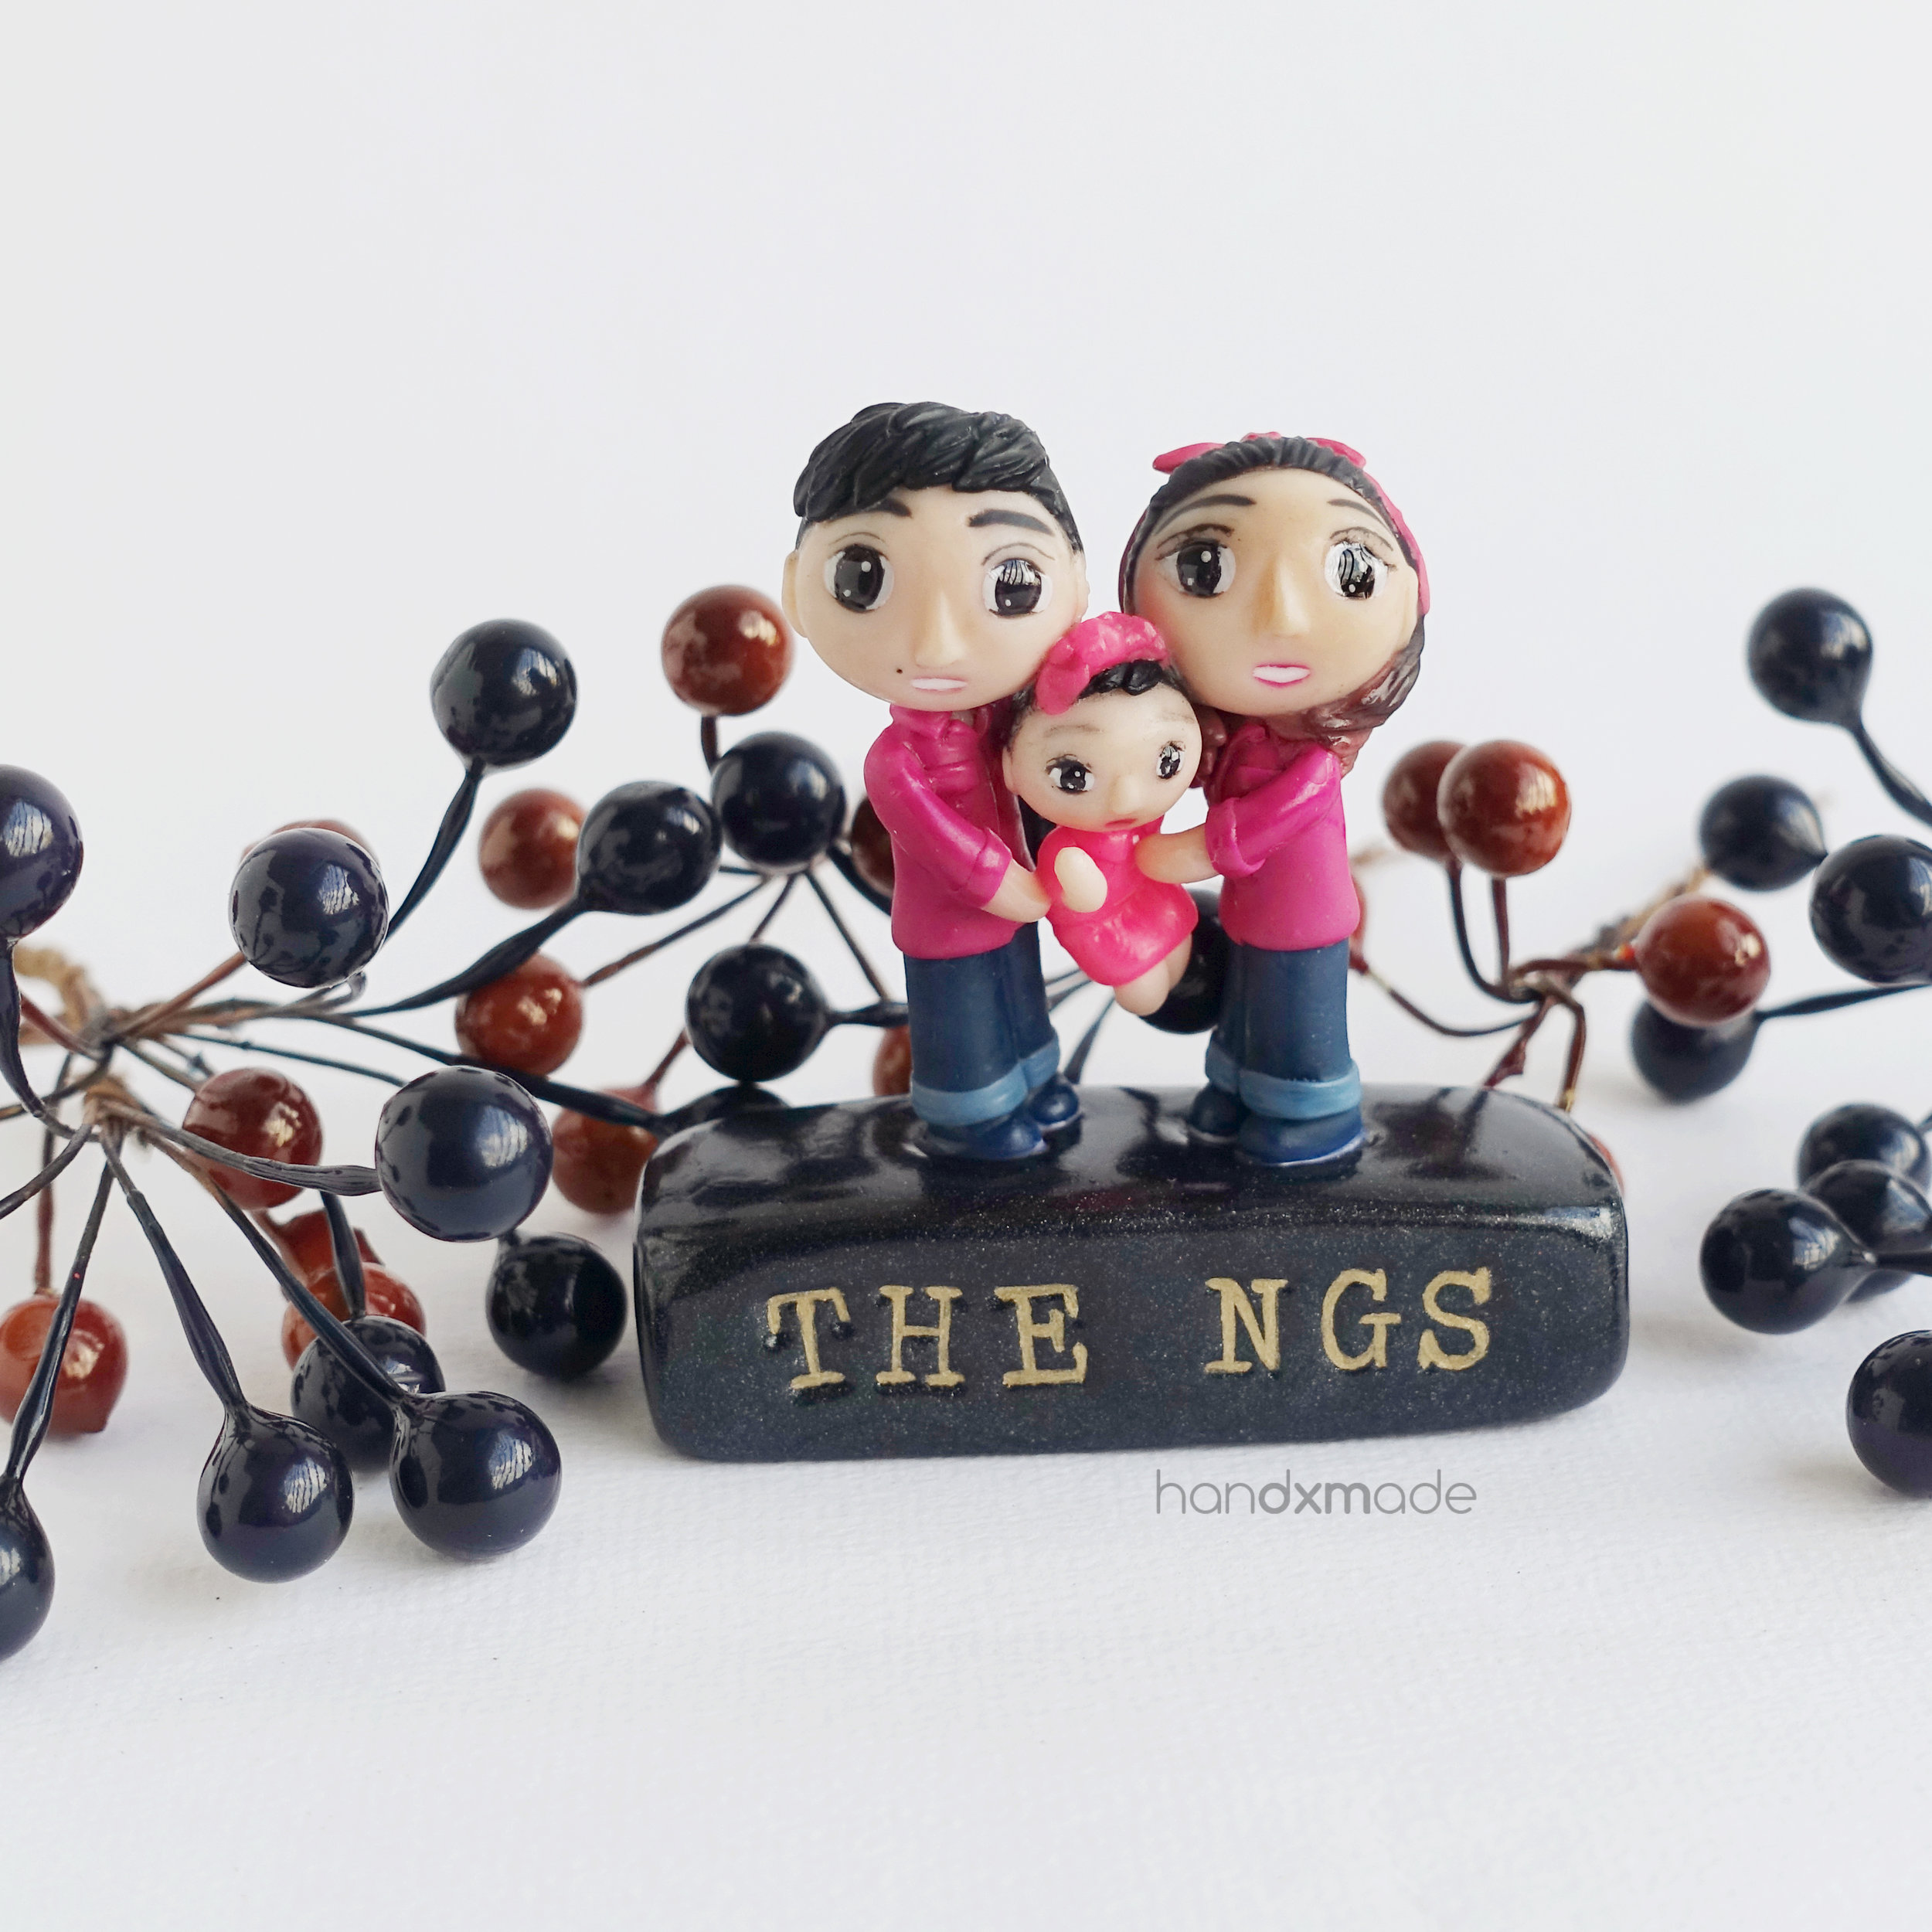
It was the first time I was tasked with adding a baby to the mix, and I was also having mixed feeling about it. HOW WAS I SUPPOSE DO THAT??
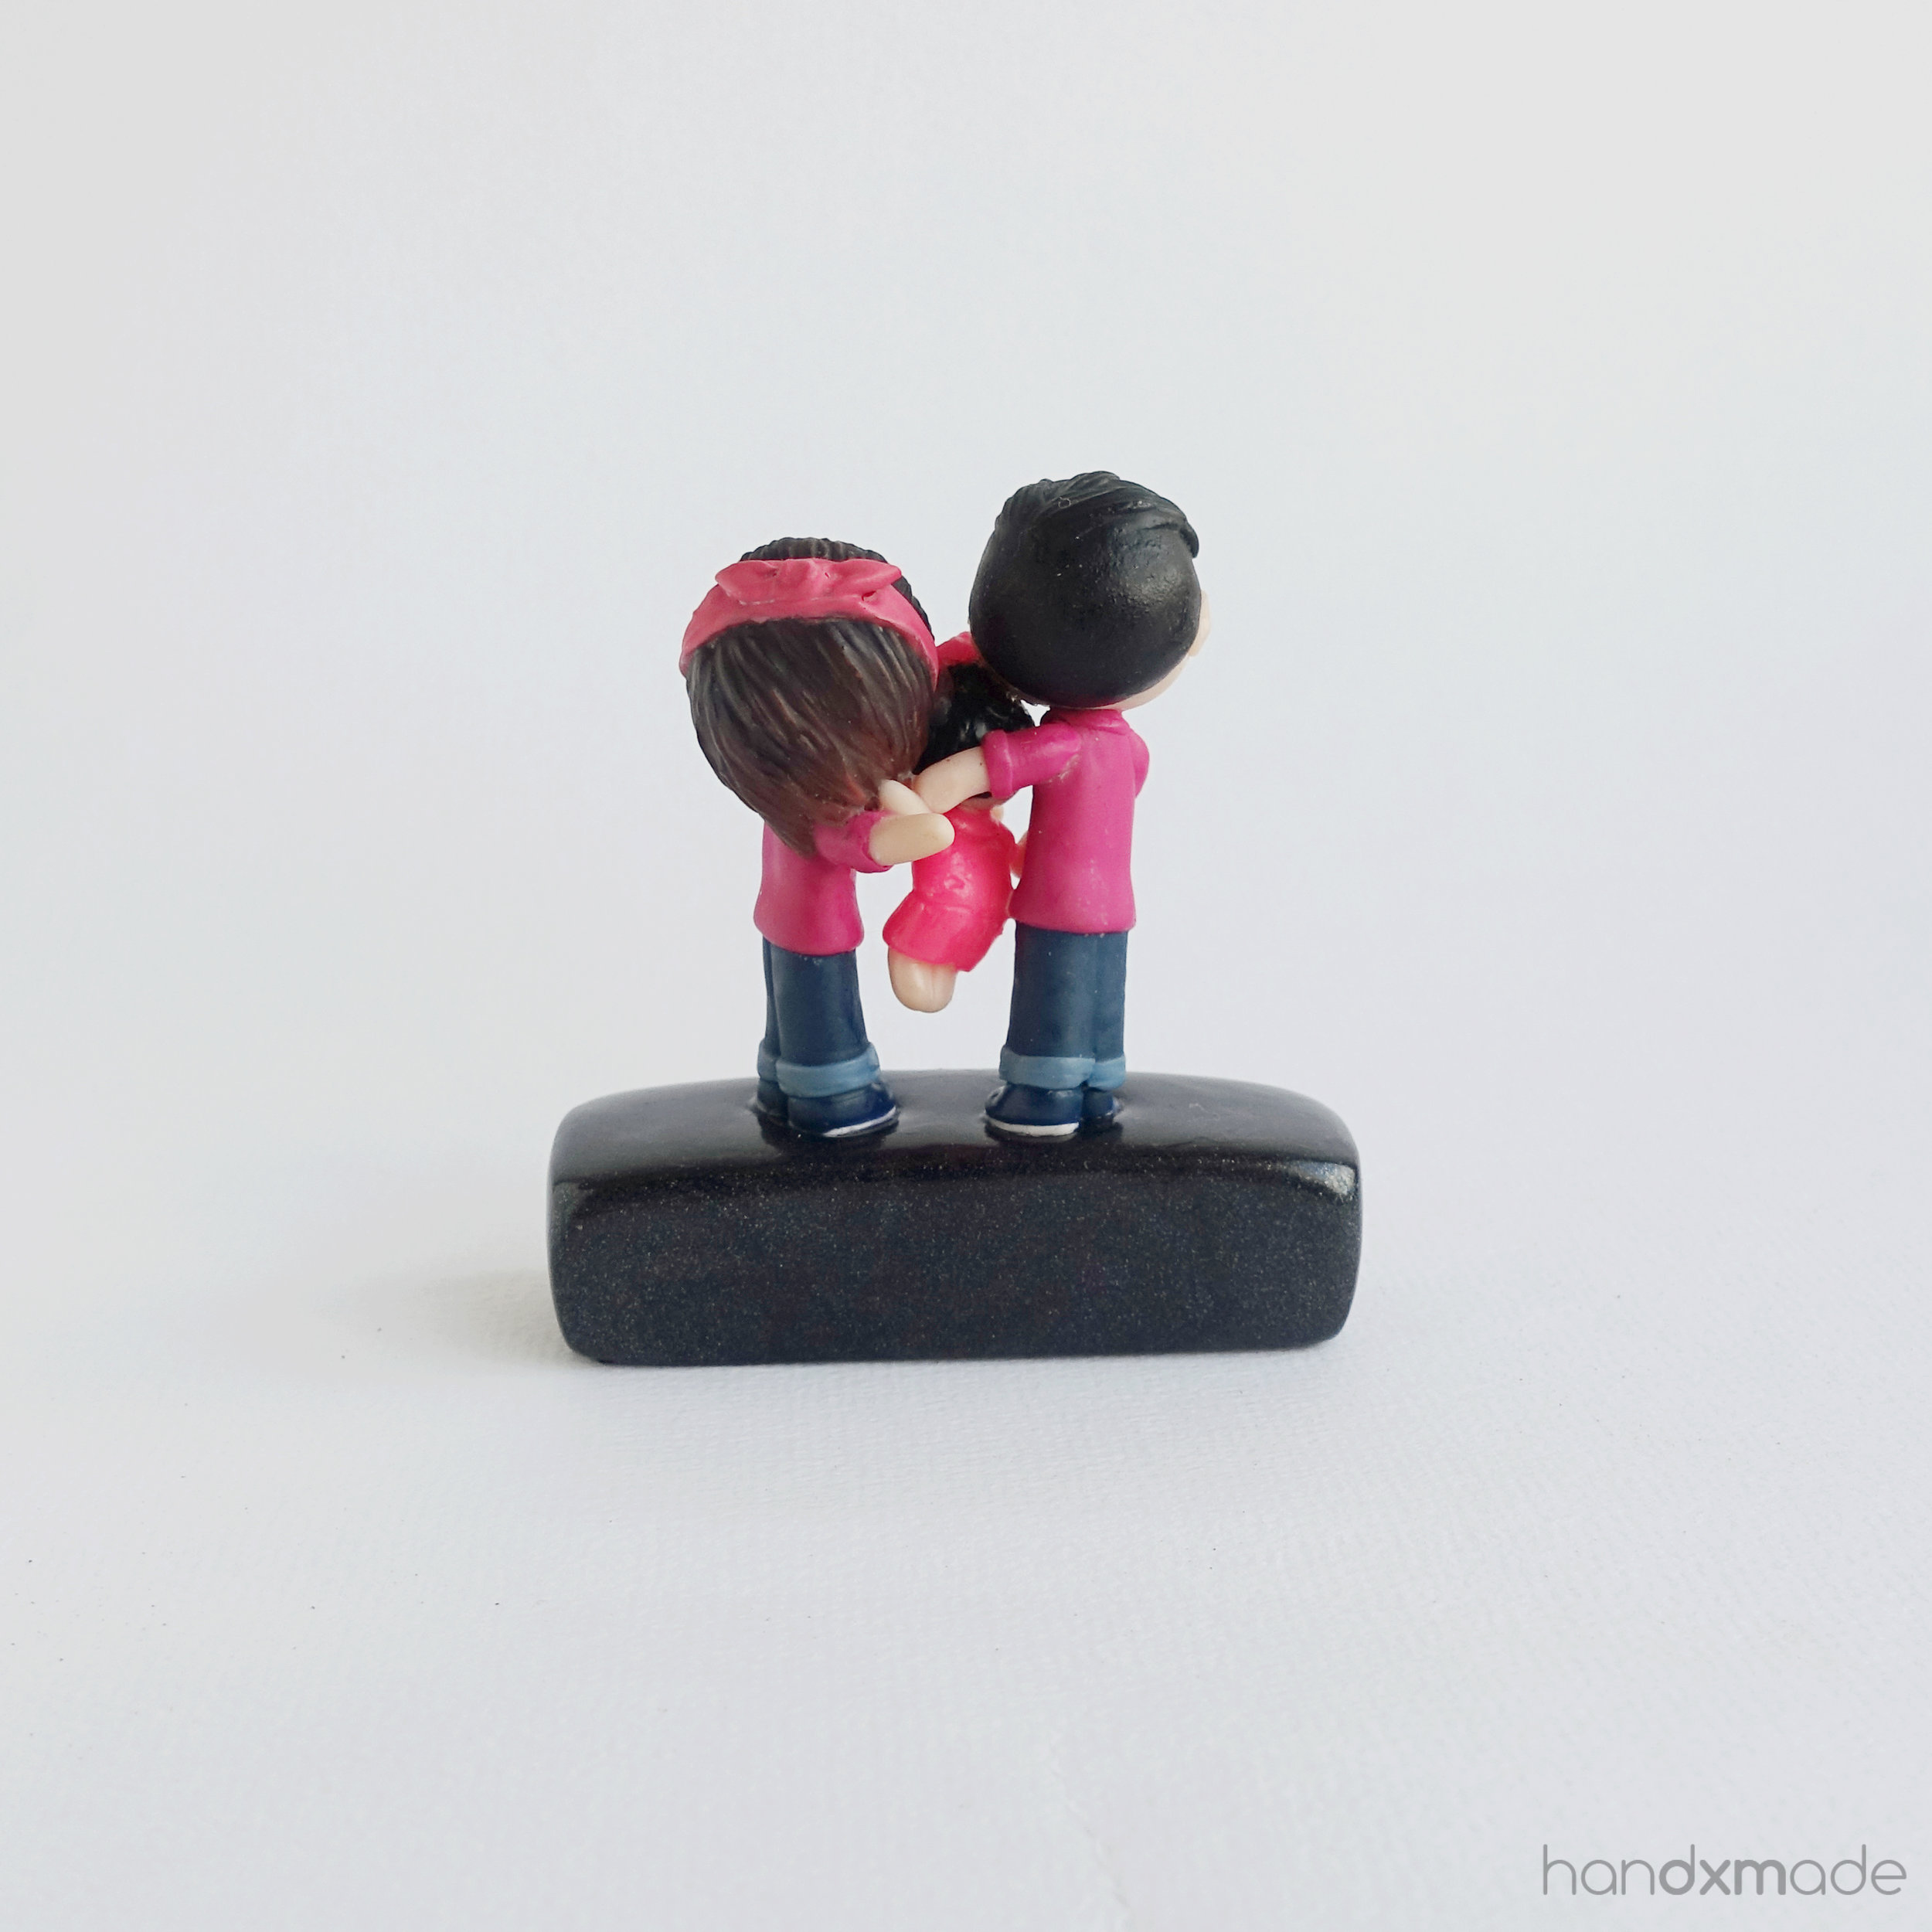
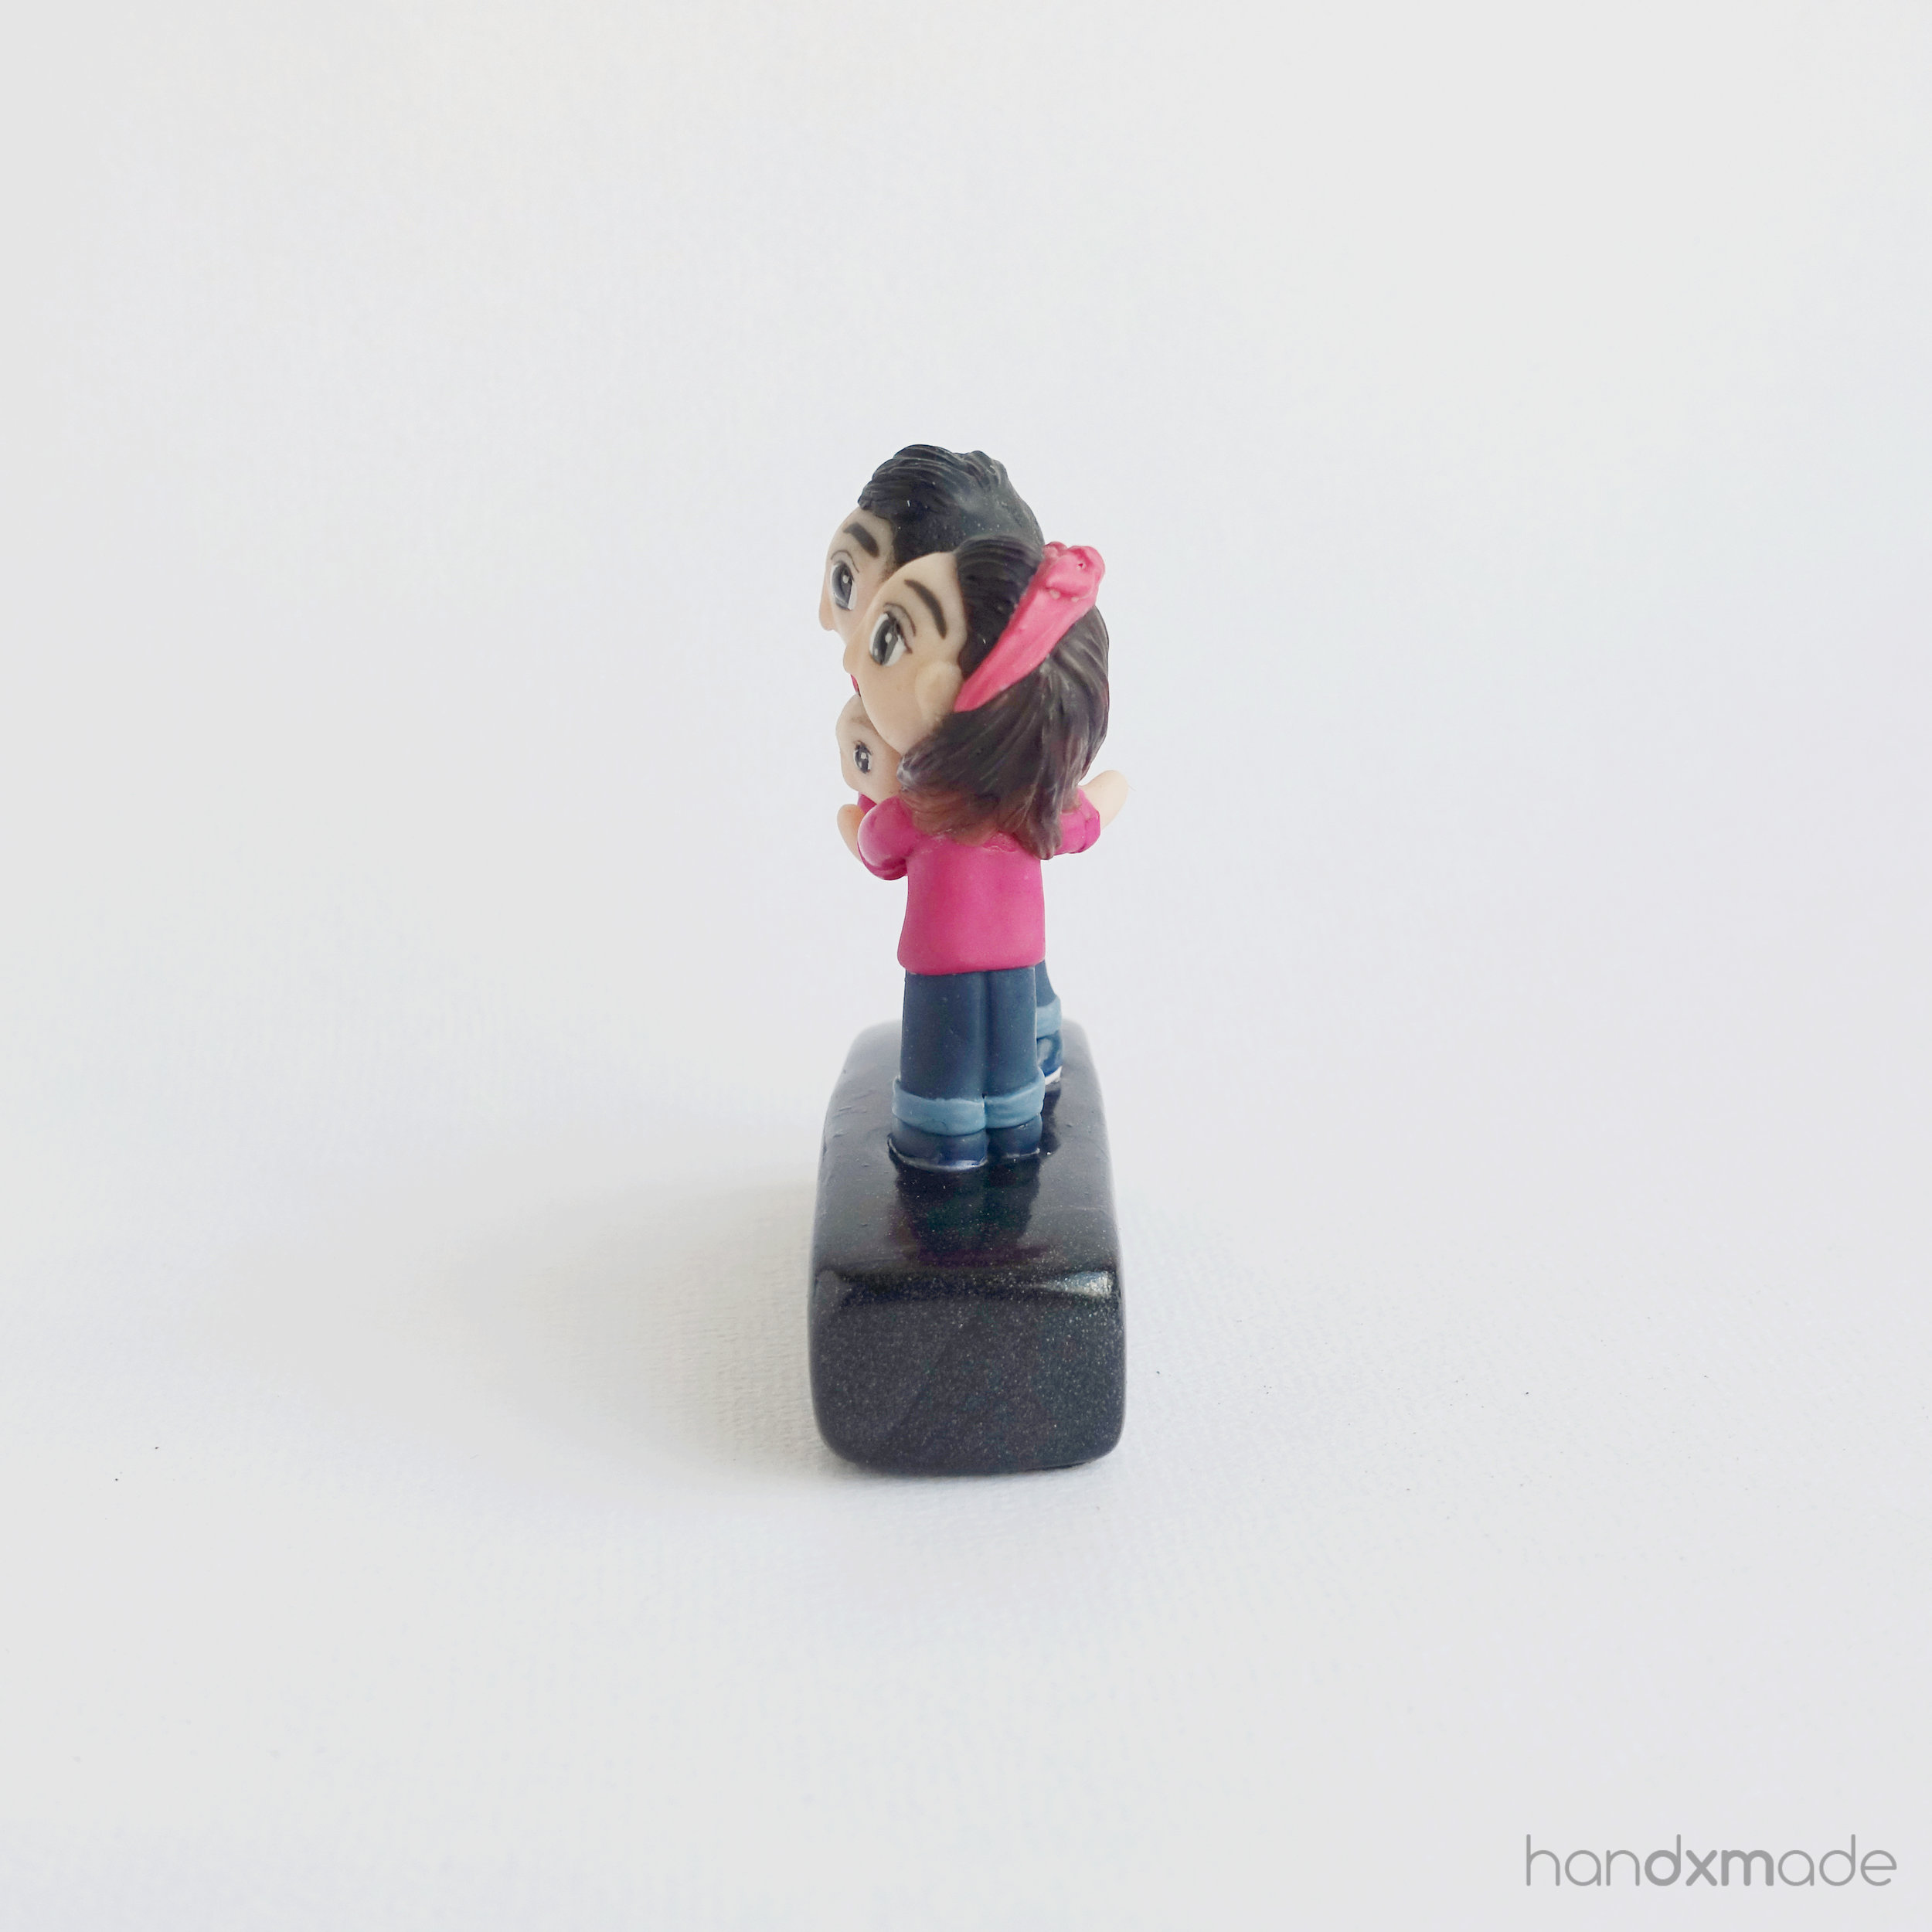
It did took me a lot of test and trial, and the placement was really difficult - there was a lot of planning involved. But I made it!
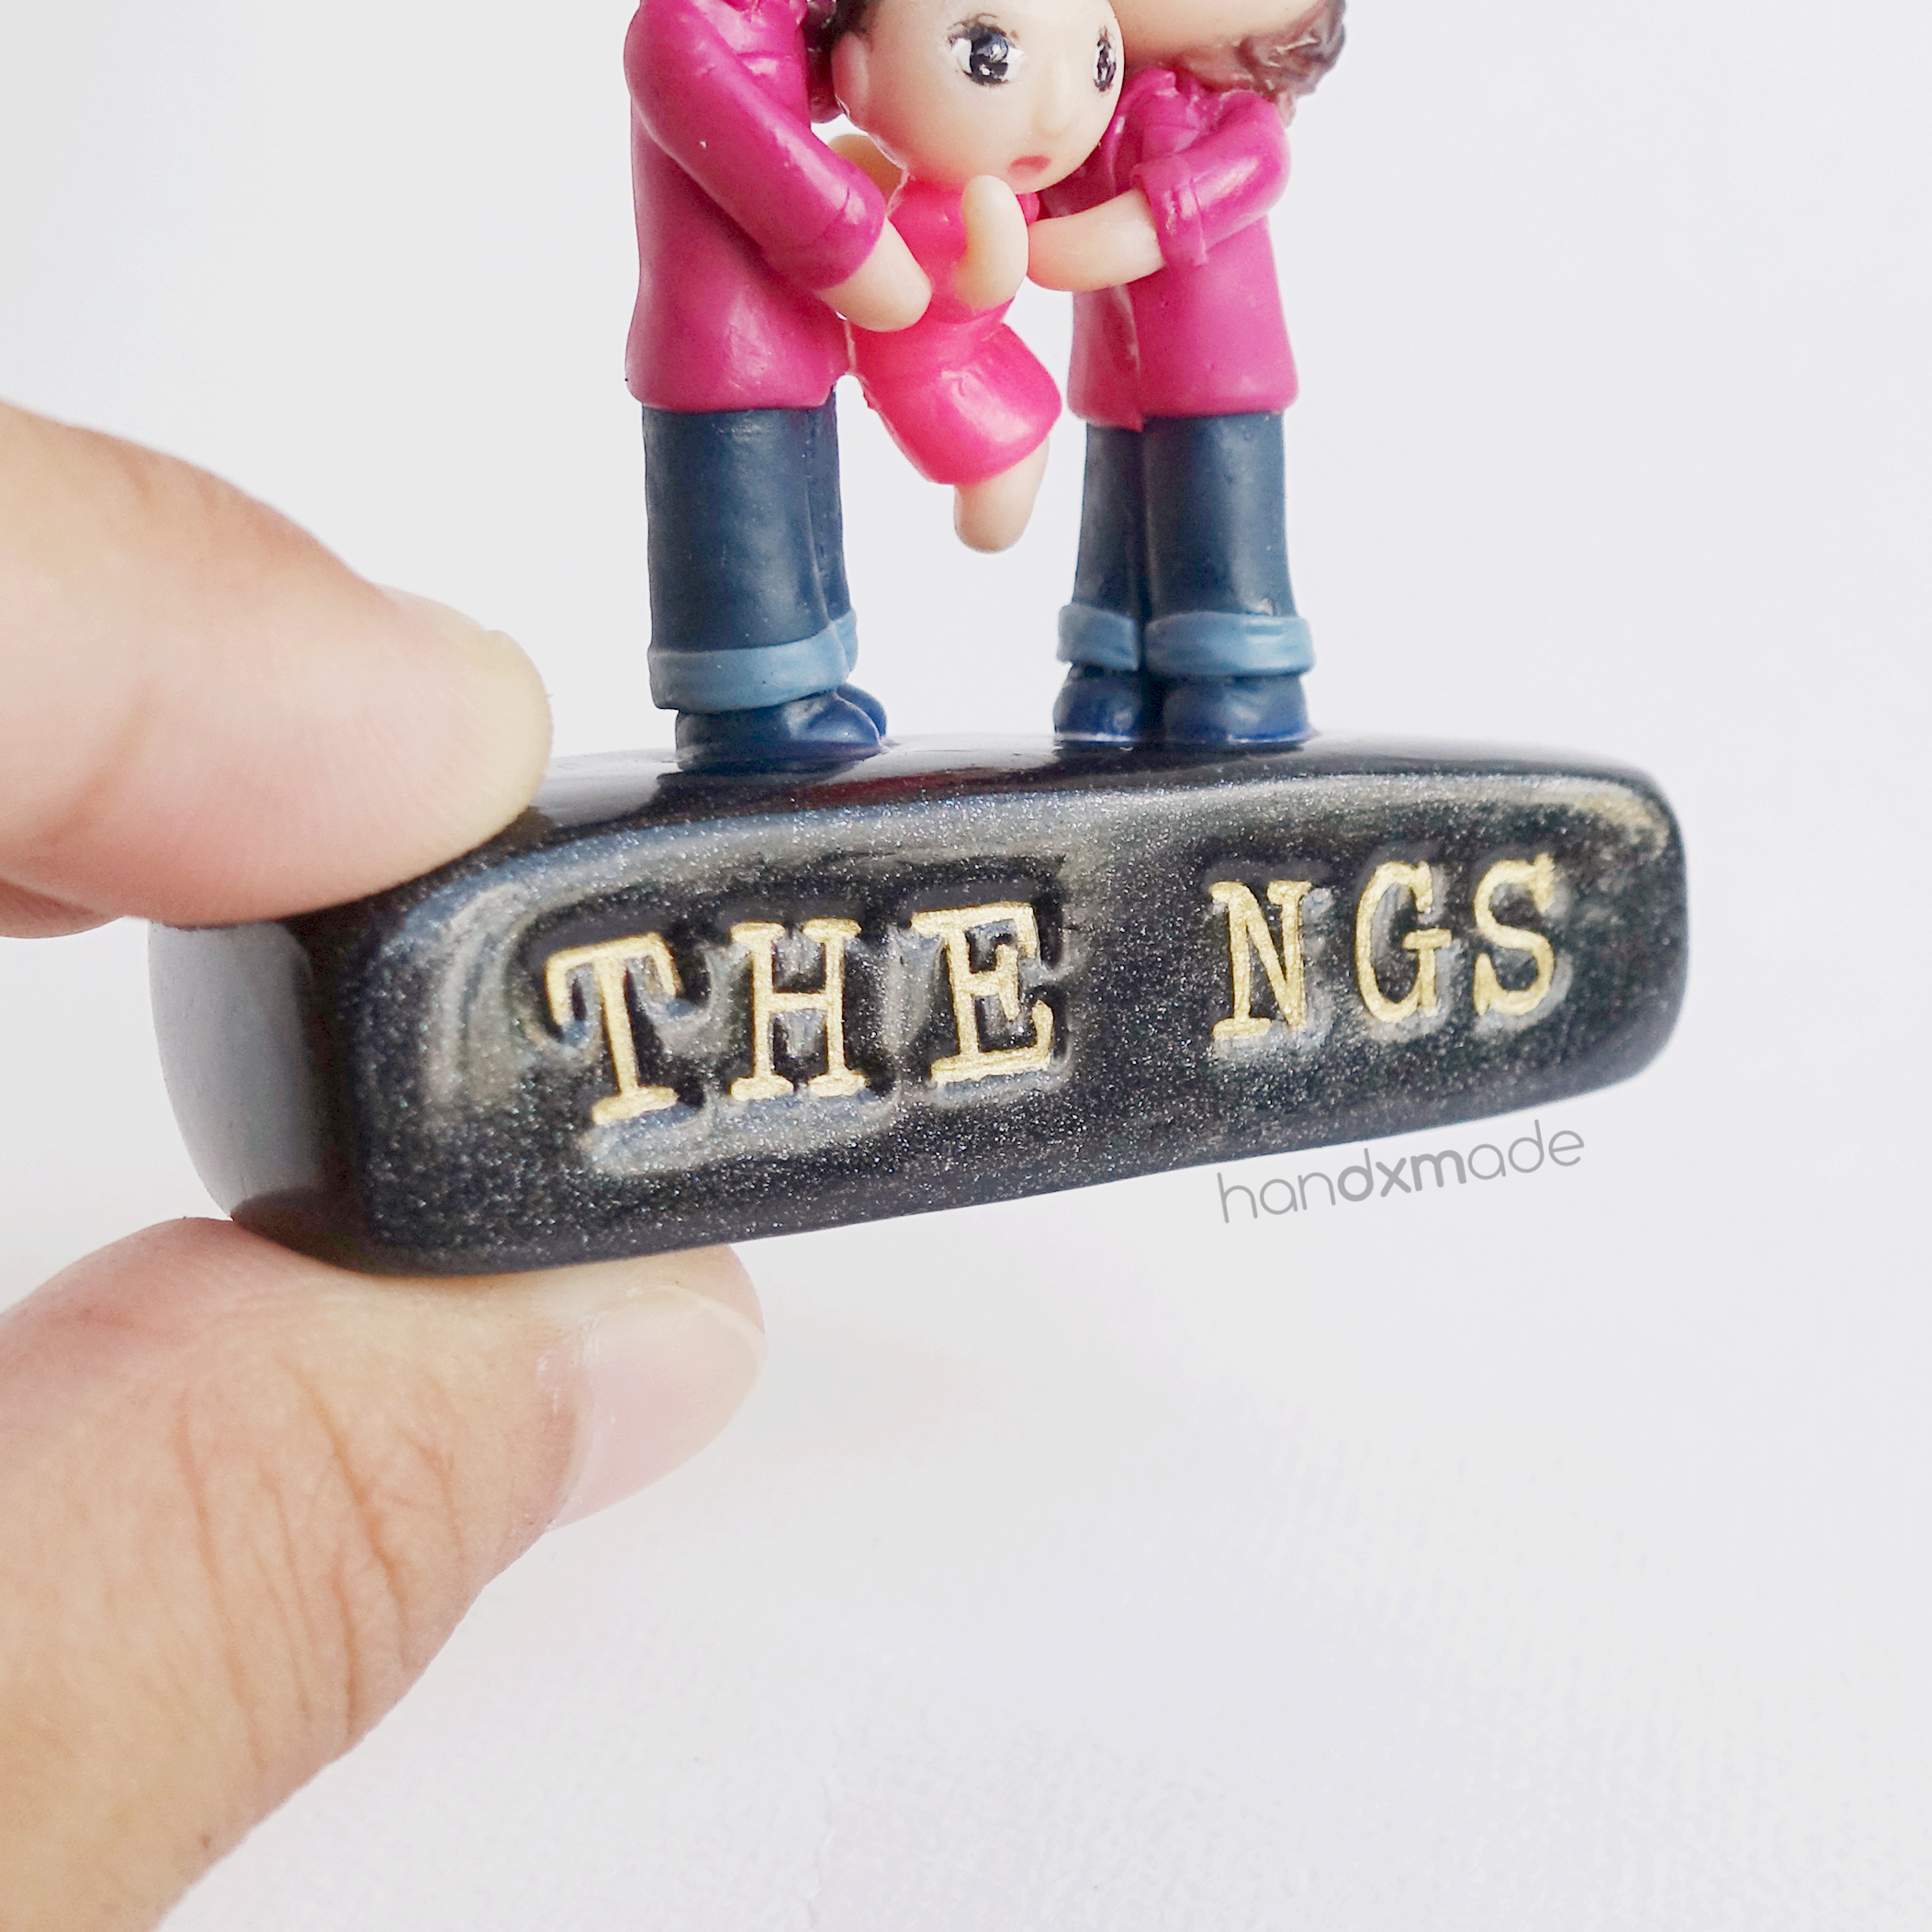
We even decided that the base to be like the glittery black tile in the reference photo, and I also glazed it with glaz to make the glitter shine out even more!
I was really proud of that hehe.
The checkered prints of their shirt would be too difficult to make, and it would have cost a lot more, so she decided the pink colour of the shirt would do for both! I still think it was adorable for them to dress up the same, even the baby was in a hot pink dress. Too cute!

Here's a haeadless baby! XD Apparently it was creepy to some people, but I kinda find it cute. HMMMM.
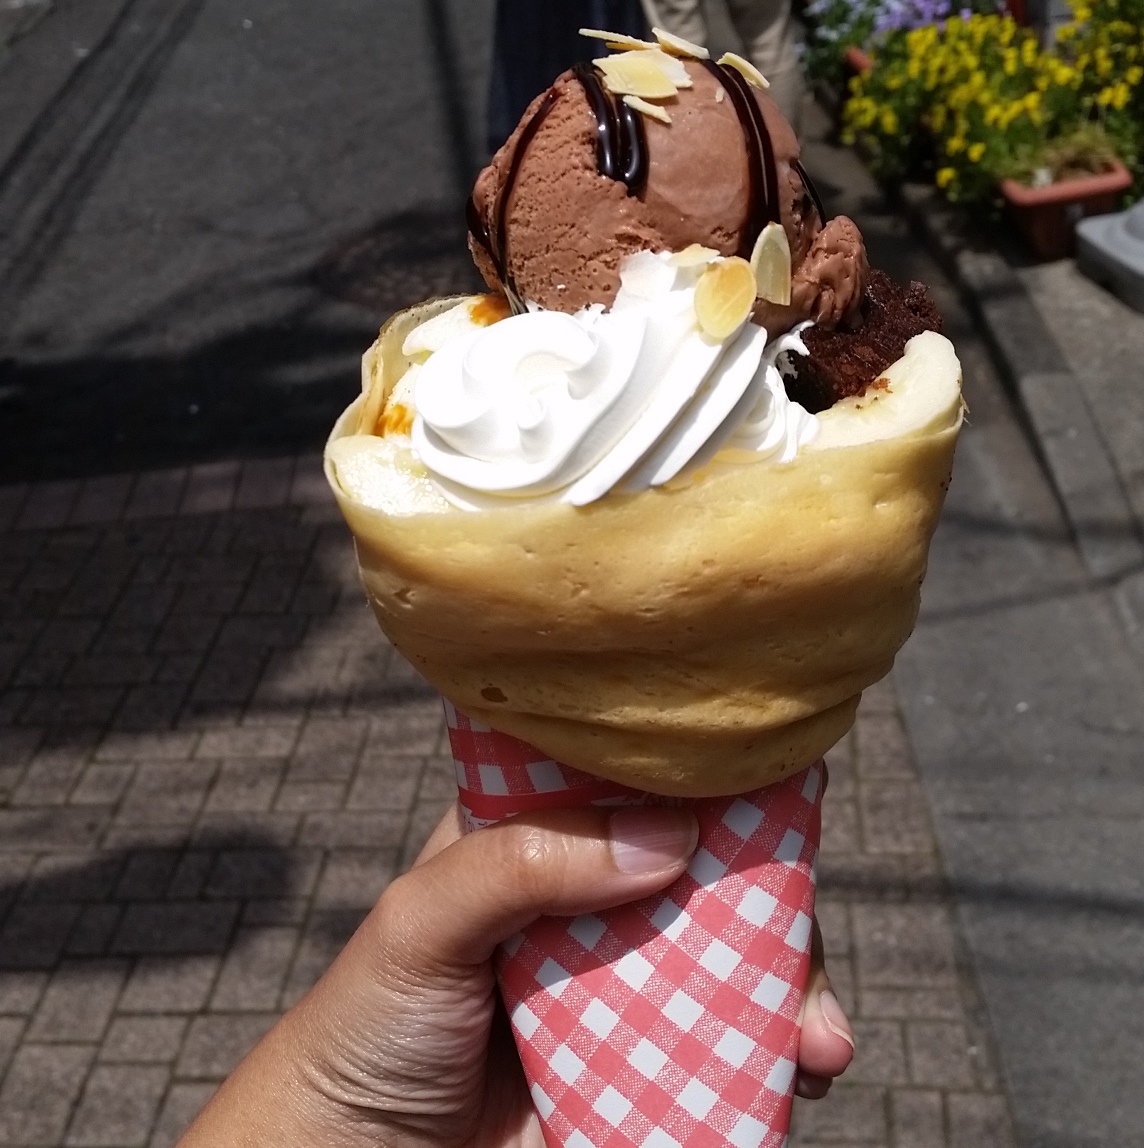
The Crepe
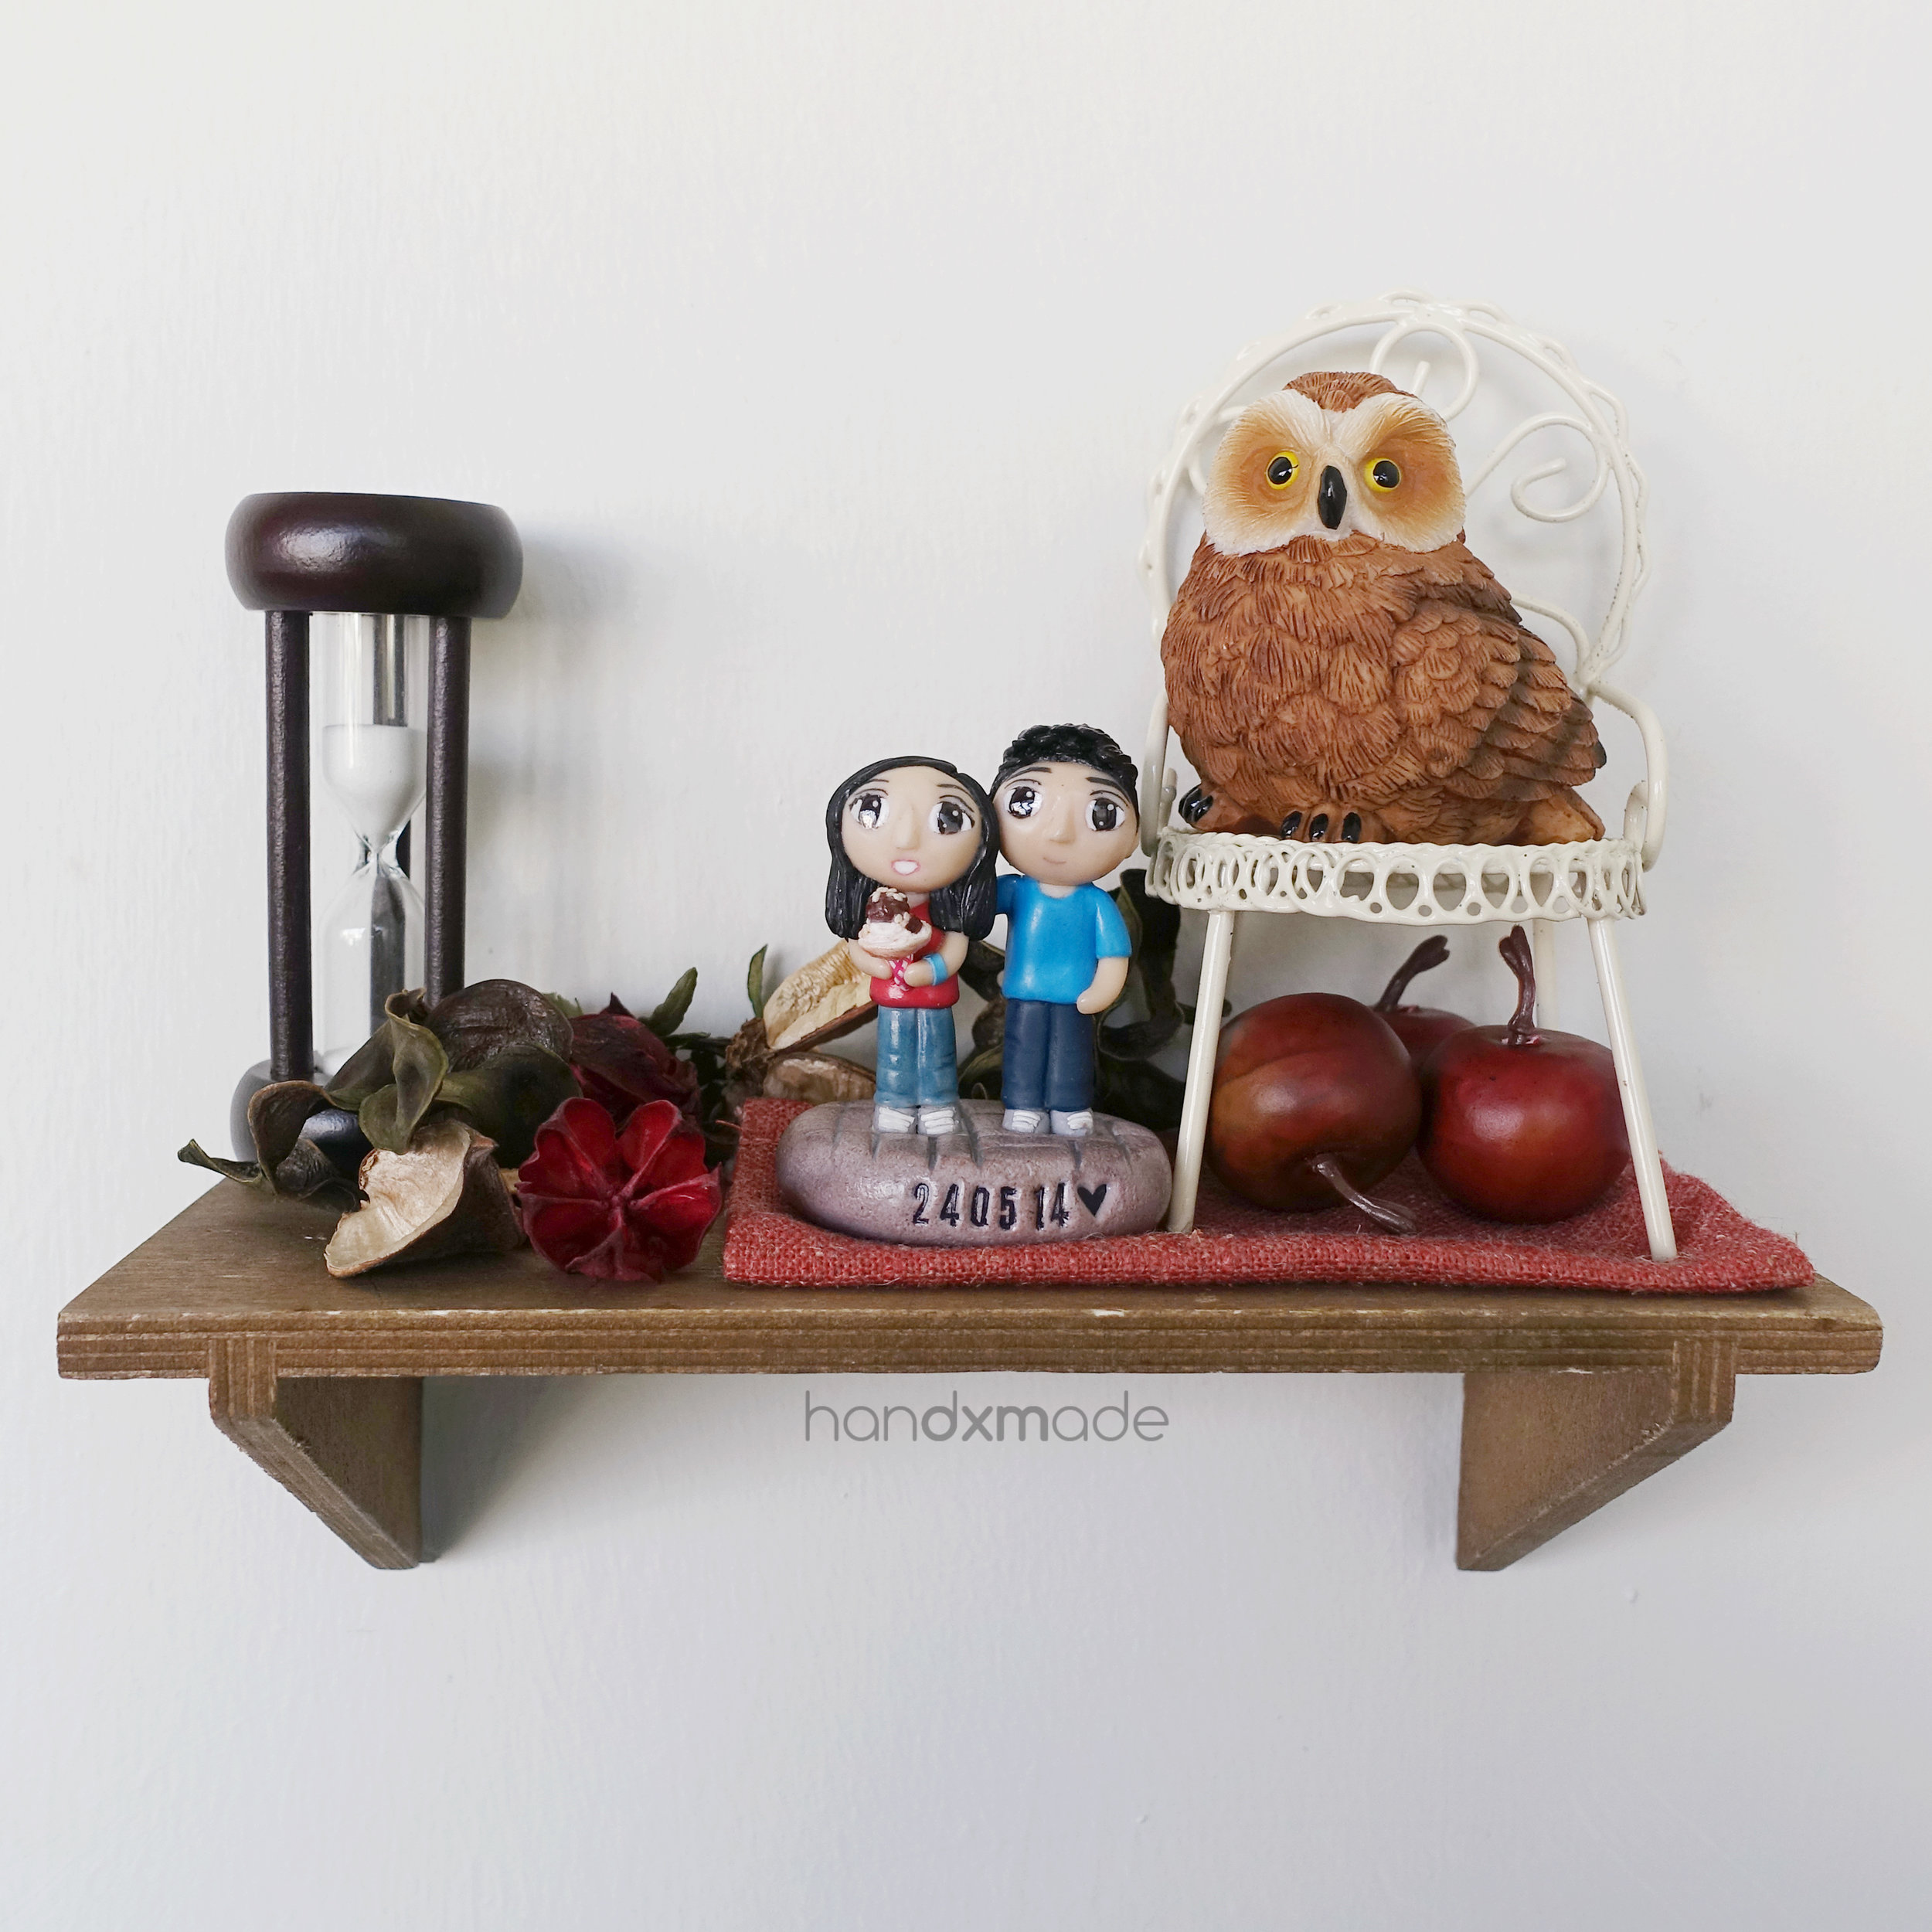

This was a trip to Korea that my customer went with her boyfriend! I thought it was really sweet of her to include the crepe that she had, with the clothes they were wearing on that day. That was what I wanted my figurines to be, capturing a memory that is special to them :')
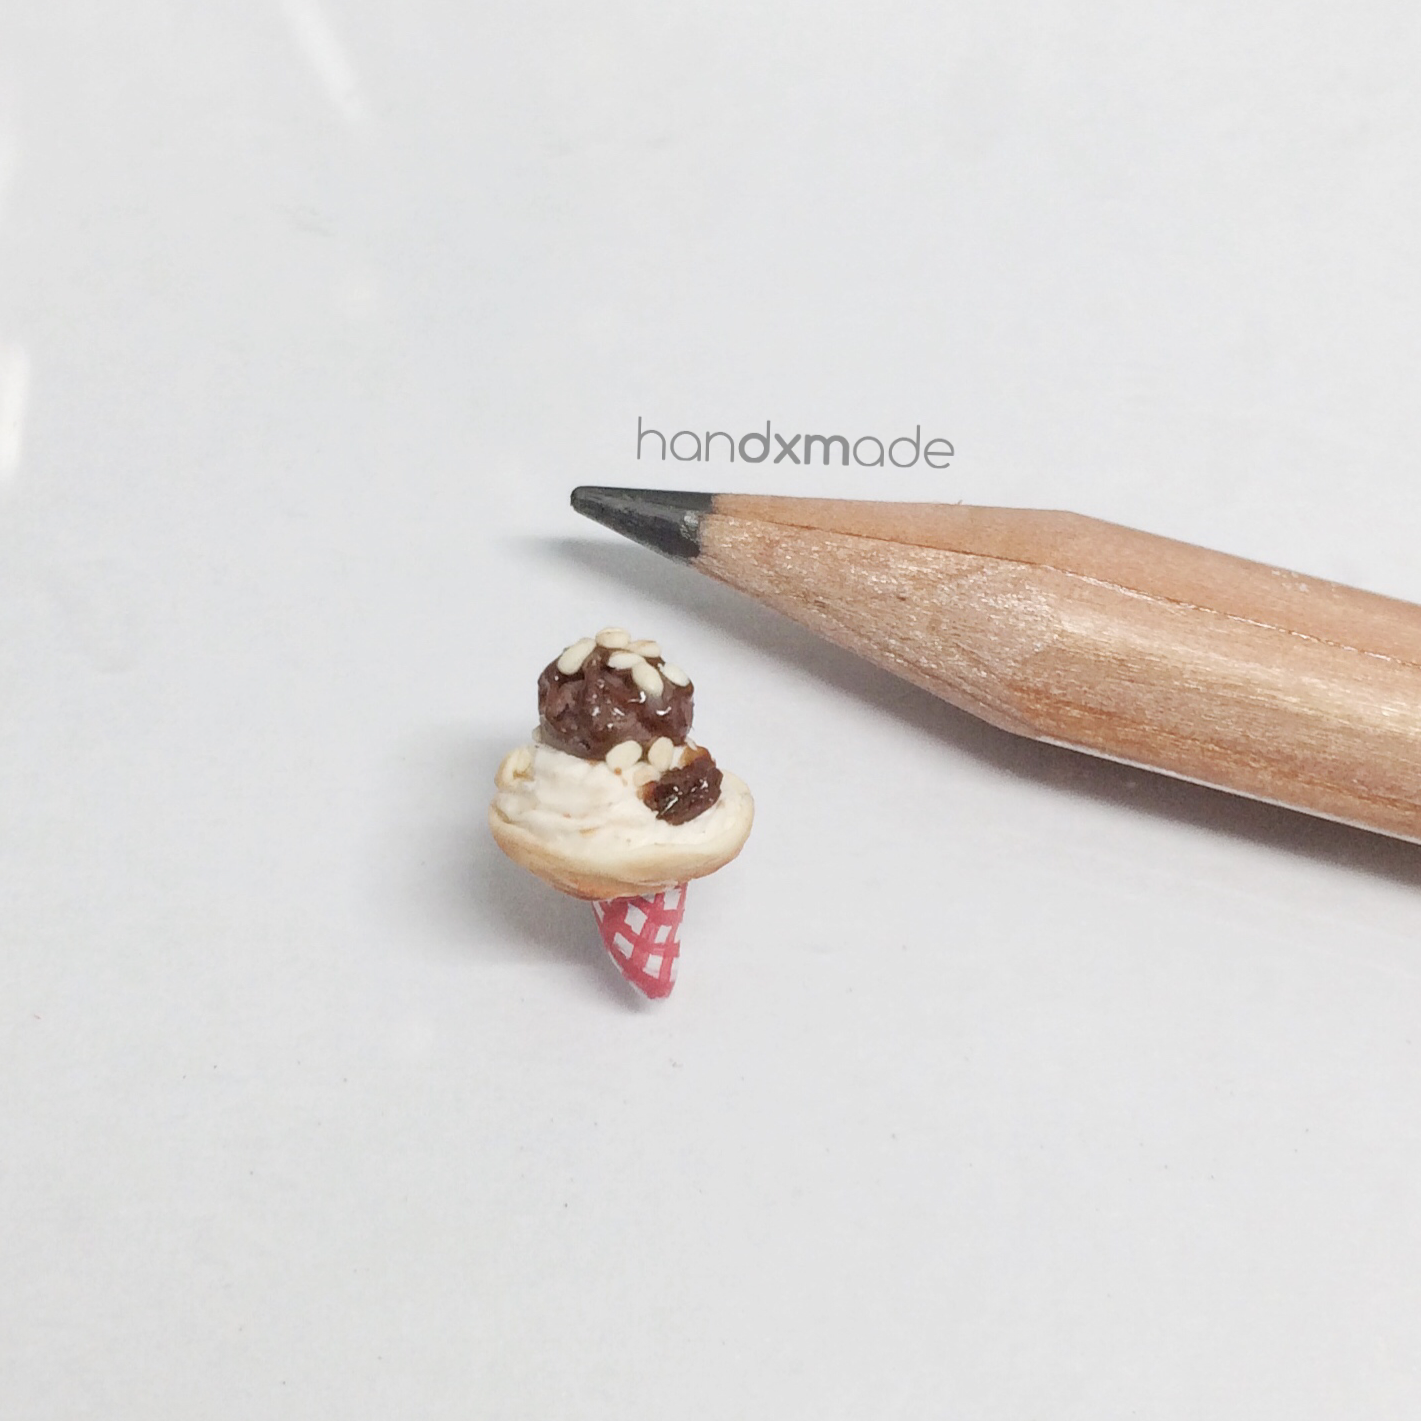
The crepe was an add-on, and by itself it took quite a while to make! It was also TINY, and I had to make sure the size is proportionate to the figurine to a certain extent hahaha.

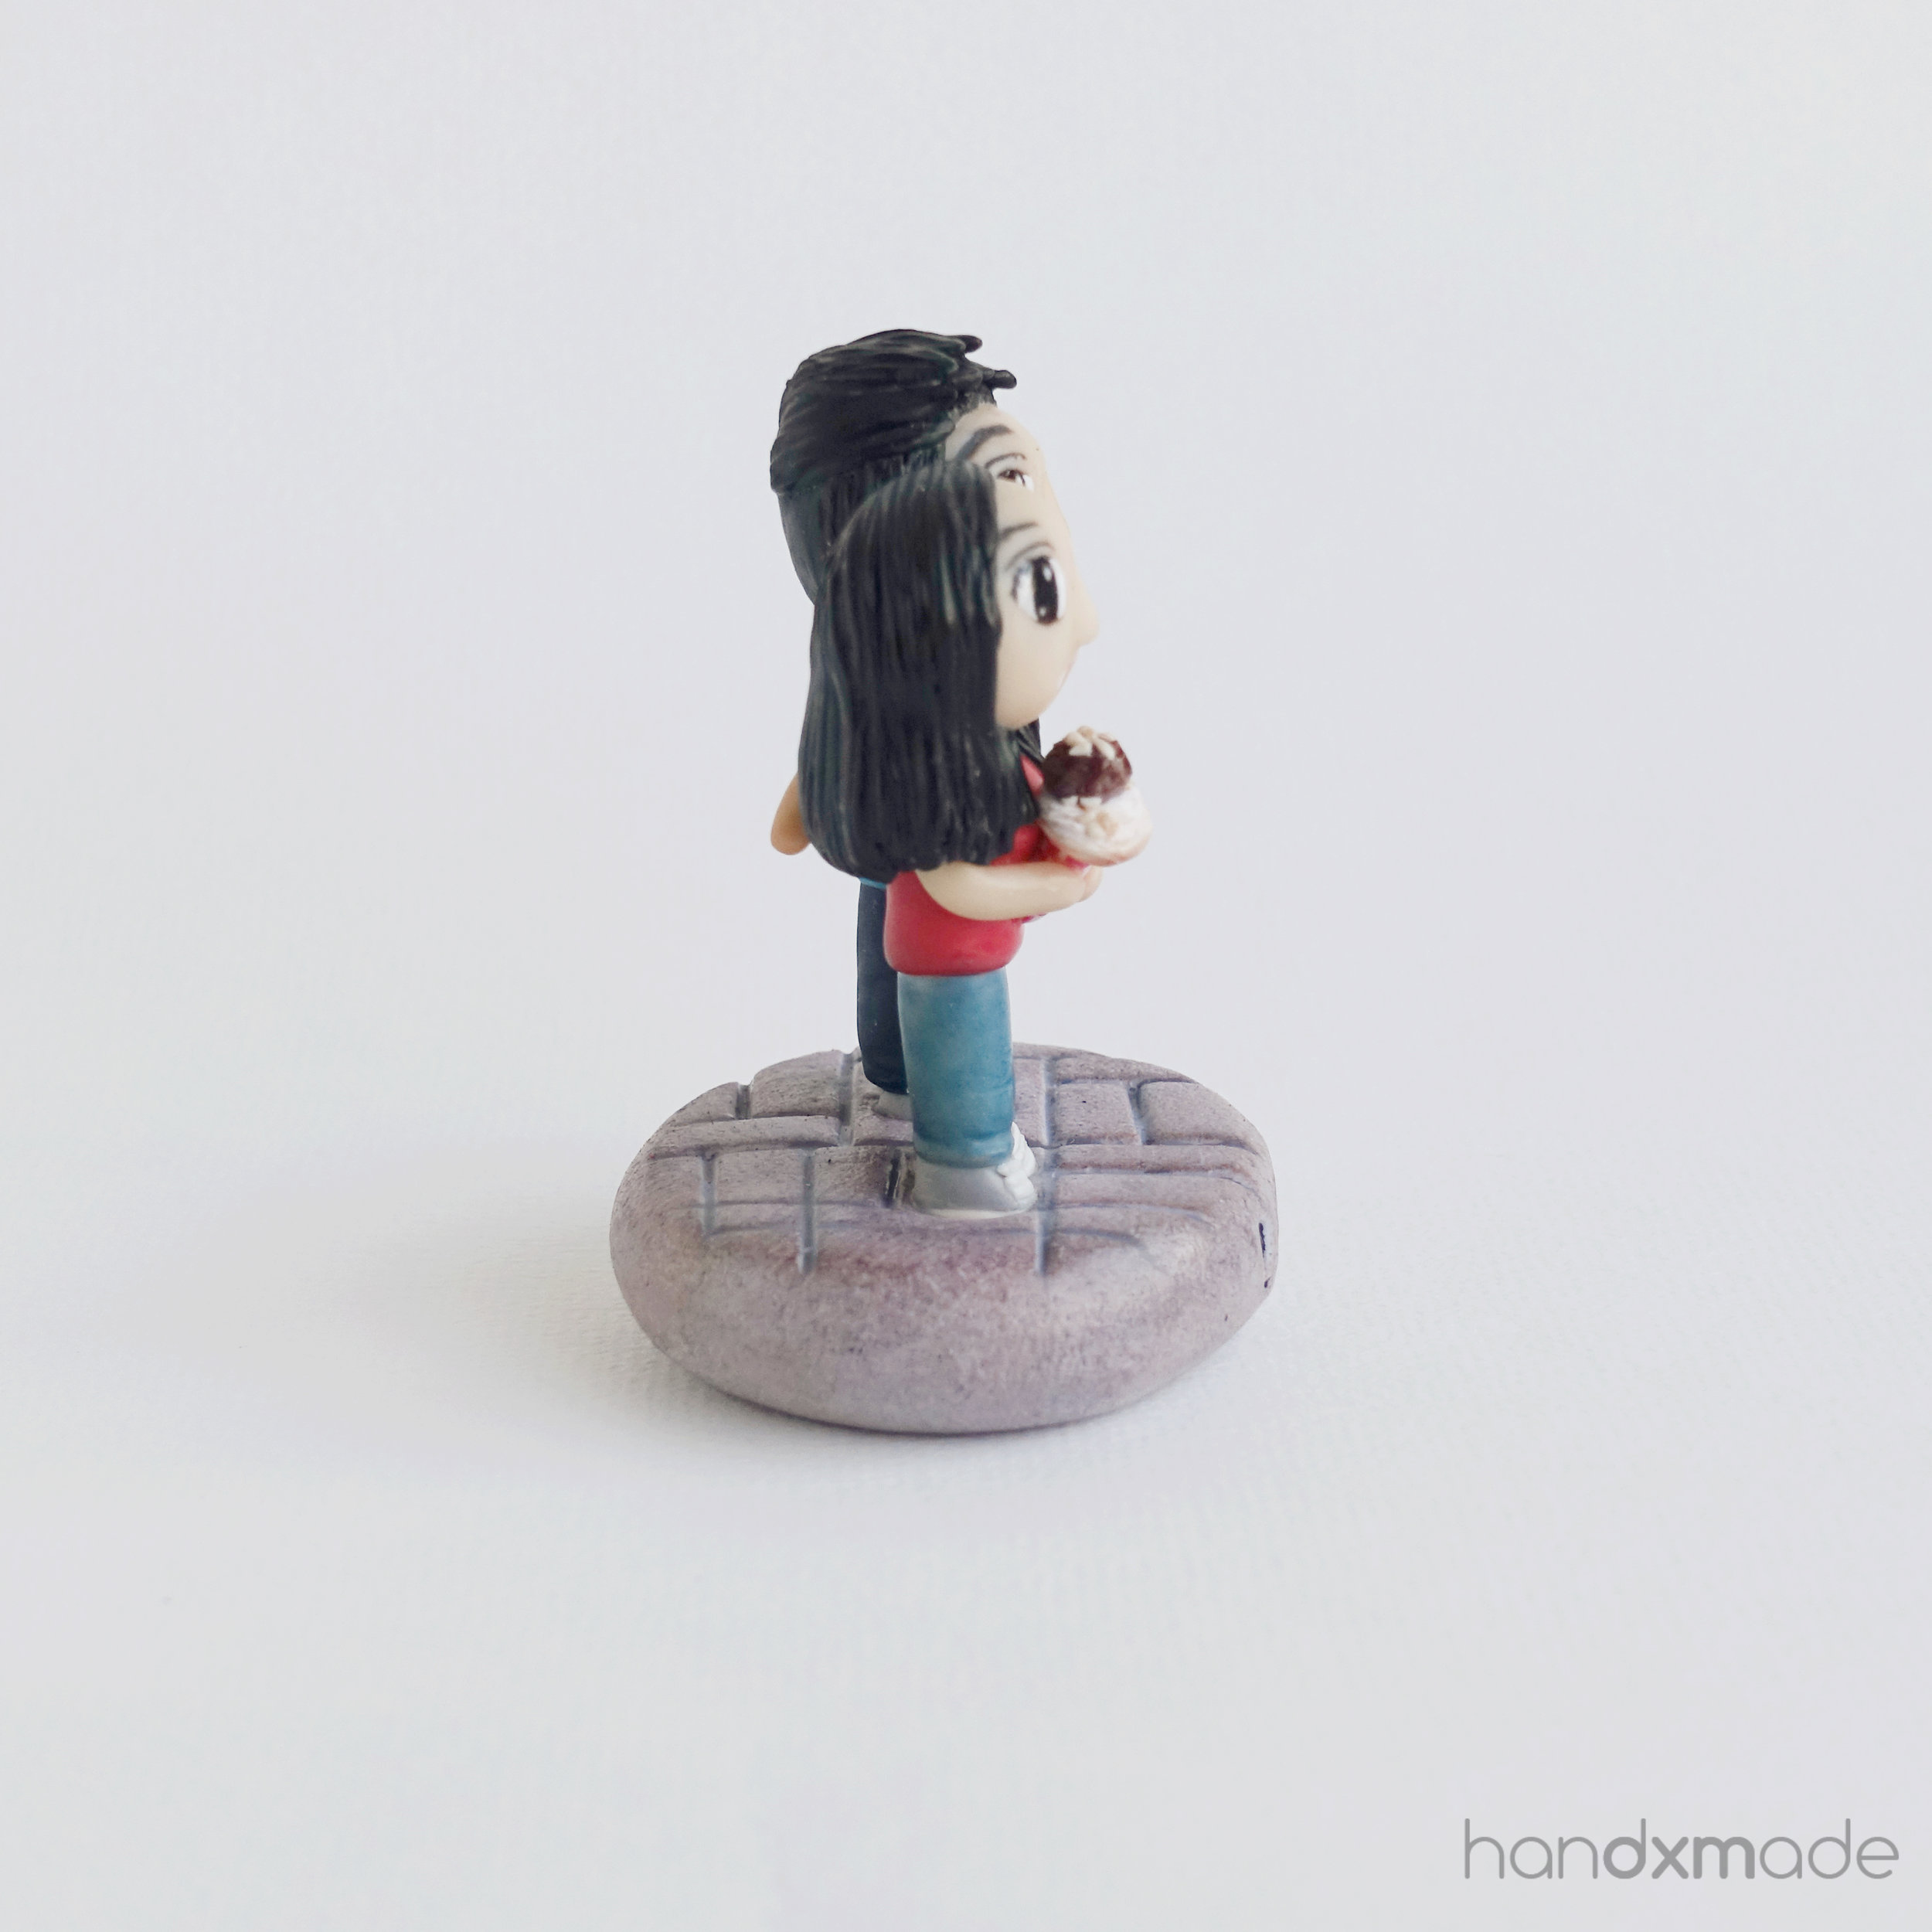
I do like how the jeans for the female looks like tho! Does look like a pair of jeans, eh?

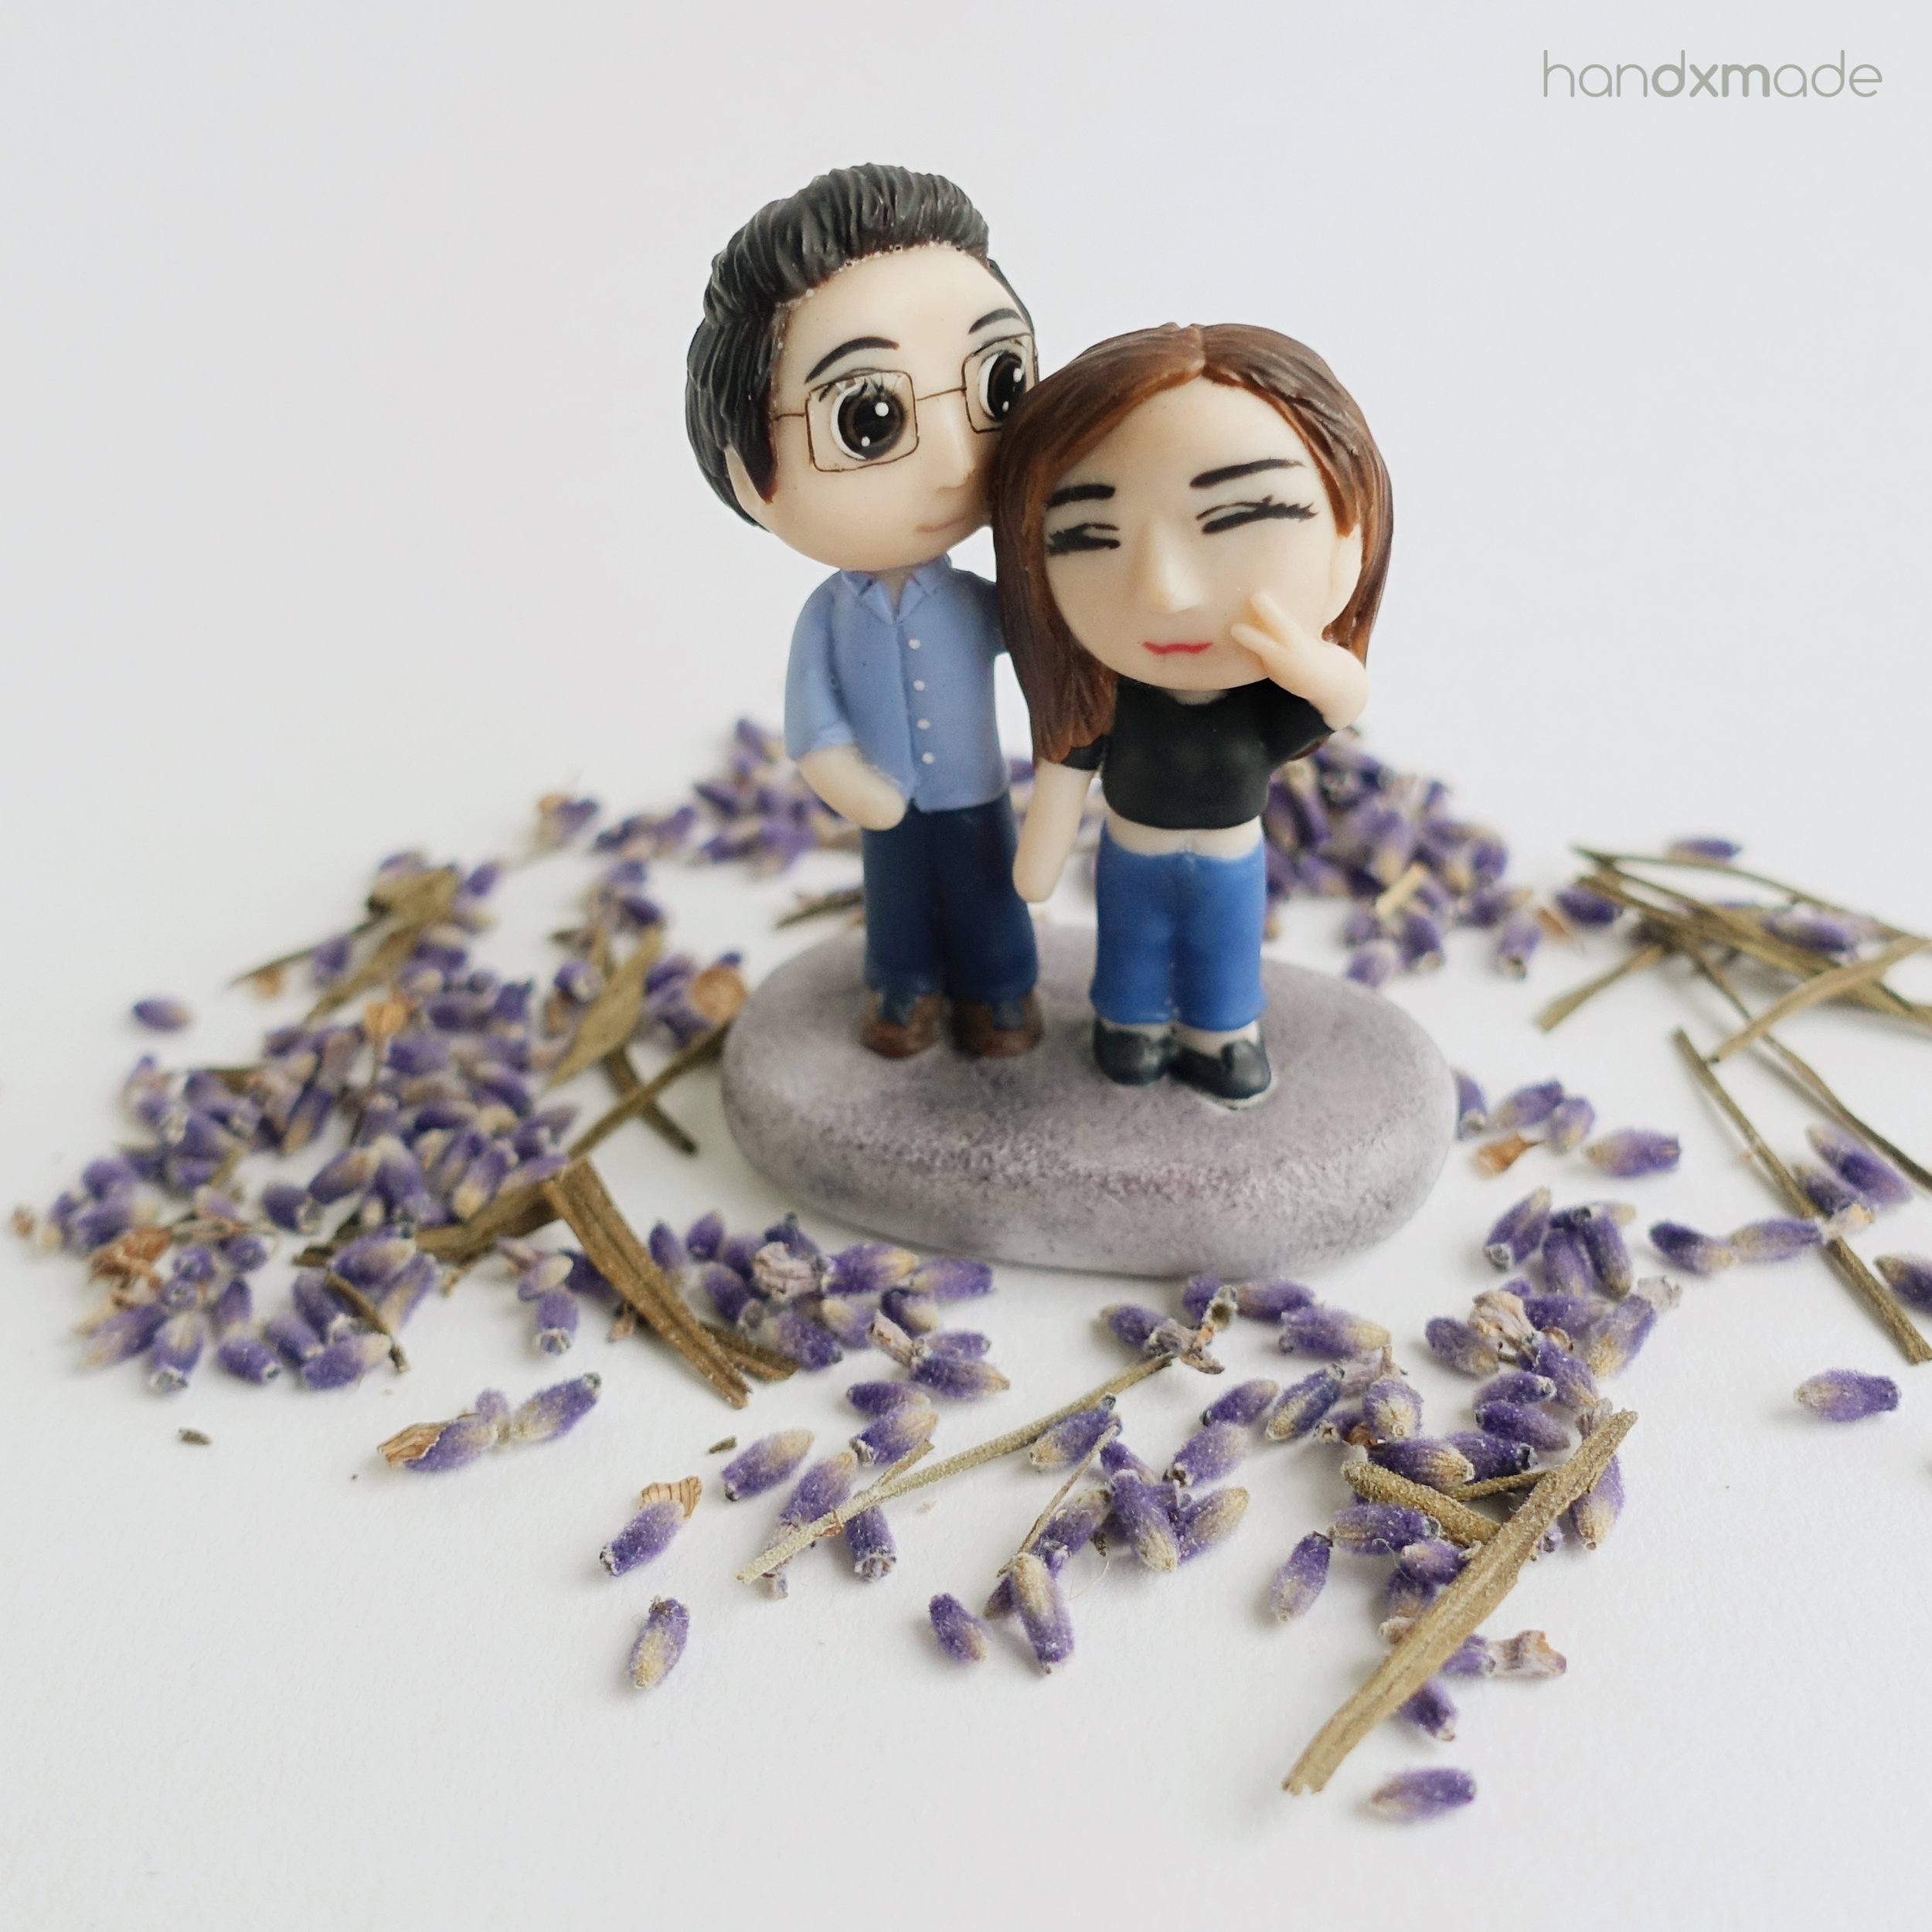
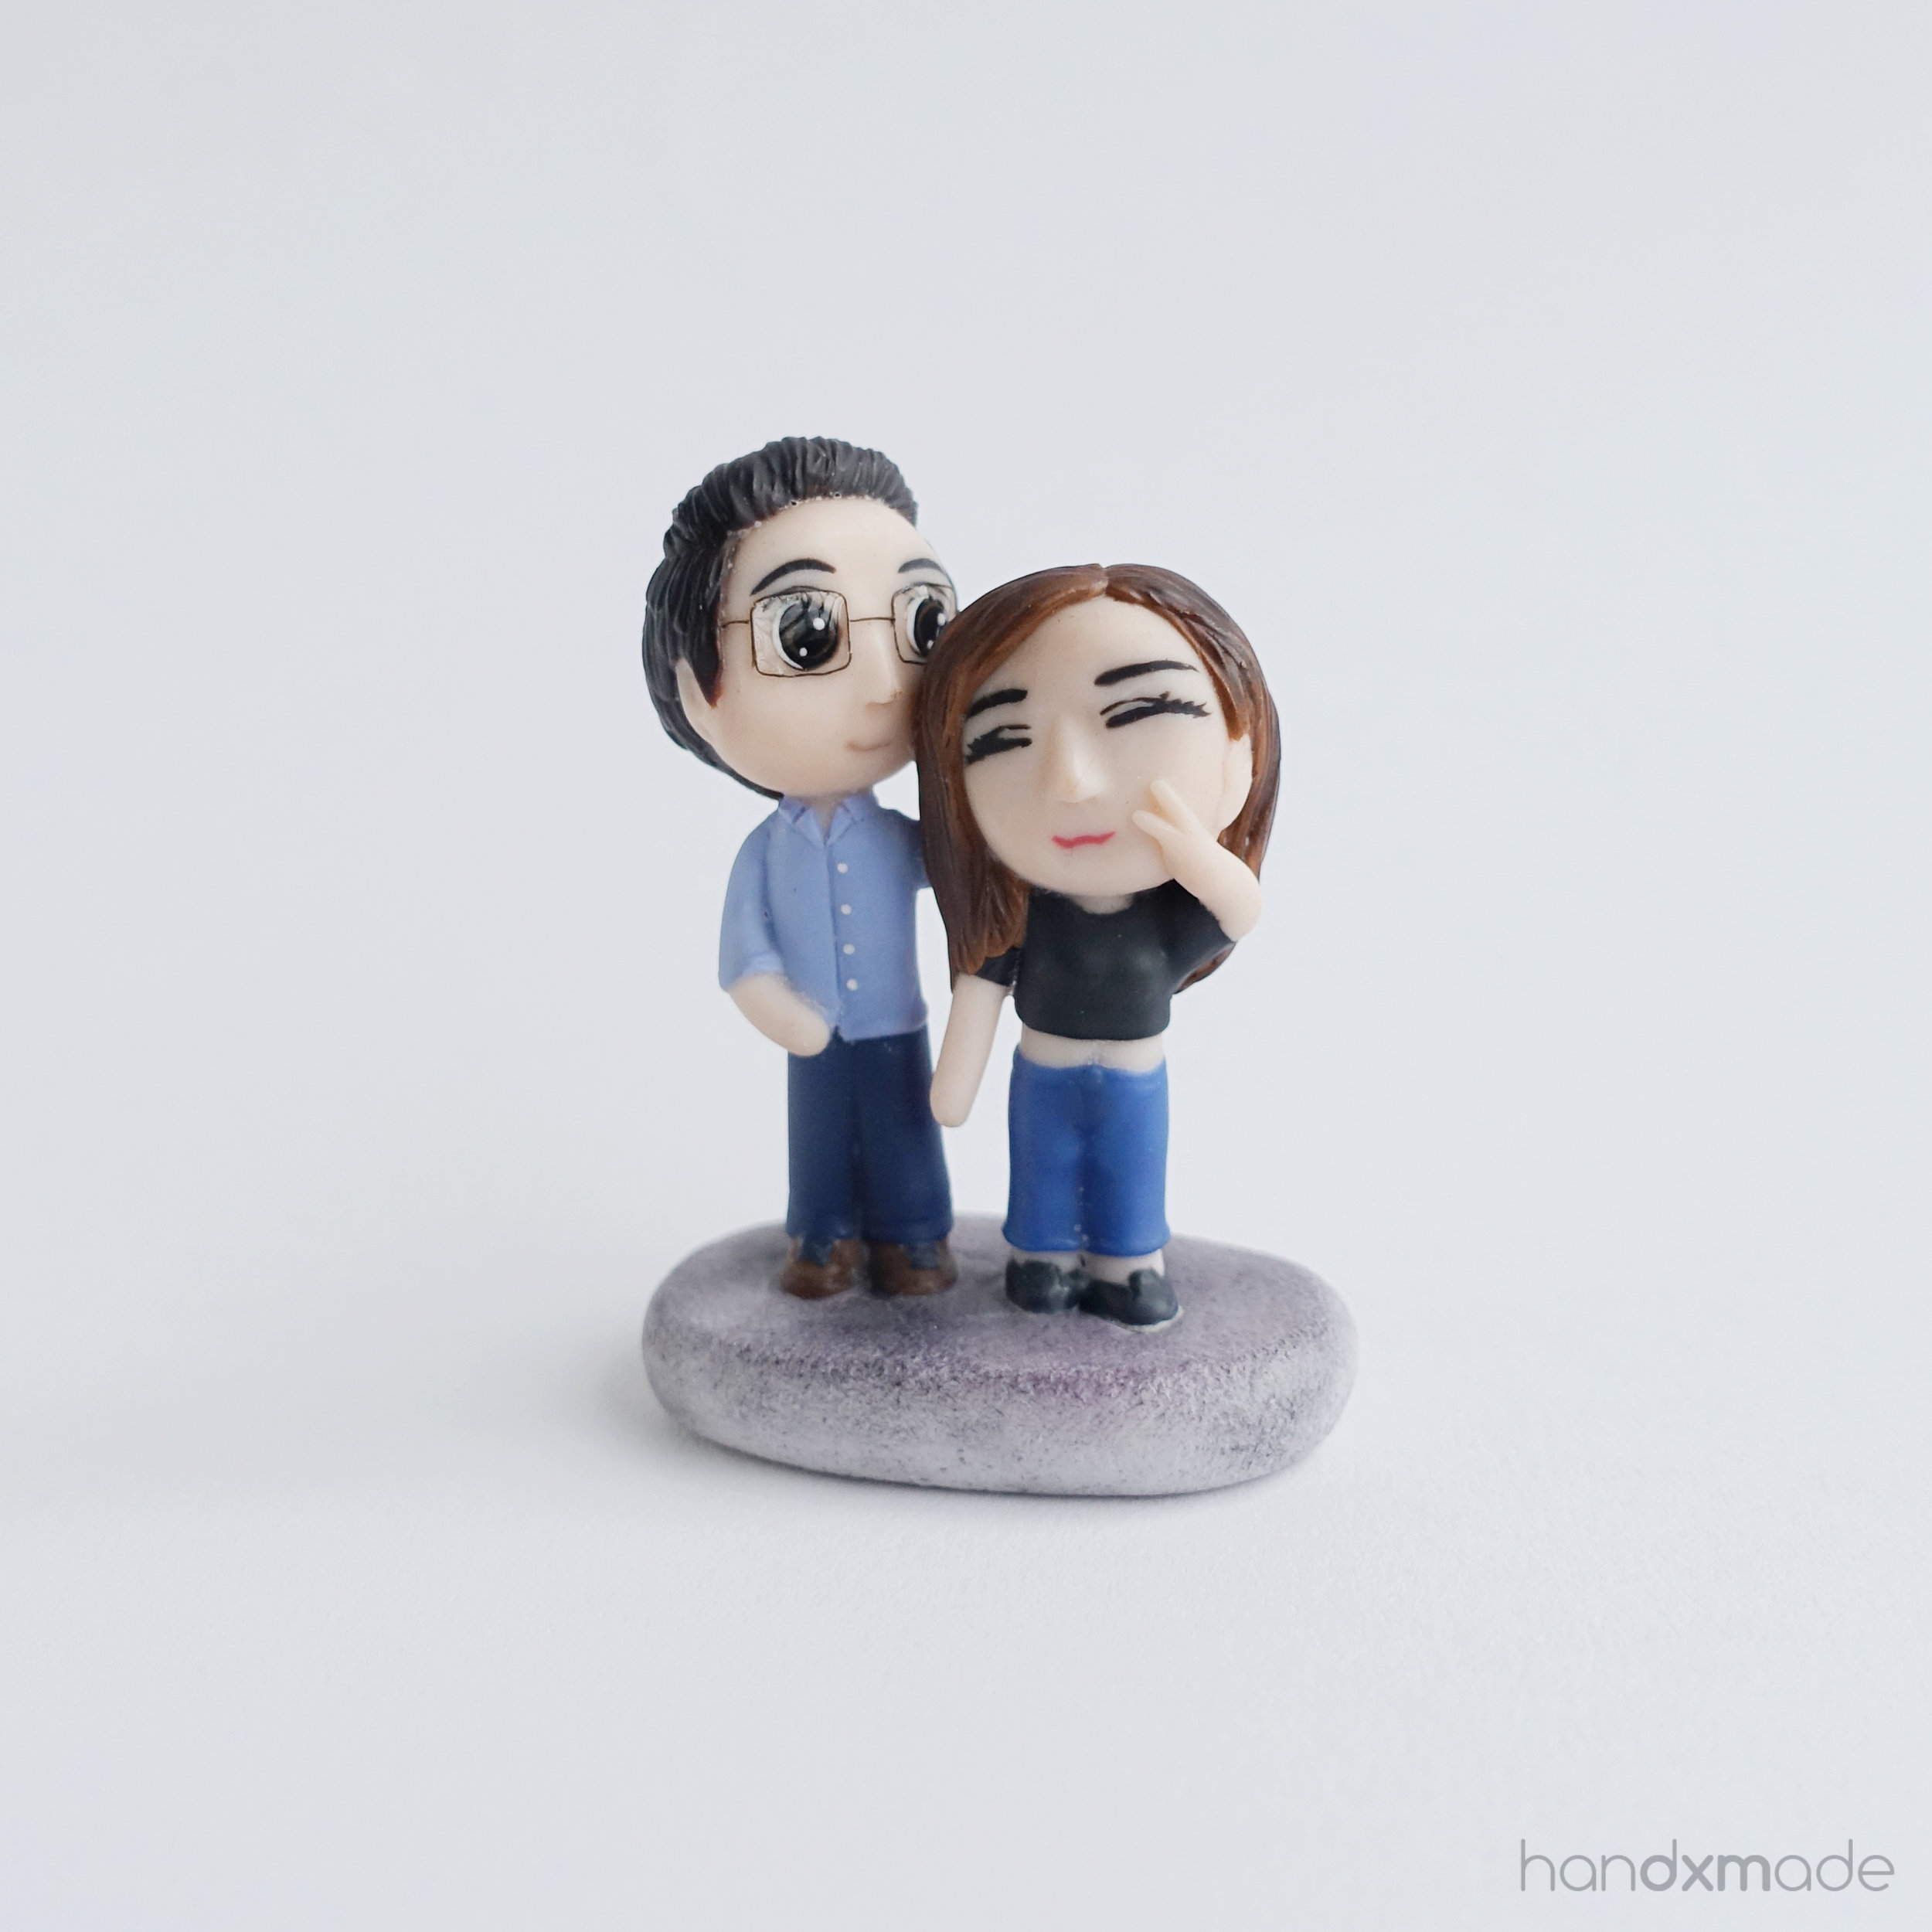
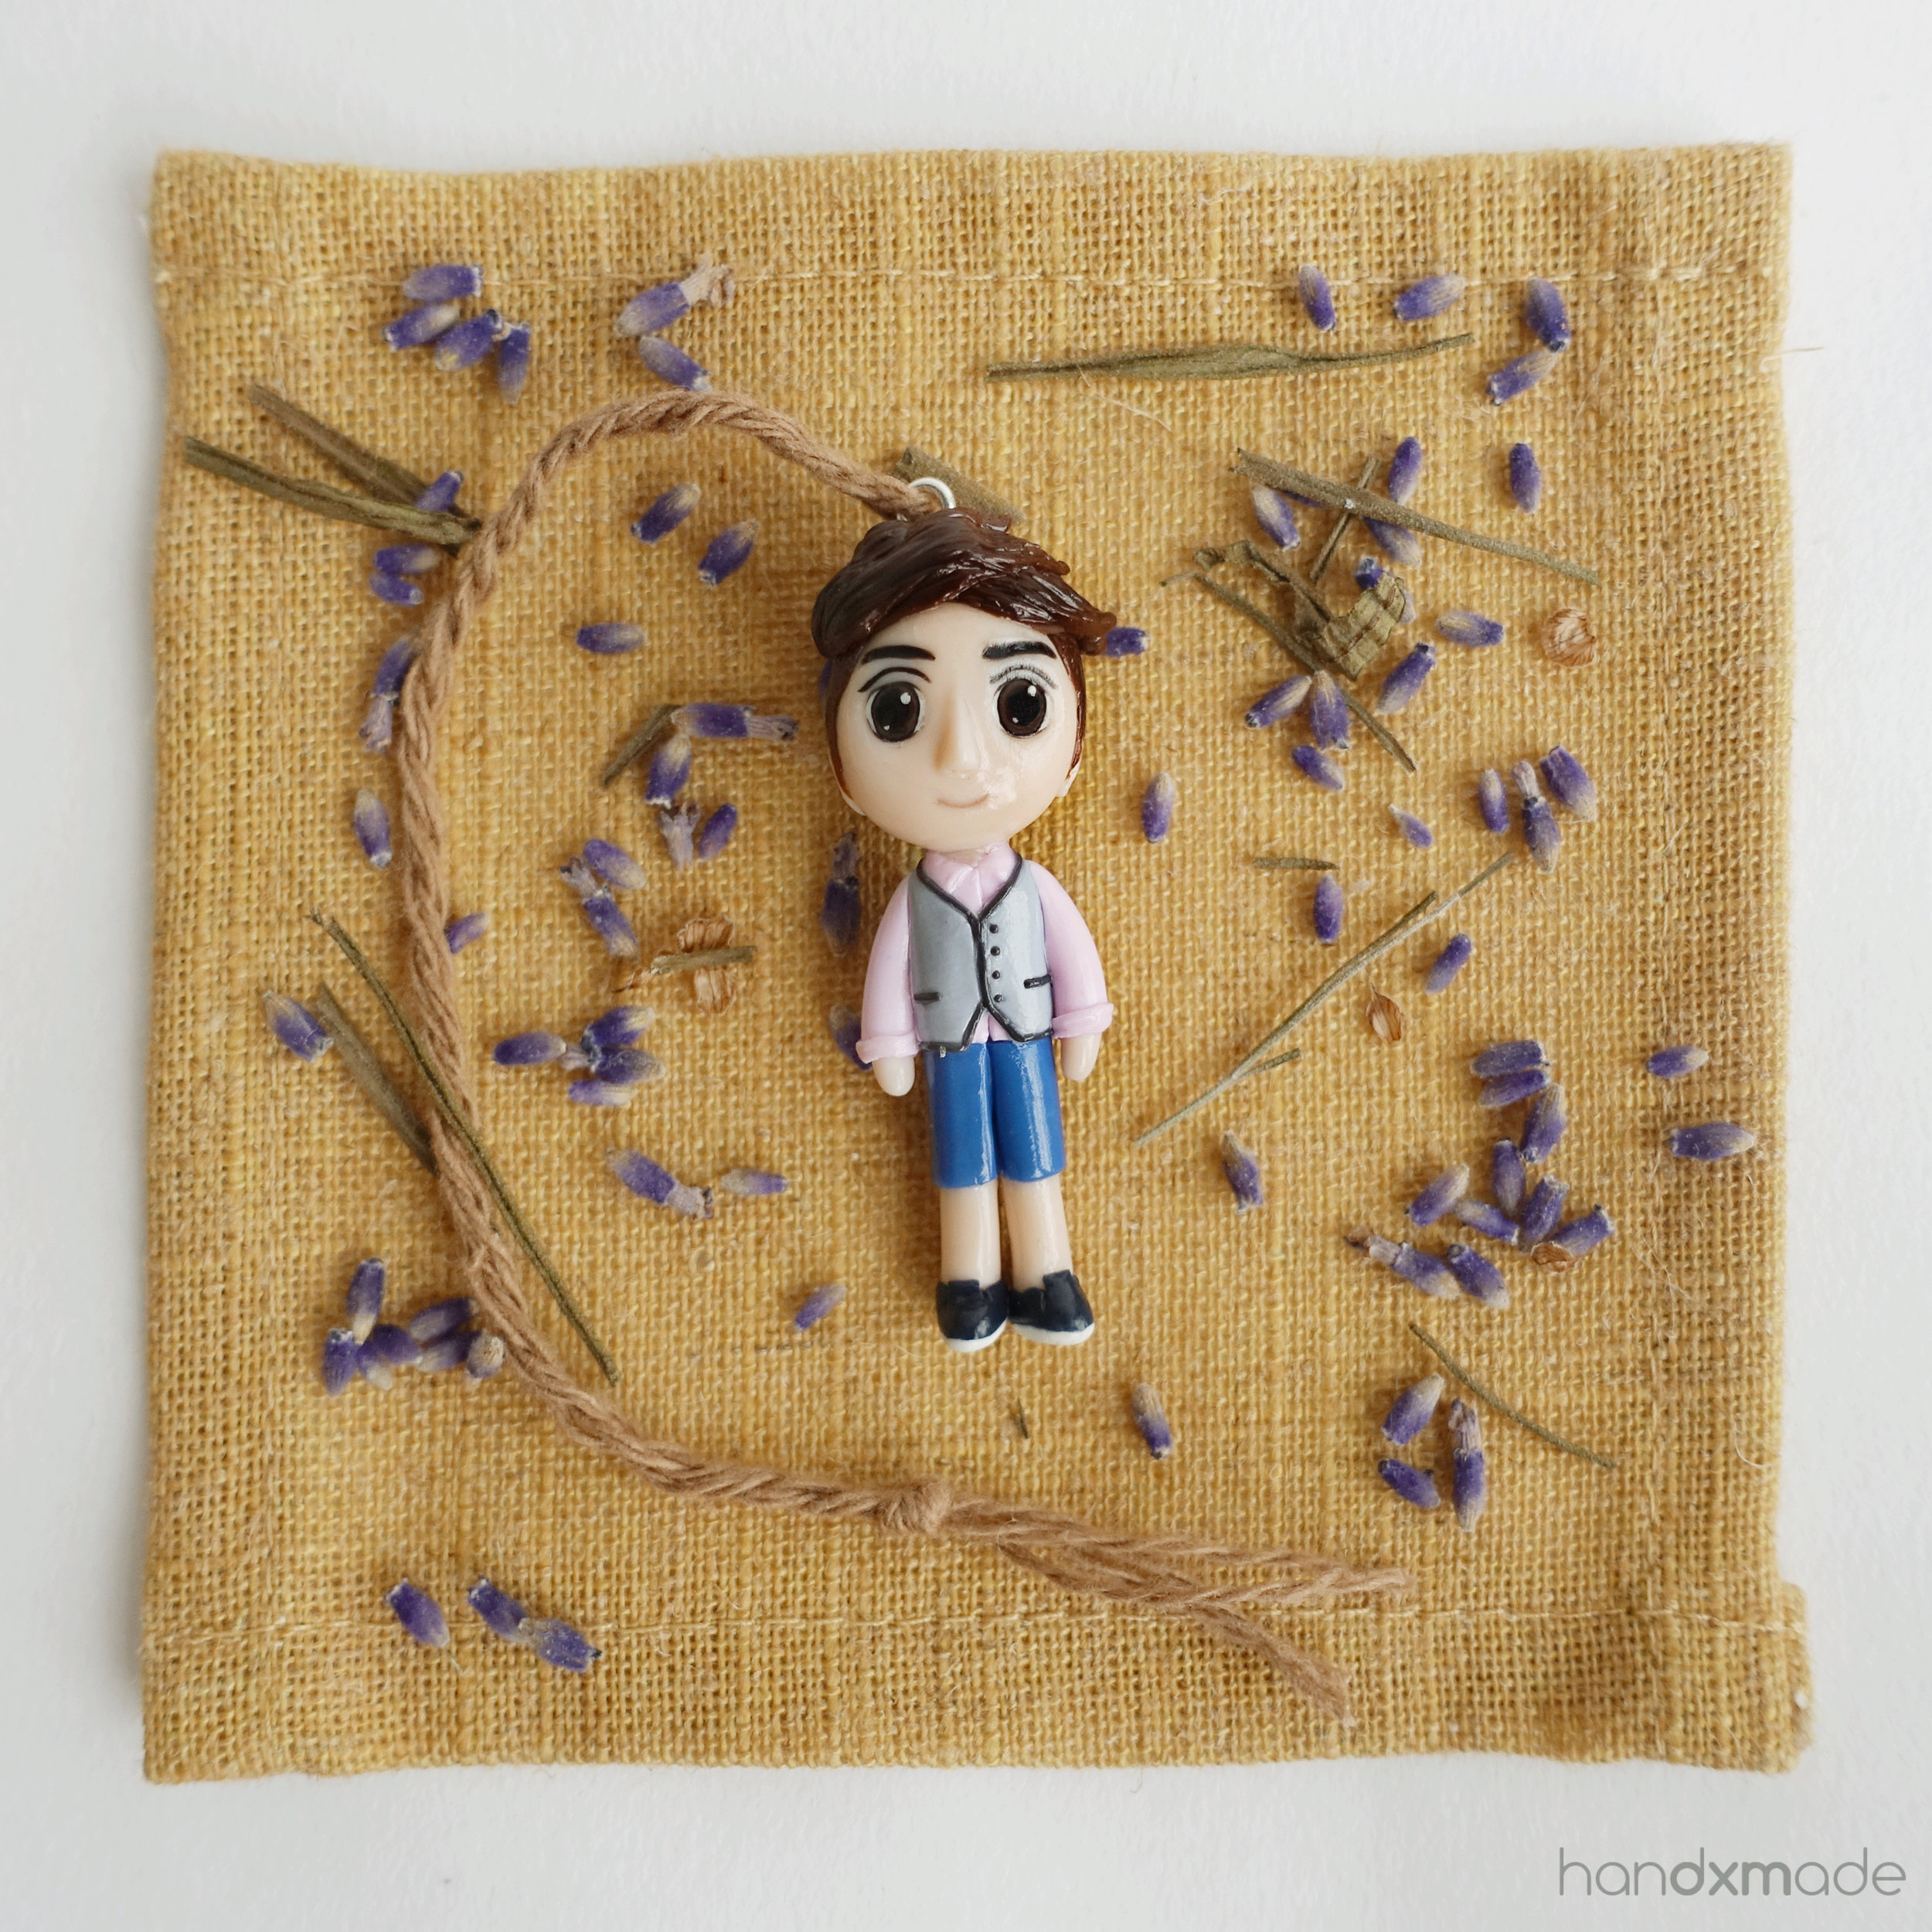
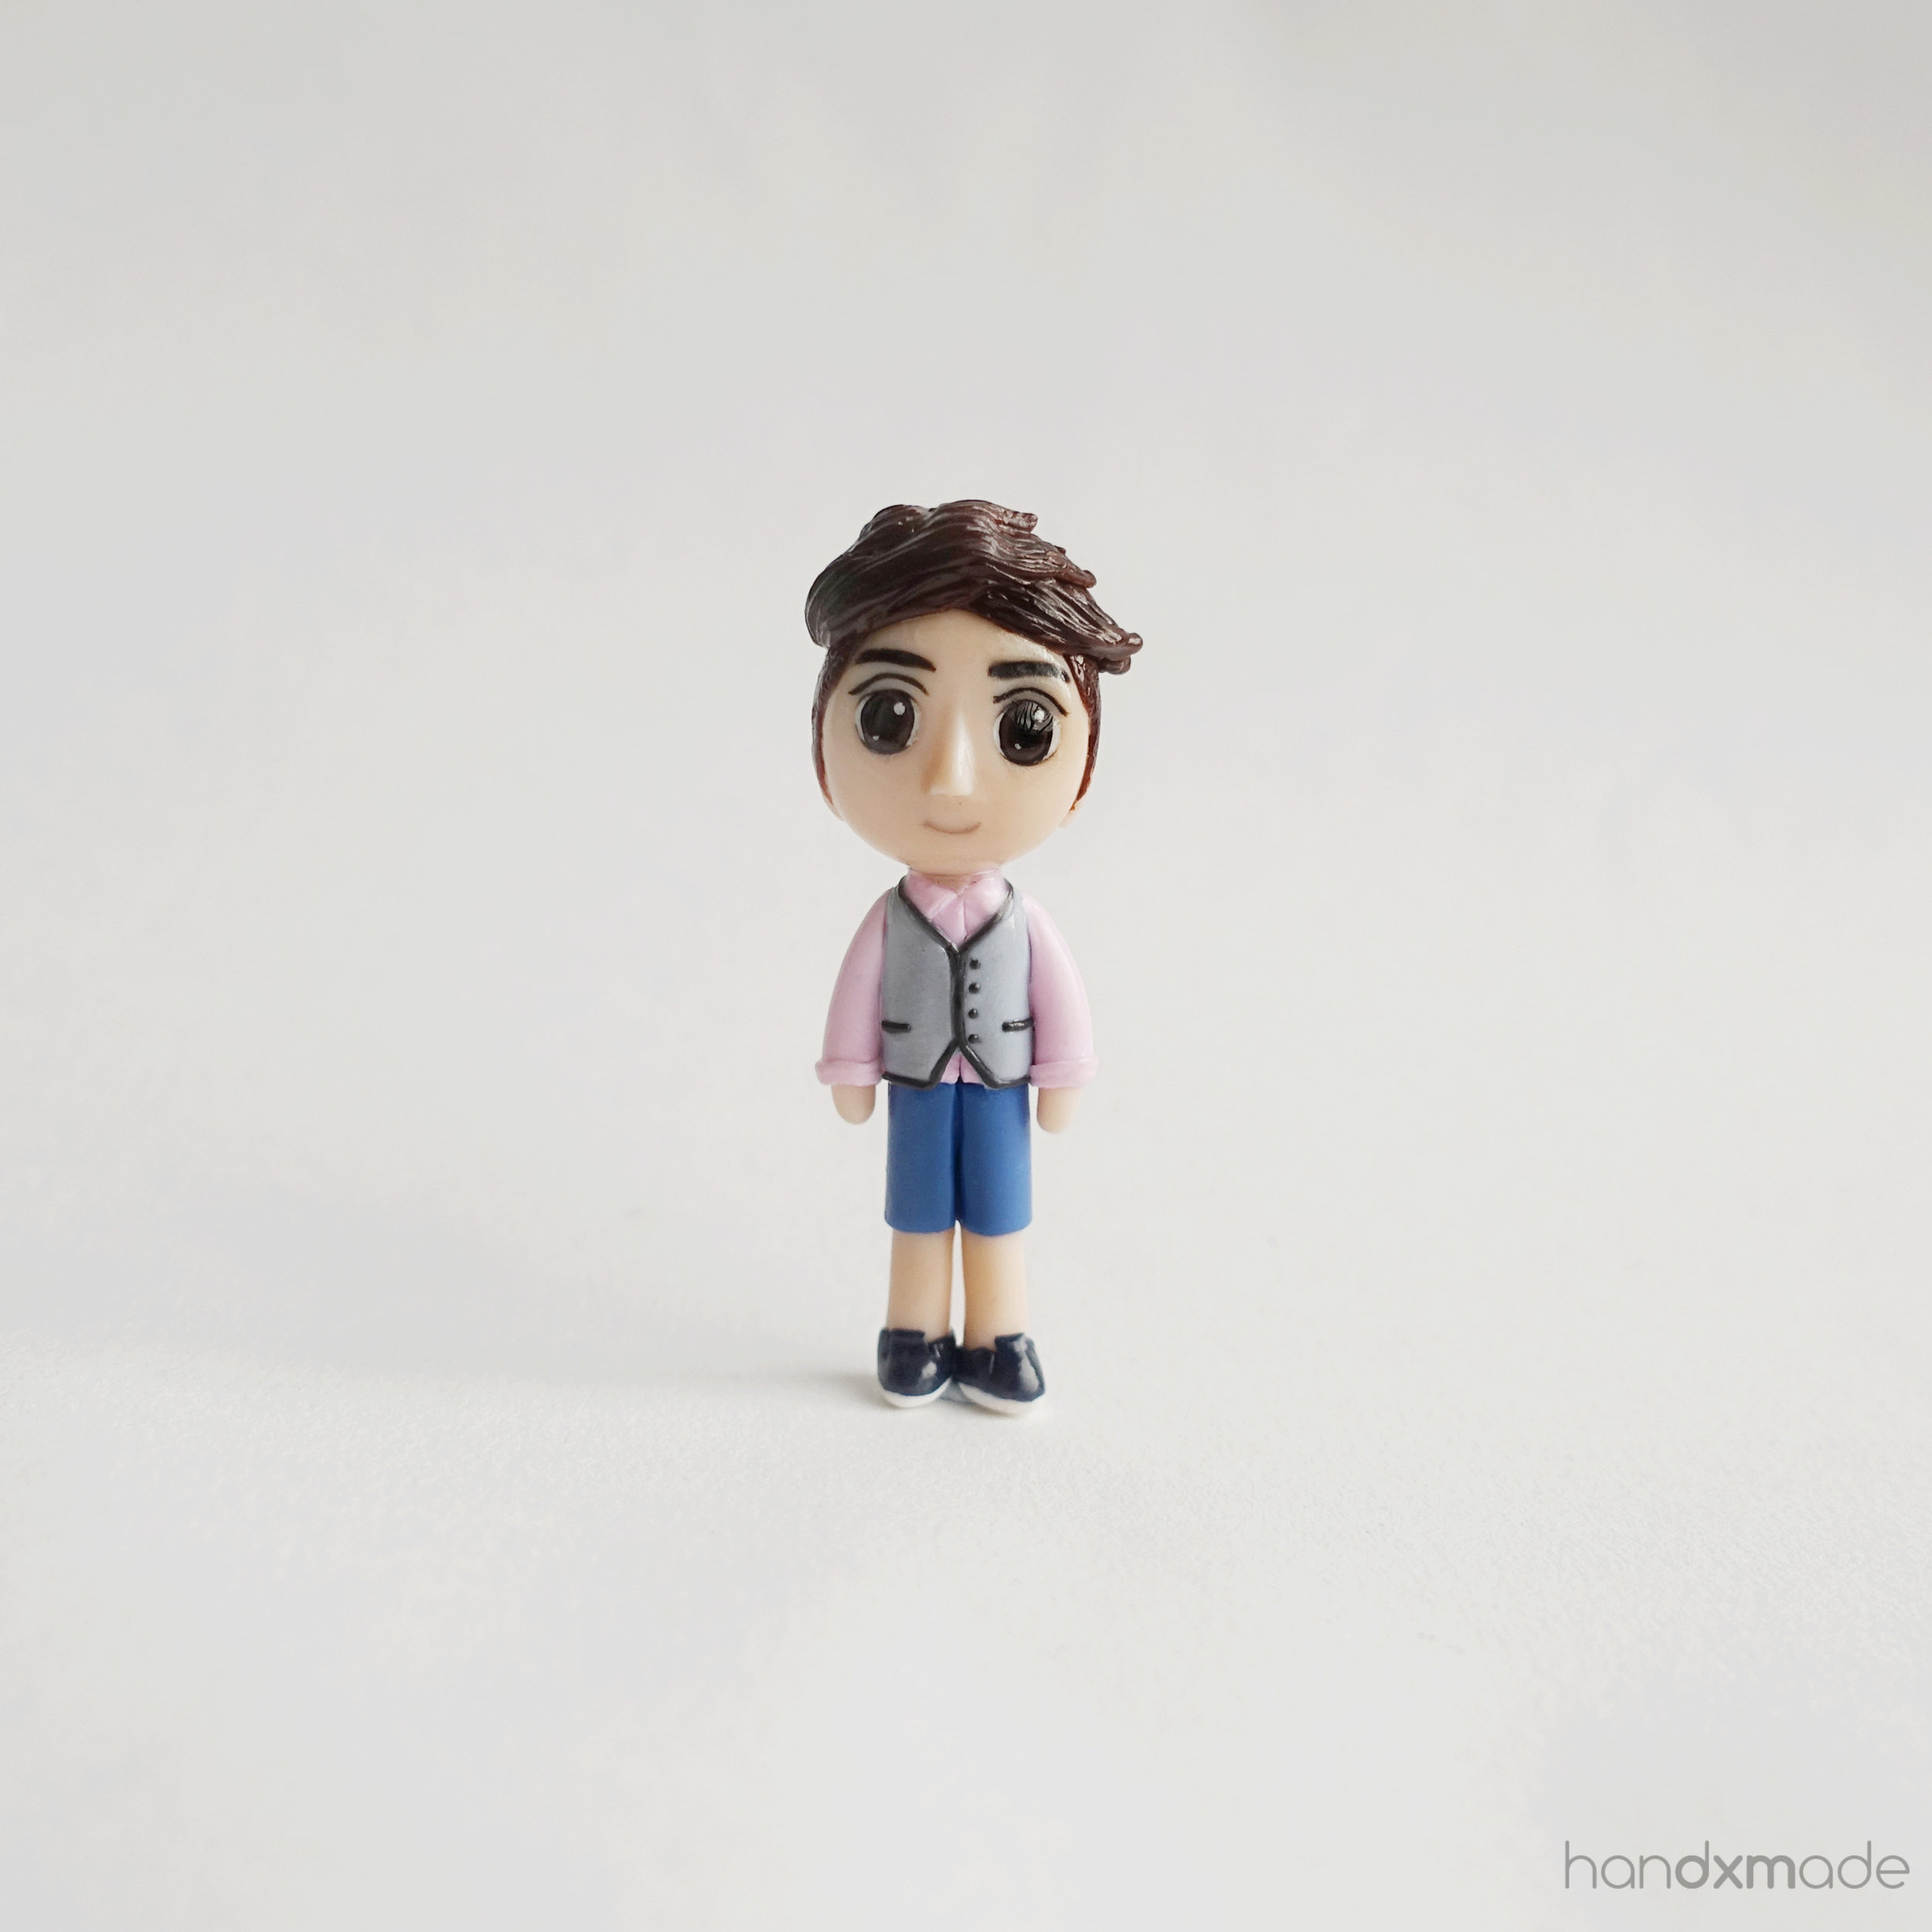
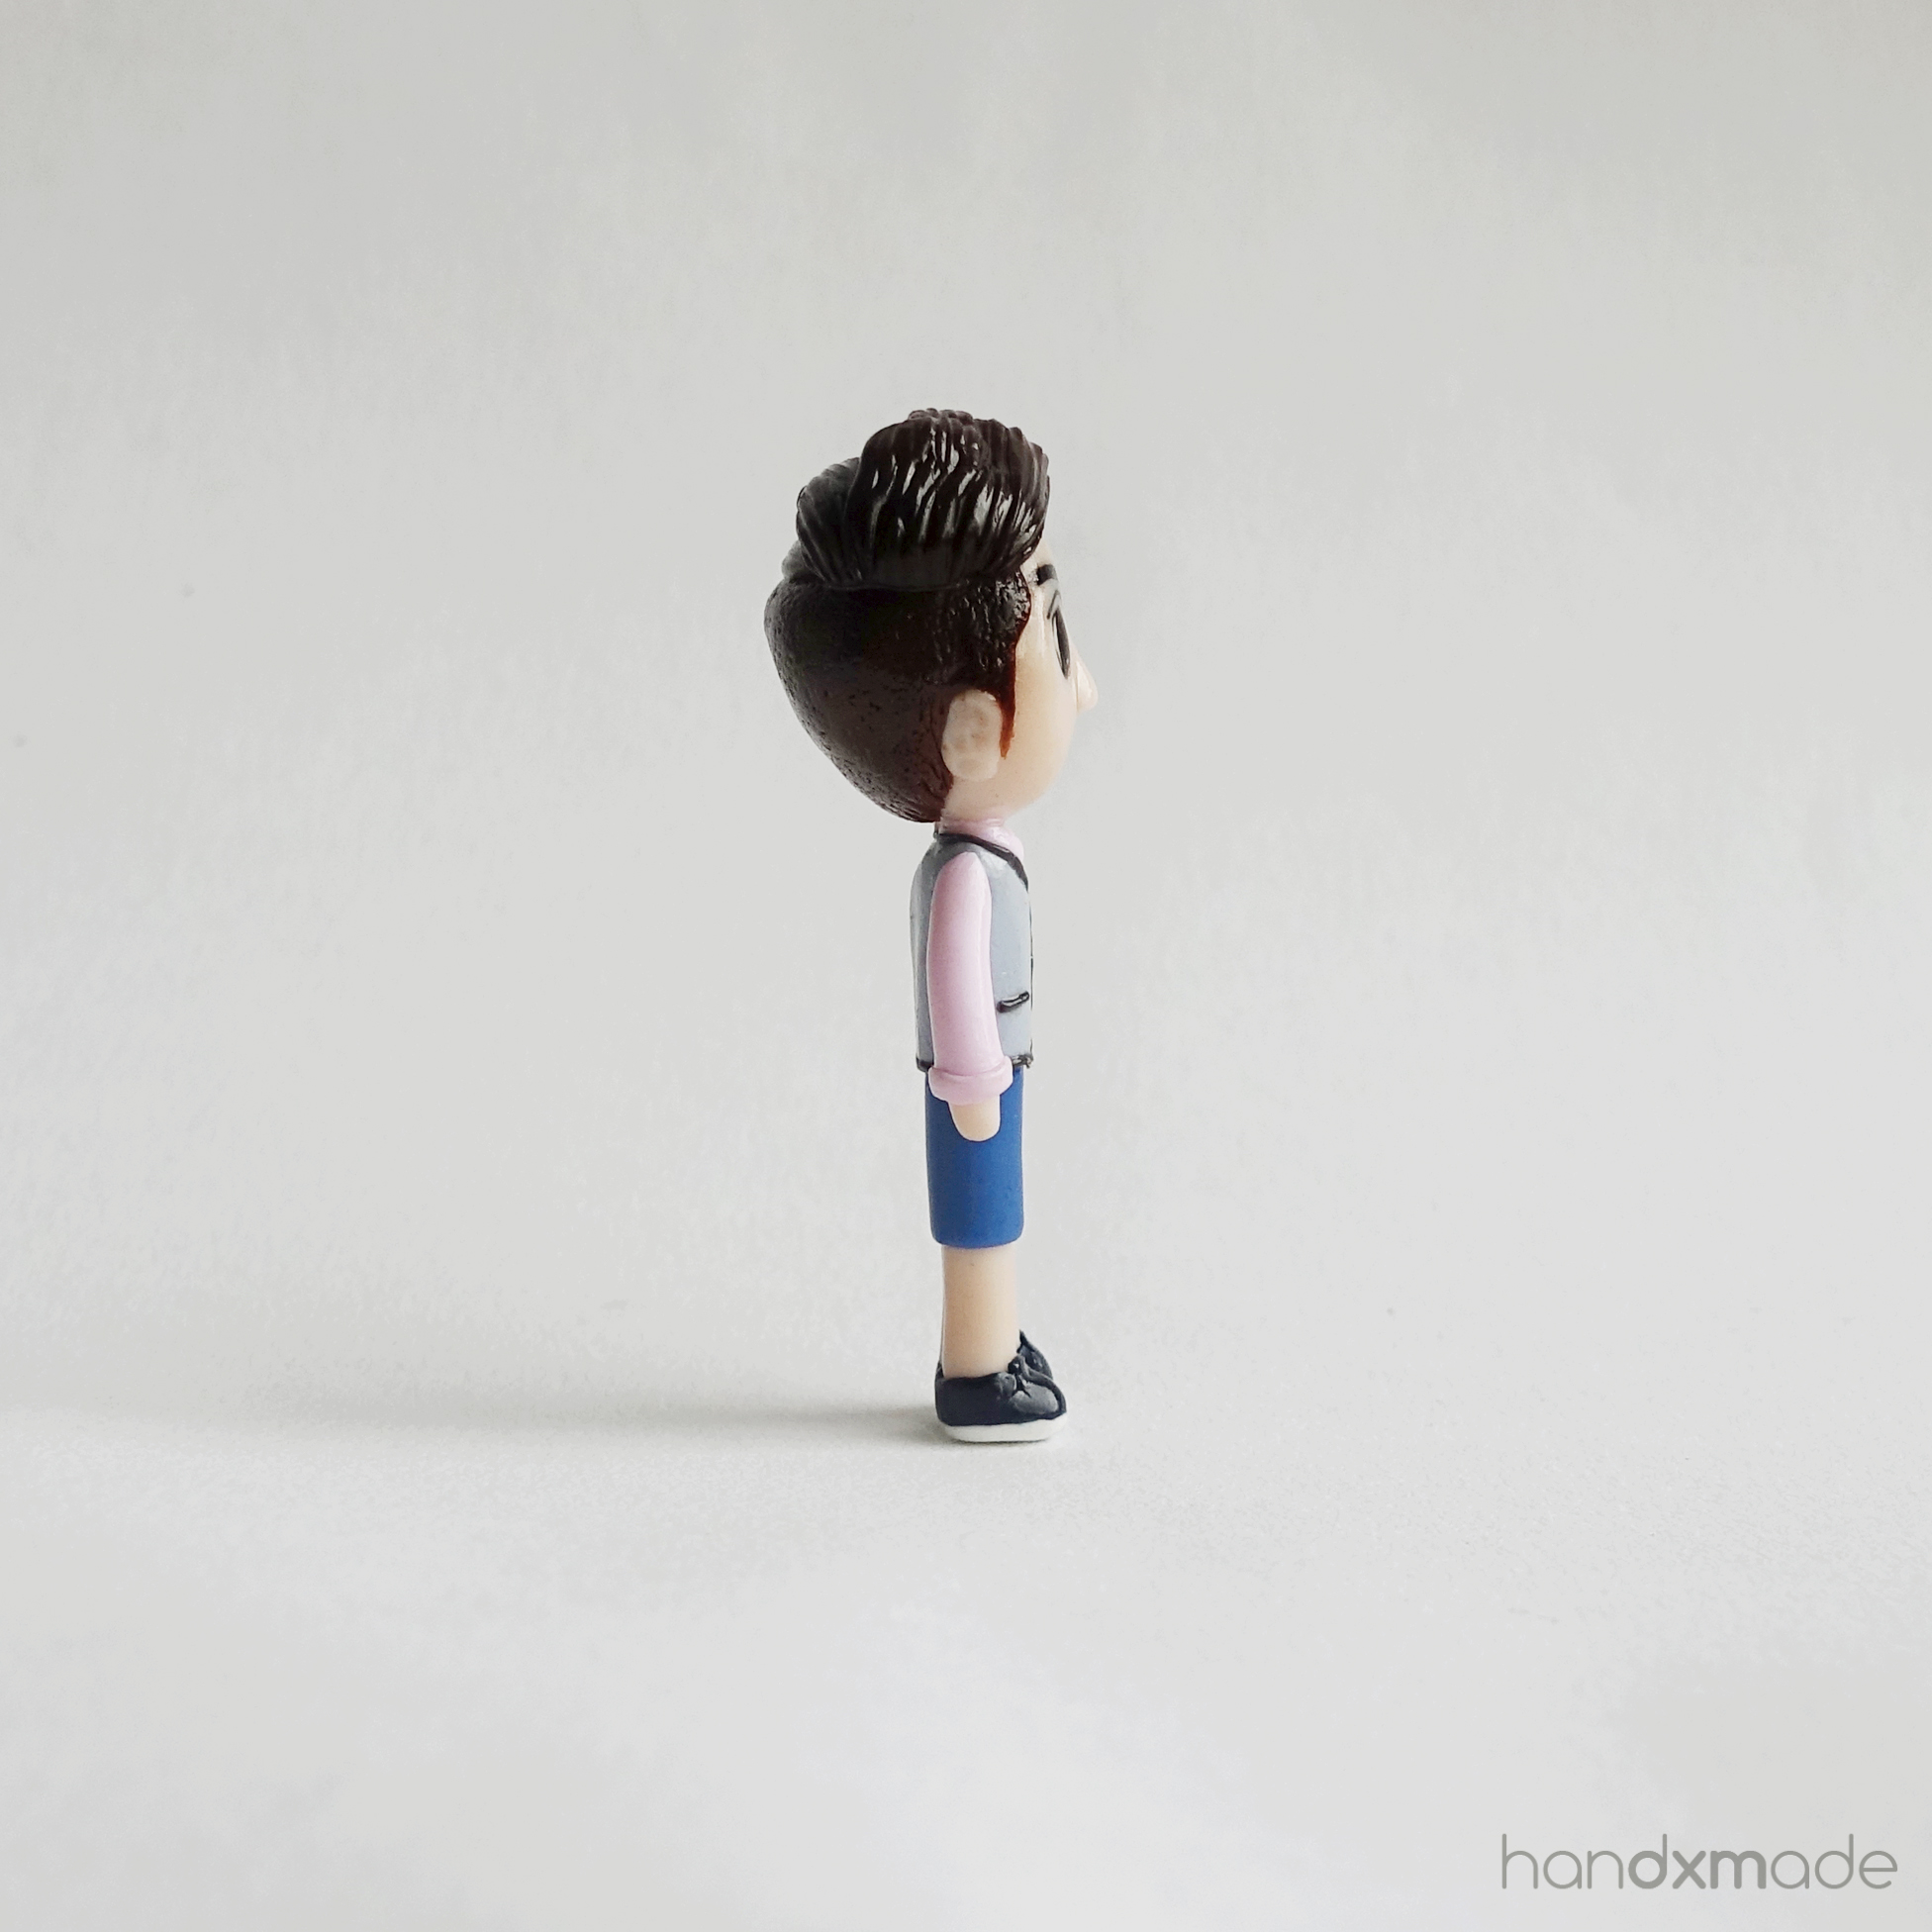
The one where I fixed the head shape
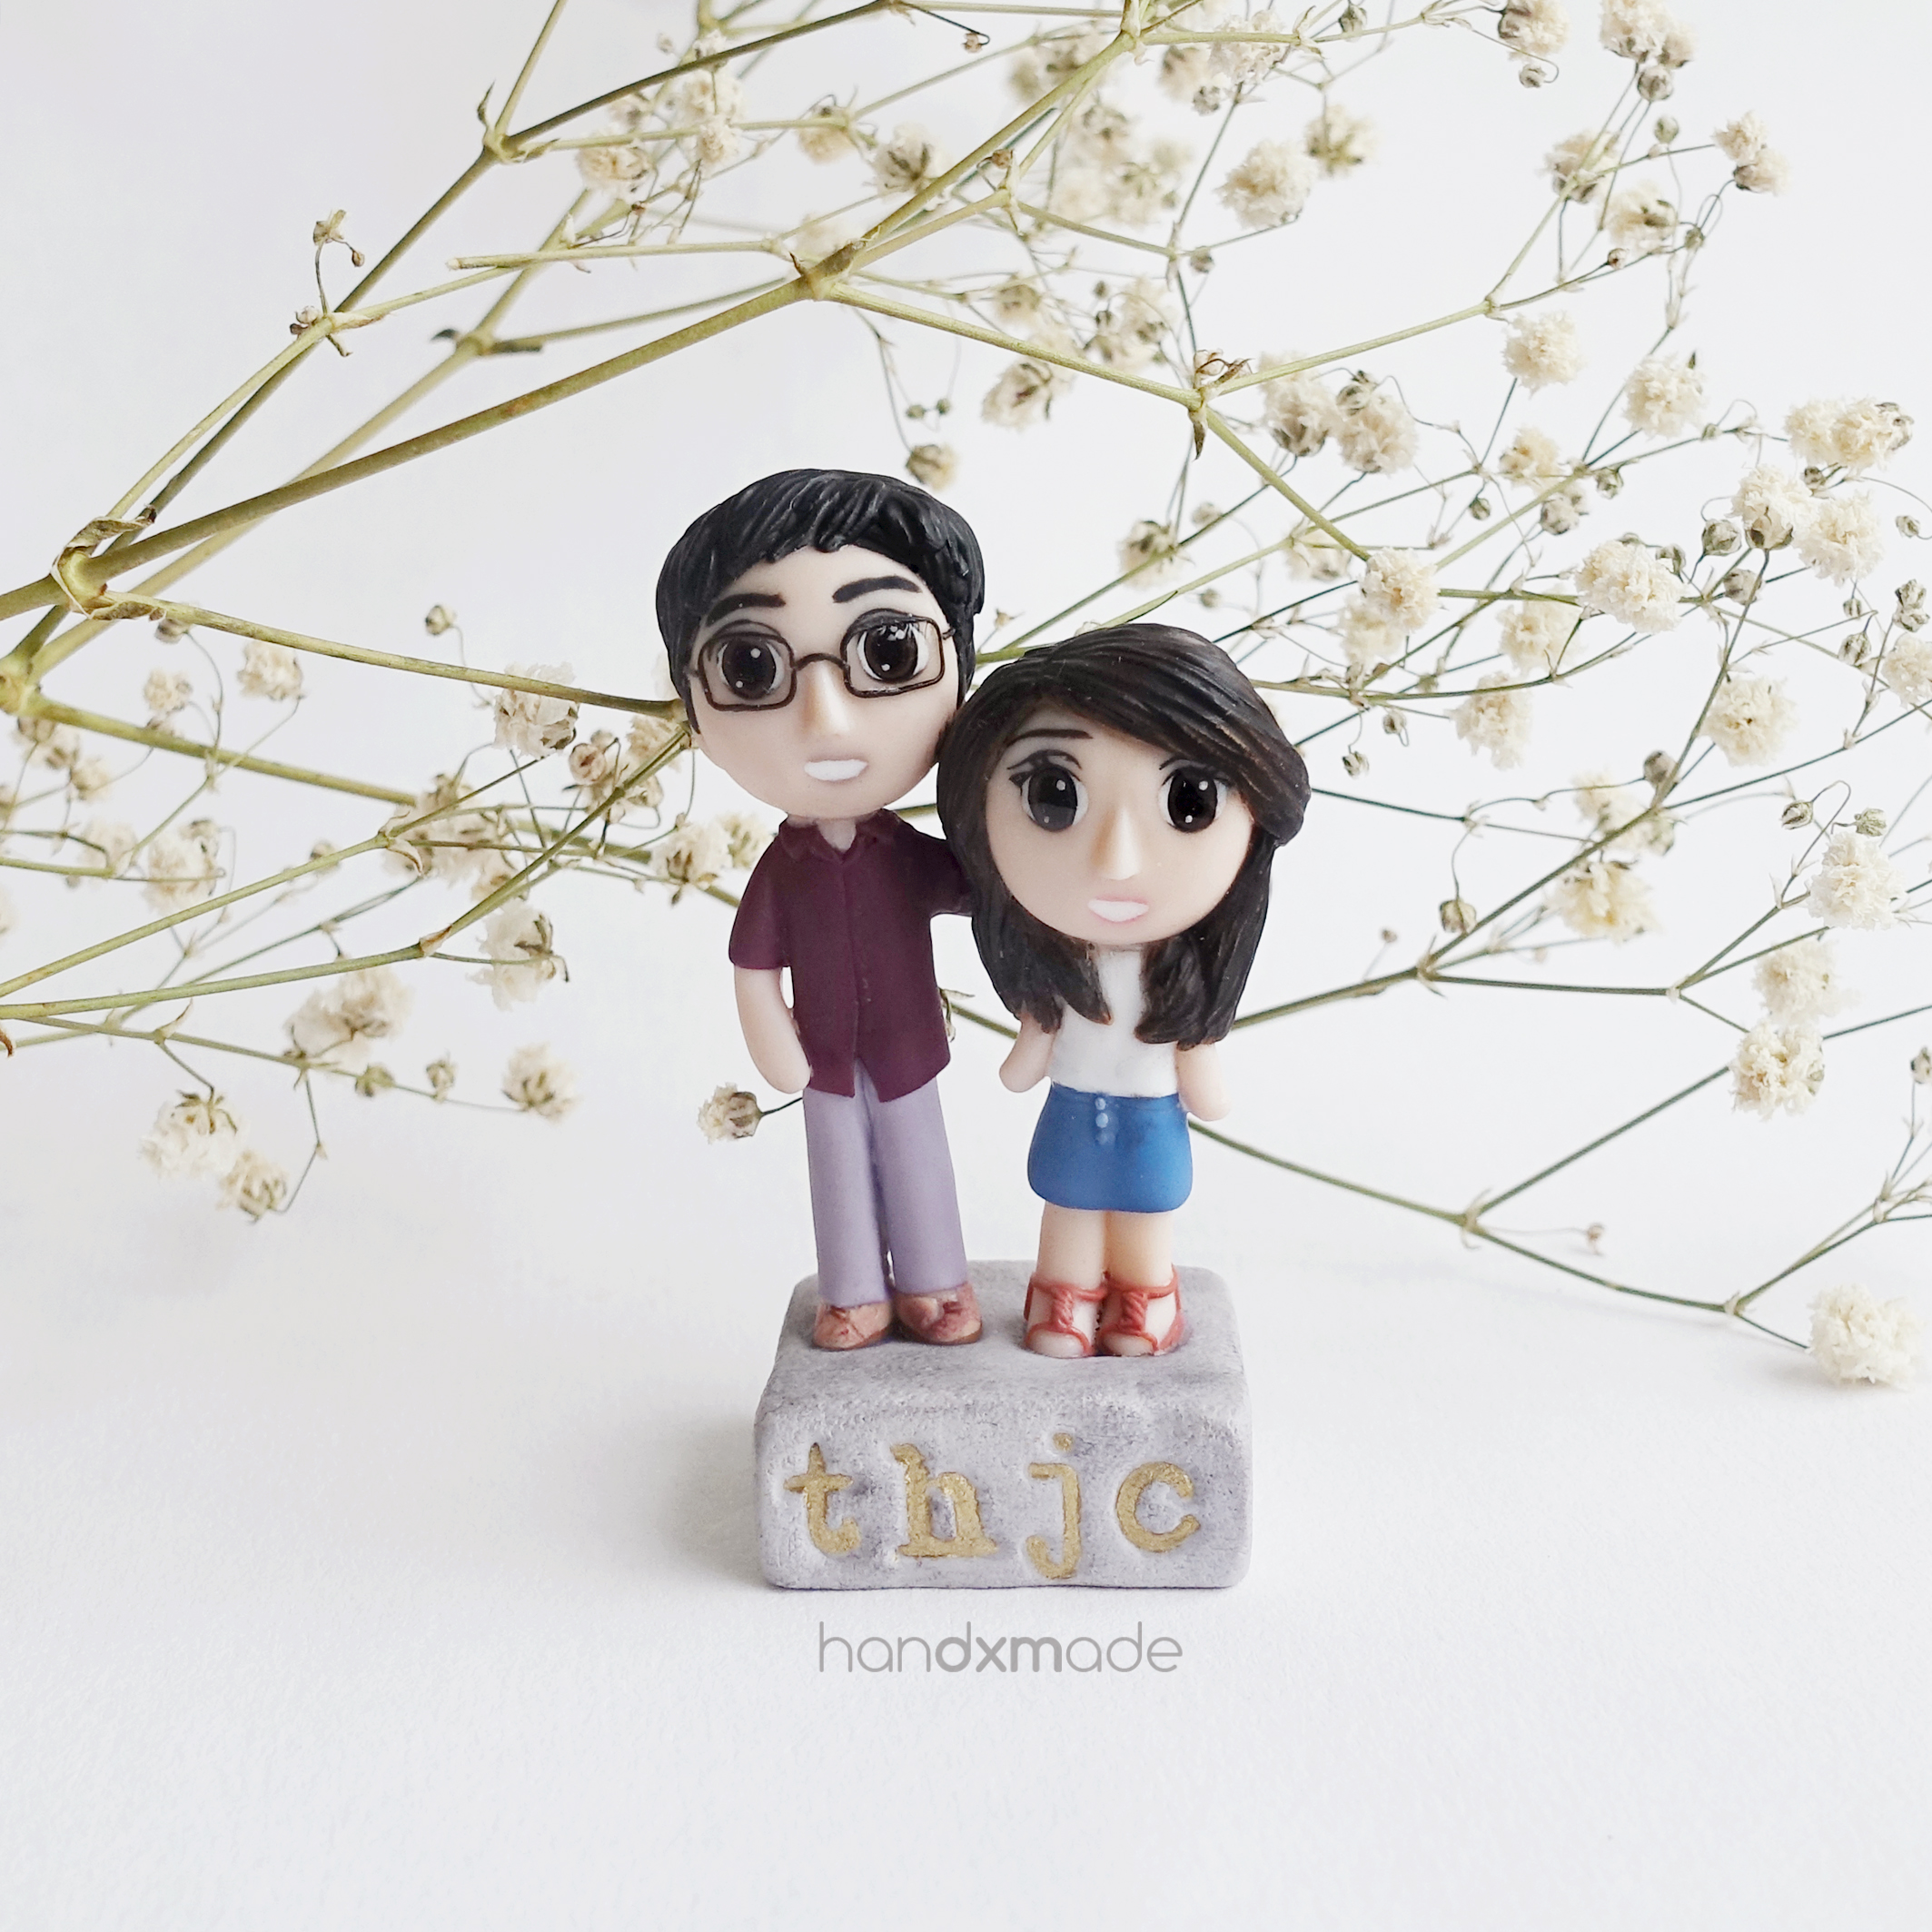
Before this figurine, the head shape of the figurines I made were all kinda rounded. I realise that by making it a bit more oval shaped, it leaves more space for forehead, and thus making it look more proportionate!
It was really amazing how such small thing matters, and I felt a lot better about my figurines after that!
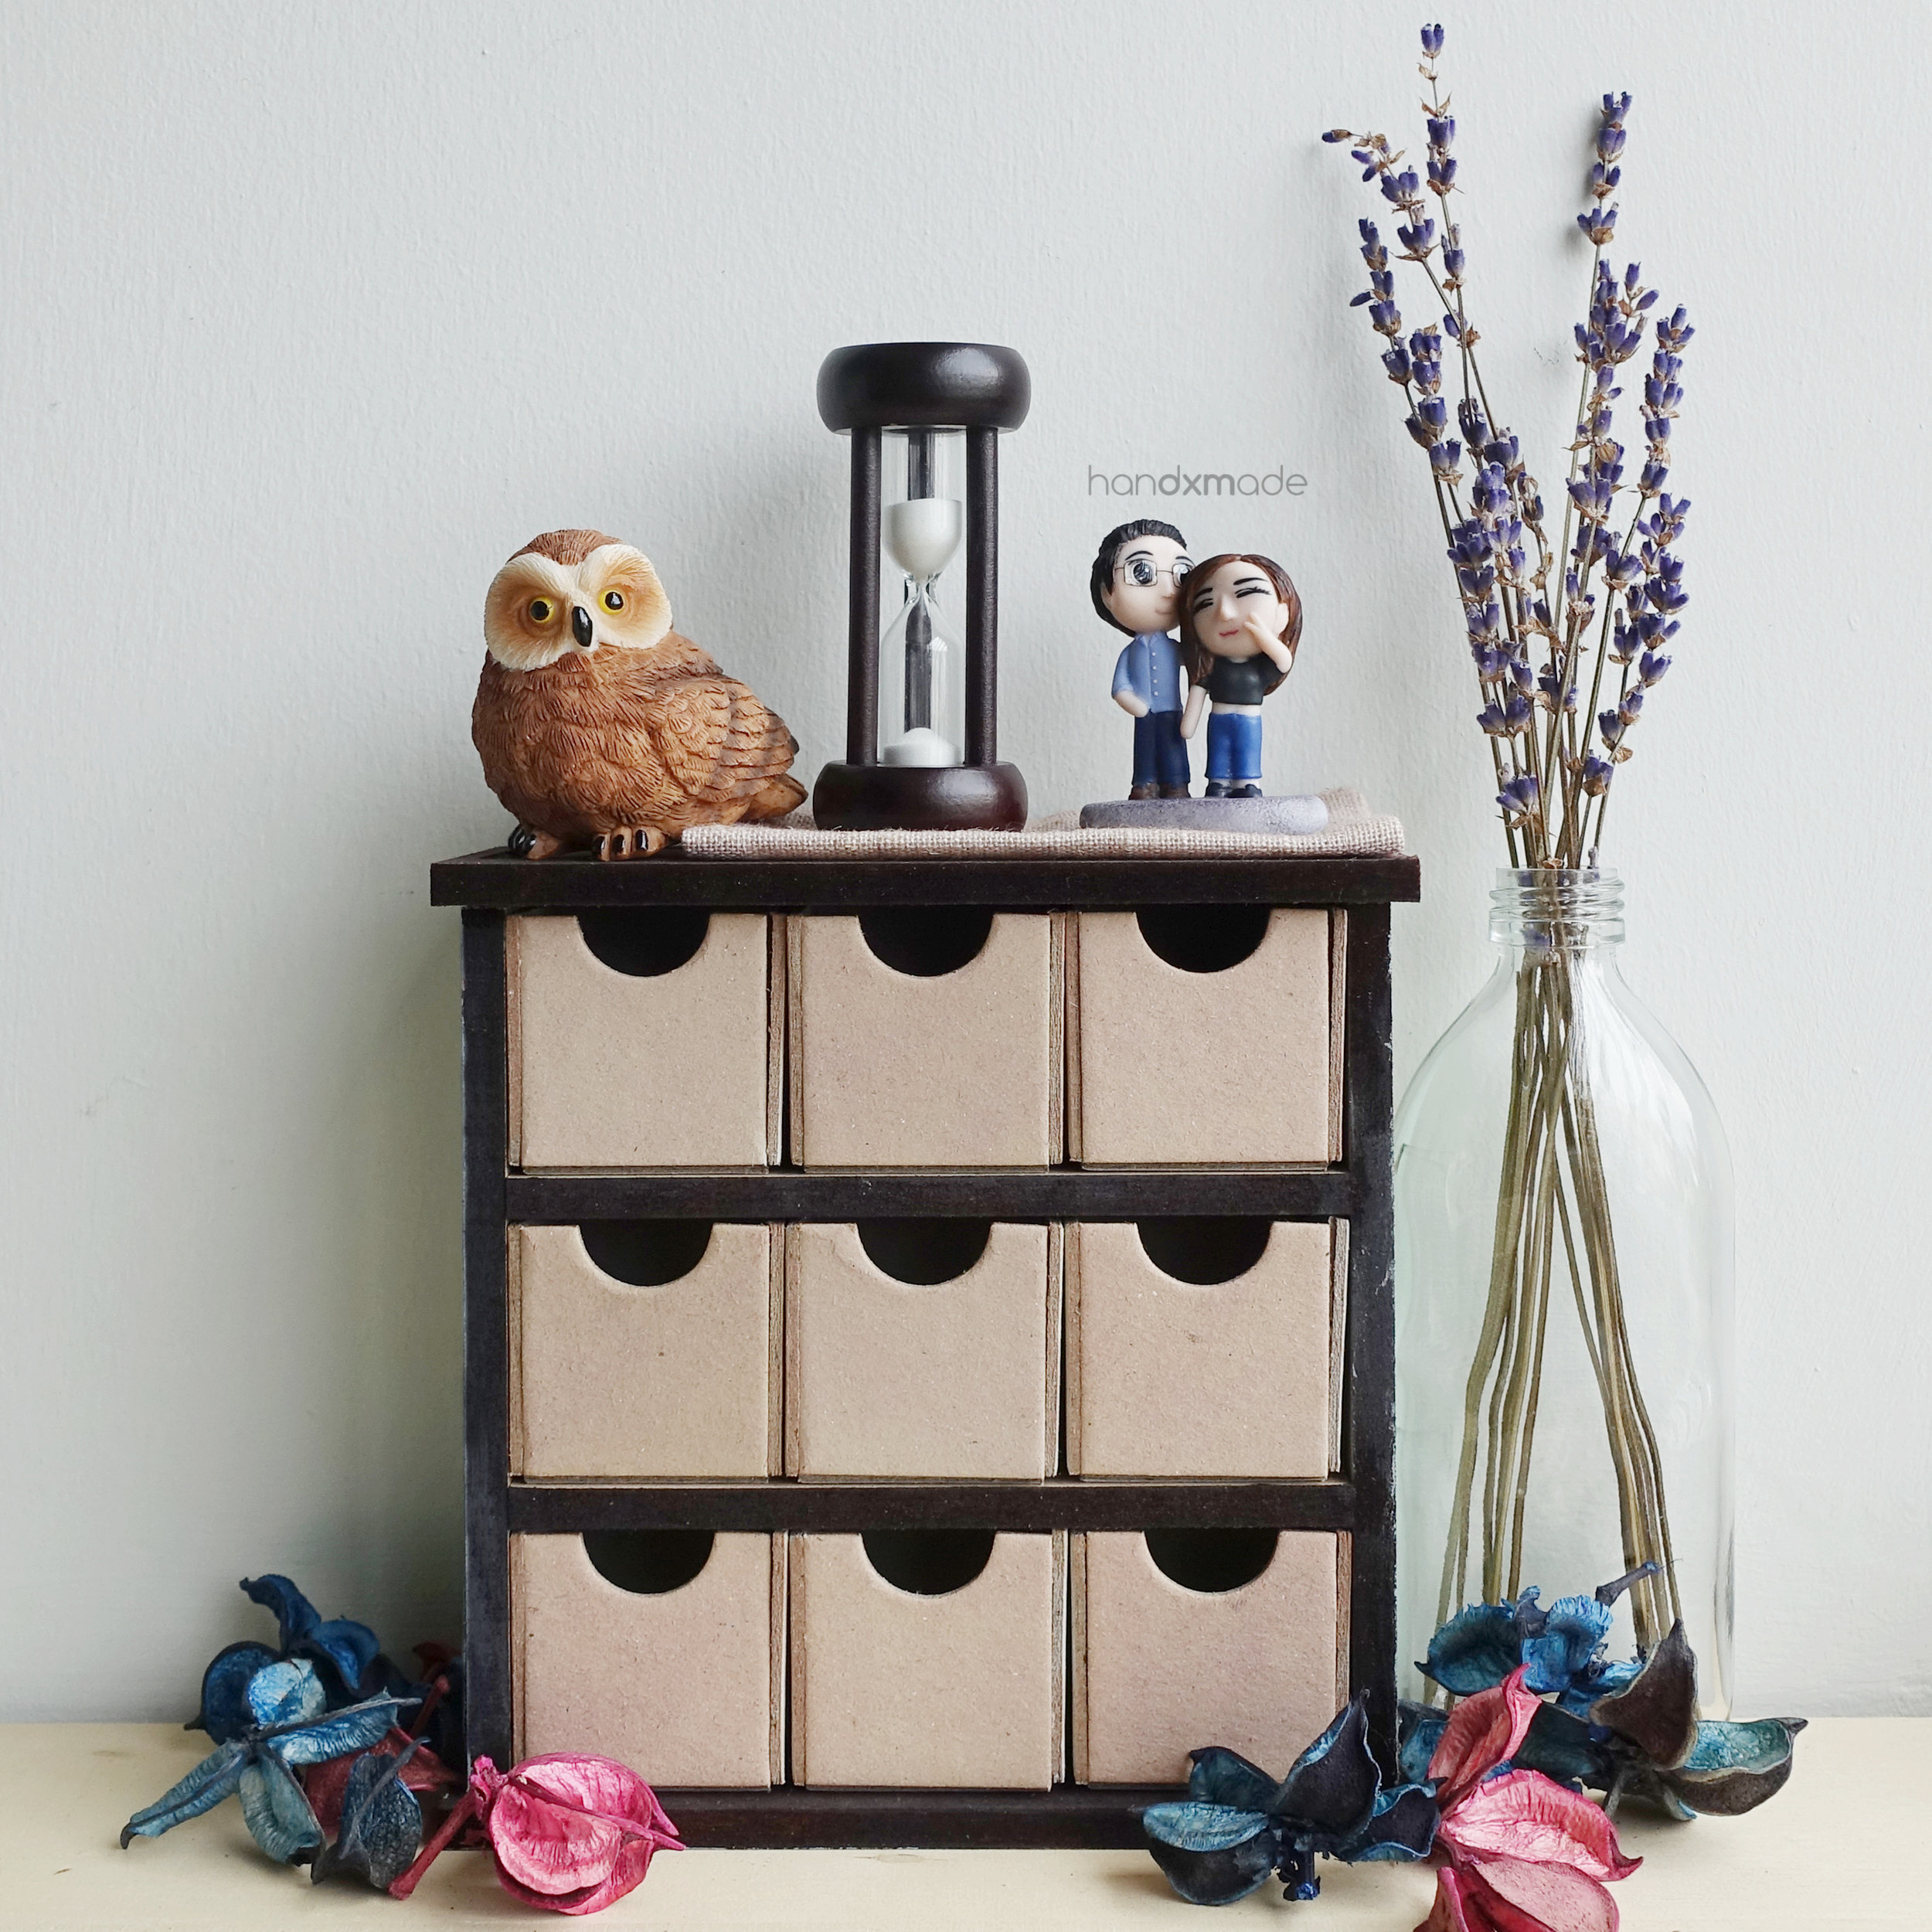
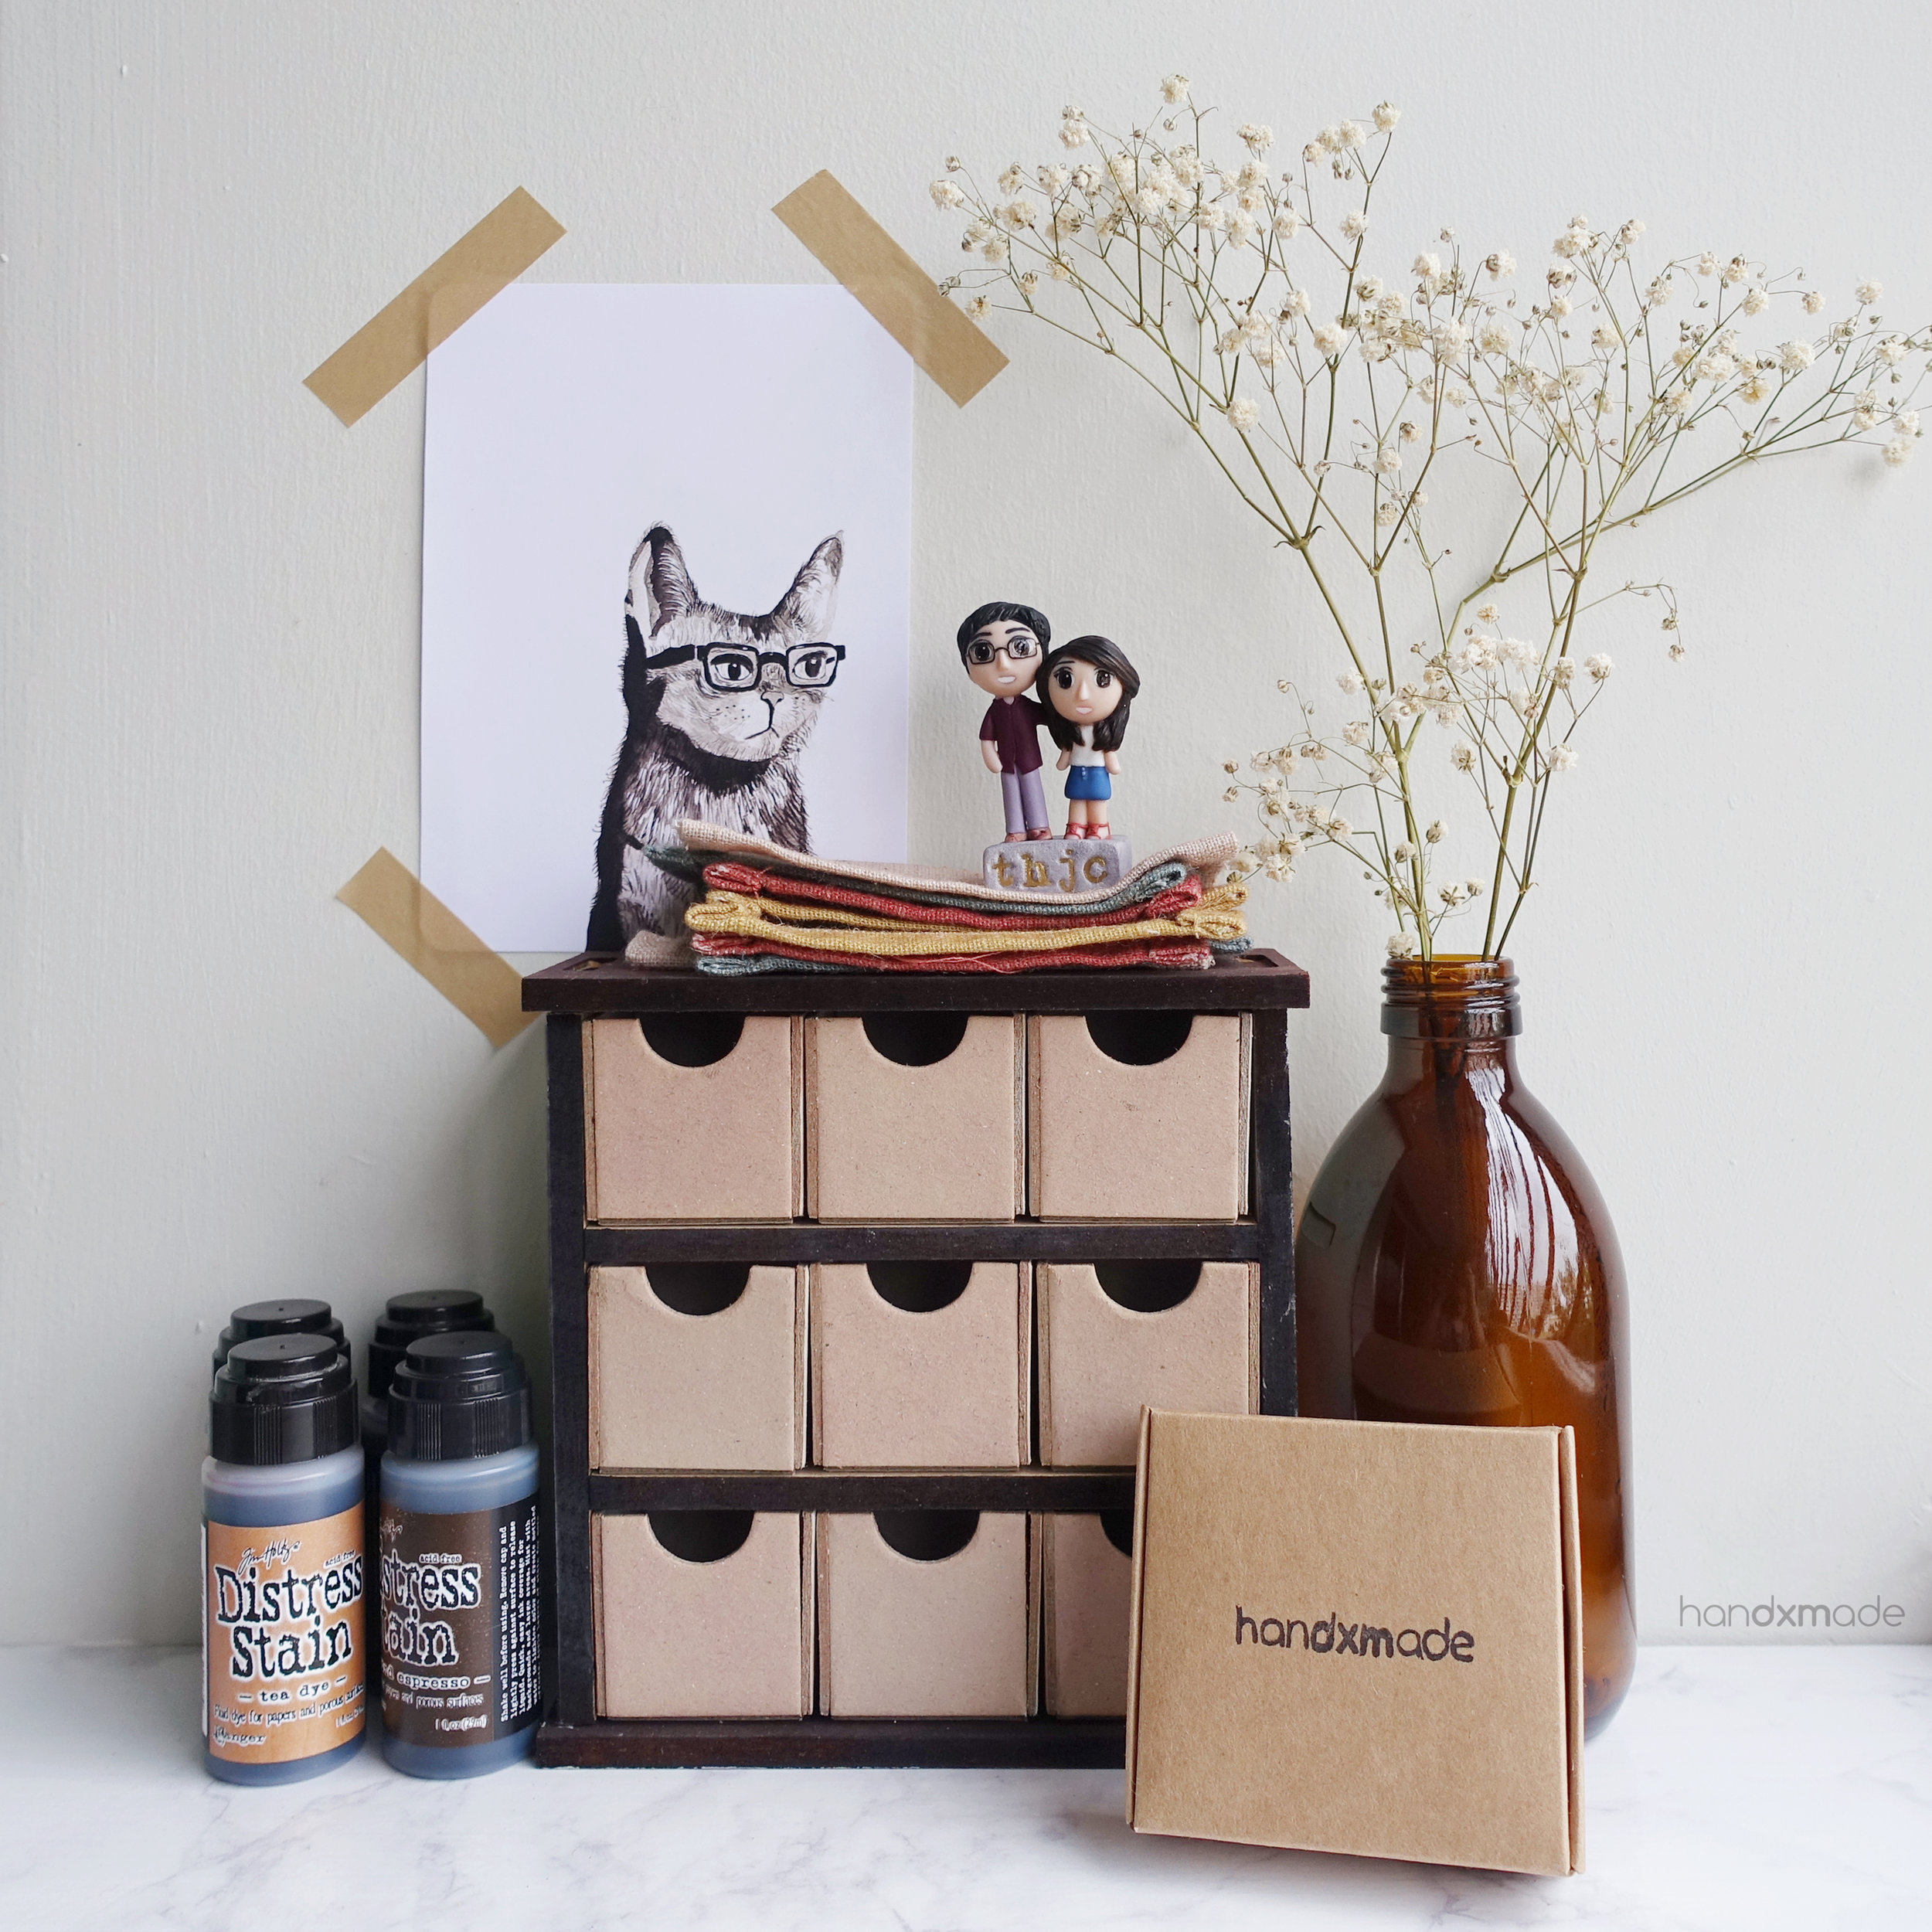
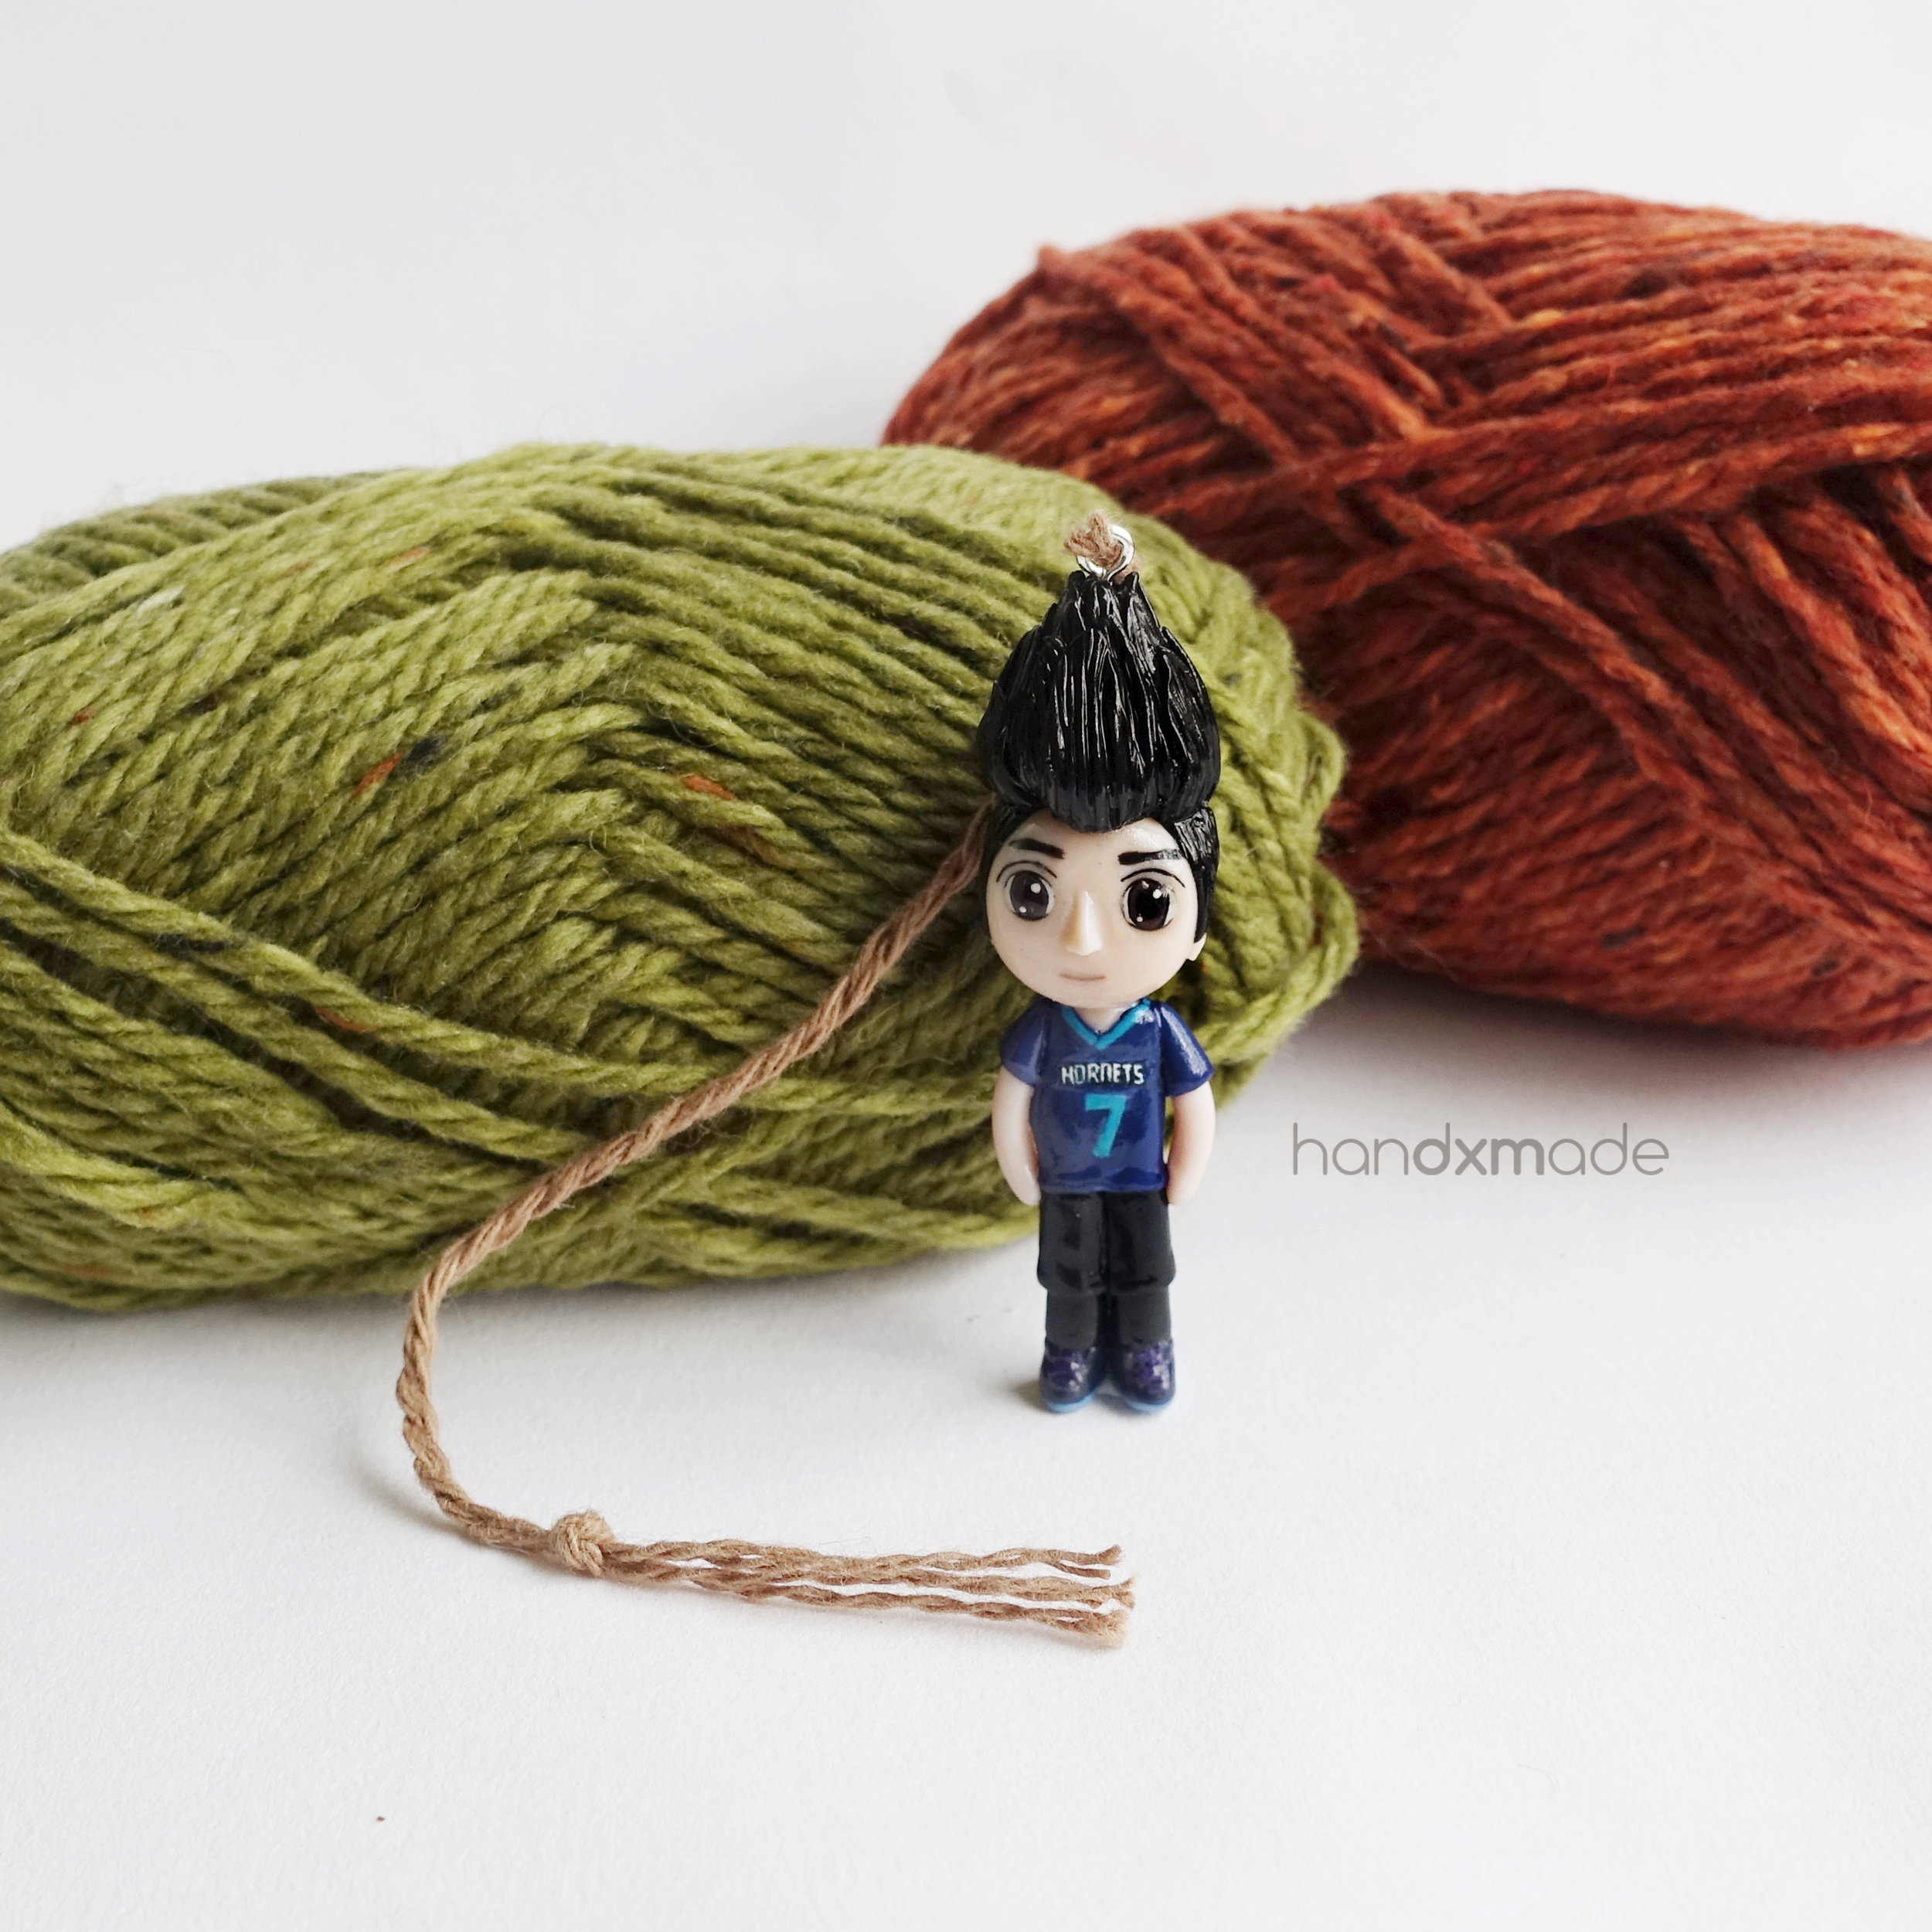
I also started getting props so I can take photos with my figurines with them, and use the sunlight to take photos! It makes a HUGE difference in my photo, so I make sure I take time to do it ^^
(Cat postcard from @troopsonprint on IG, and dried baby breathes from @myvalentinesg on IG!)
I always loved such decorative items, but I never knew what to do with them. Now they have a purpose (being props for my figurines hehe), I am more willing to spend money on them, and at the same time support local businesses! Win-win situation hurhur.
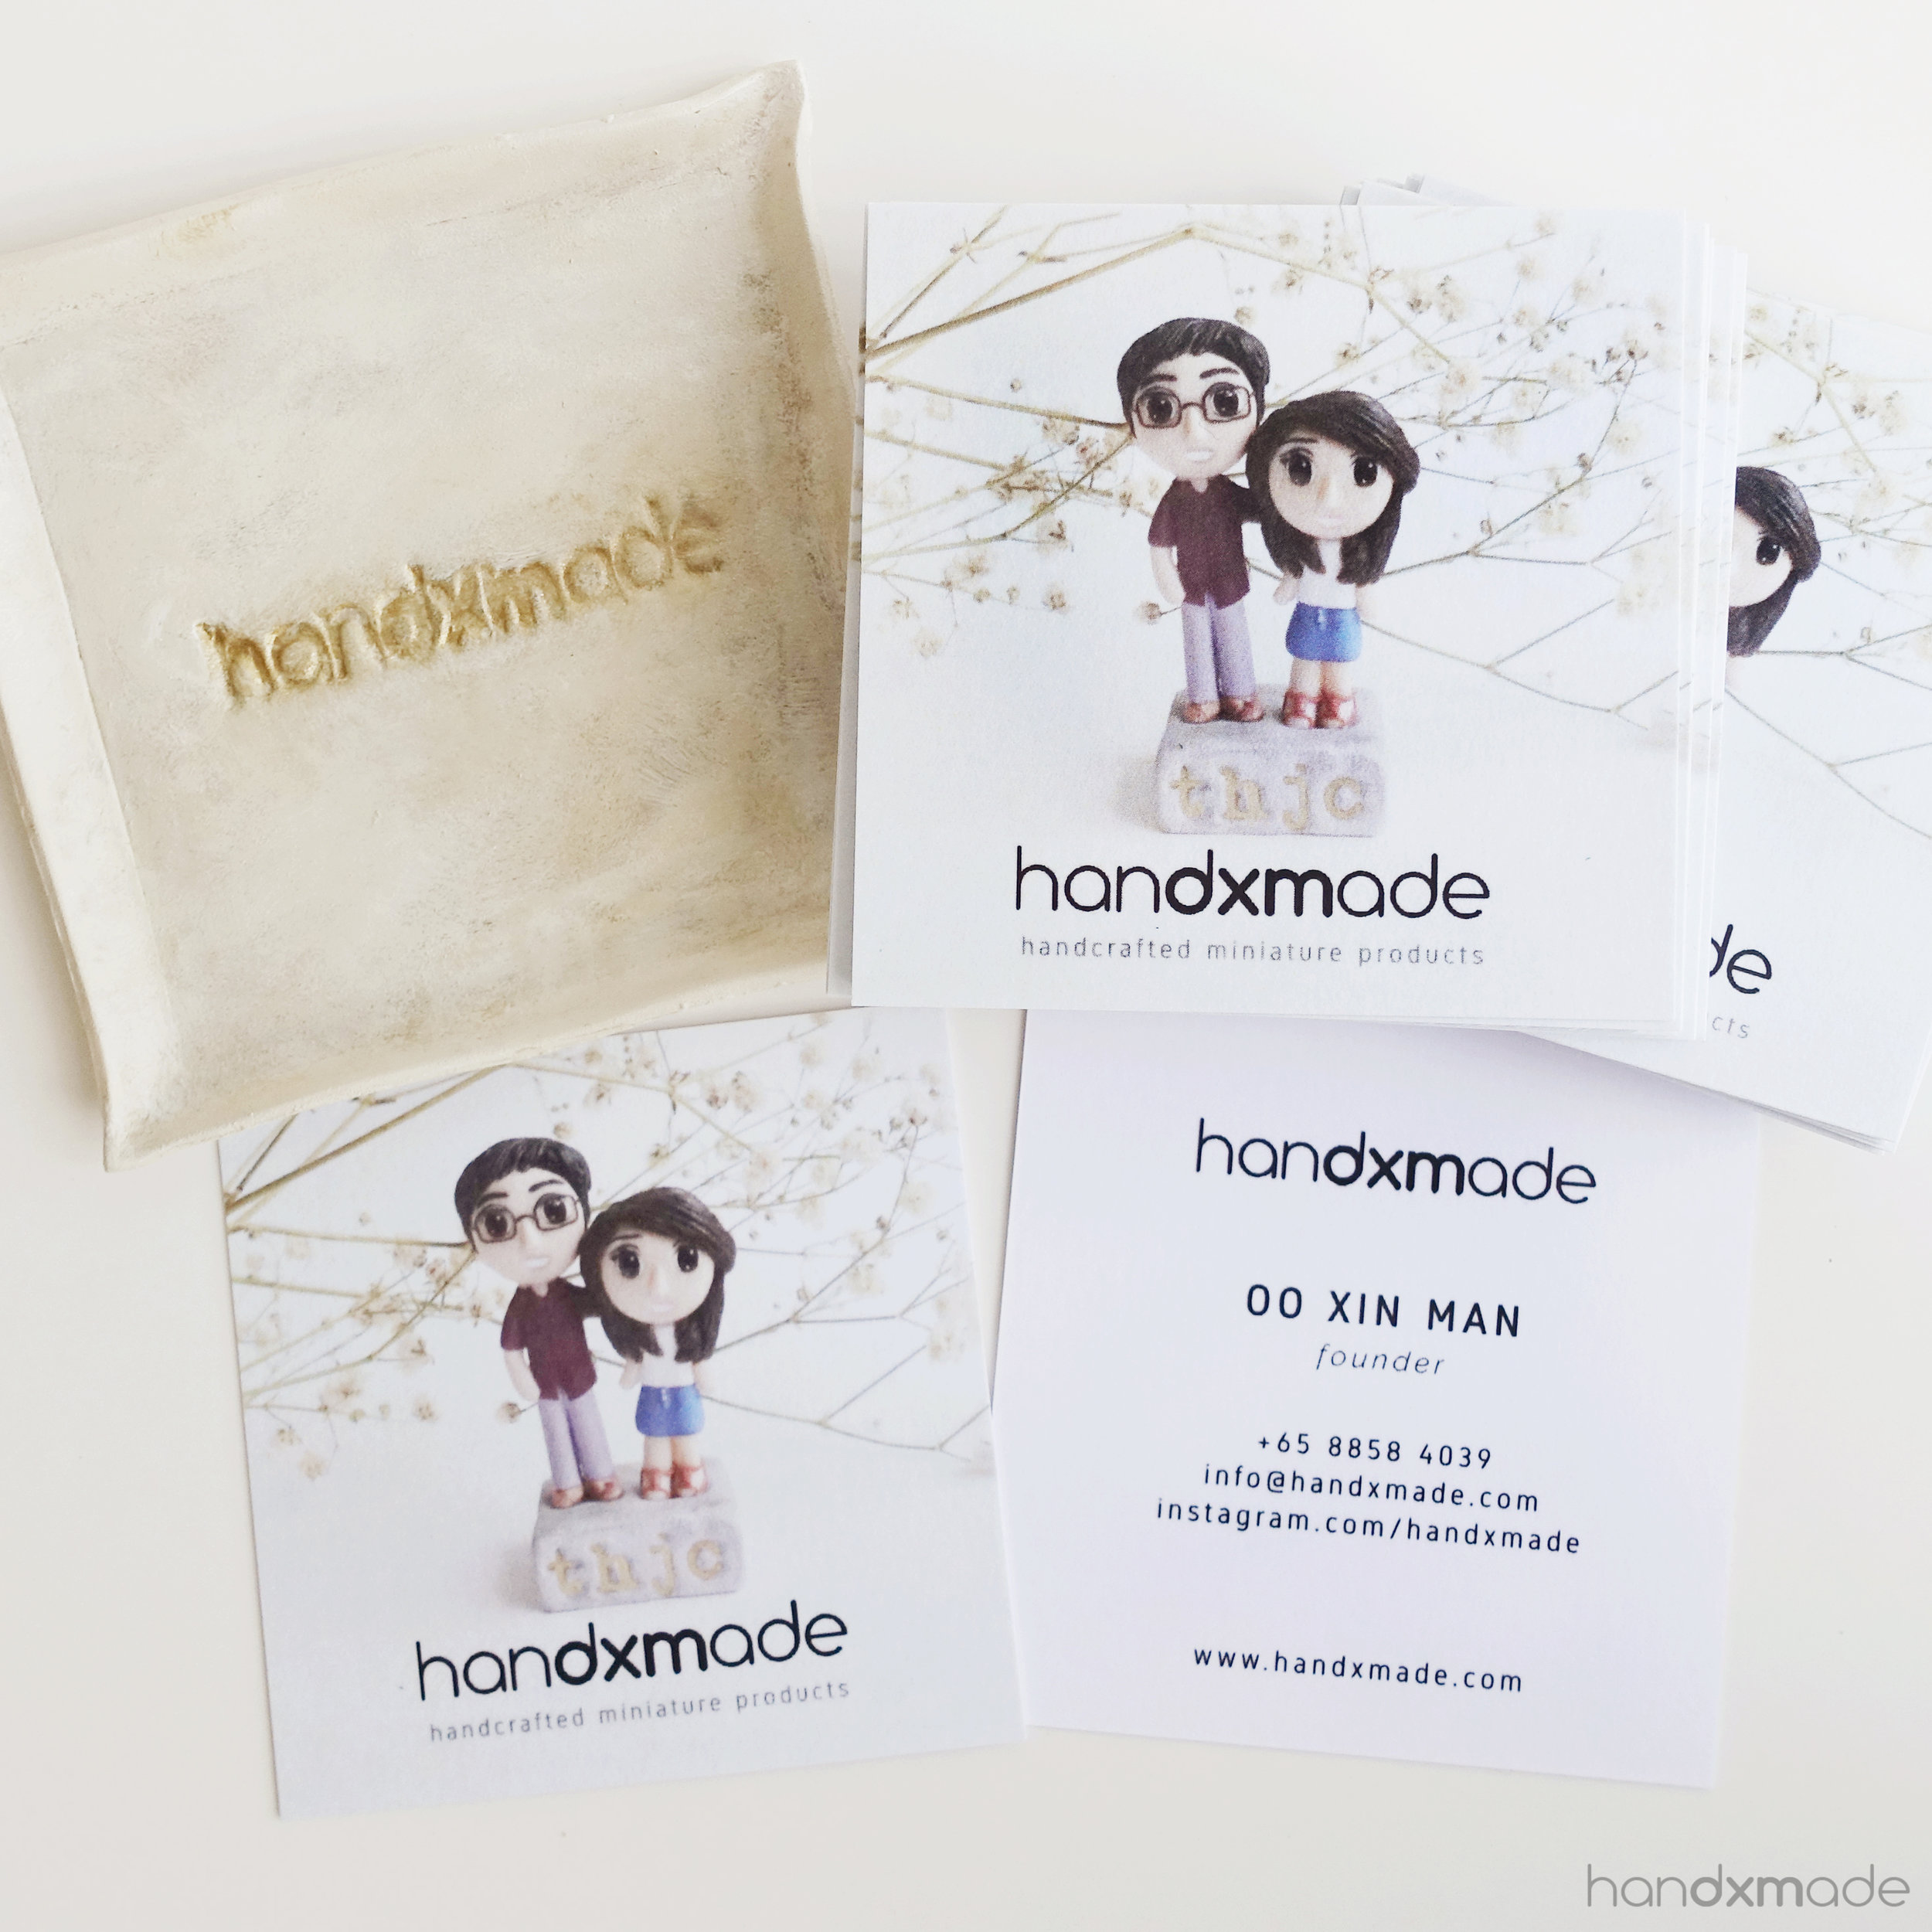

I love the first photo so much because of the baby breathes, which imo really make my photos so much nicer! And I used the photo for my FIRST EVER OFFICIAL NAMECARD FOR HANDXMADE! Hehehe. The namecard is design by my friend, Siang Joo. Do check out her works!
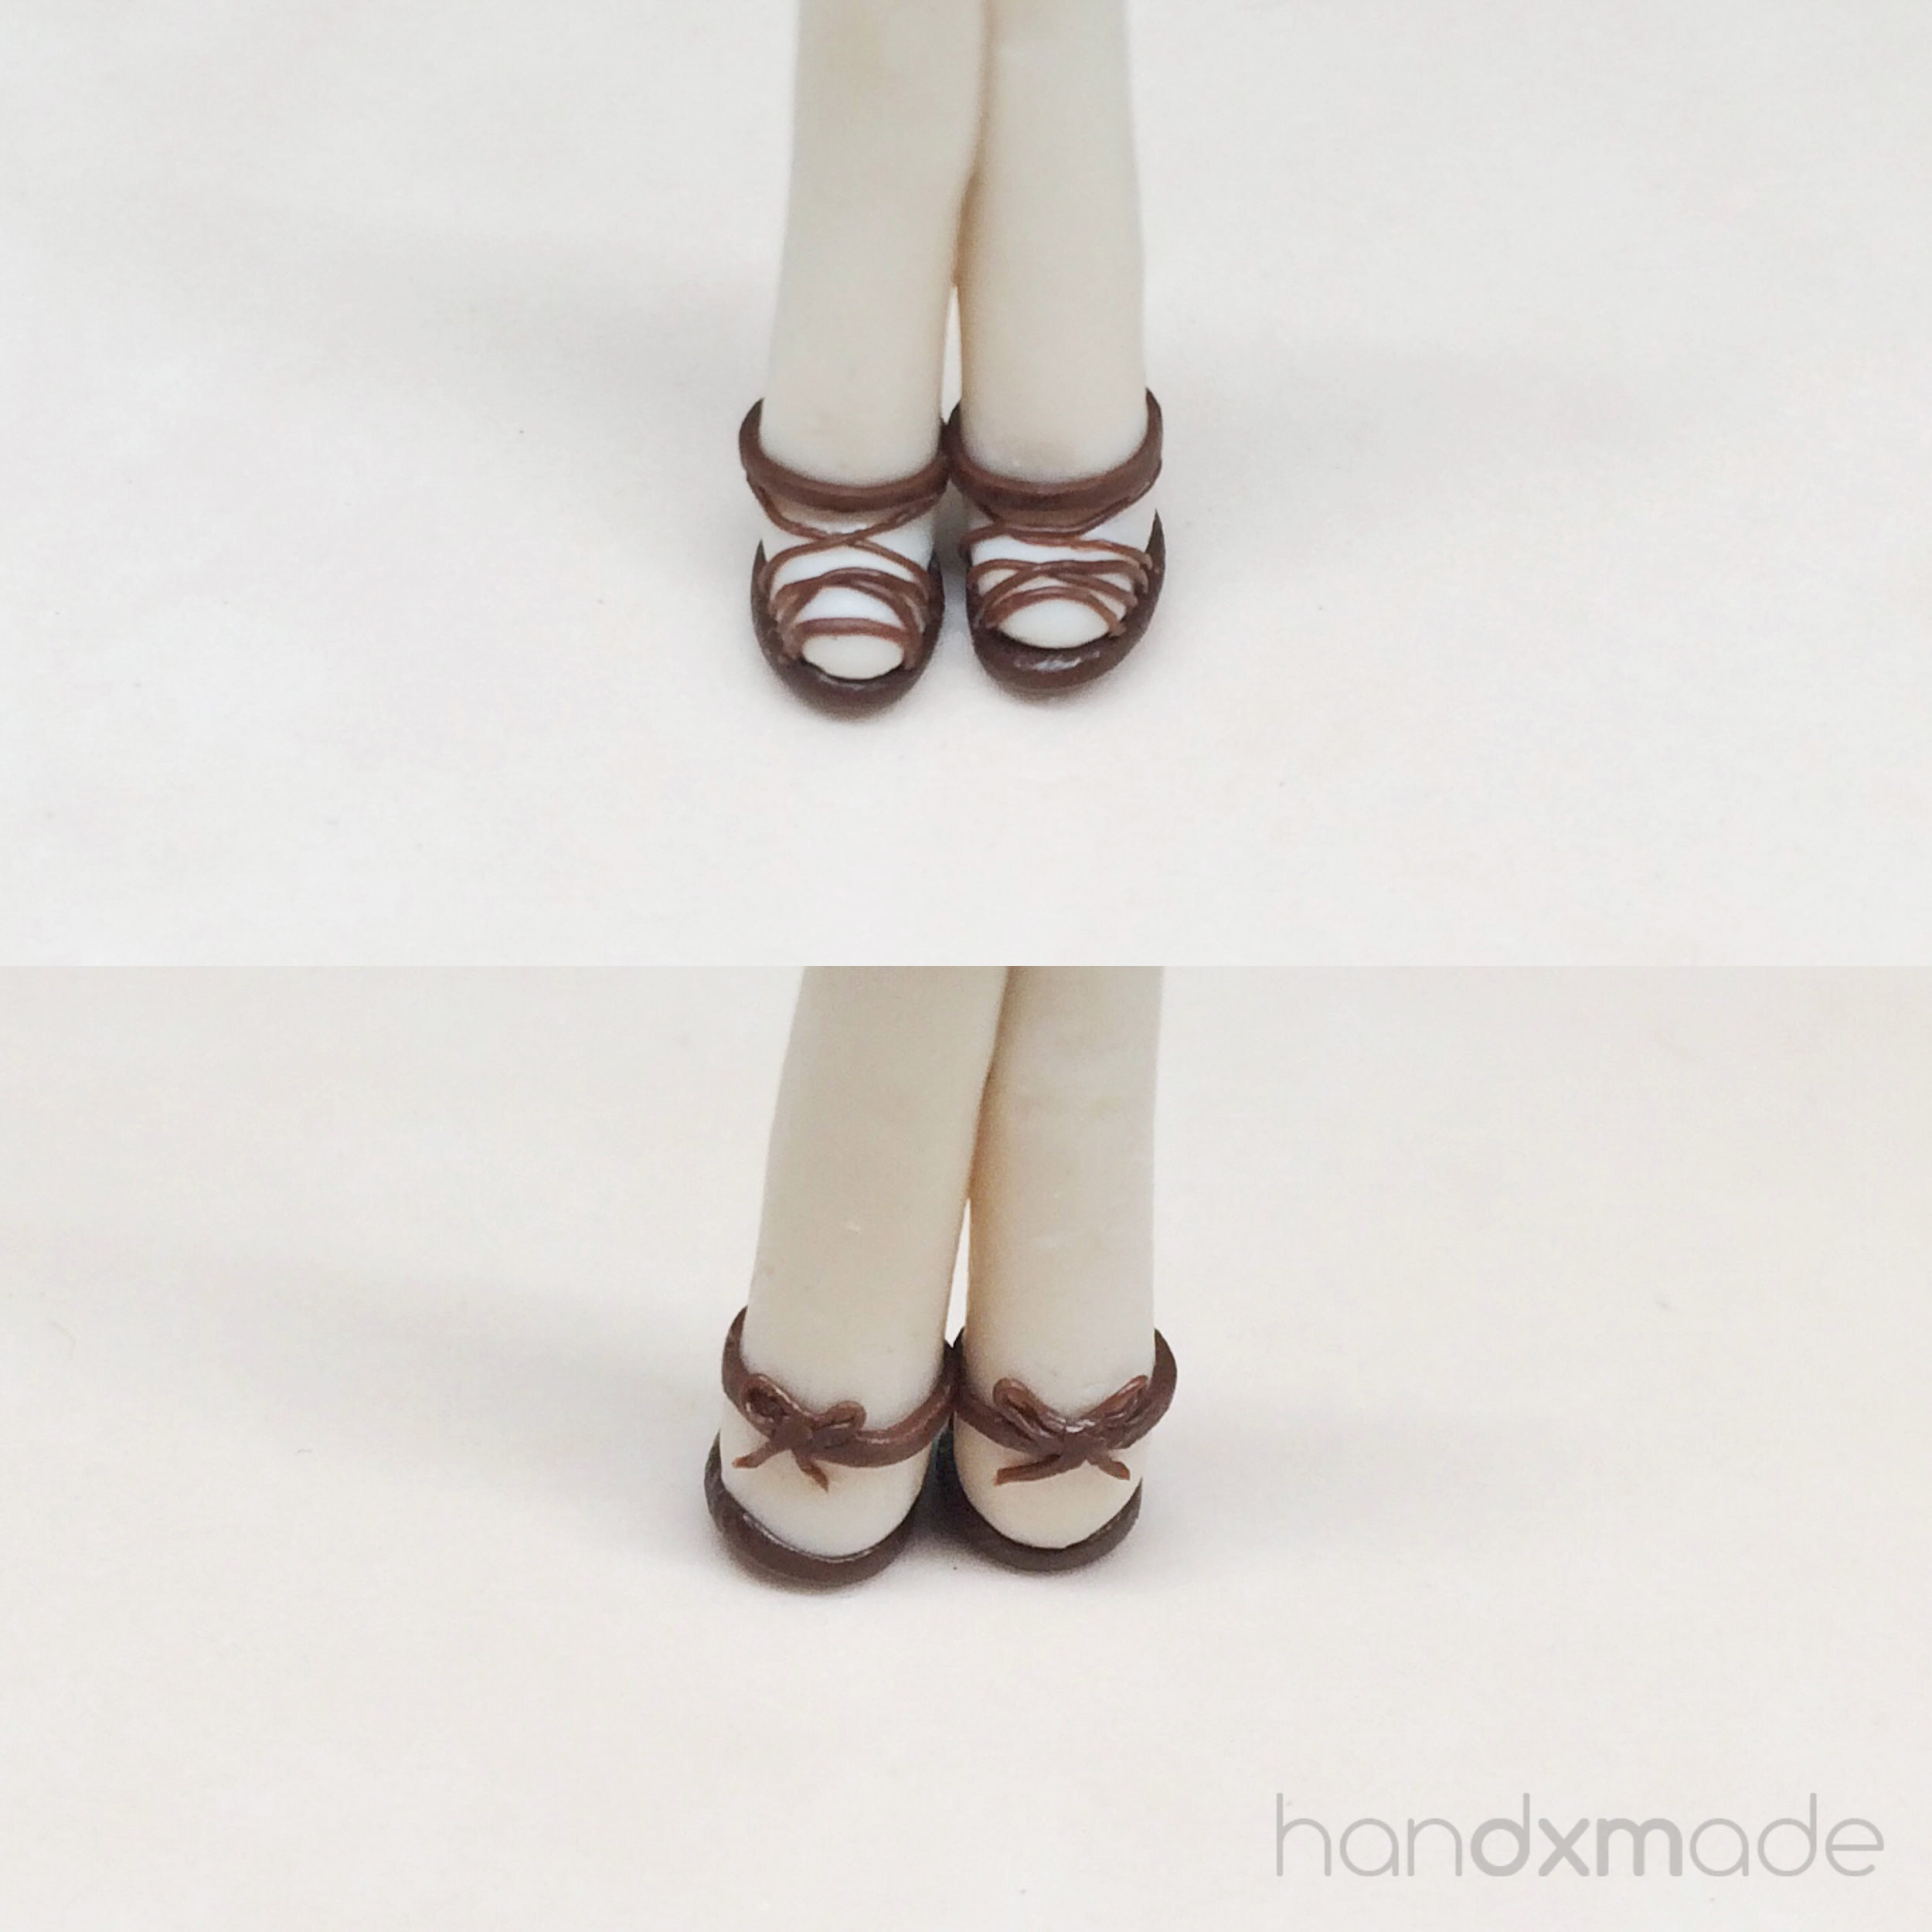
The obligatory front, side, back shots, and also reference photo!
The sandal was definitely one of the interesting part I made for her order! It's not easy to make, but was definitely worth it!
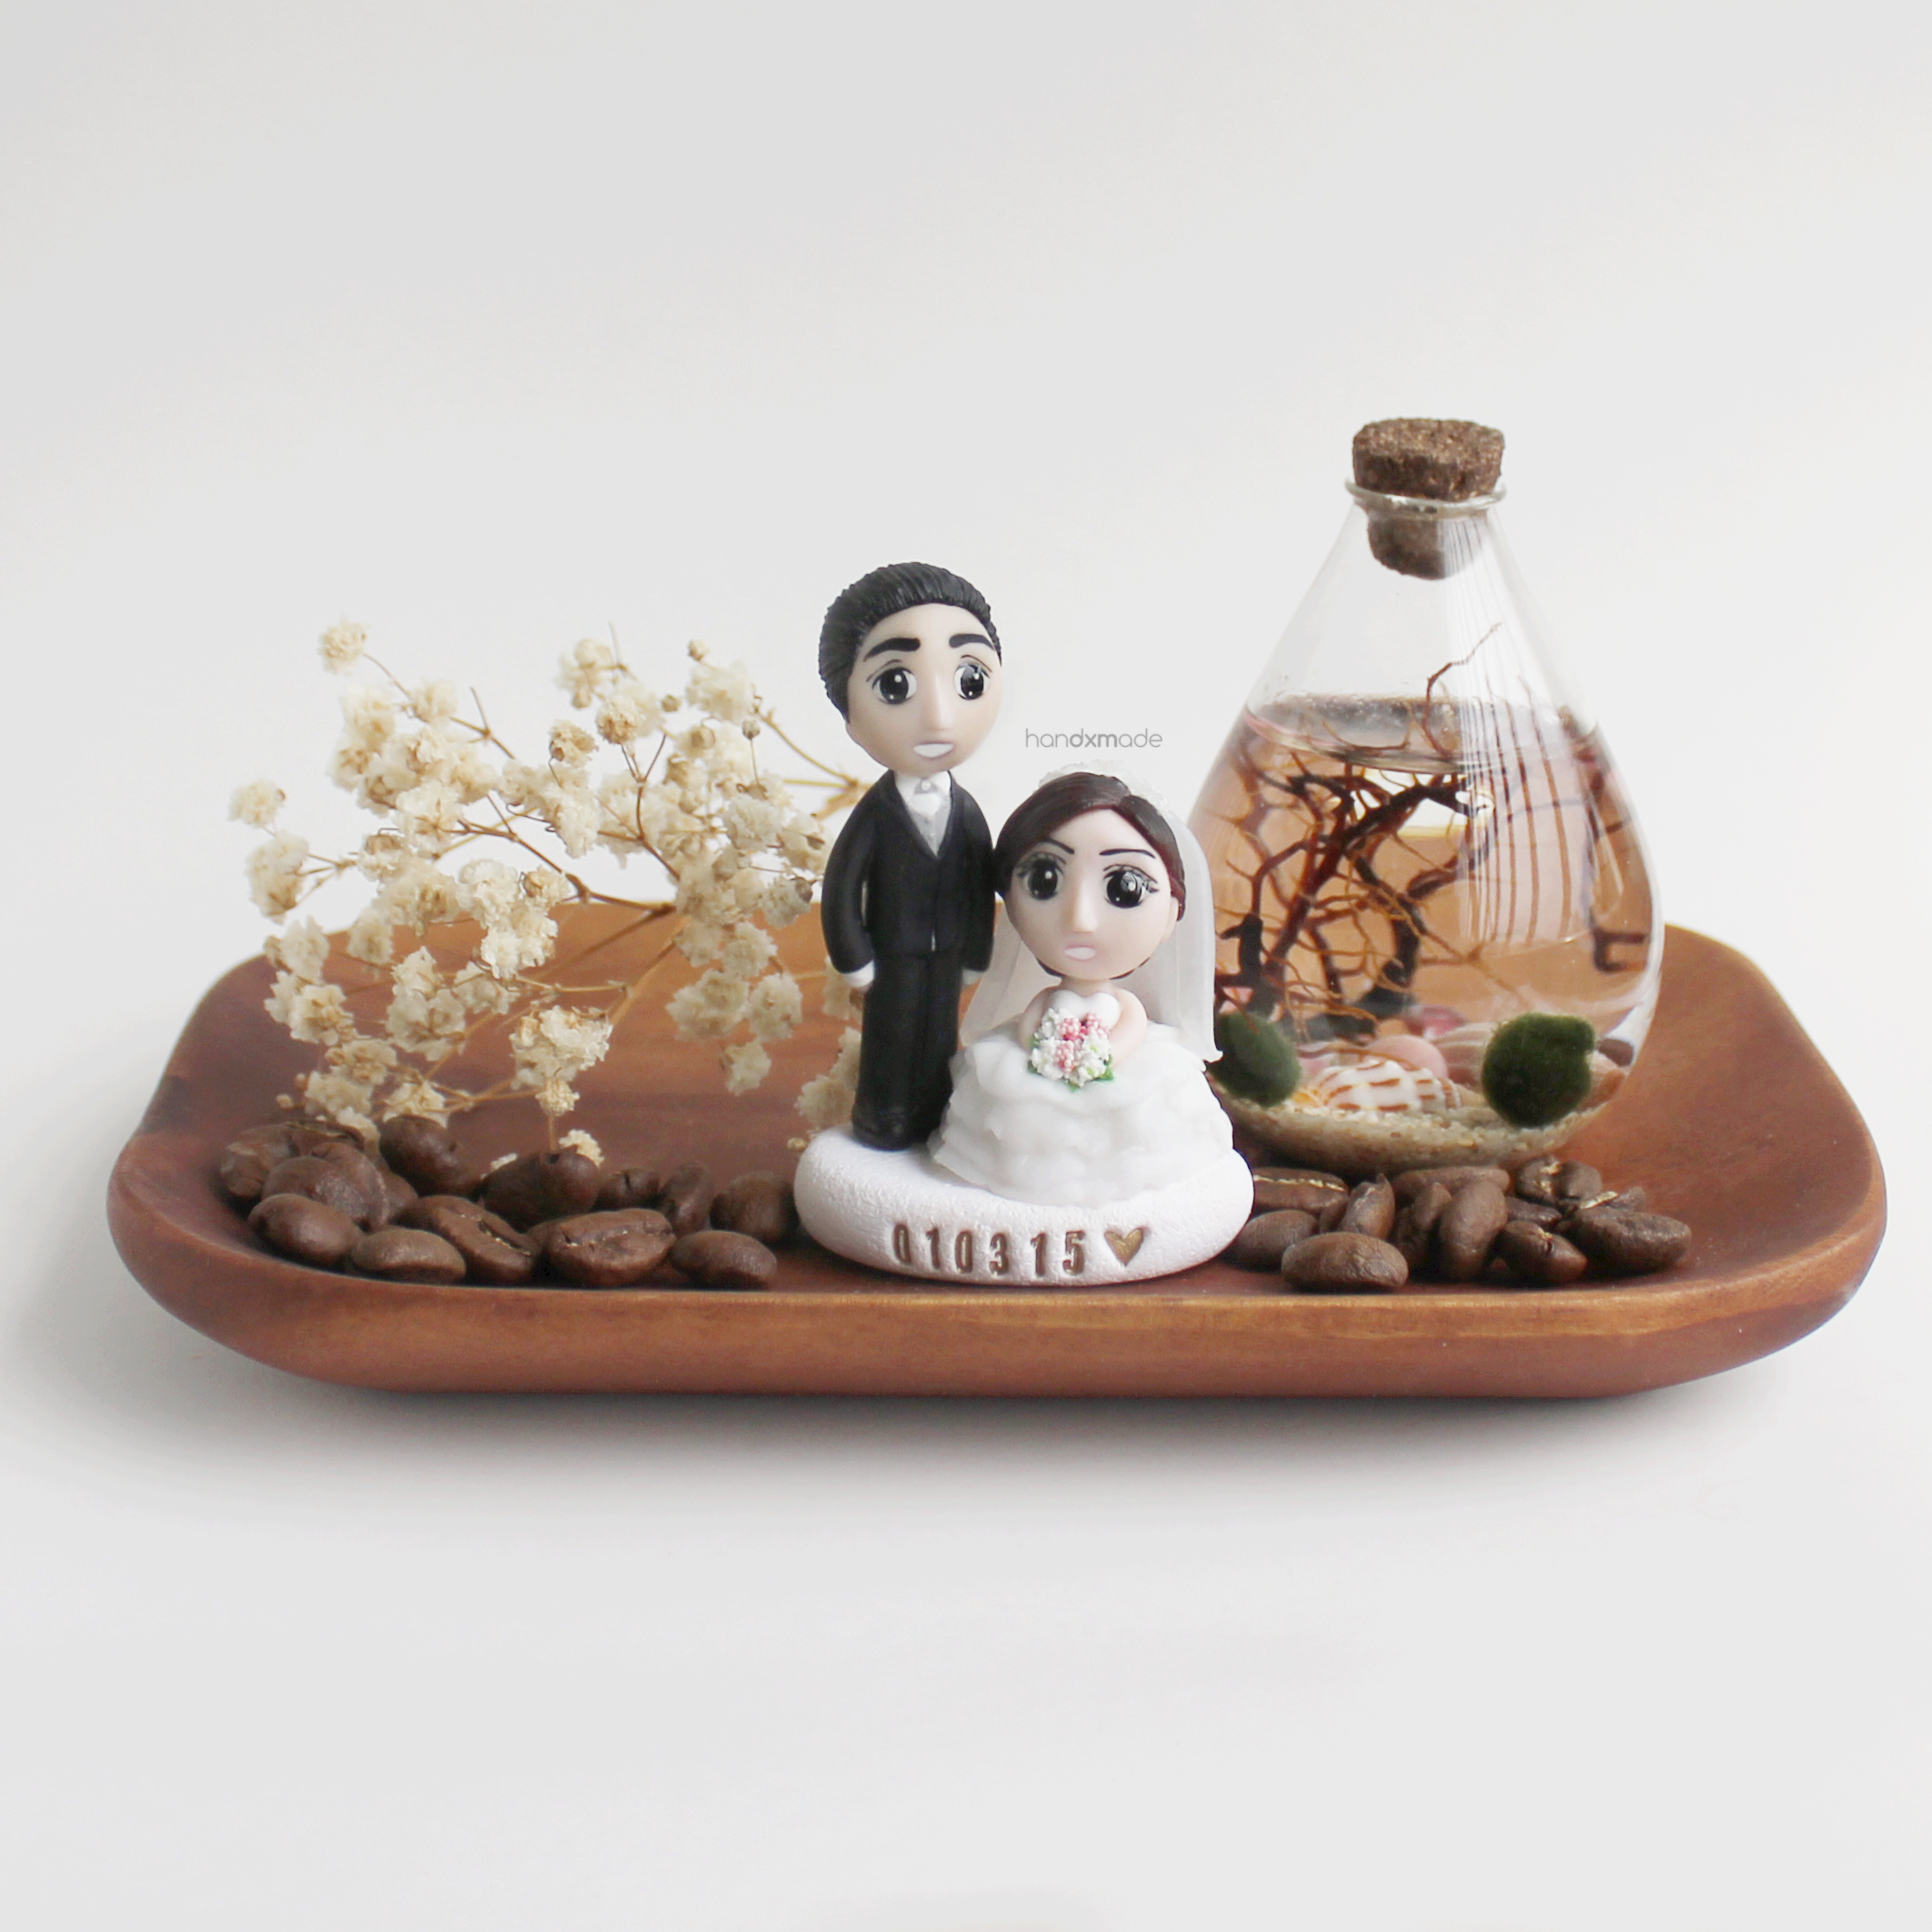
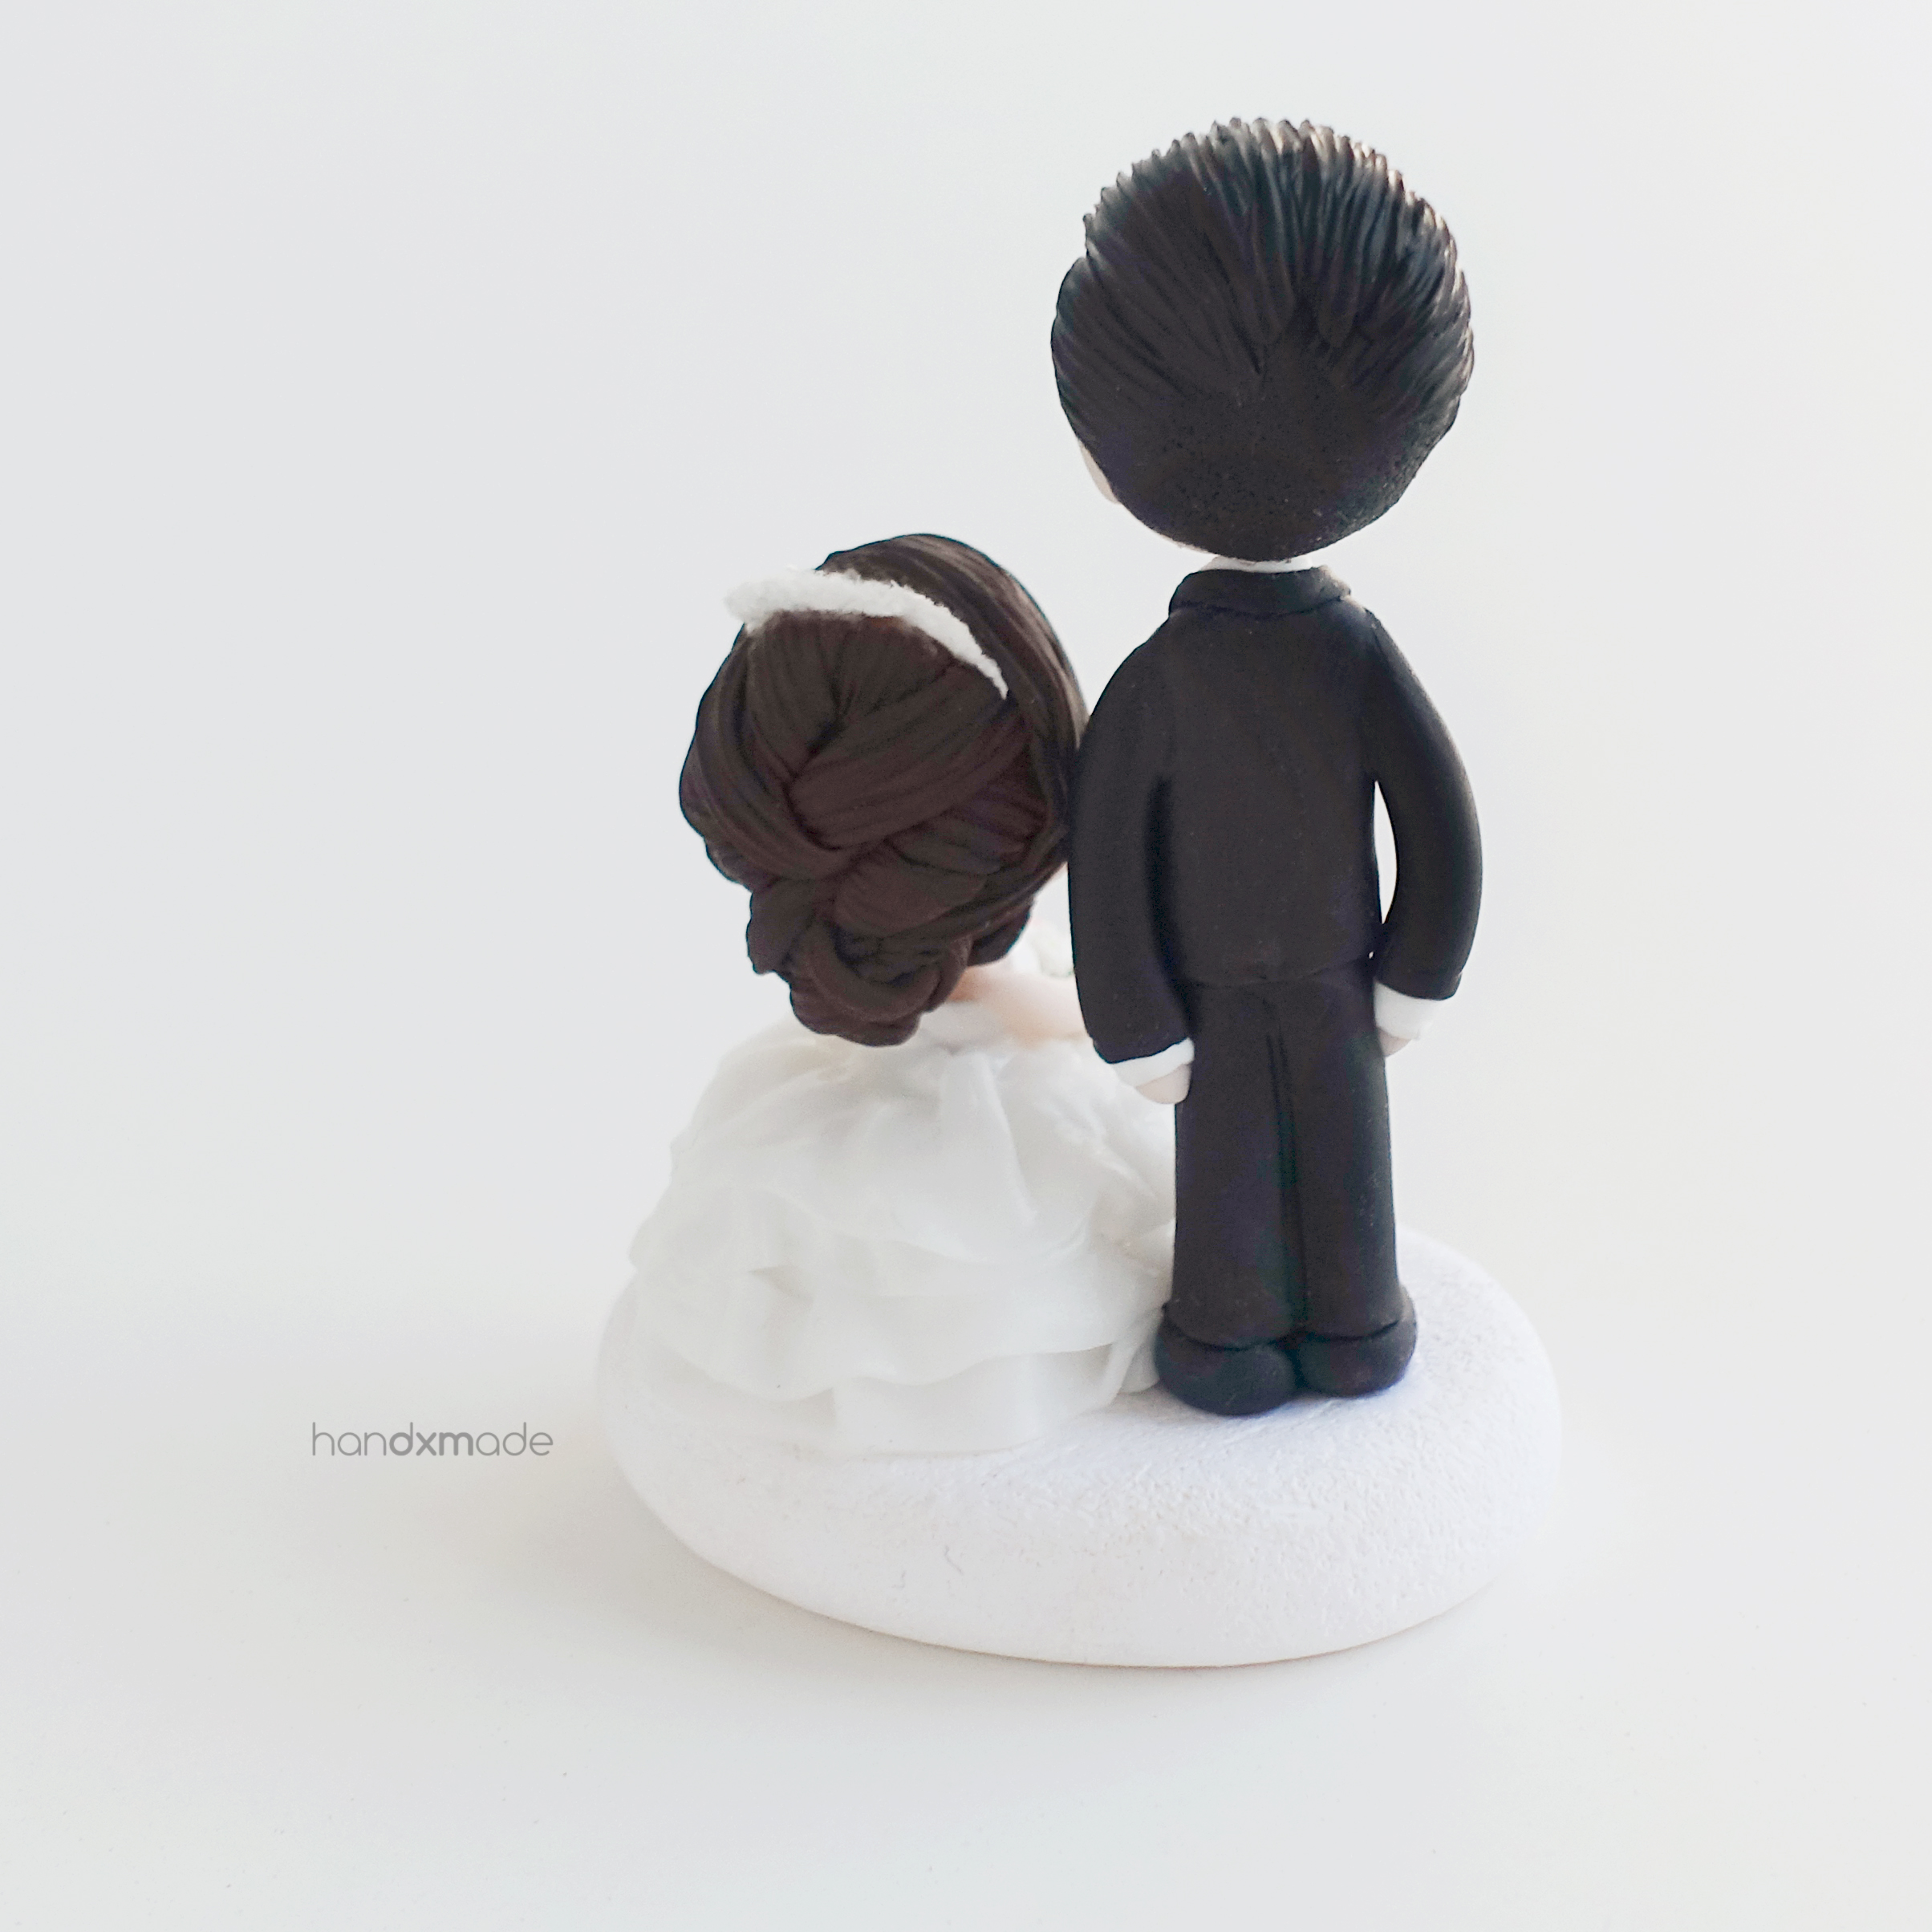
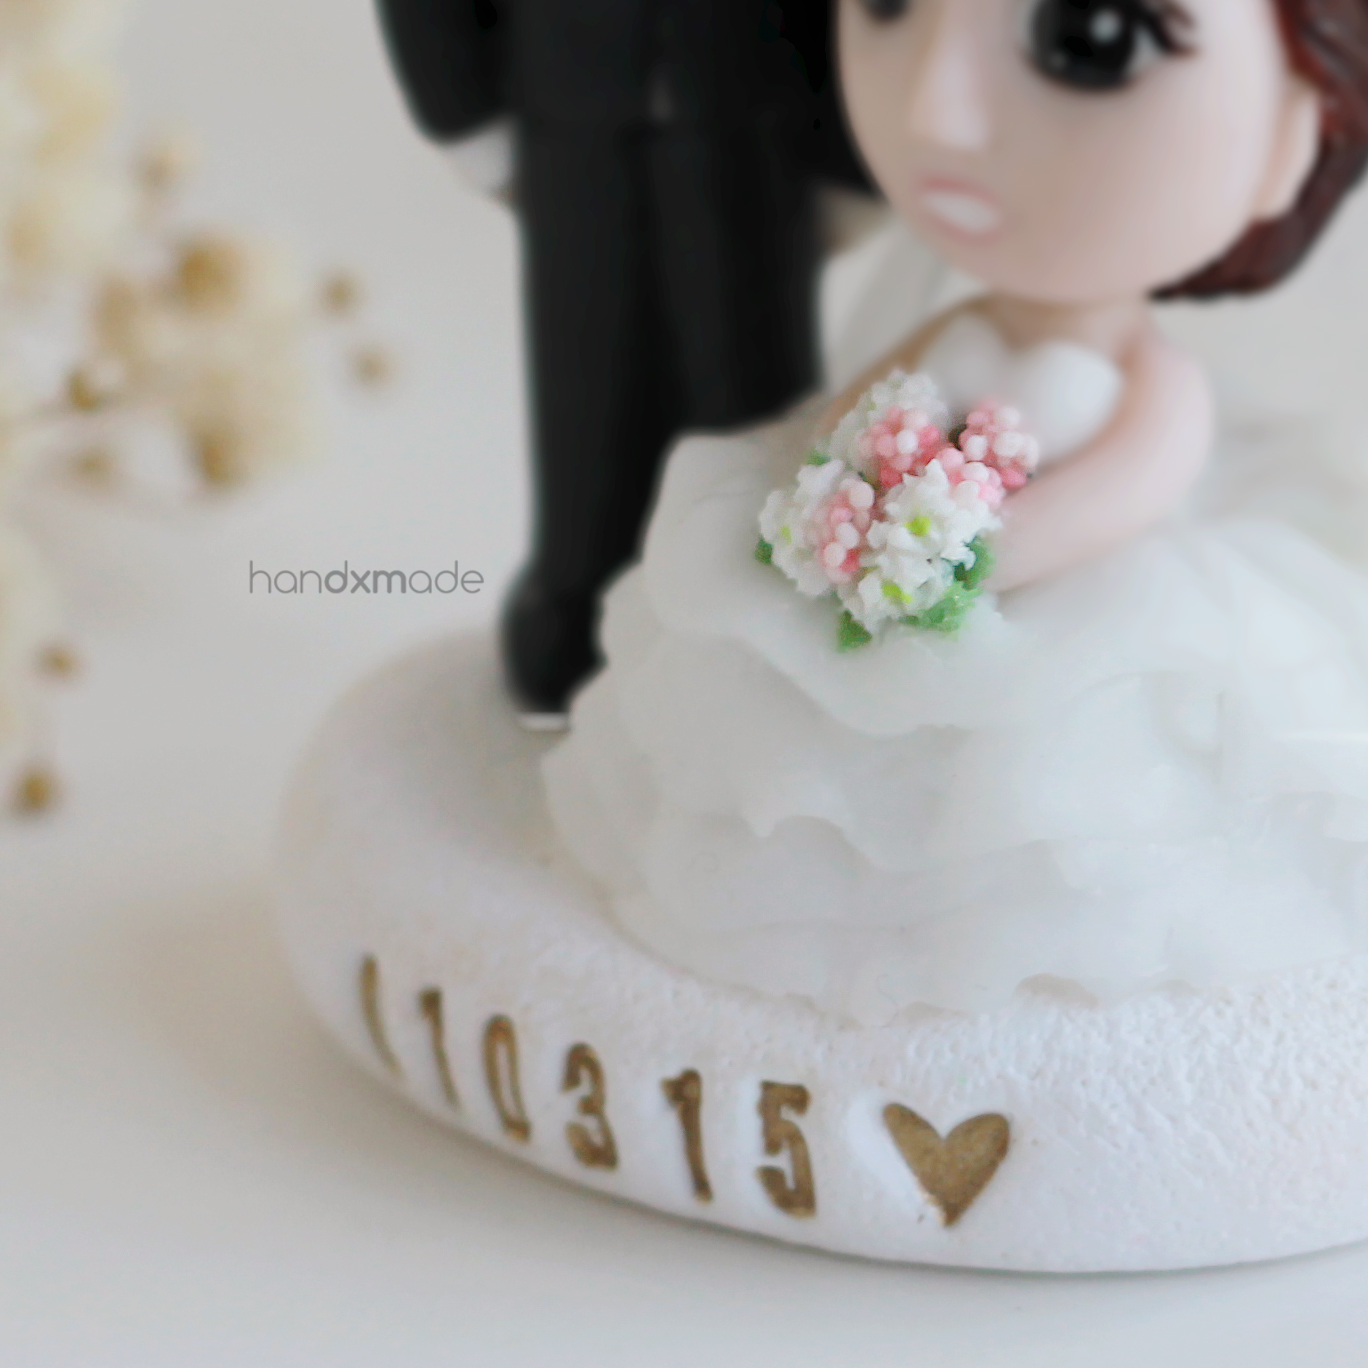
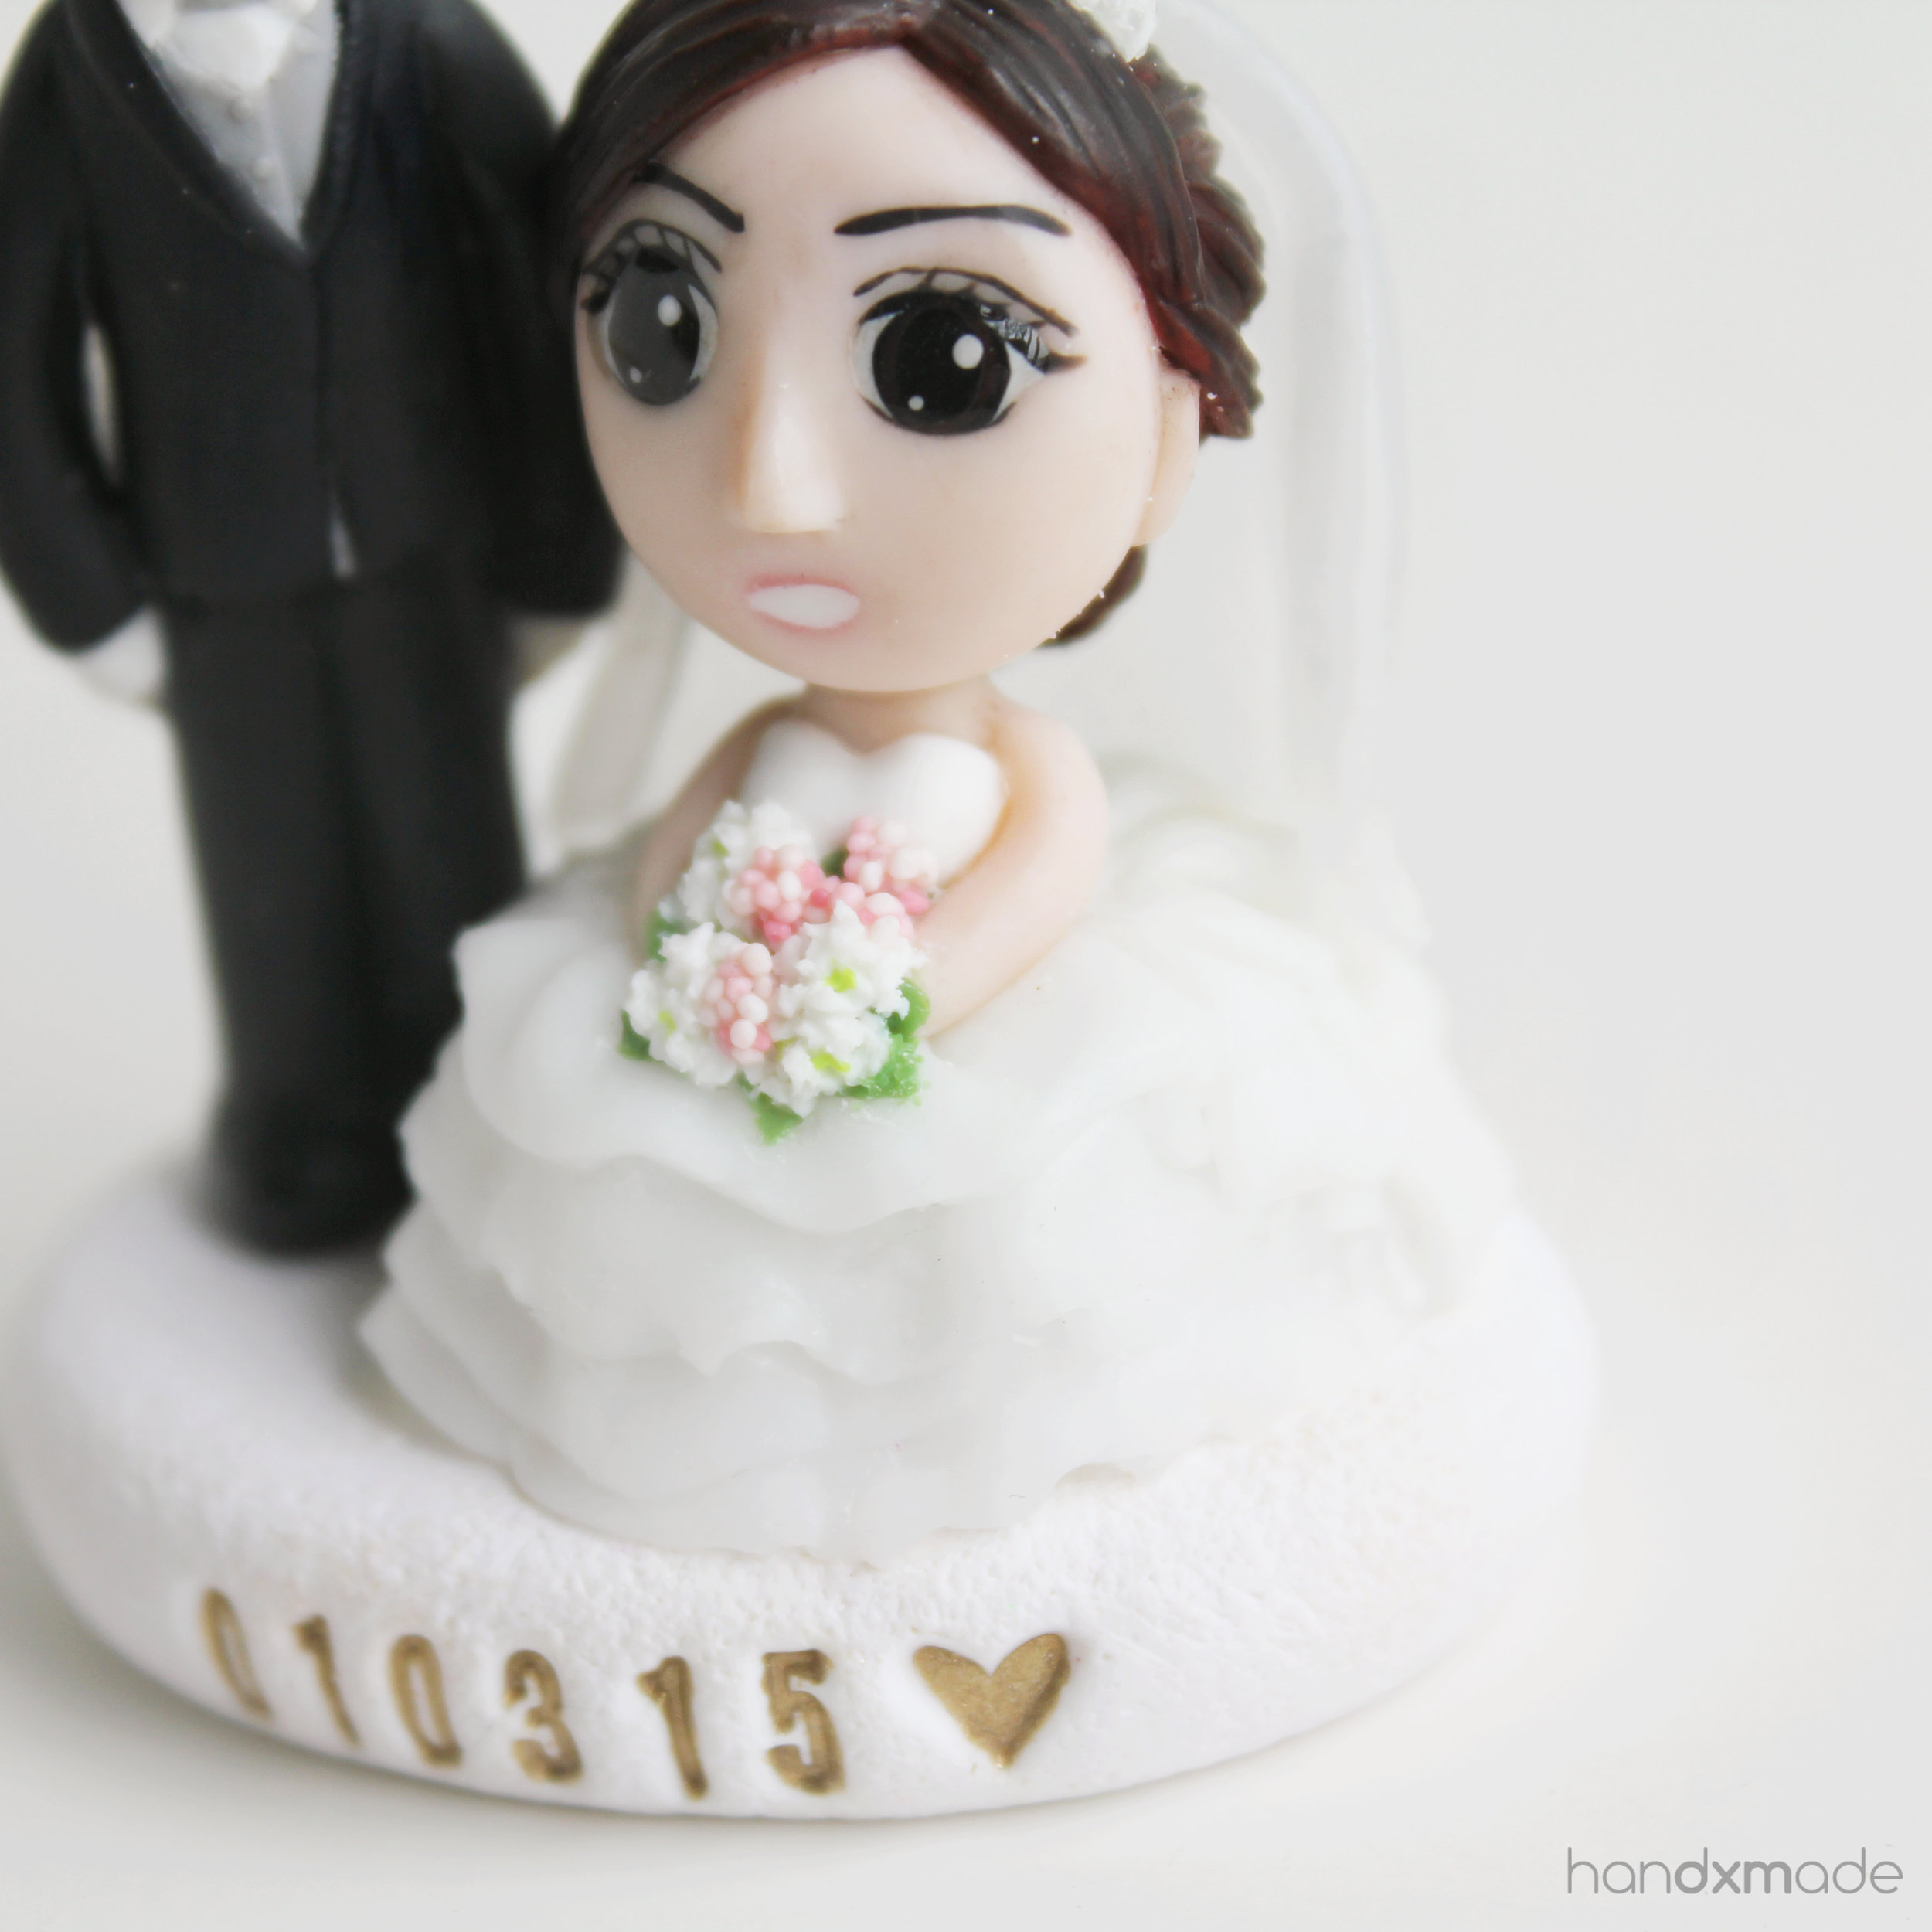
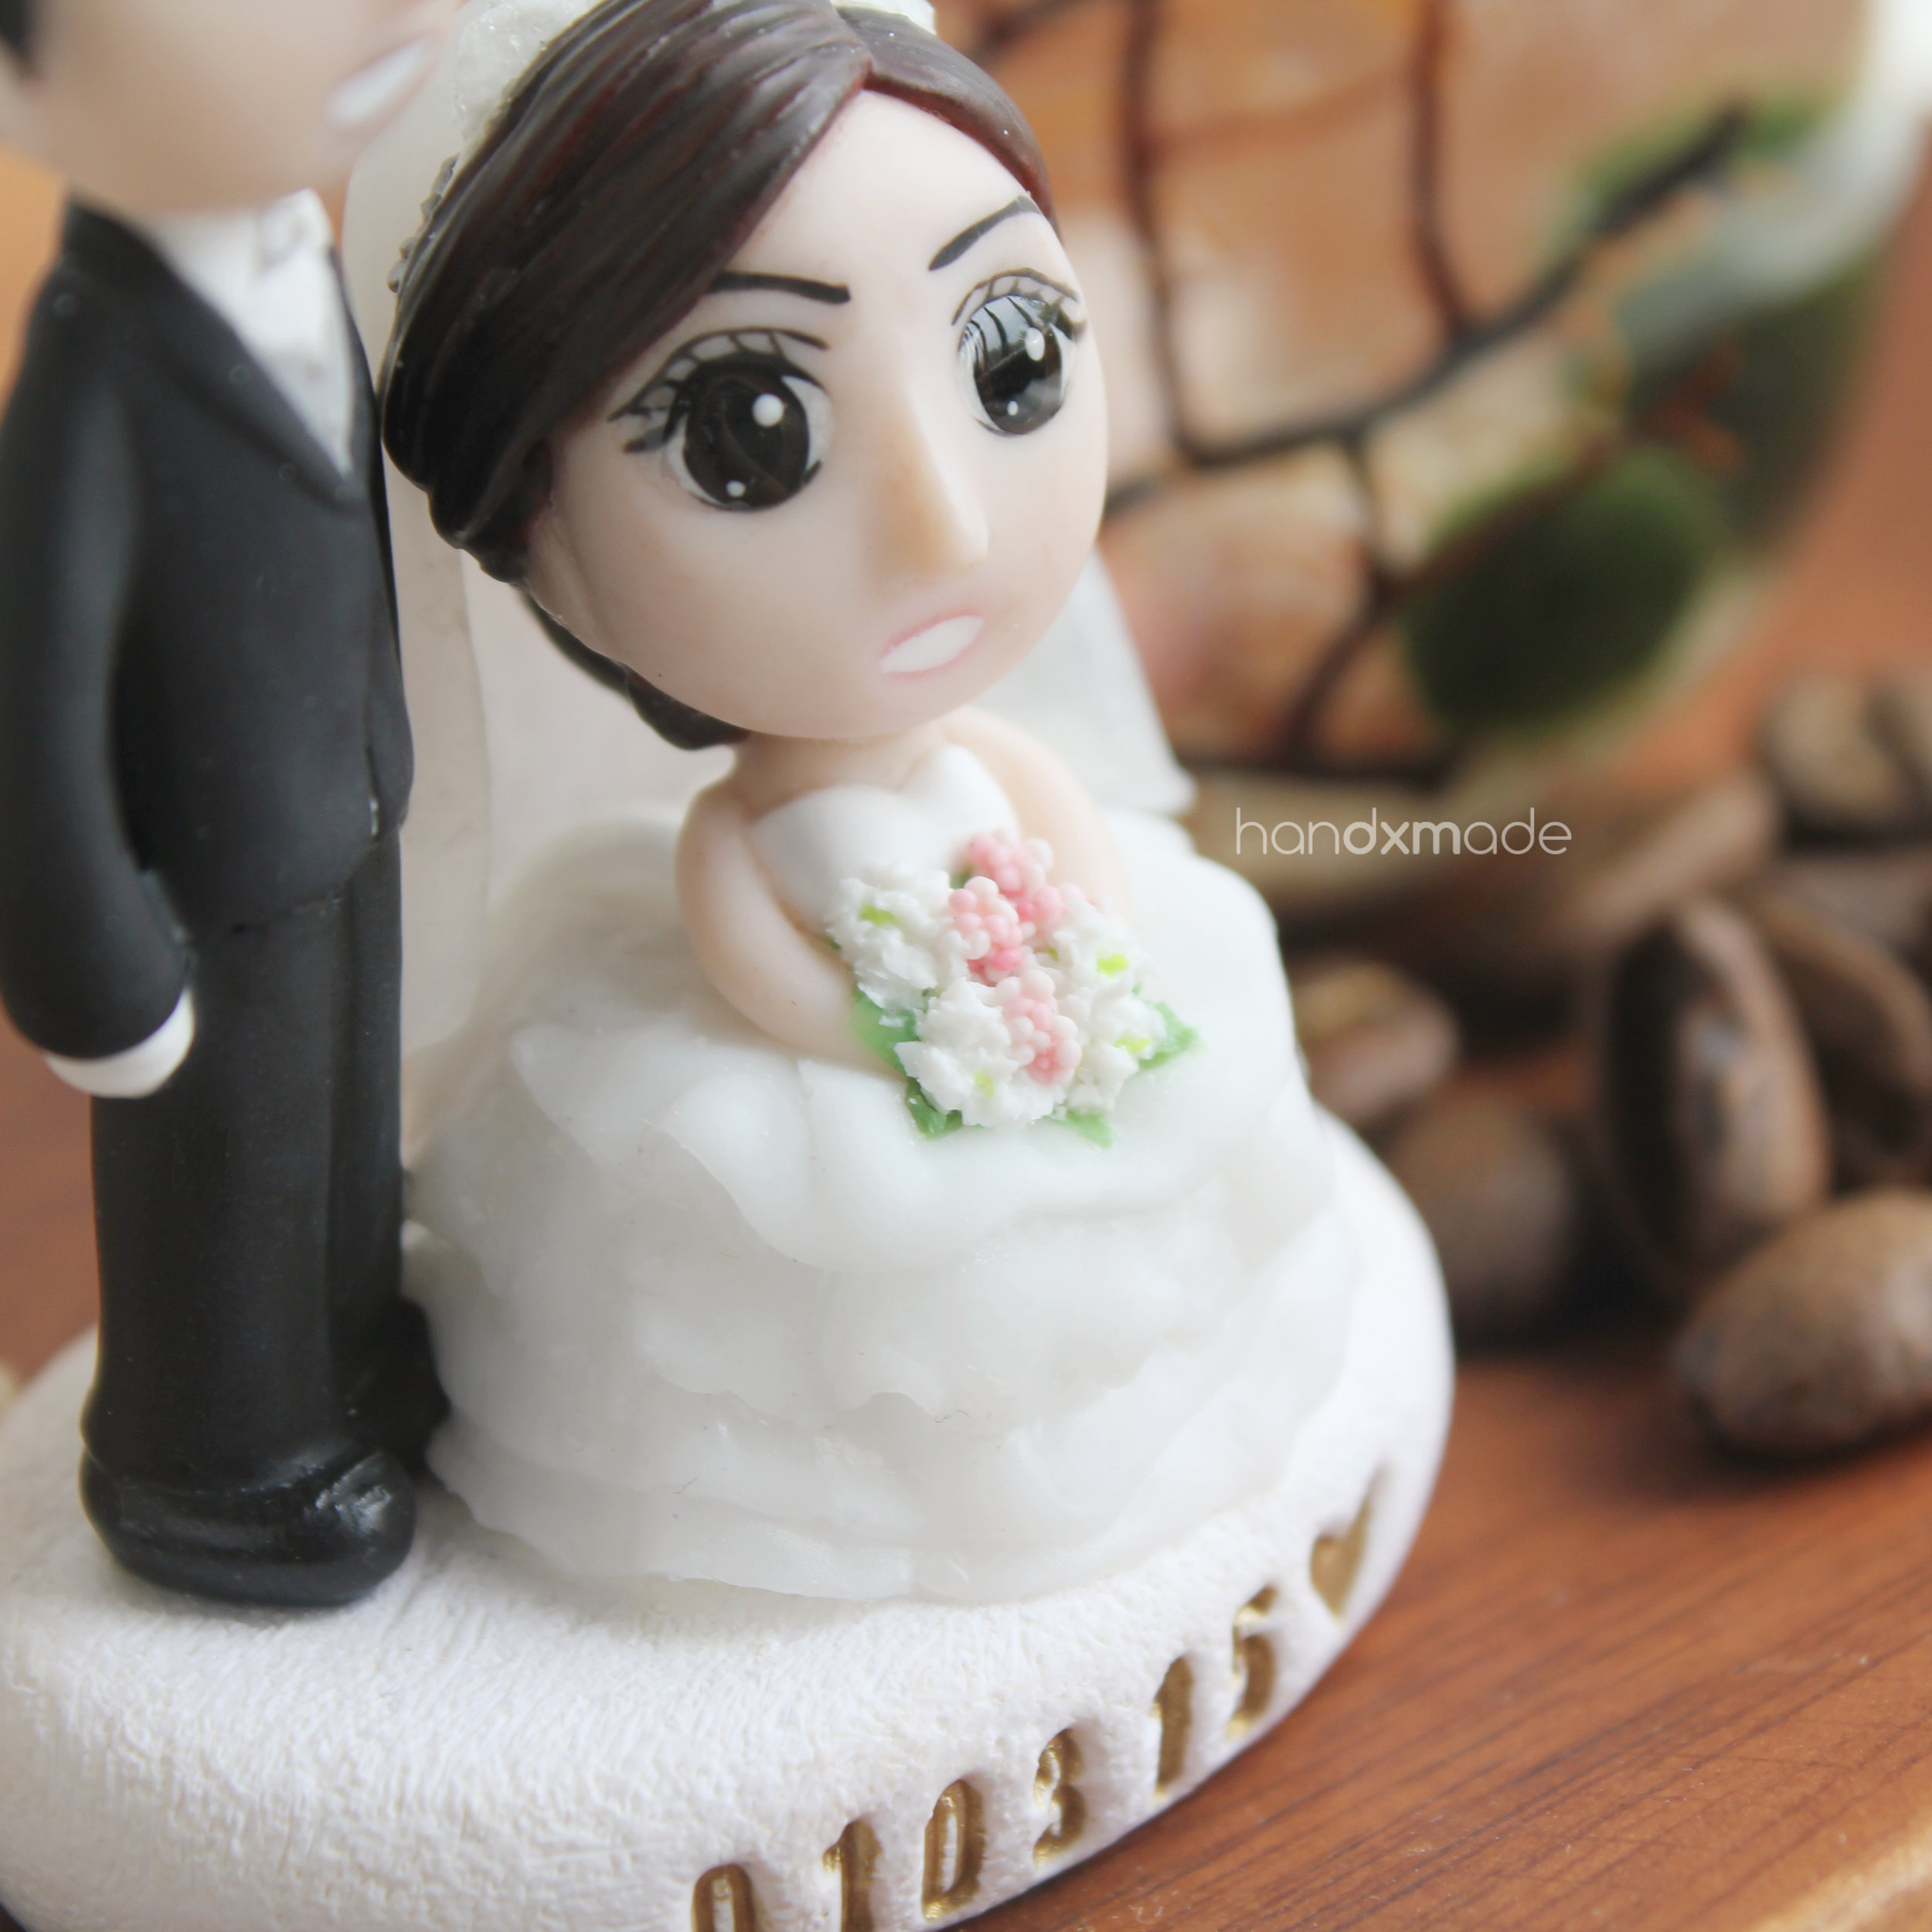
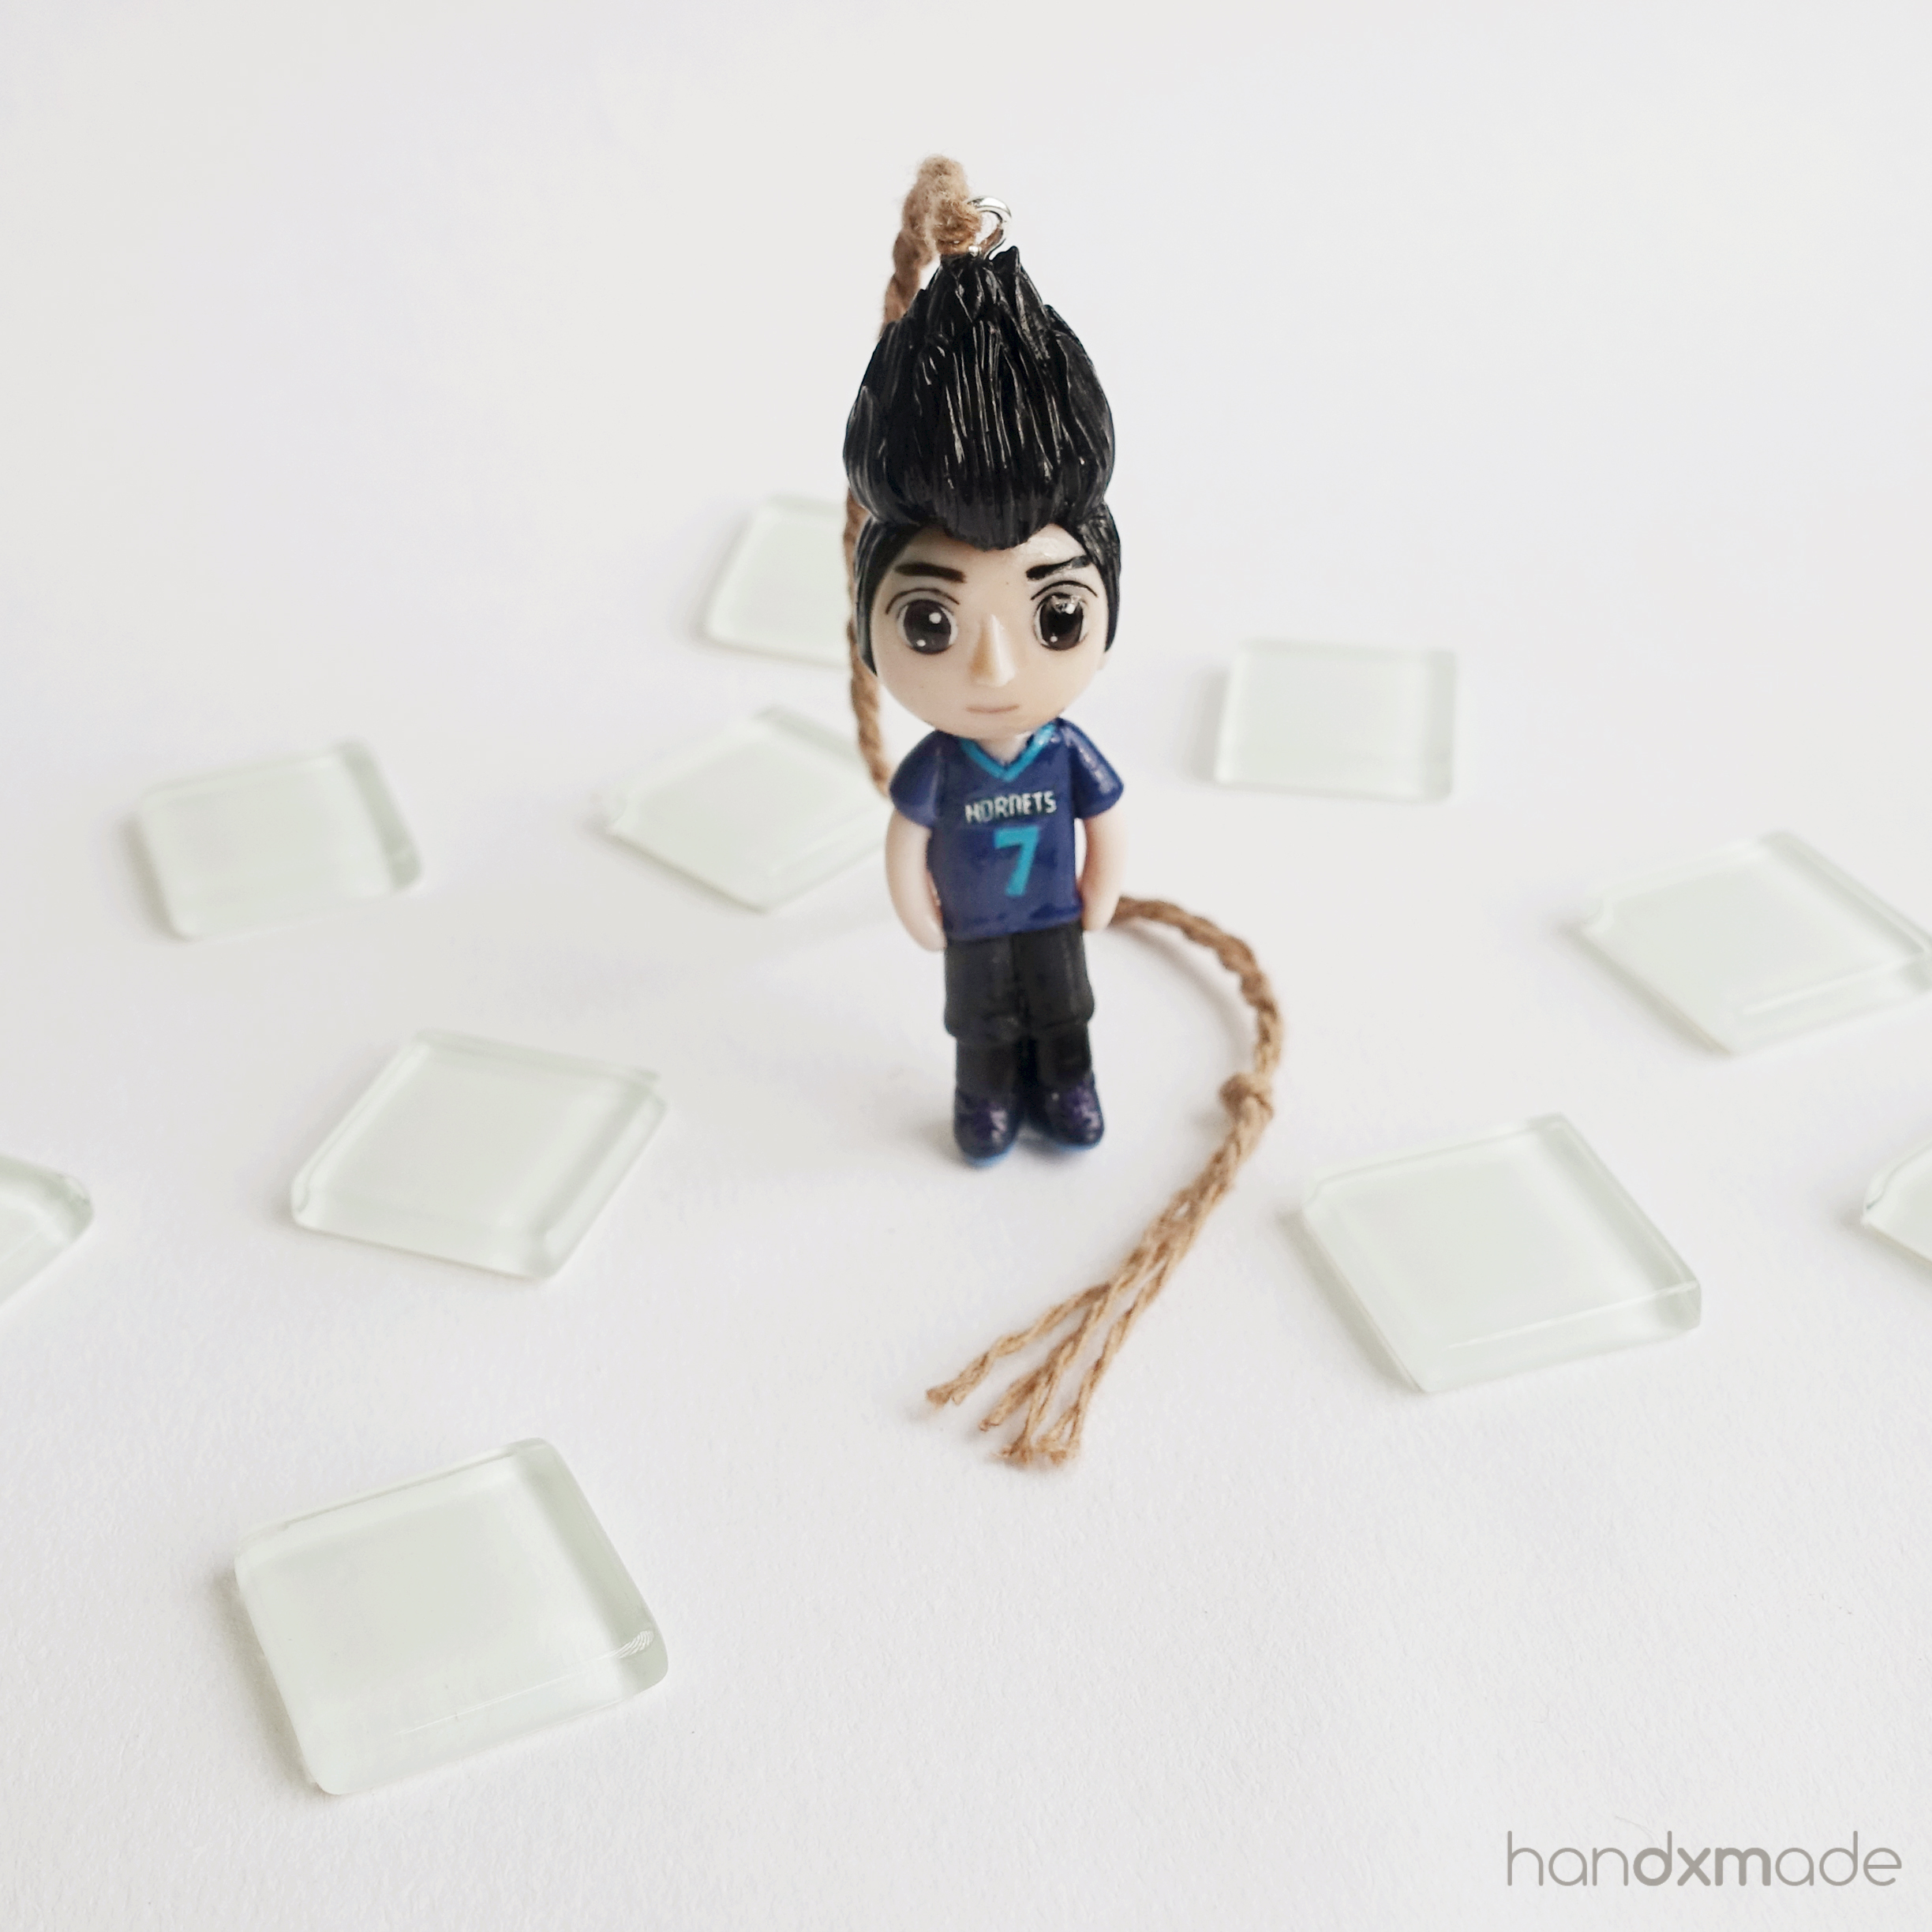
The transparent clay
(See what I mean by being in love with baby breathes? Hahaha. Can't believe that before this, I didn't know about the existence of dried flowers, and the fact that they can last at least a year! Really make your money's worth don't you think hahahahahahaha #cheapo)
I was really excited about this project, because I finally could try out the Transparent Clay I got when I was in Japan!
I started the orders after my Japan trip, and it really was luck that I chanced upon the transparent clay when I was in Japan Tokyu Hands!
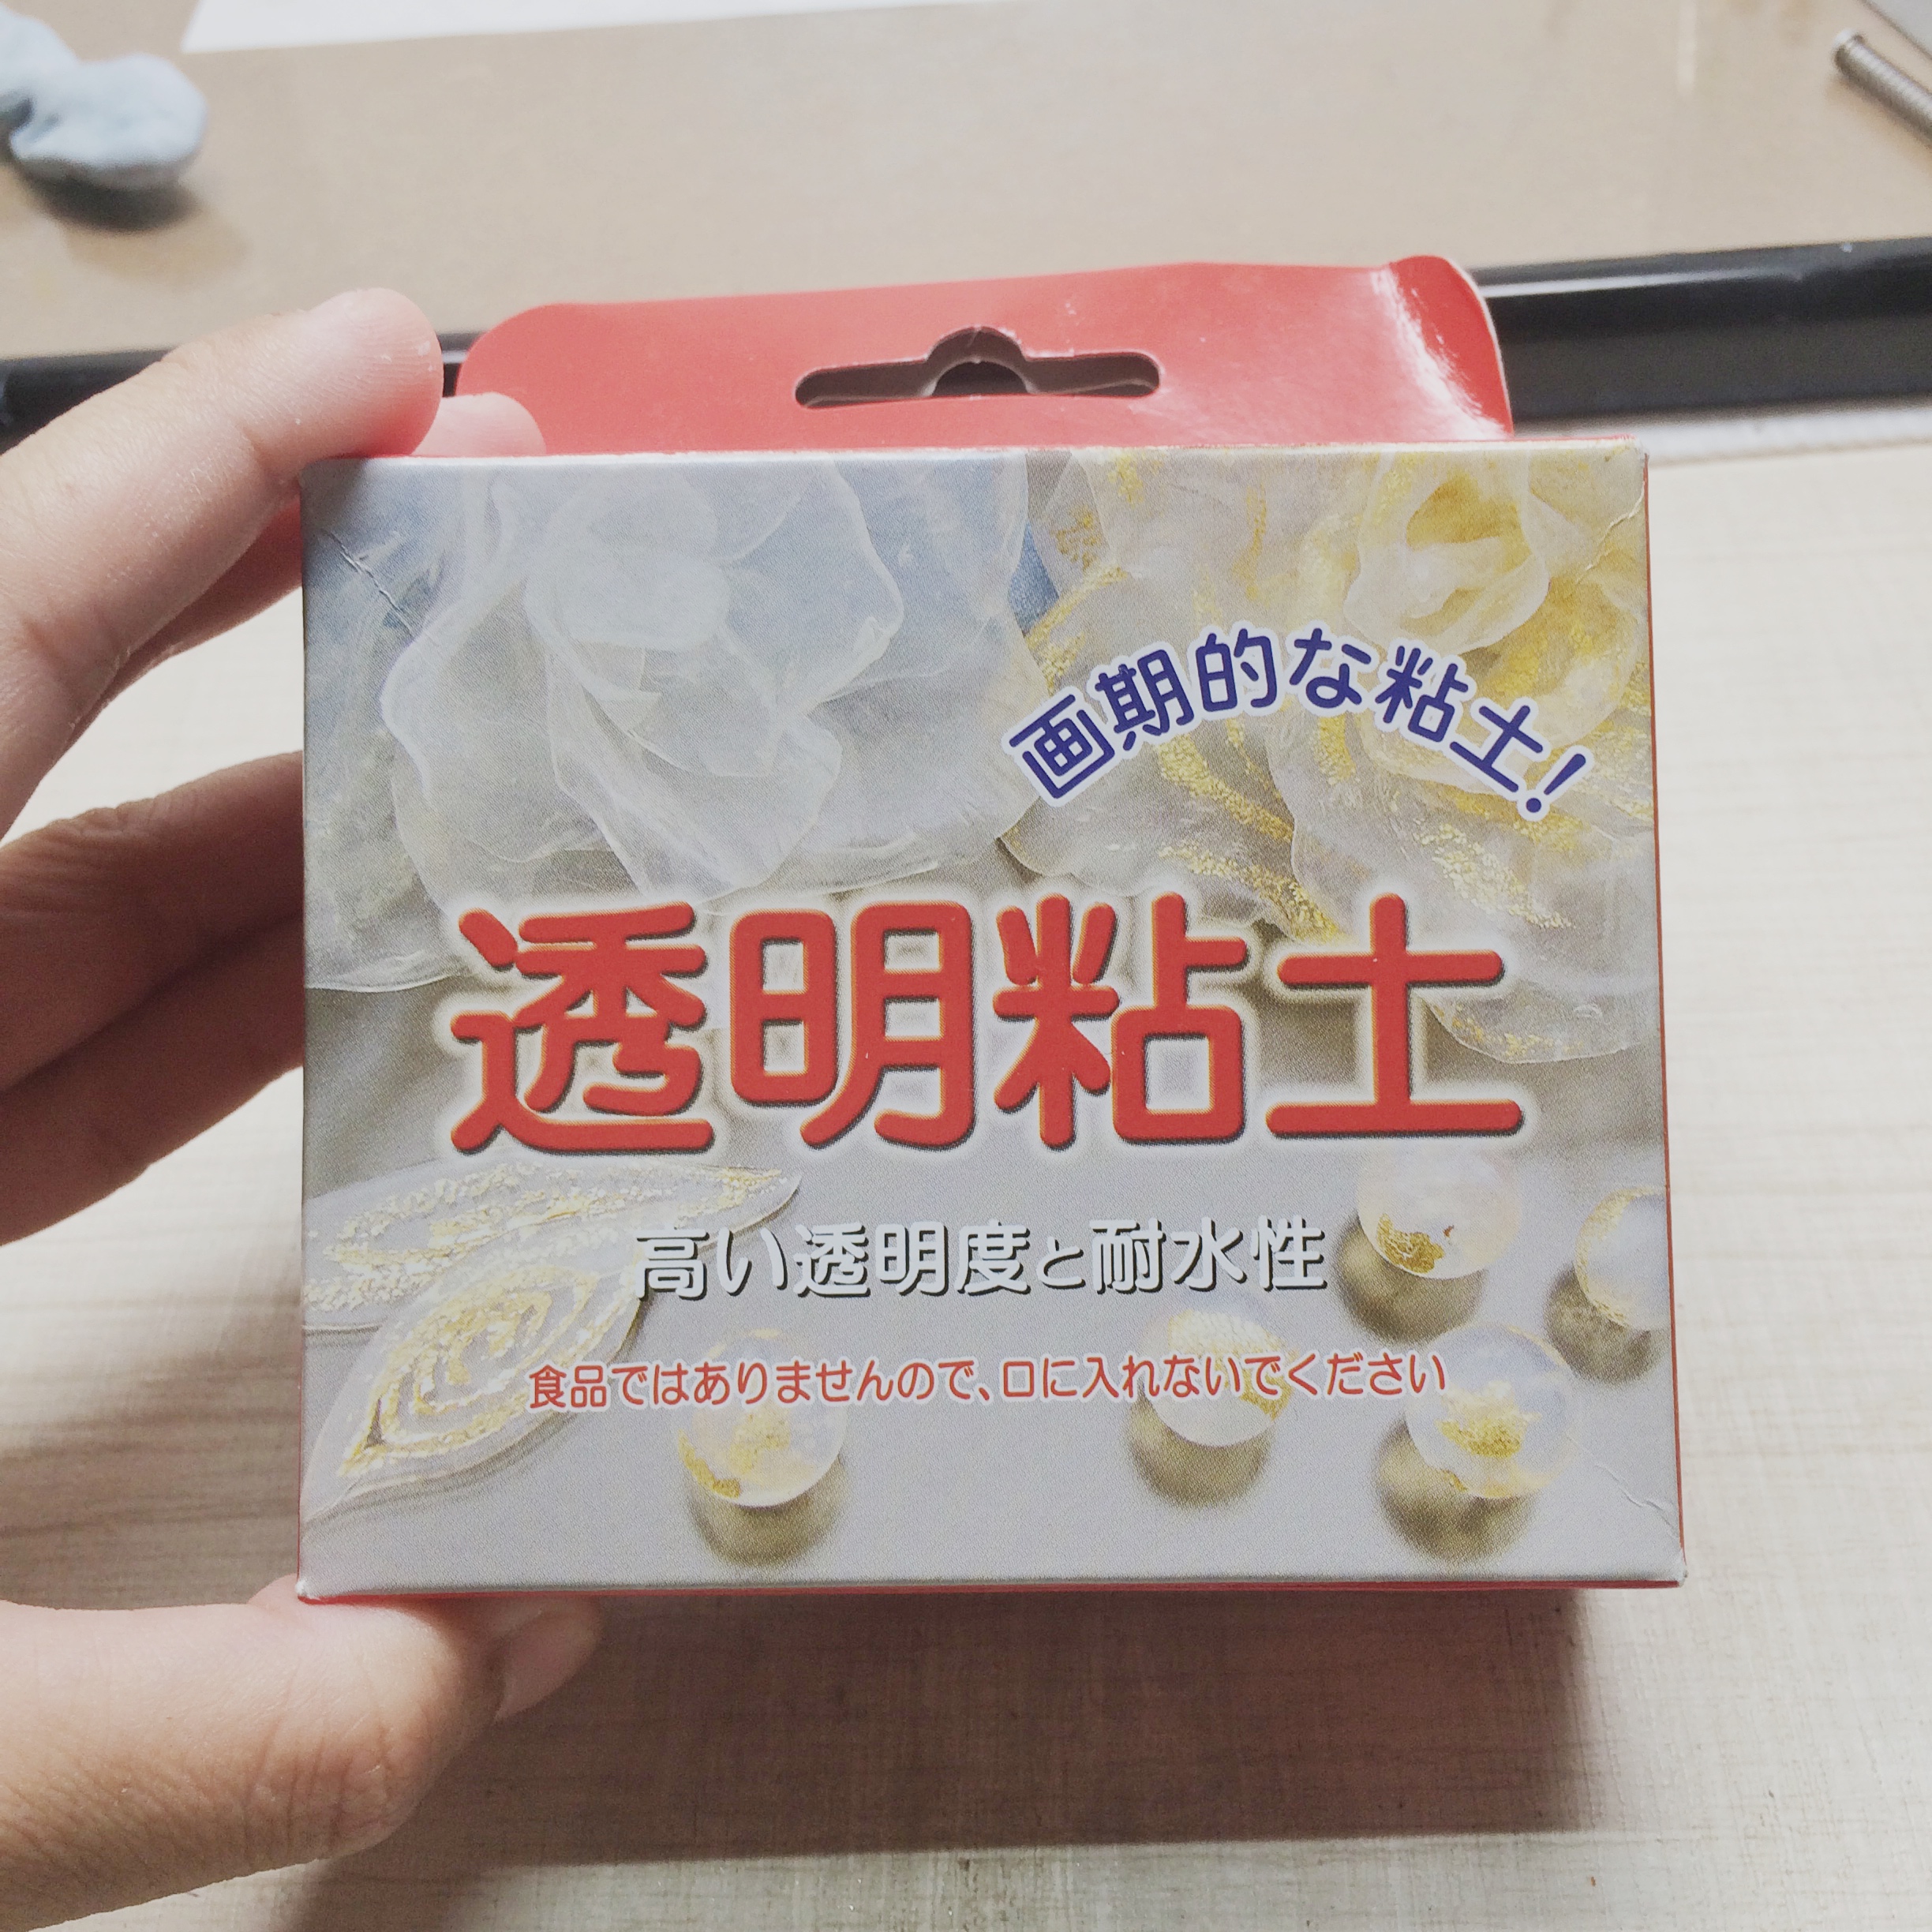
I wrote a review about it on my Dayre, you can read it here.
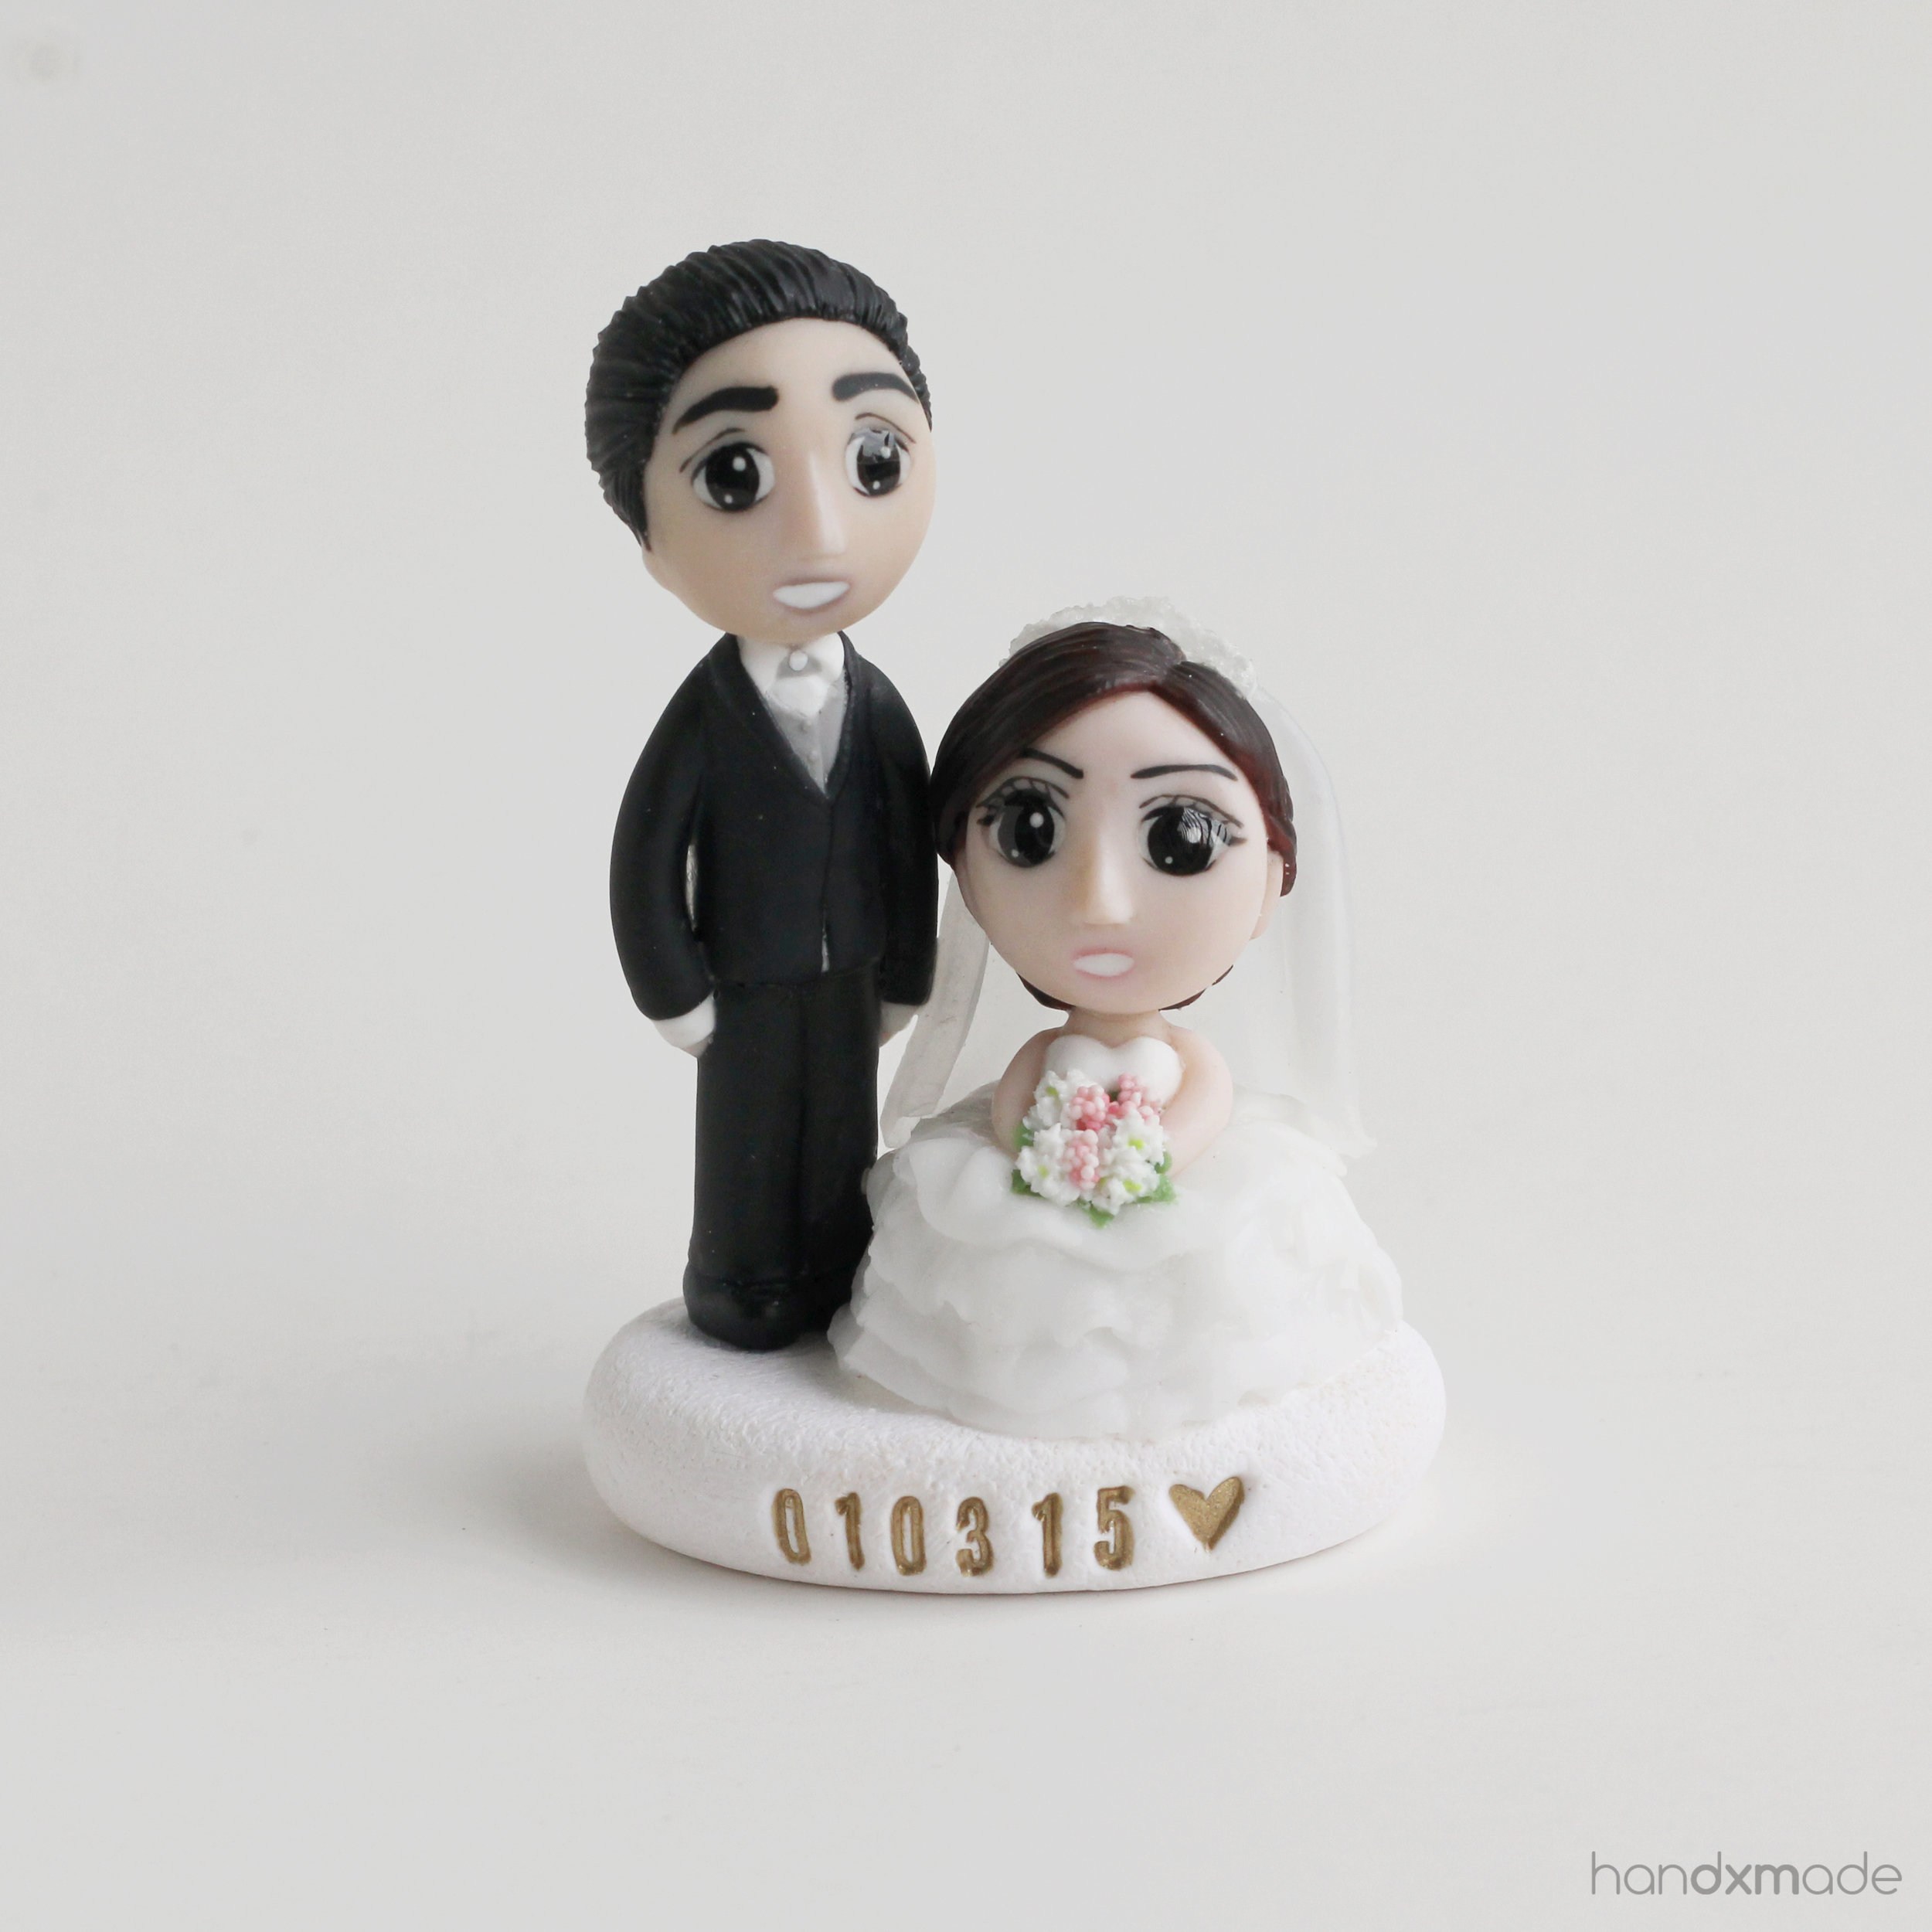
Long story short, I regretted not getting more of this clay! It looks GORGEOUS for the bride's dress and veil!
It's a shame I can't post the reference photo, it was really dreamy and beautiful!
The female figurine looks a lot shorter than my other figurines, because in the reference photo, she's actually sitting down!
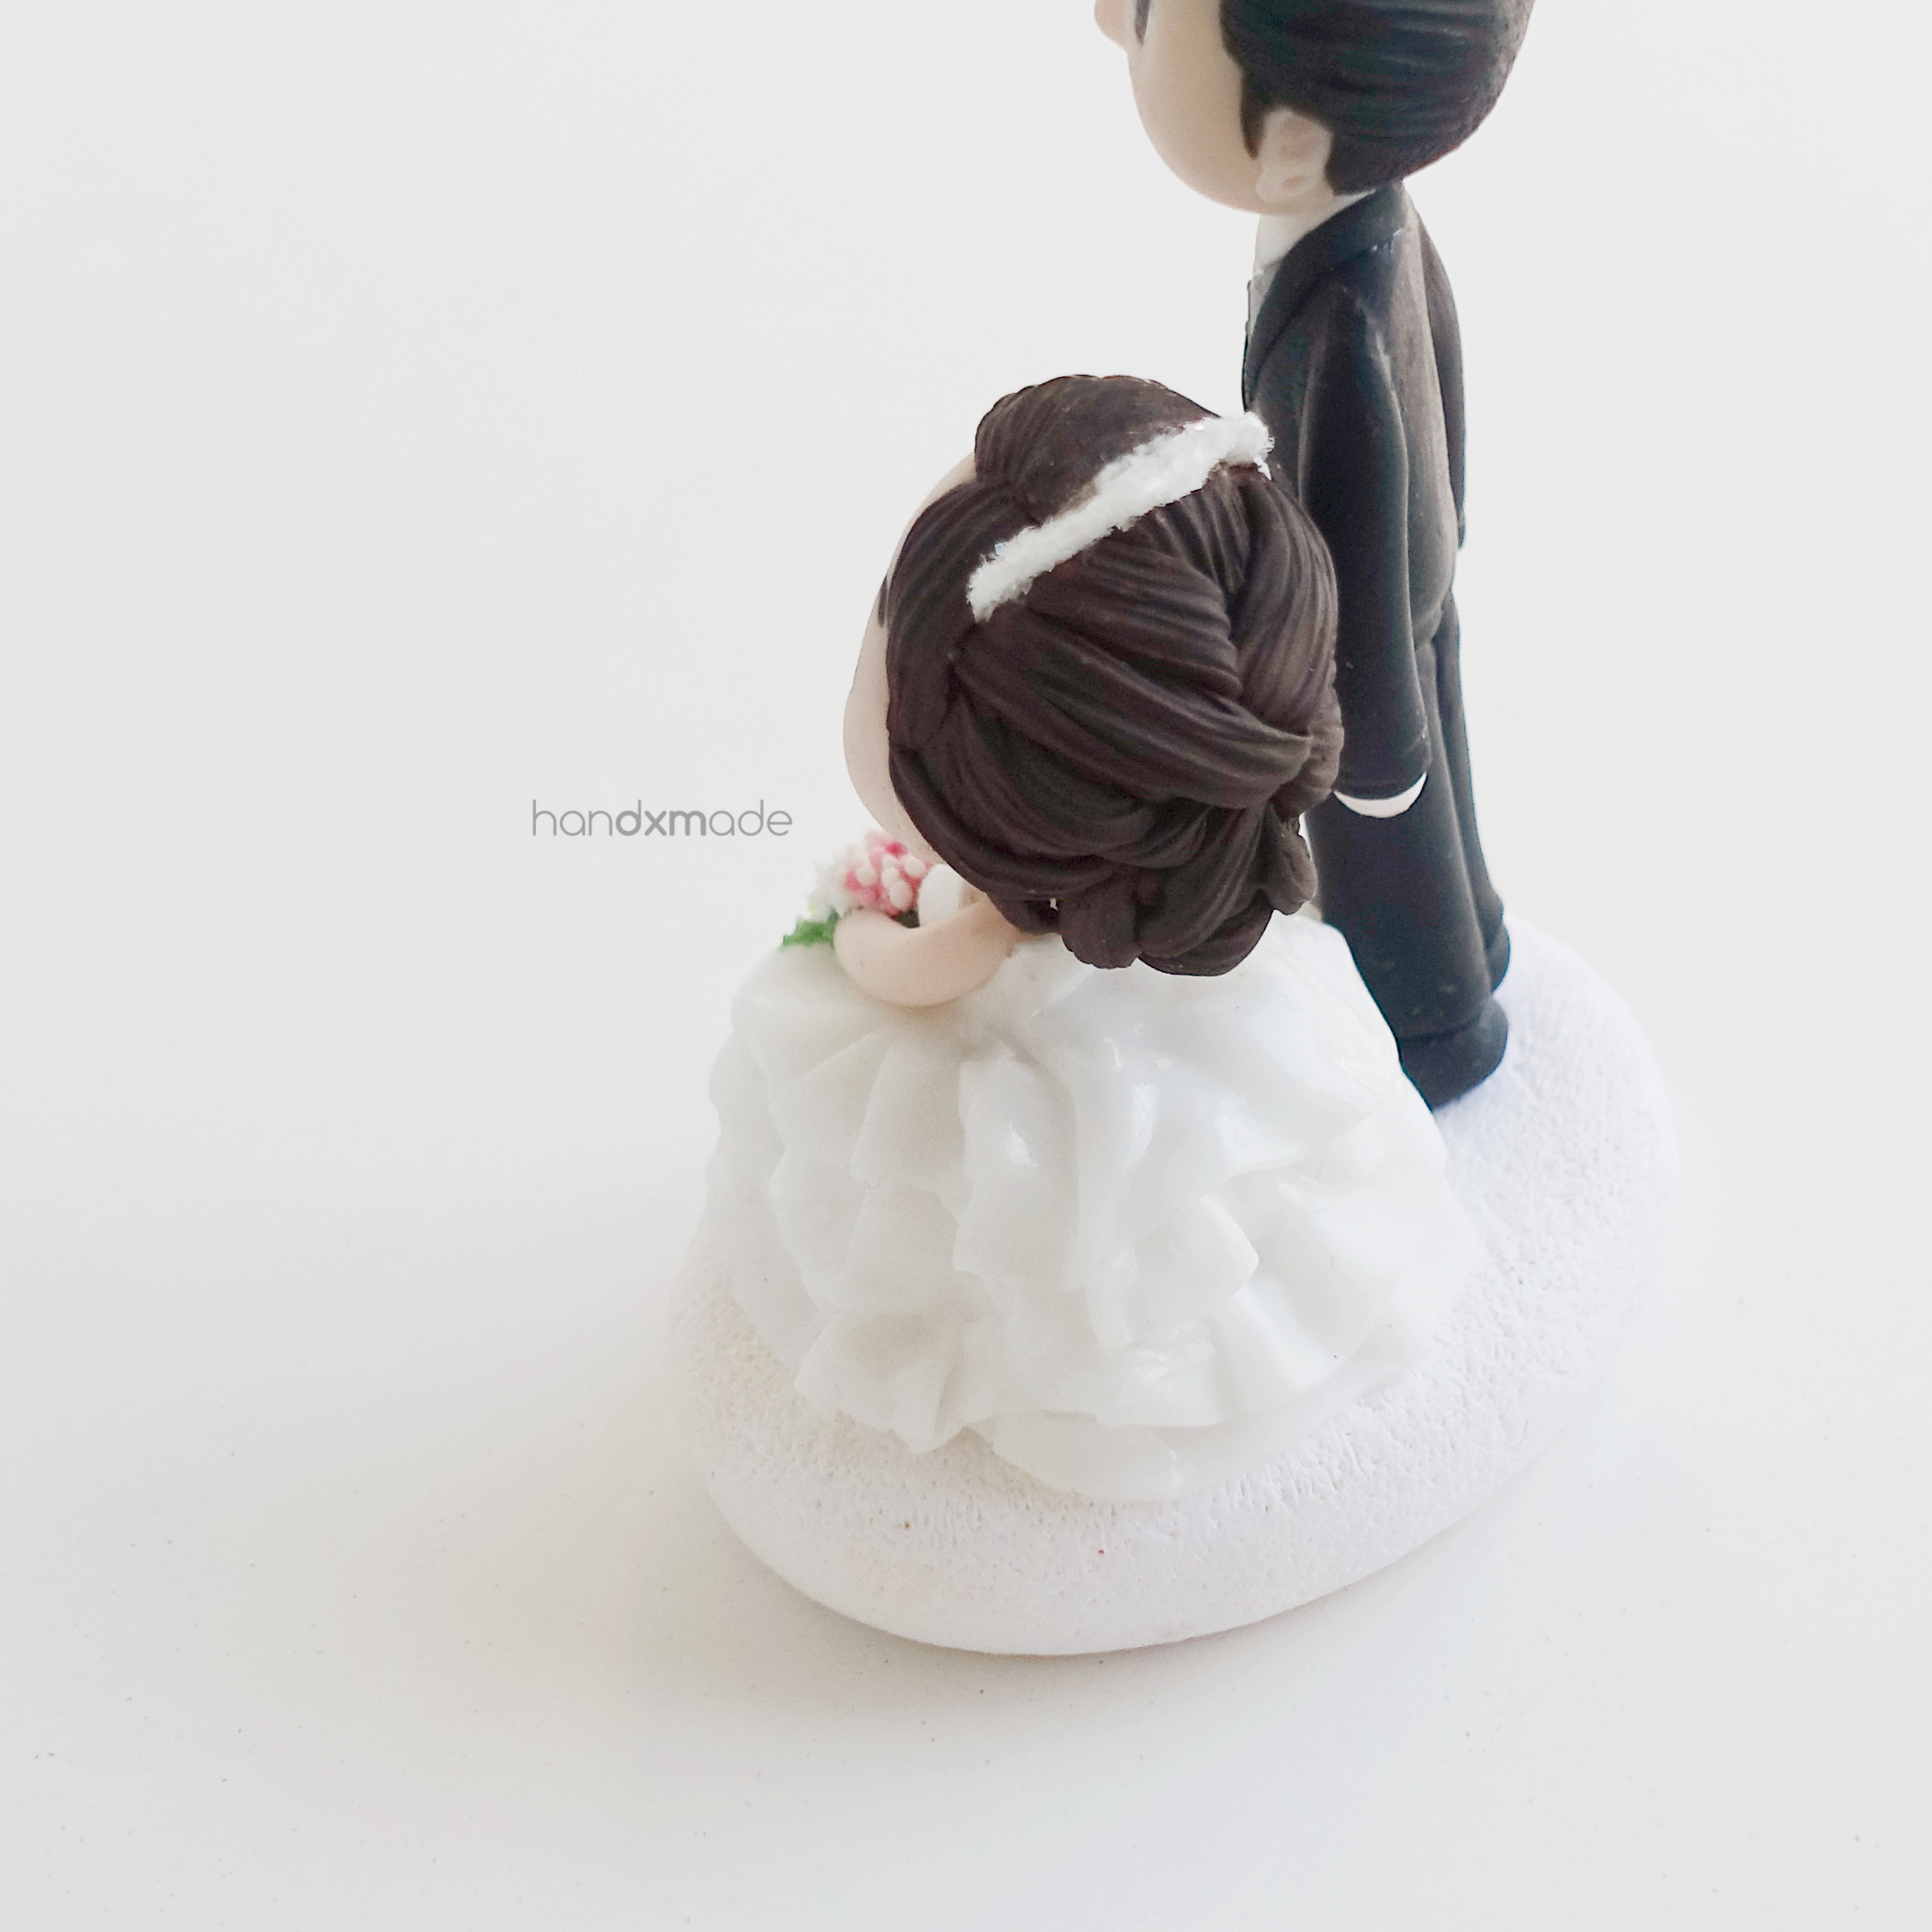

Before I put on the veil however, I took photos of her hair, because it was the most complicated yet satisfactory hair I've ever made!
I was really happy when I finished it :')
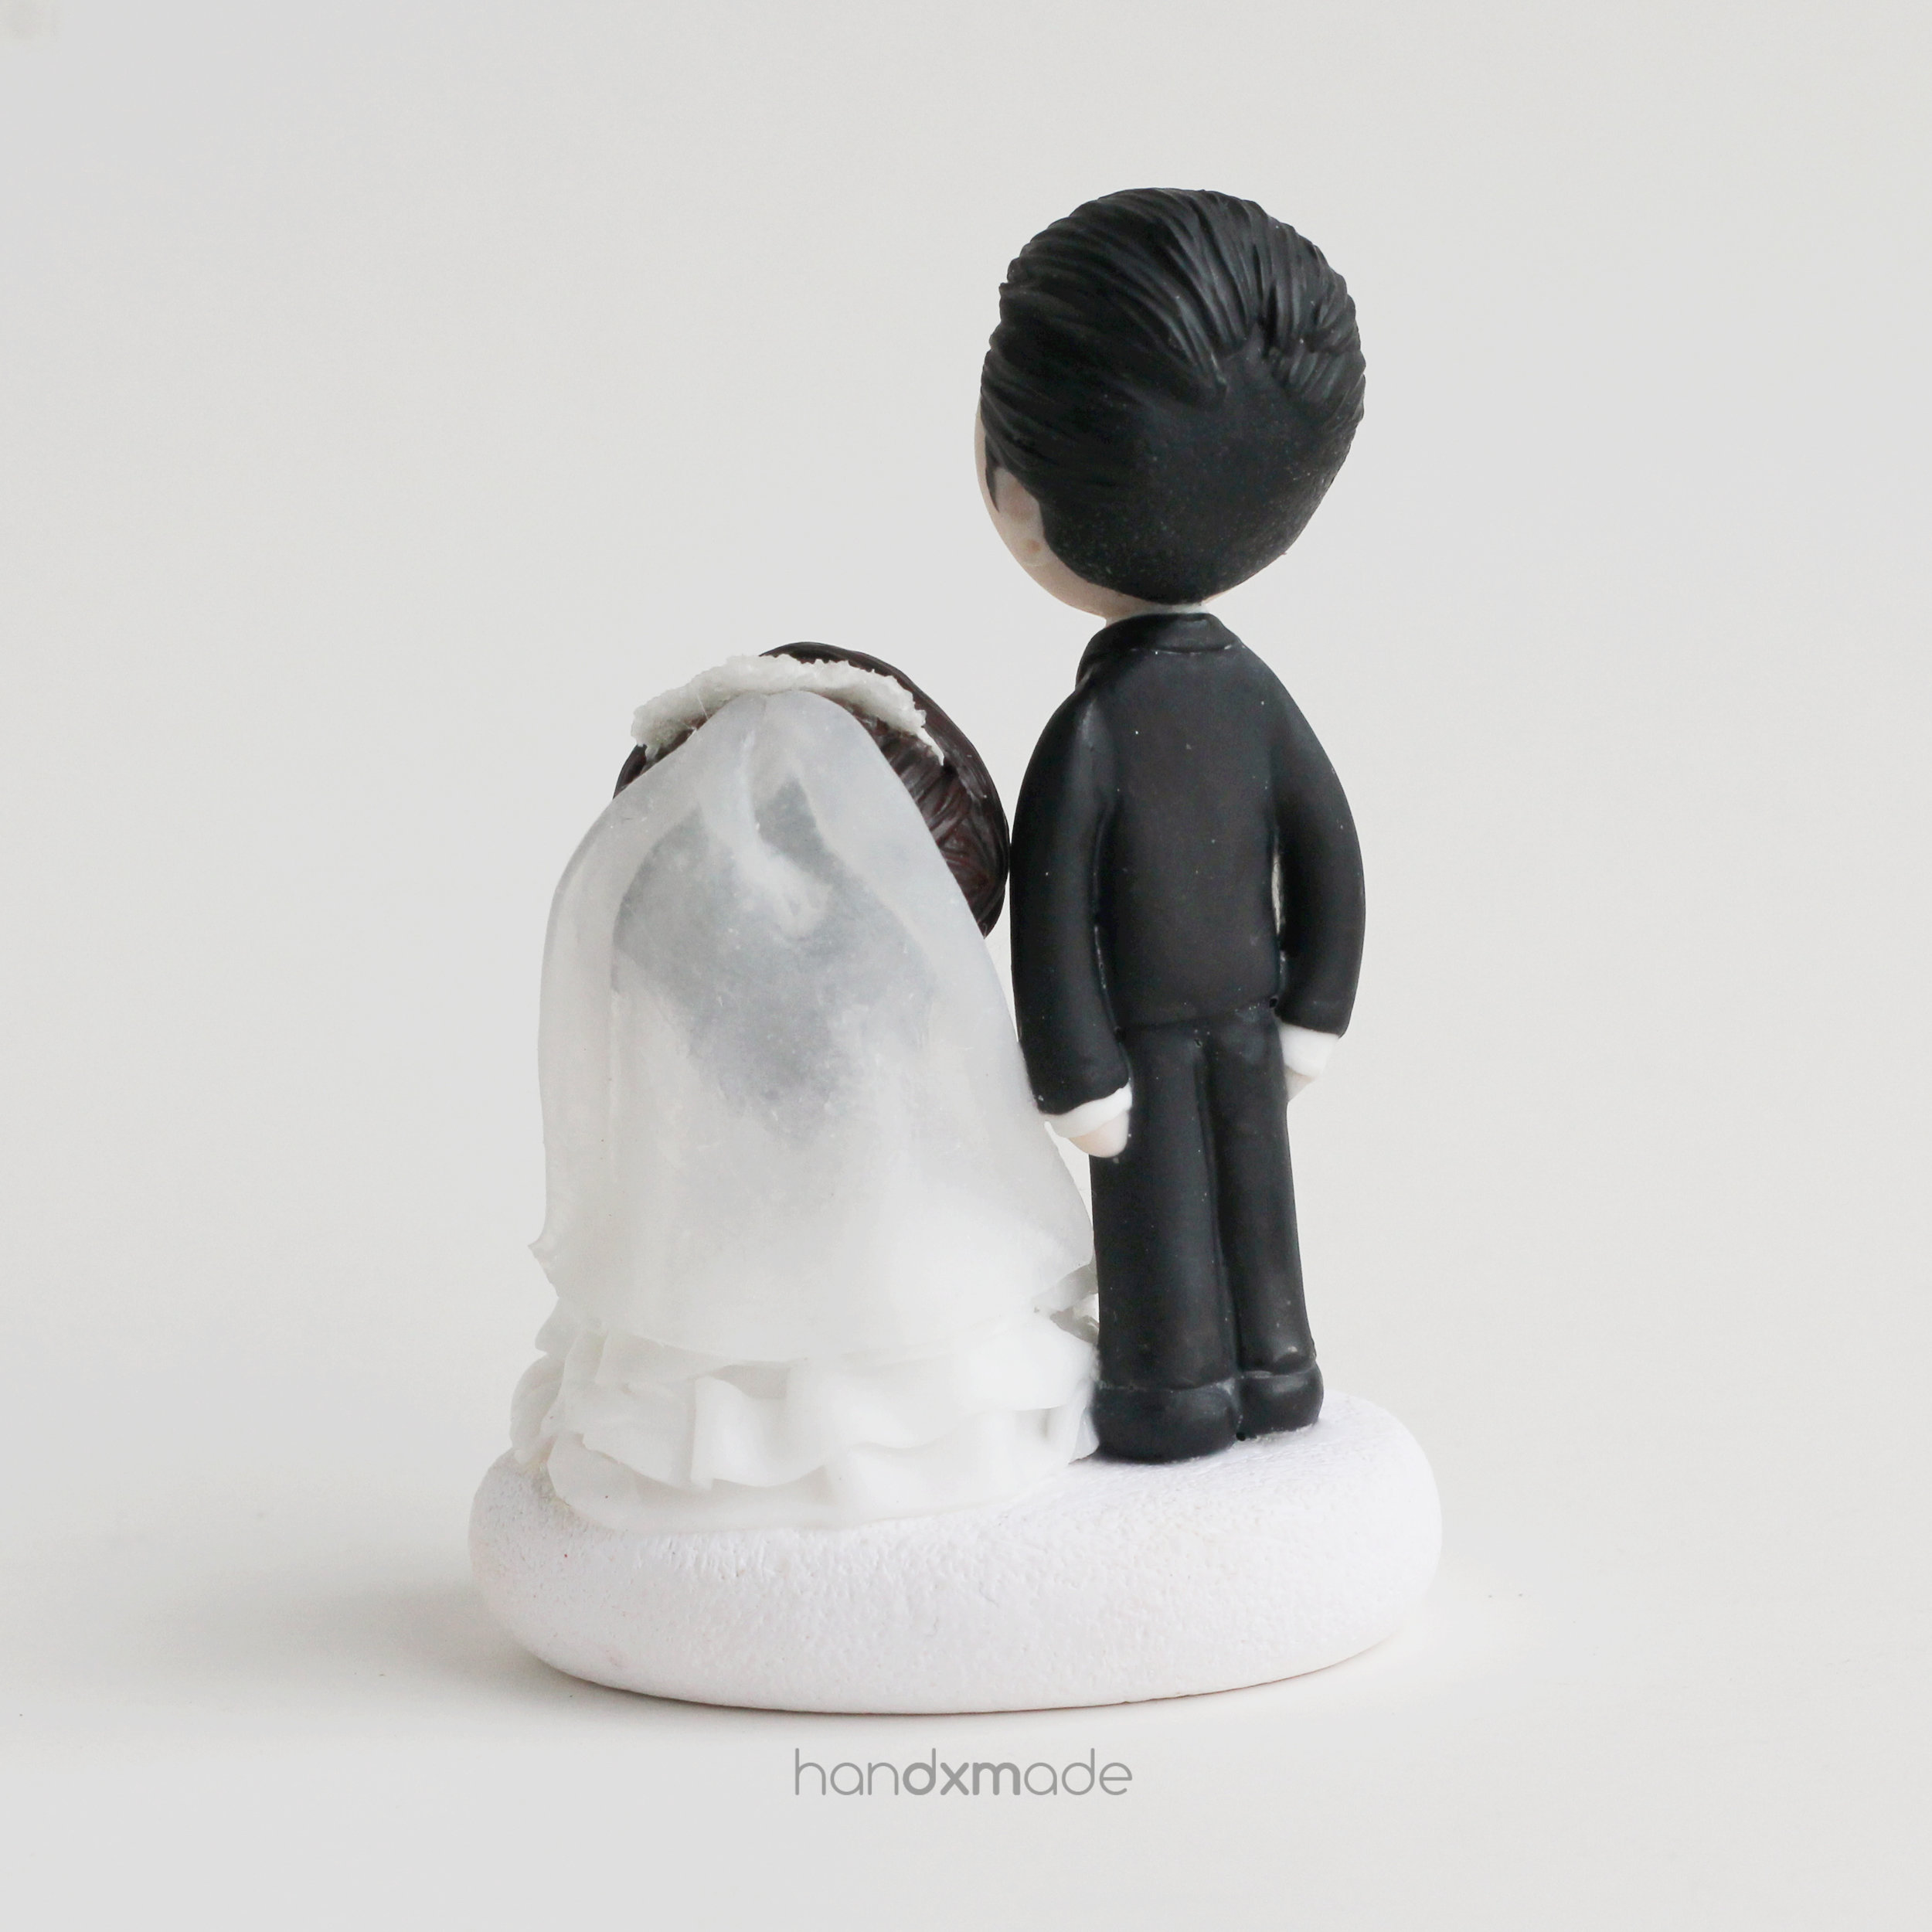
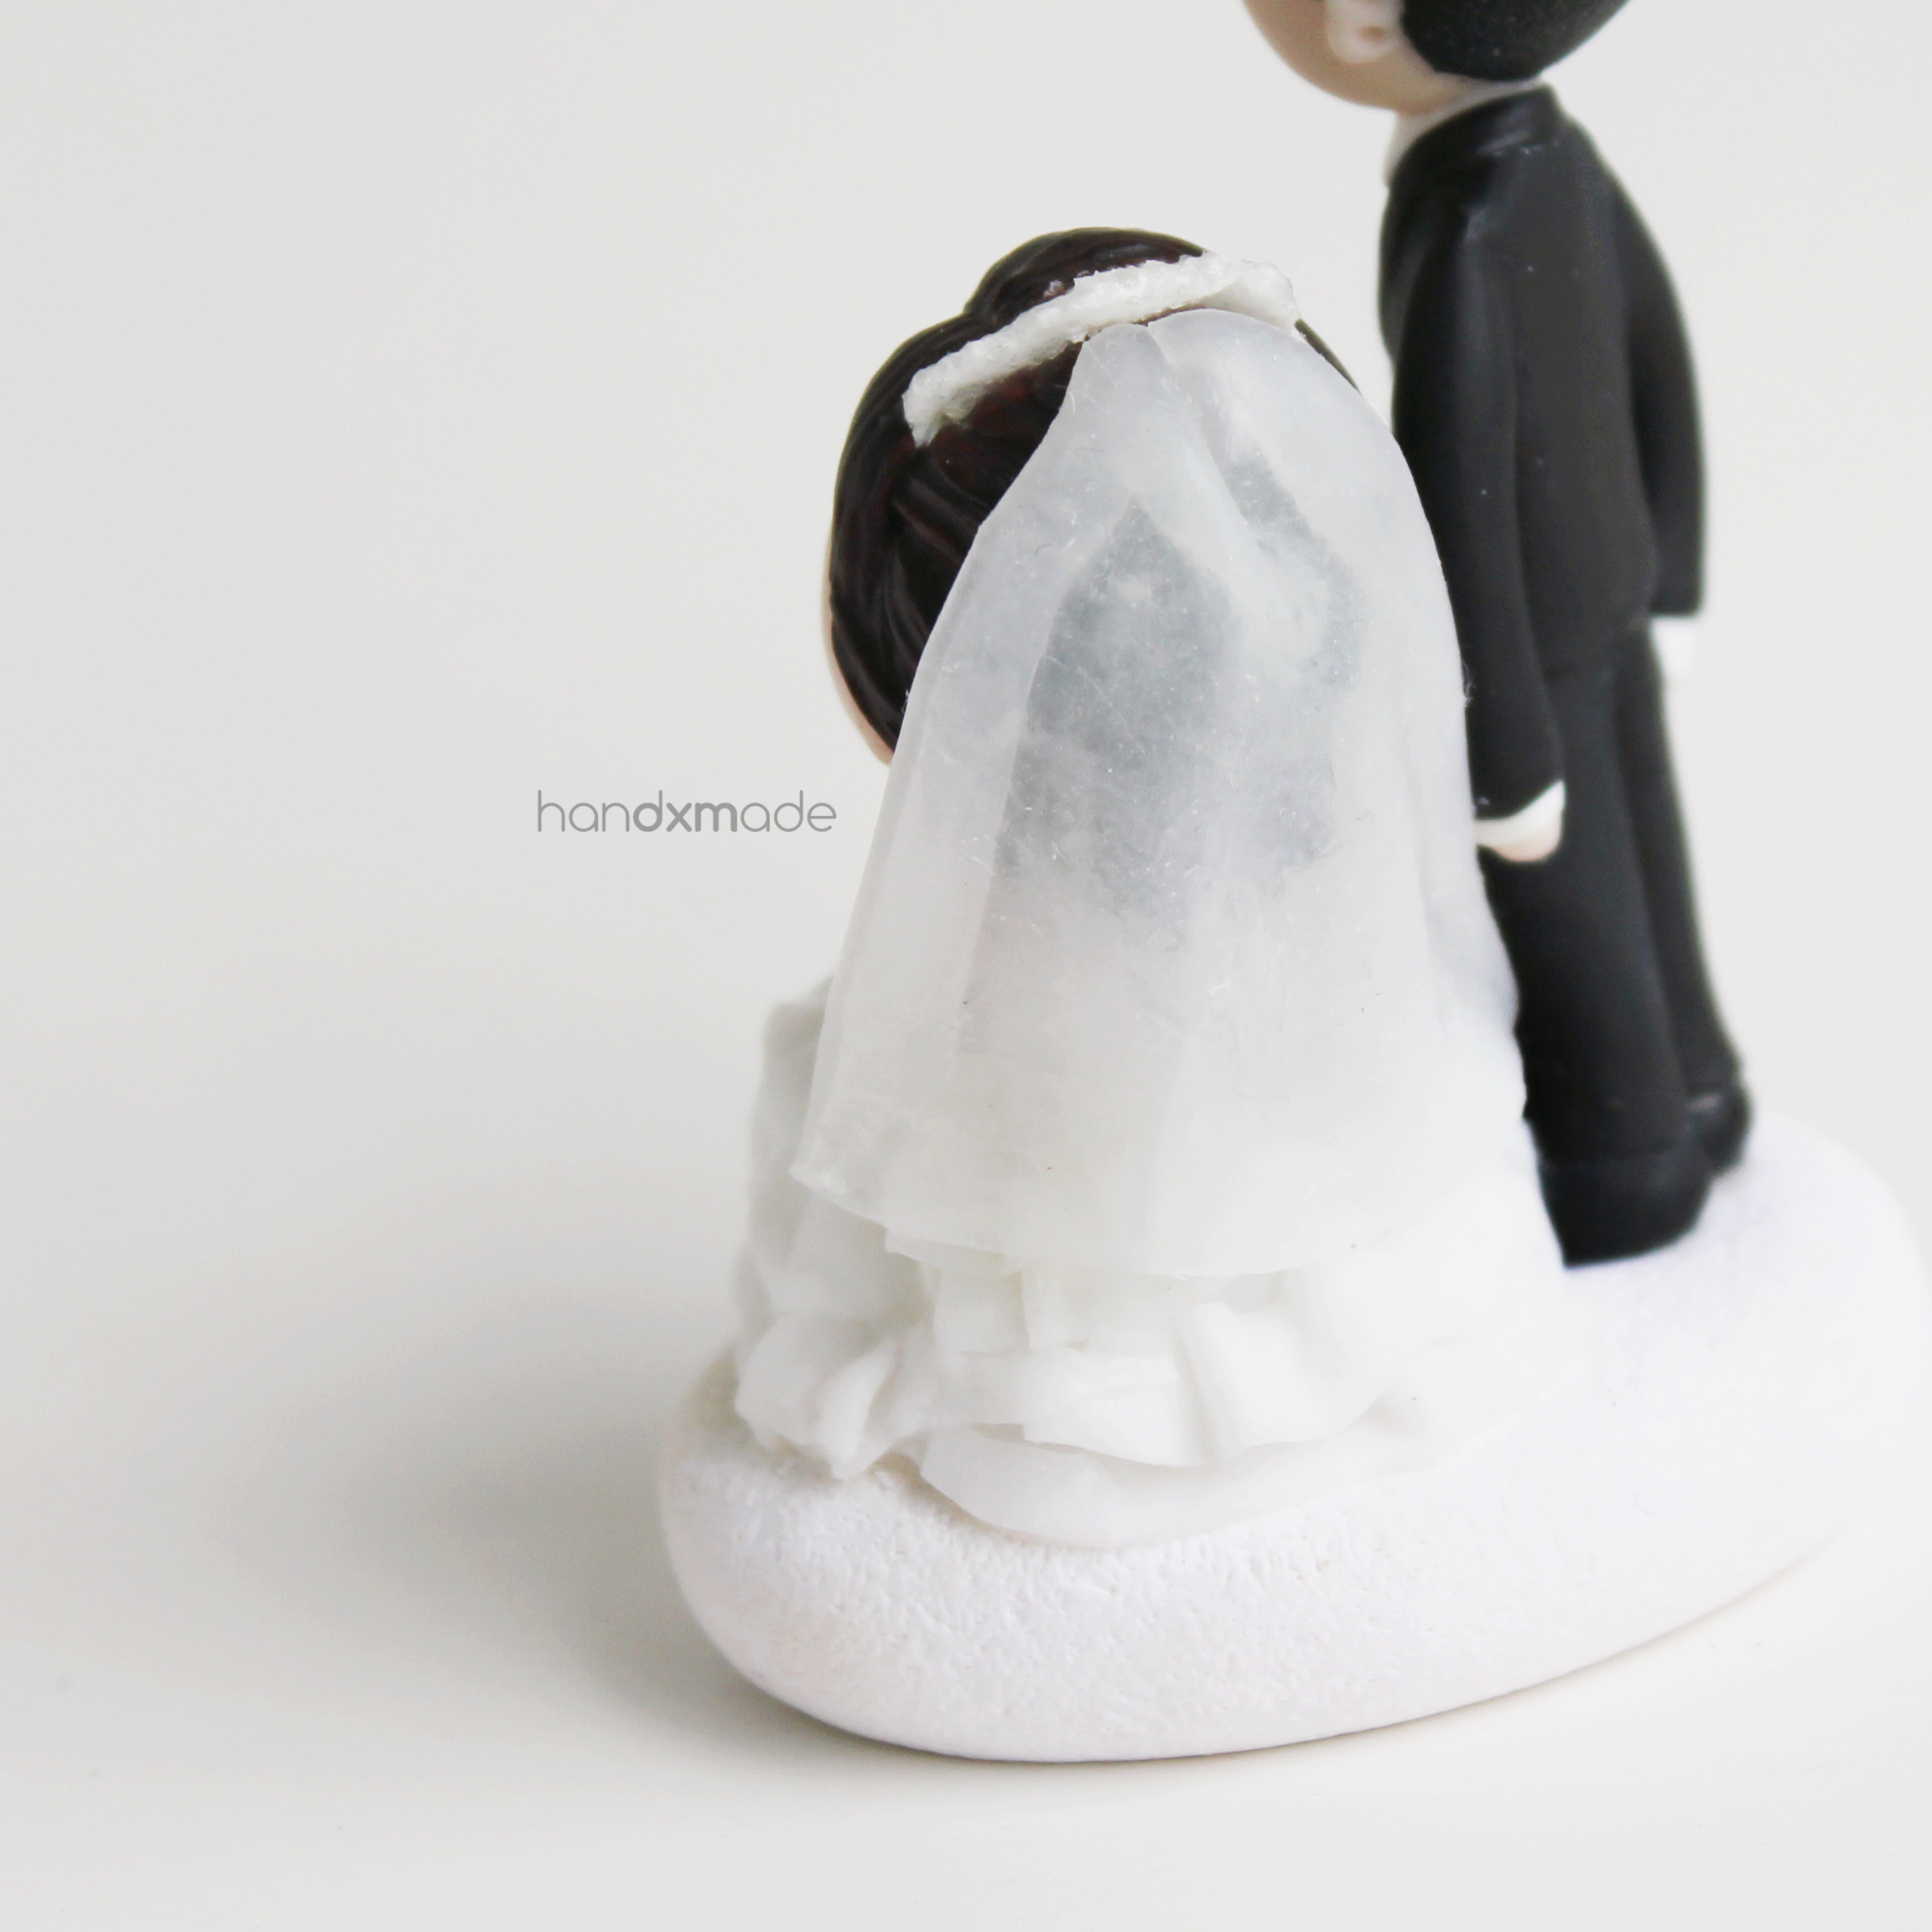
The veil! I really like how the transparent clay worked out for this project, especially the veil! If I were to use translucent clay...the effect will definitely be different, and it would have just looked opaque.
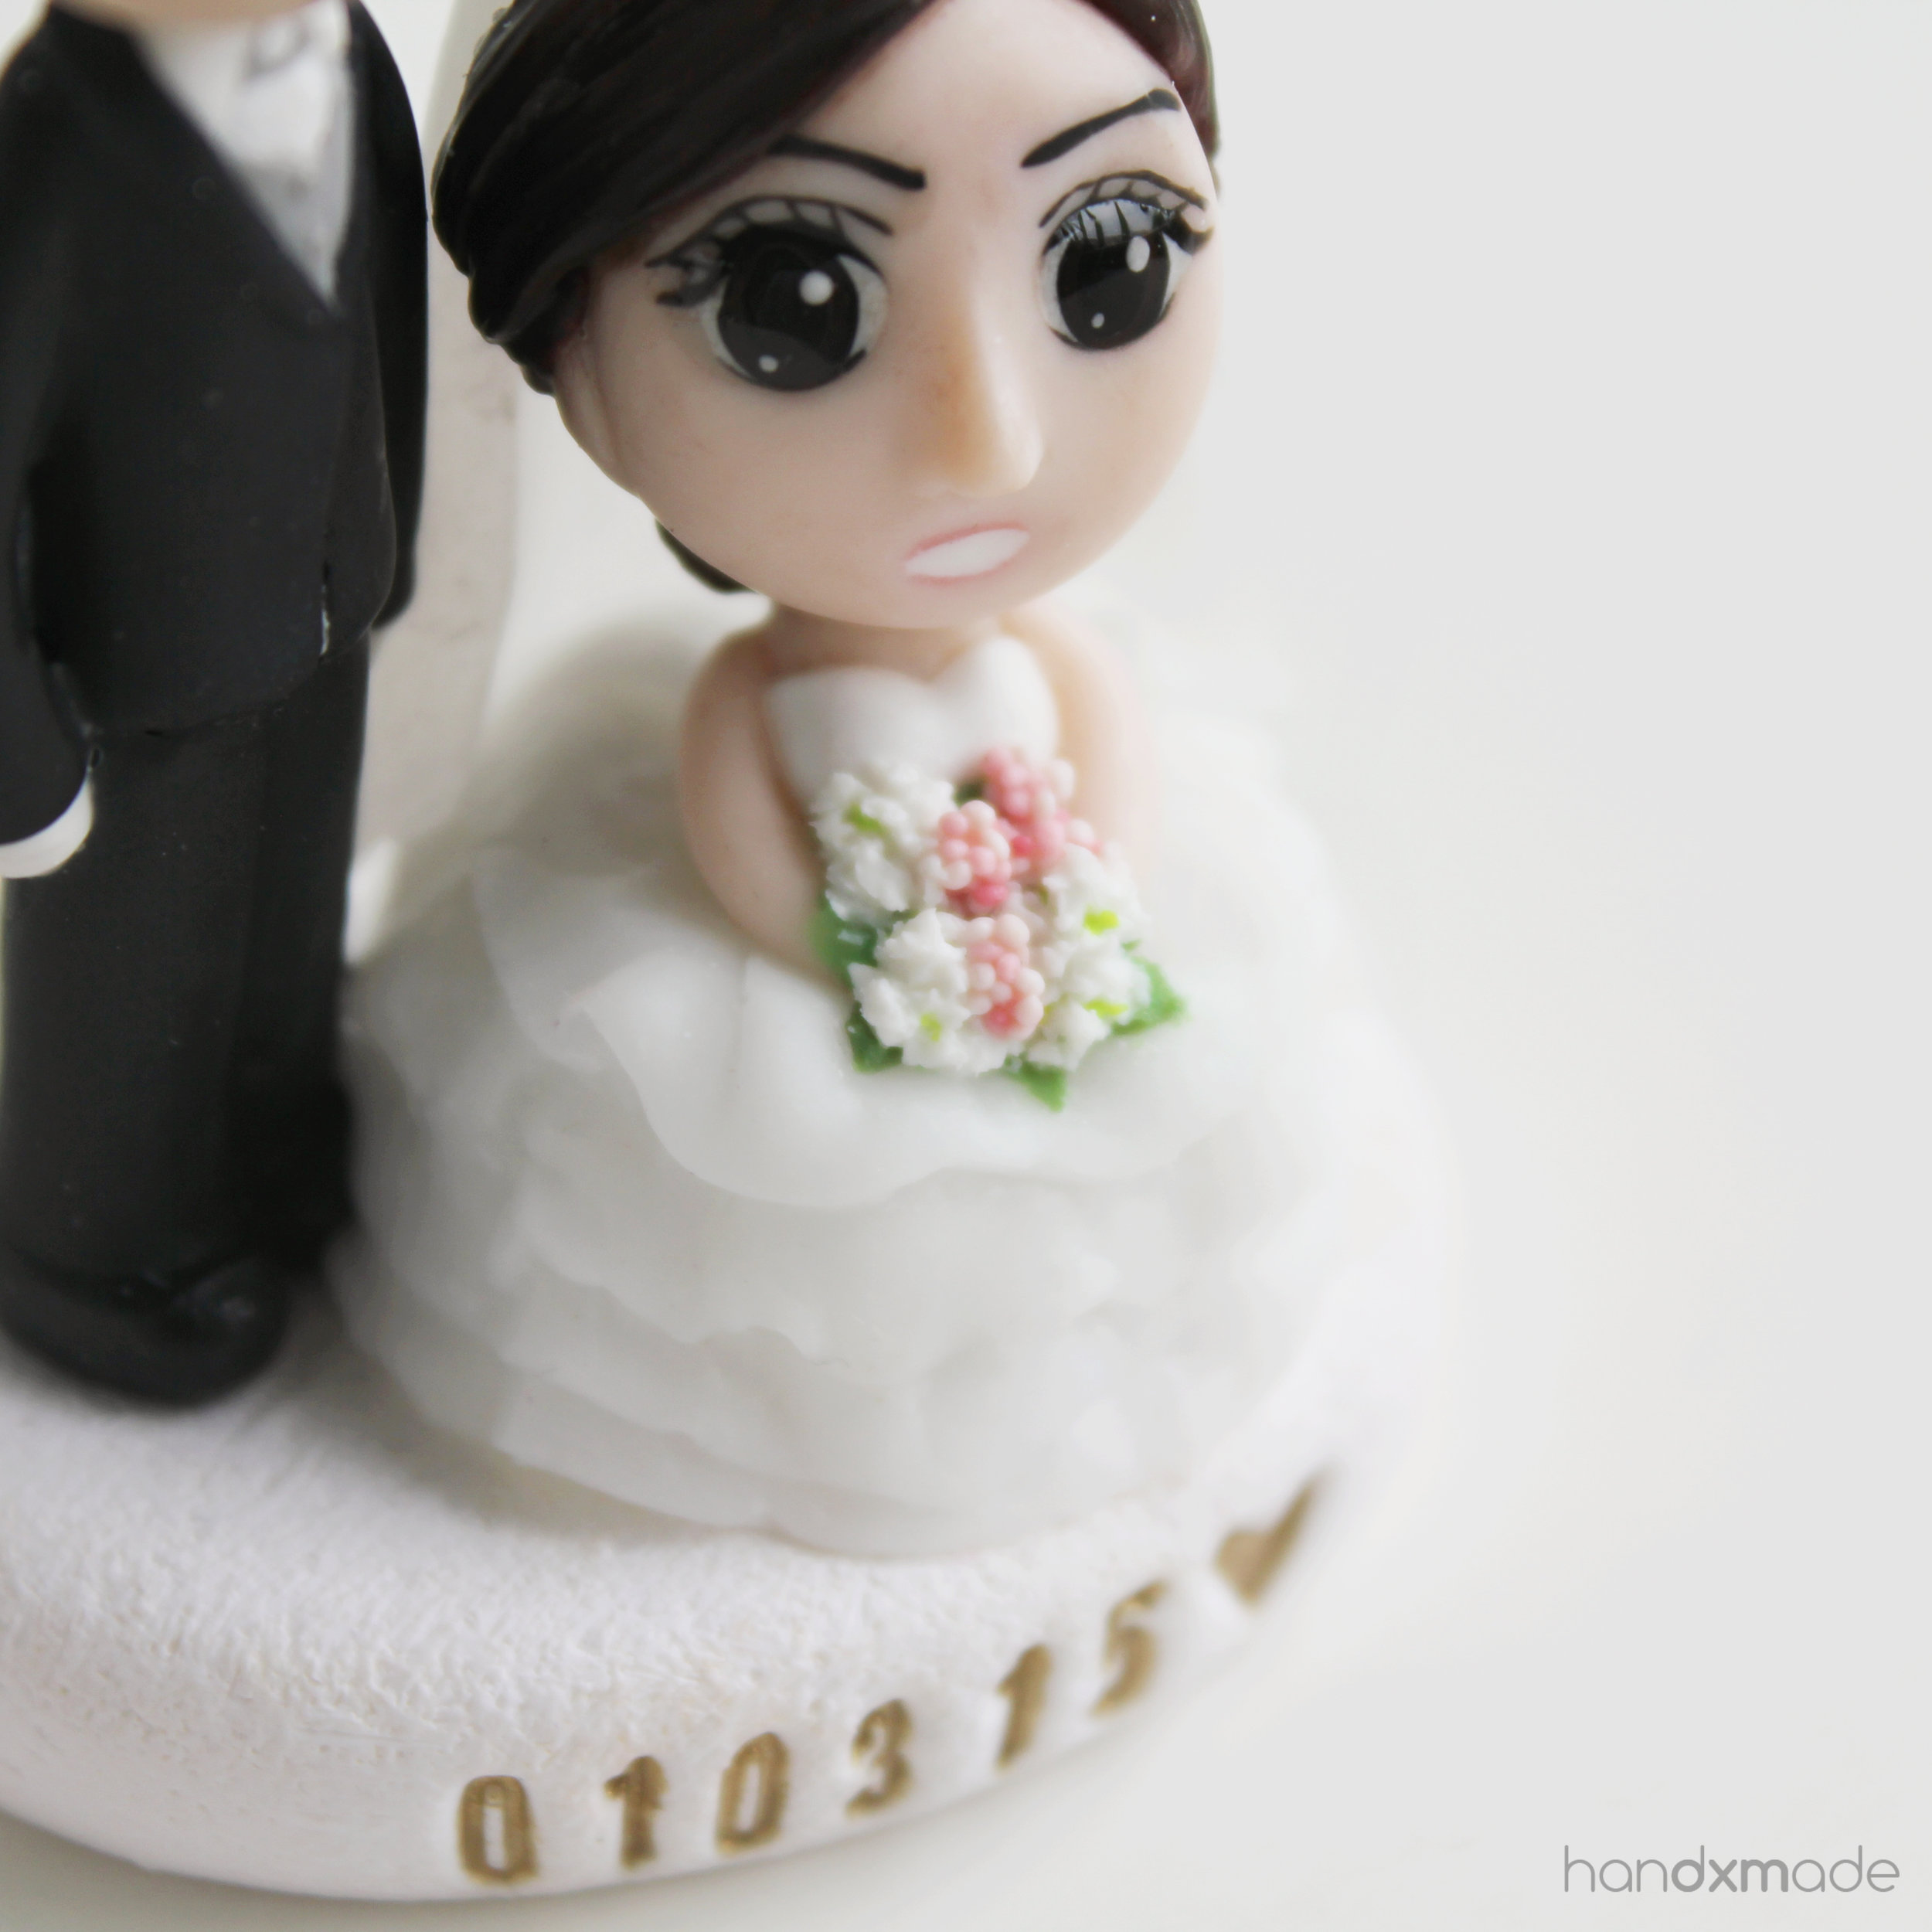
And here are the flowers!
I have no clue what the flowers are, but just made according to the colour and shape I see in the photos HAHAHA. I think it could have done better, but it being so tiny and all, this was the best I could do. I quite like it though! Definitely gave the whole figurine a dab of colours!
The dress is also made with transparent clay, albeit a bit more opaque. But it does give the dress a really soft look! A good idea for sheer clothes imo.
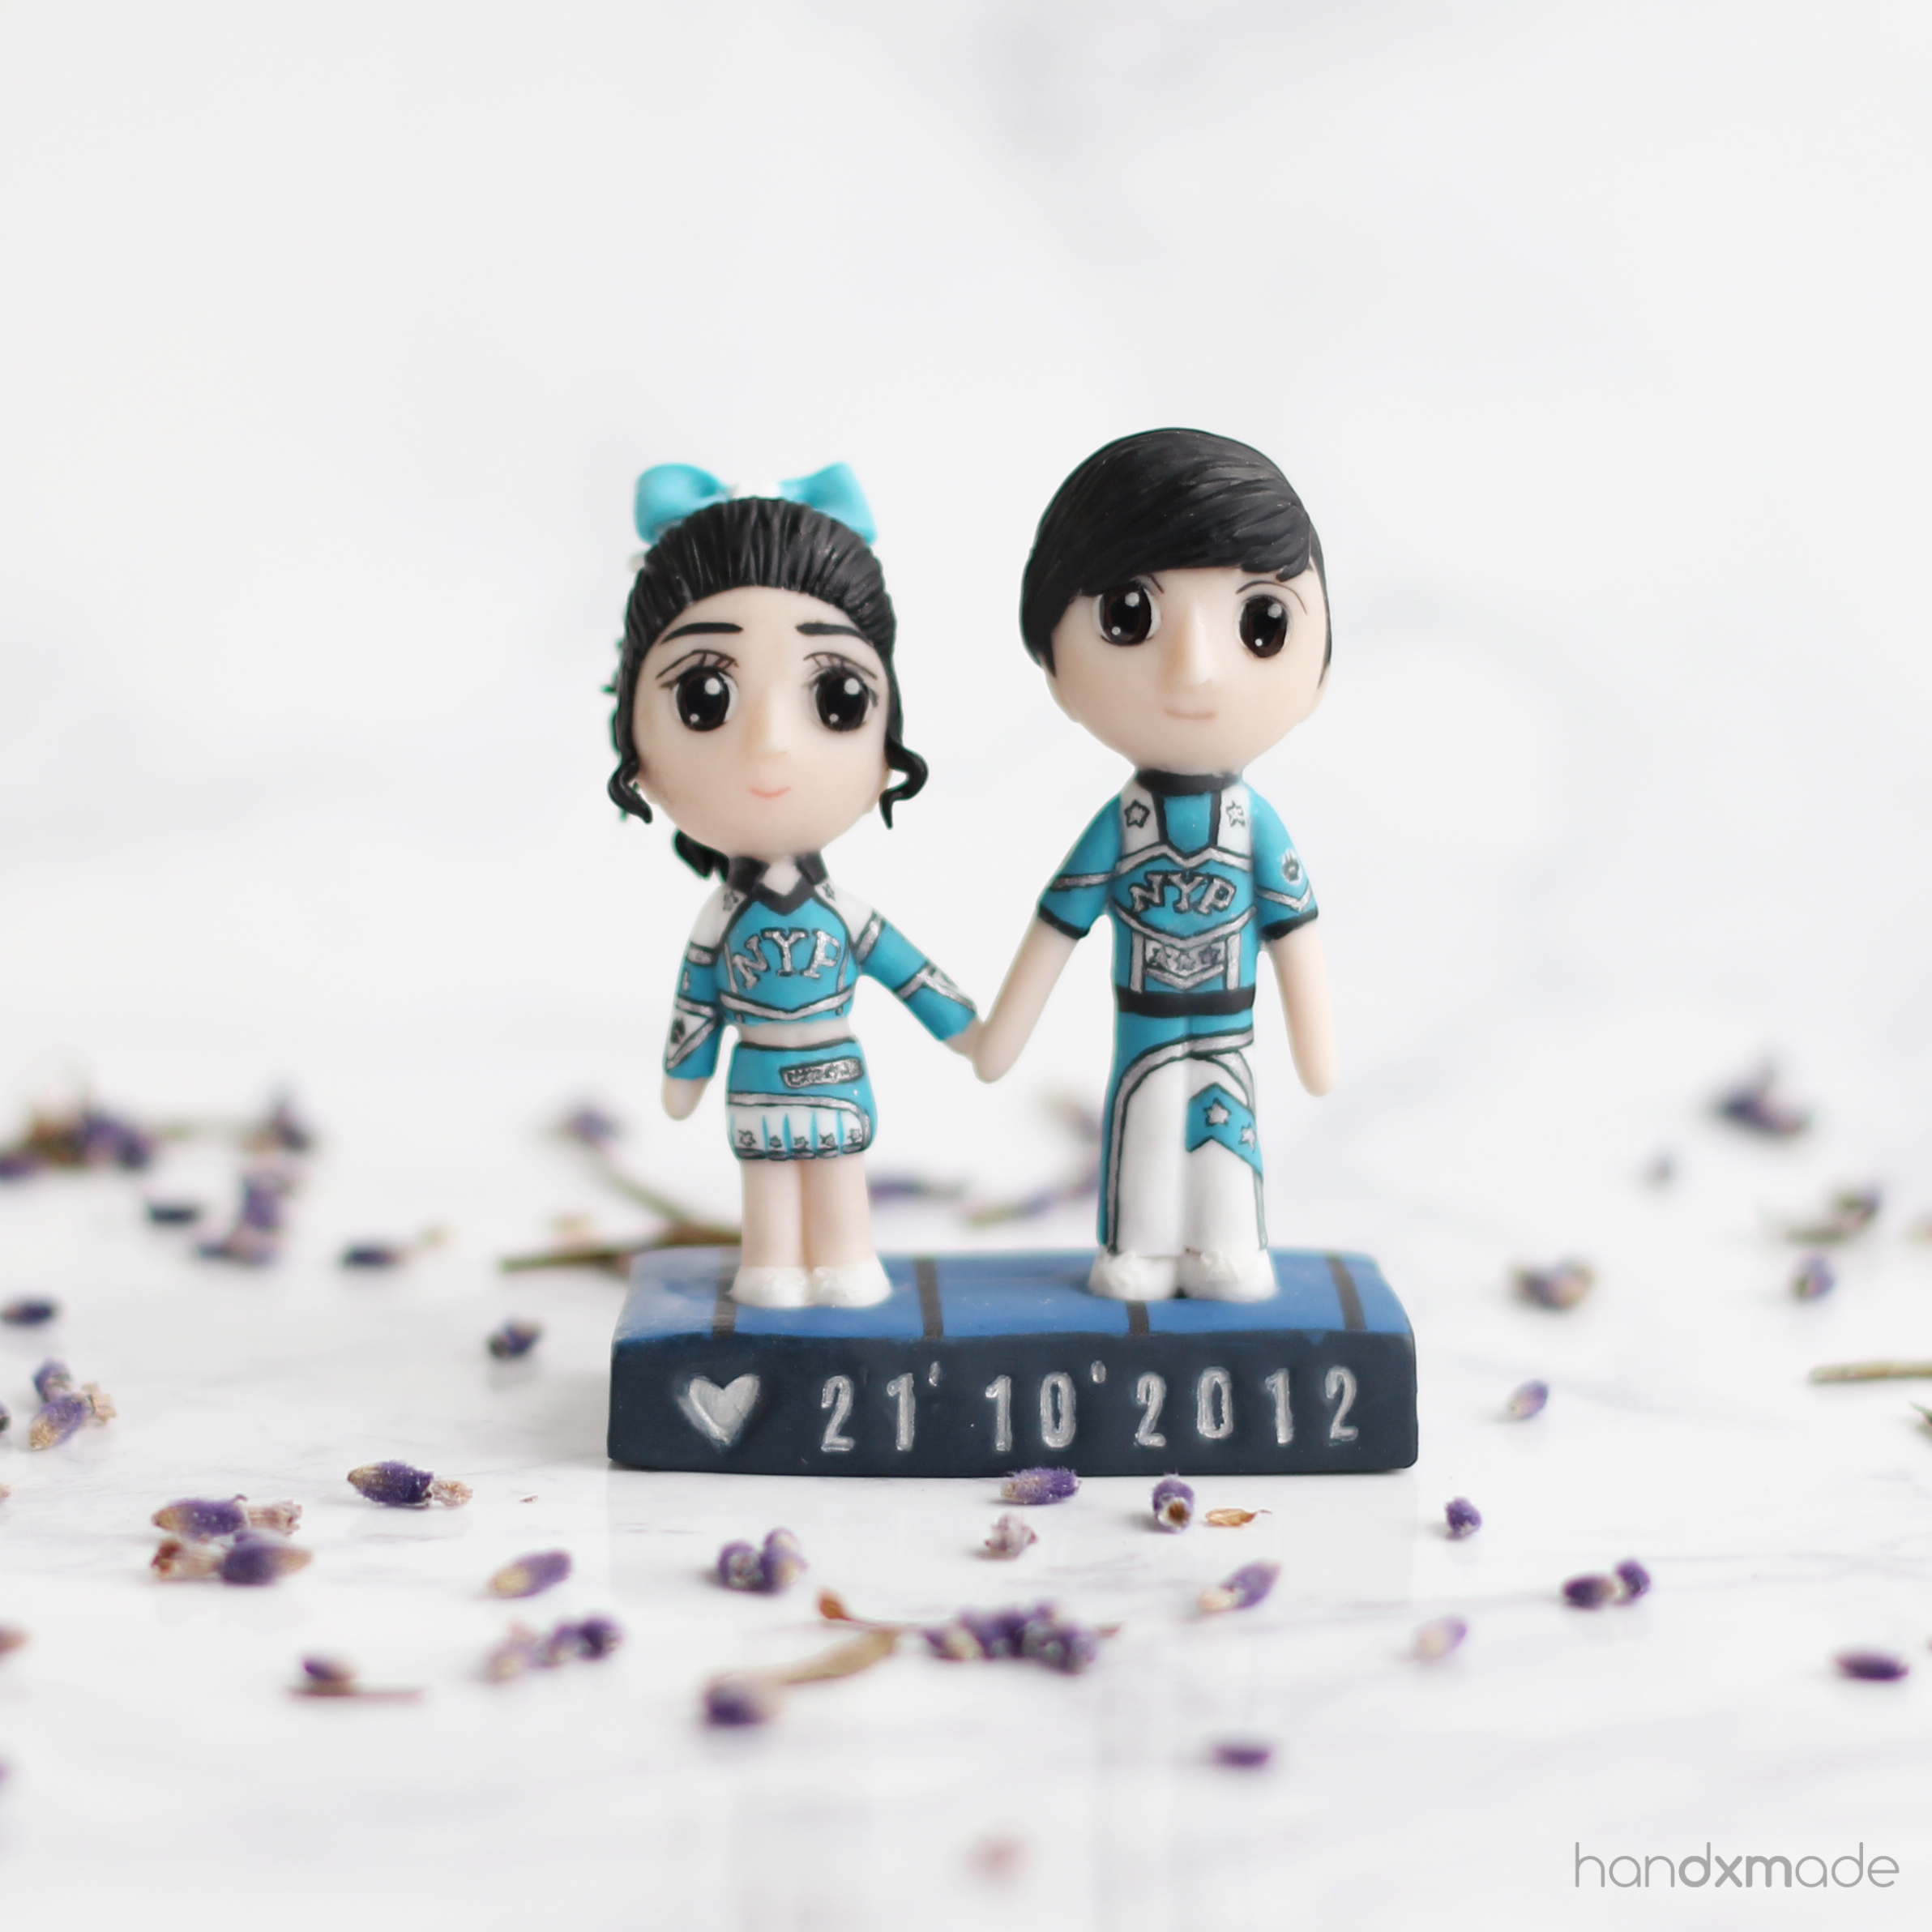
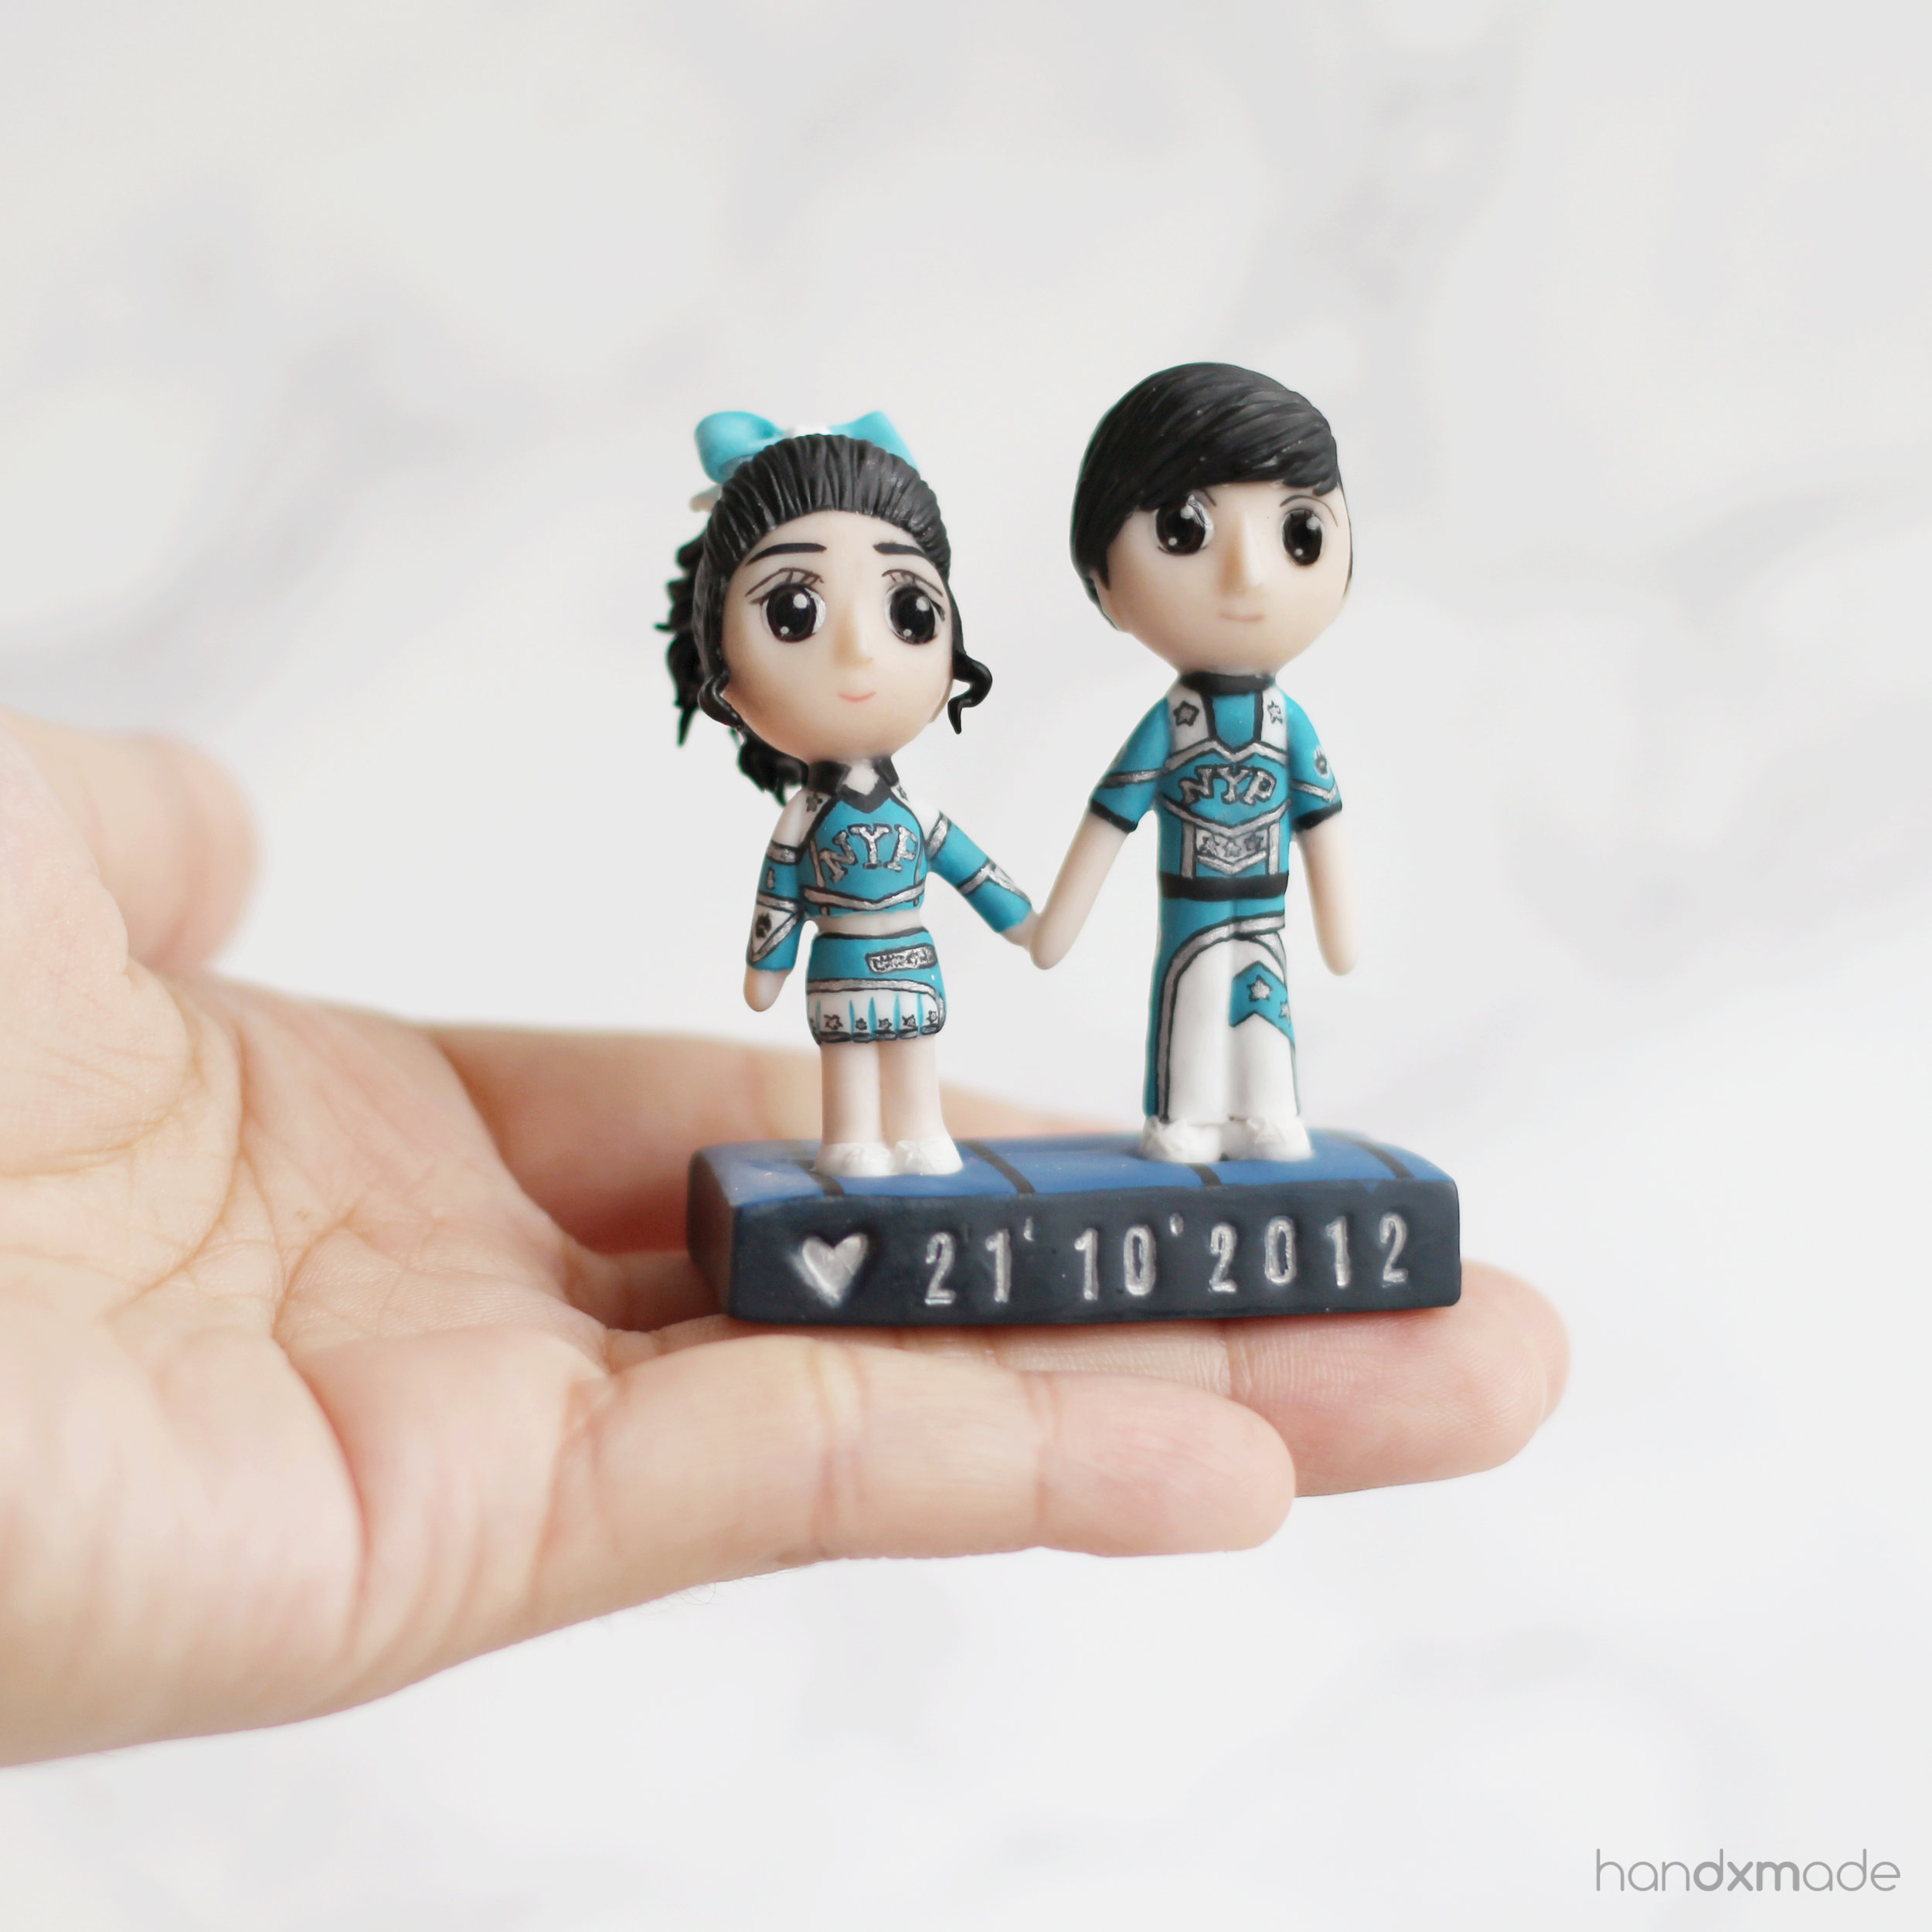
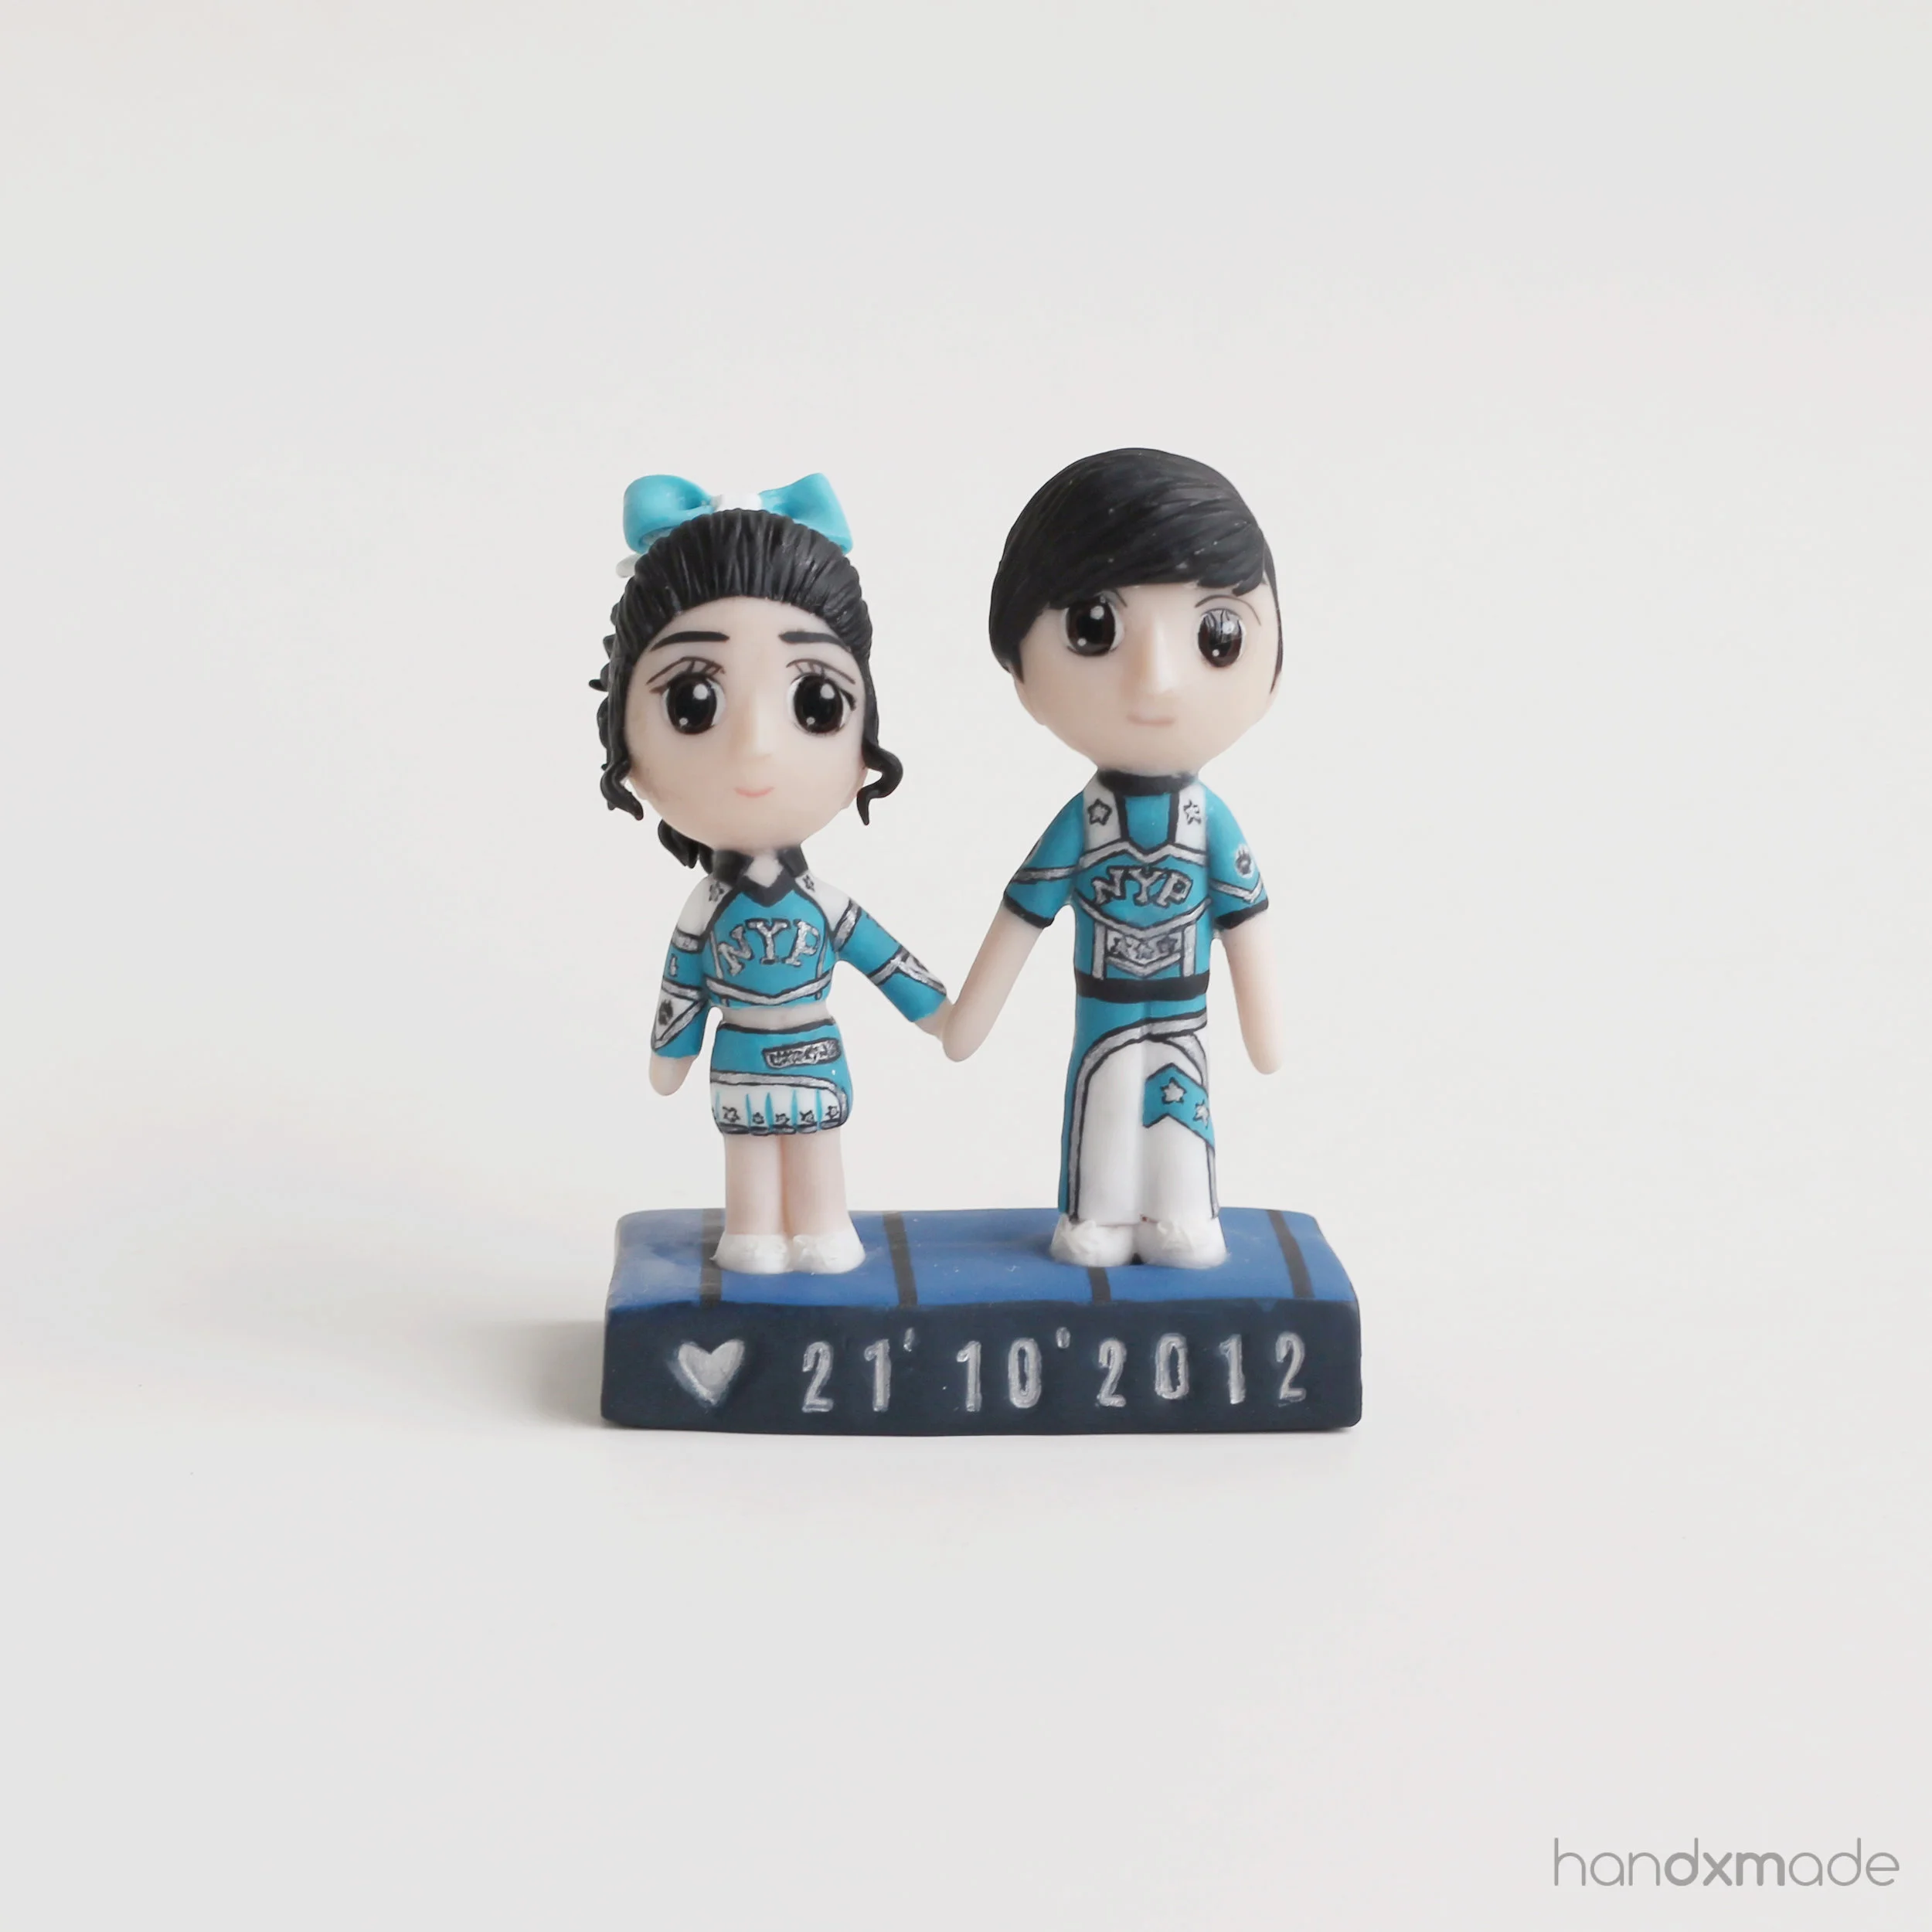
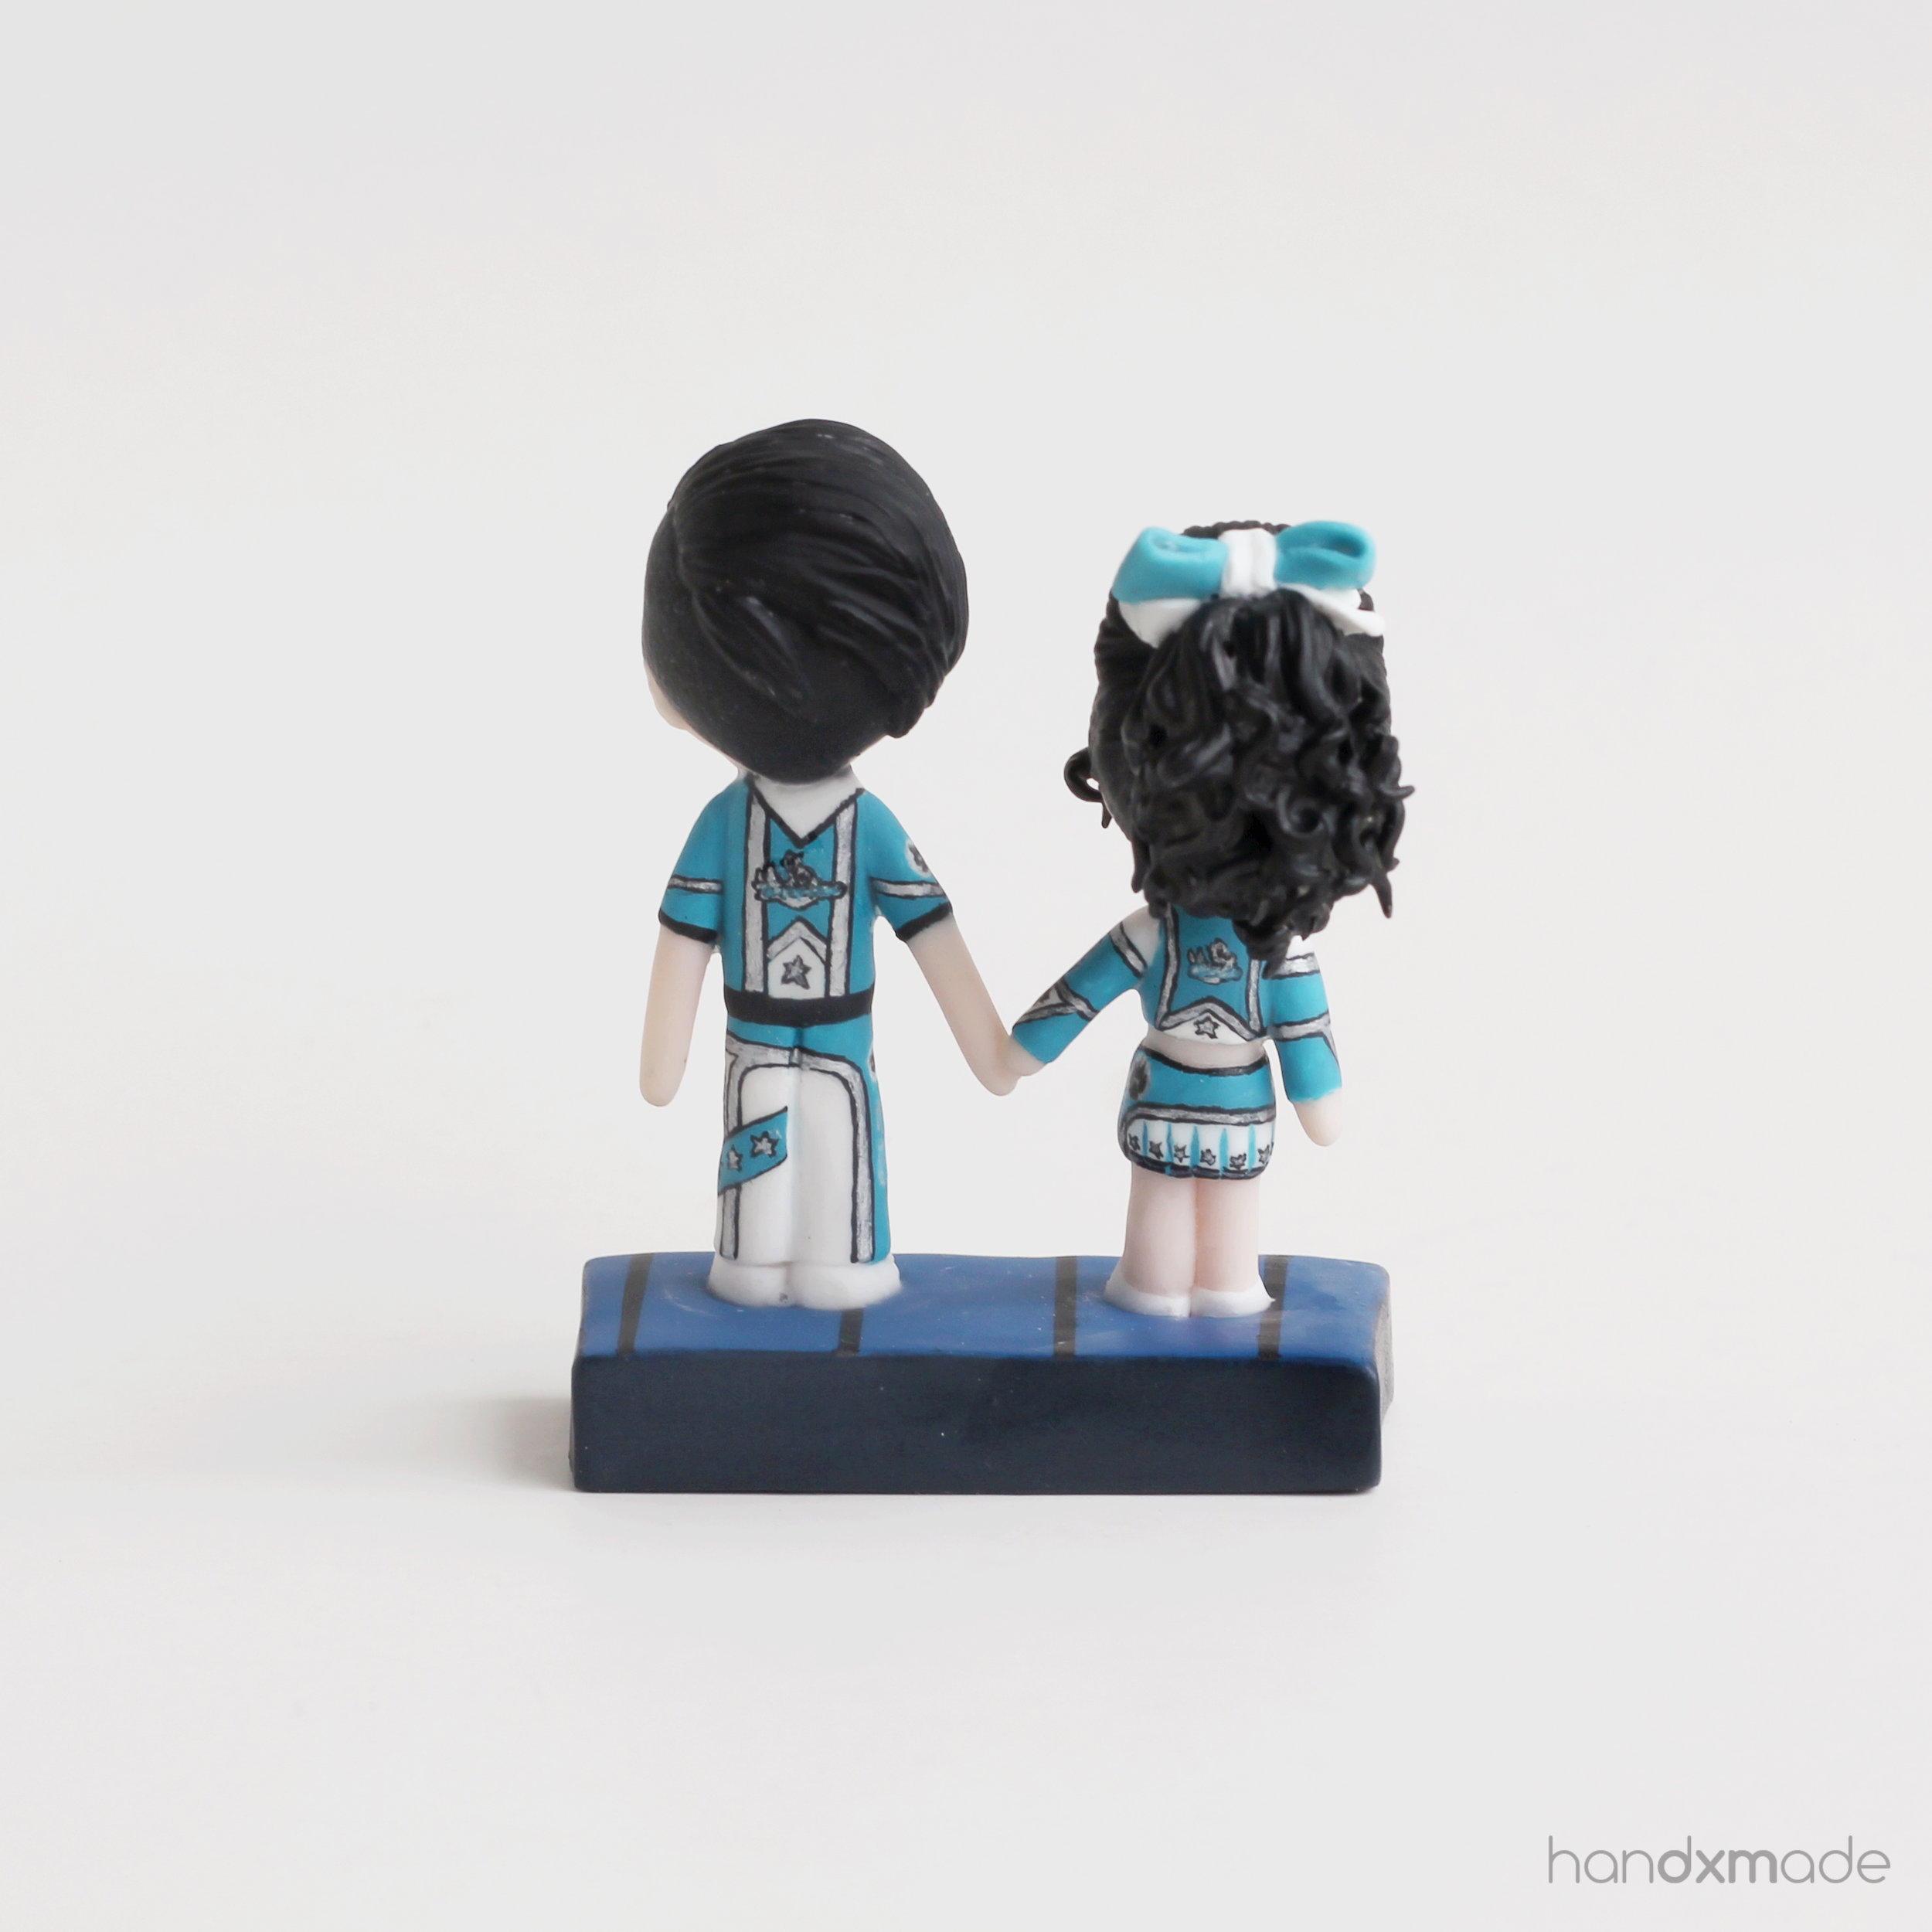
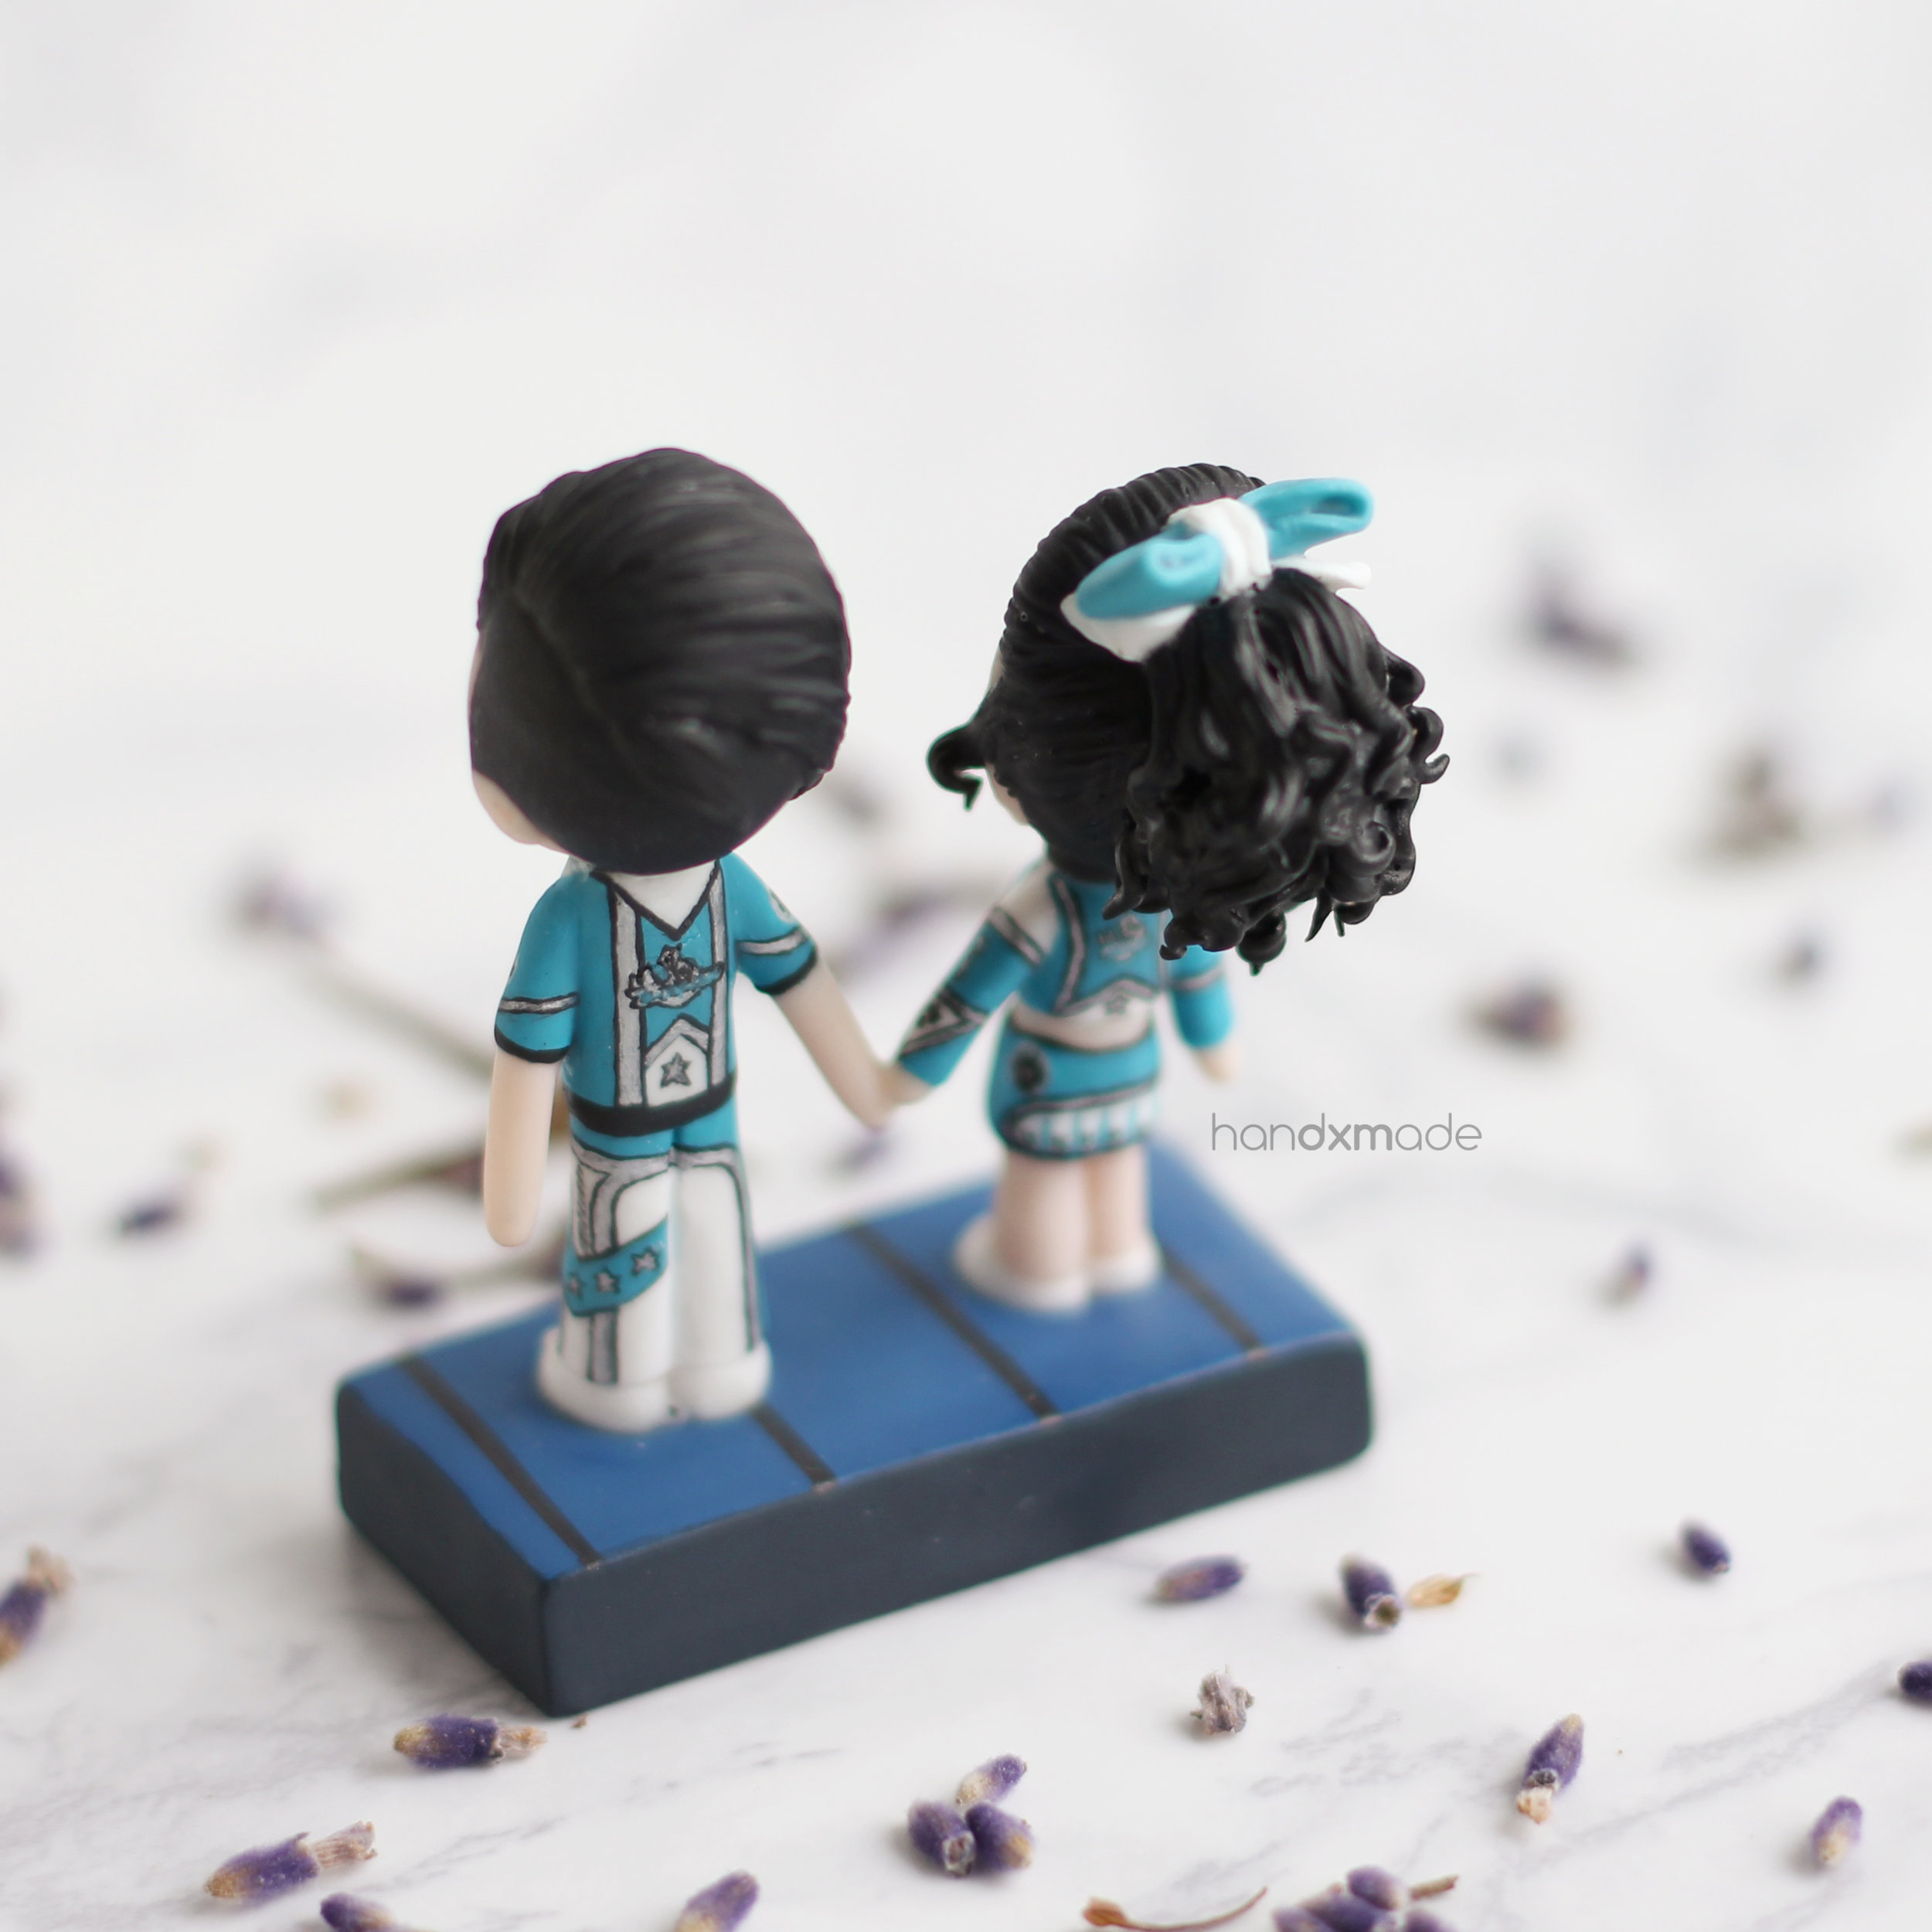
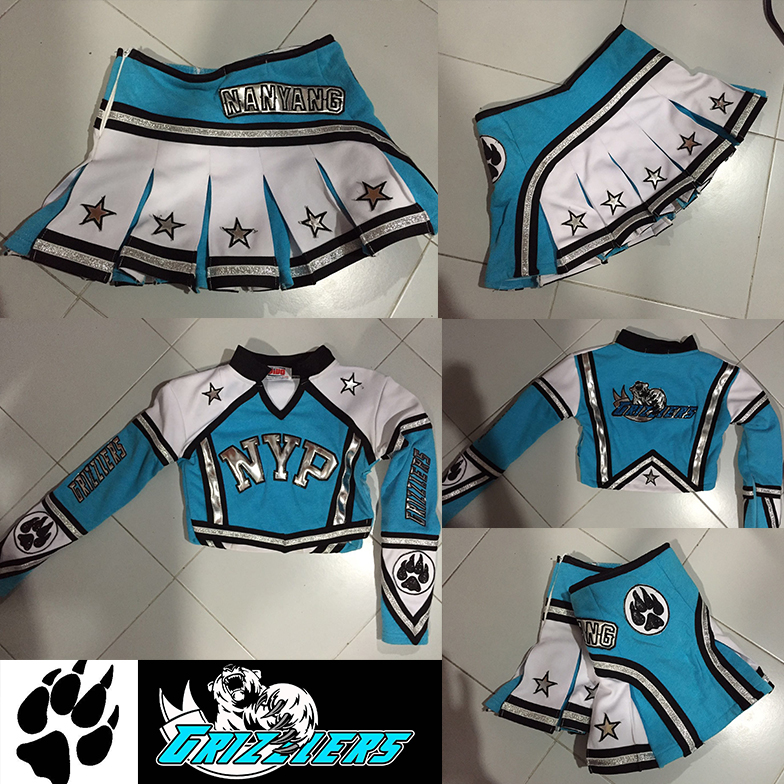
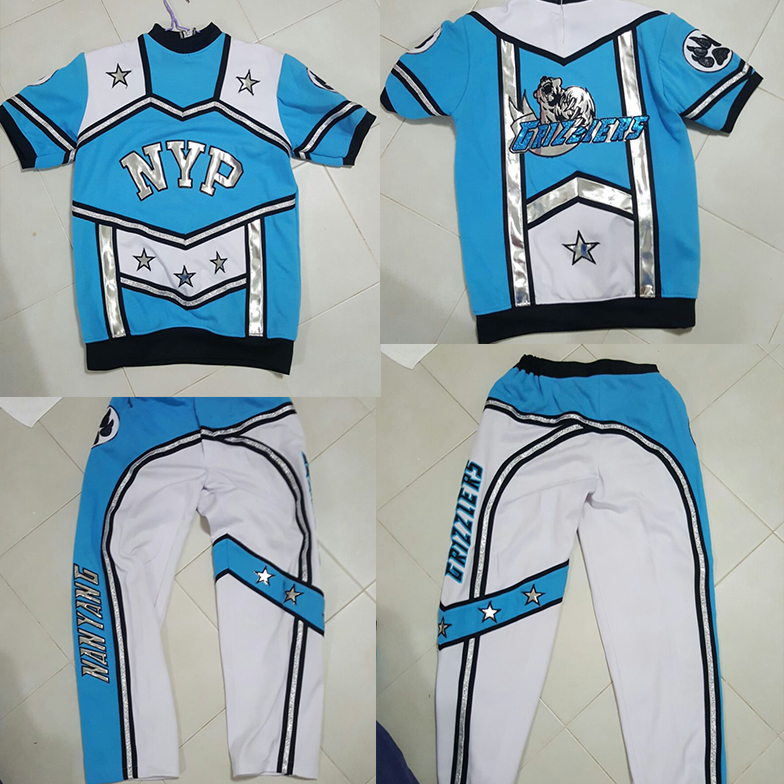
The cheerleaders
This actually took me WAY TOO LONG THAN I EXPECTED...
I tried using image transfer for this, but since it has a coloured background....it just didn't do too well. Hence, I had to count on my painting skill hahahaa.
They were SO SMALL!!
But in the end...I was quite happy with it hehehe. I'd better be, after spending so much time on it LOL.
Especially whn your pet love bird destroyed the figurines THREE TIMES and you have to keep redo-ing it T.T That was quite a traumatic experience sobs. I even have photos on it on my Dayre somewhere......
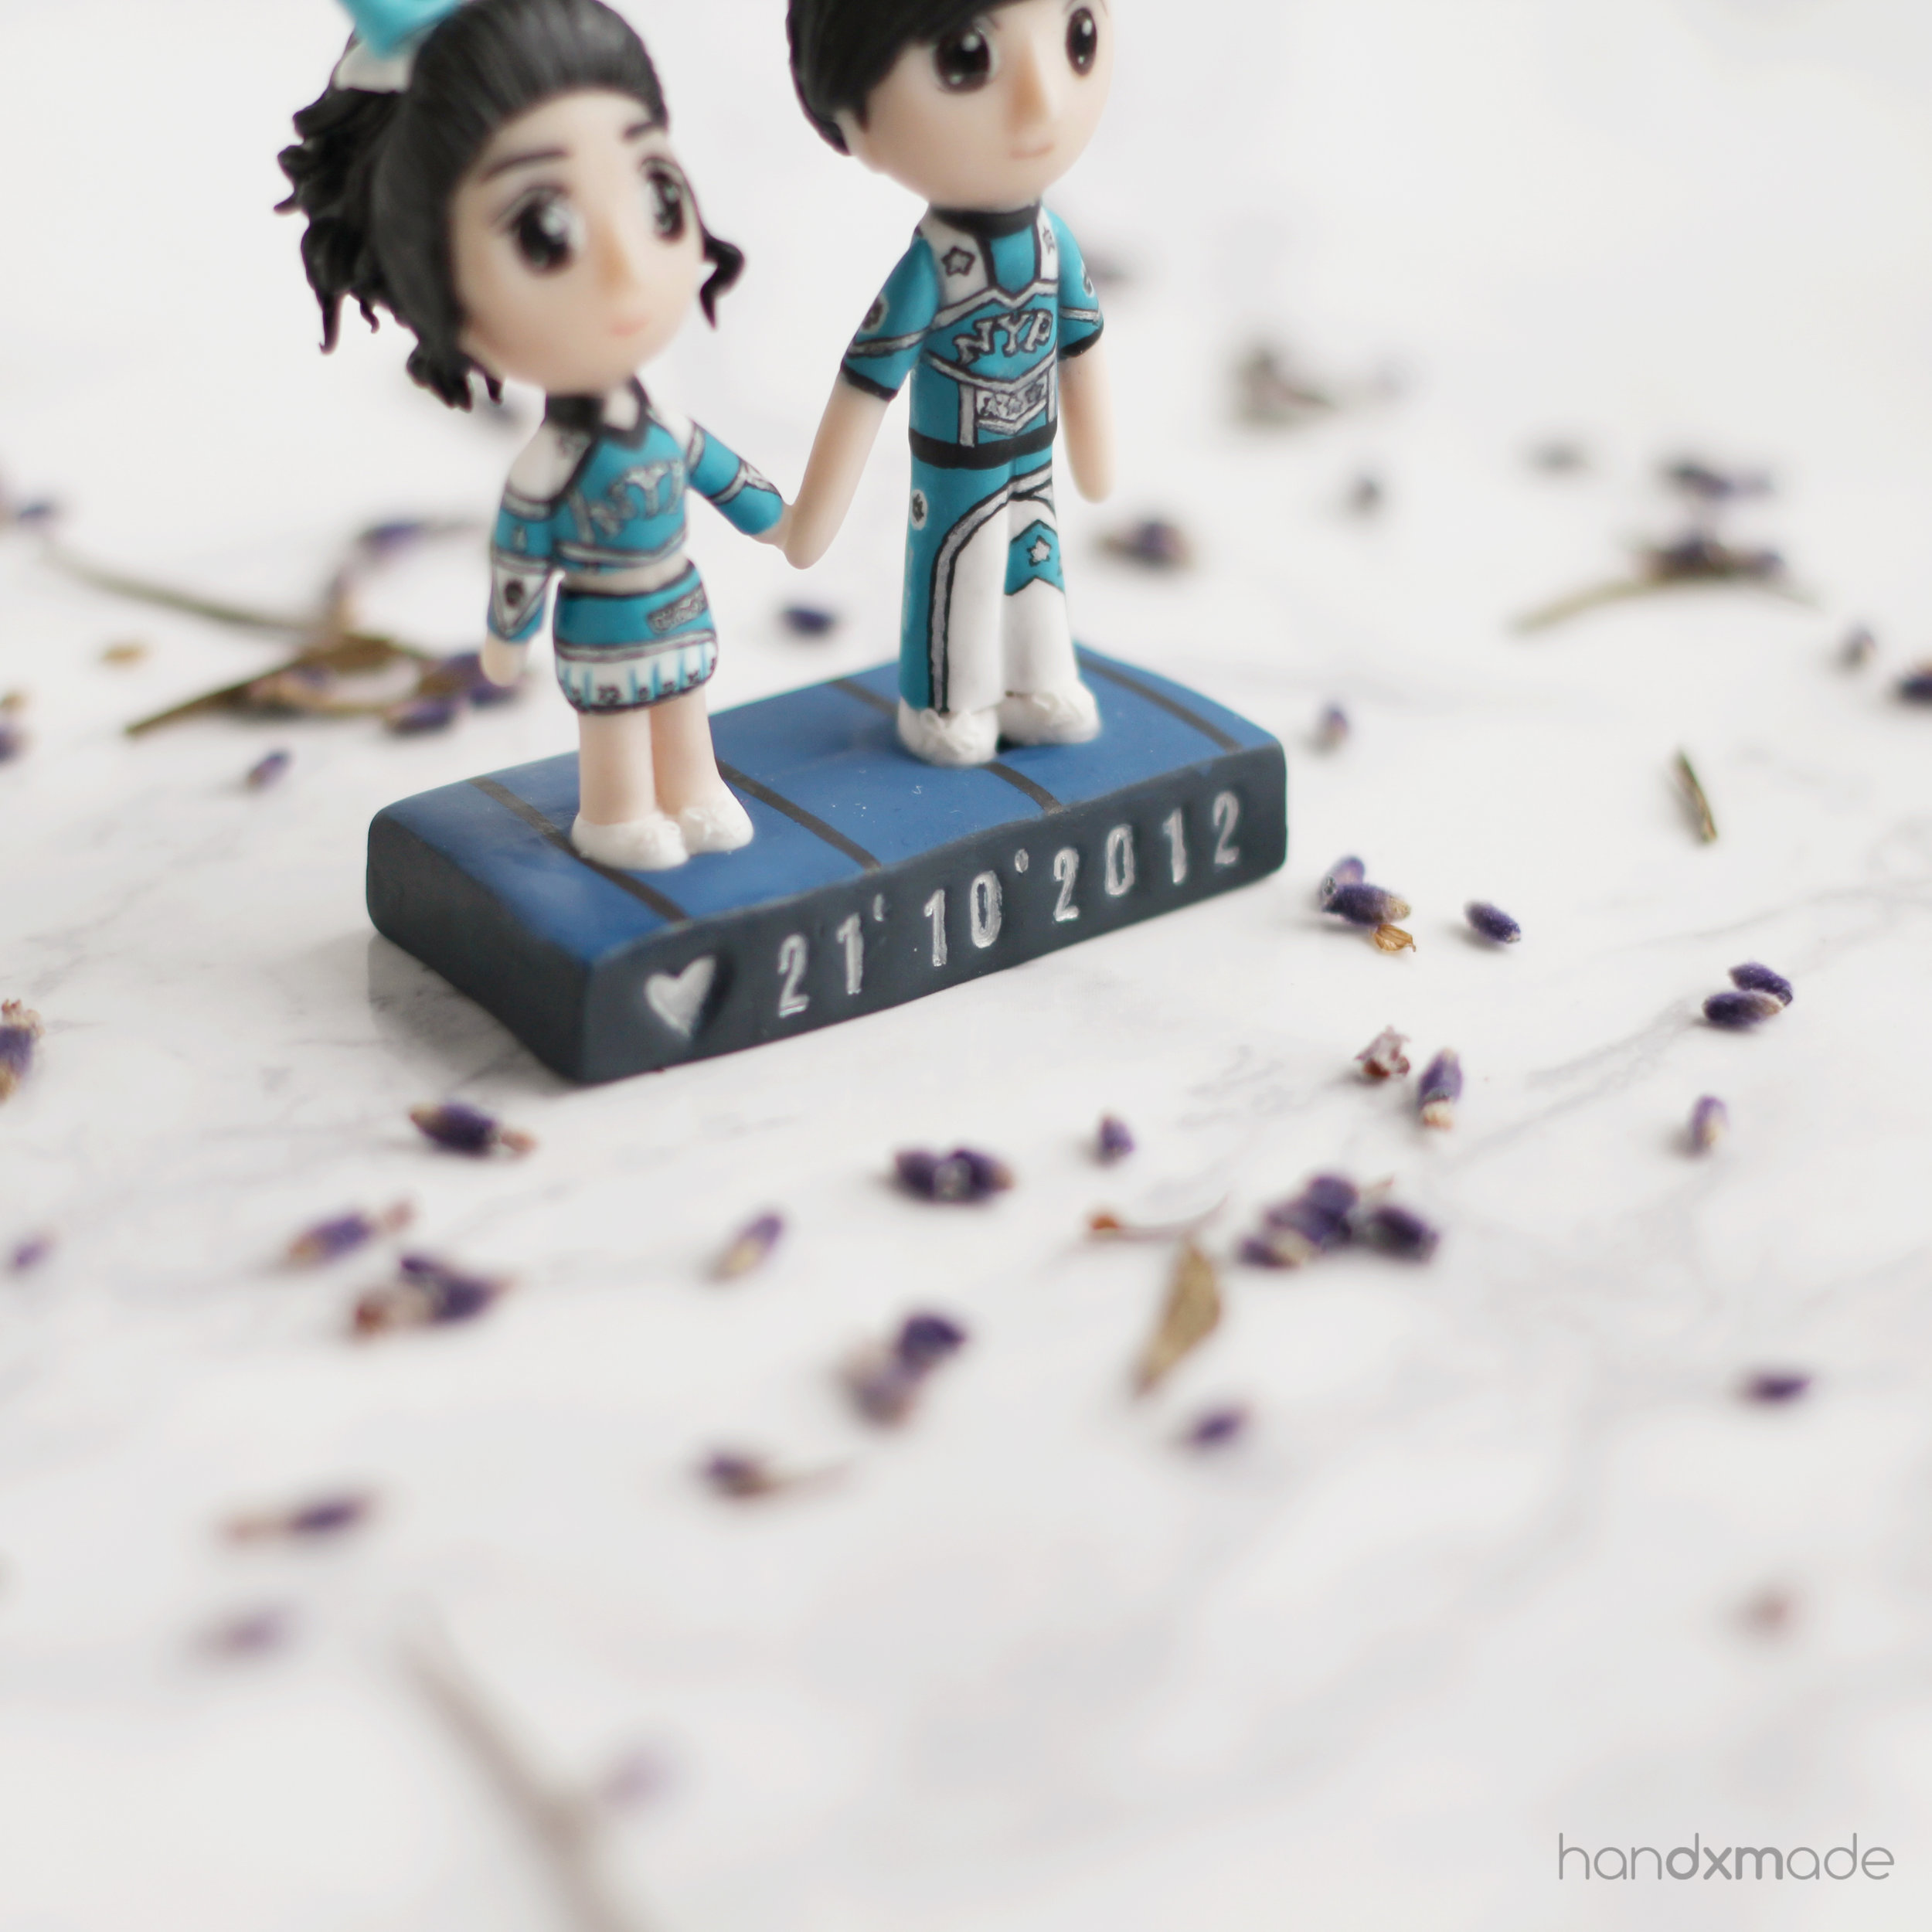
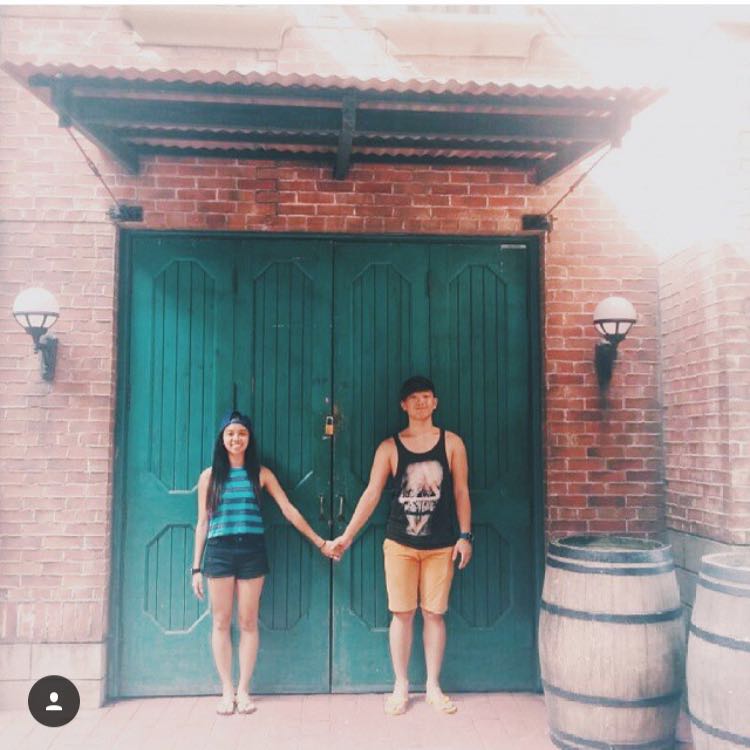
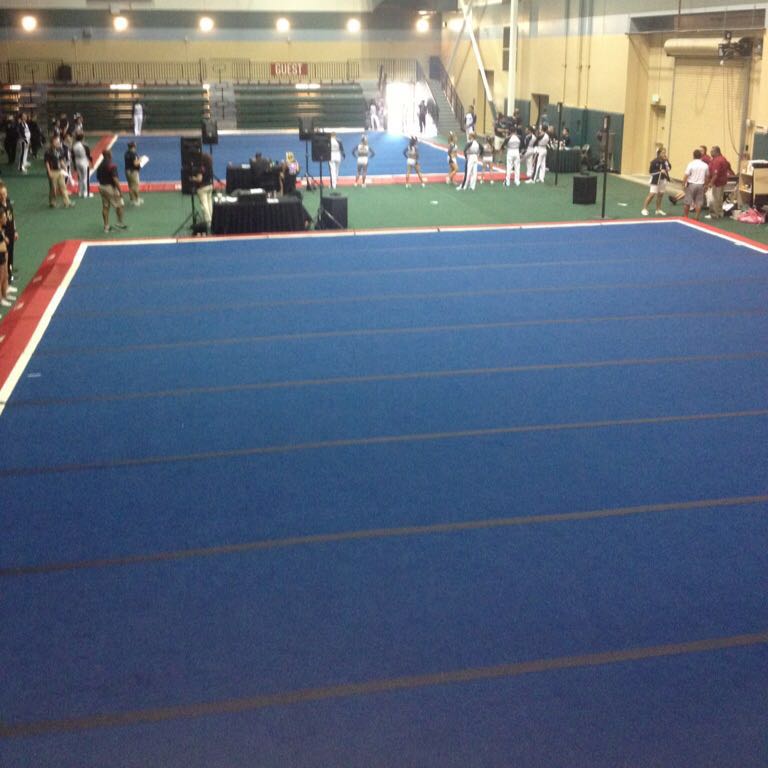
I thought it was really sweet to have a gymnastic mat as a base too! As I think it was probably the most important thing in their CCA :')
It's so sweet to found your partner through the same passion!
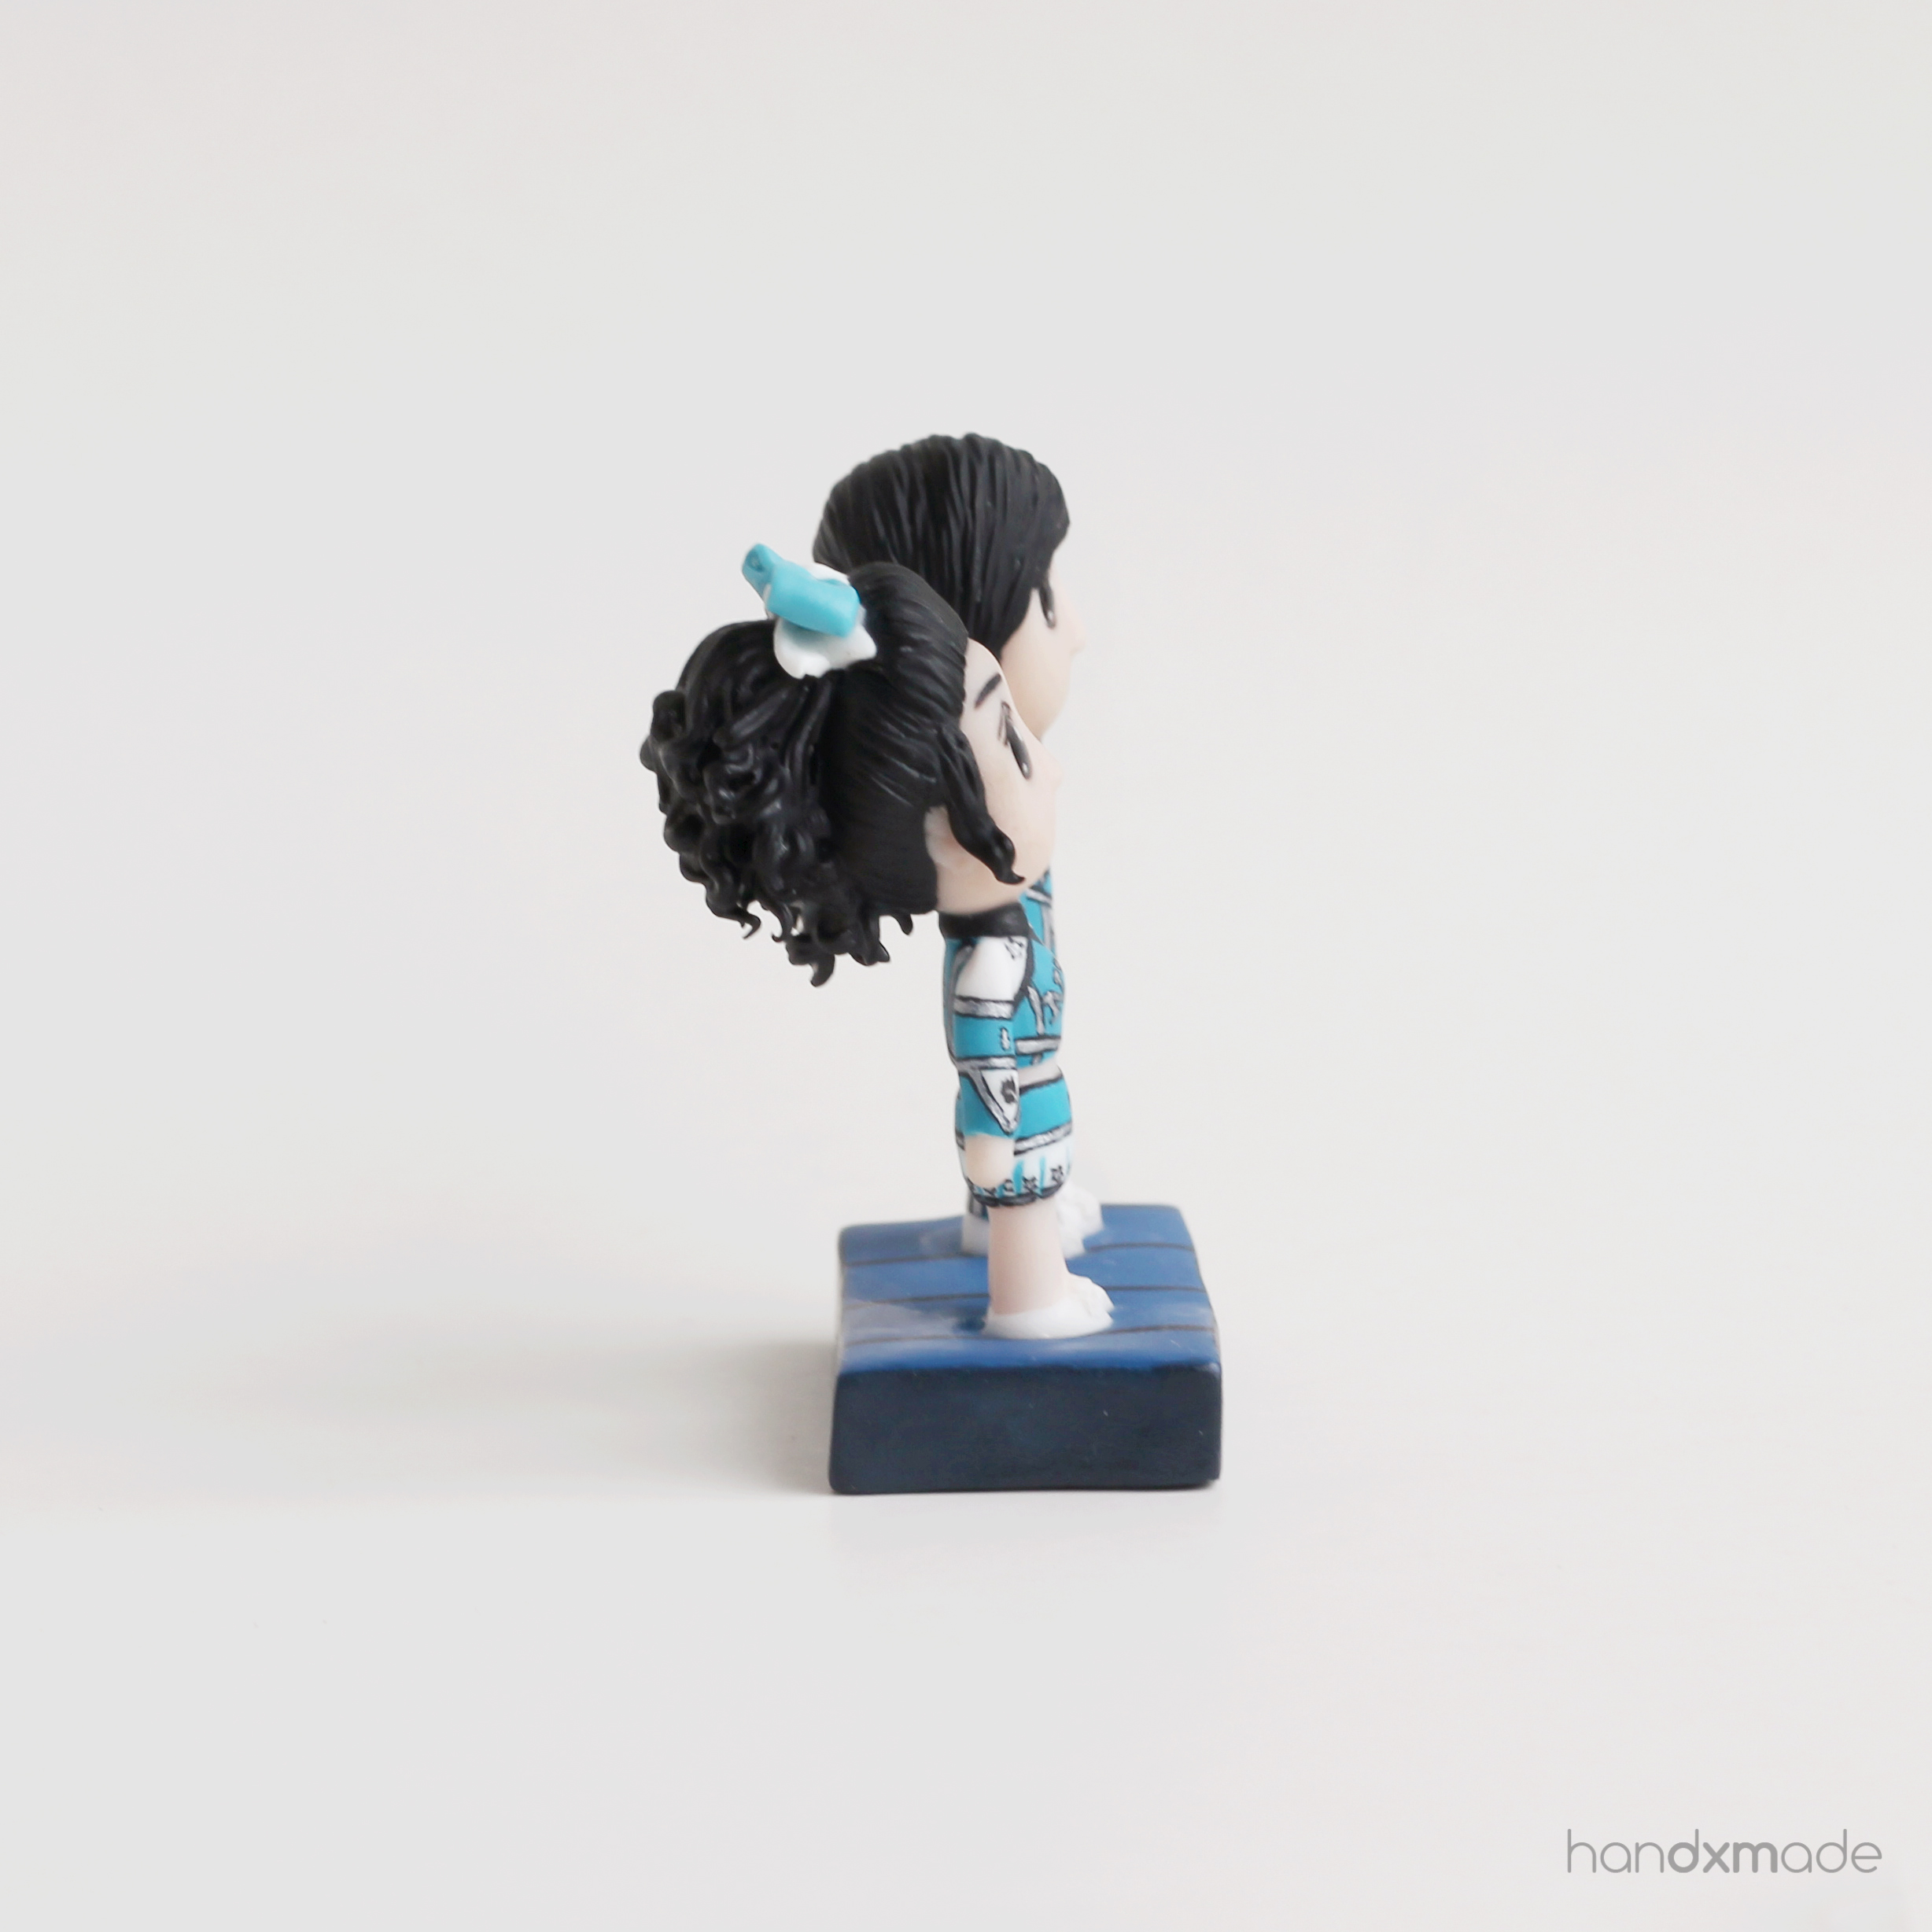
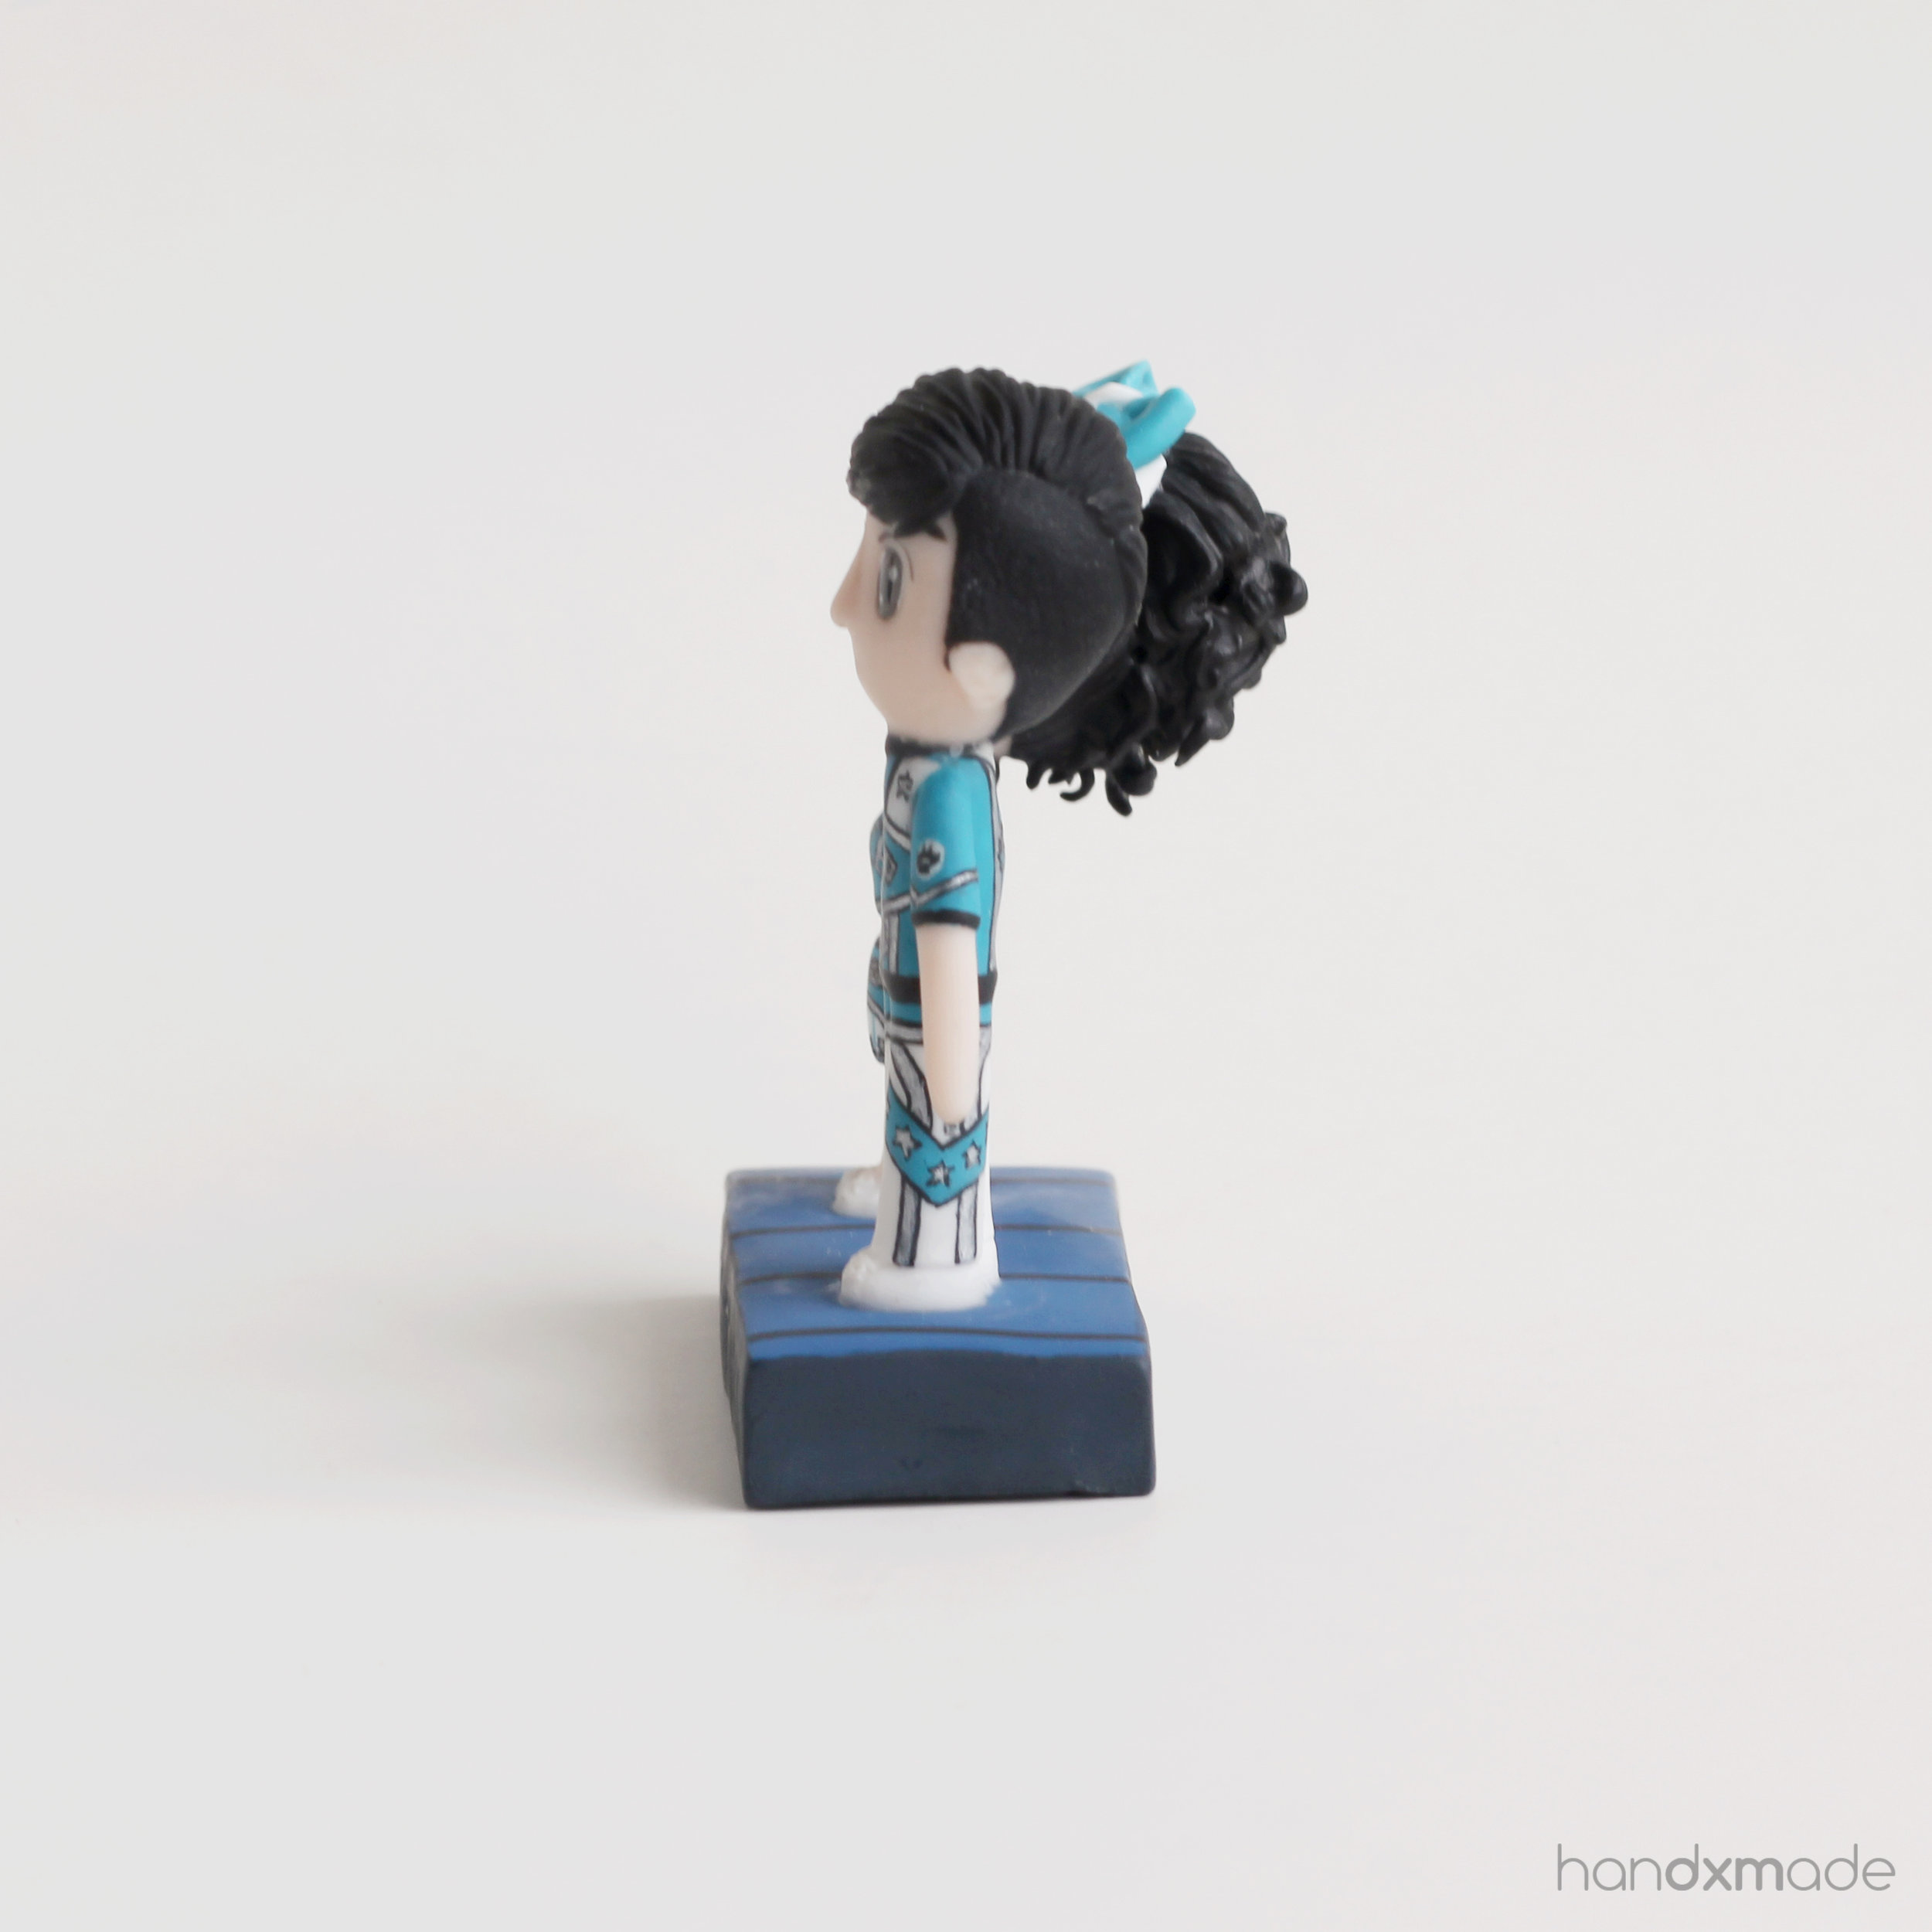
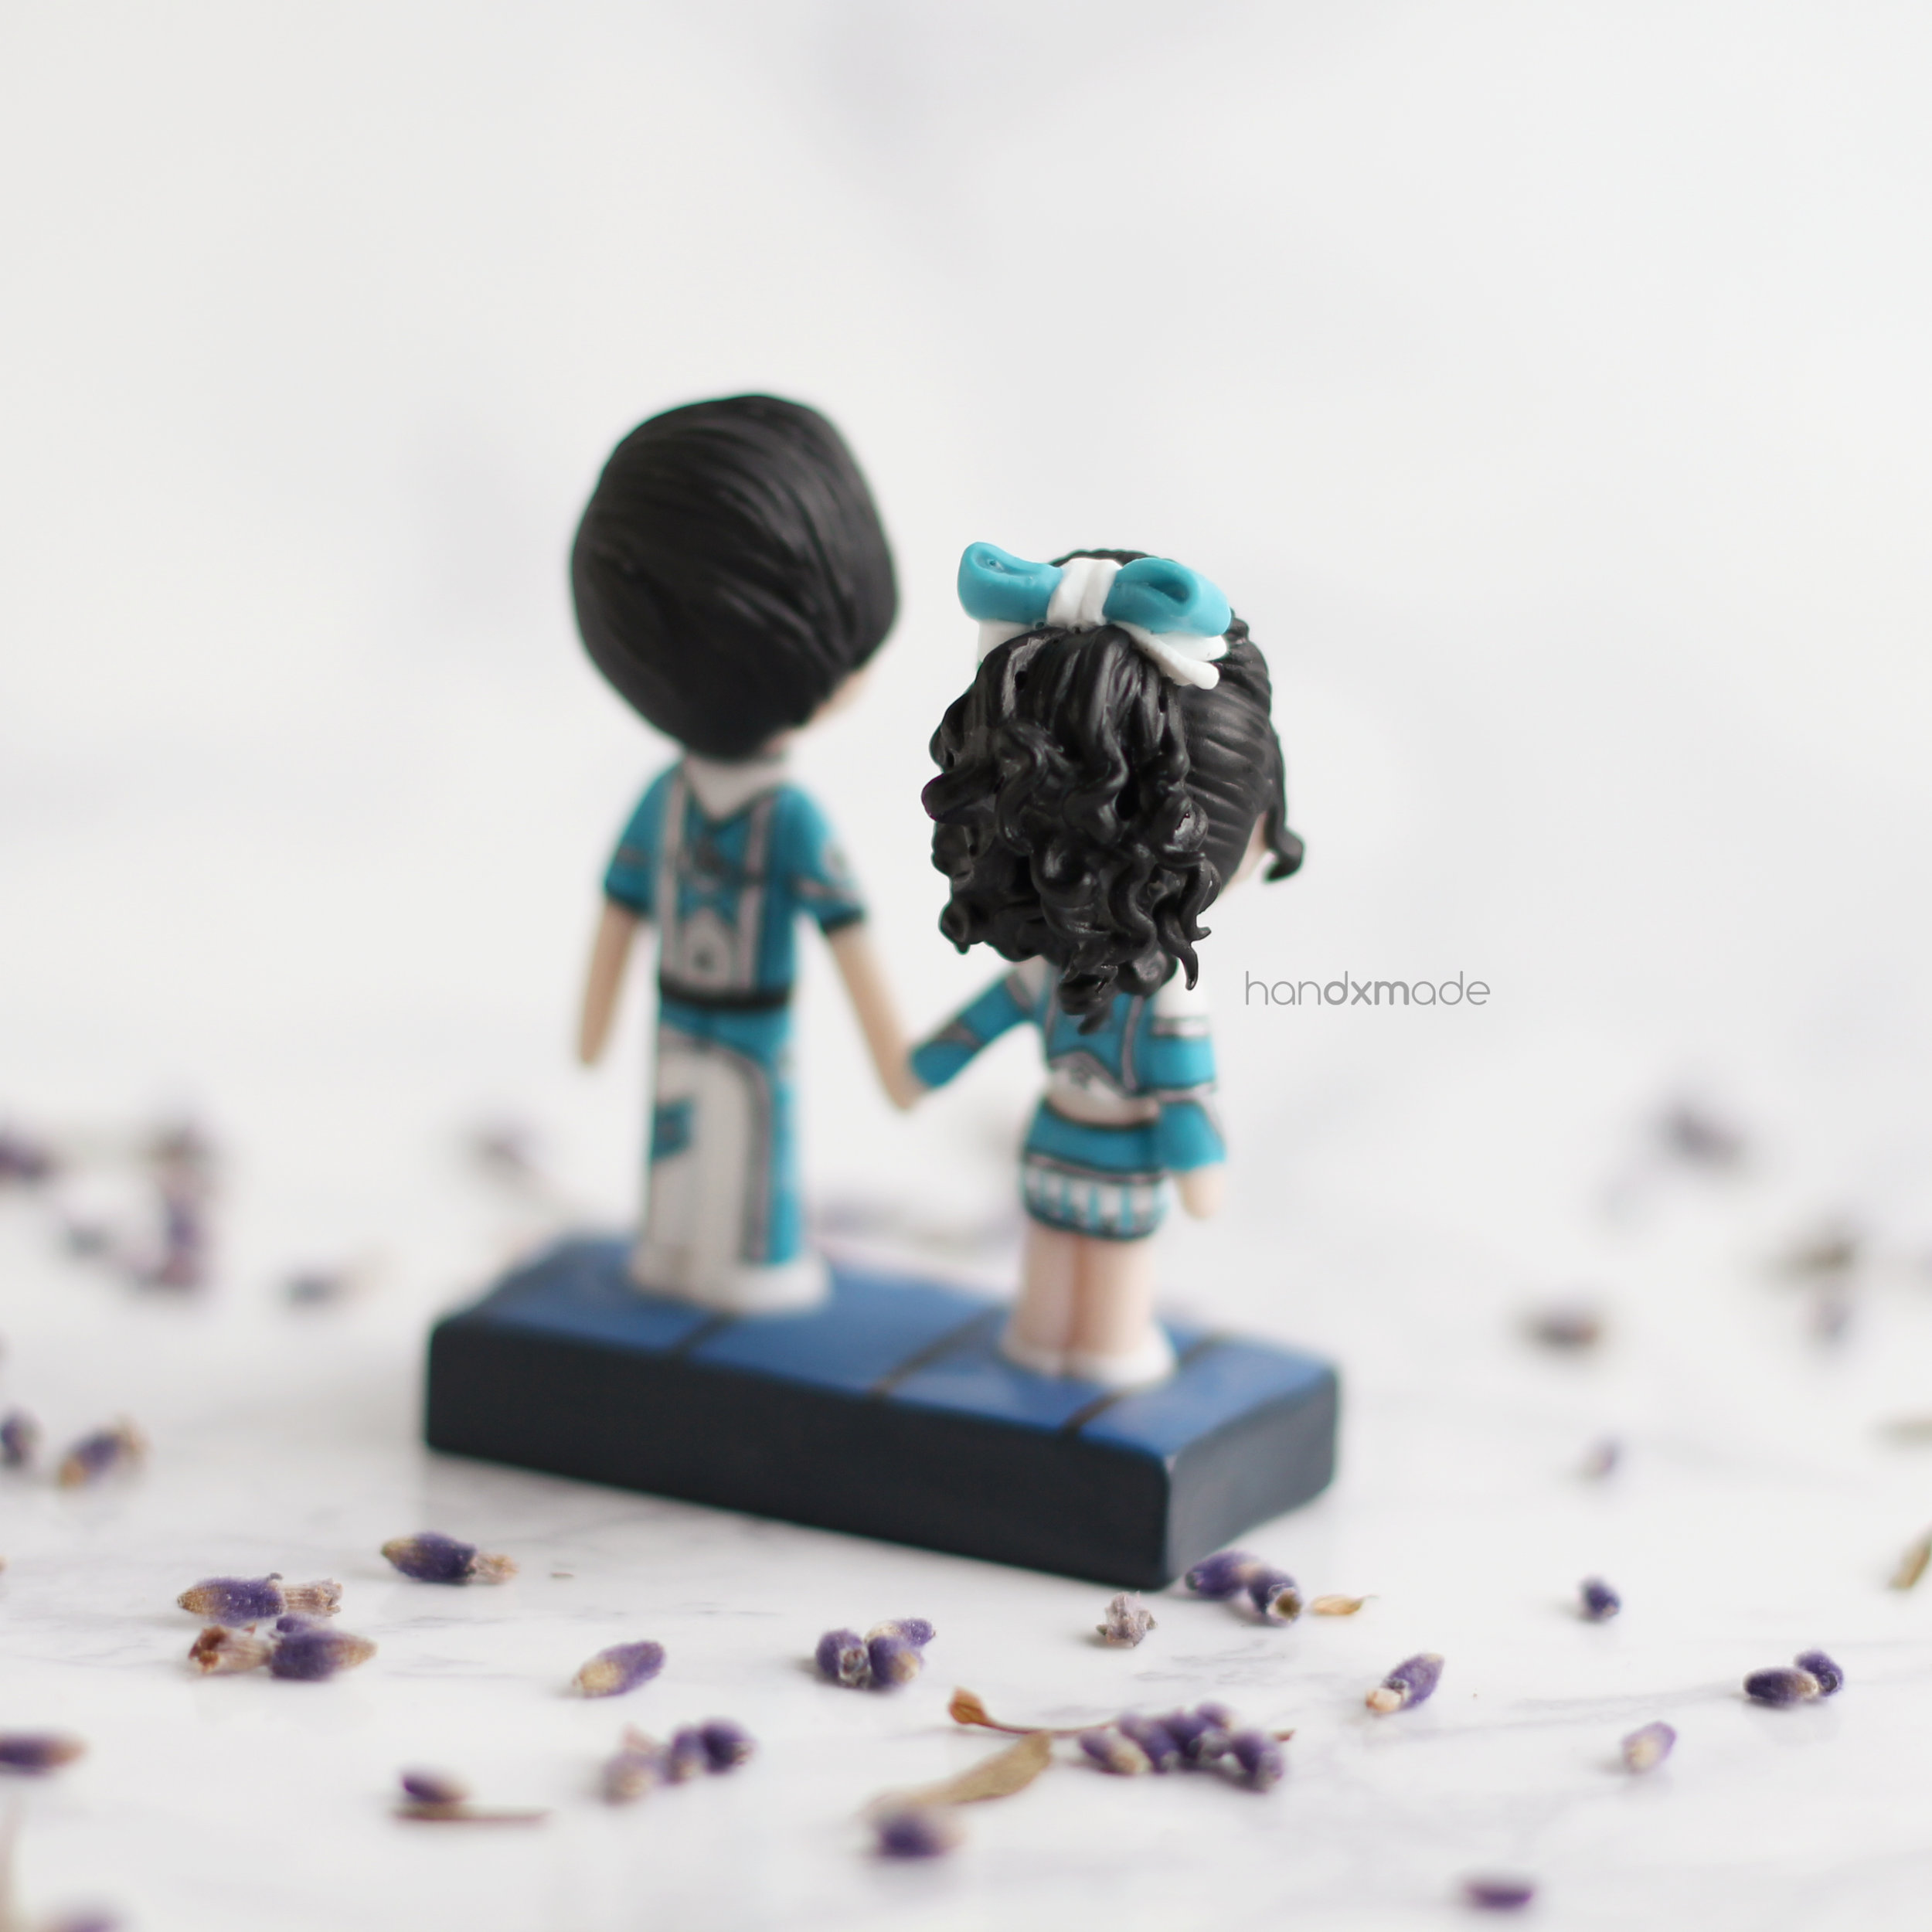
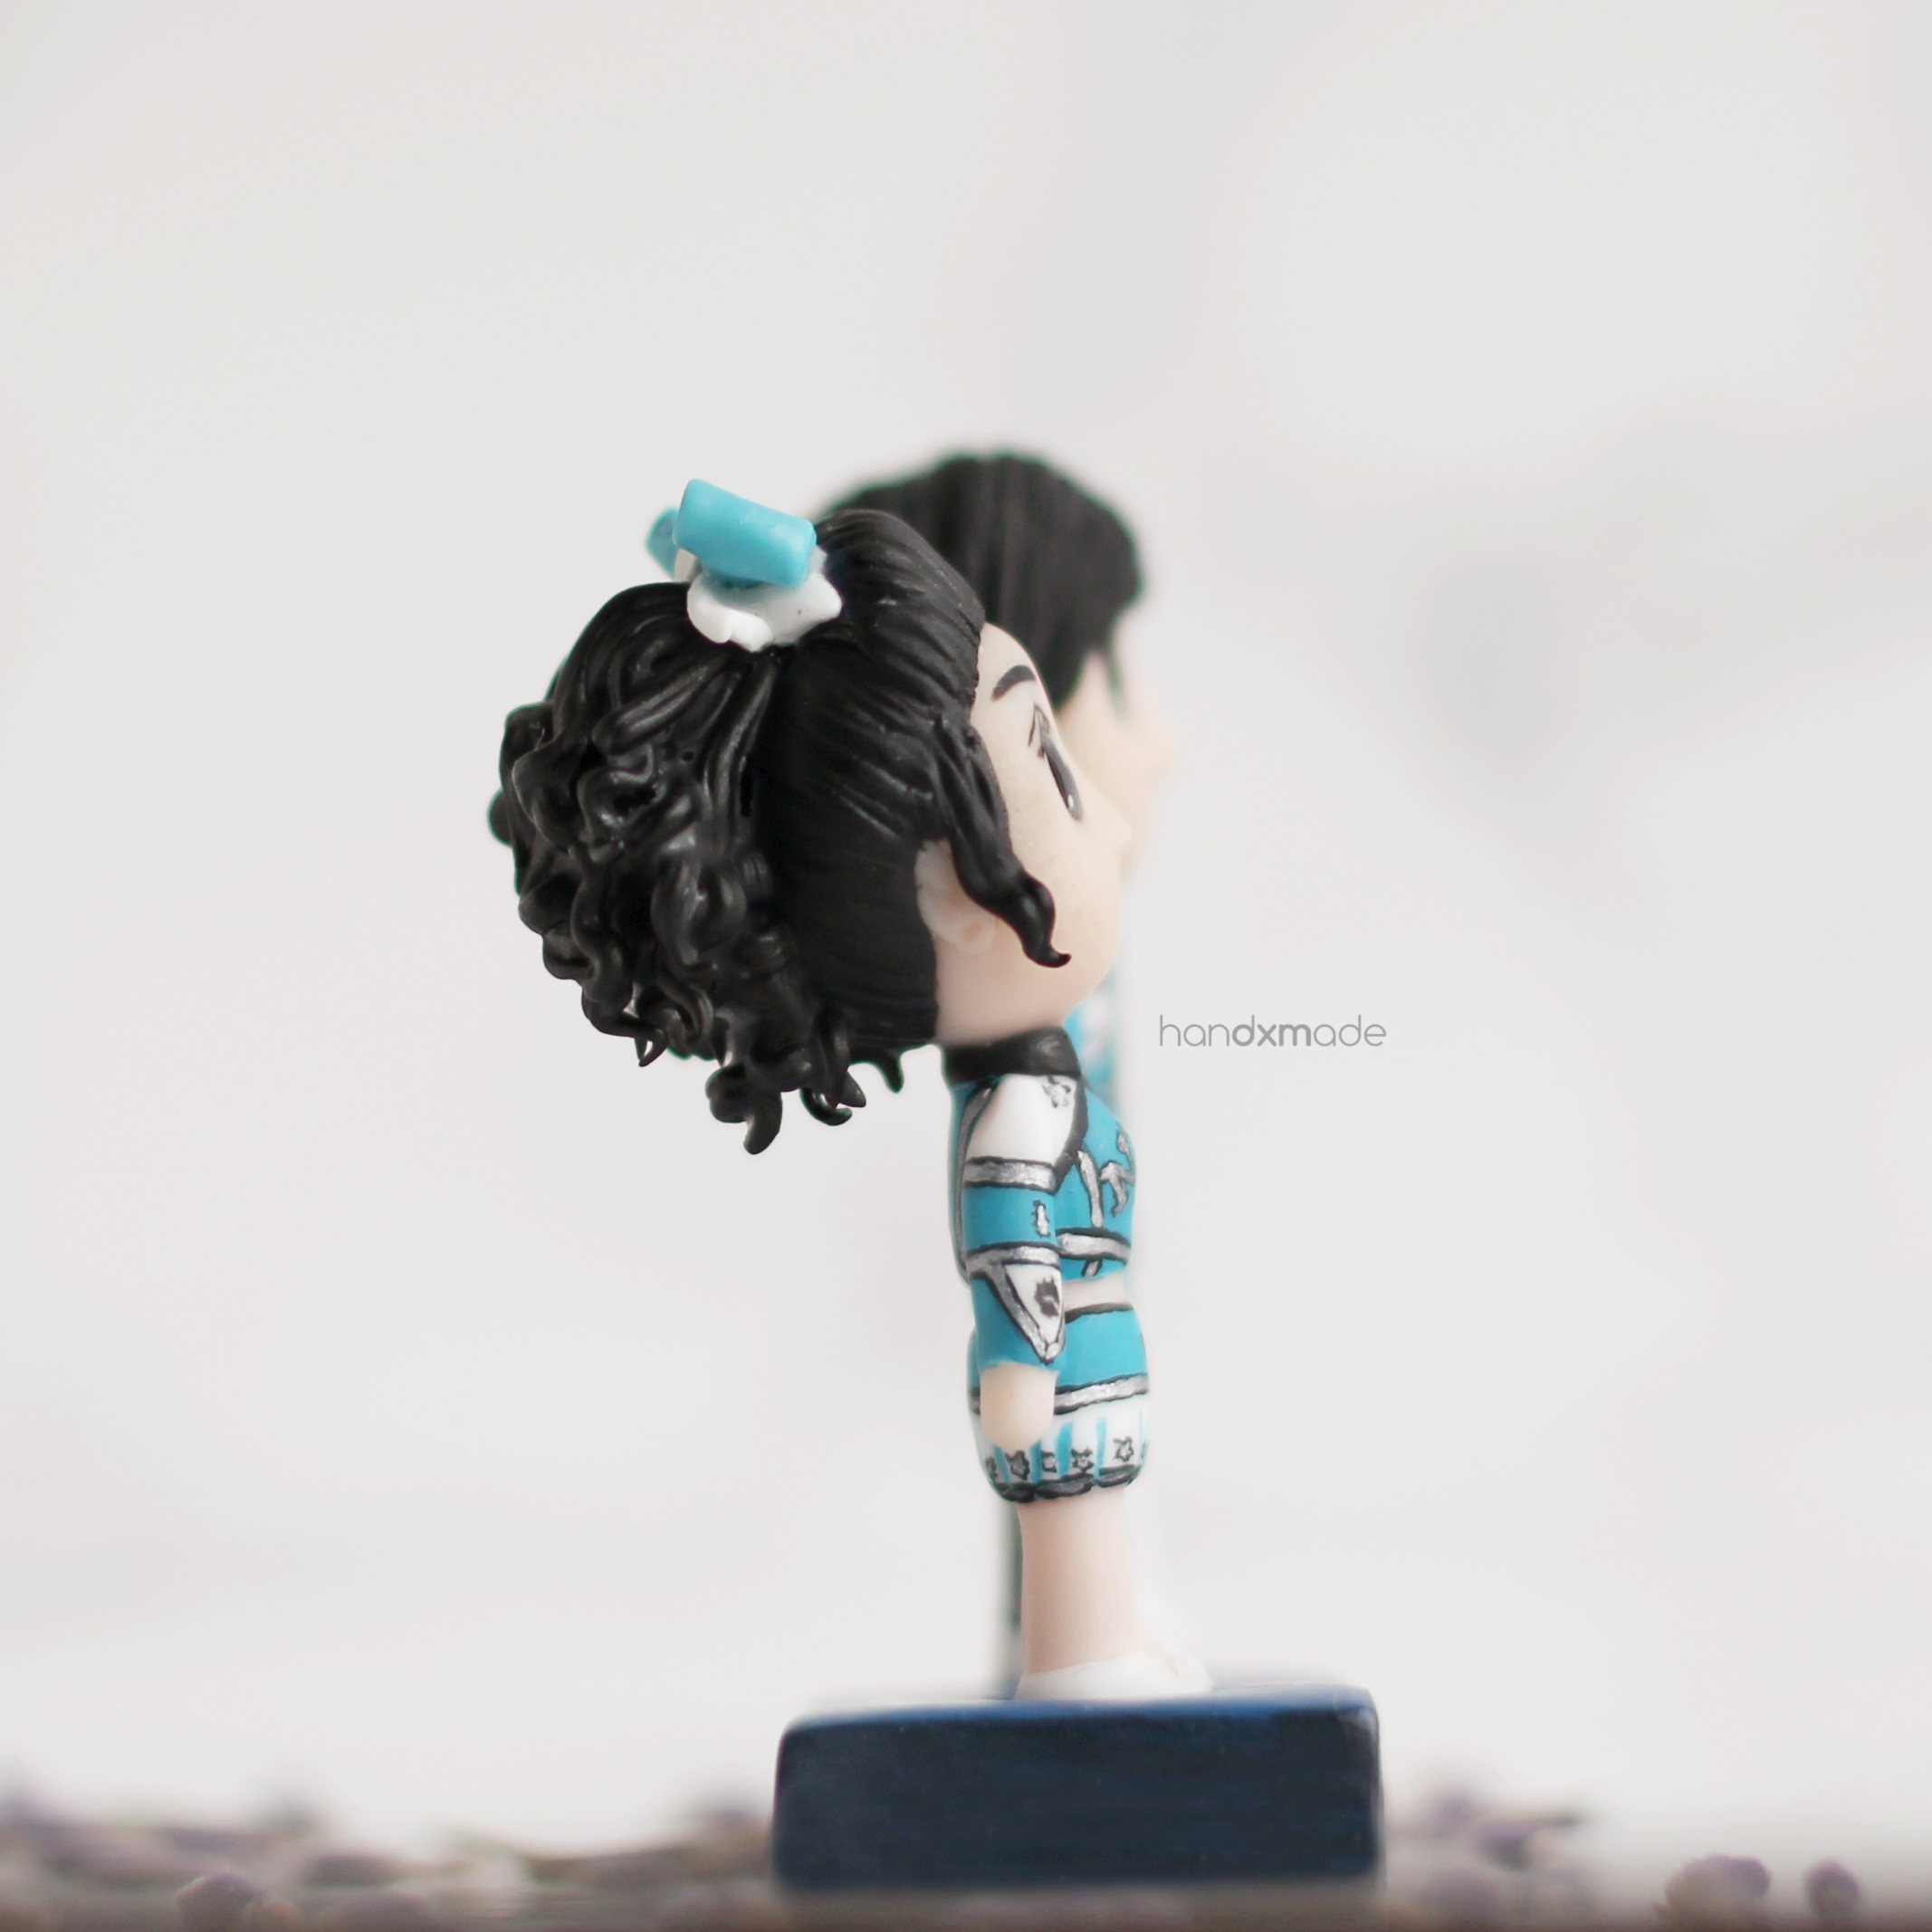
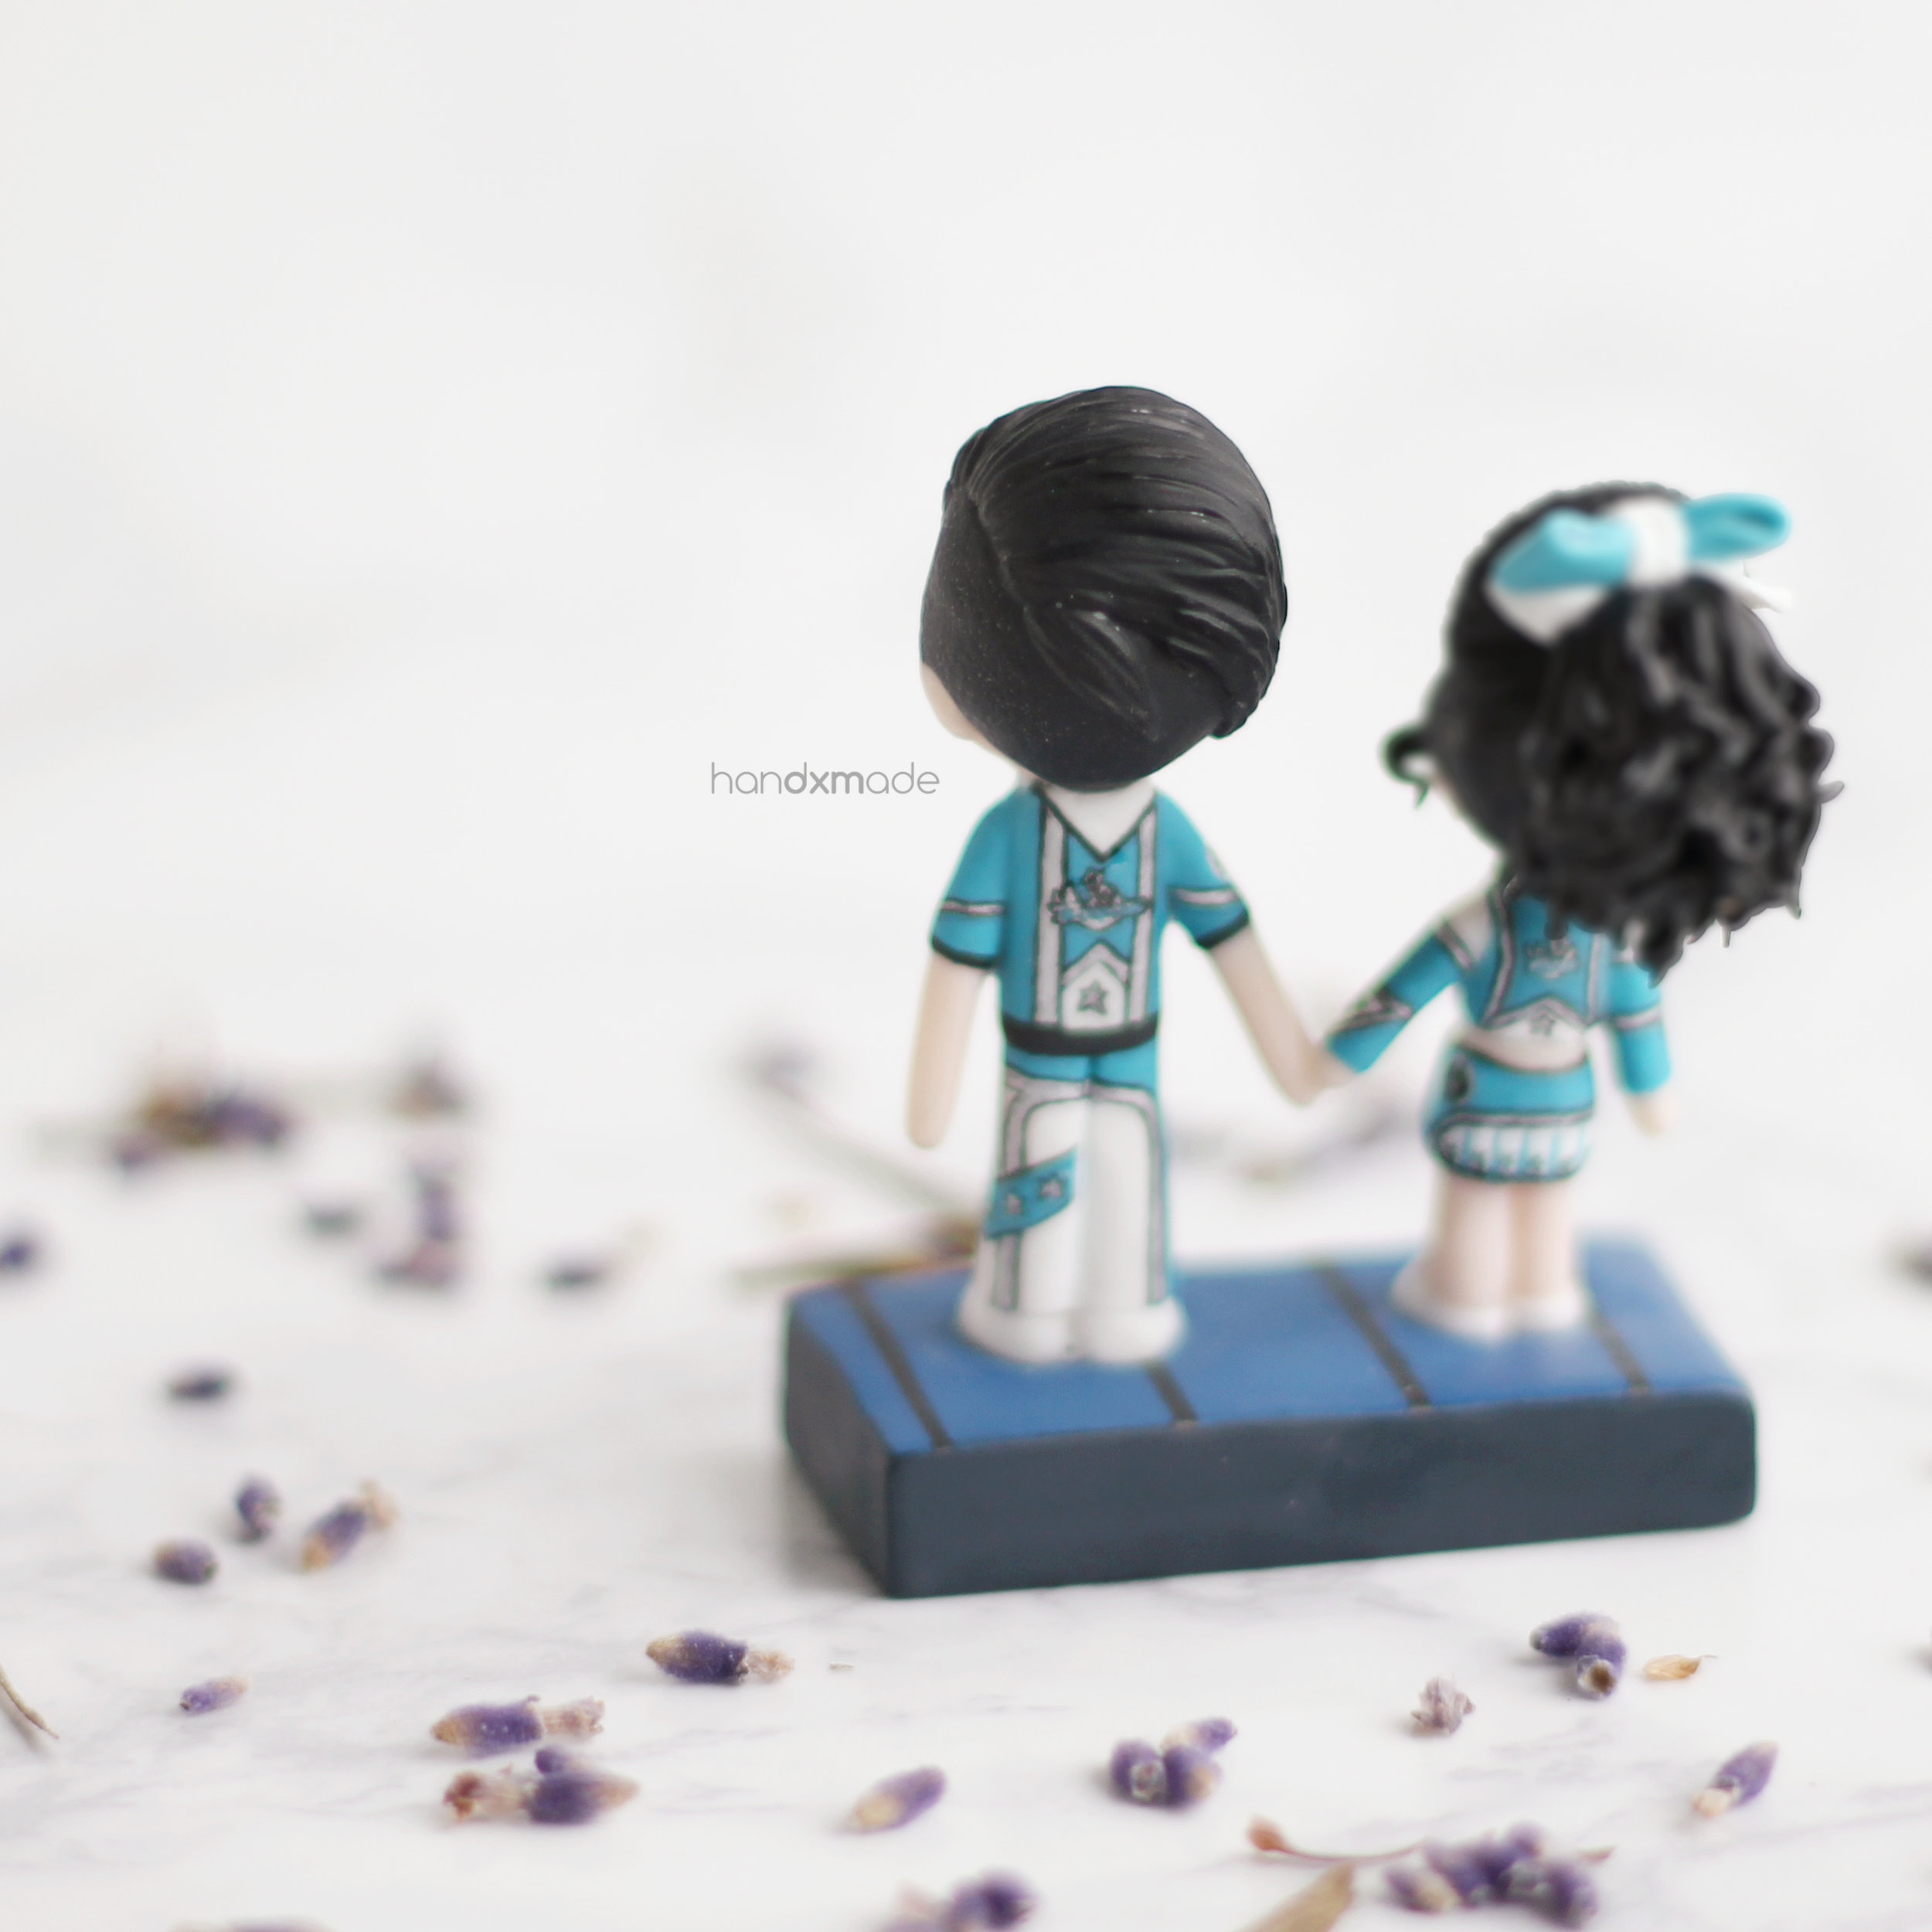
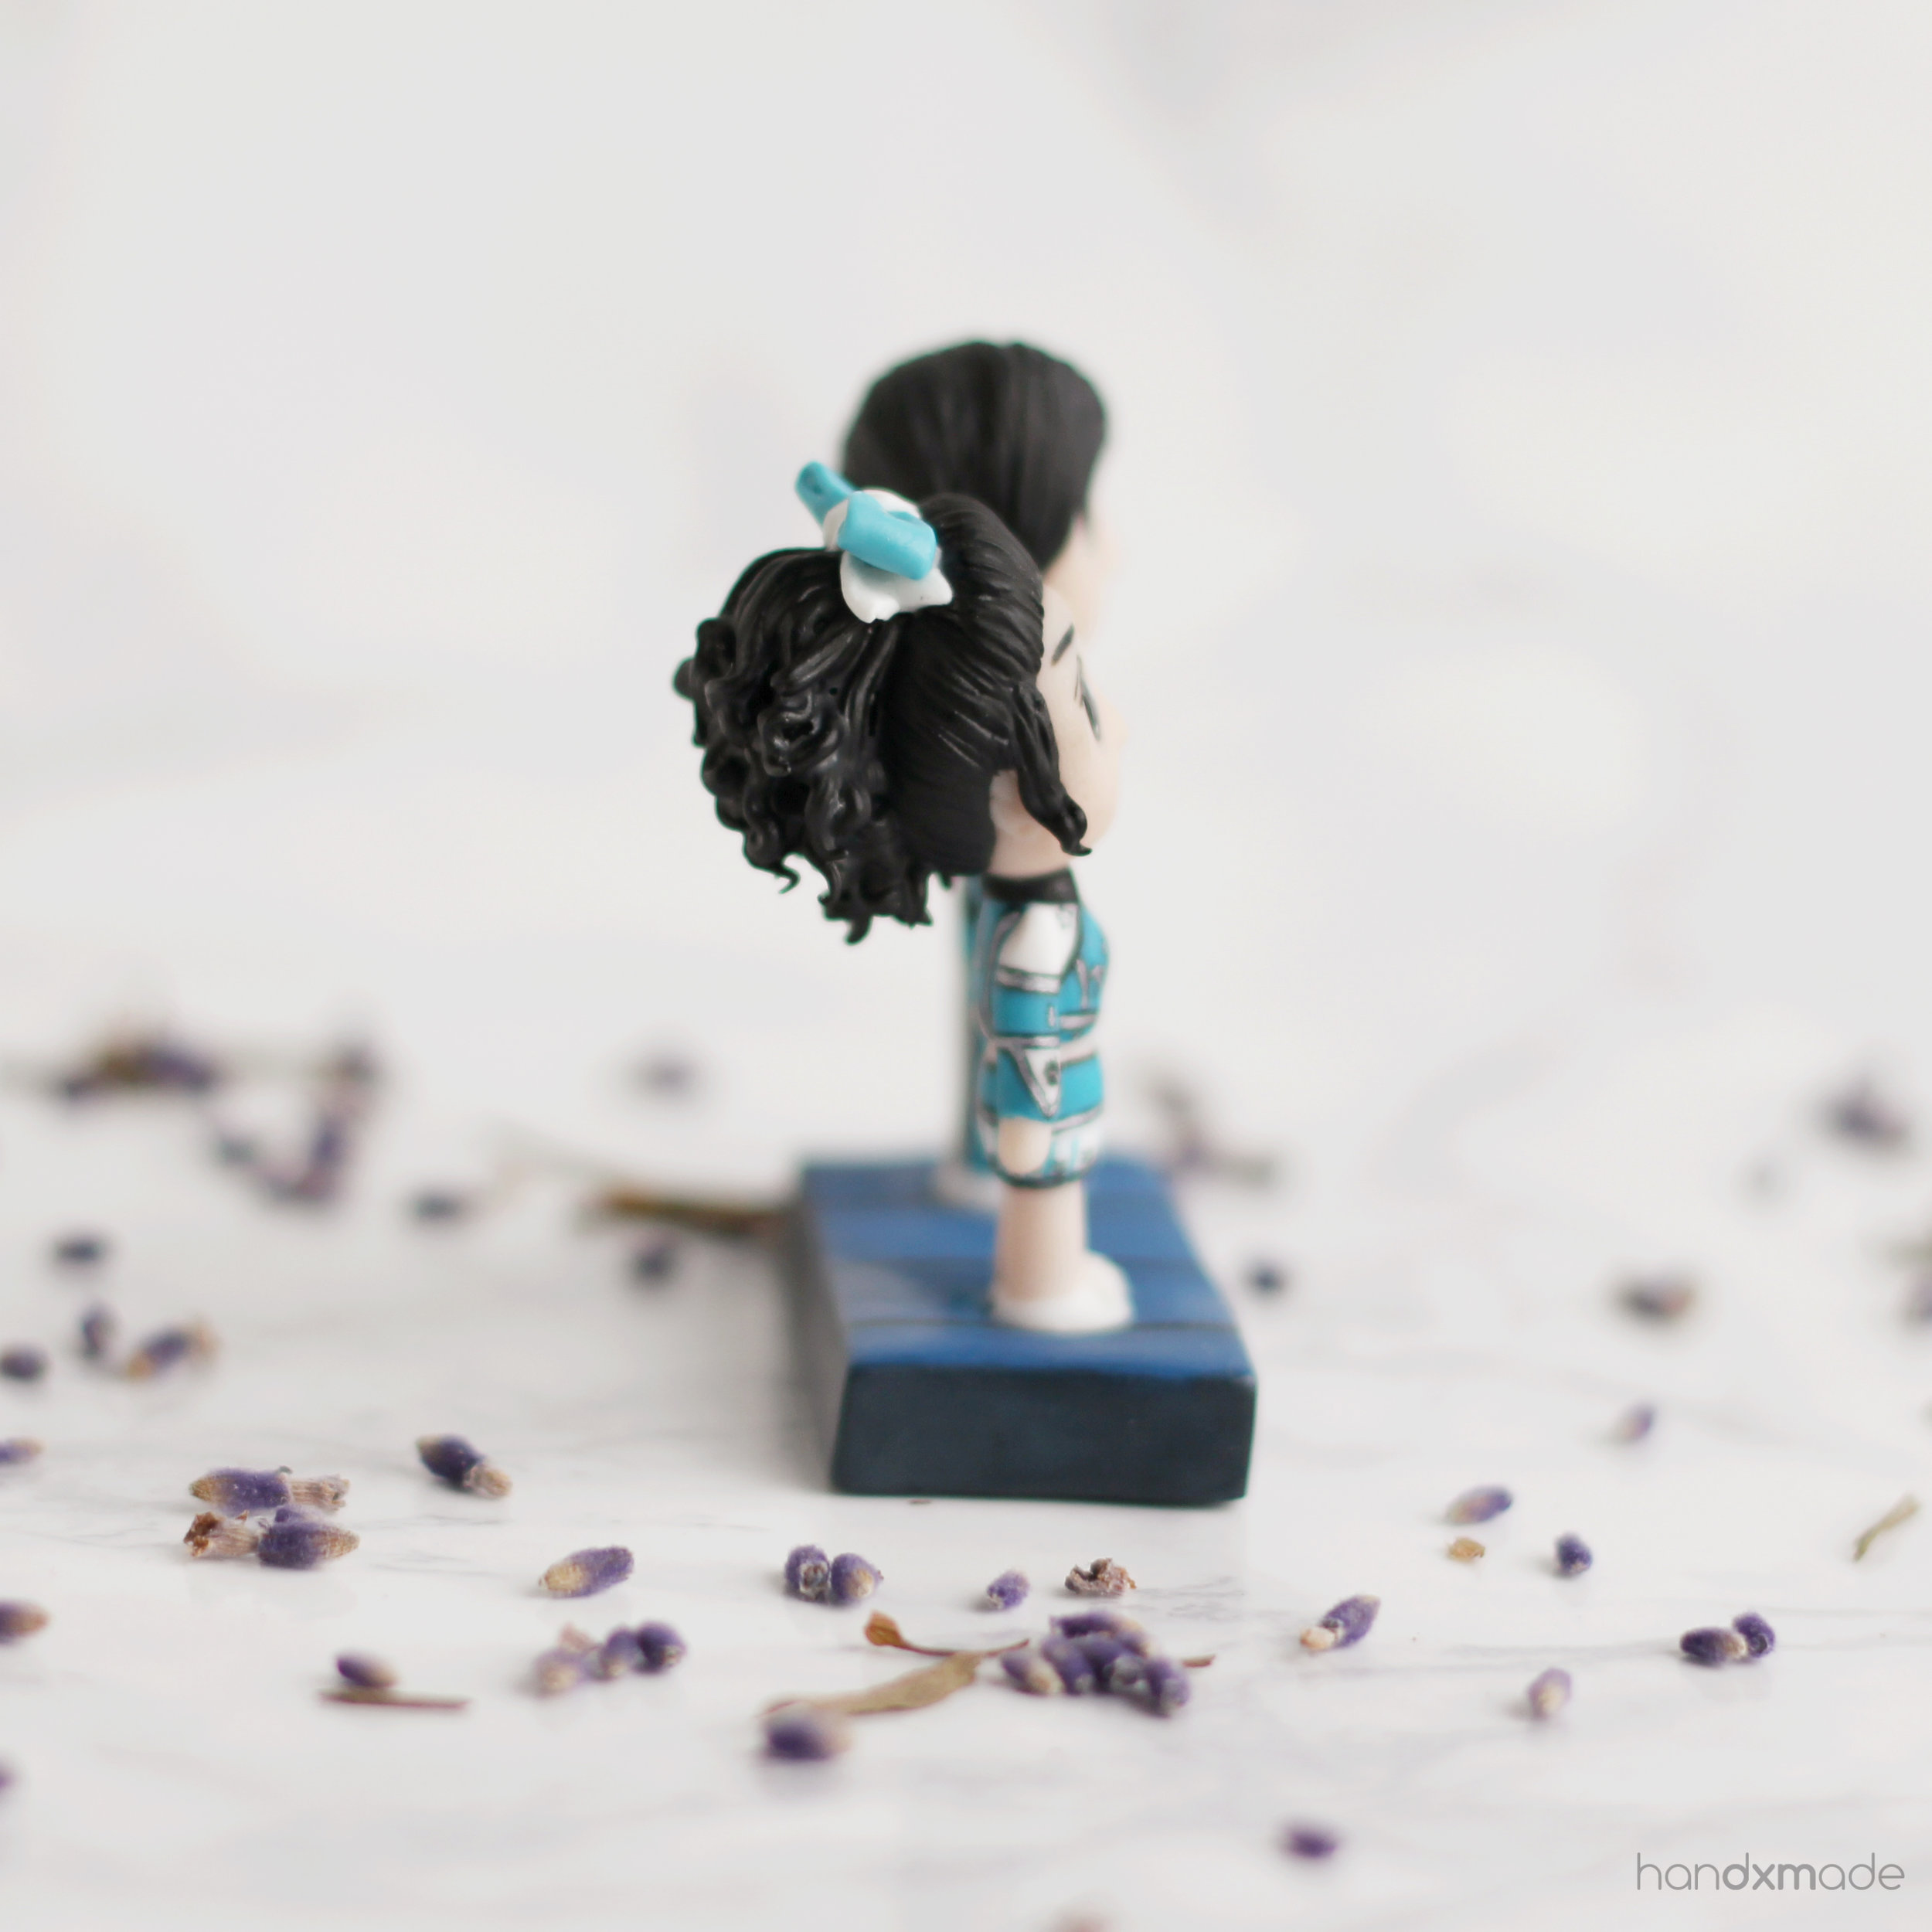
The hair for the female was quite a feat too! She has apparently permed her hair for a performance, and I thought it was one of those things that would latch a memory on the figurine! Definitely made the whole figurine look great hehe.
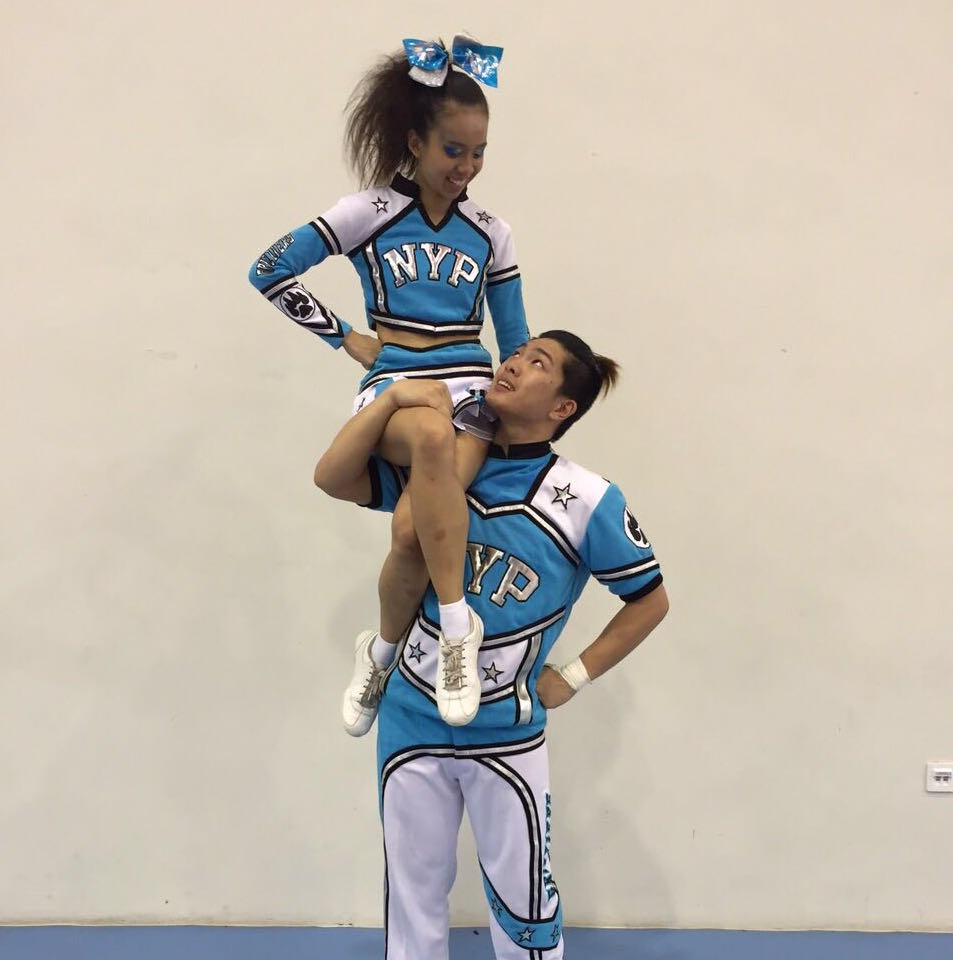

There were SO MANY reference photos that it was really hard to keep track! But I rather have more reference photos than less, especially for figurines with so many details that I need to take note of!
I even painted the clothes wrongly once (talk about the amount of times I had to redo this...) because I got confused :'(
That was why after this, I made it a point to make a Dropbox paper document with all the information and reference photos inside, with notes, so that I can let my customer check if all information is correct, and it will also help me keep track of all reference photos!
Another hurdle to help me get a better grip for my business.


After I was done with everything, I had to realigned the guy because he was slanted!!!! OMG.
Sometimes it slides out while baking, and now I know that I need to make sure it stays, and actually found a way to do it, thank goodness. I was horrified when I saw it, and it was really pushing my buttons!! Glad I didn't break anything when I took the male out! Was really scared hahahaha.

One last thing that really made me LOVE this figurine - the ribbon! Don't think that just because it's a small ribbon, it must have been easy. I thought so too. But I spent quite long trying to get it work. There's just so many ways to do it, that sometimes you gotta find the right way for yourself! Even had to make sure it was proportionate etc *phew*. All the test and trial was worthwhile.
The one that made me tried the dipping method
I dragged this project for TOO LONG, because I couldn't get the matte finish right! Thank goodness her deadline was really far away.
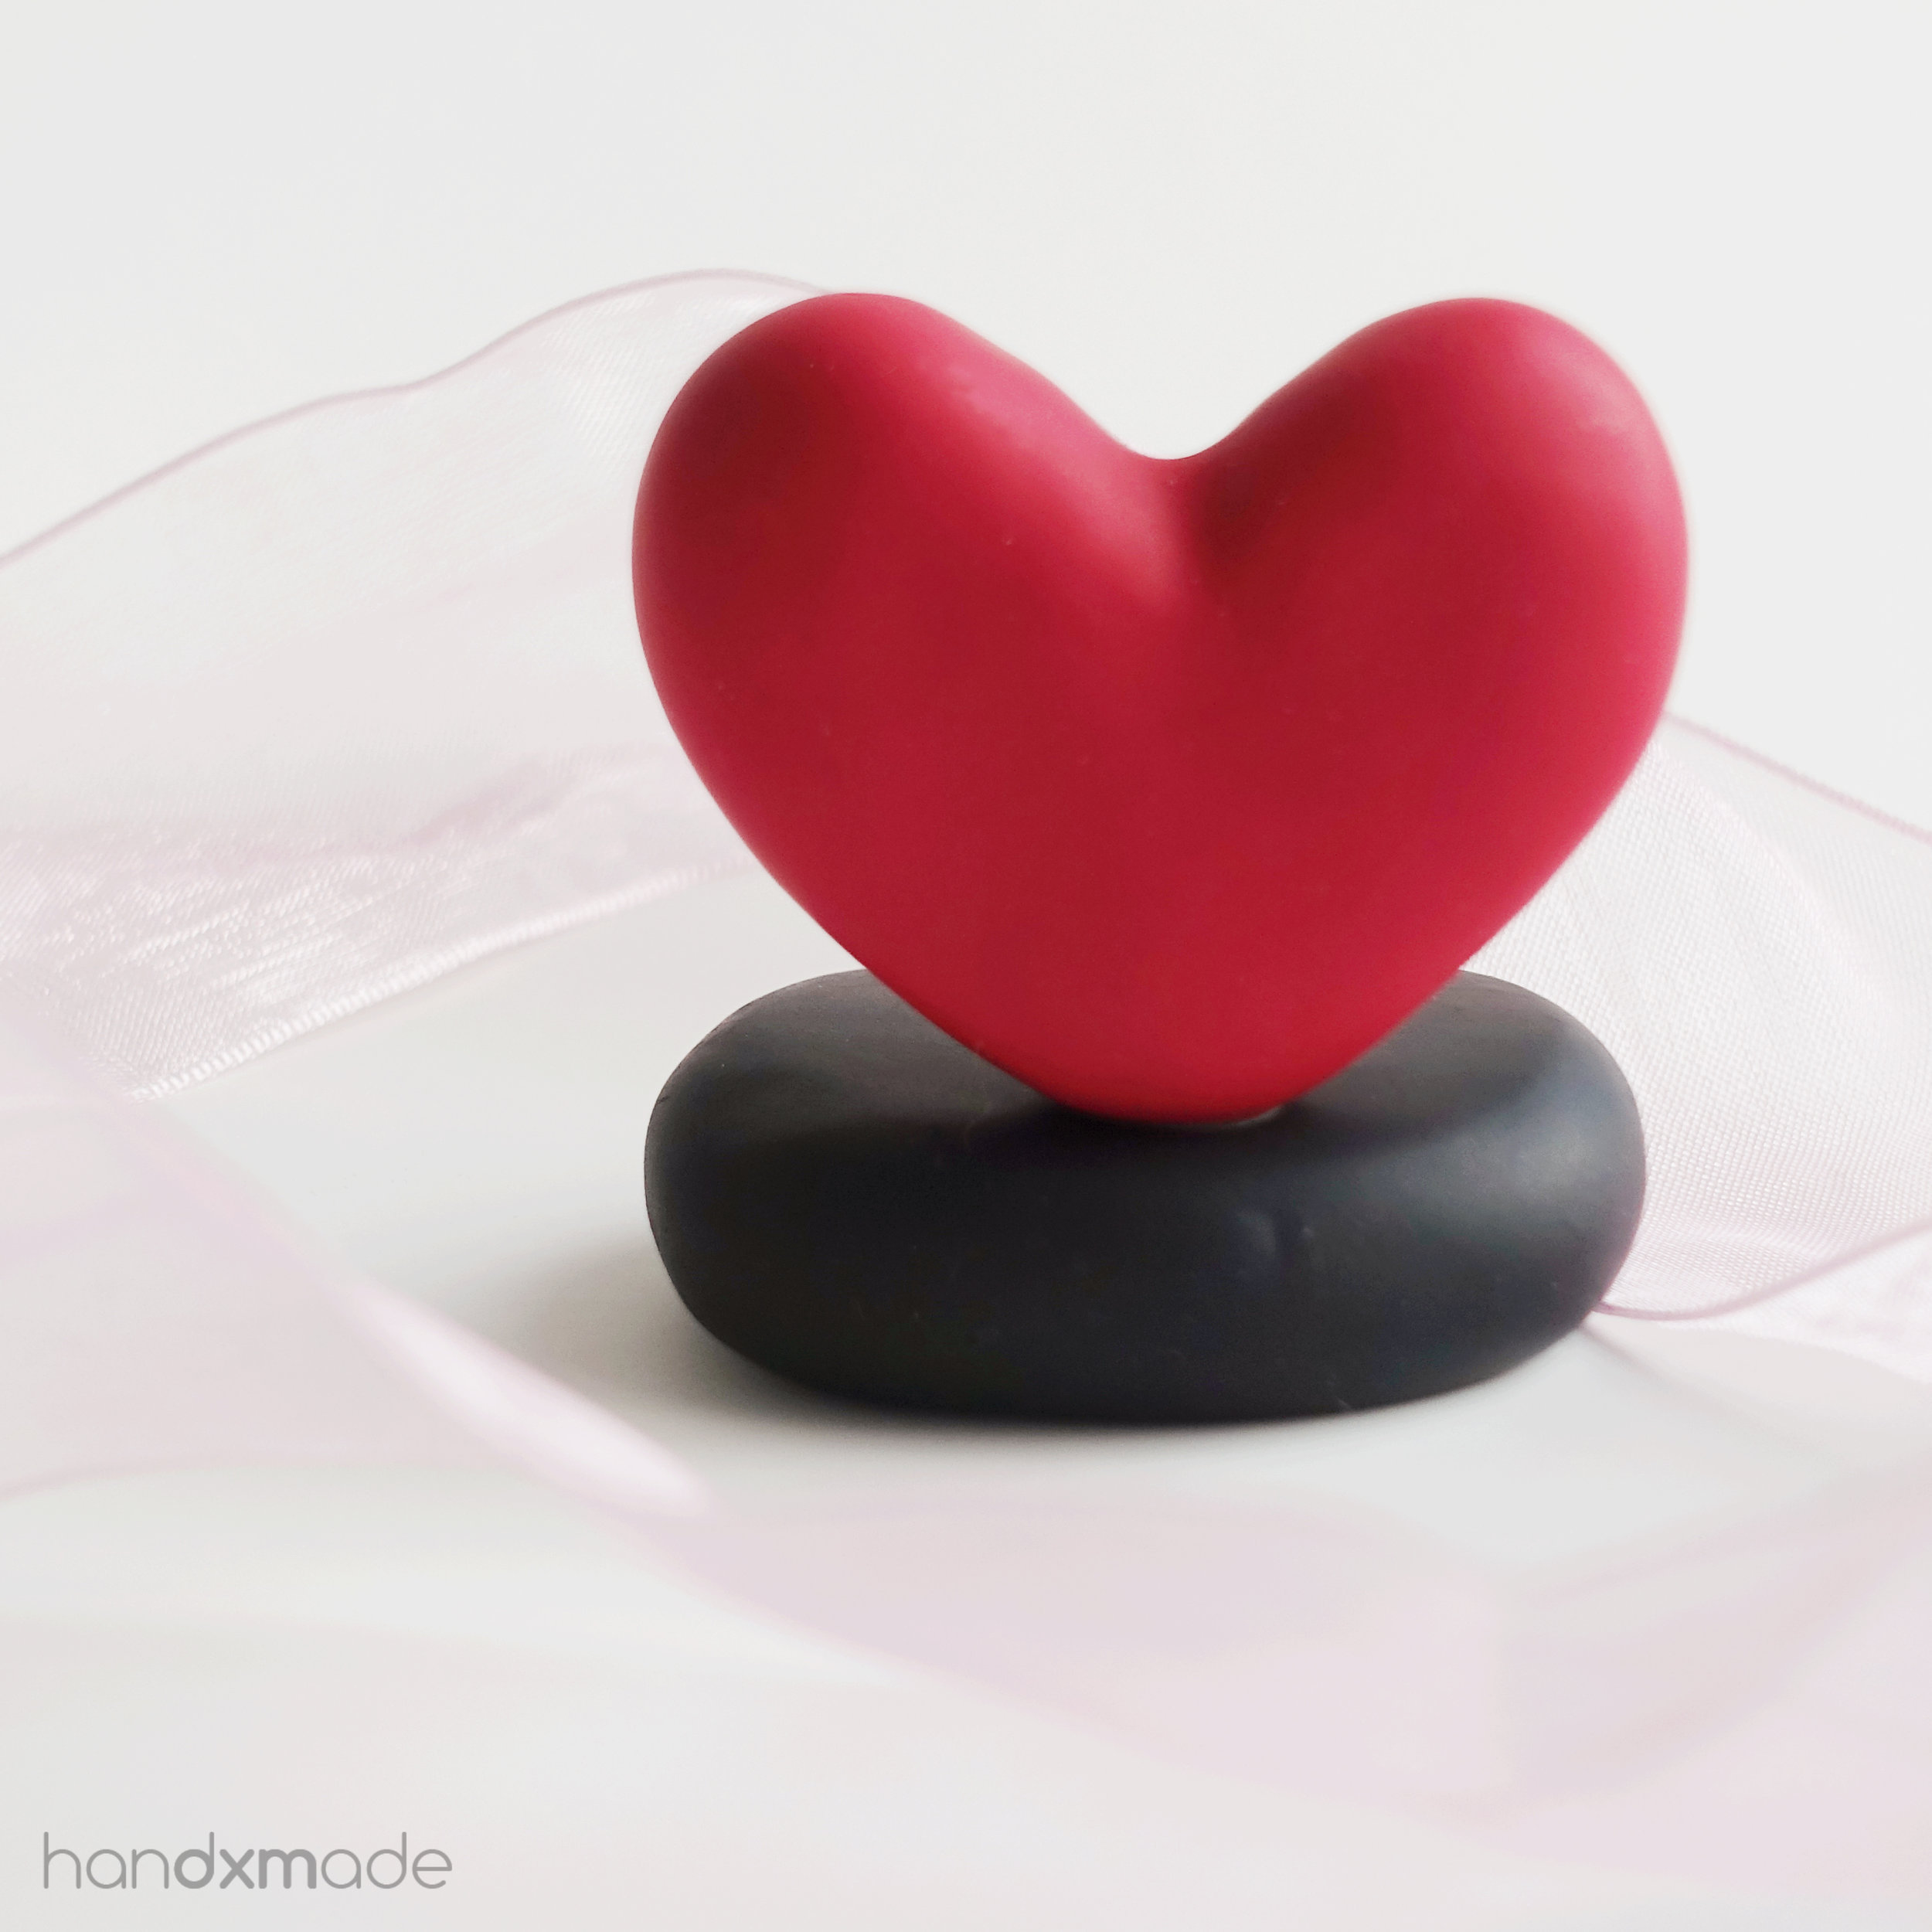
This was how the heartshape looked like when it was fresh out of the oven - the matte finish that I always try to achieve, while giving my figurine UV protection with my matte glaze.
The glaze I was getting (Golden polymer varnish) was only available online, and I was waiting for MONTHS for the glaze to reach me!! T.T It was really frustrating.
In the end...........there was actually a reseller in SG who takes in the Golden brand paints and more, AND THEY HAVE THE VARNISH I WANTED. IN STOCK! I dropped everything (literally) and went all the way down to visit the shop I never knew existed until then!! And I really thought I went to most of the art stores in SG already! You can read my Dayre entry here where I talked about the shop, Straits and co.!
By then, I actually finished ALL my dayre orders, and was just waiting for the glaze! So when I got hold of them (I bought two huge bottle HAHAH), I IMMEDIATELY STARTED GLAZING!
I also had enough for the dipping method, thank goodness, because brushing the glaze on actually leaves streak marks, which was what stopped me from sending out the order. I'm really glad I waited, and that I could give my best for this project!
The matte glaze with dipping method does give the end product the finish that looks like it was fresh out of the oven doesn't it? :') I LOVE MATTE FINISH SO MUCH.
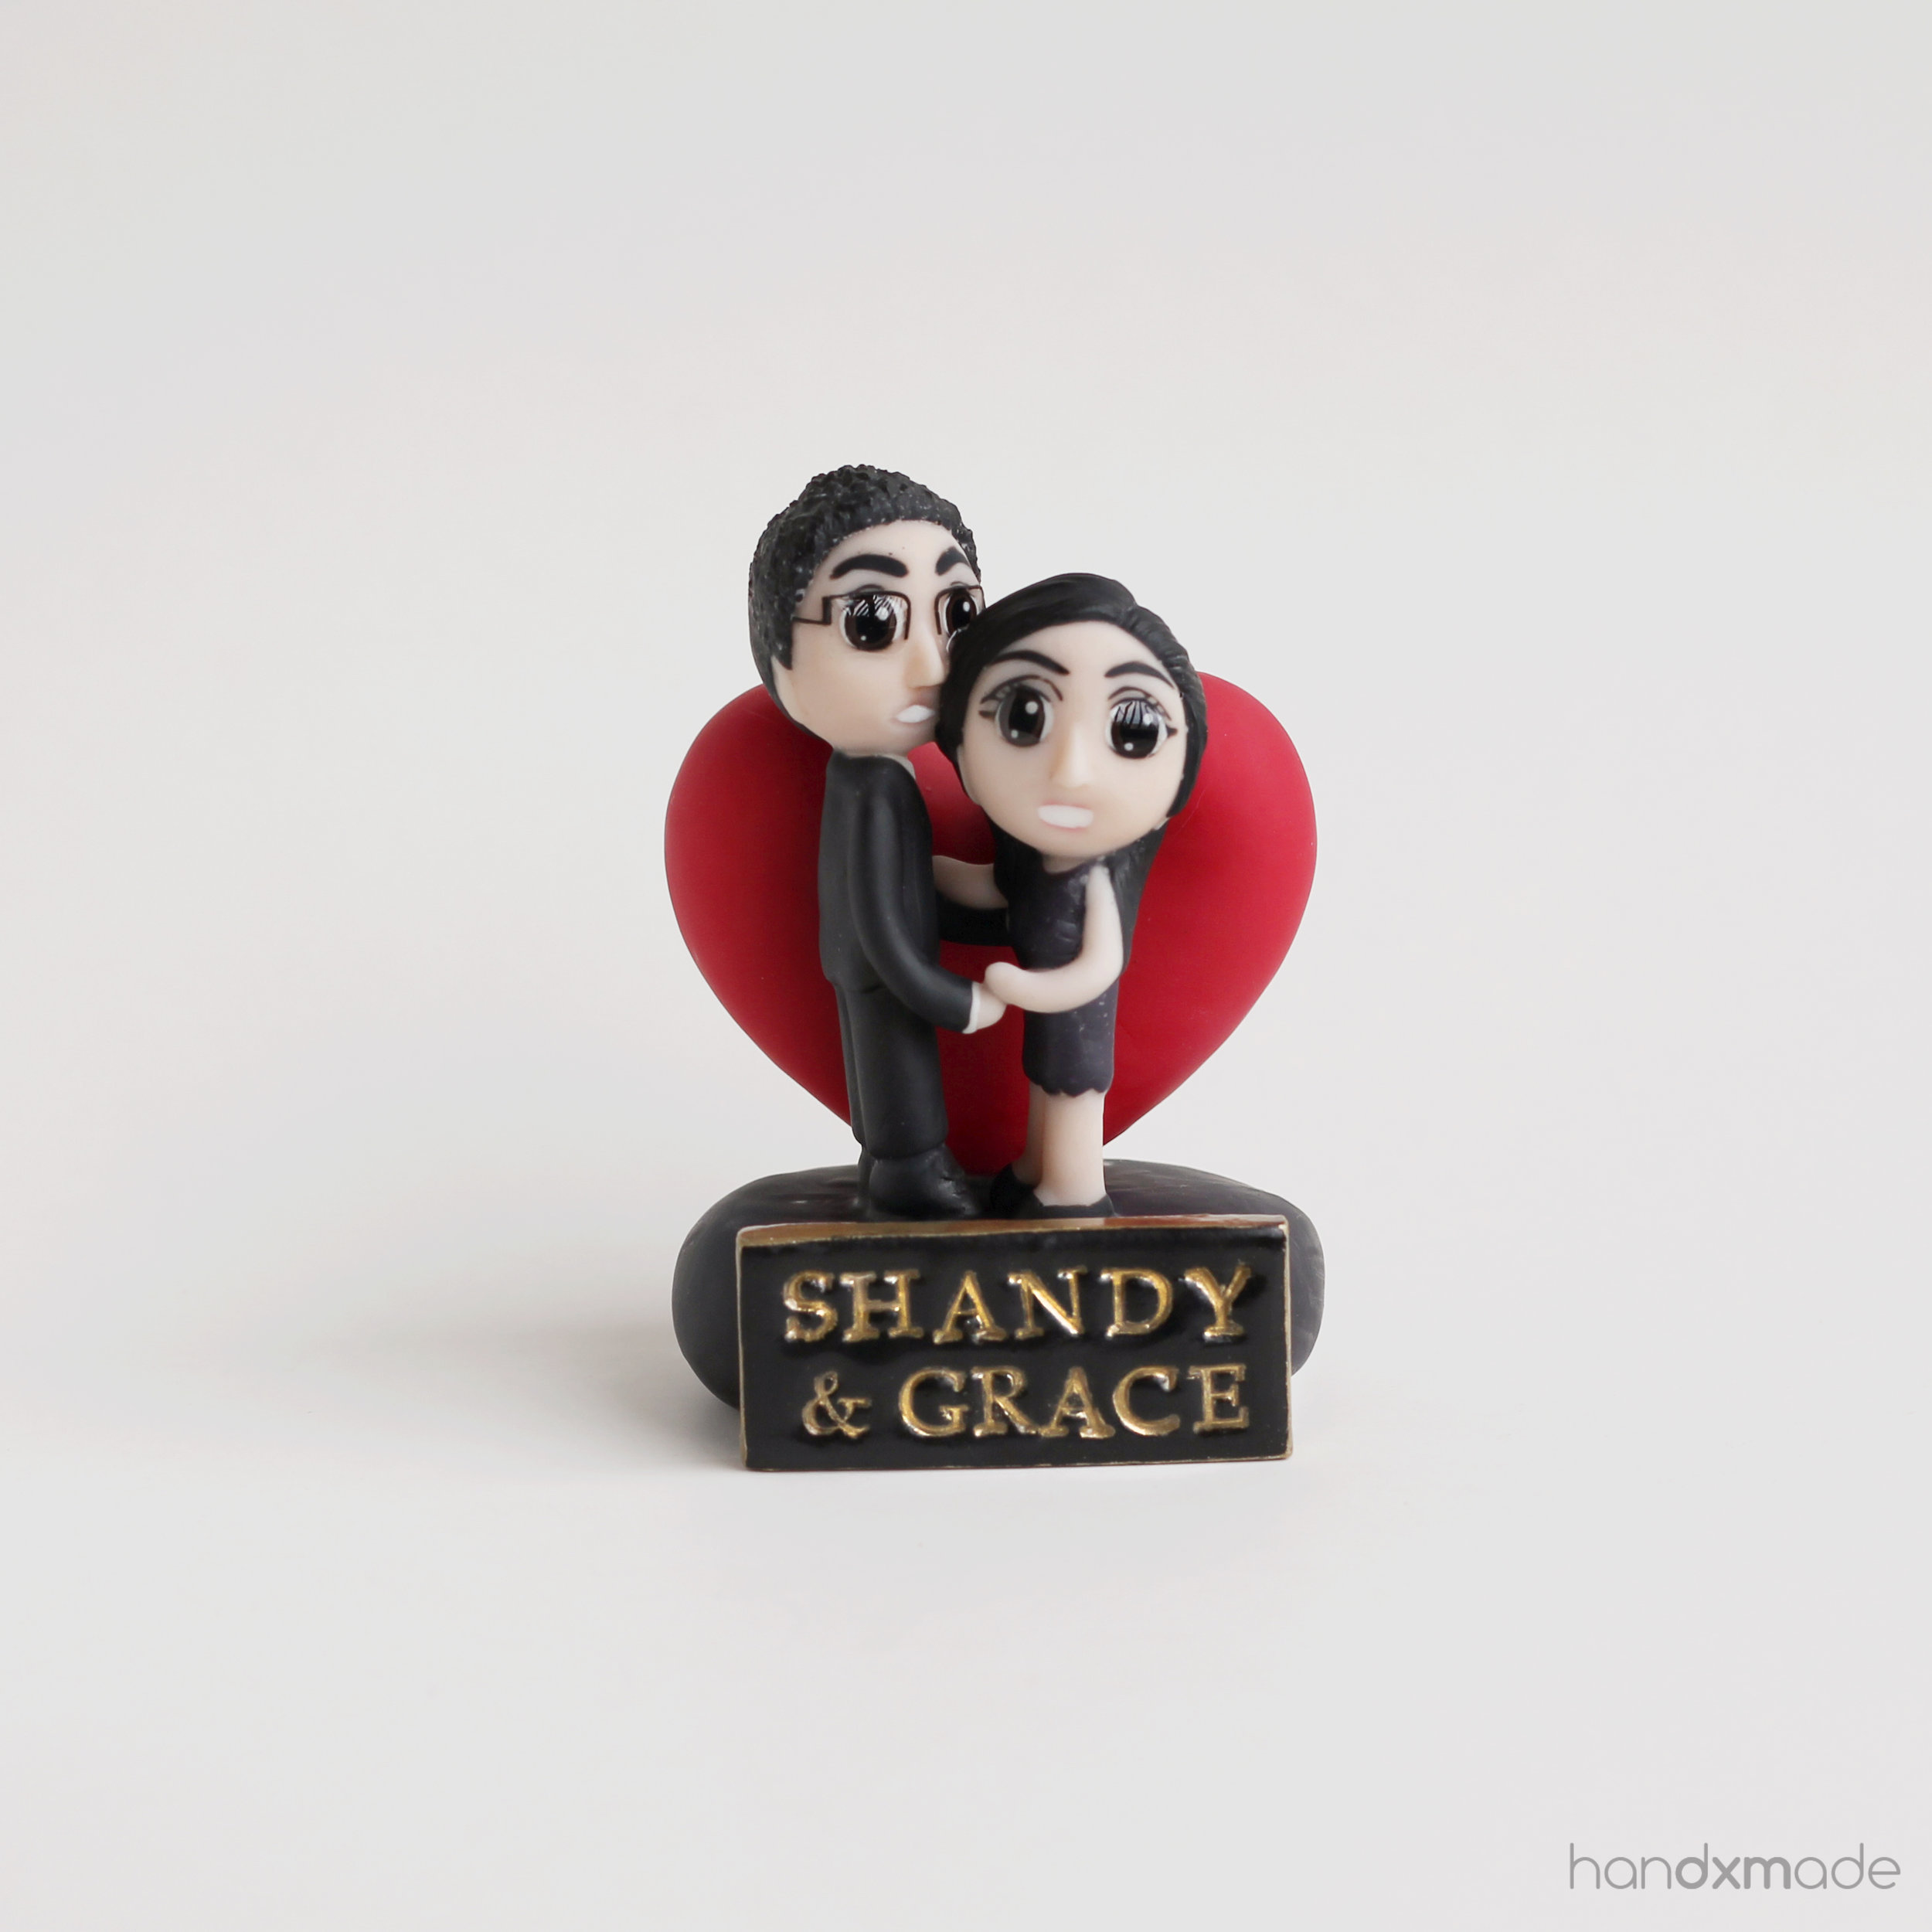
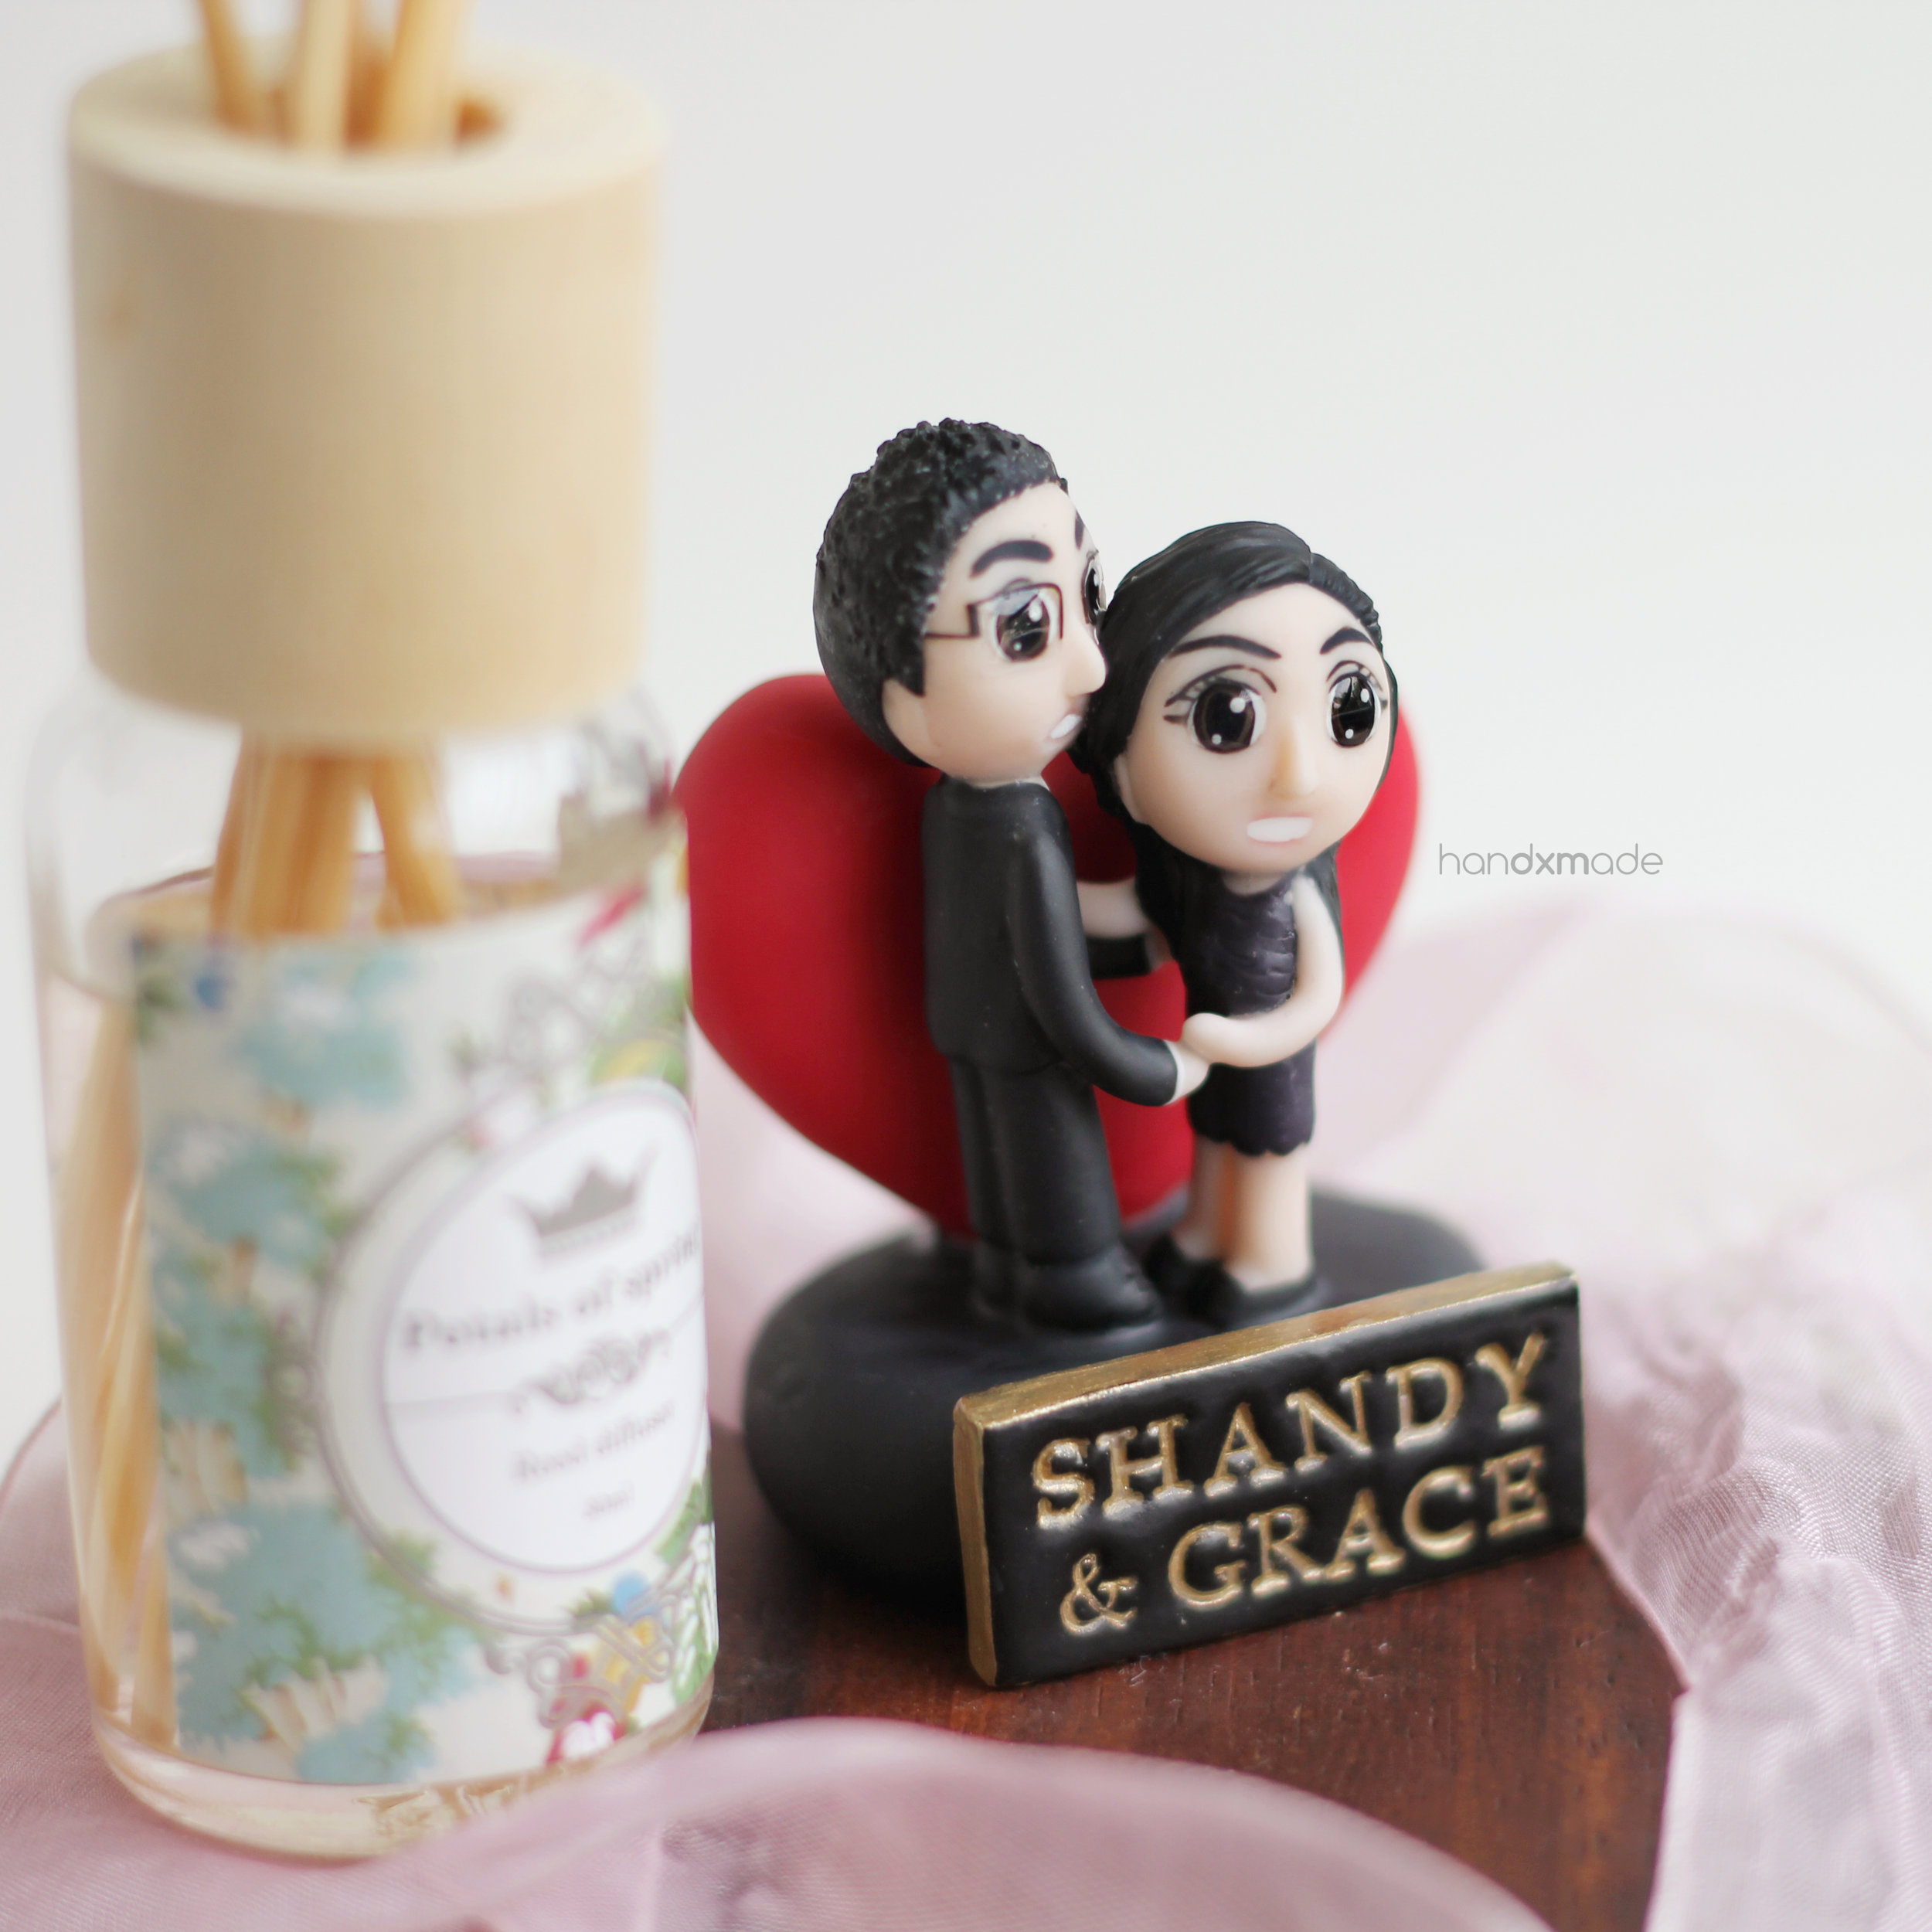
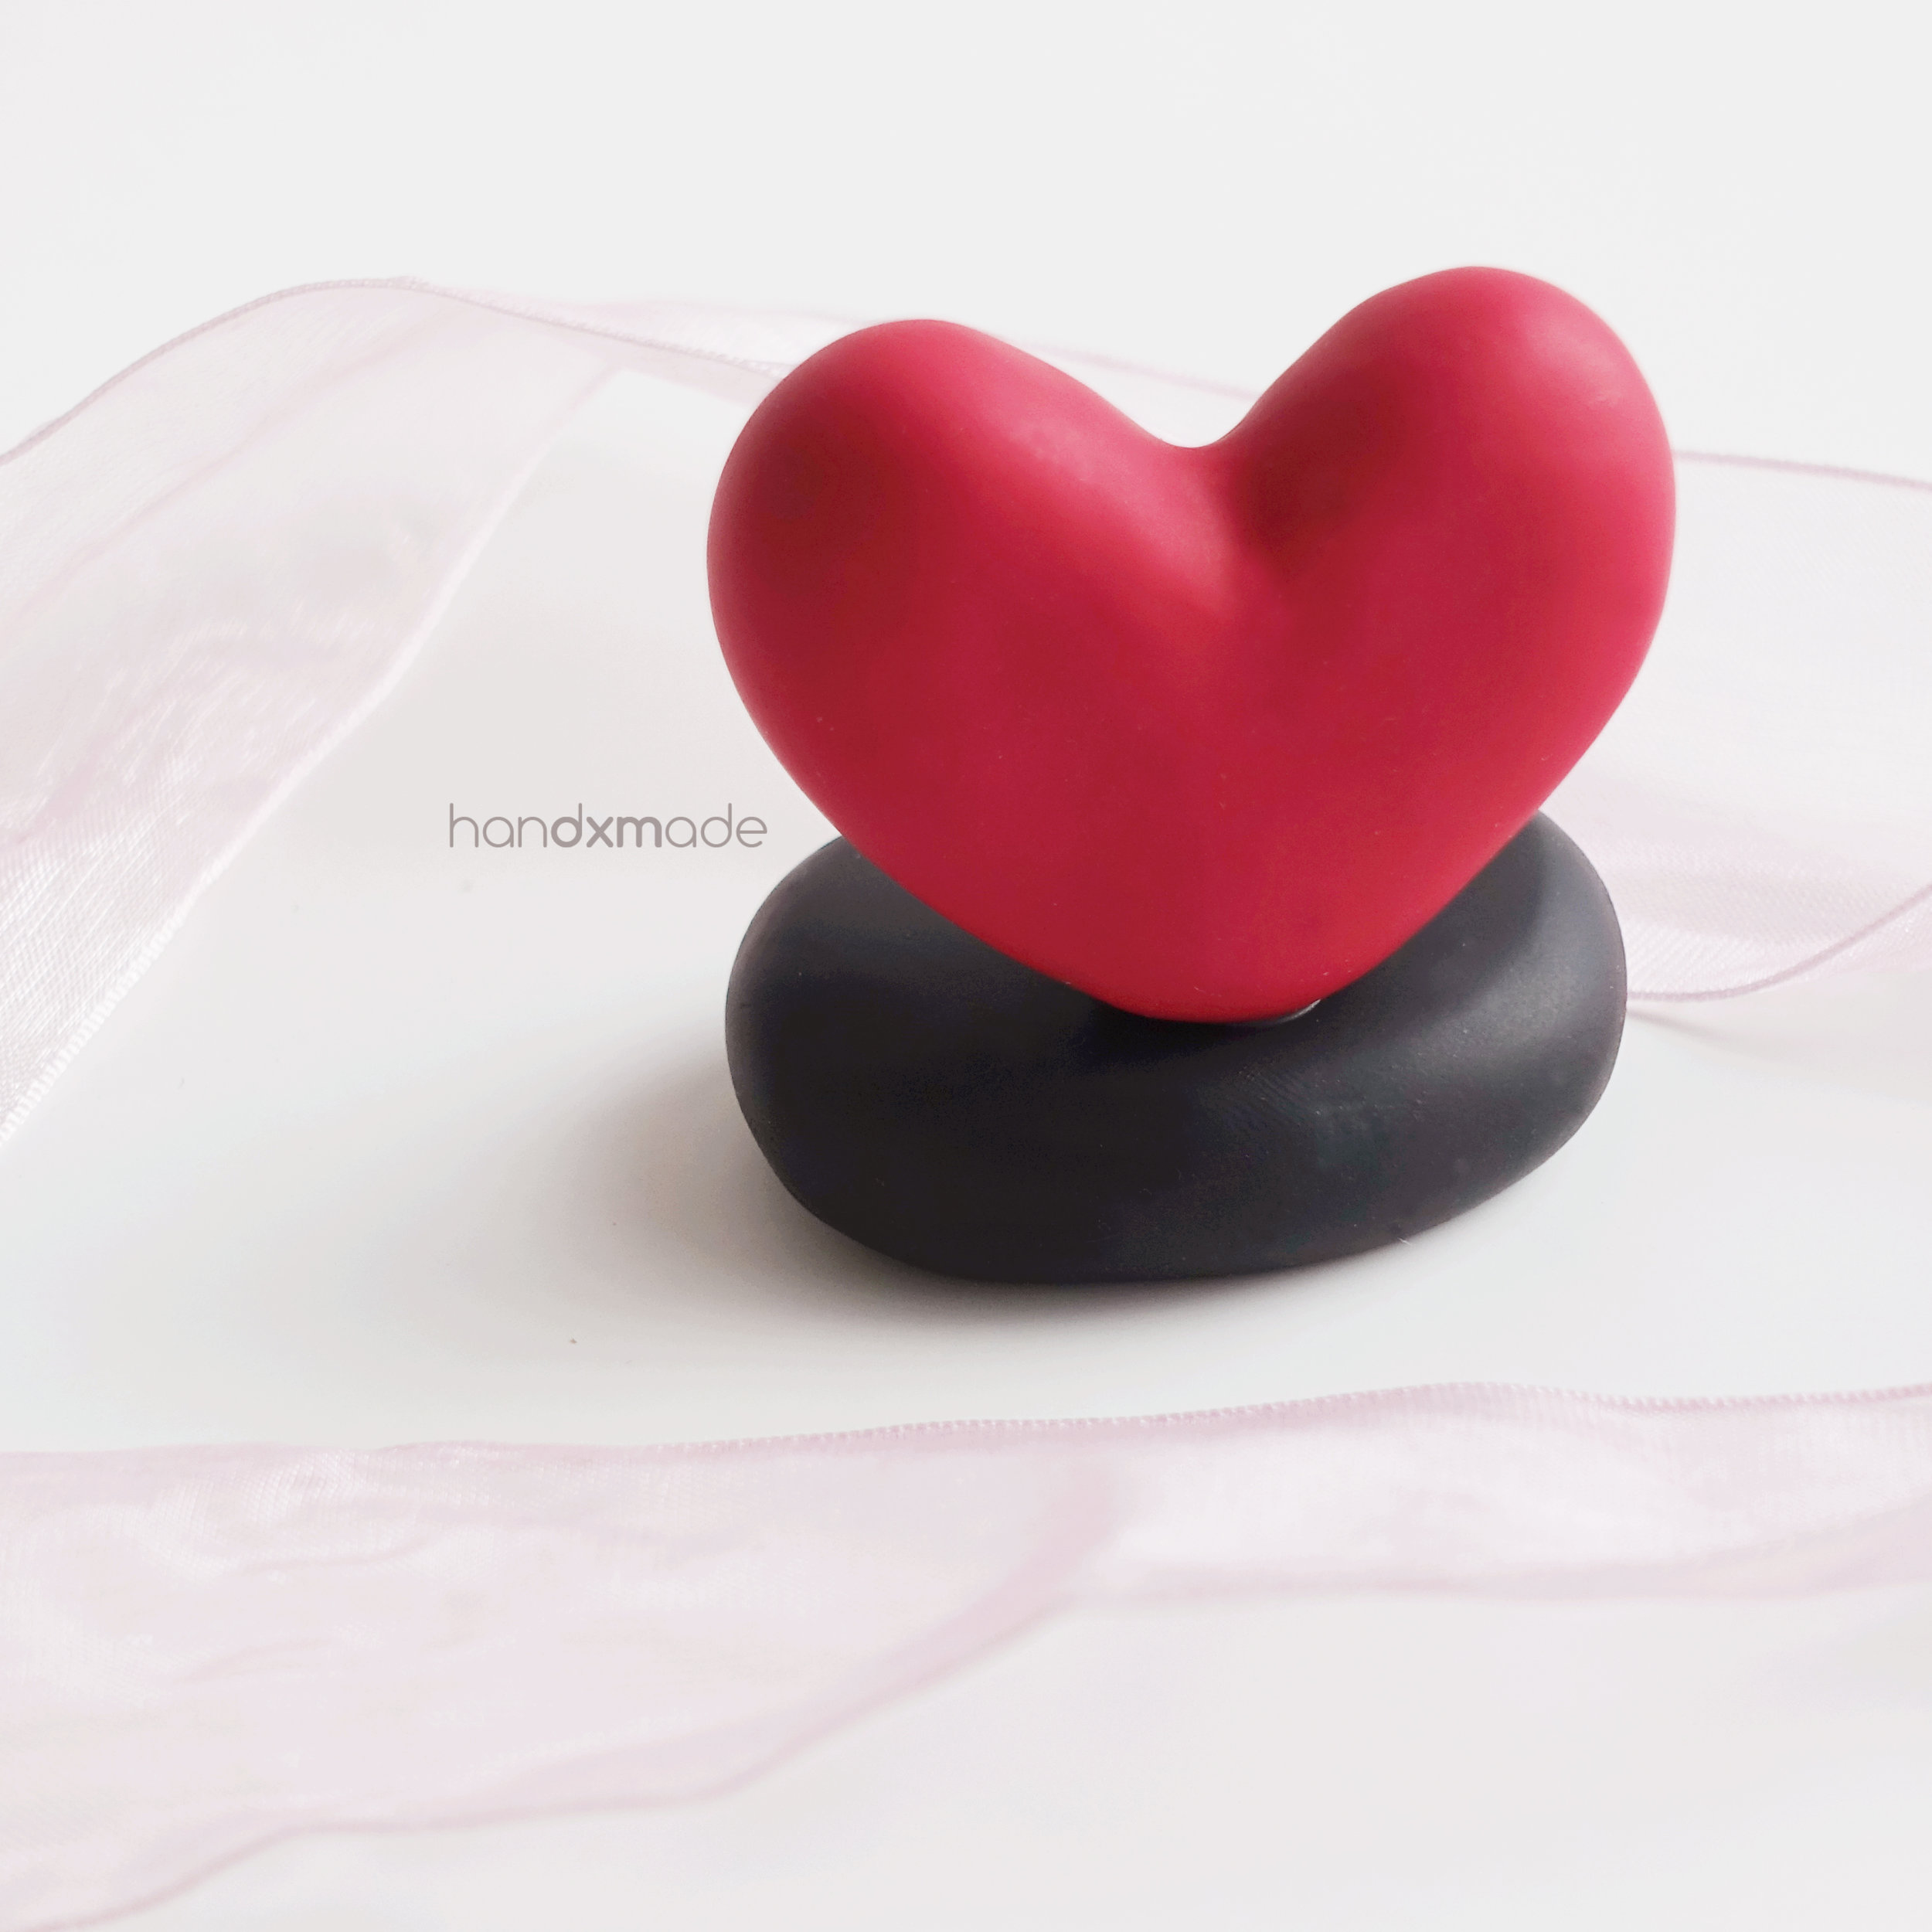
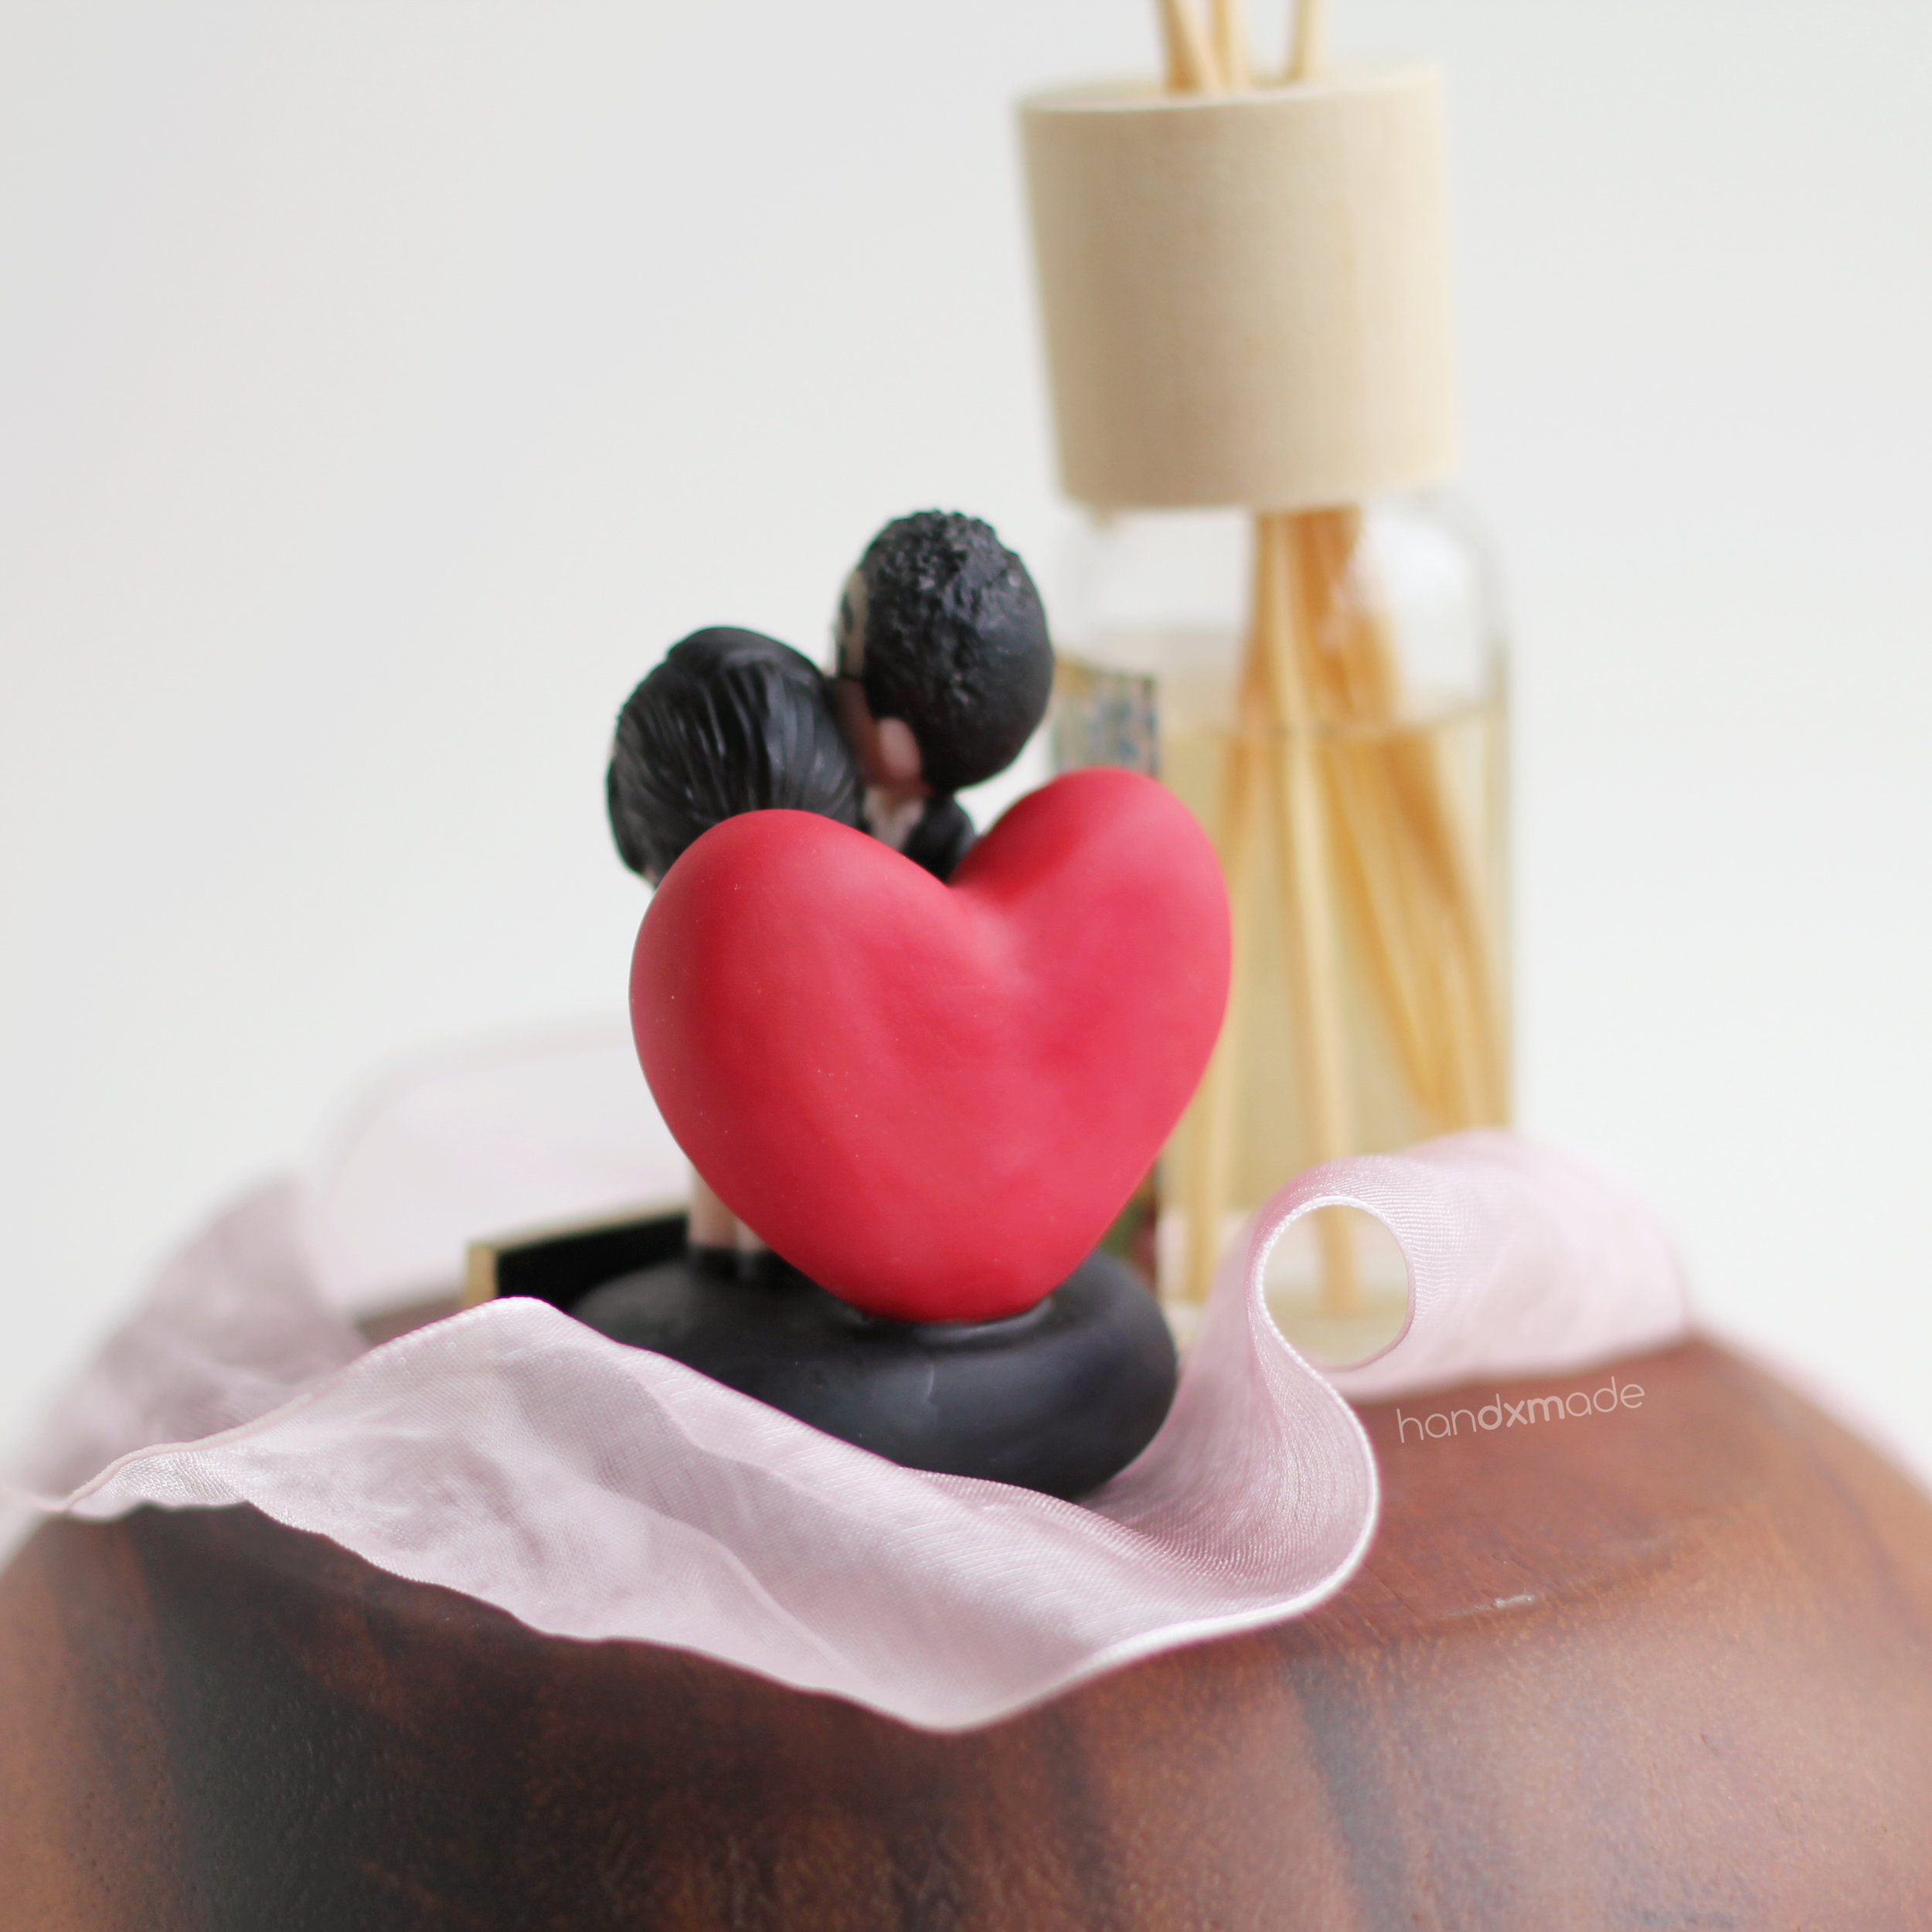
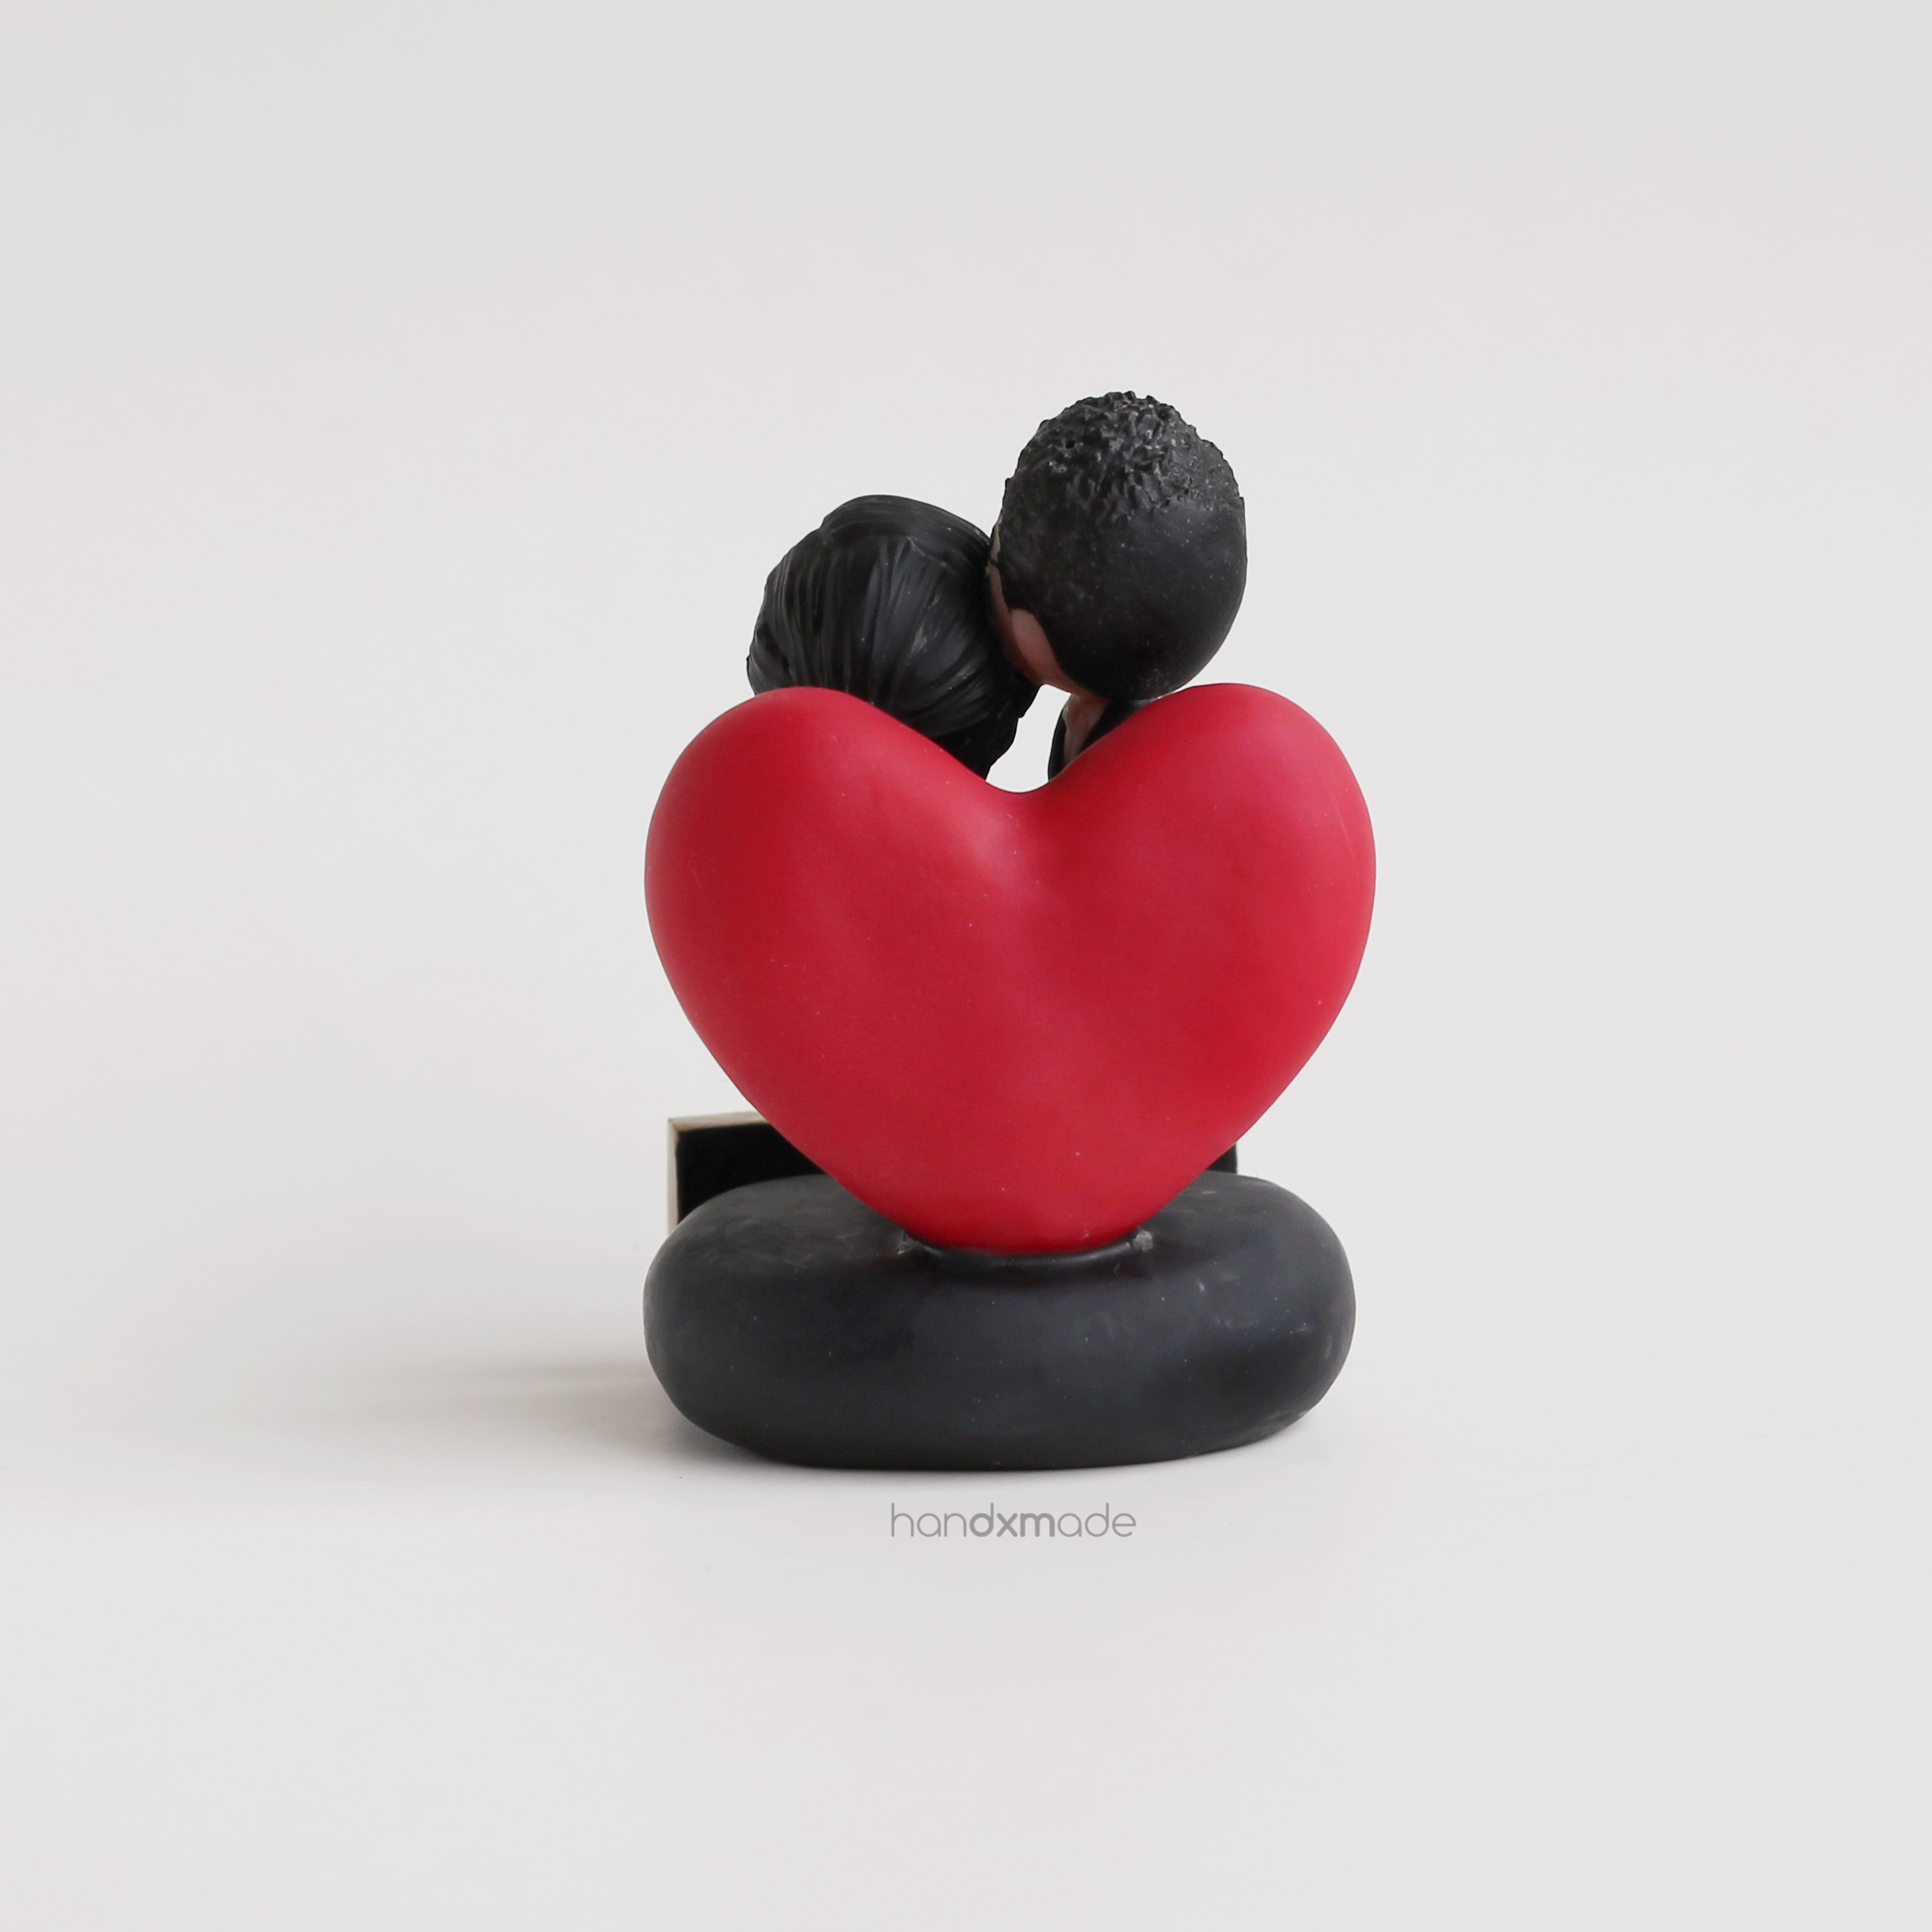
This was also the first project that made us come up with the idea of a plate! My customer wanted to put their names on, so we thought of putting it on a plate, as the base was too thin and short for it.
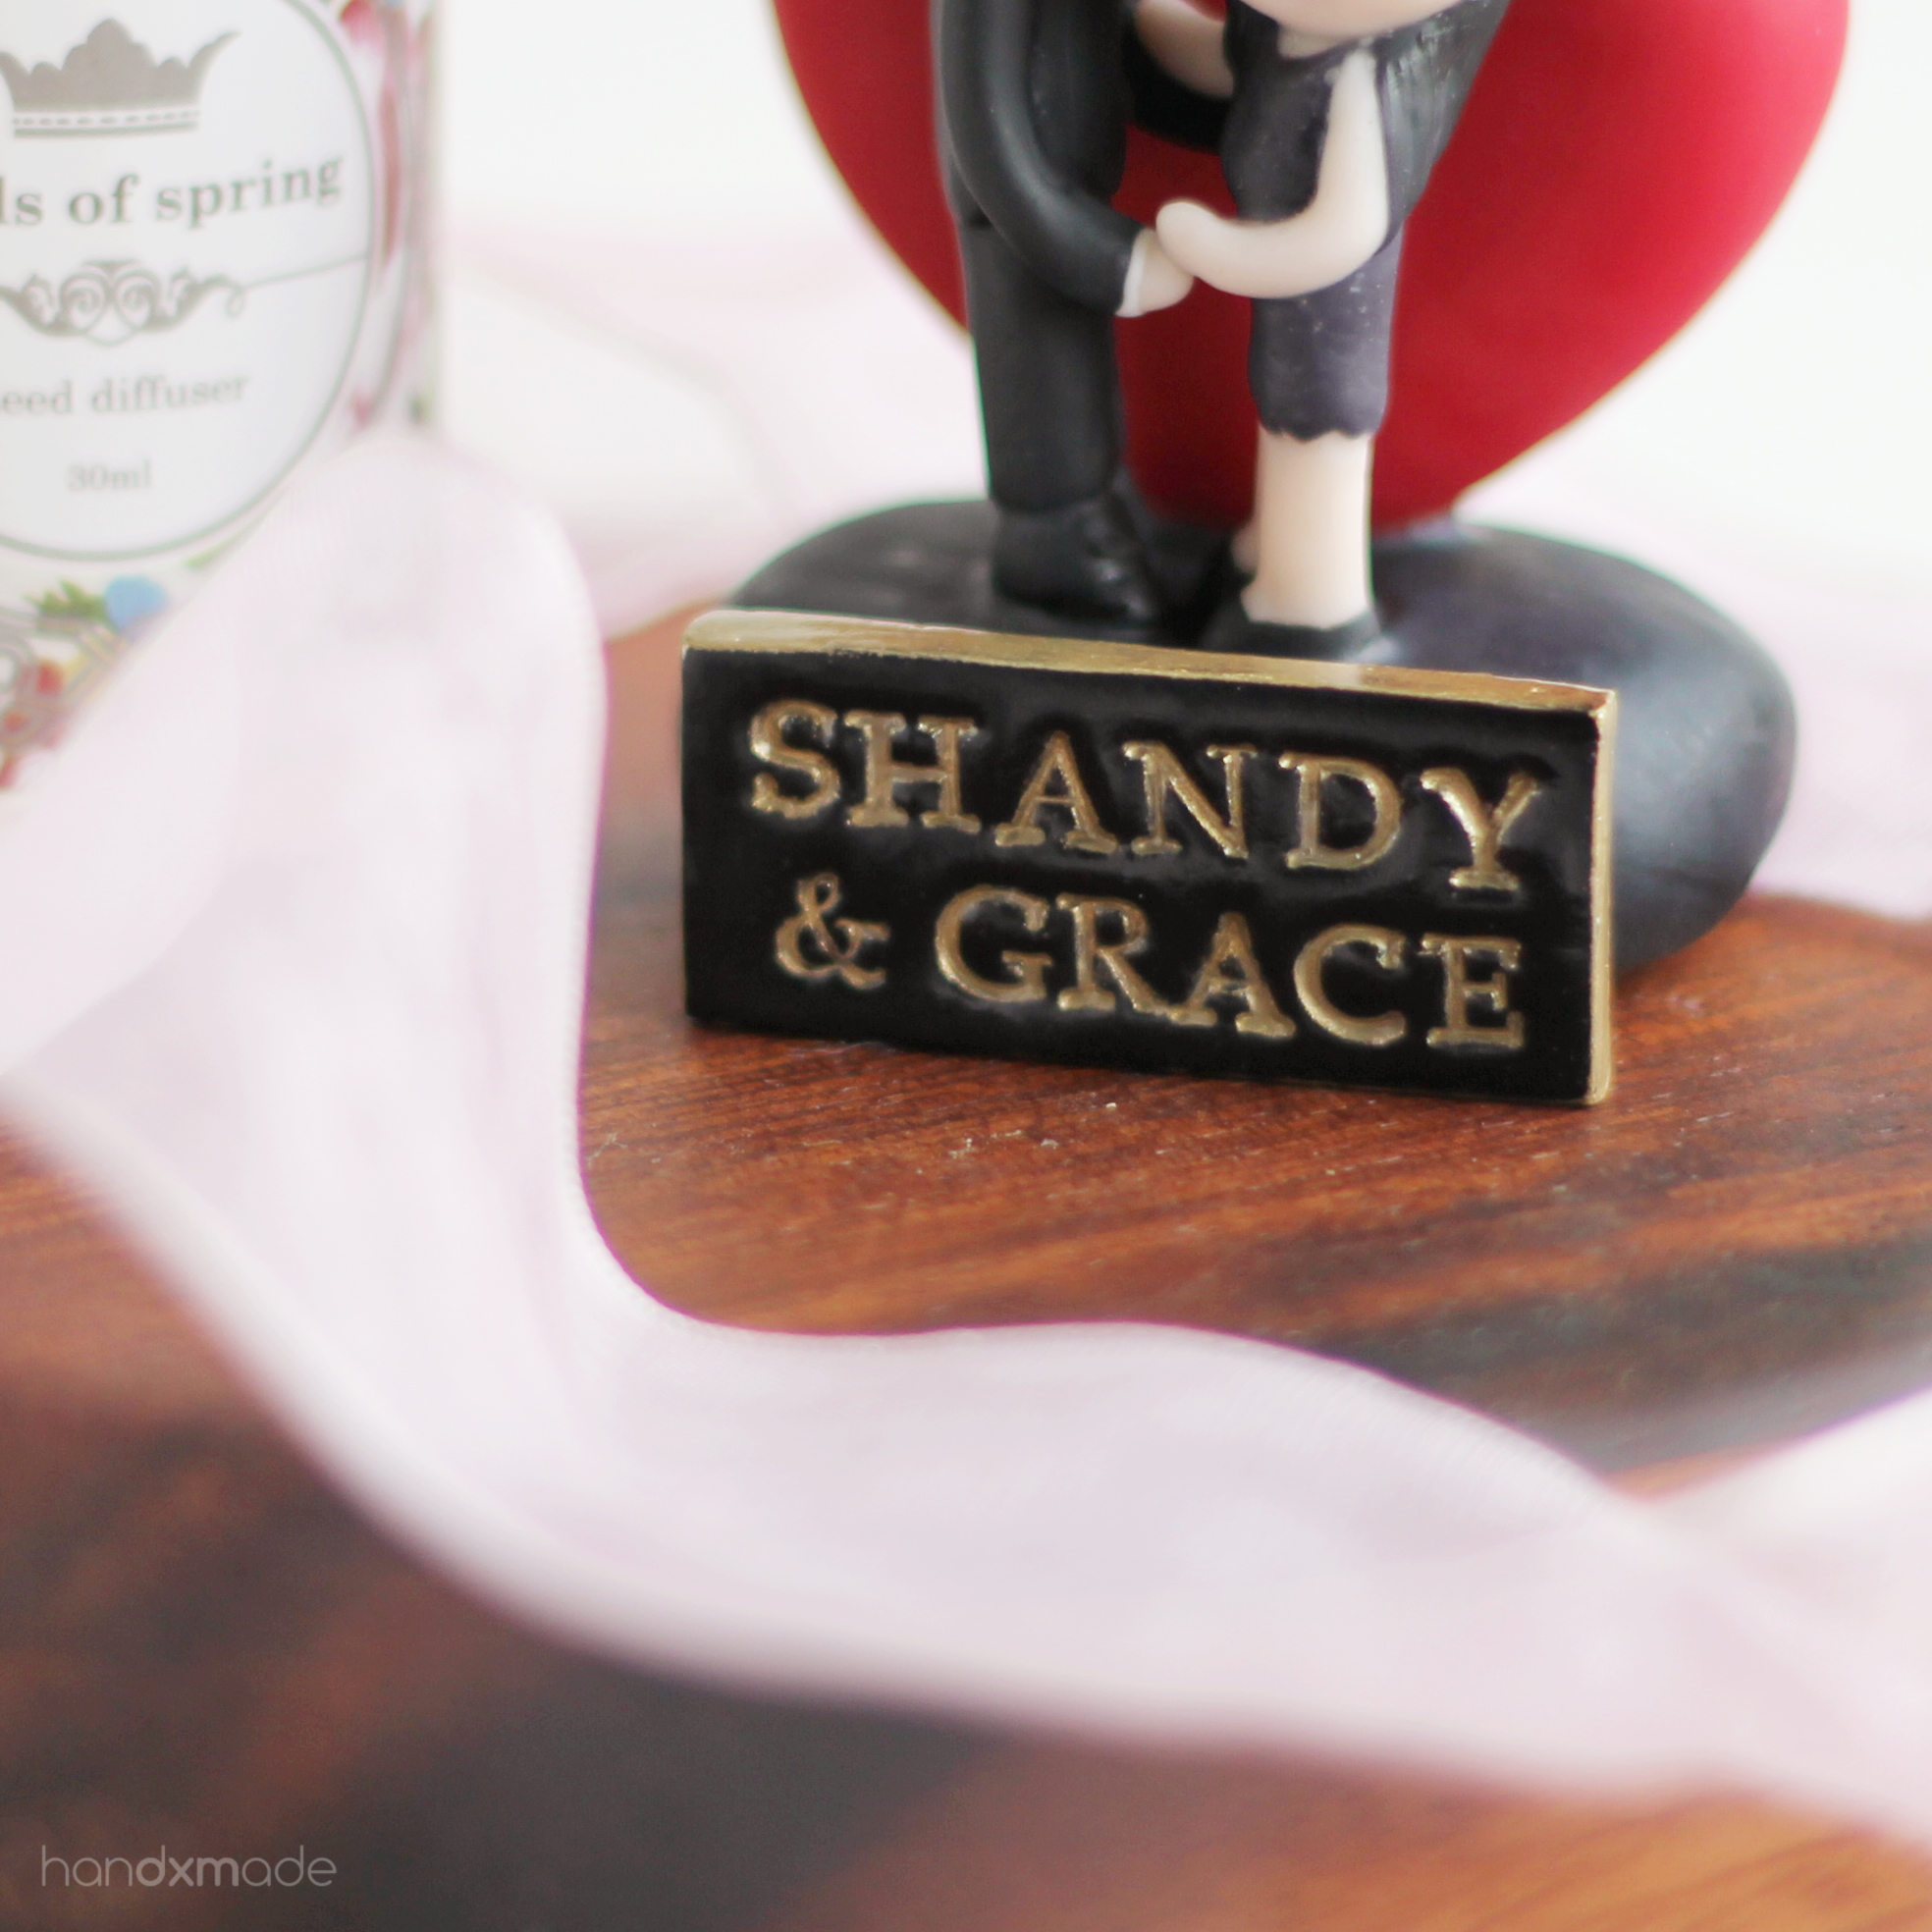


I personally think that the gold border with gold for the words really give the whole figurines a classy look, and with the suit and dress from the figurines, it does give it their own vibe!
The dipping method is definitely what I will use from now on for glazing, and now I find myself not dread the glazing like before! *THANK GOODNESS*
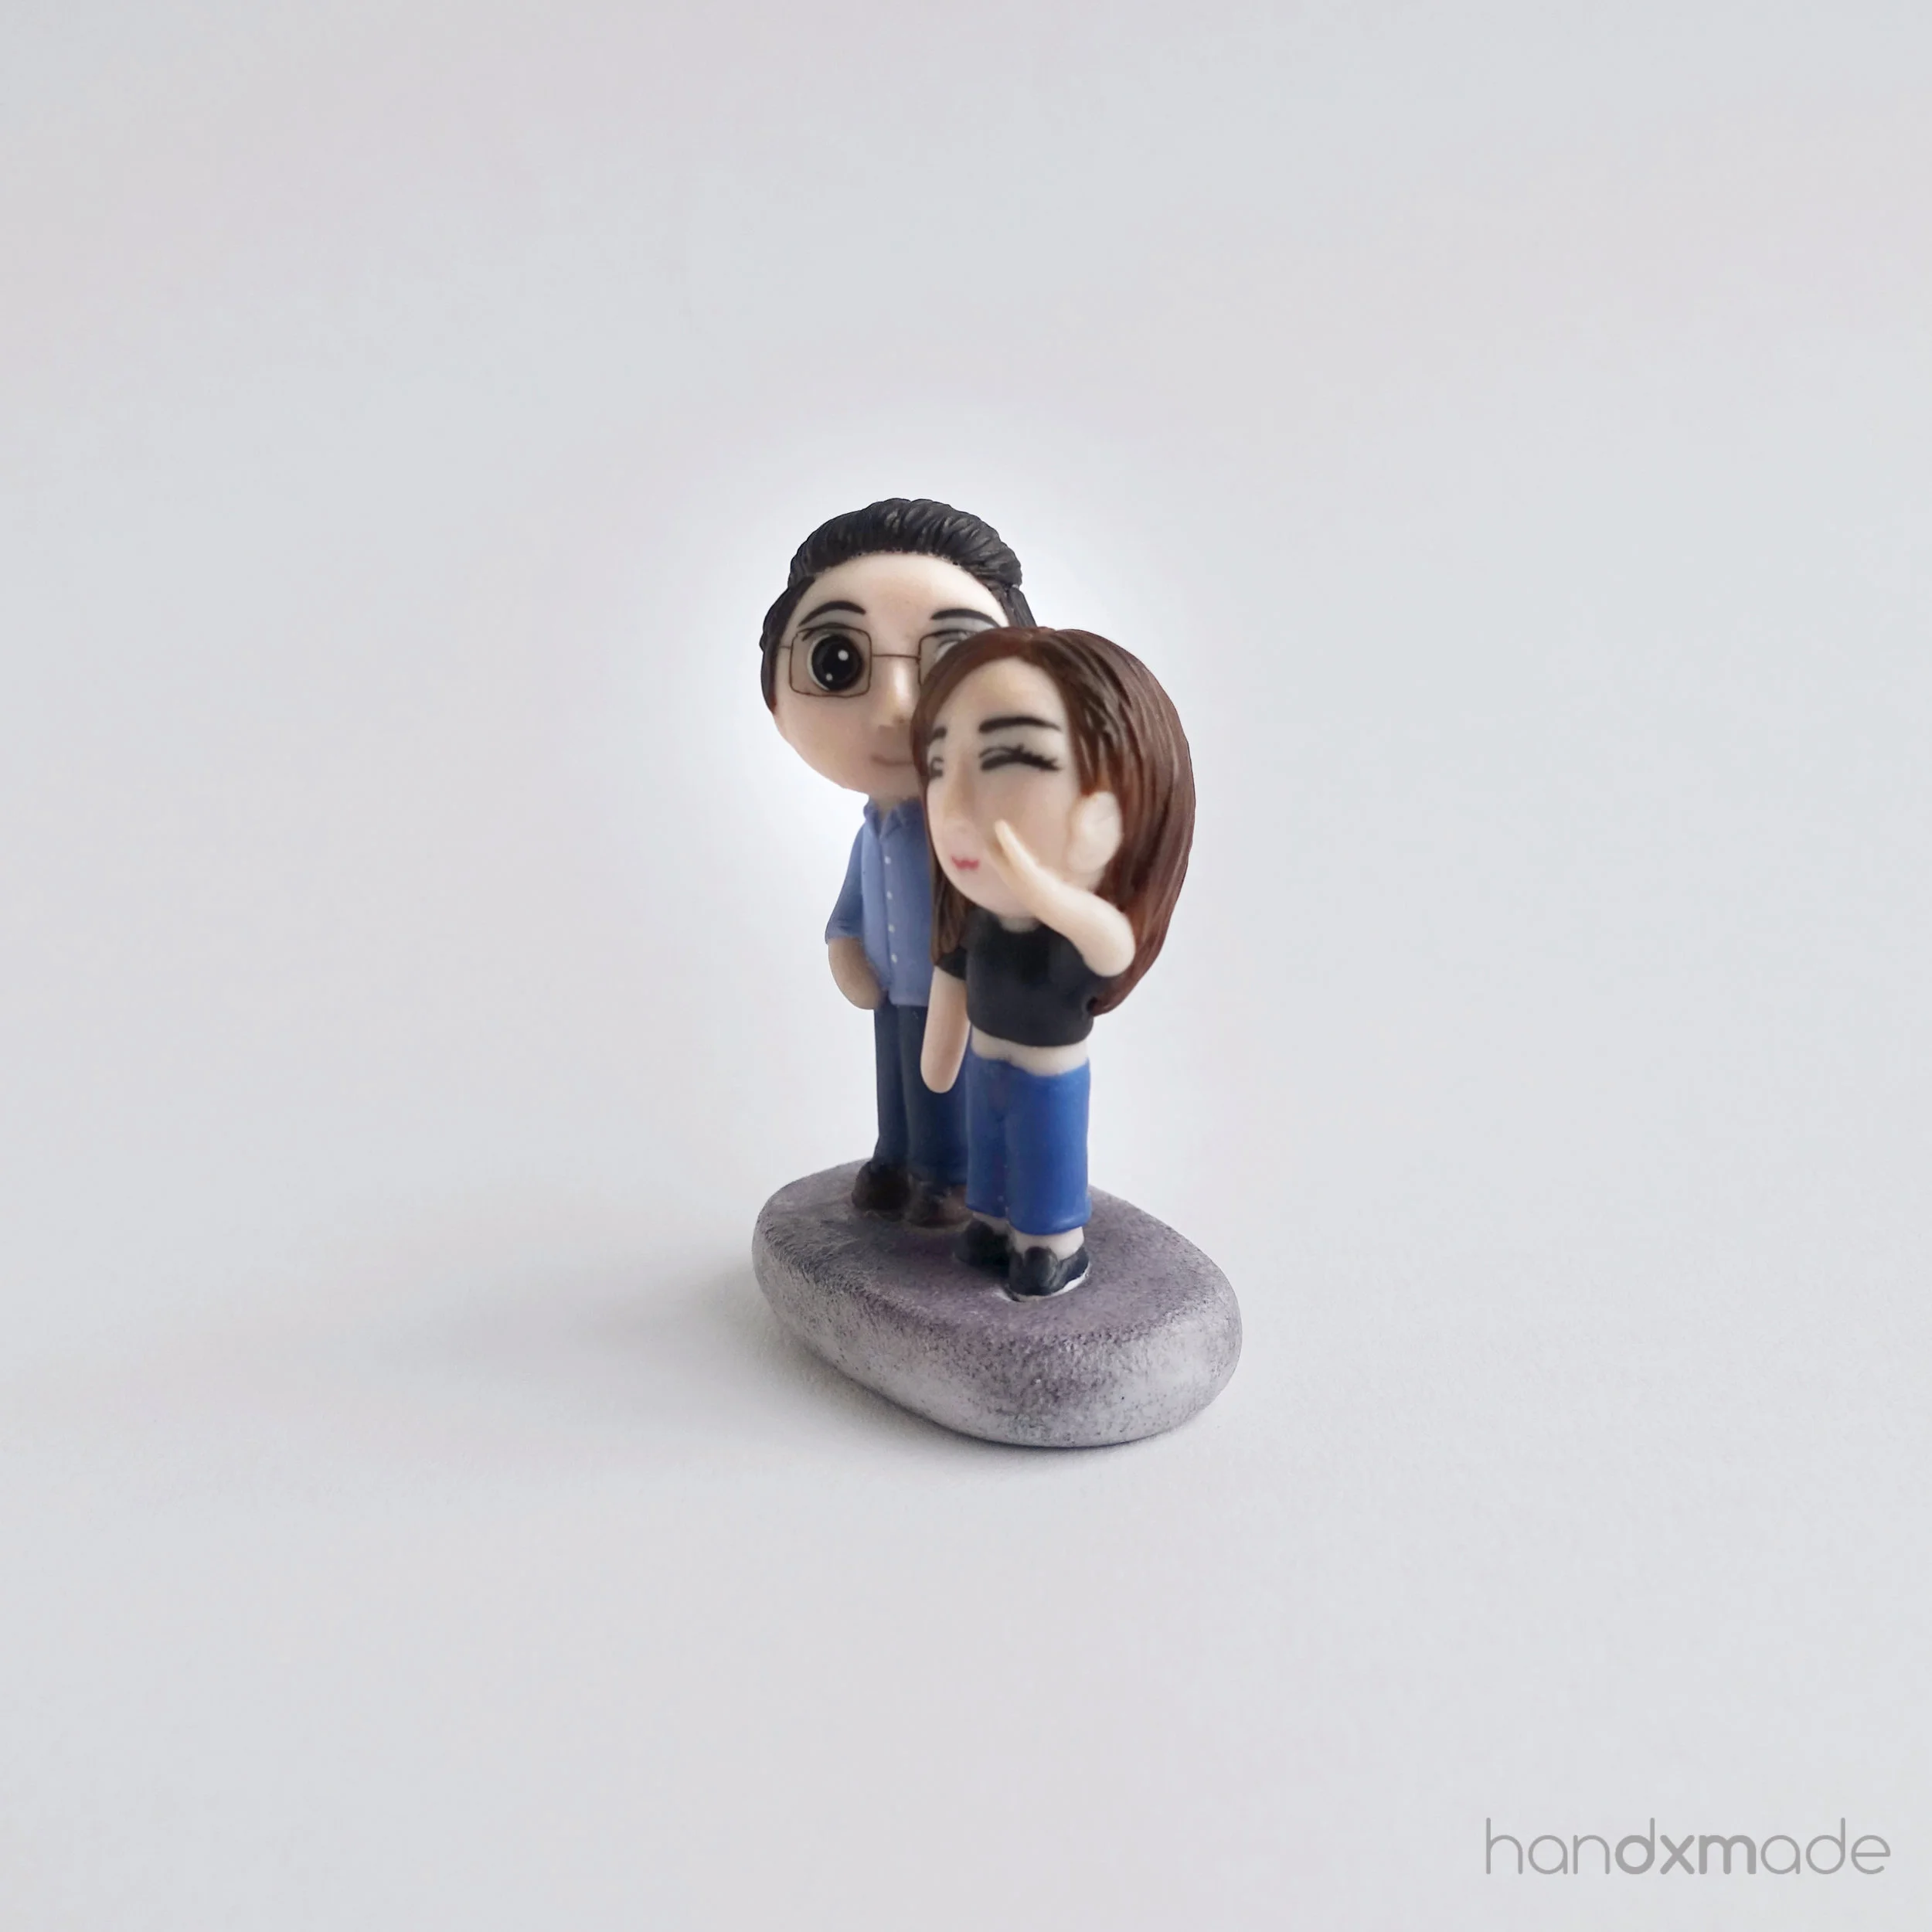
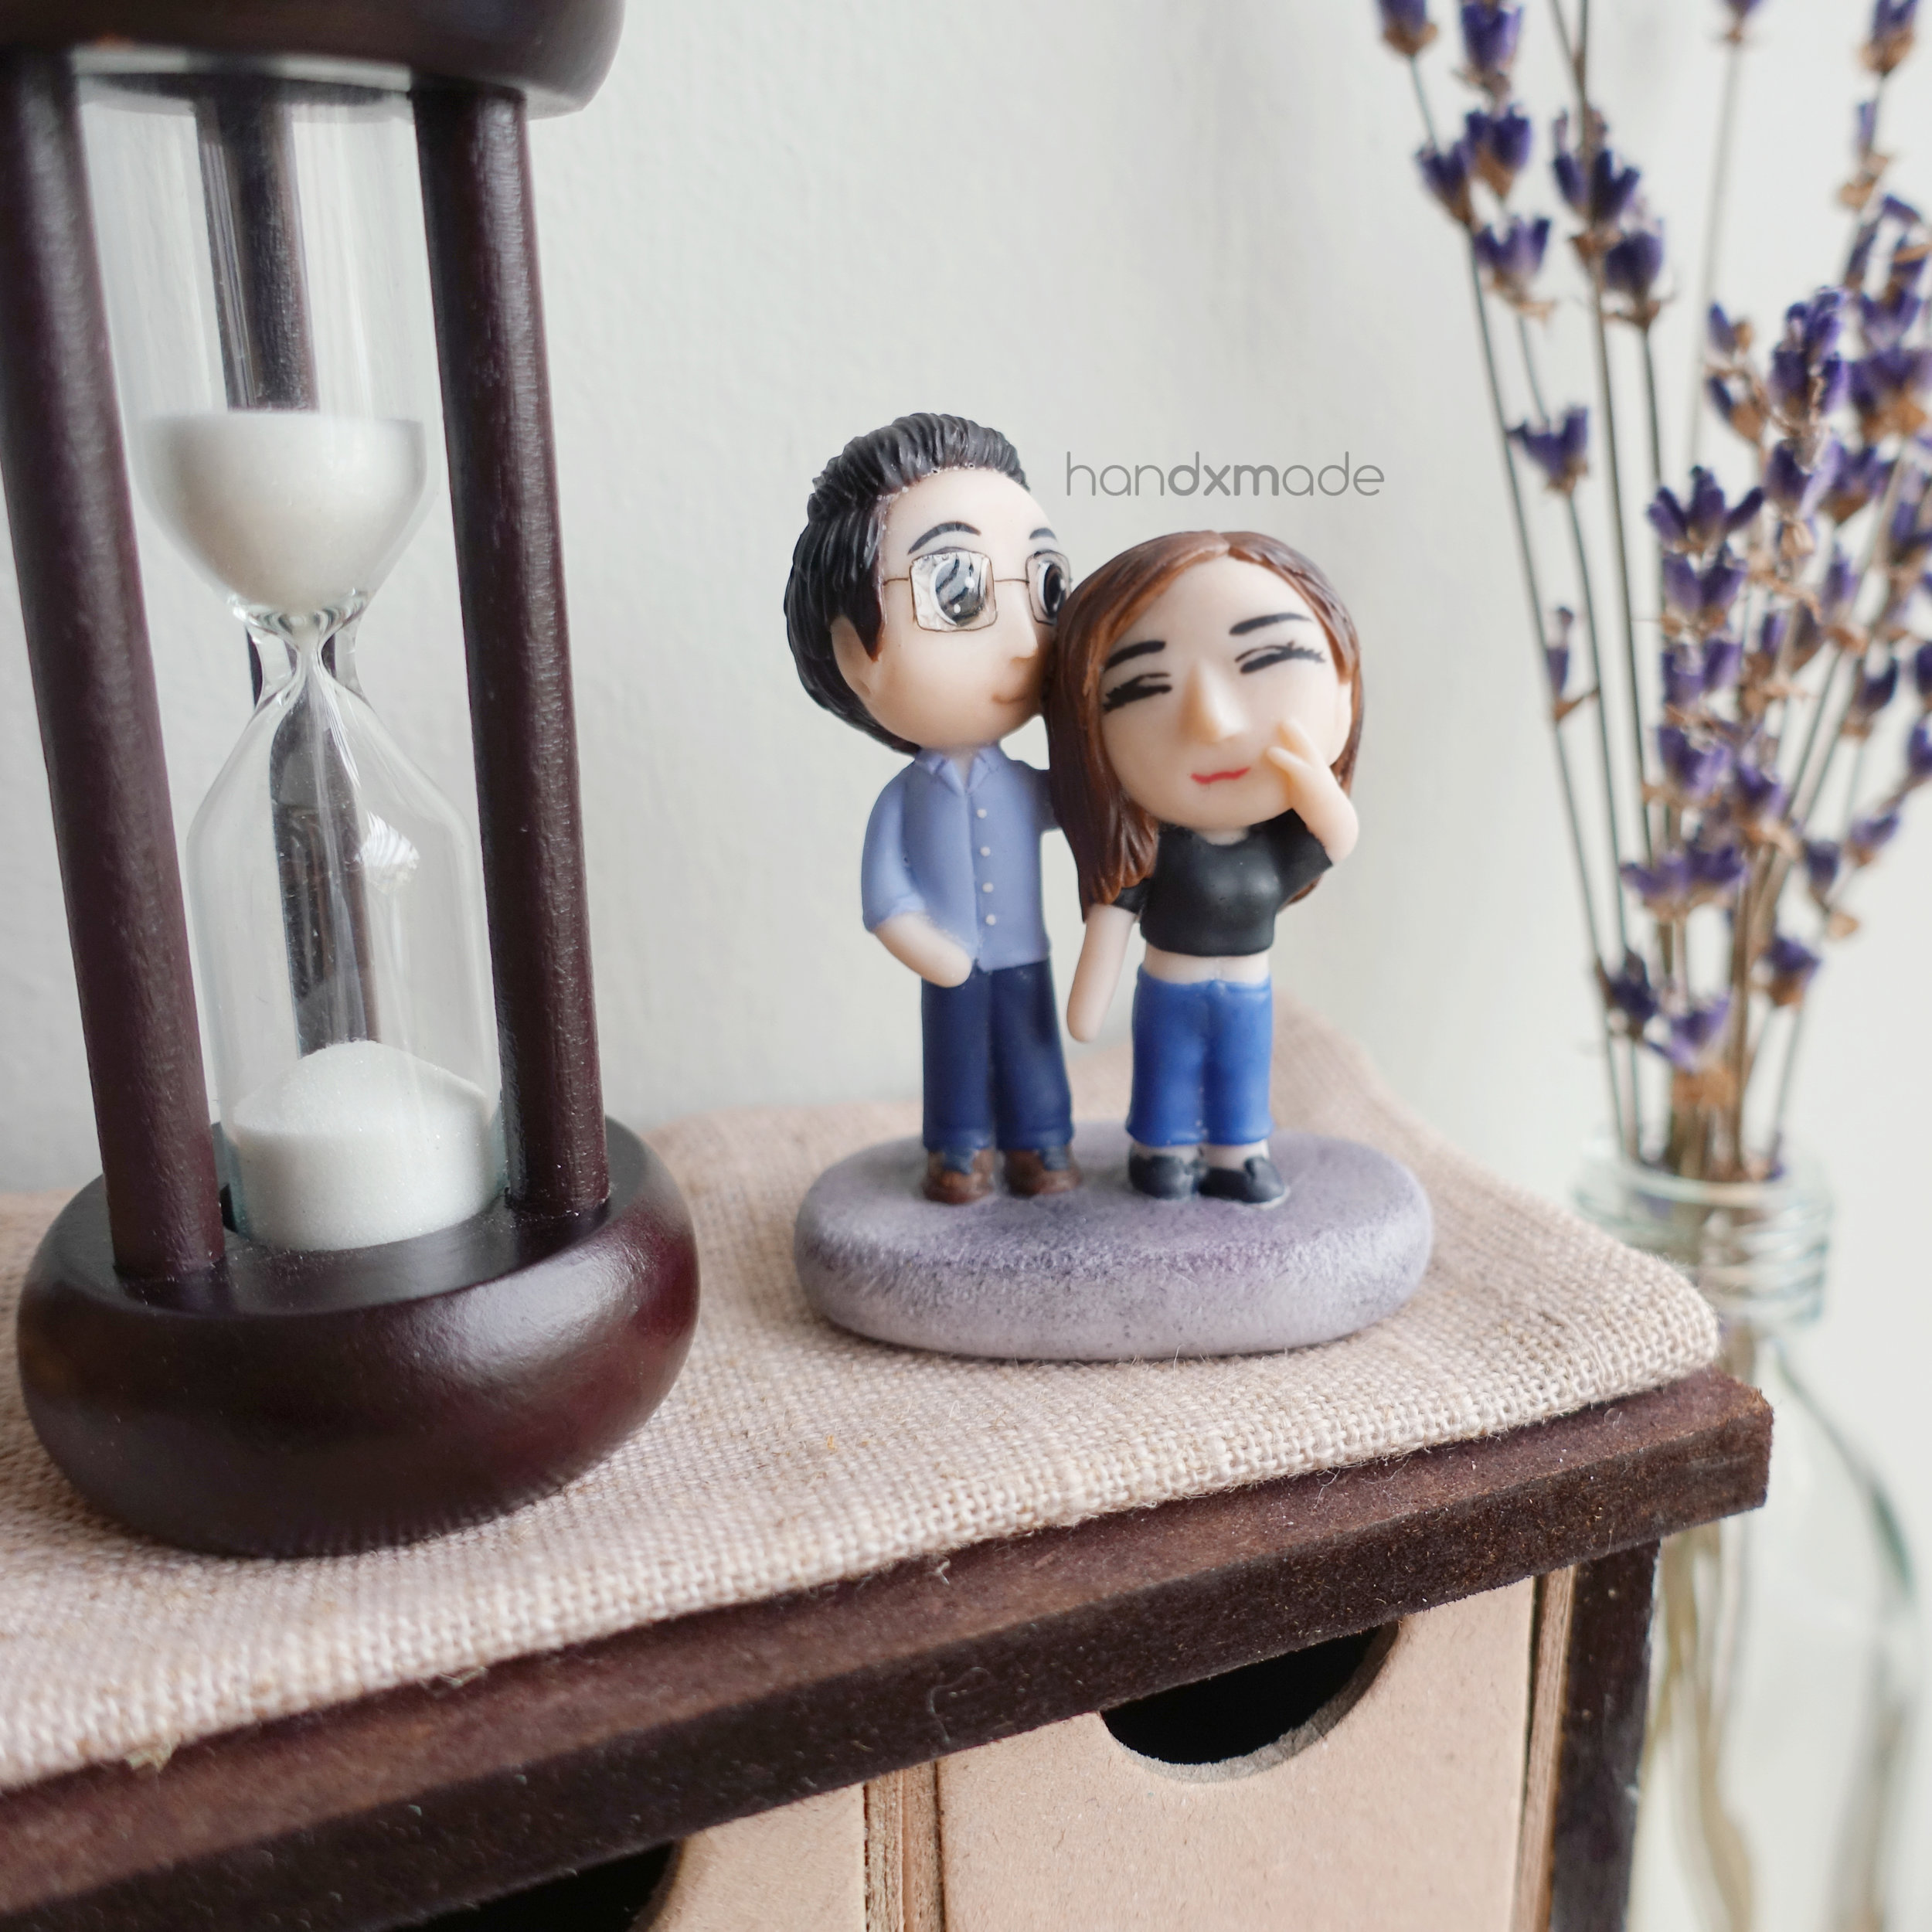
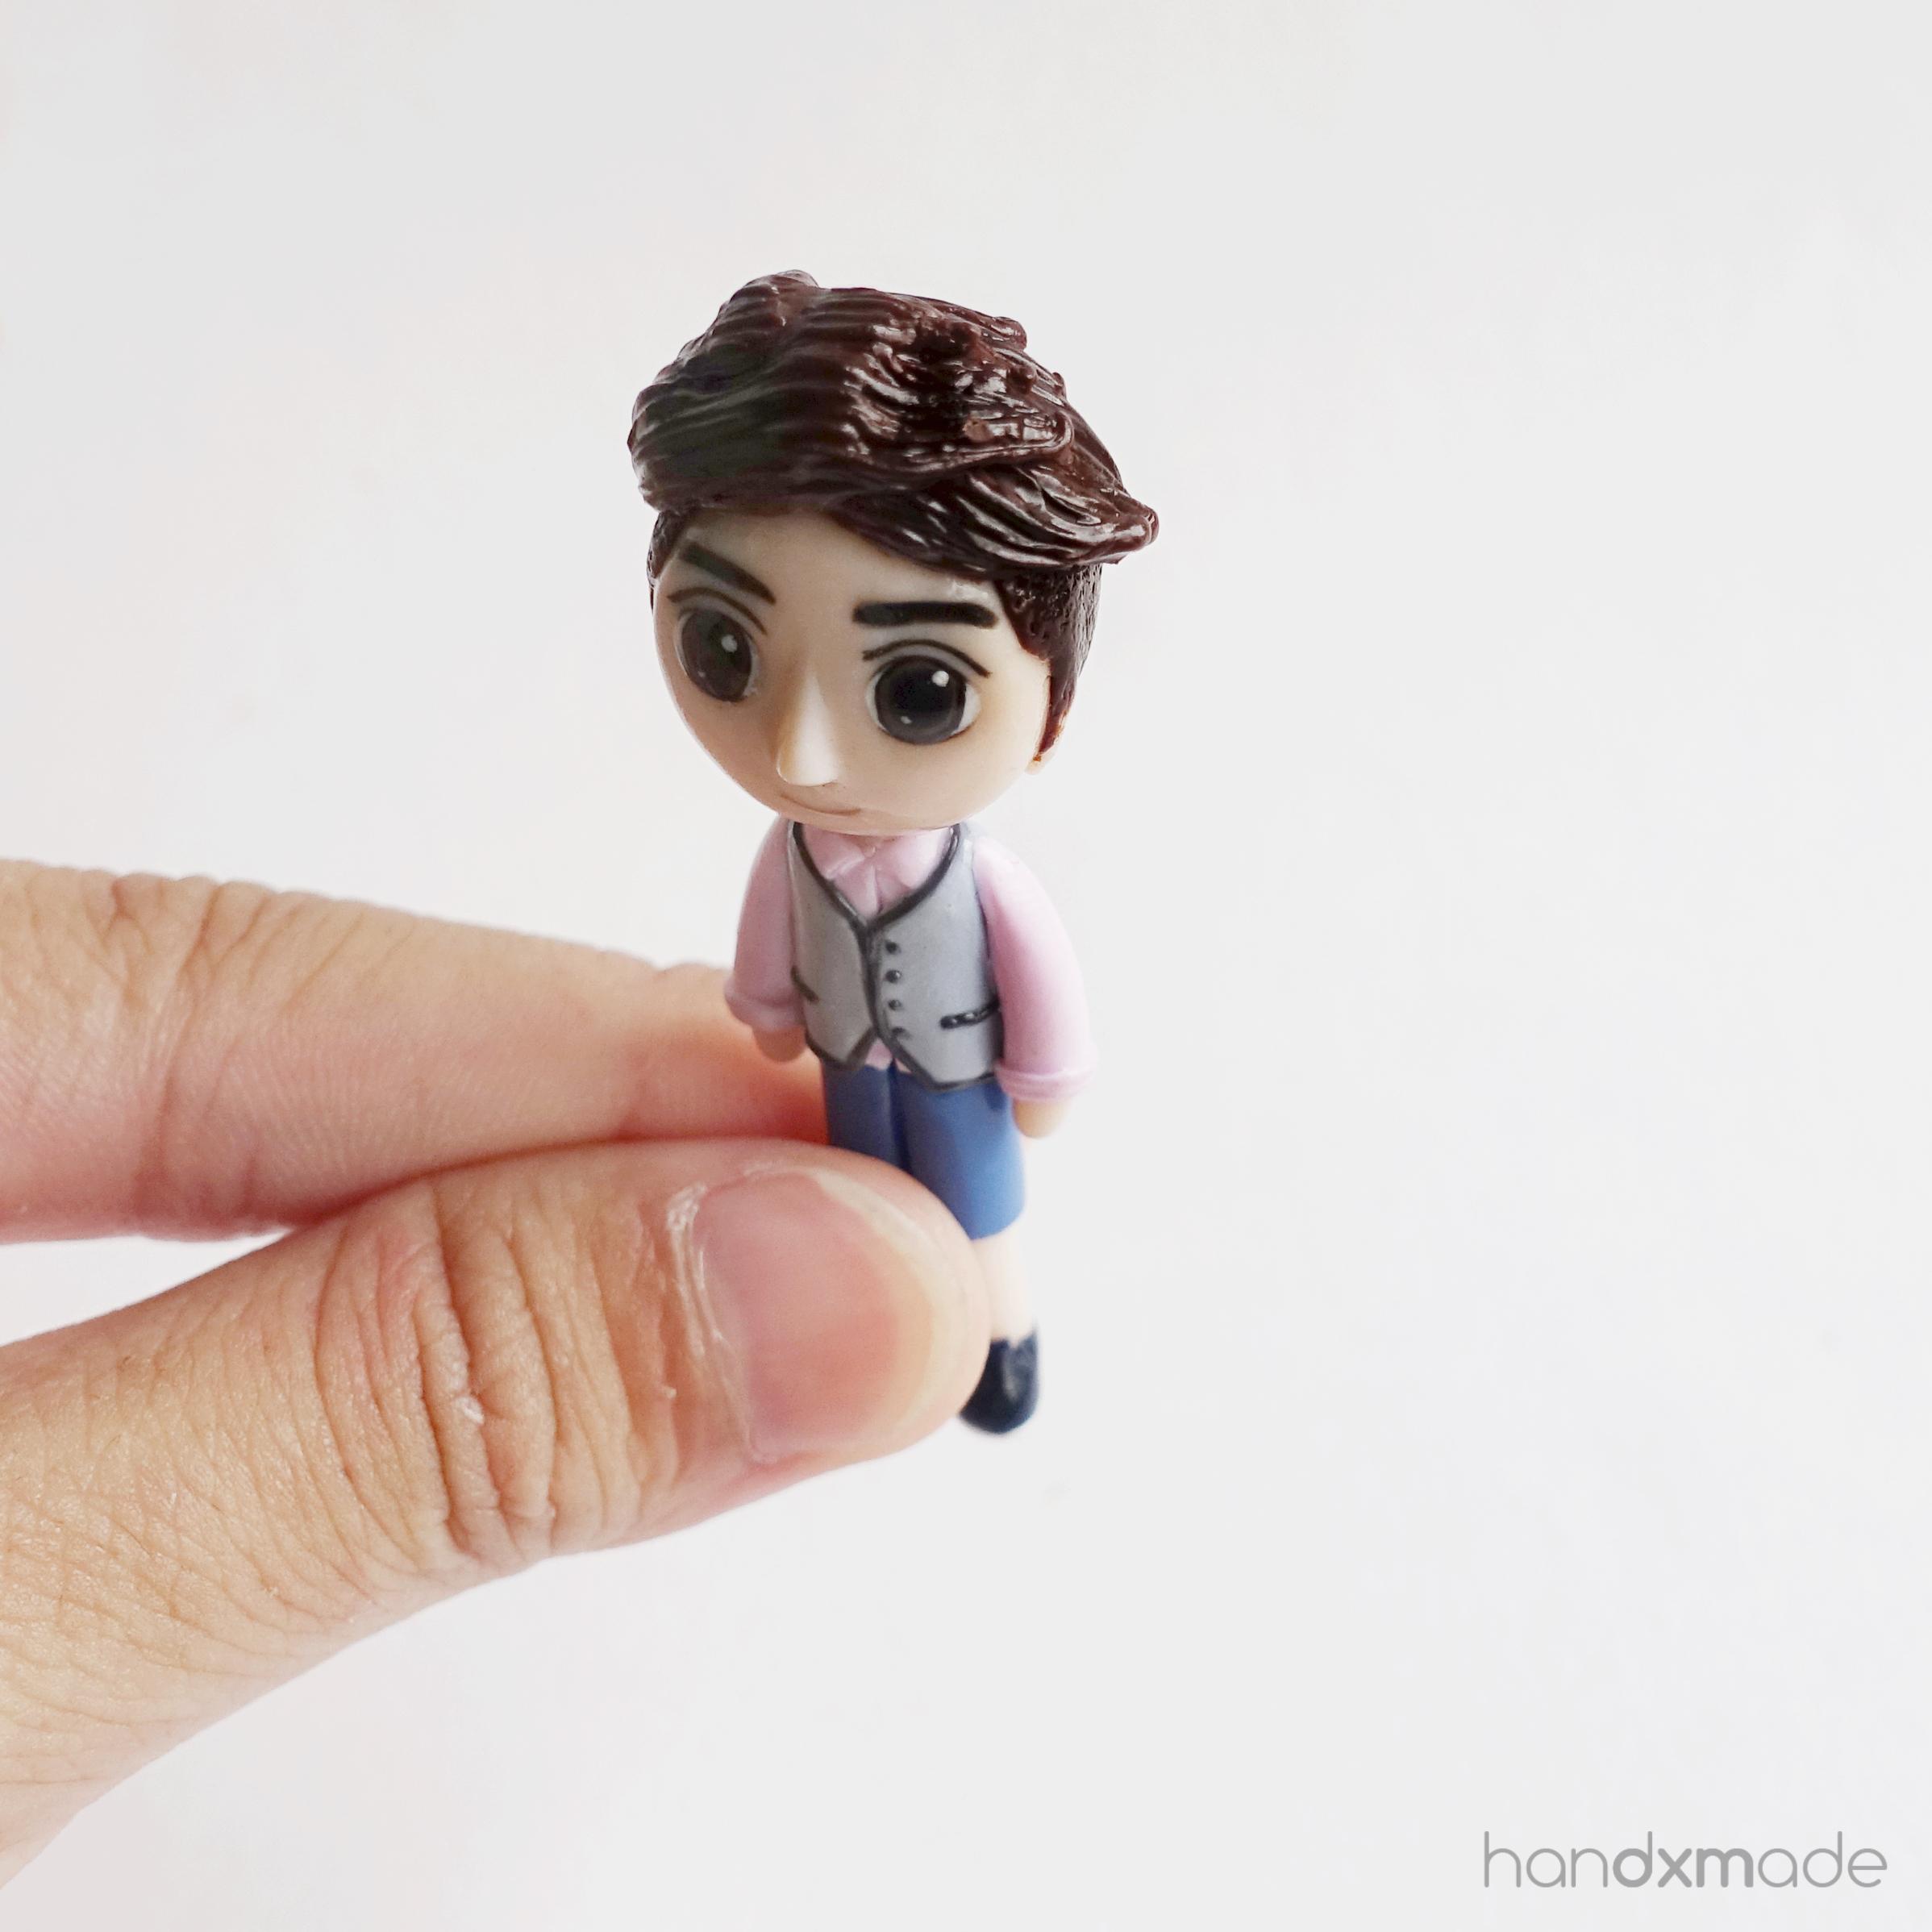
The gloss glaze
This customer is actually a return customer, and I am really grateful for all her support! :') This time, I'm making some other idol, and not someone from the group Spexial though ;)

She wanted the figurines to be glossy though, and even though I really love these figurines....customer's request are the most important hahaha. I DO LOVE MY MATTE FINISH AS YOU CAN TELL.
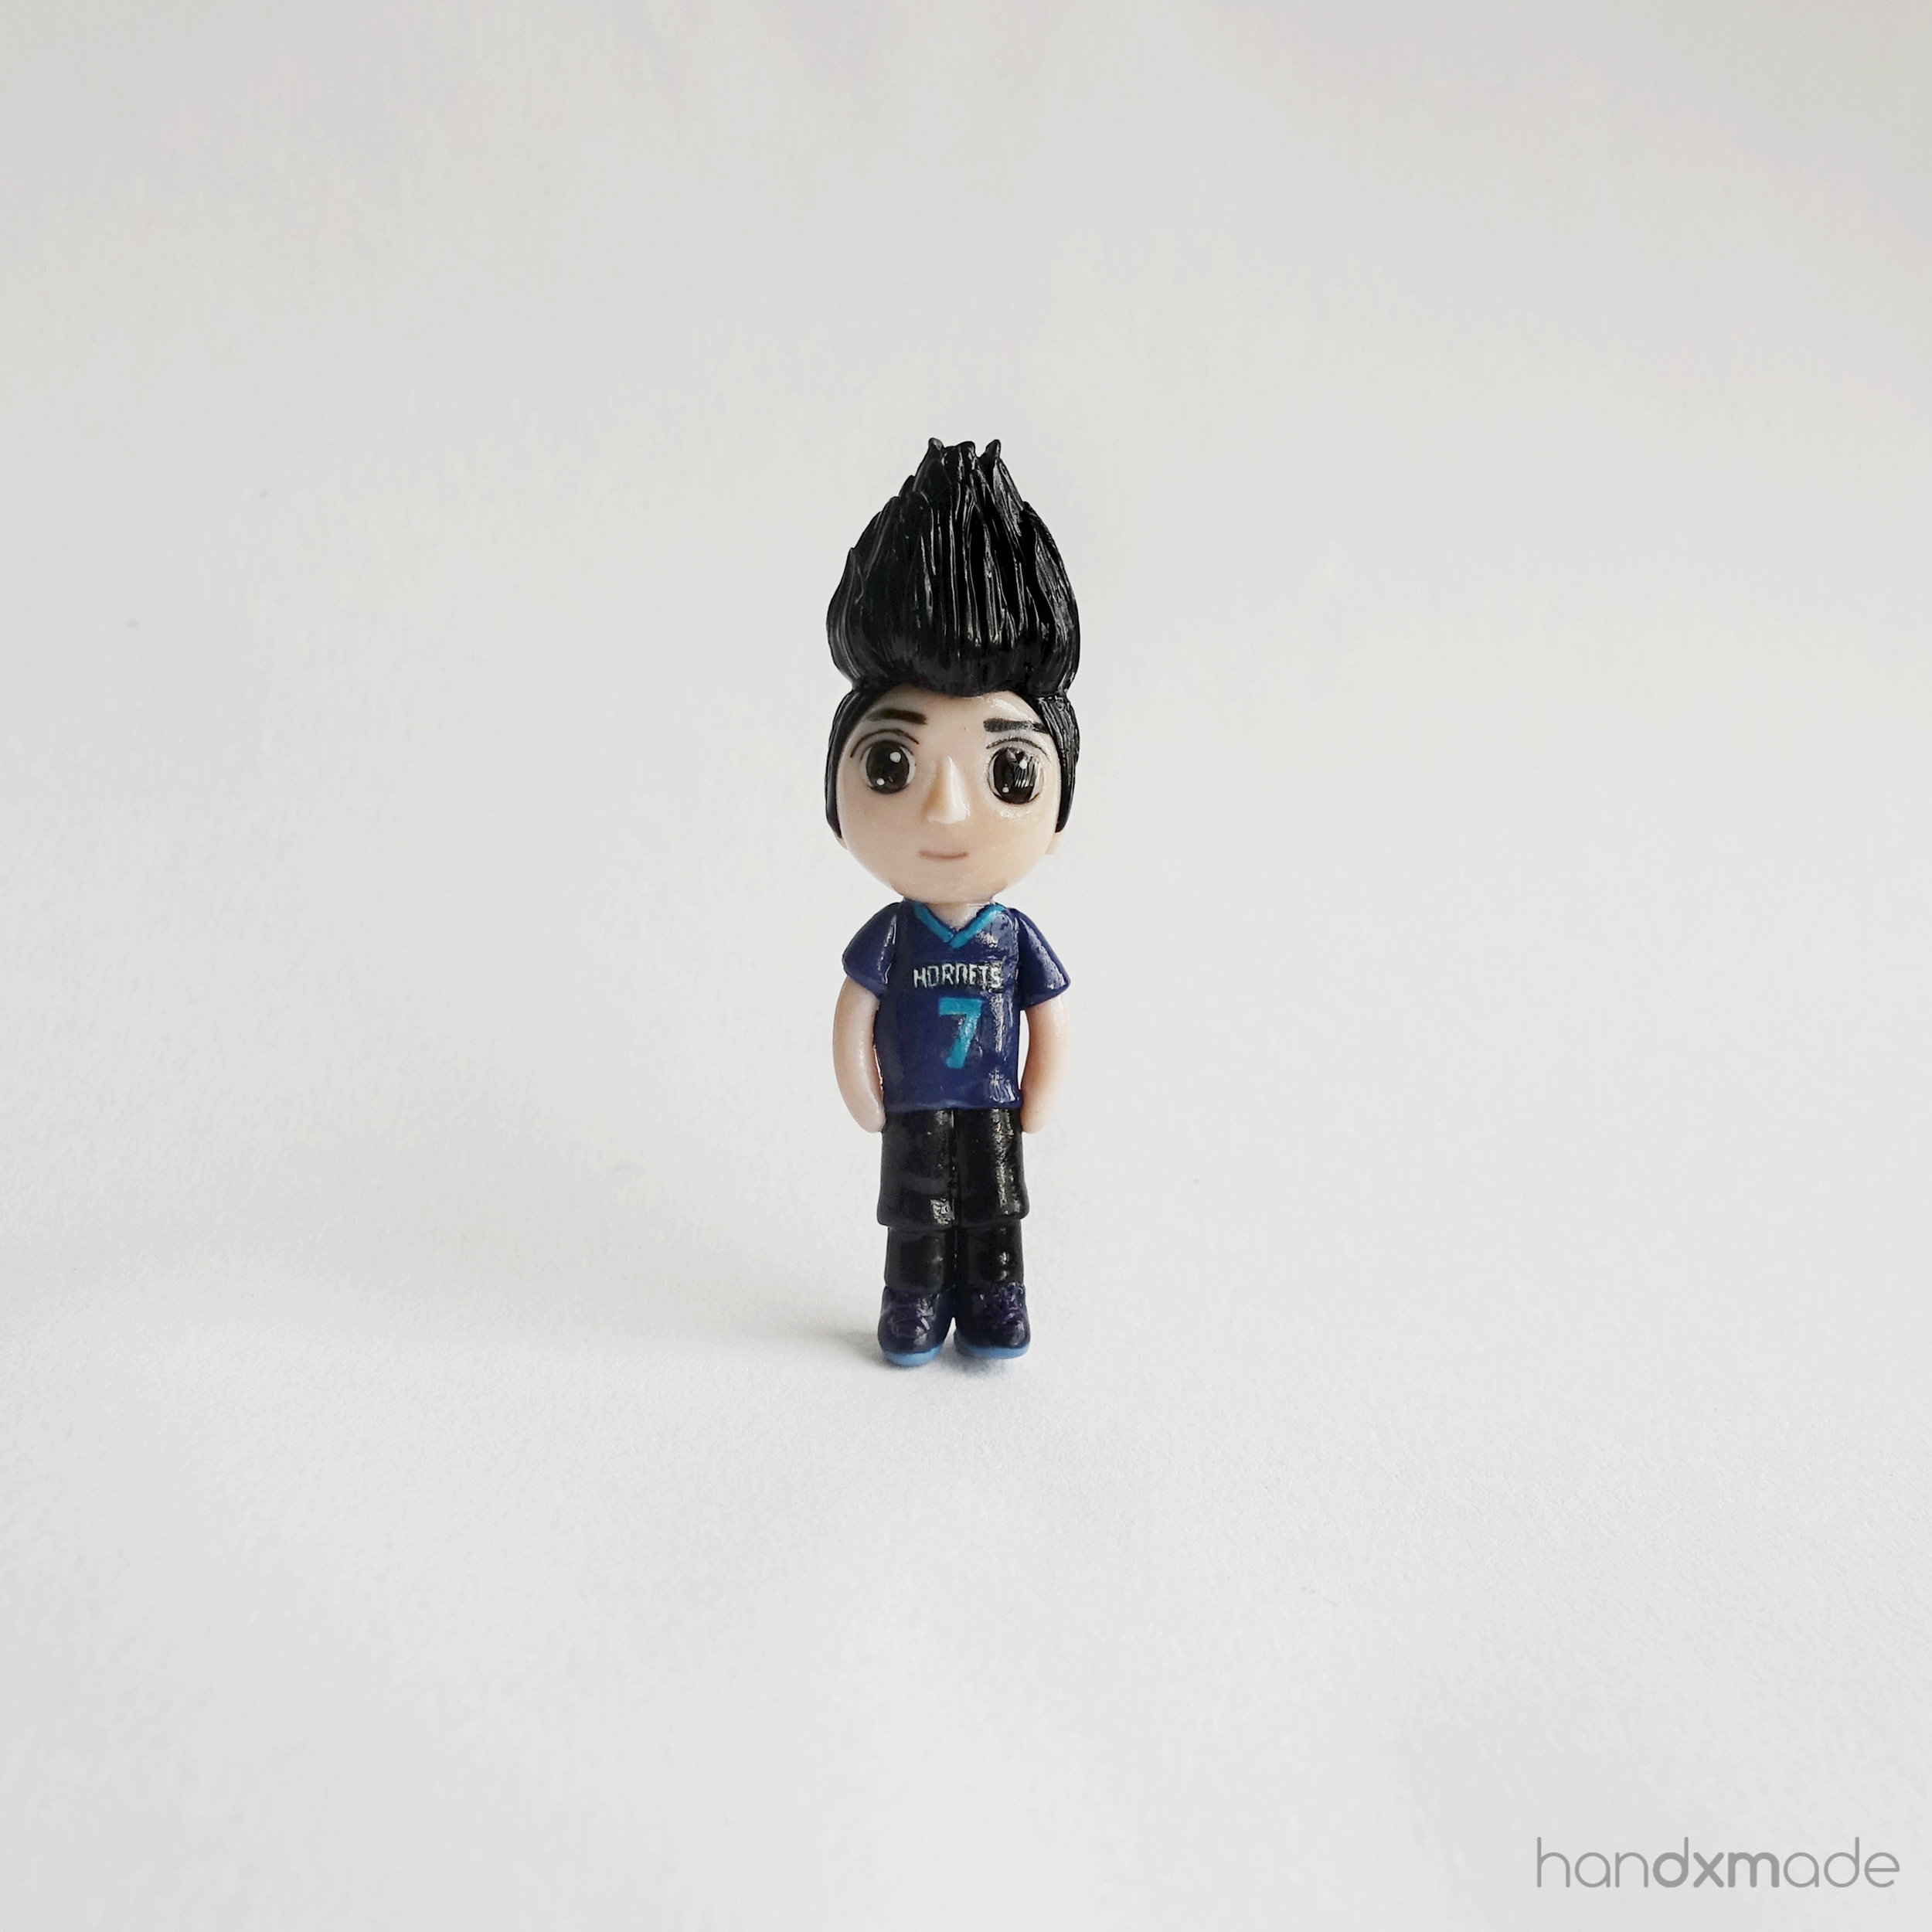
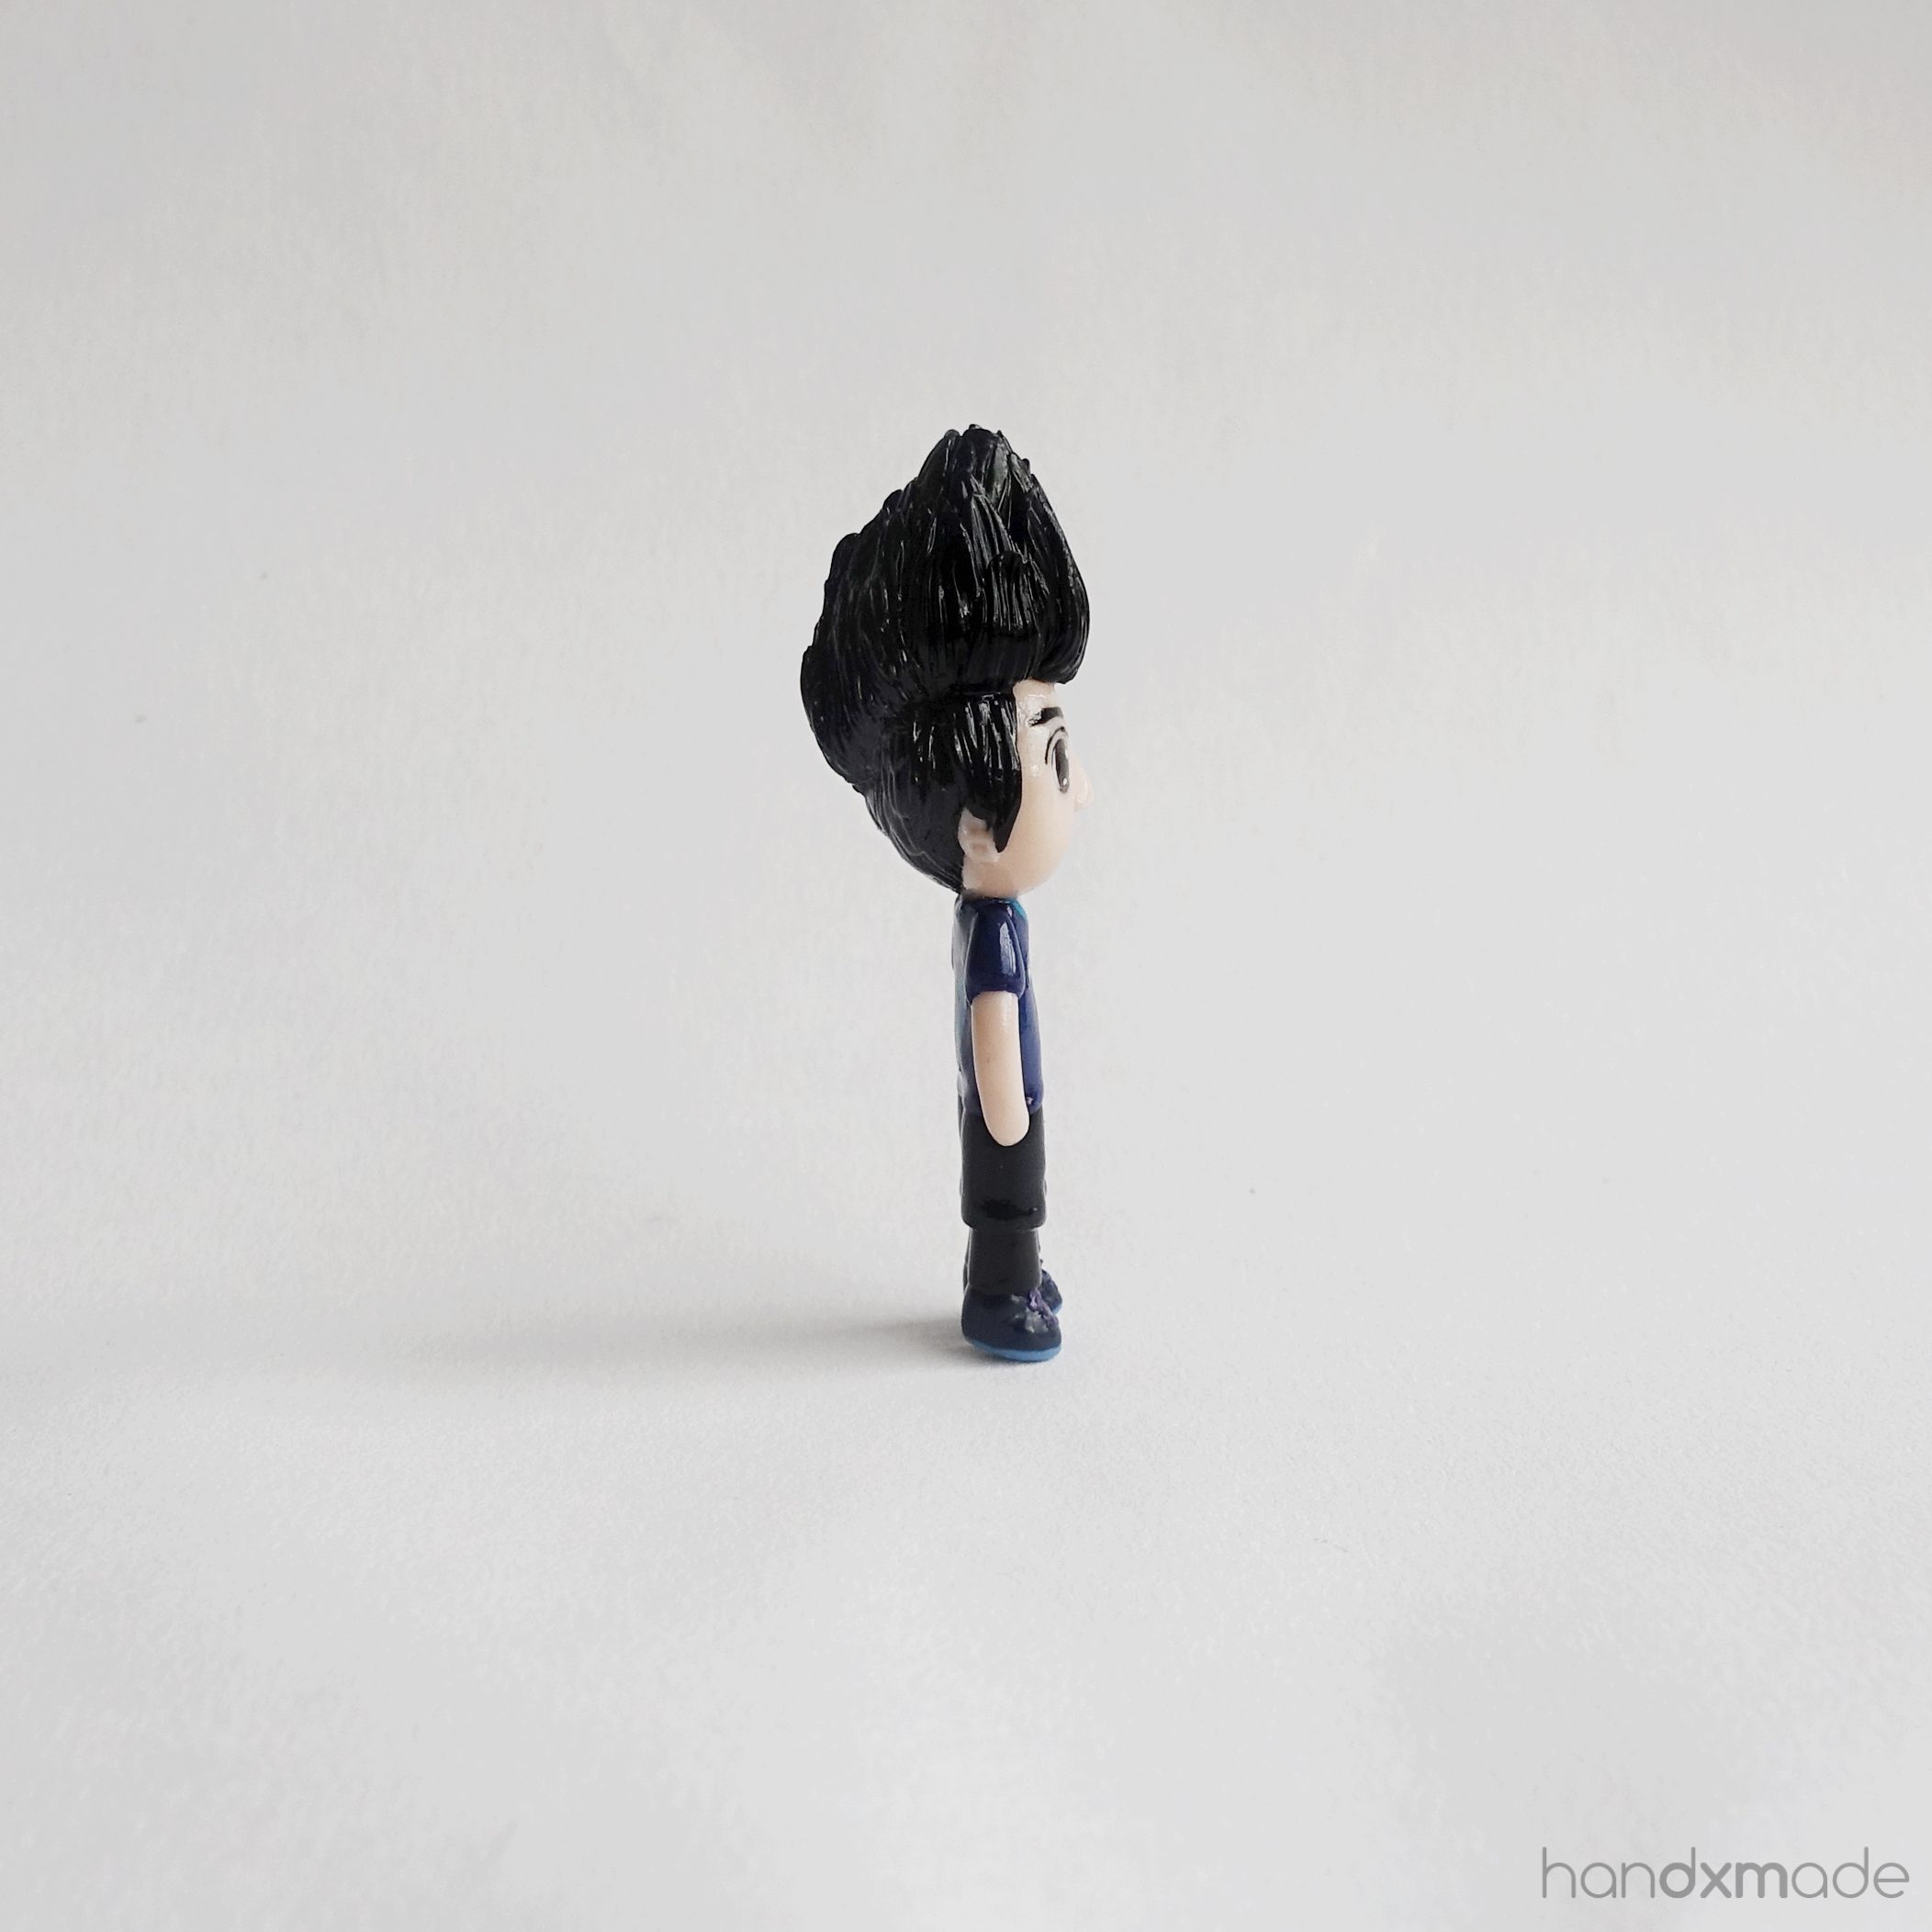
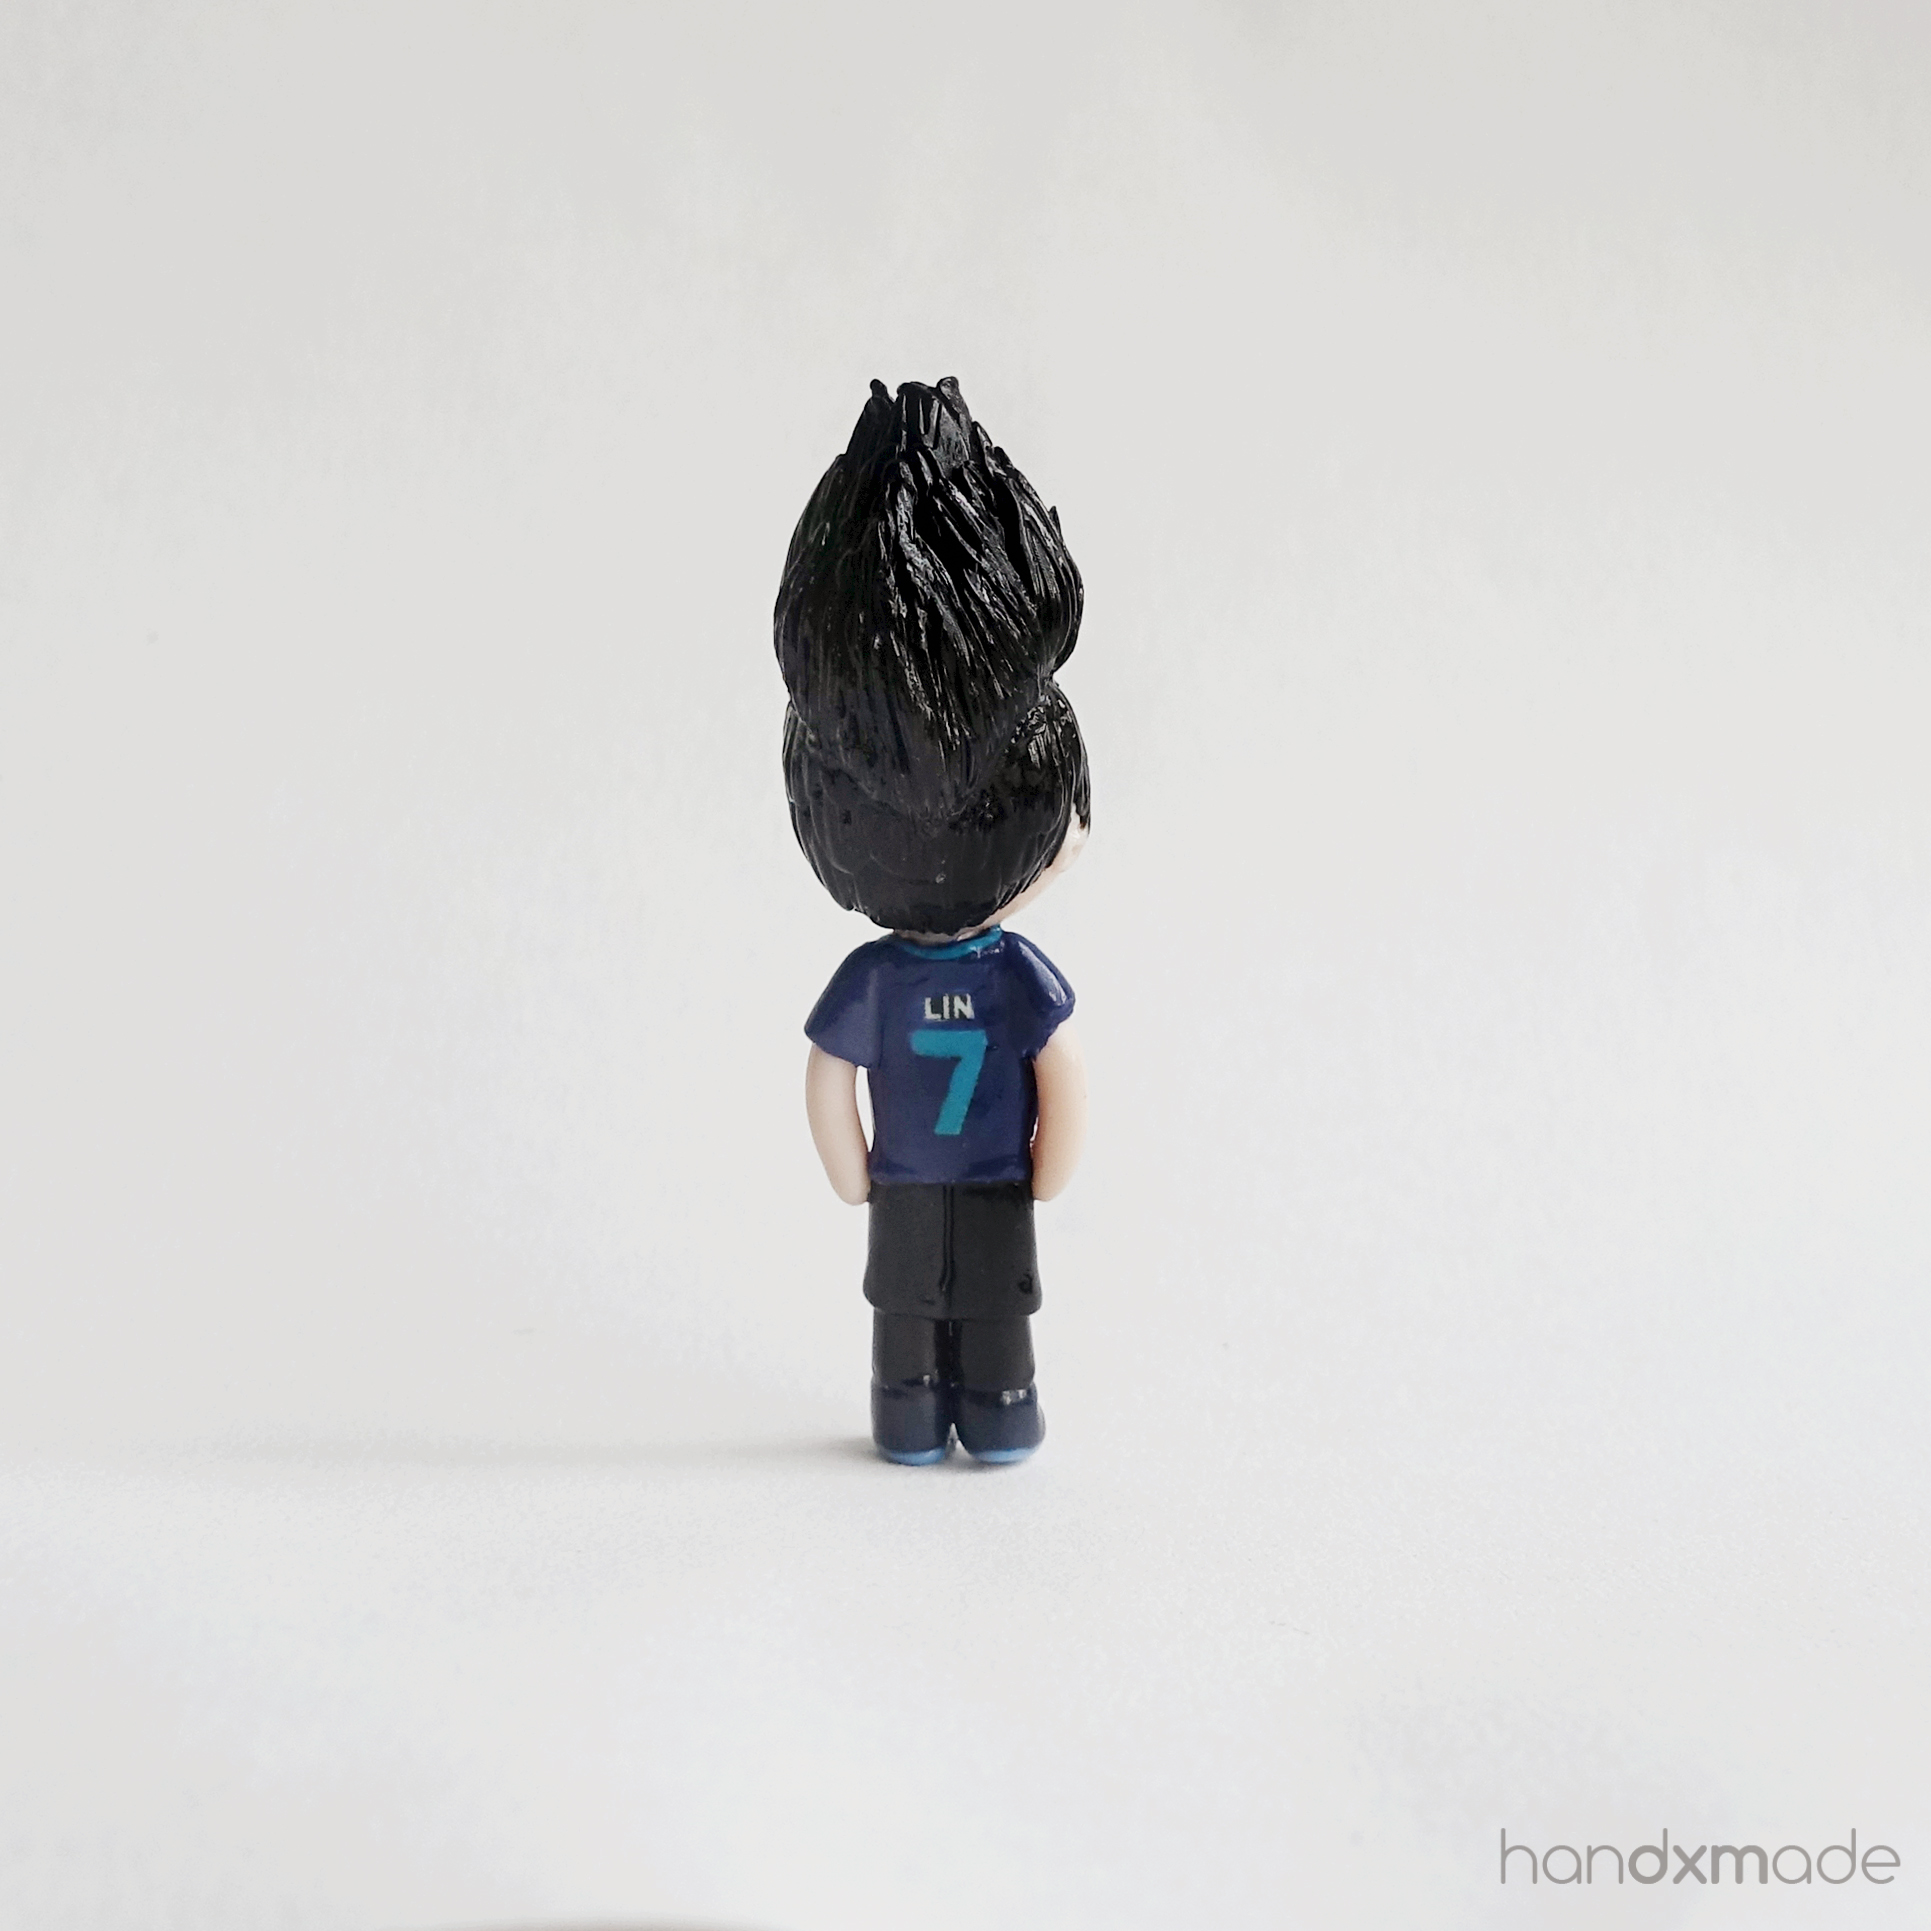
I must say, the hair was quite fun to make, and does make the figurine super handsome, right? XD
Even the clothes too! This is definitely on of my favourite figurines hehee.

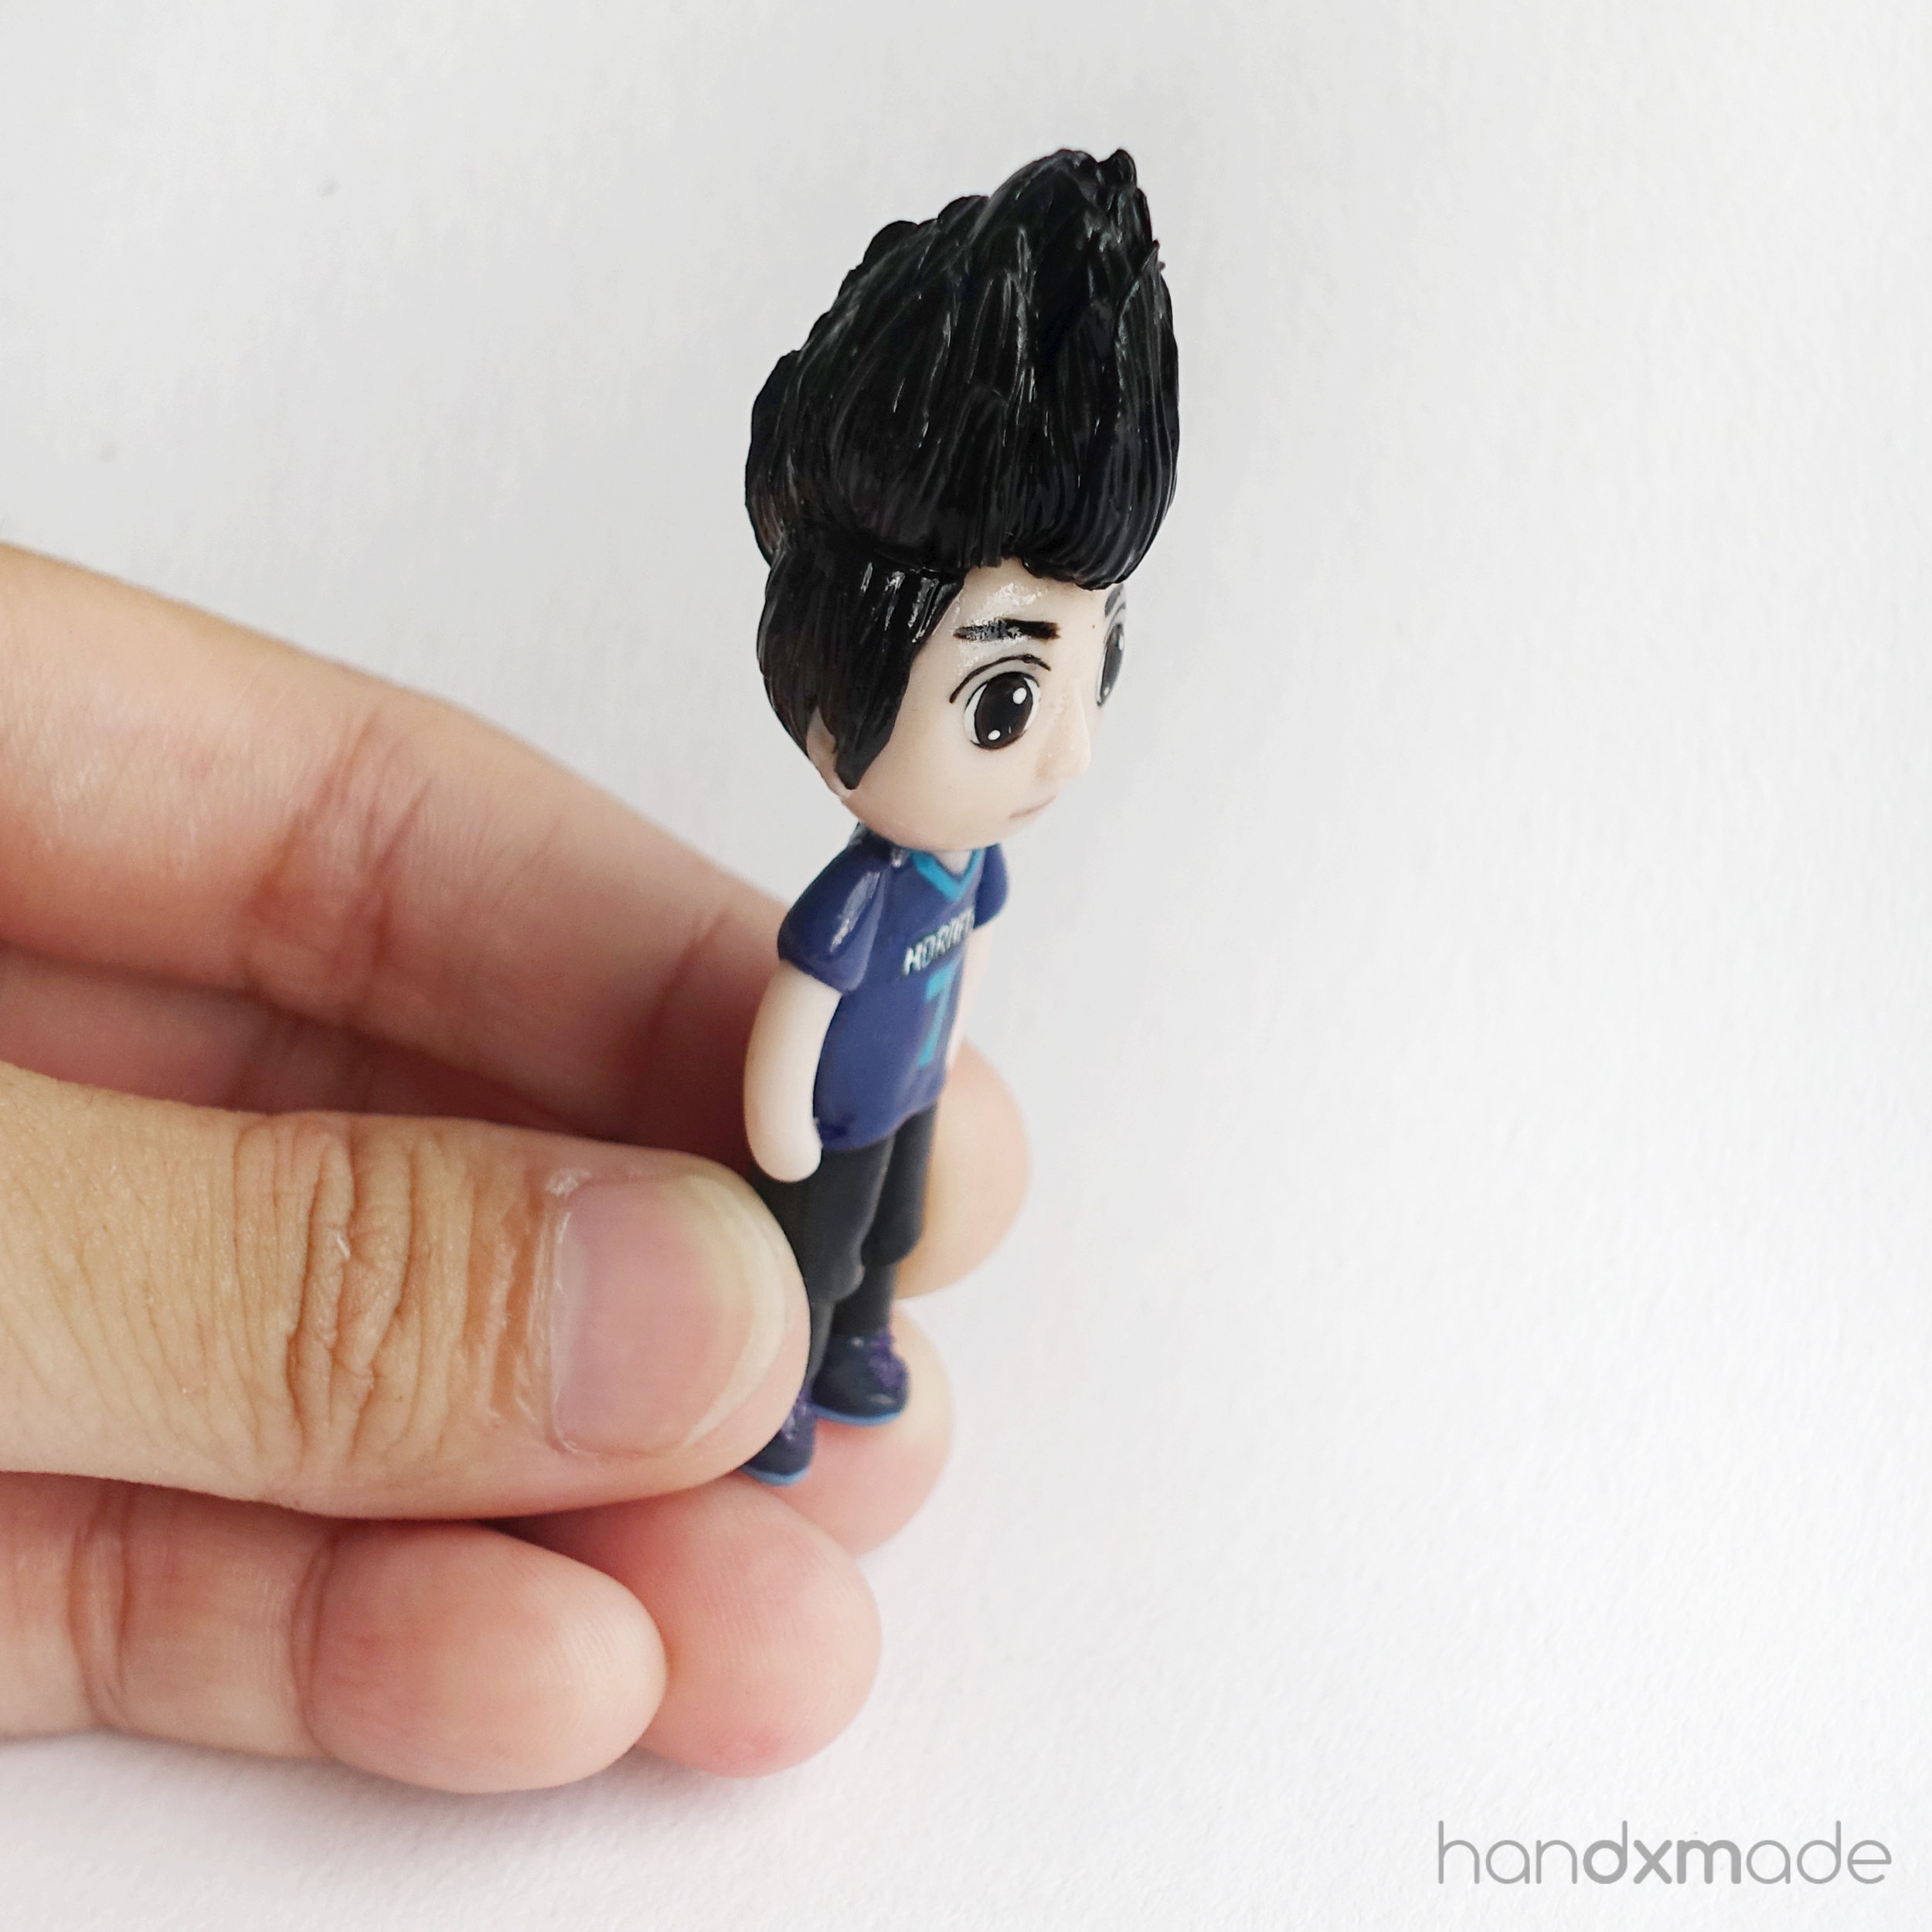
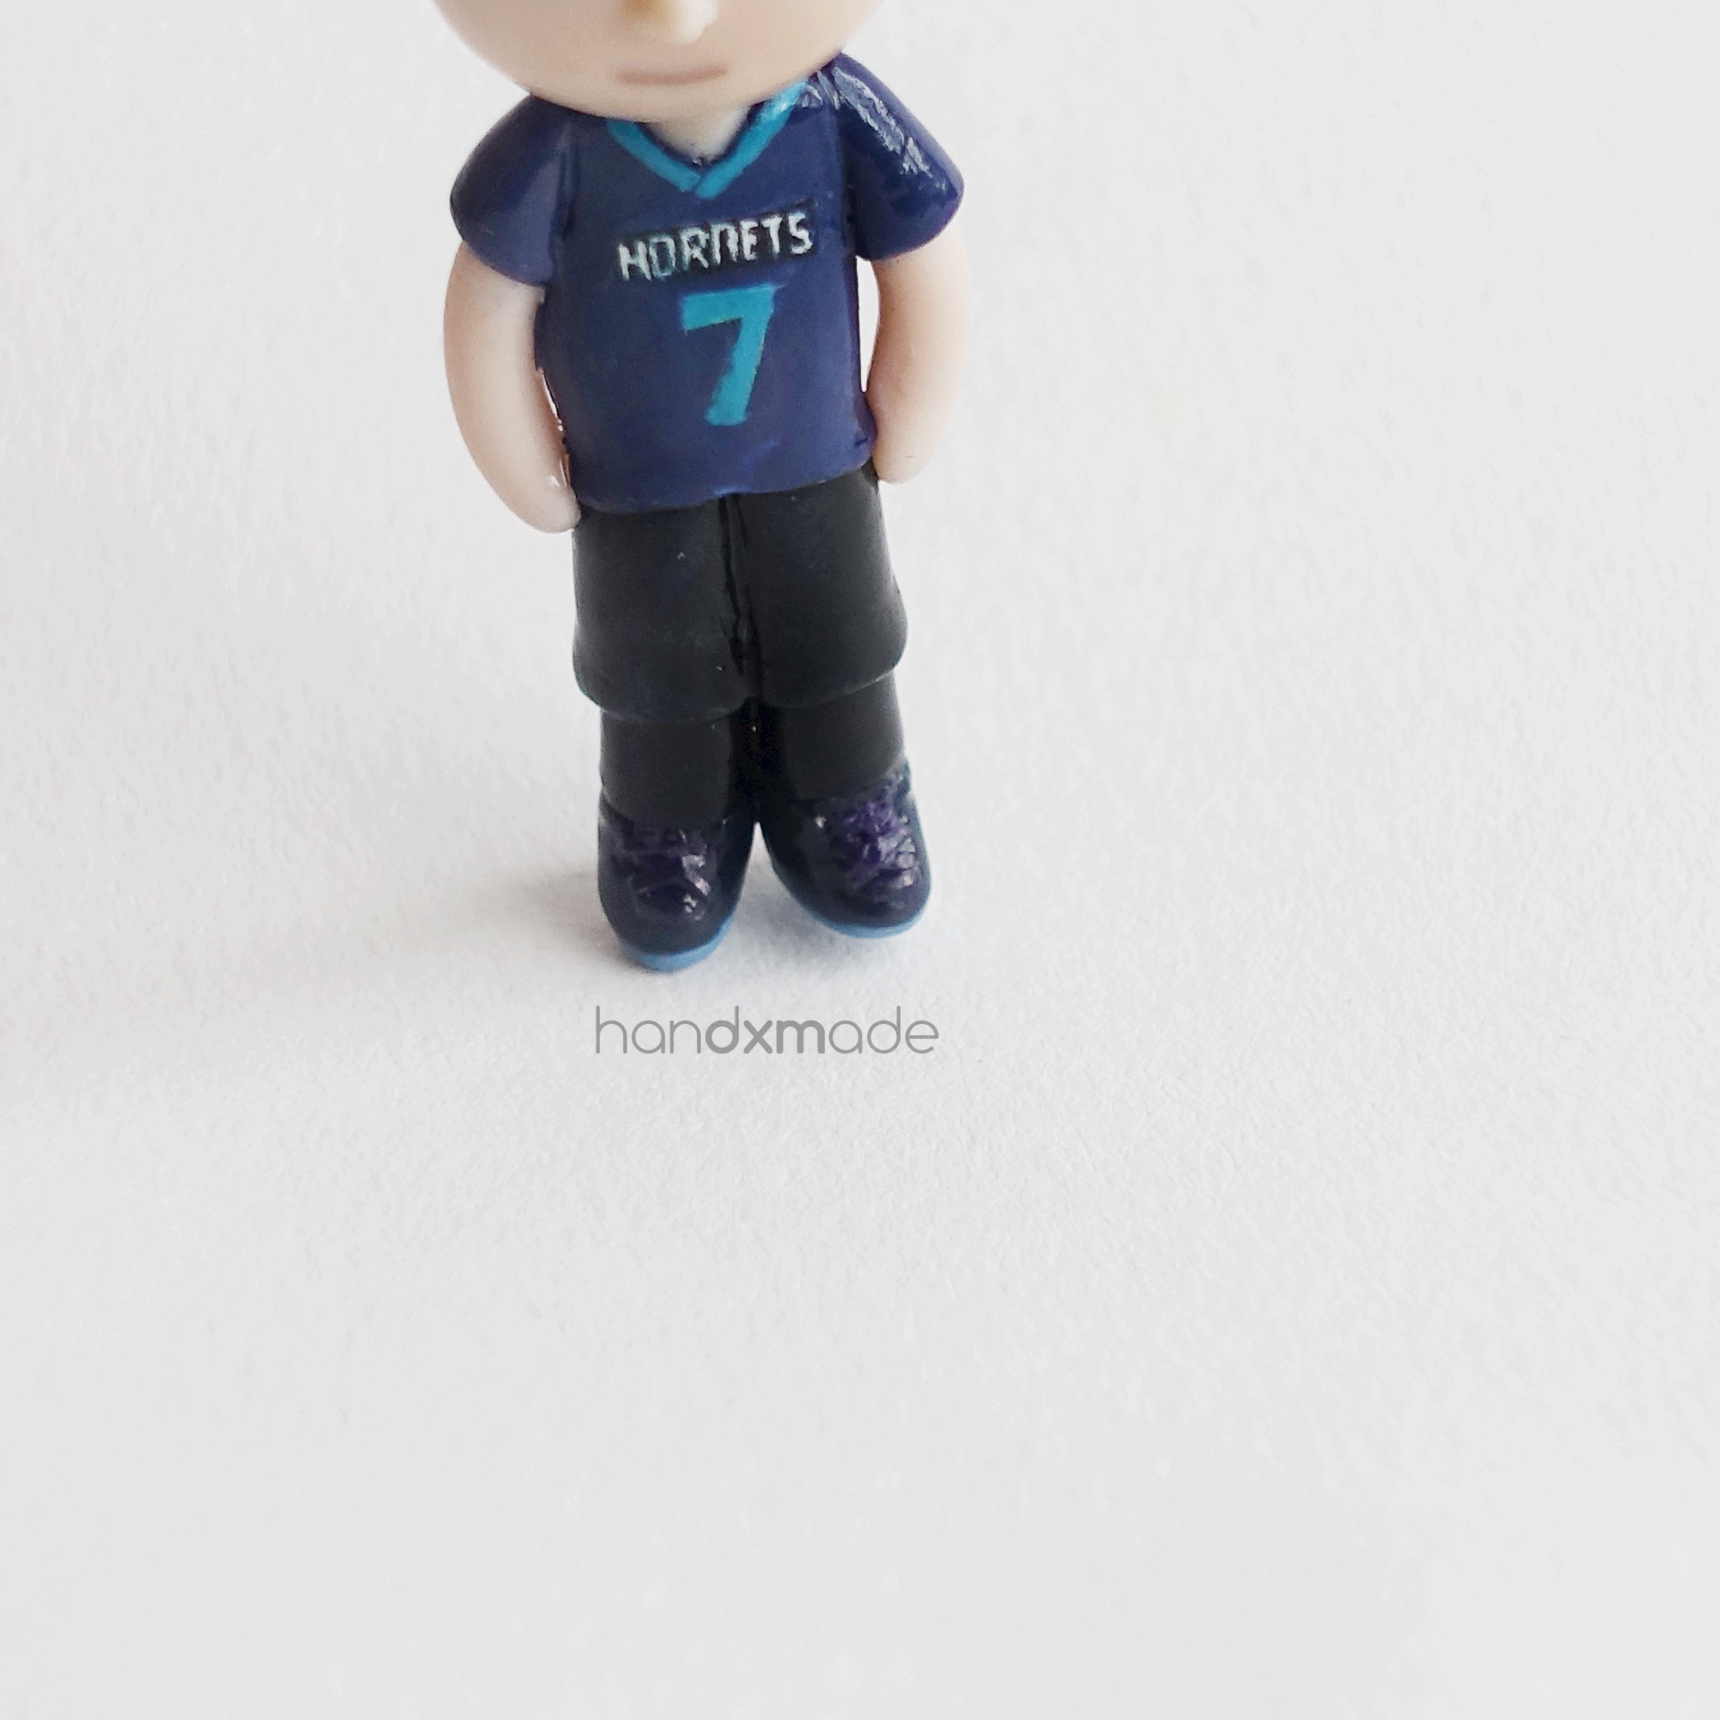
Wavy wavy
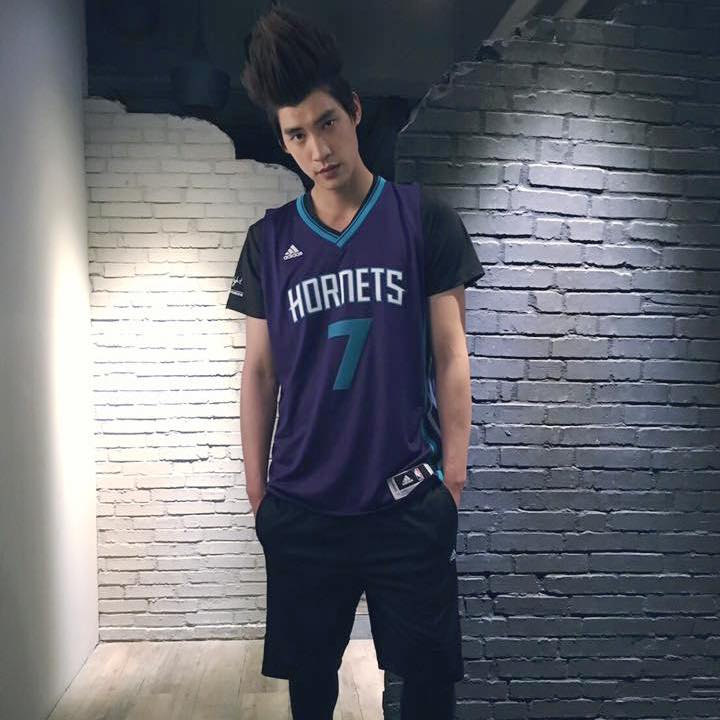


She also ordered this!
Initially I wanted to use image transfer for the imprints, but in the end, painting was much better because it was much vibrant... Image transfer really only works better on white background :(
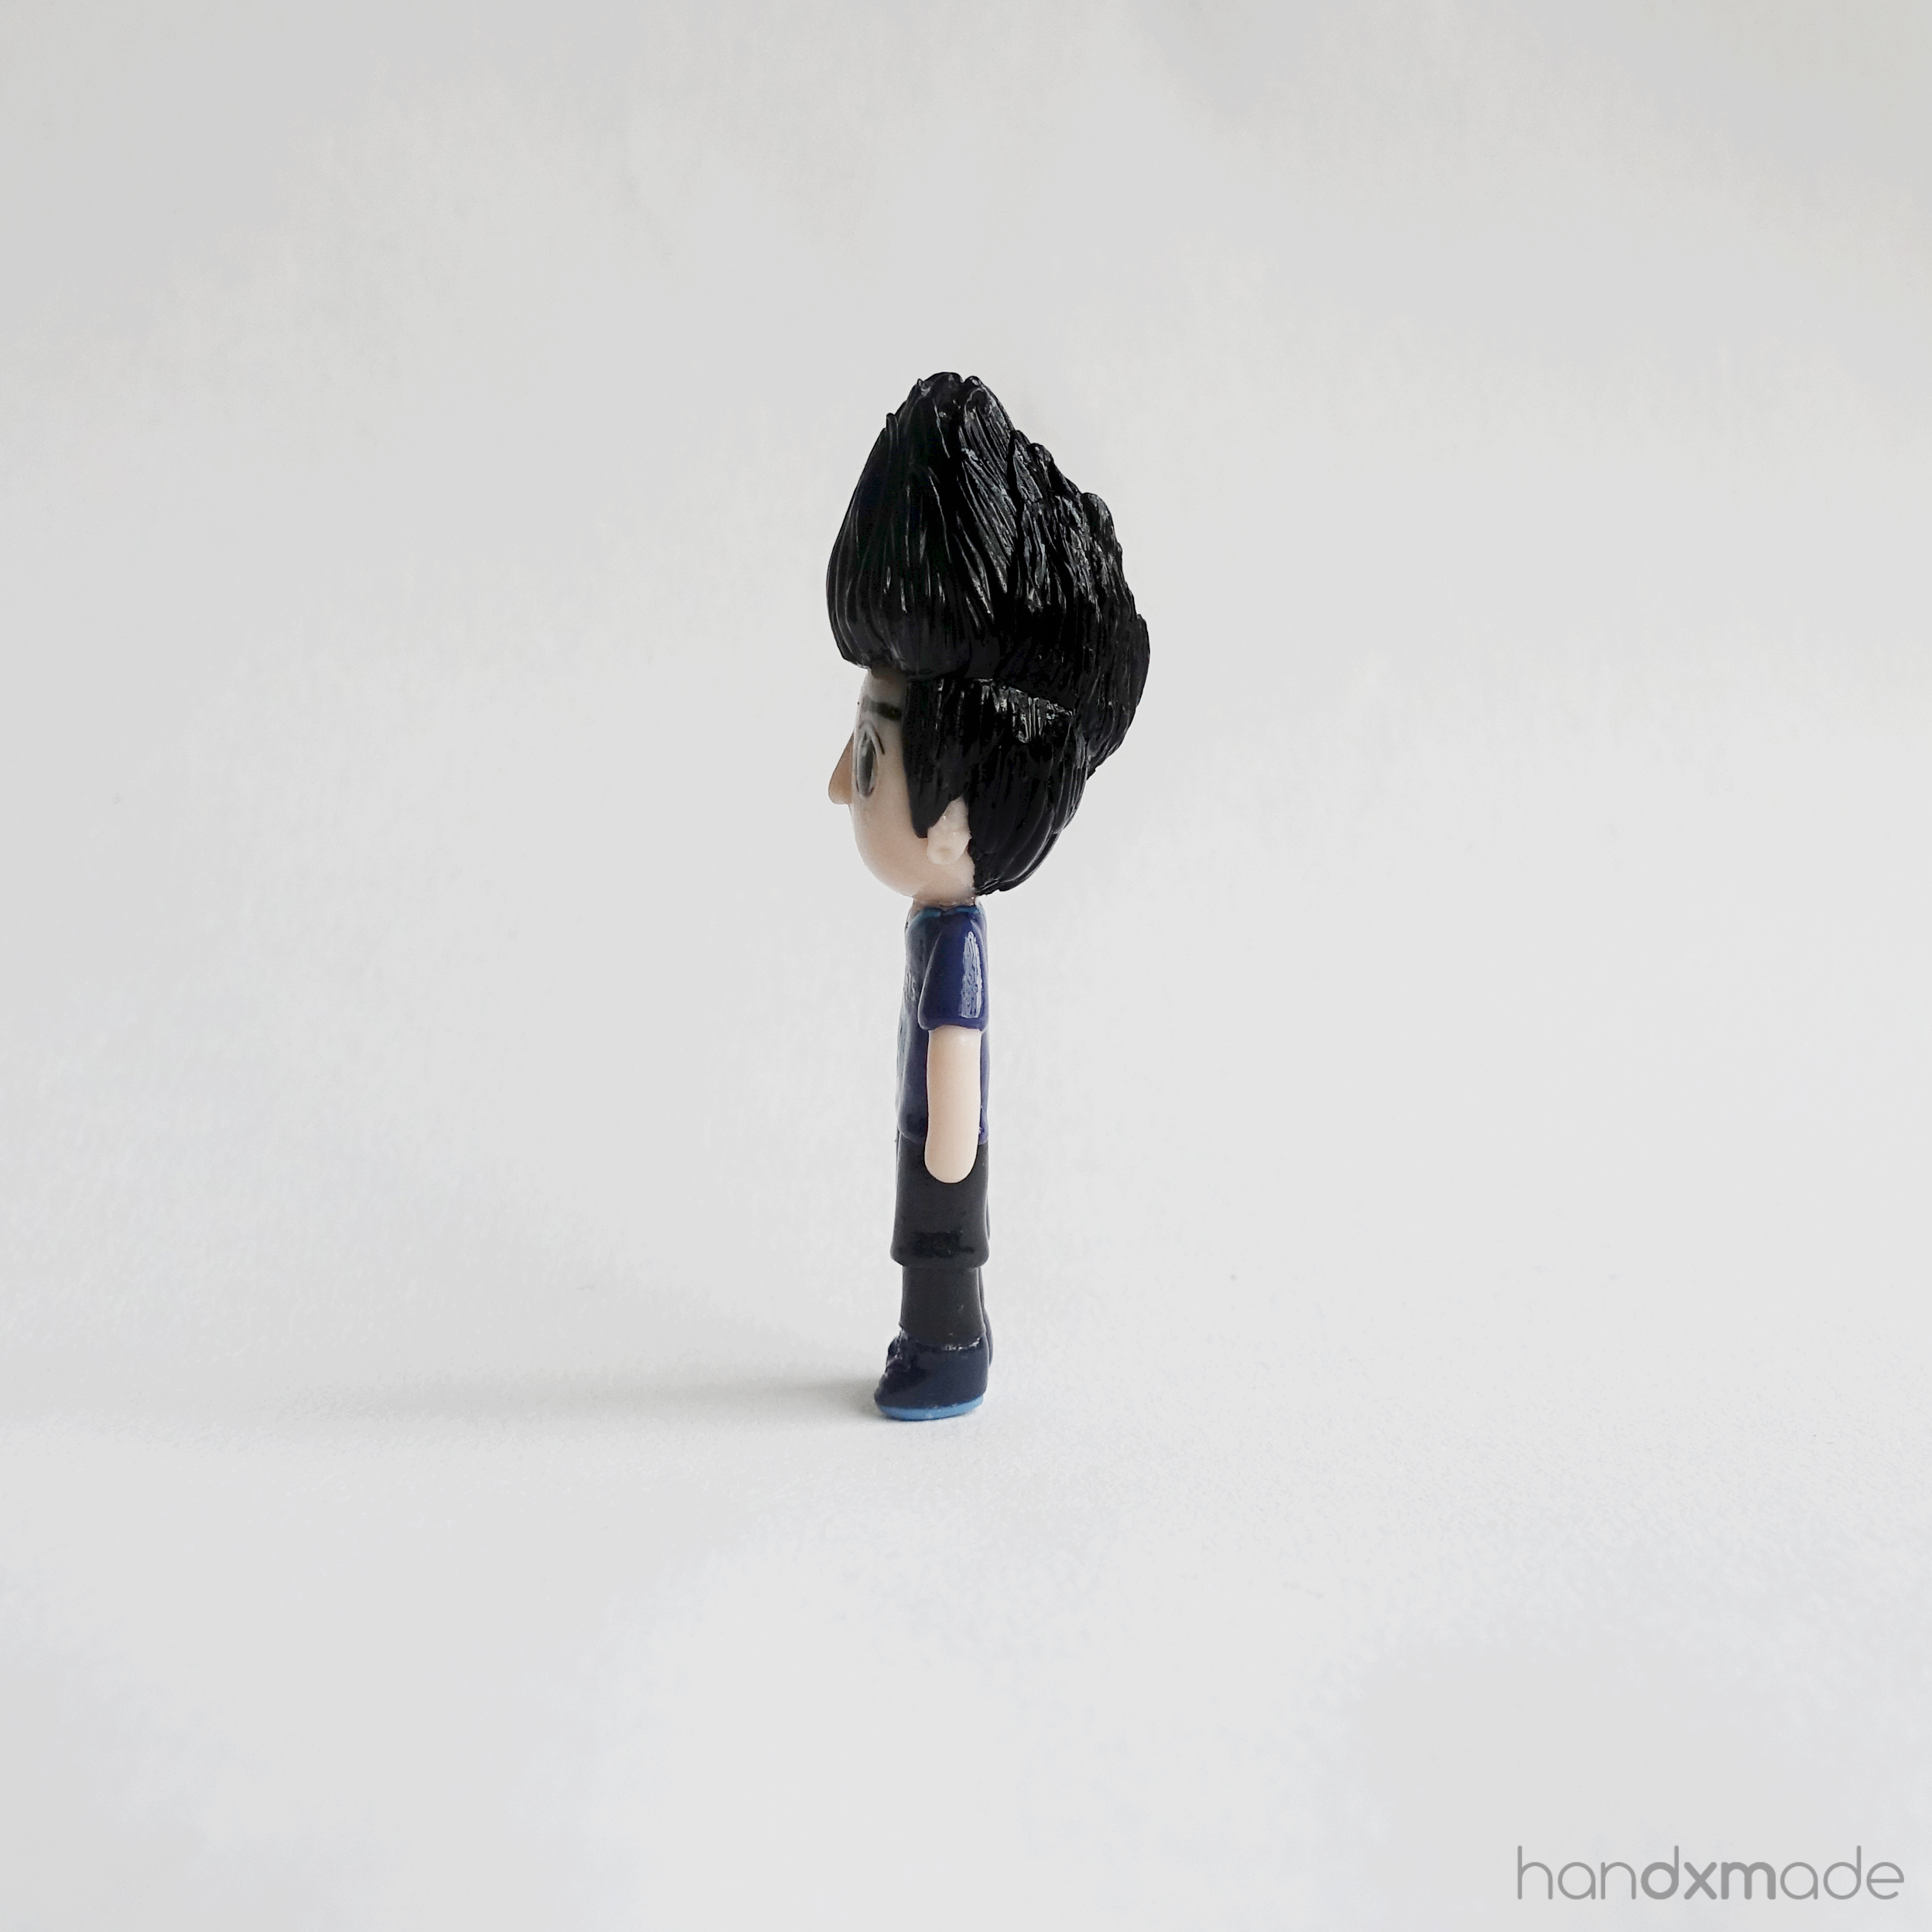
I think it went pretty well though, AND OMG THE HAIR.
The hair is the same size as his head, and I am not even exaggerating!! Look at the reference photo hahaa. It's like, anime hair! I genuinely wonder if it's heavy and how much wax was used....
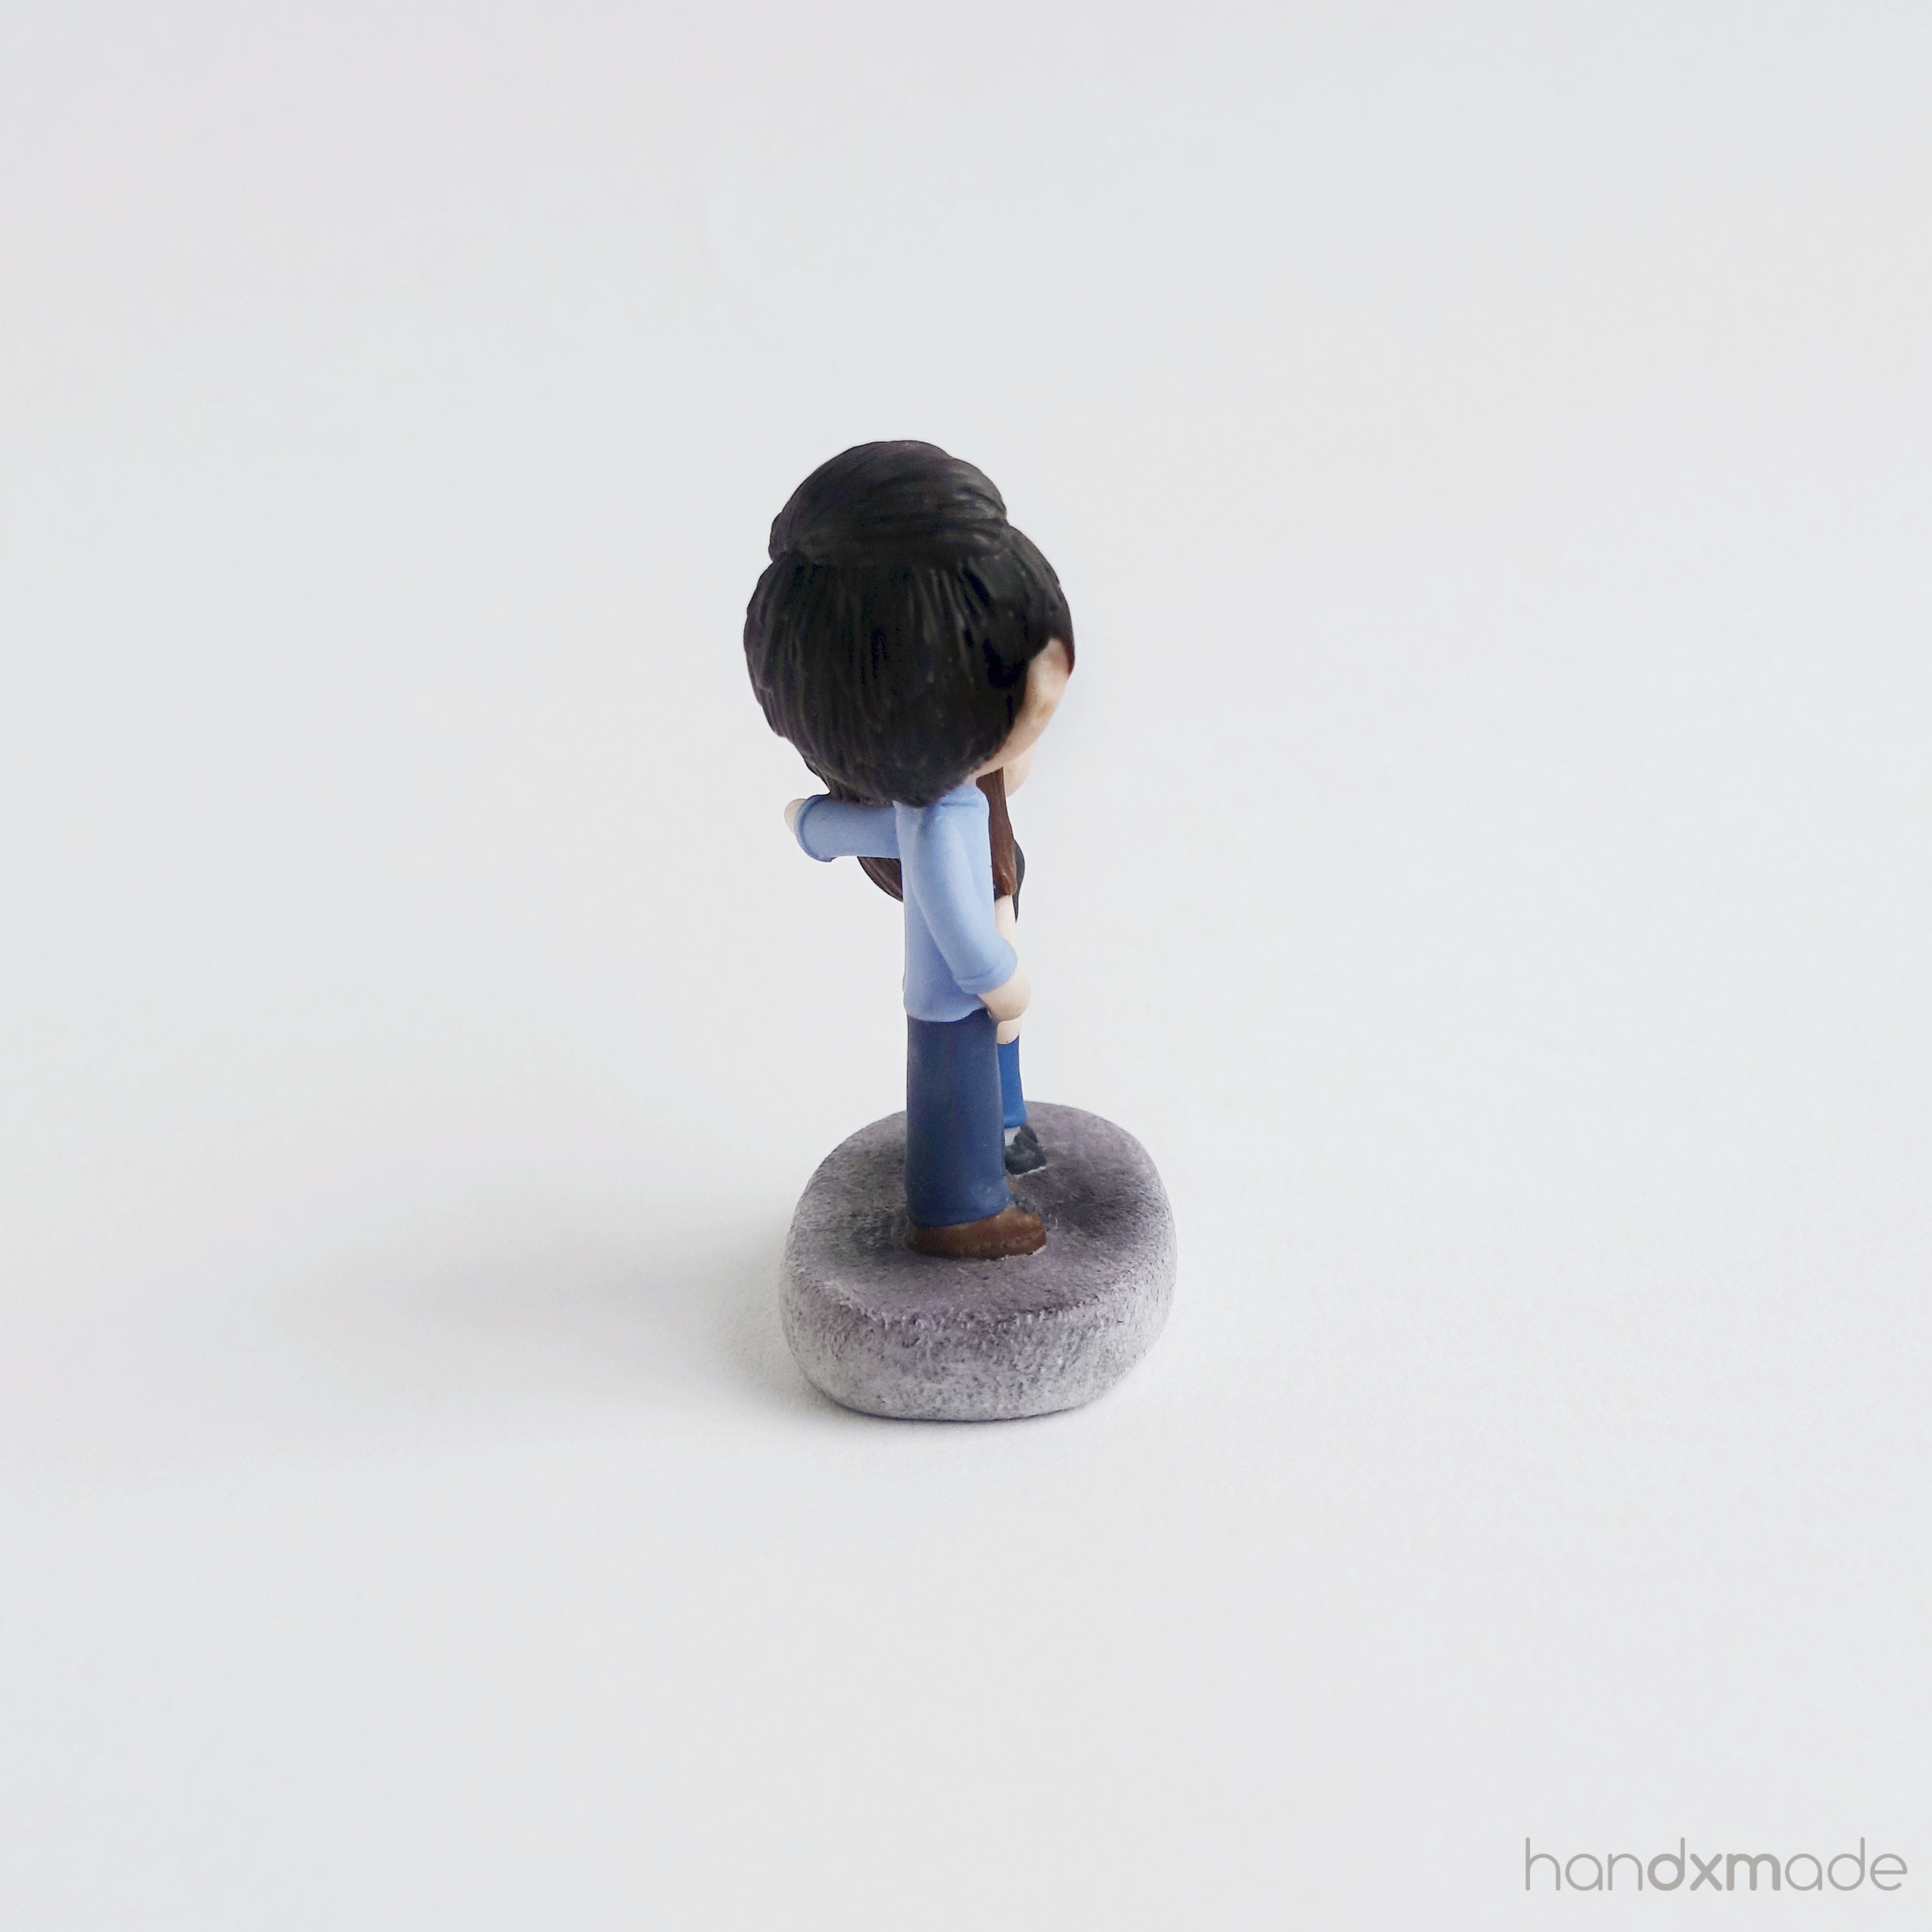
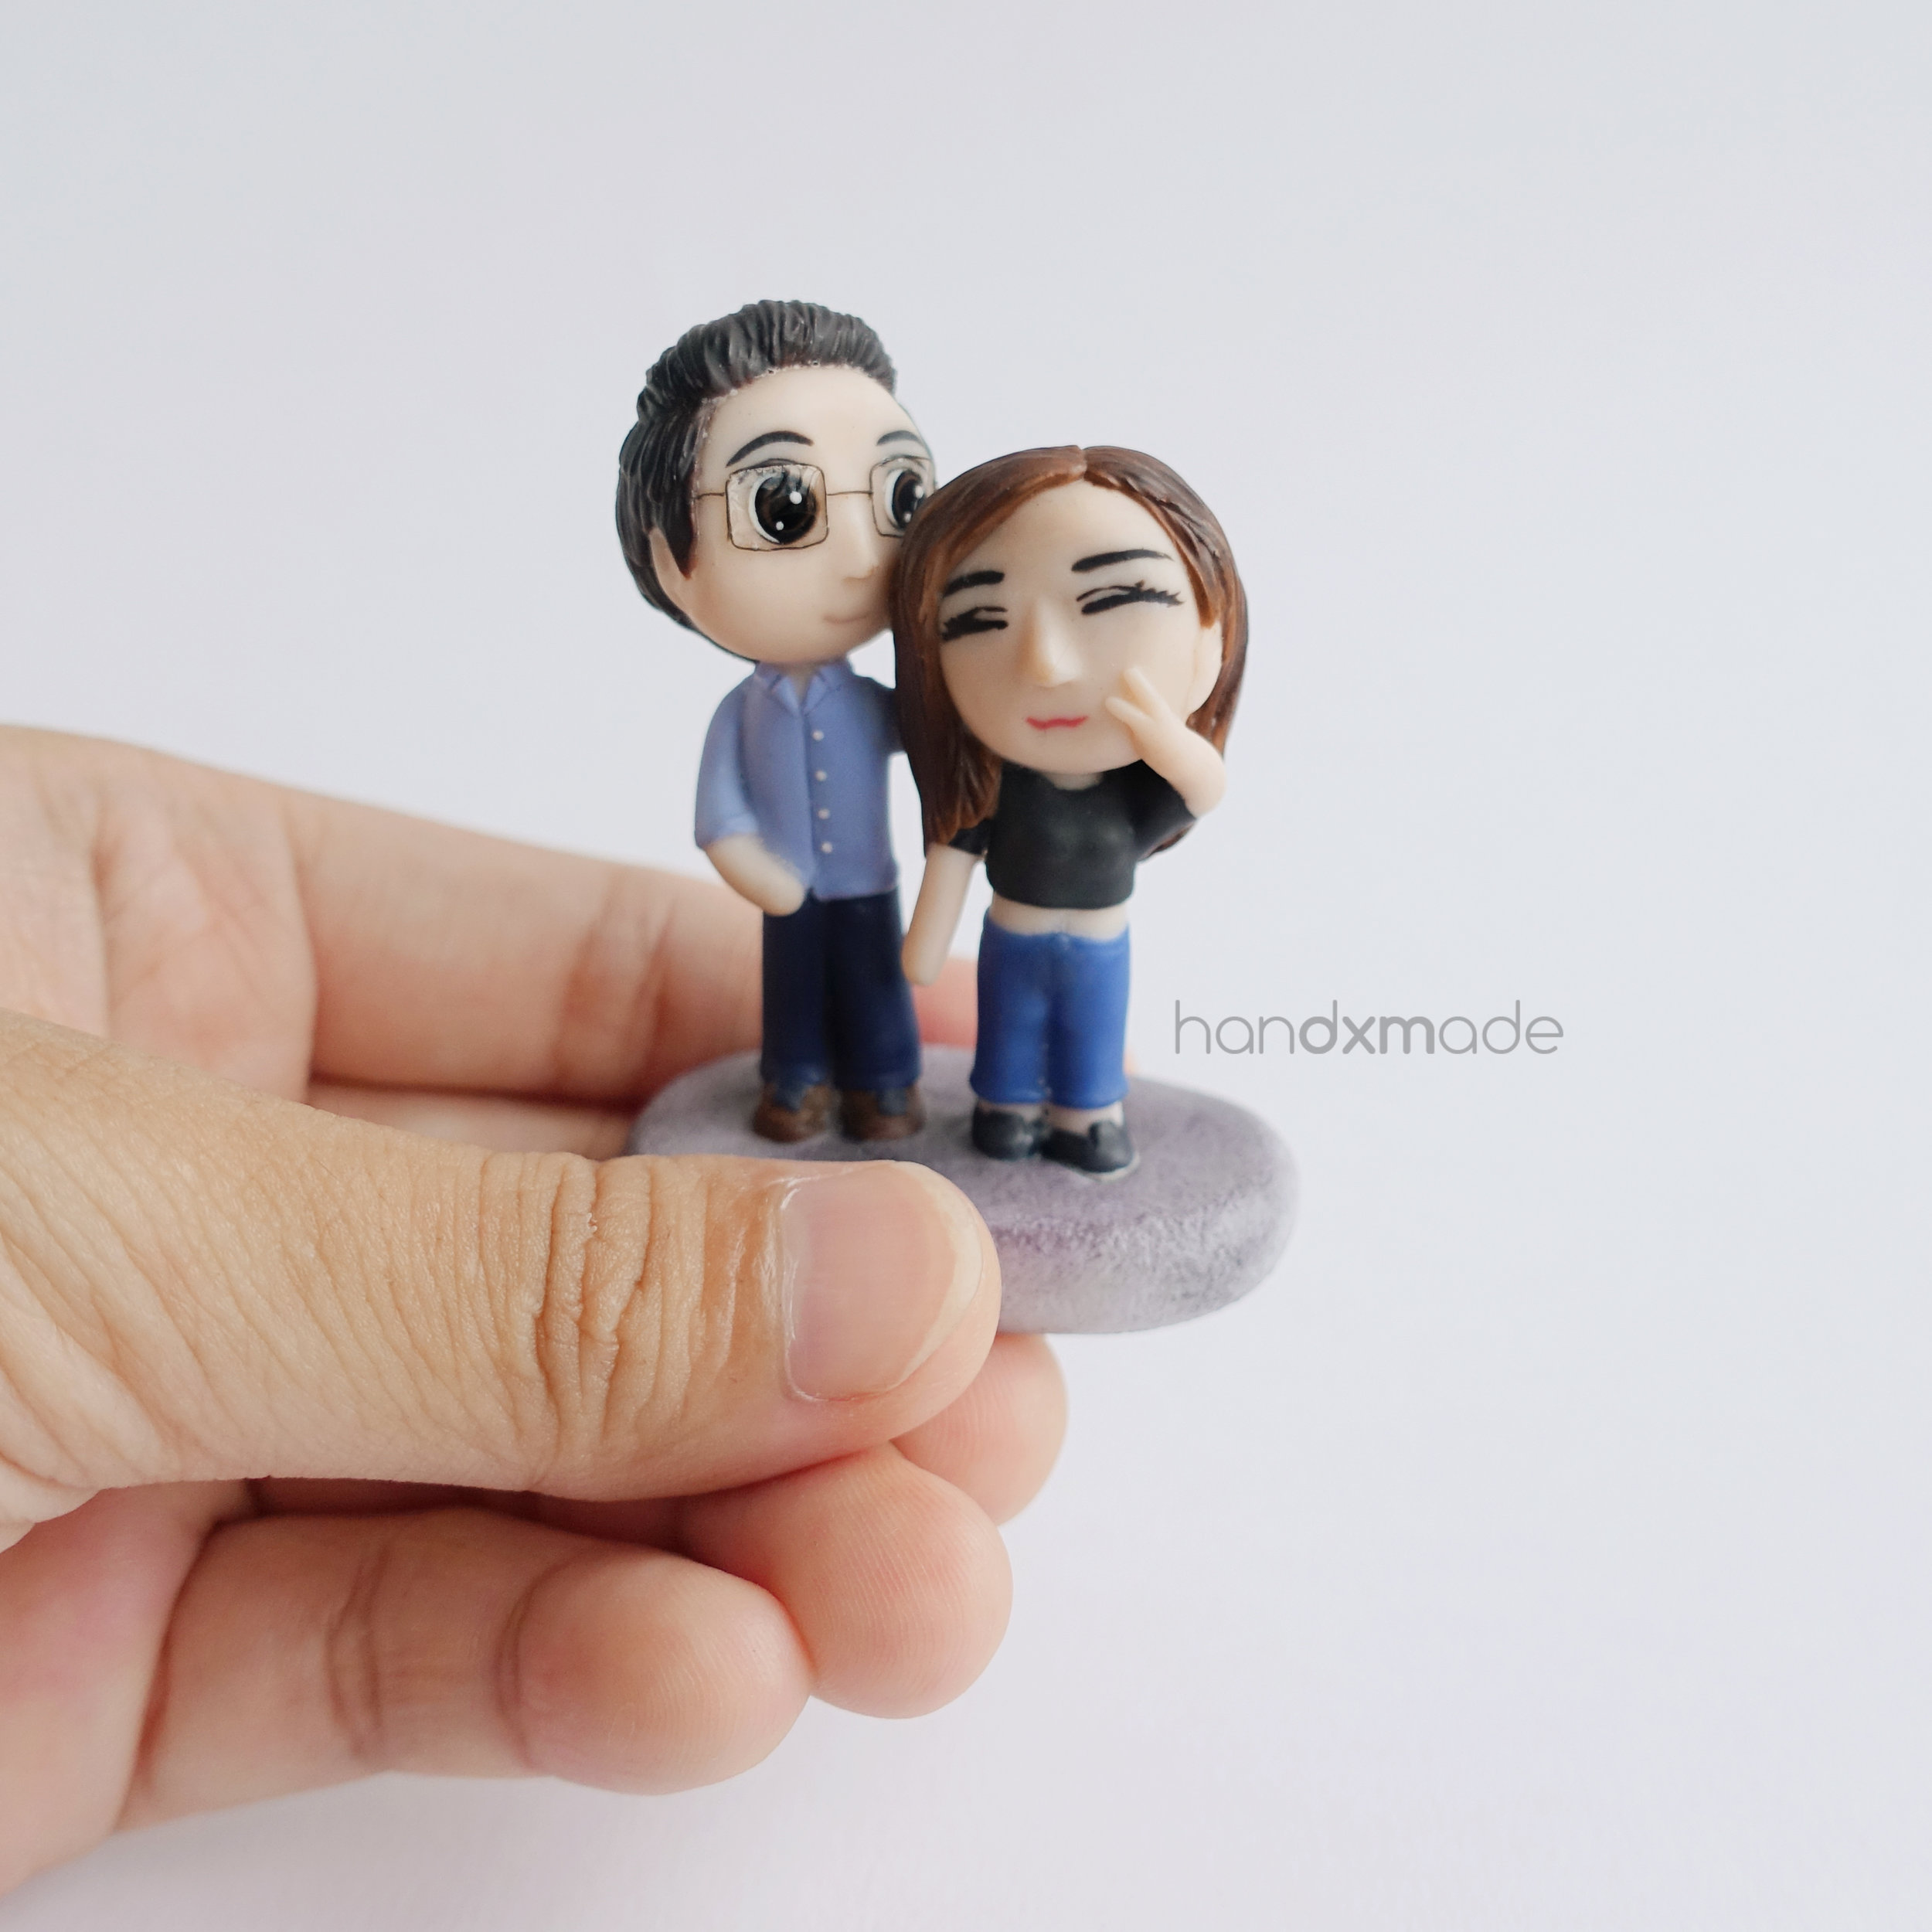
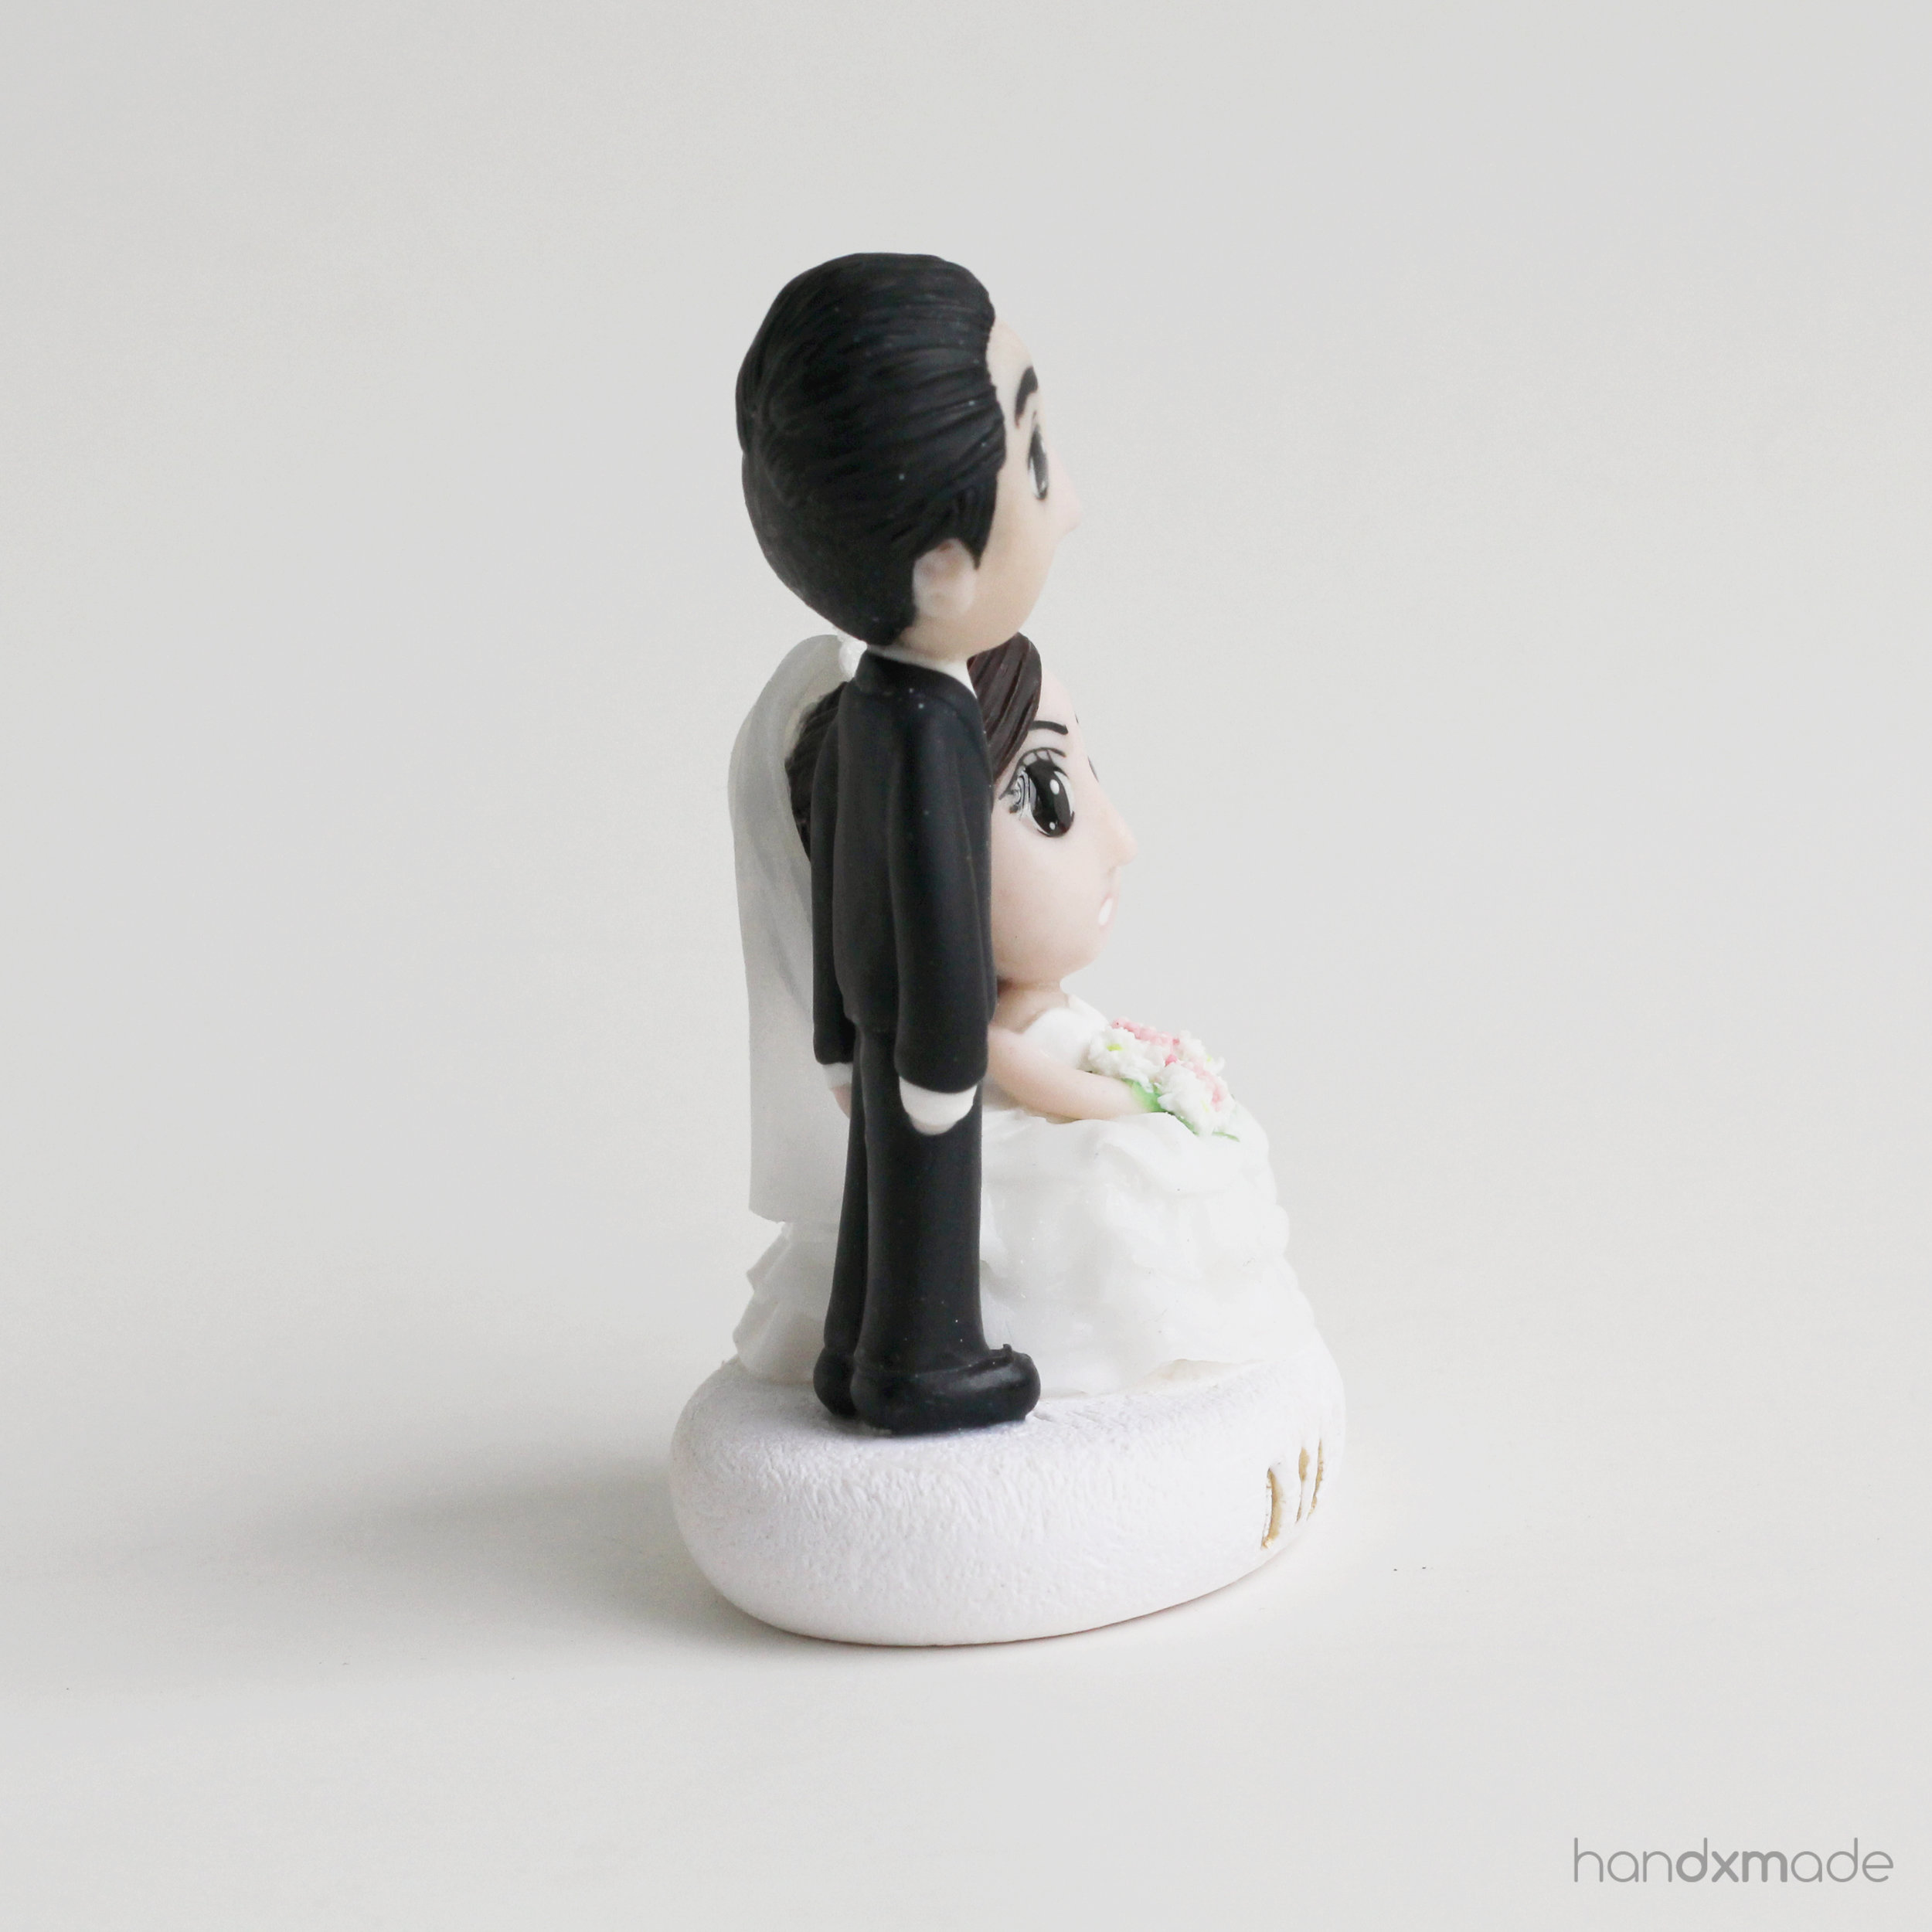
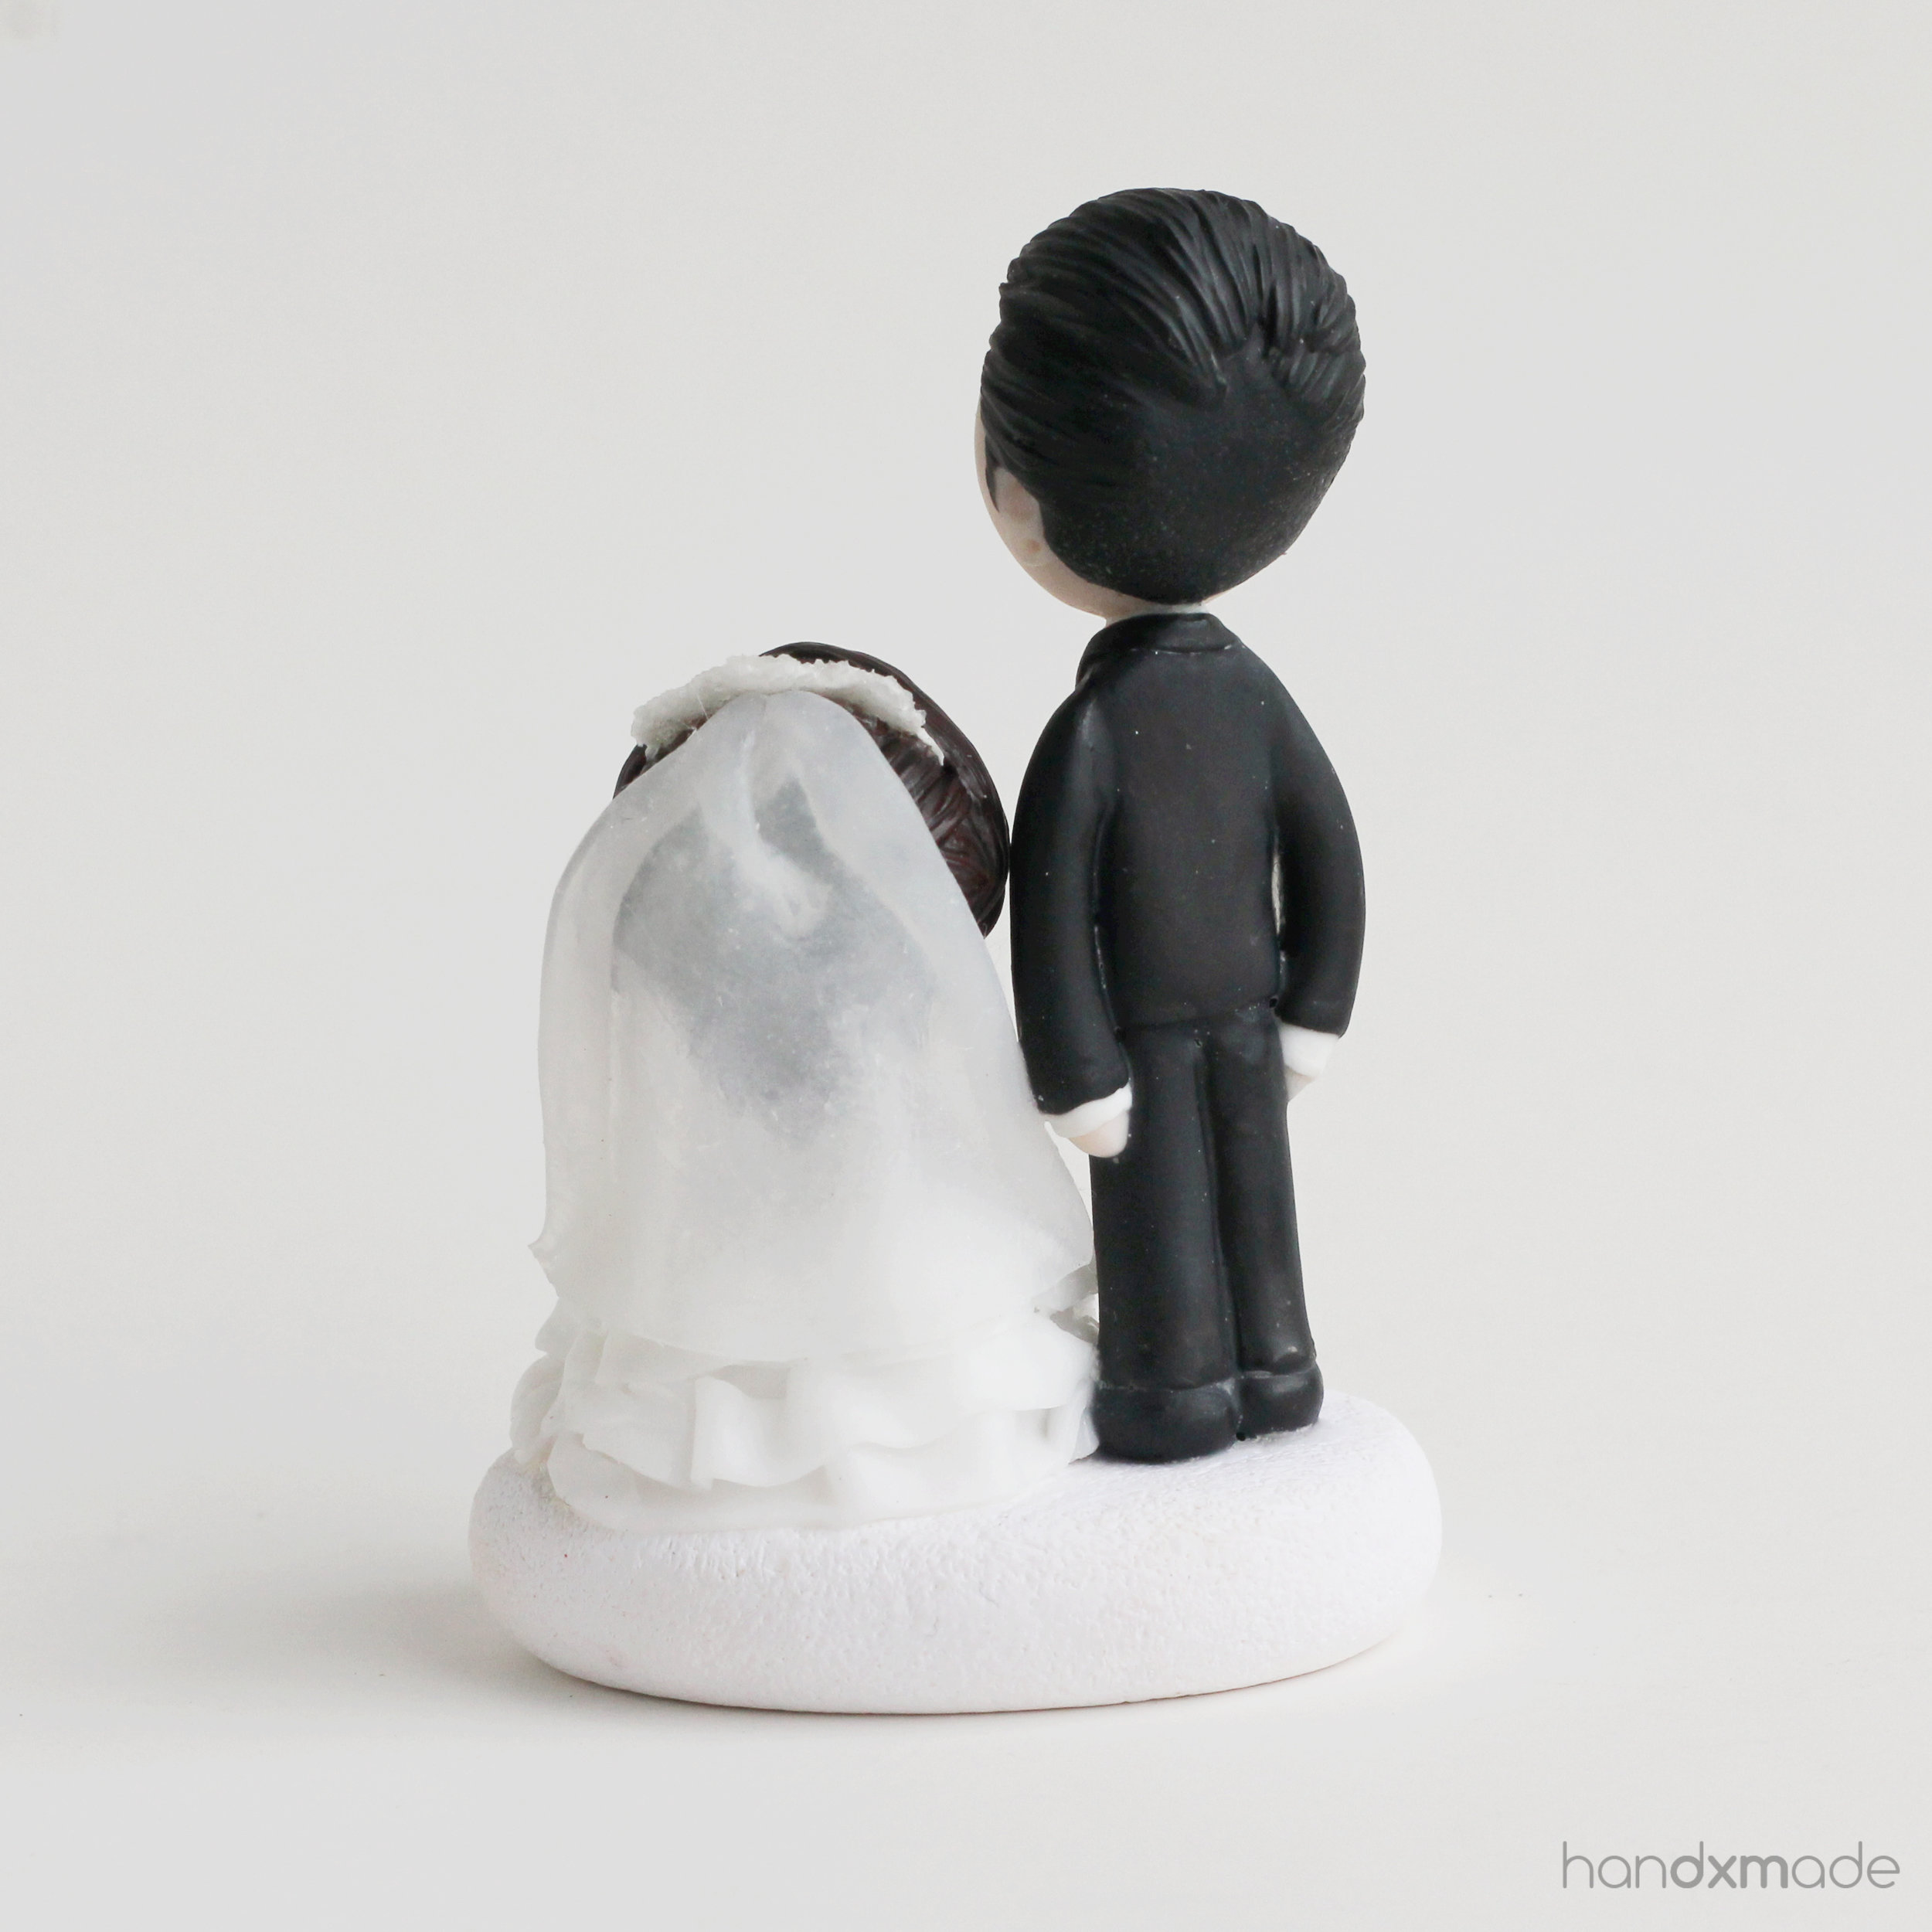
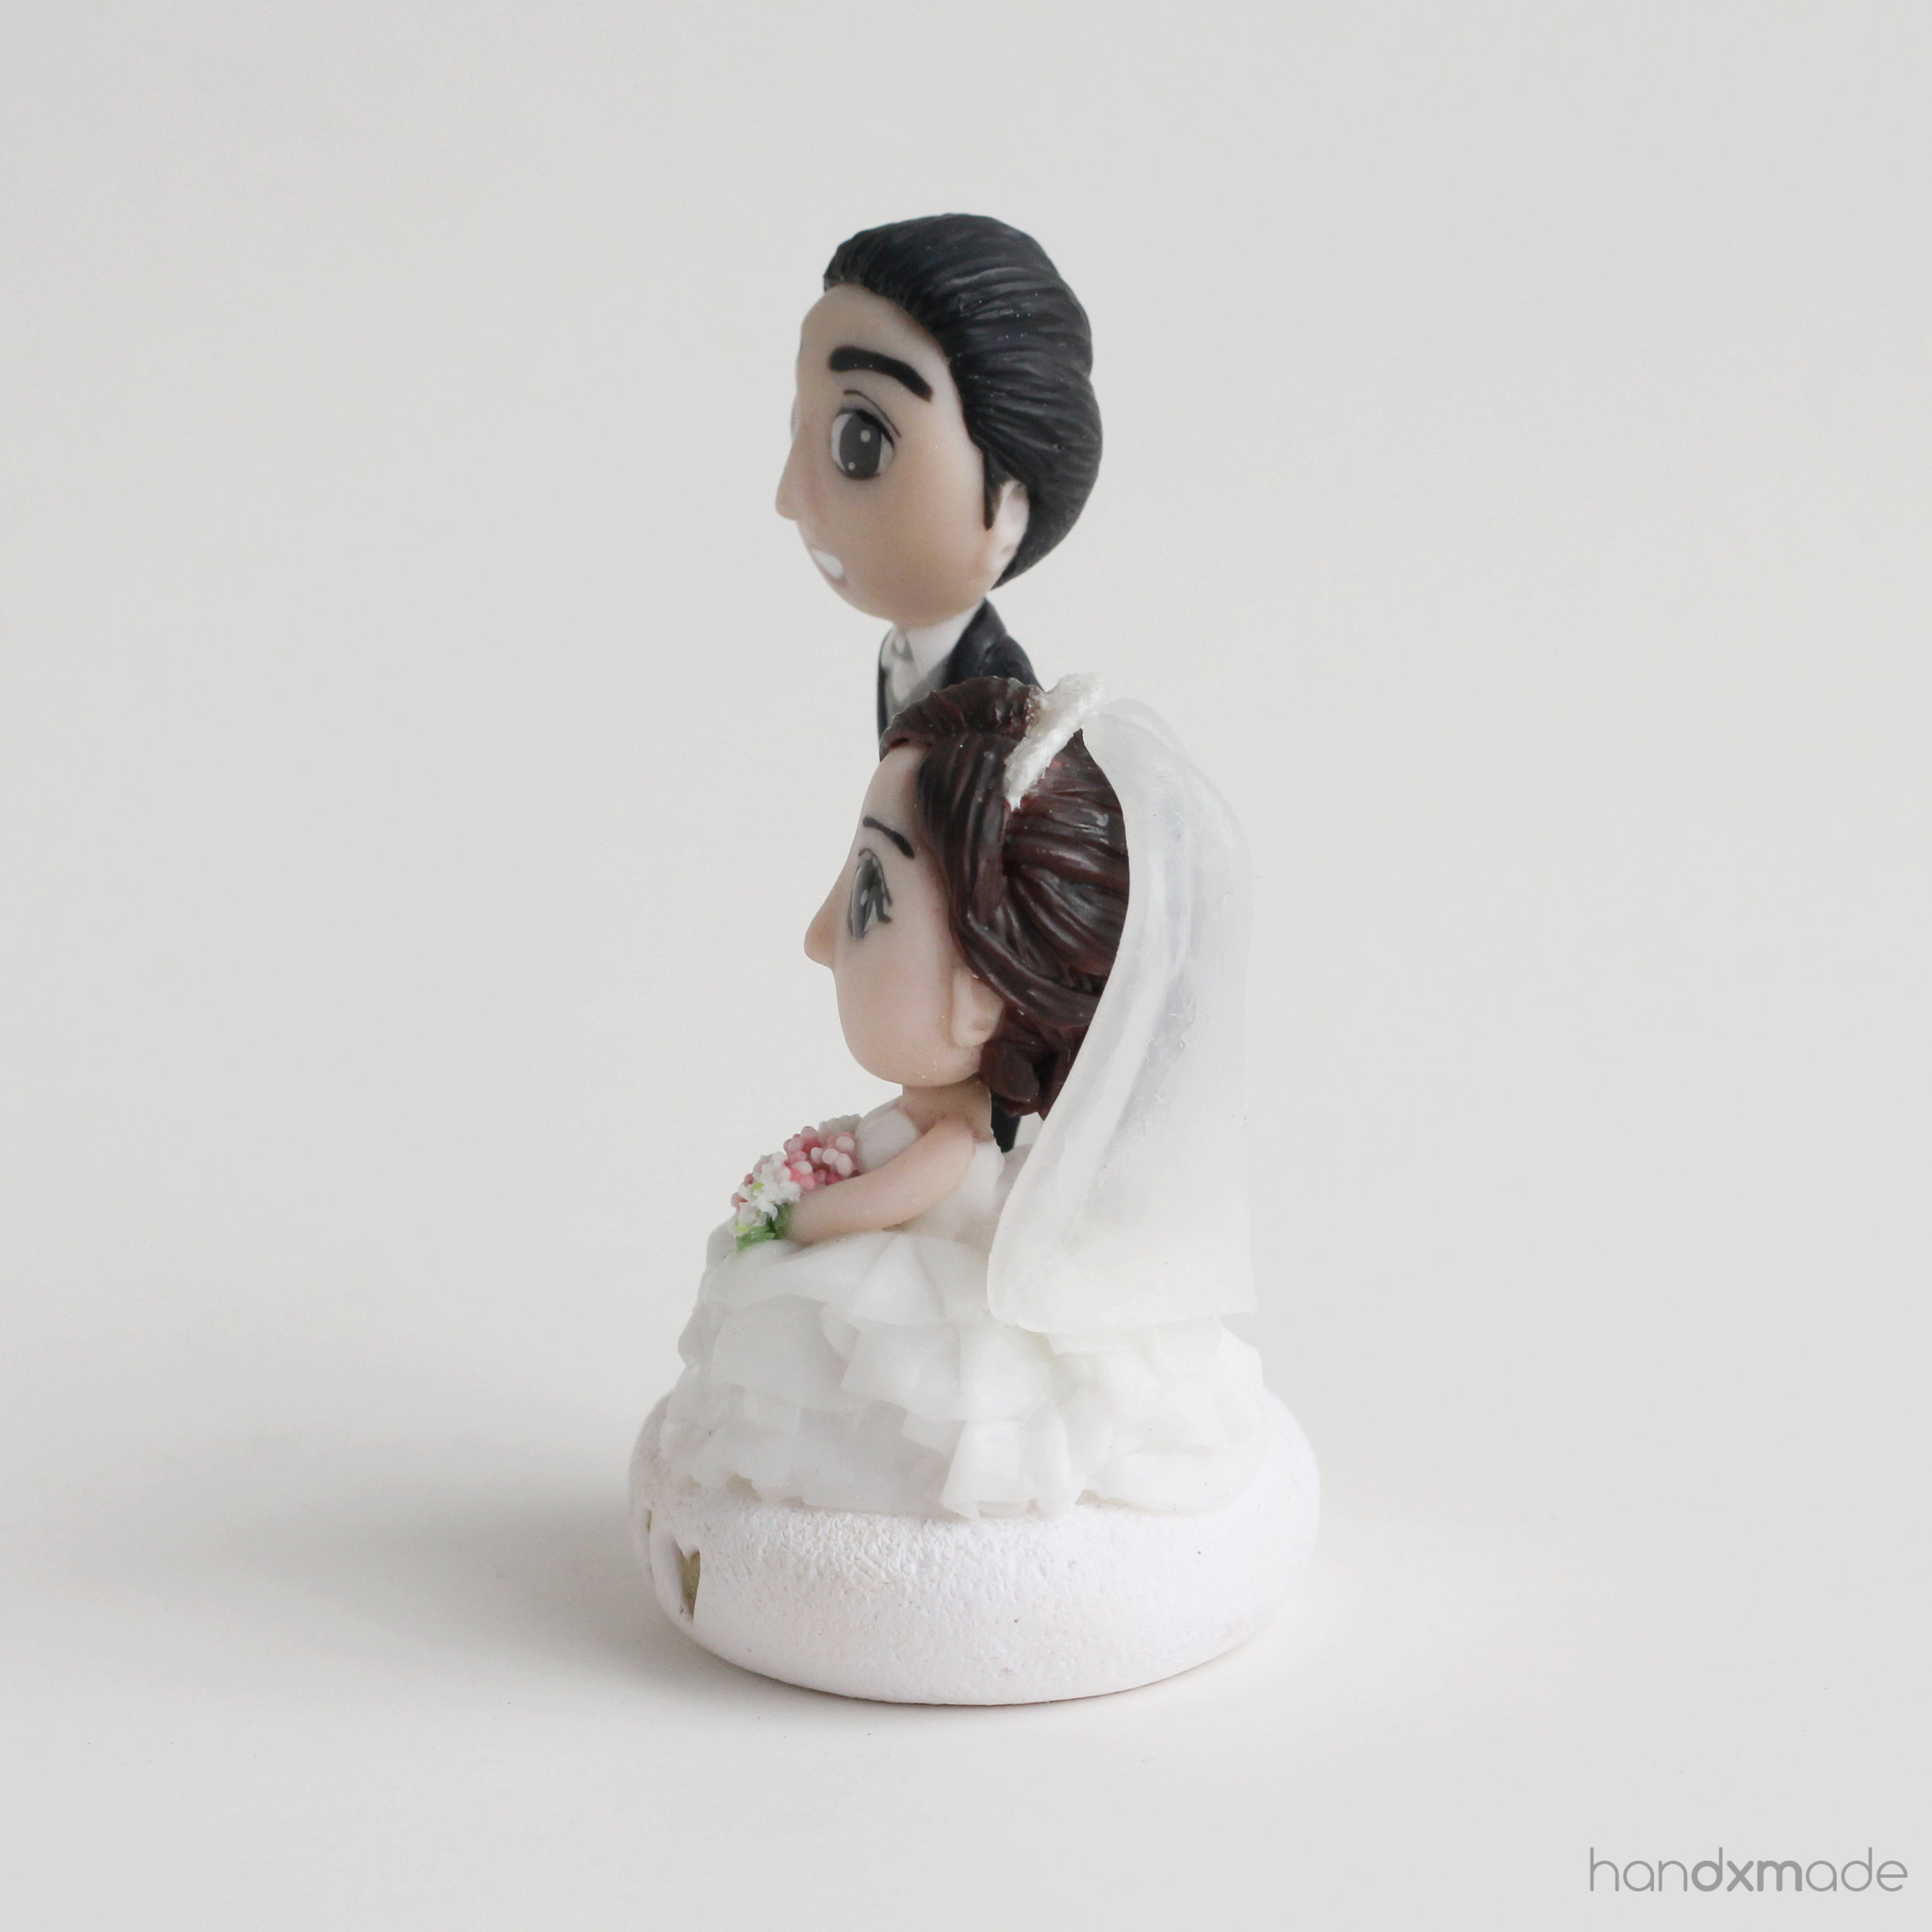
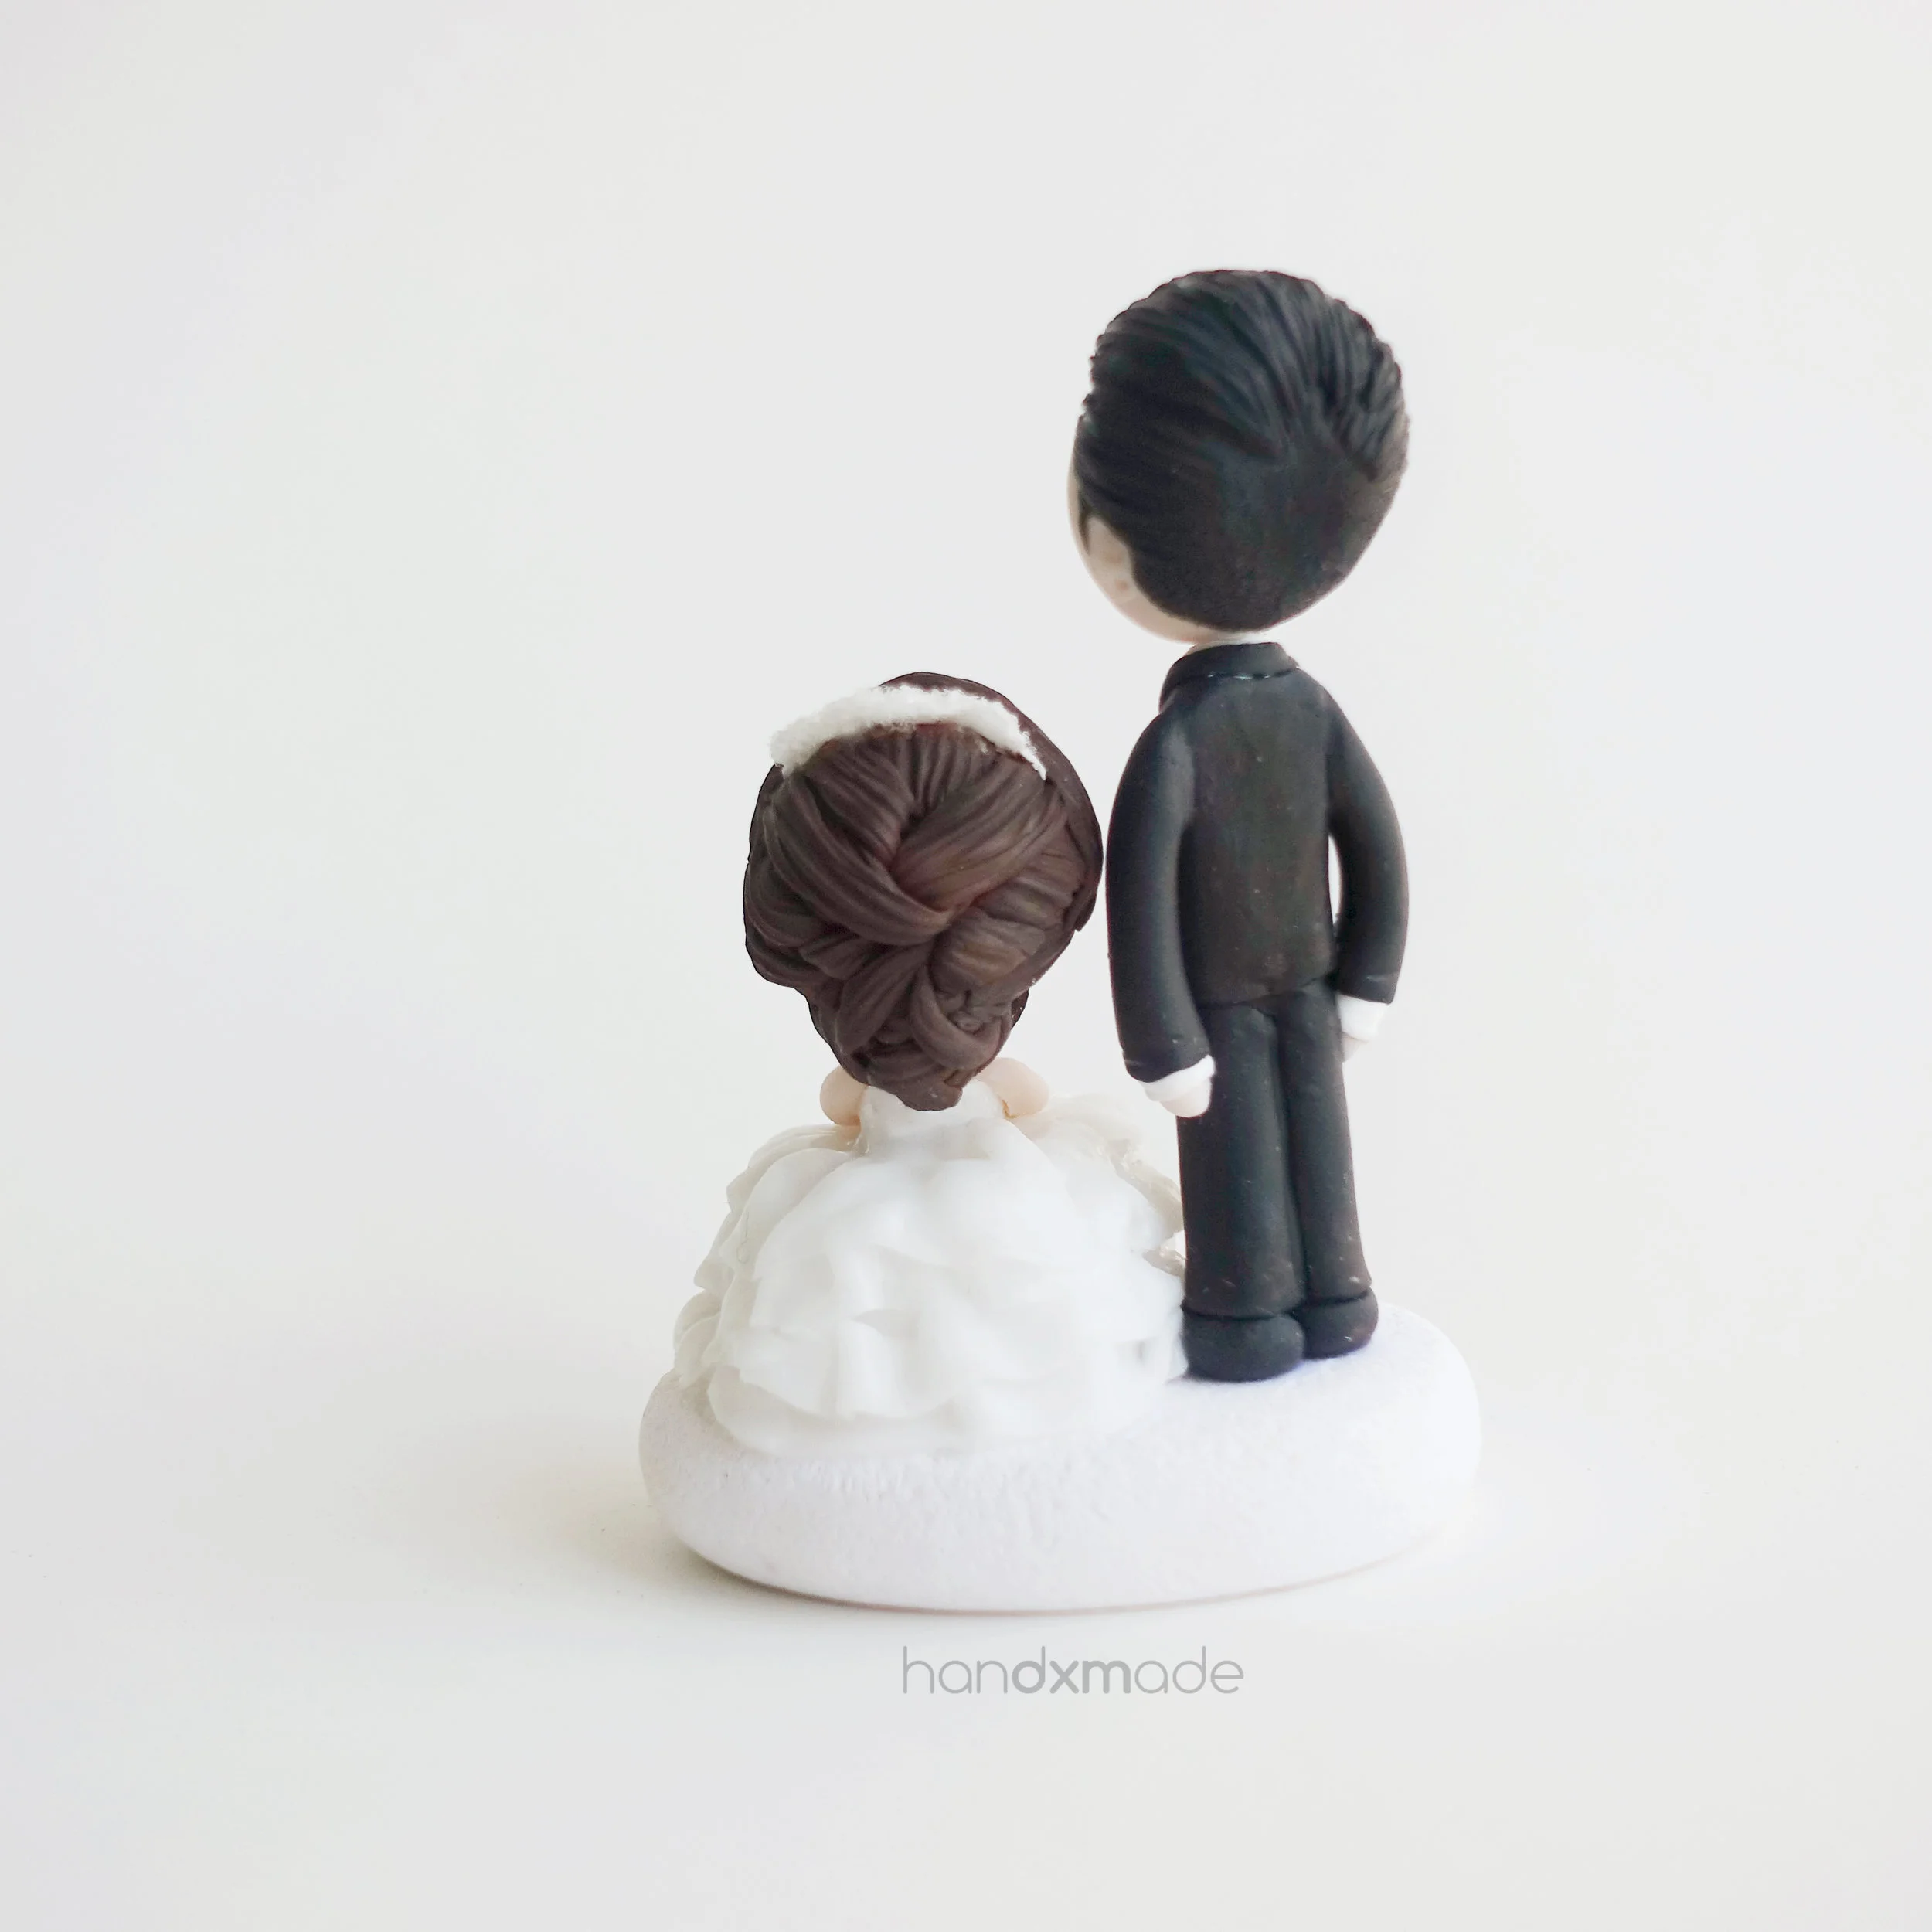
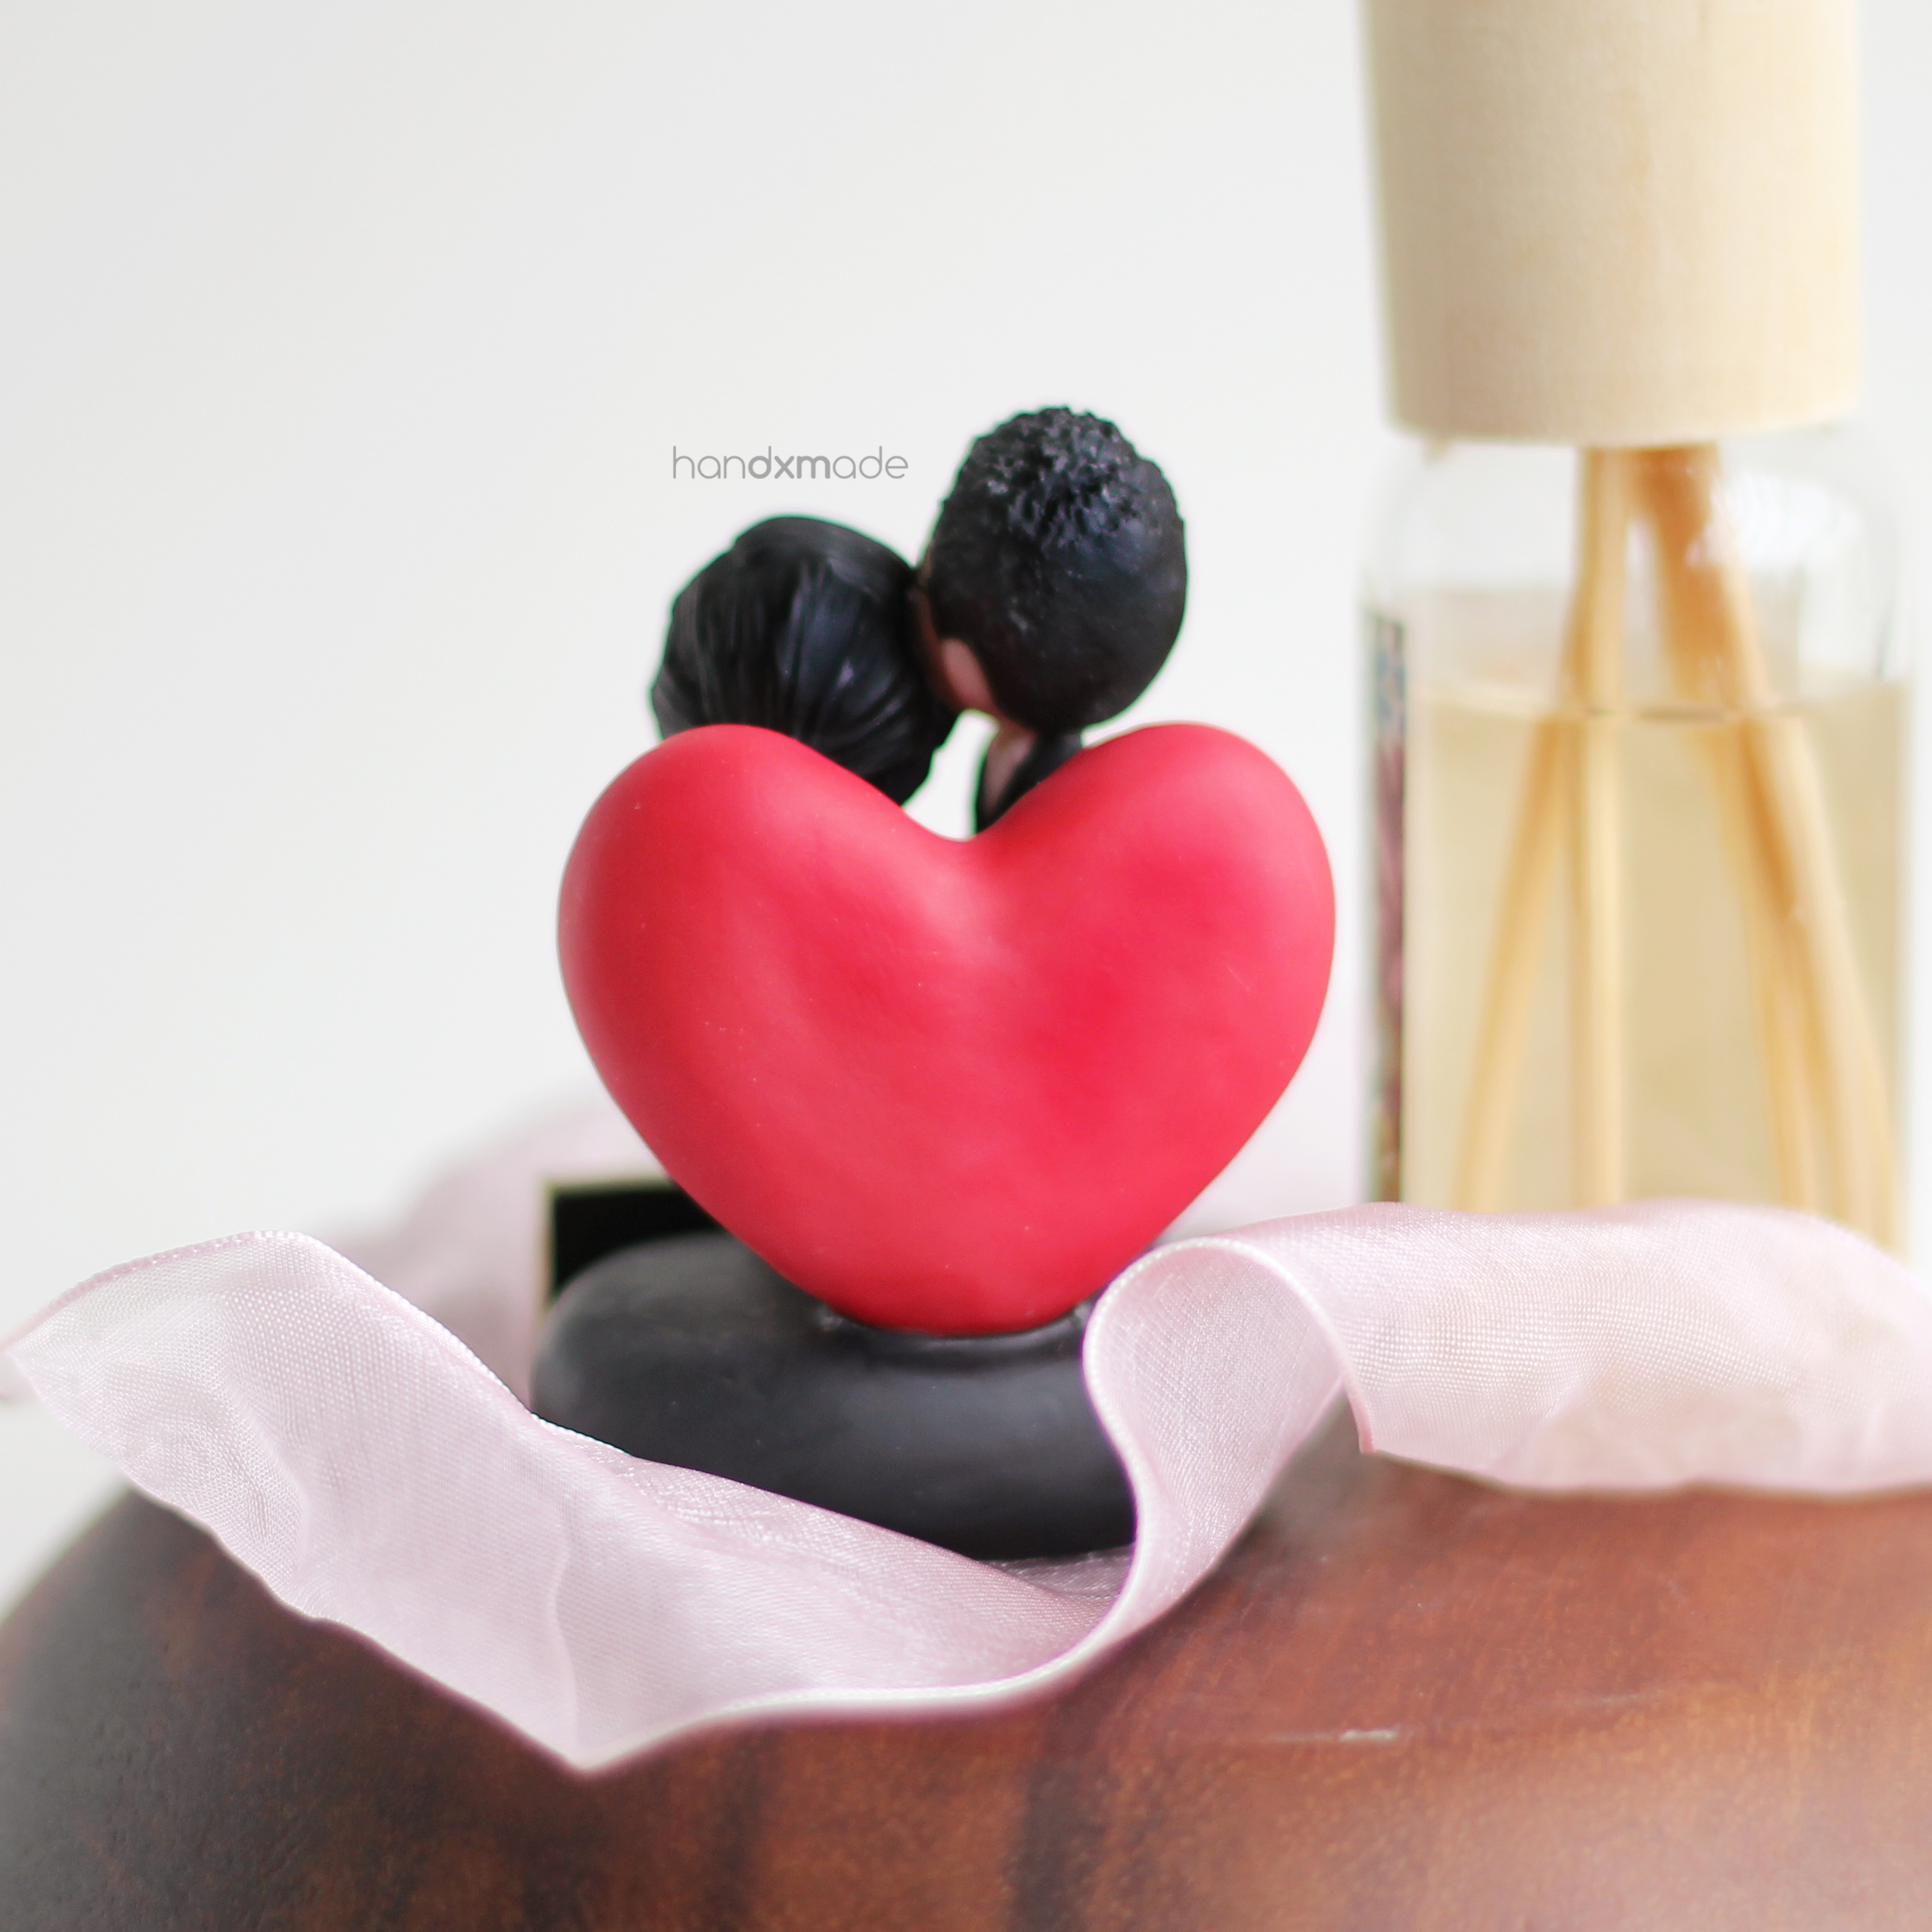
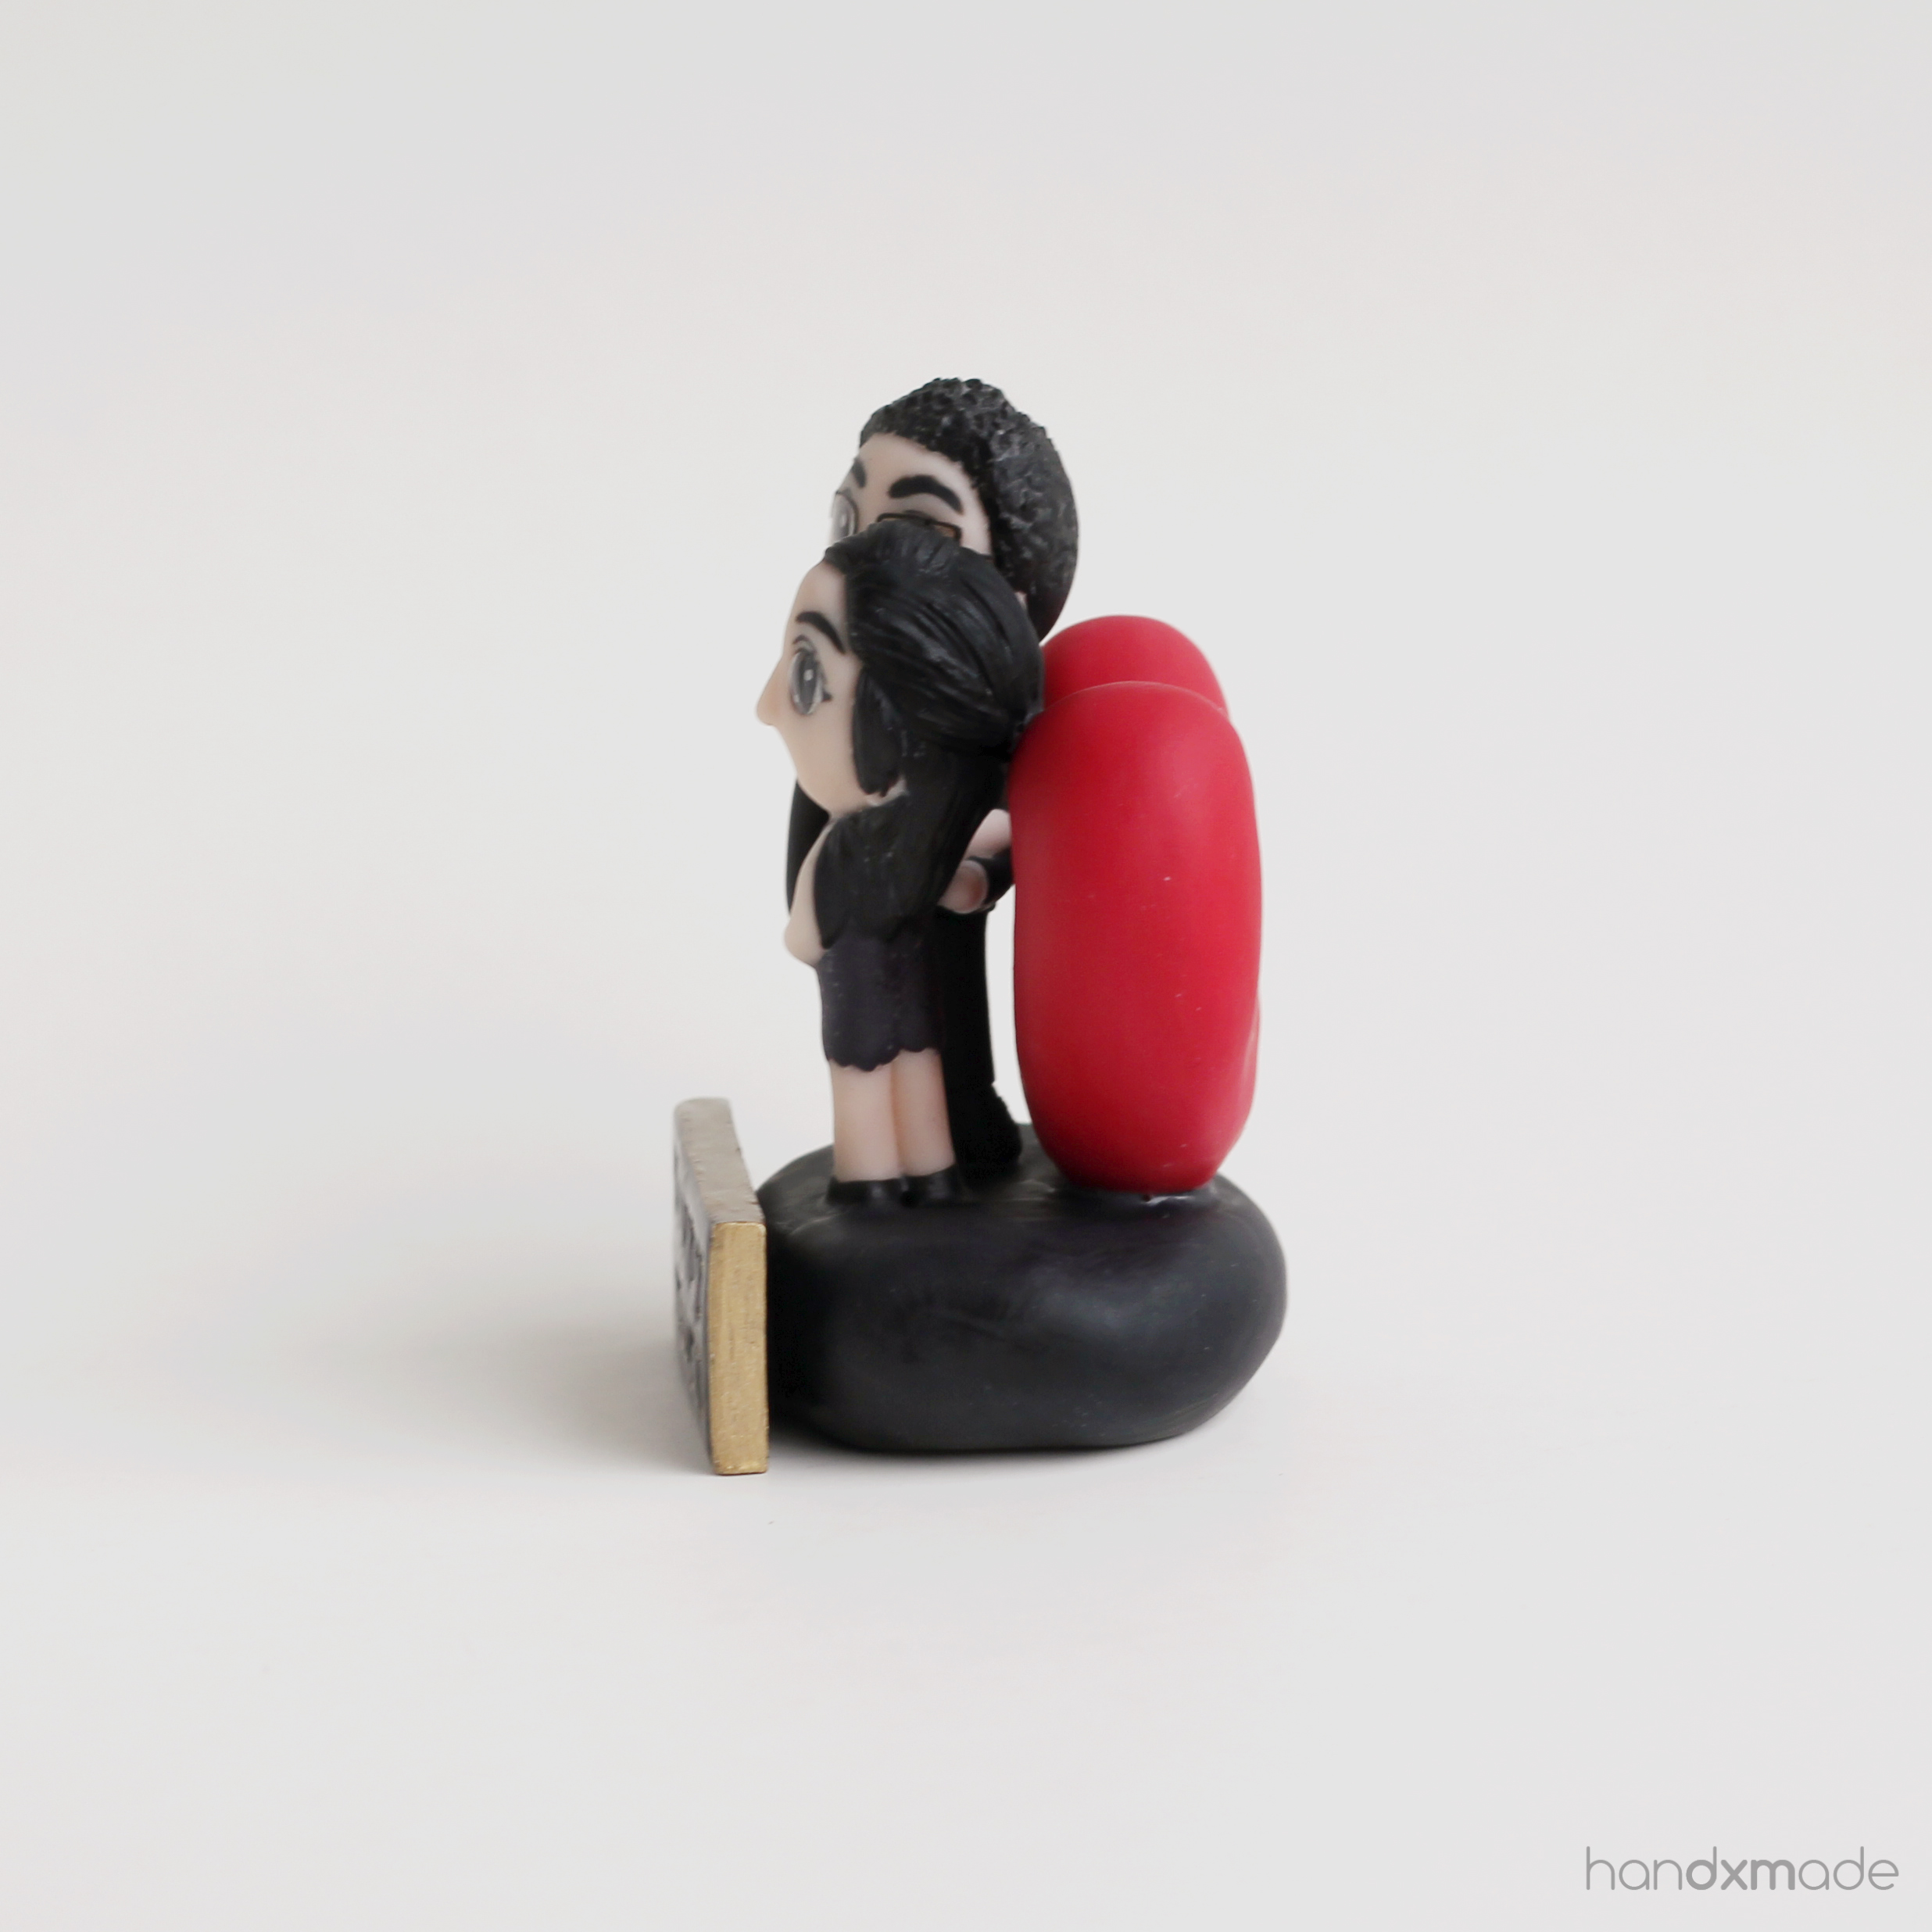
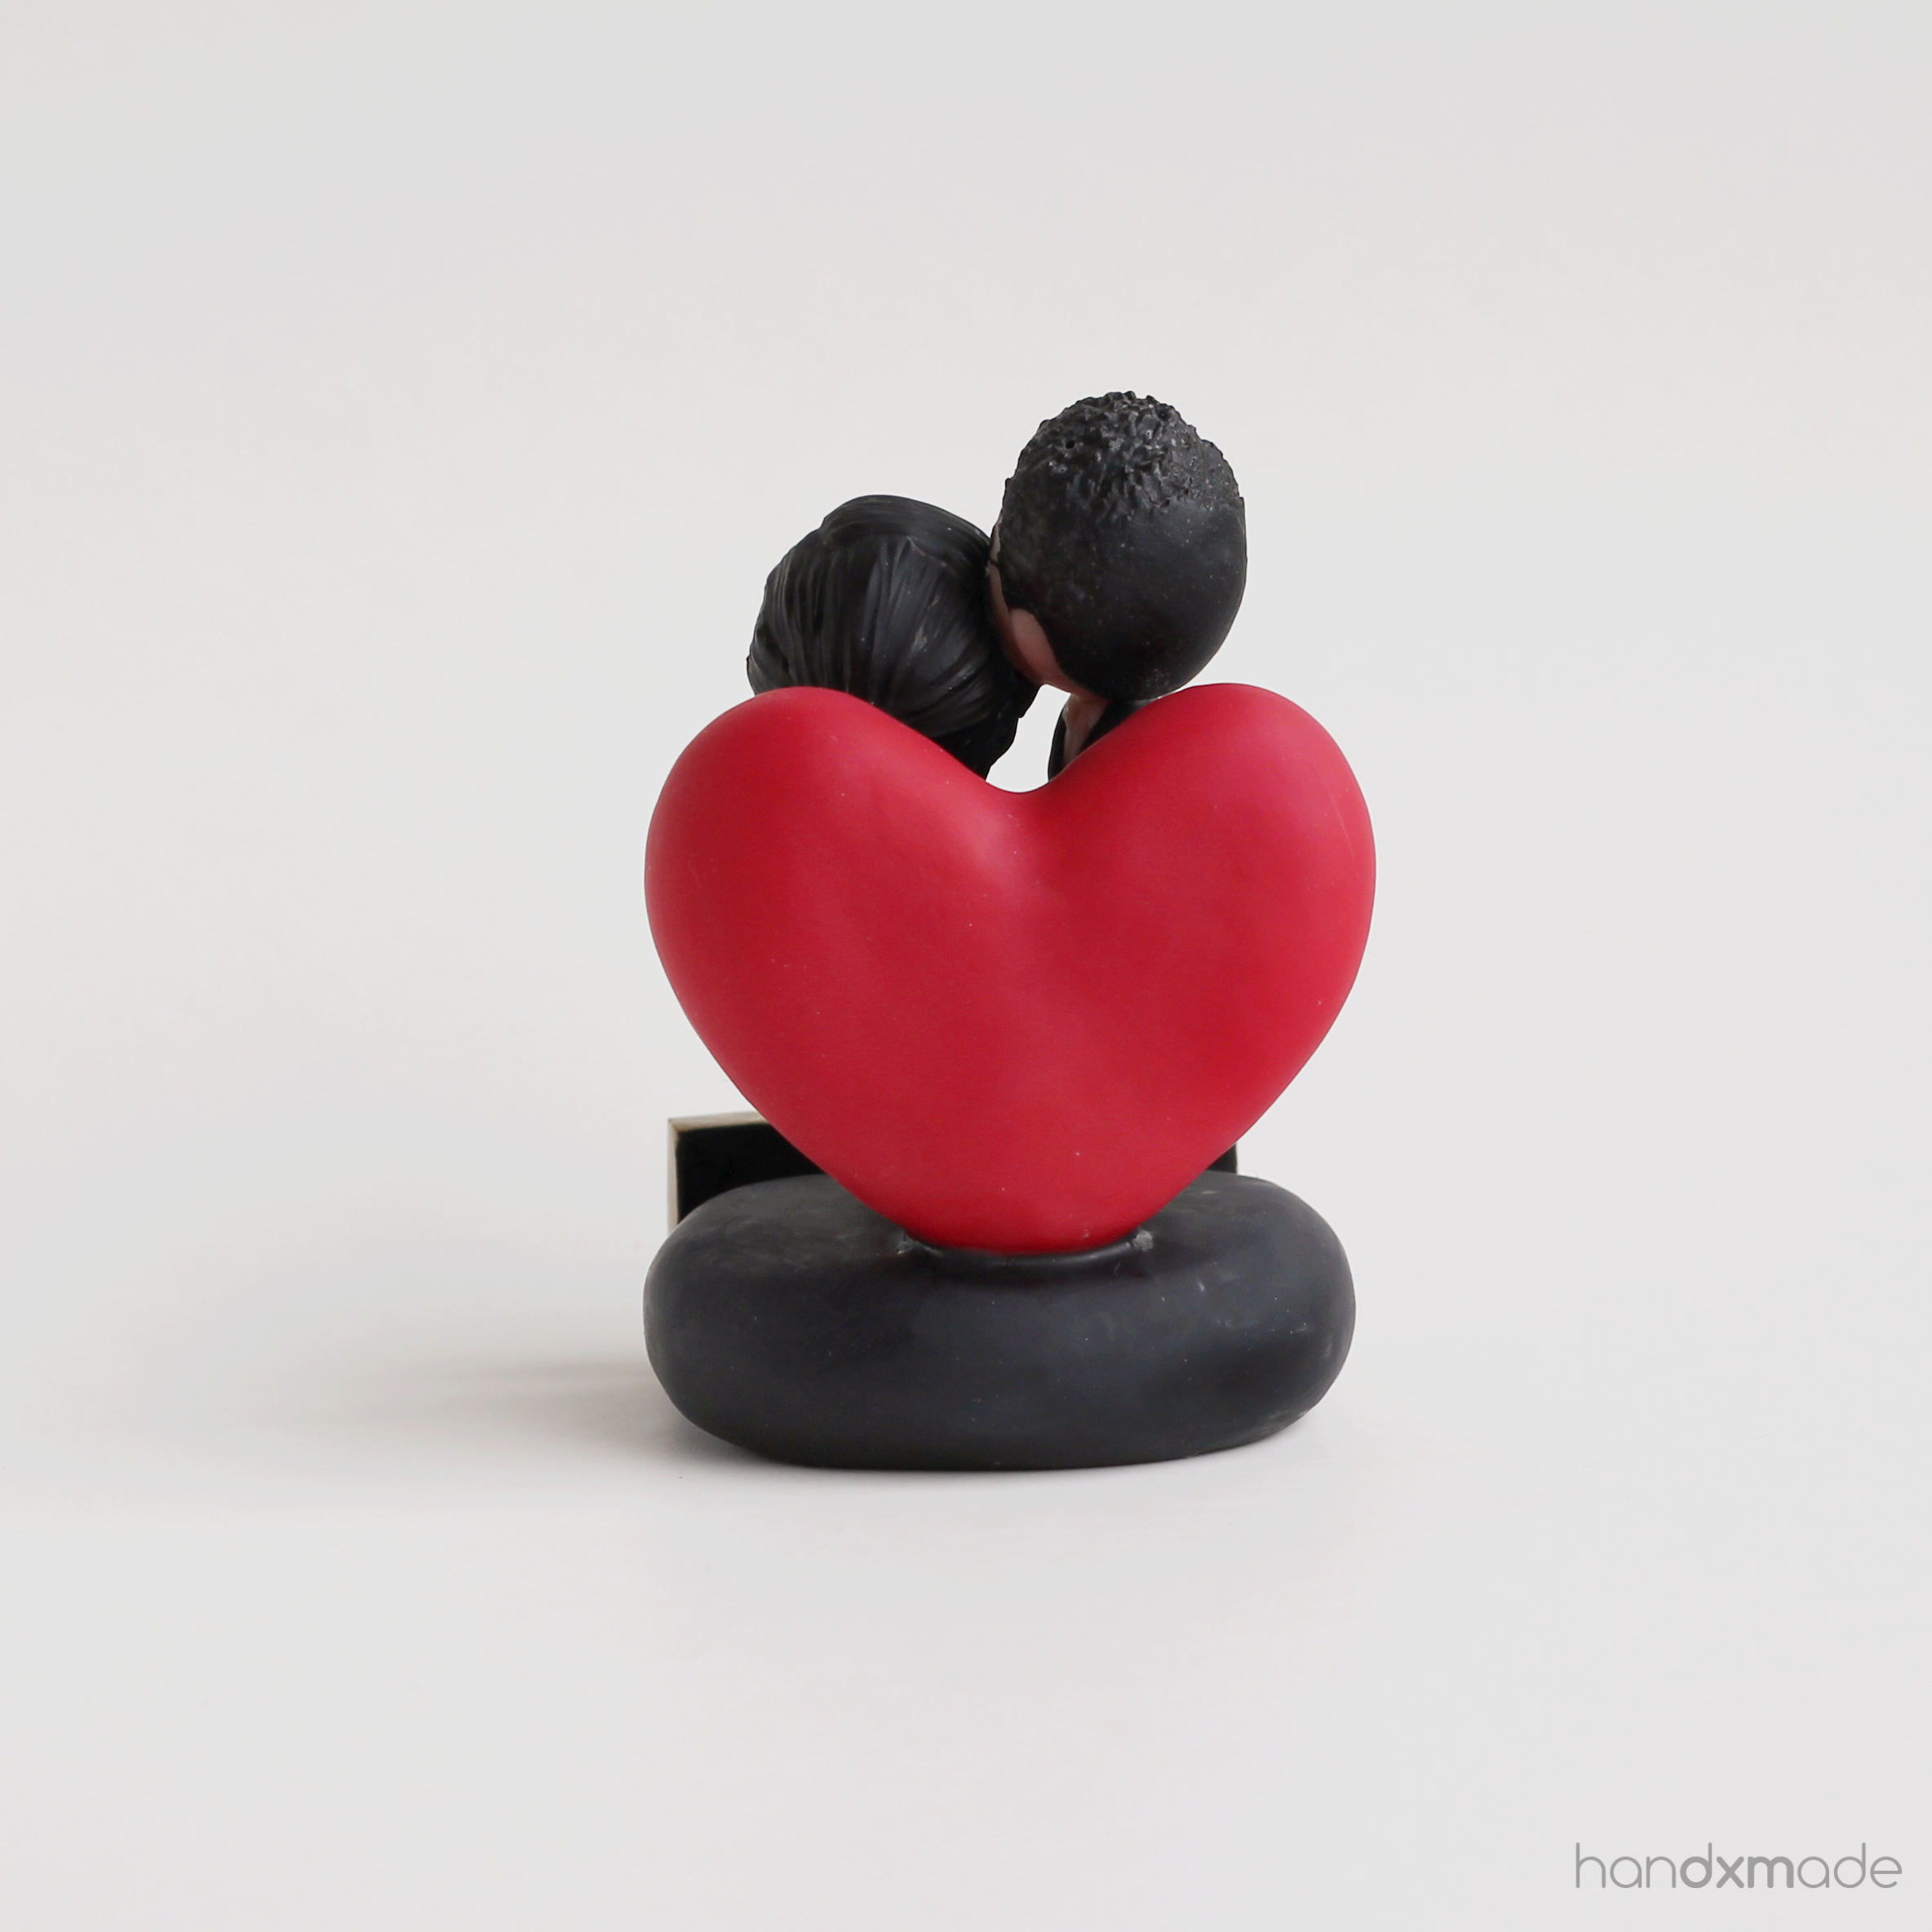
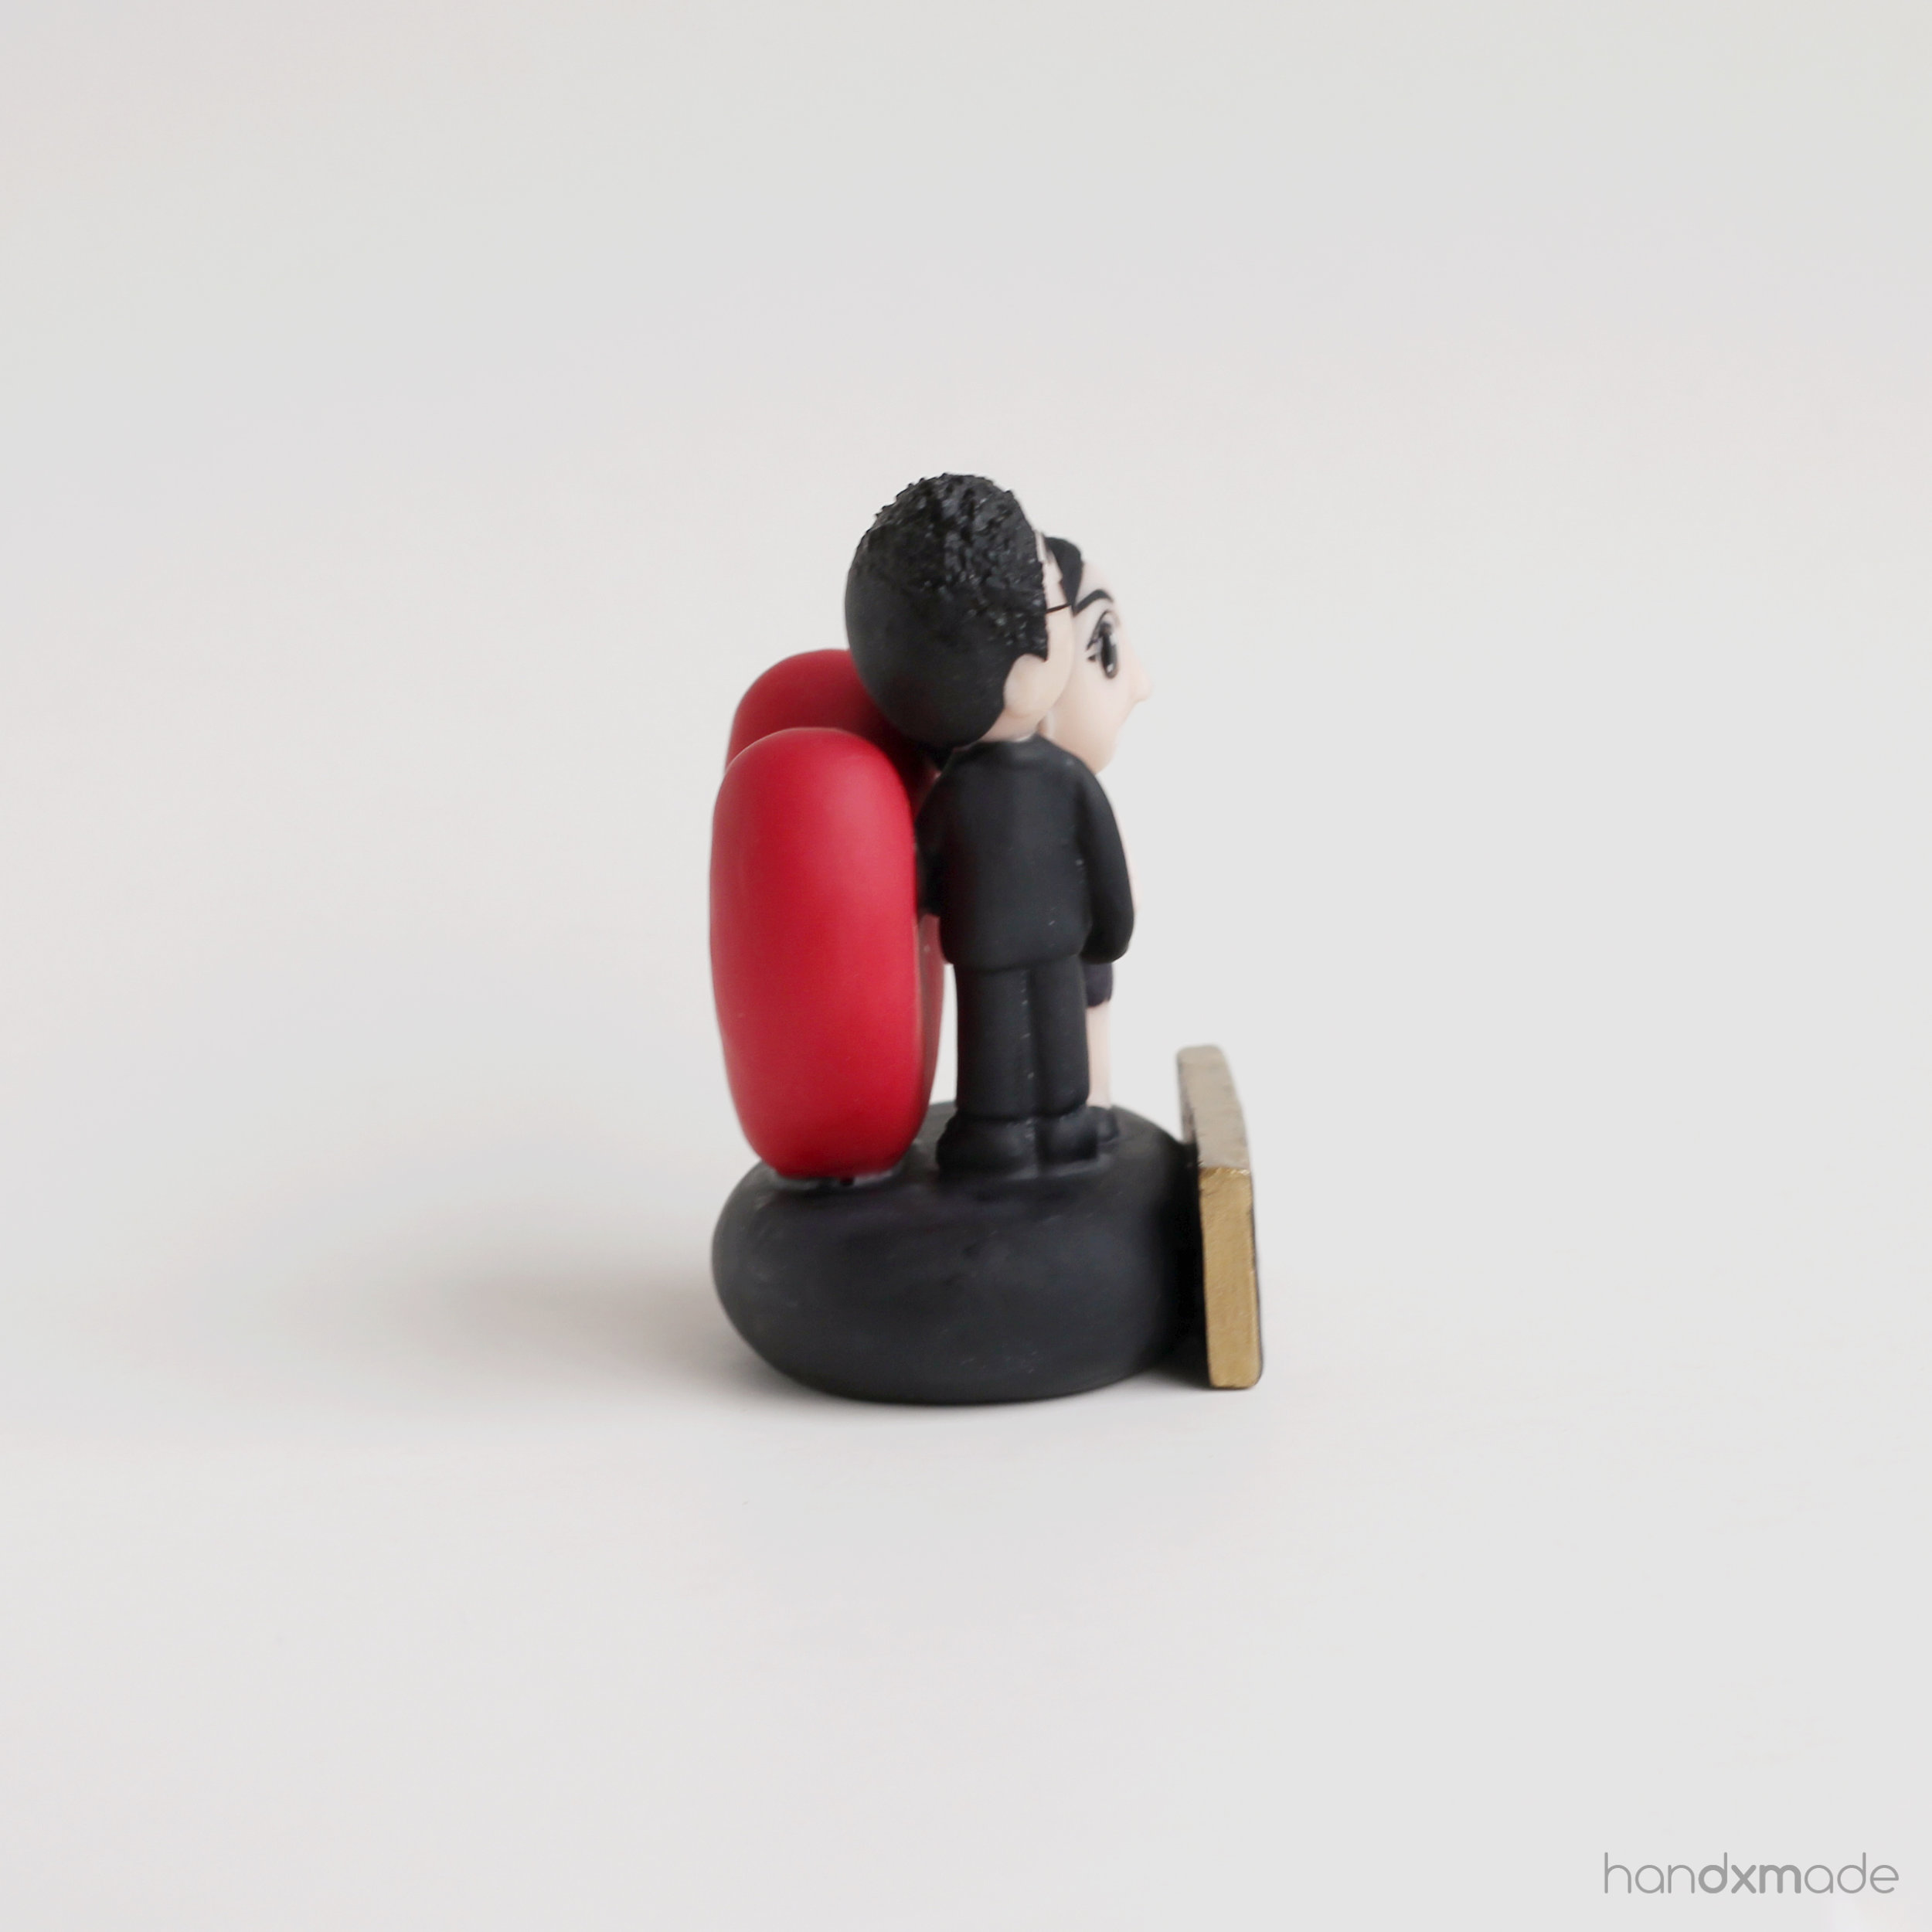
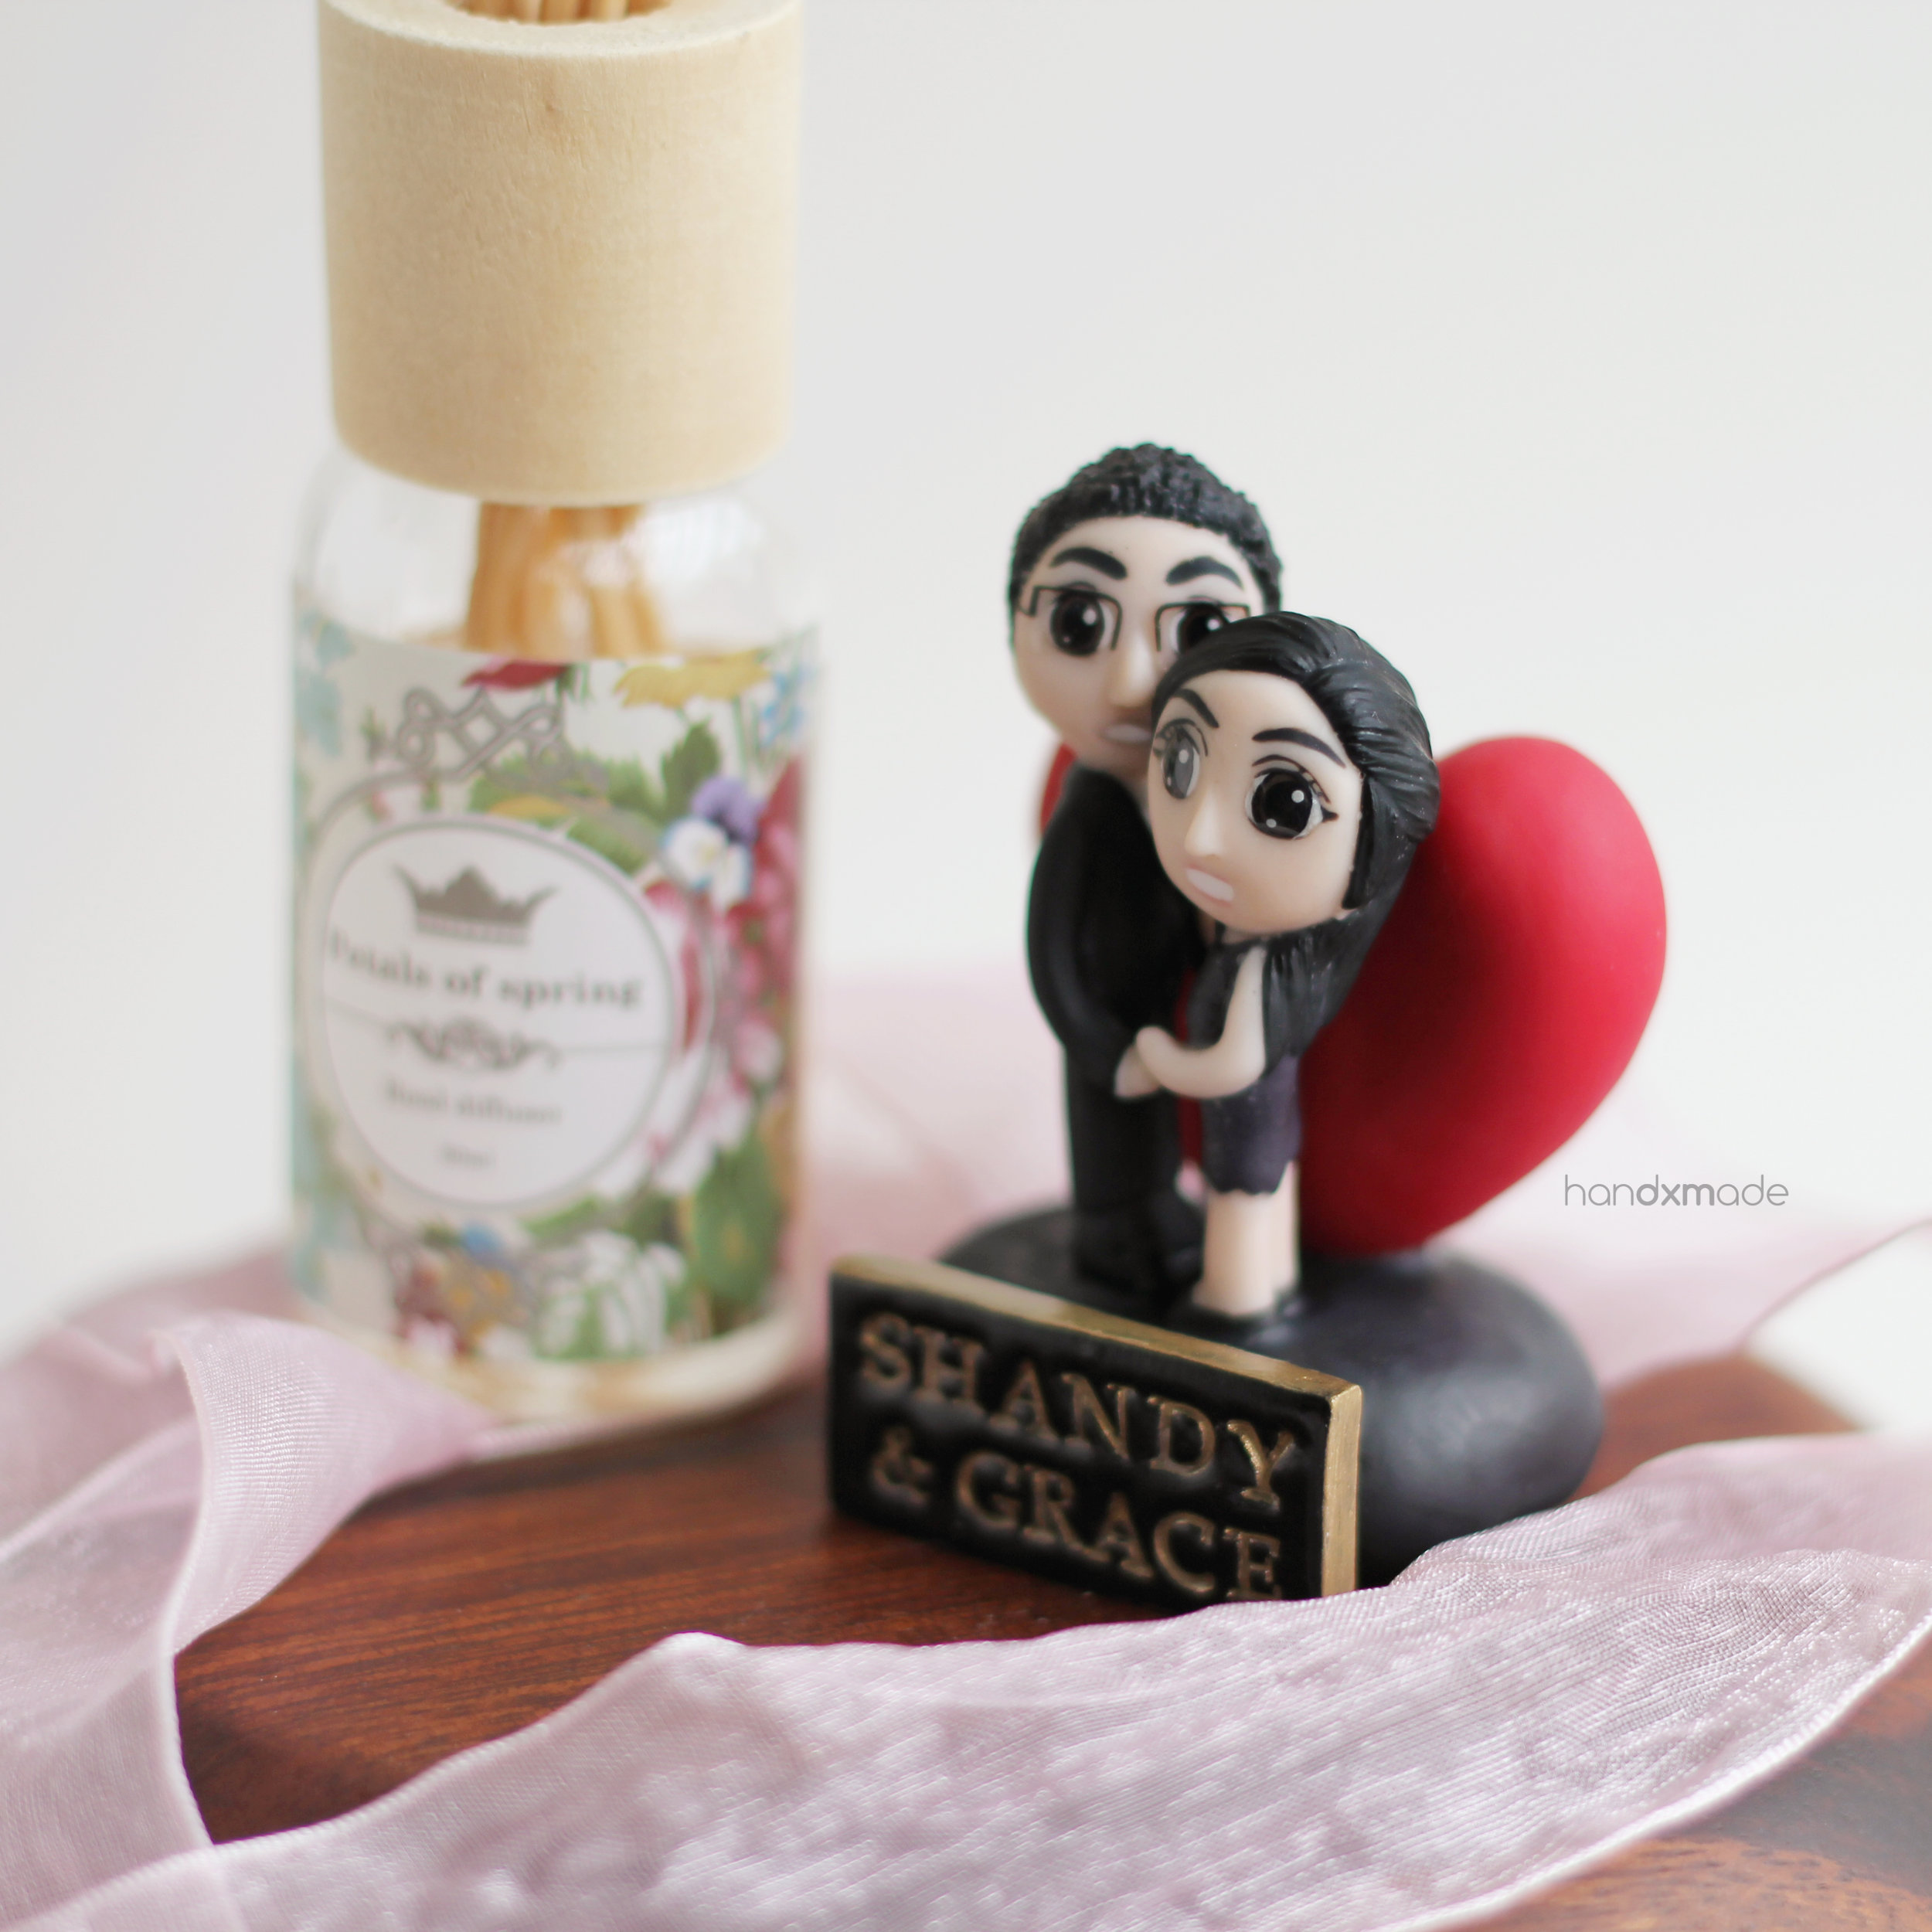
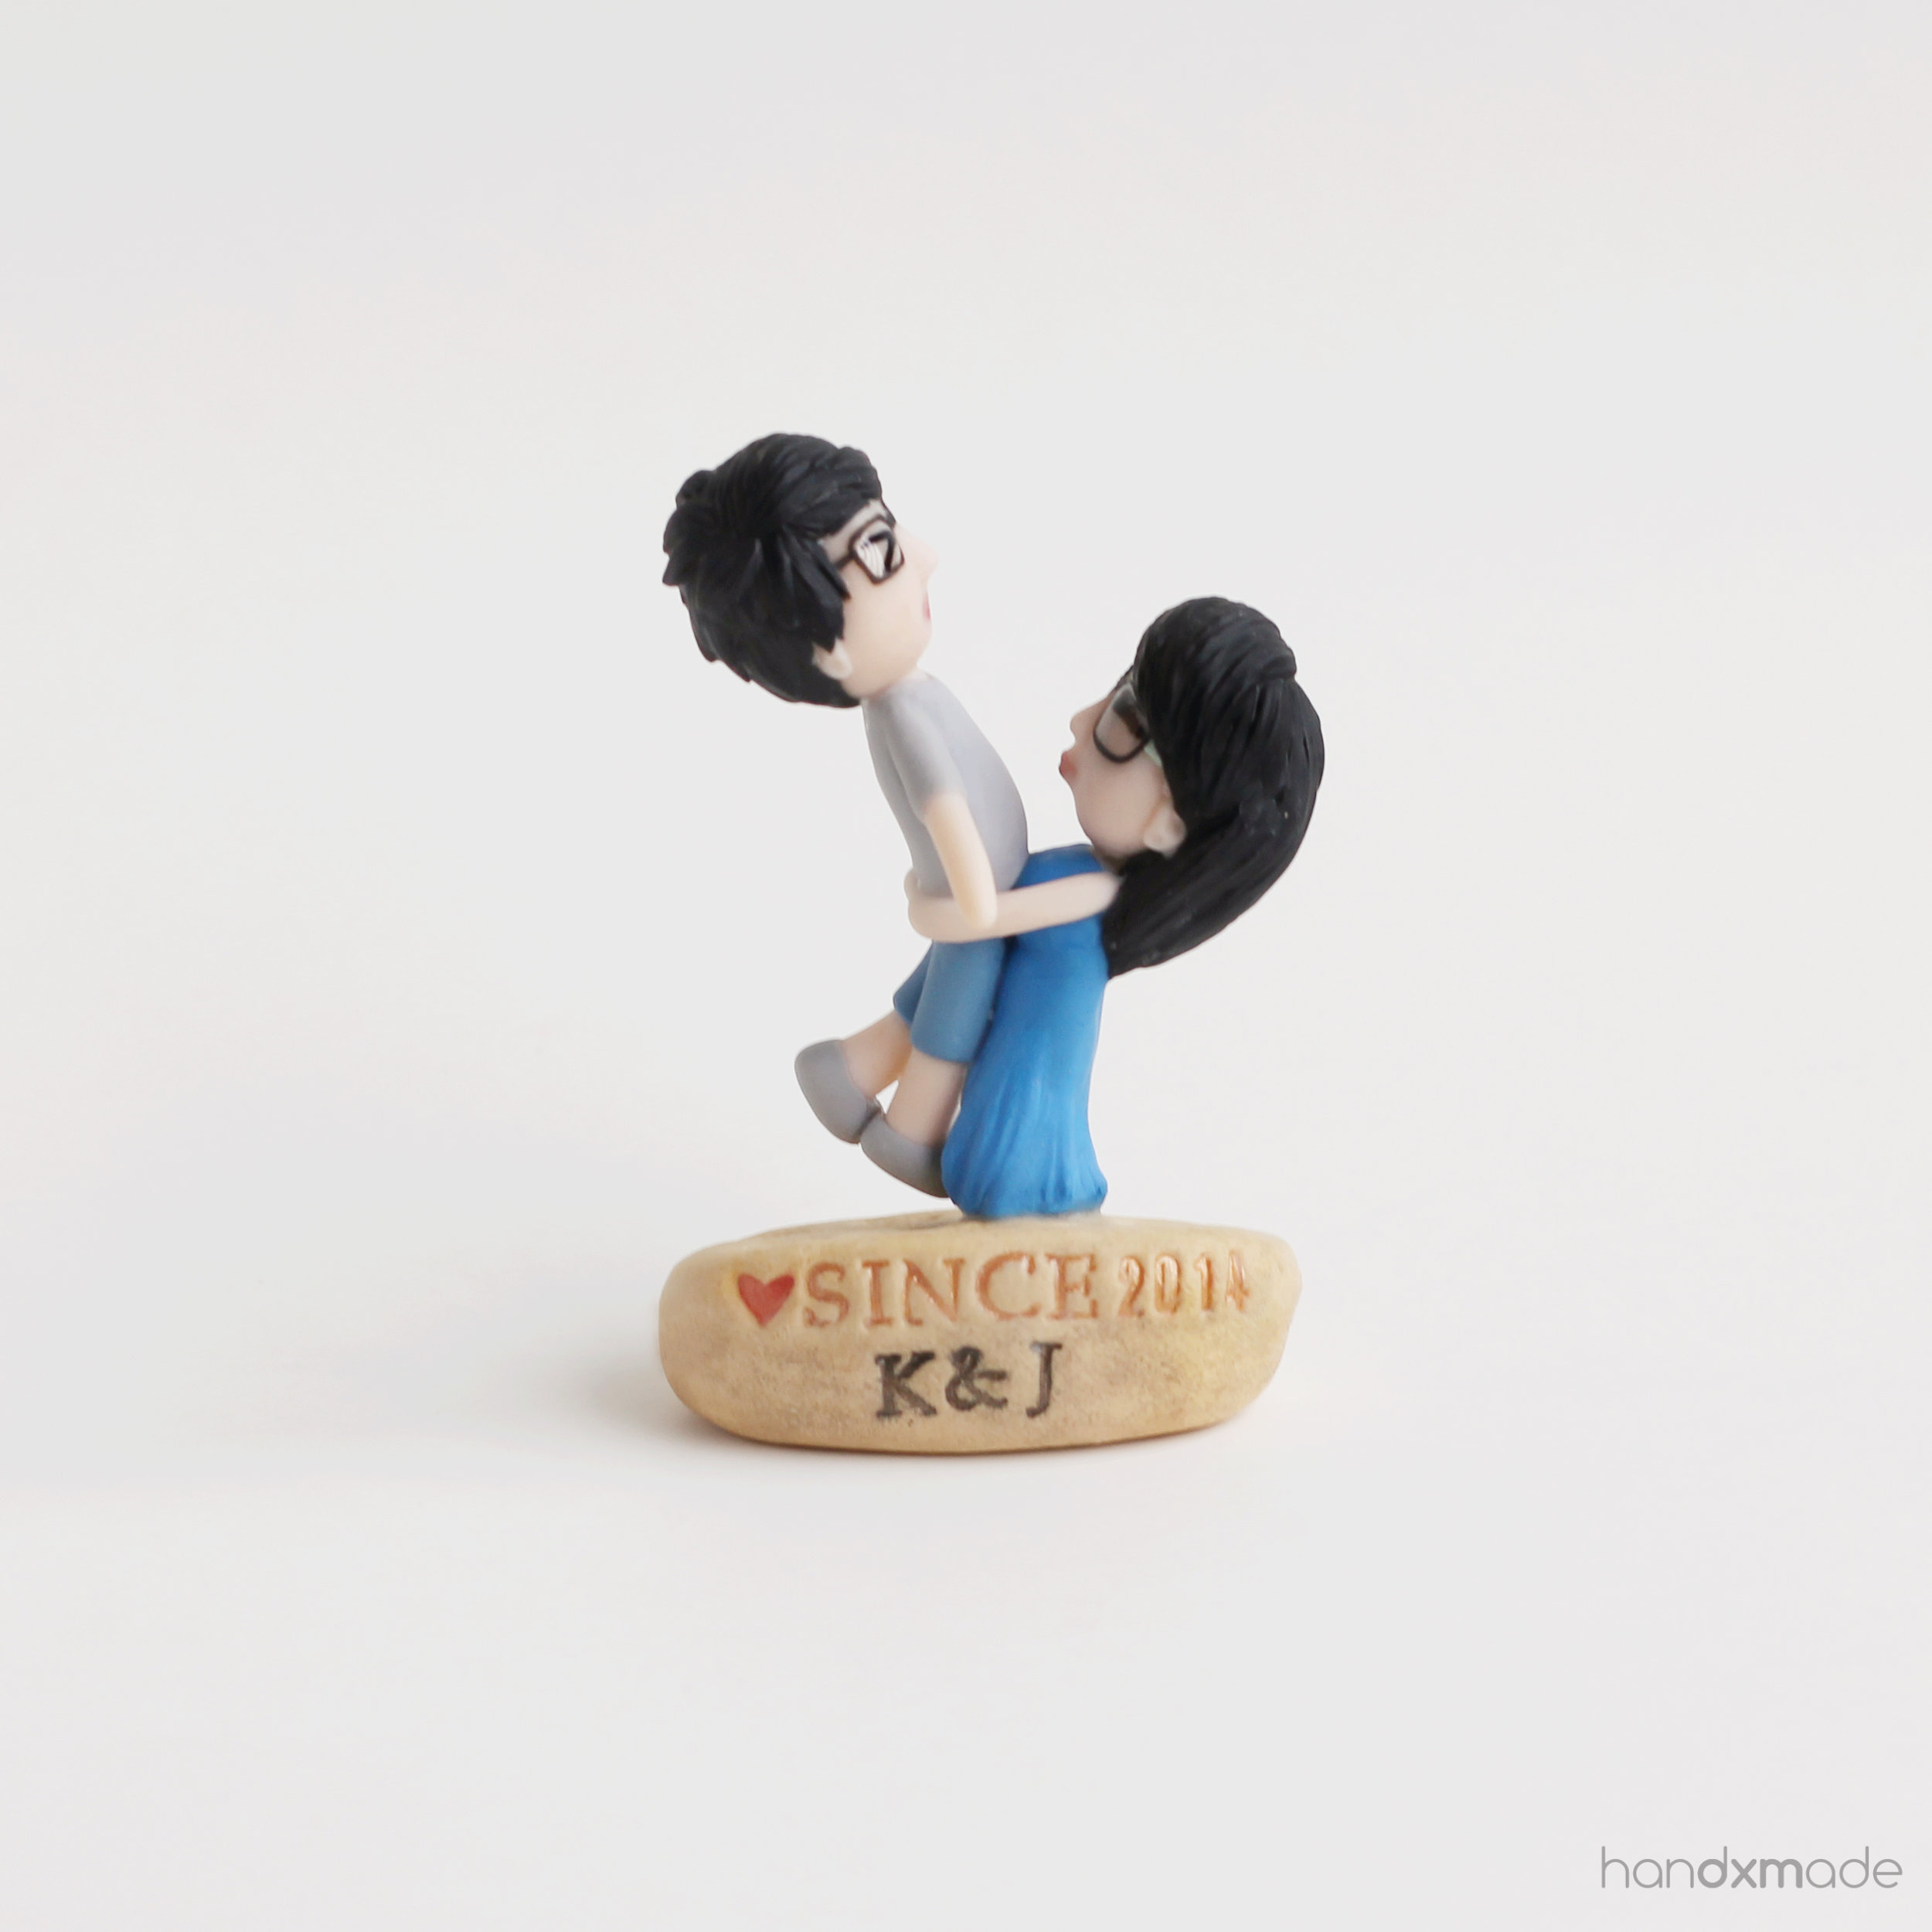
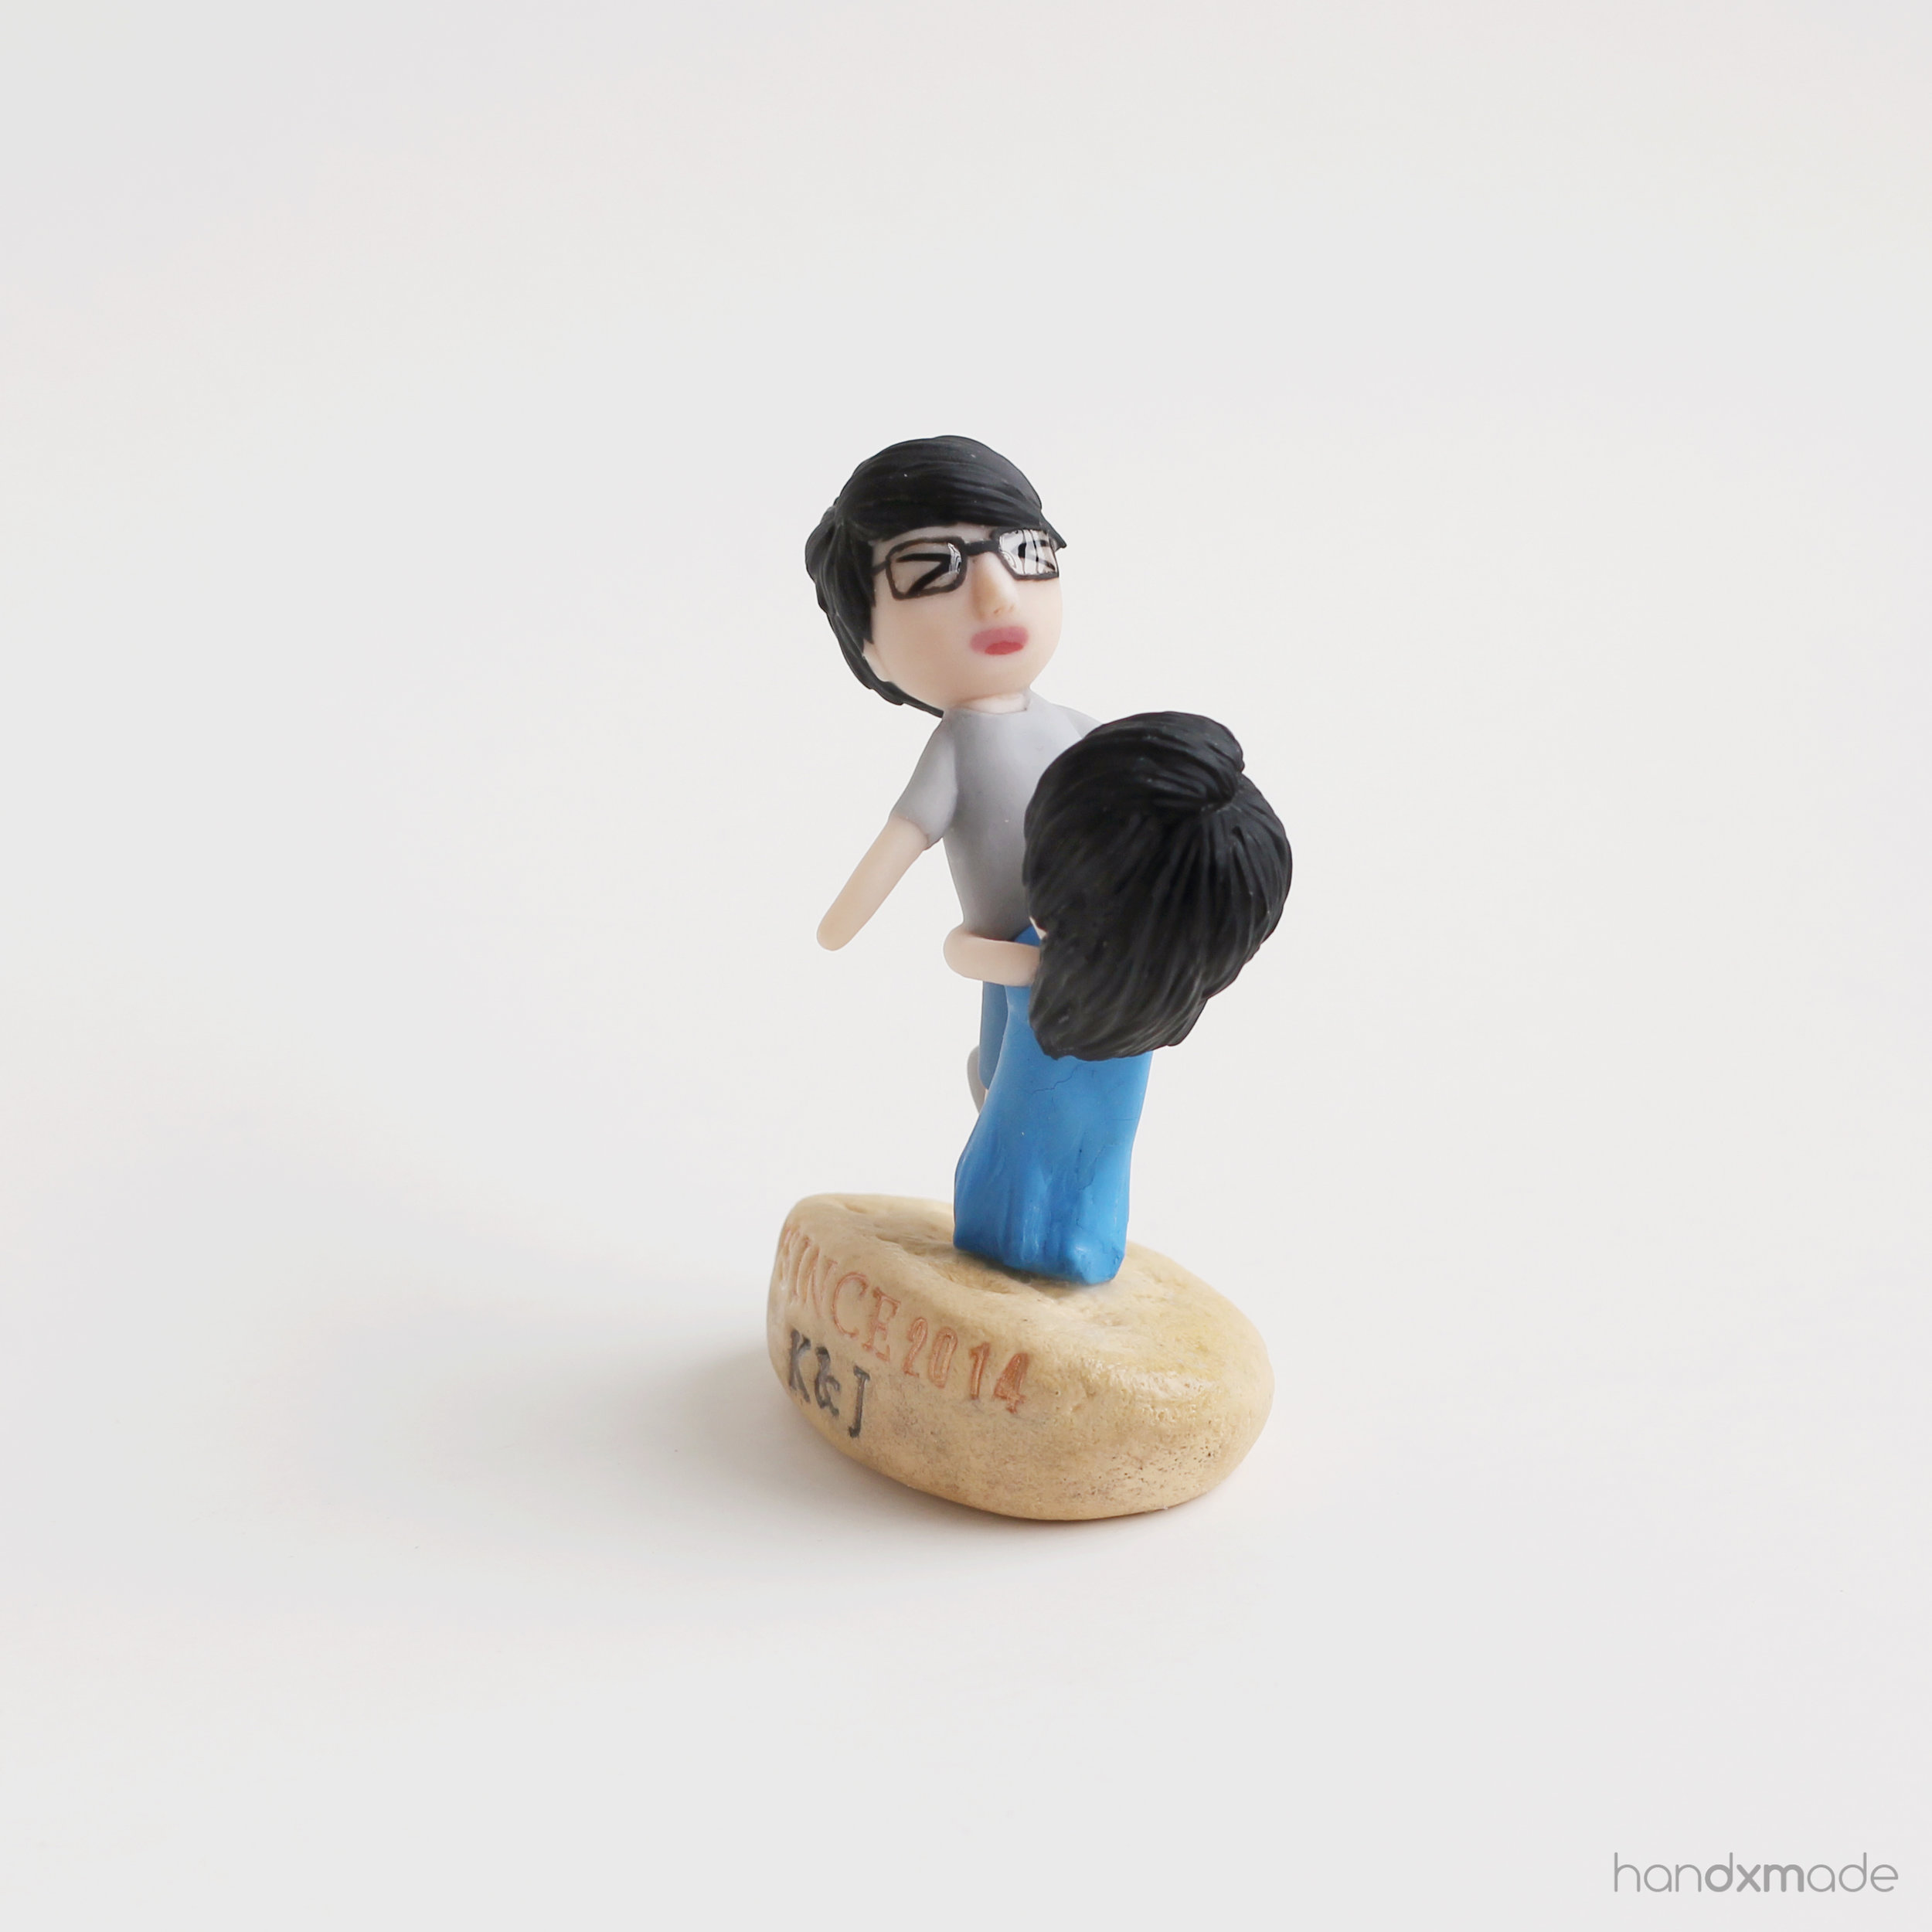
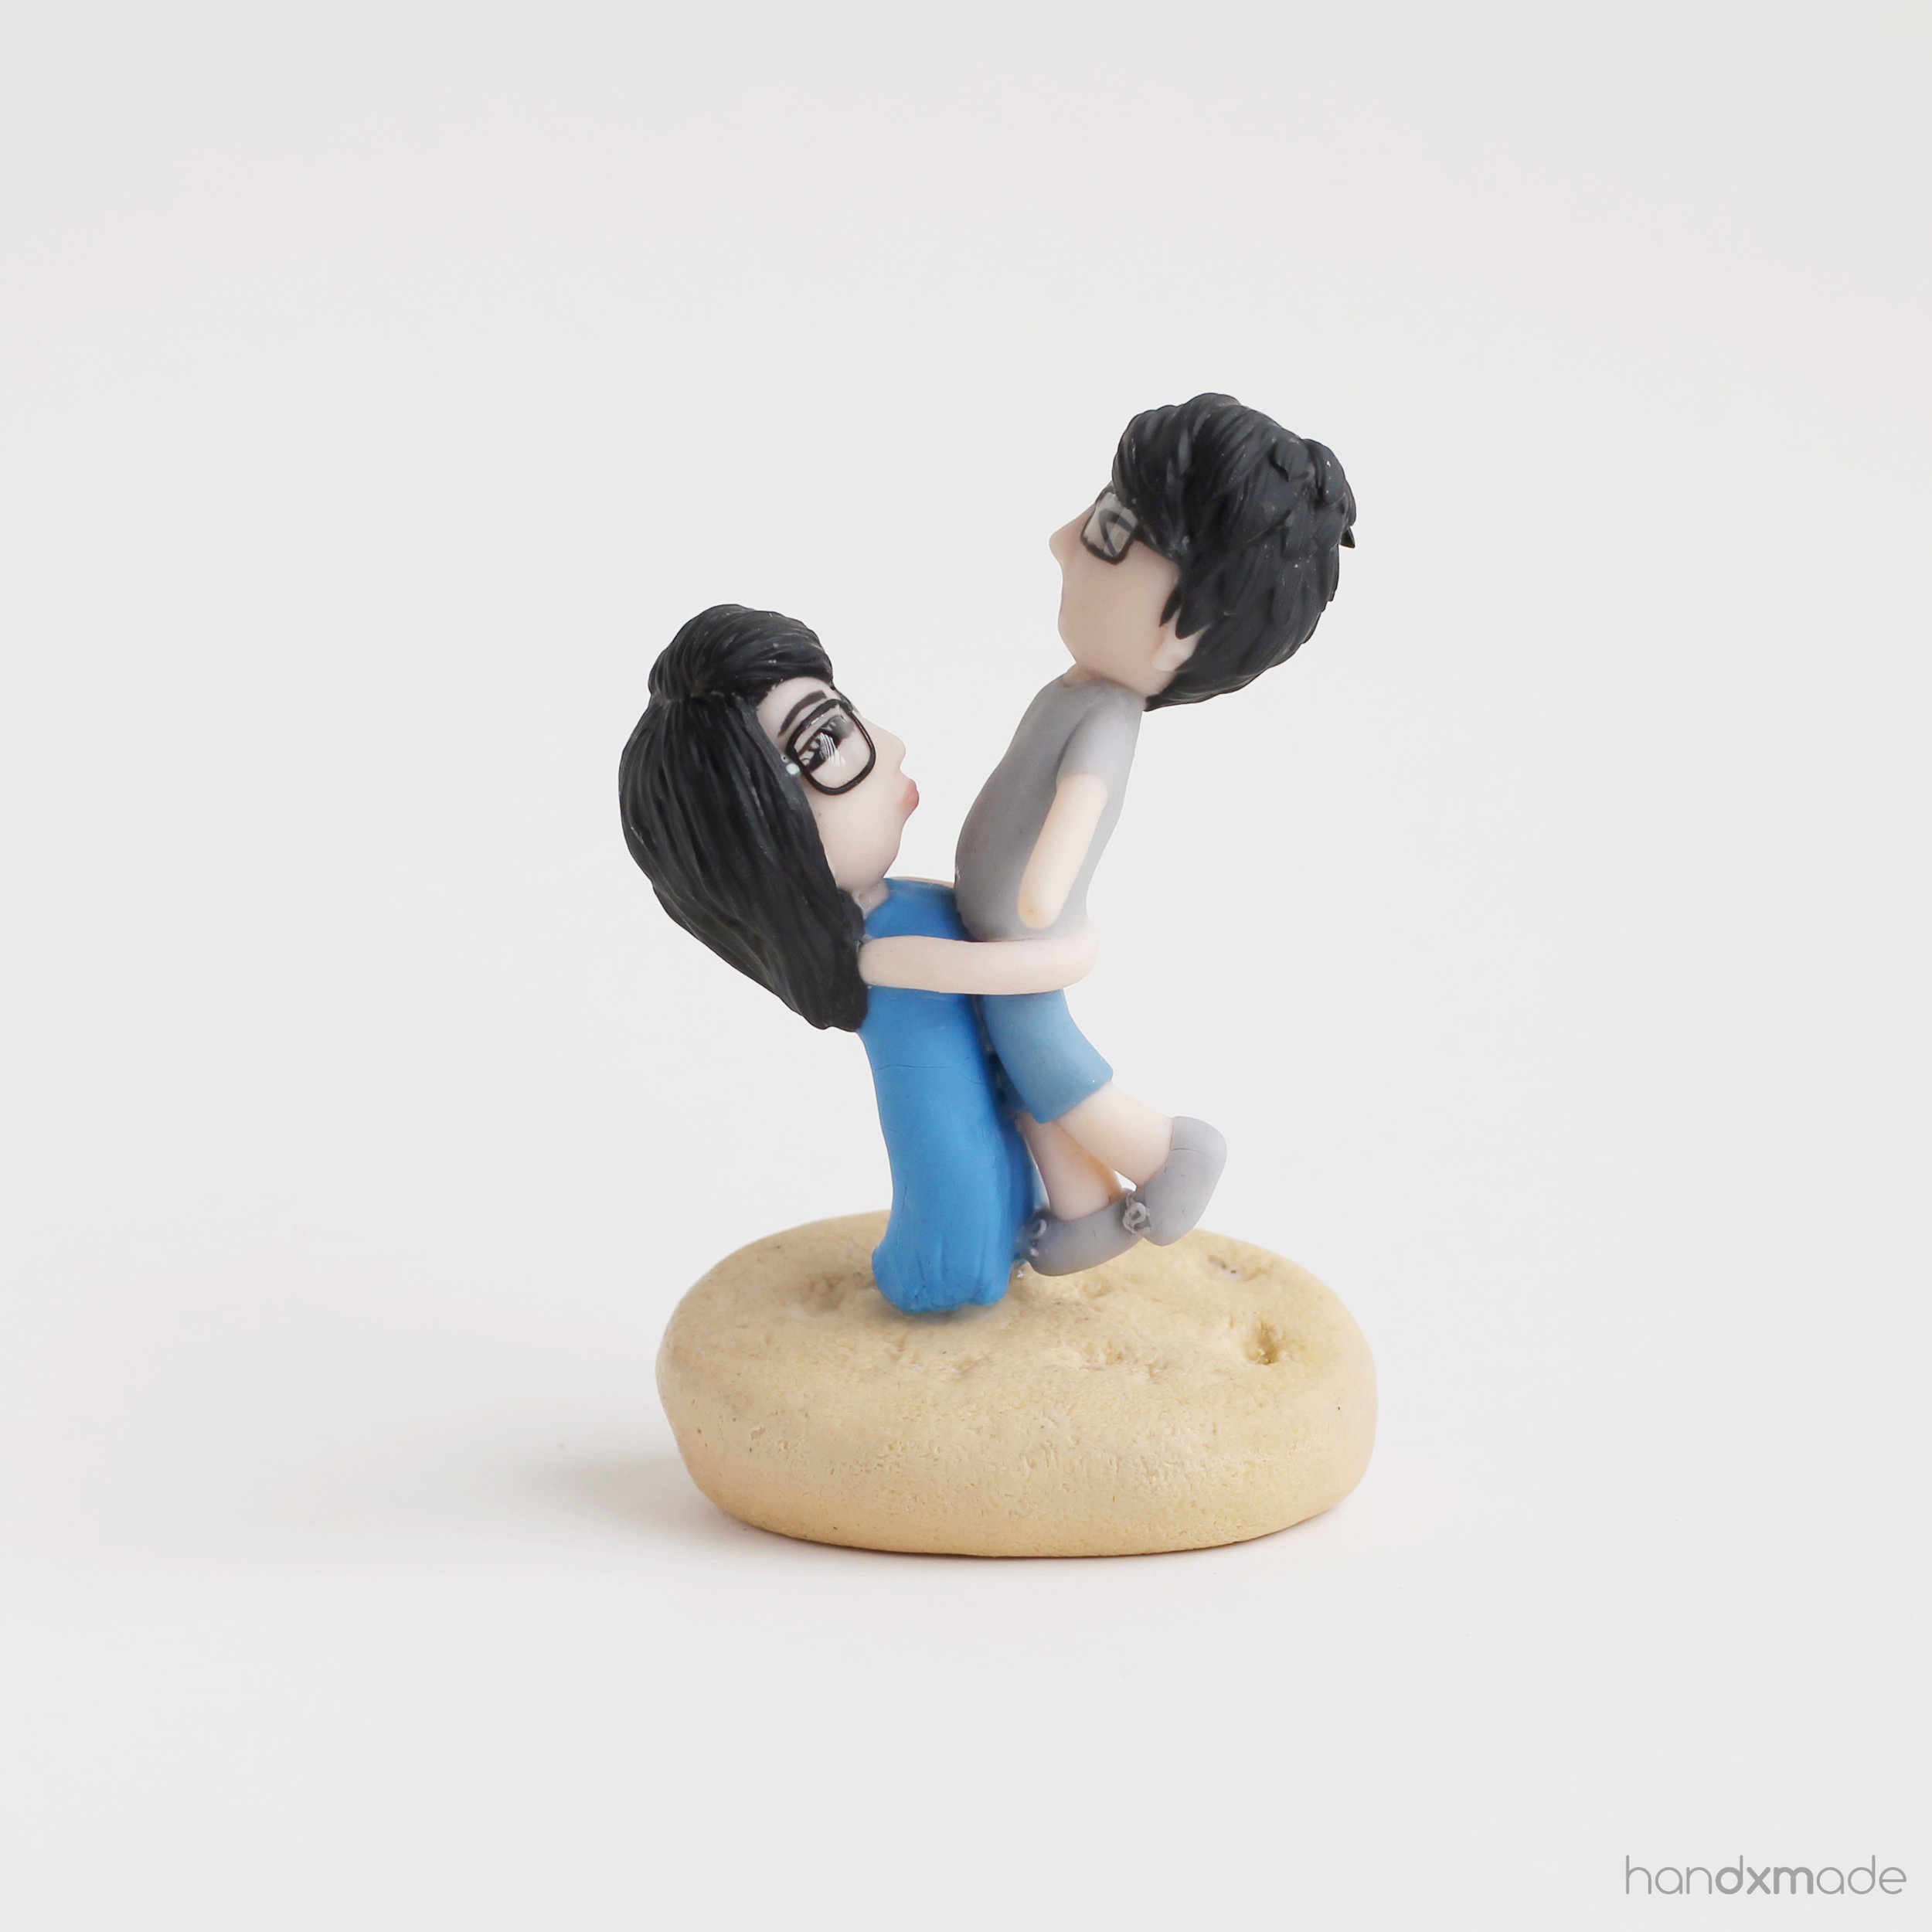
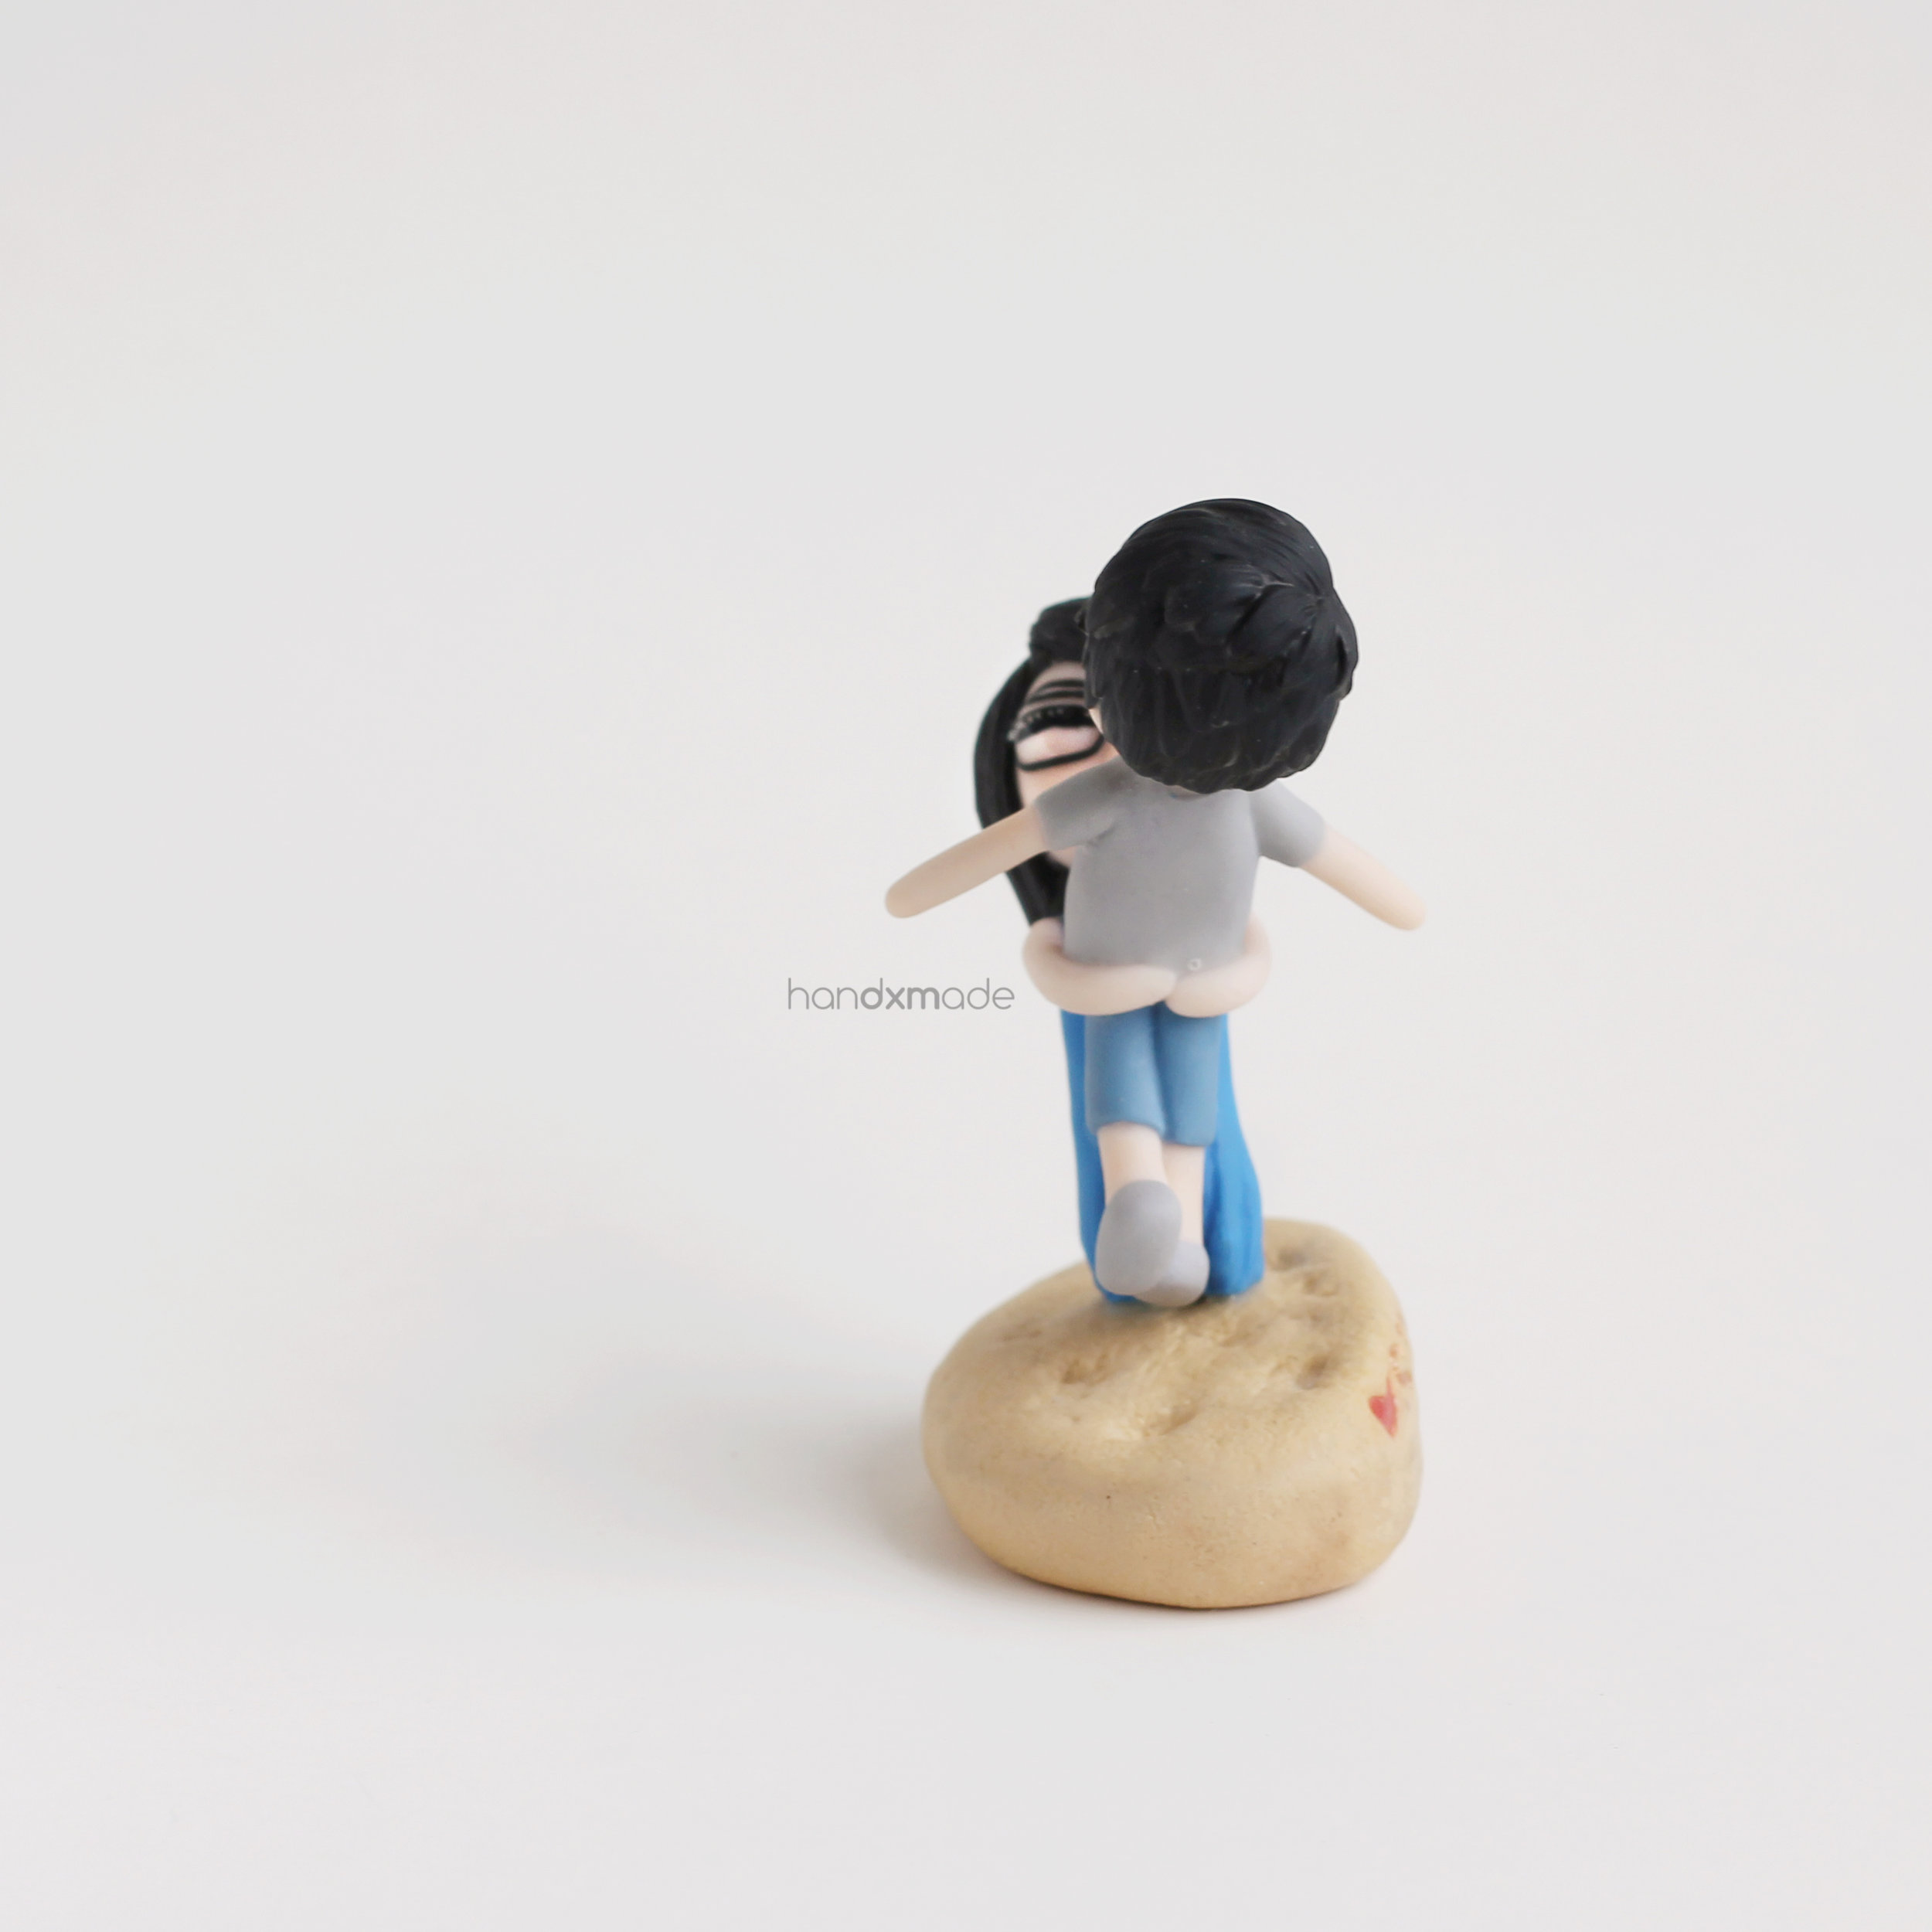
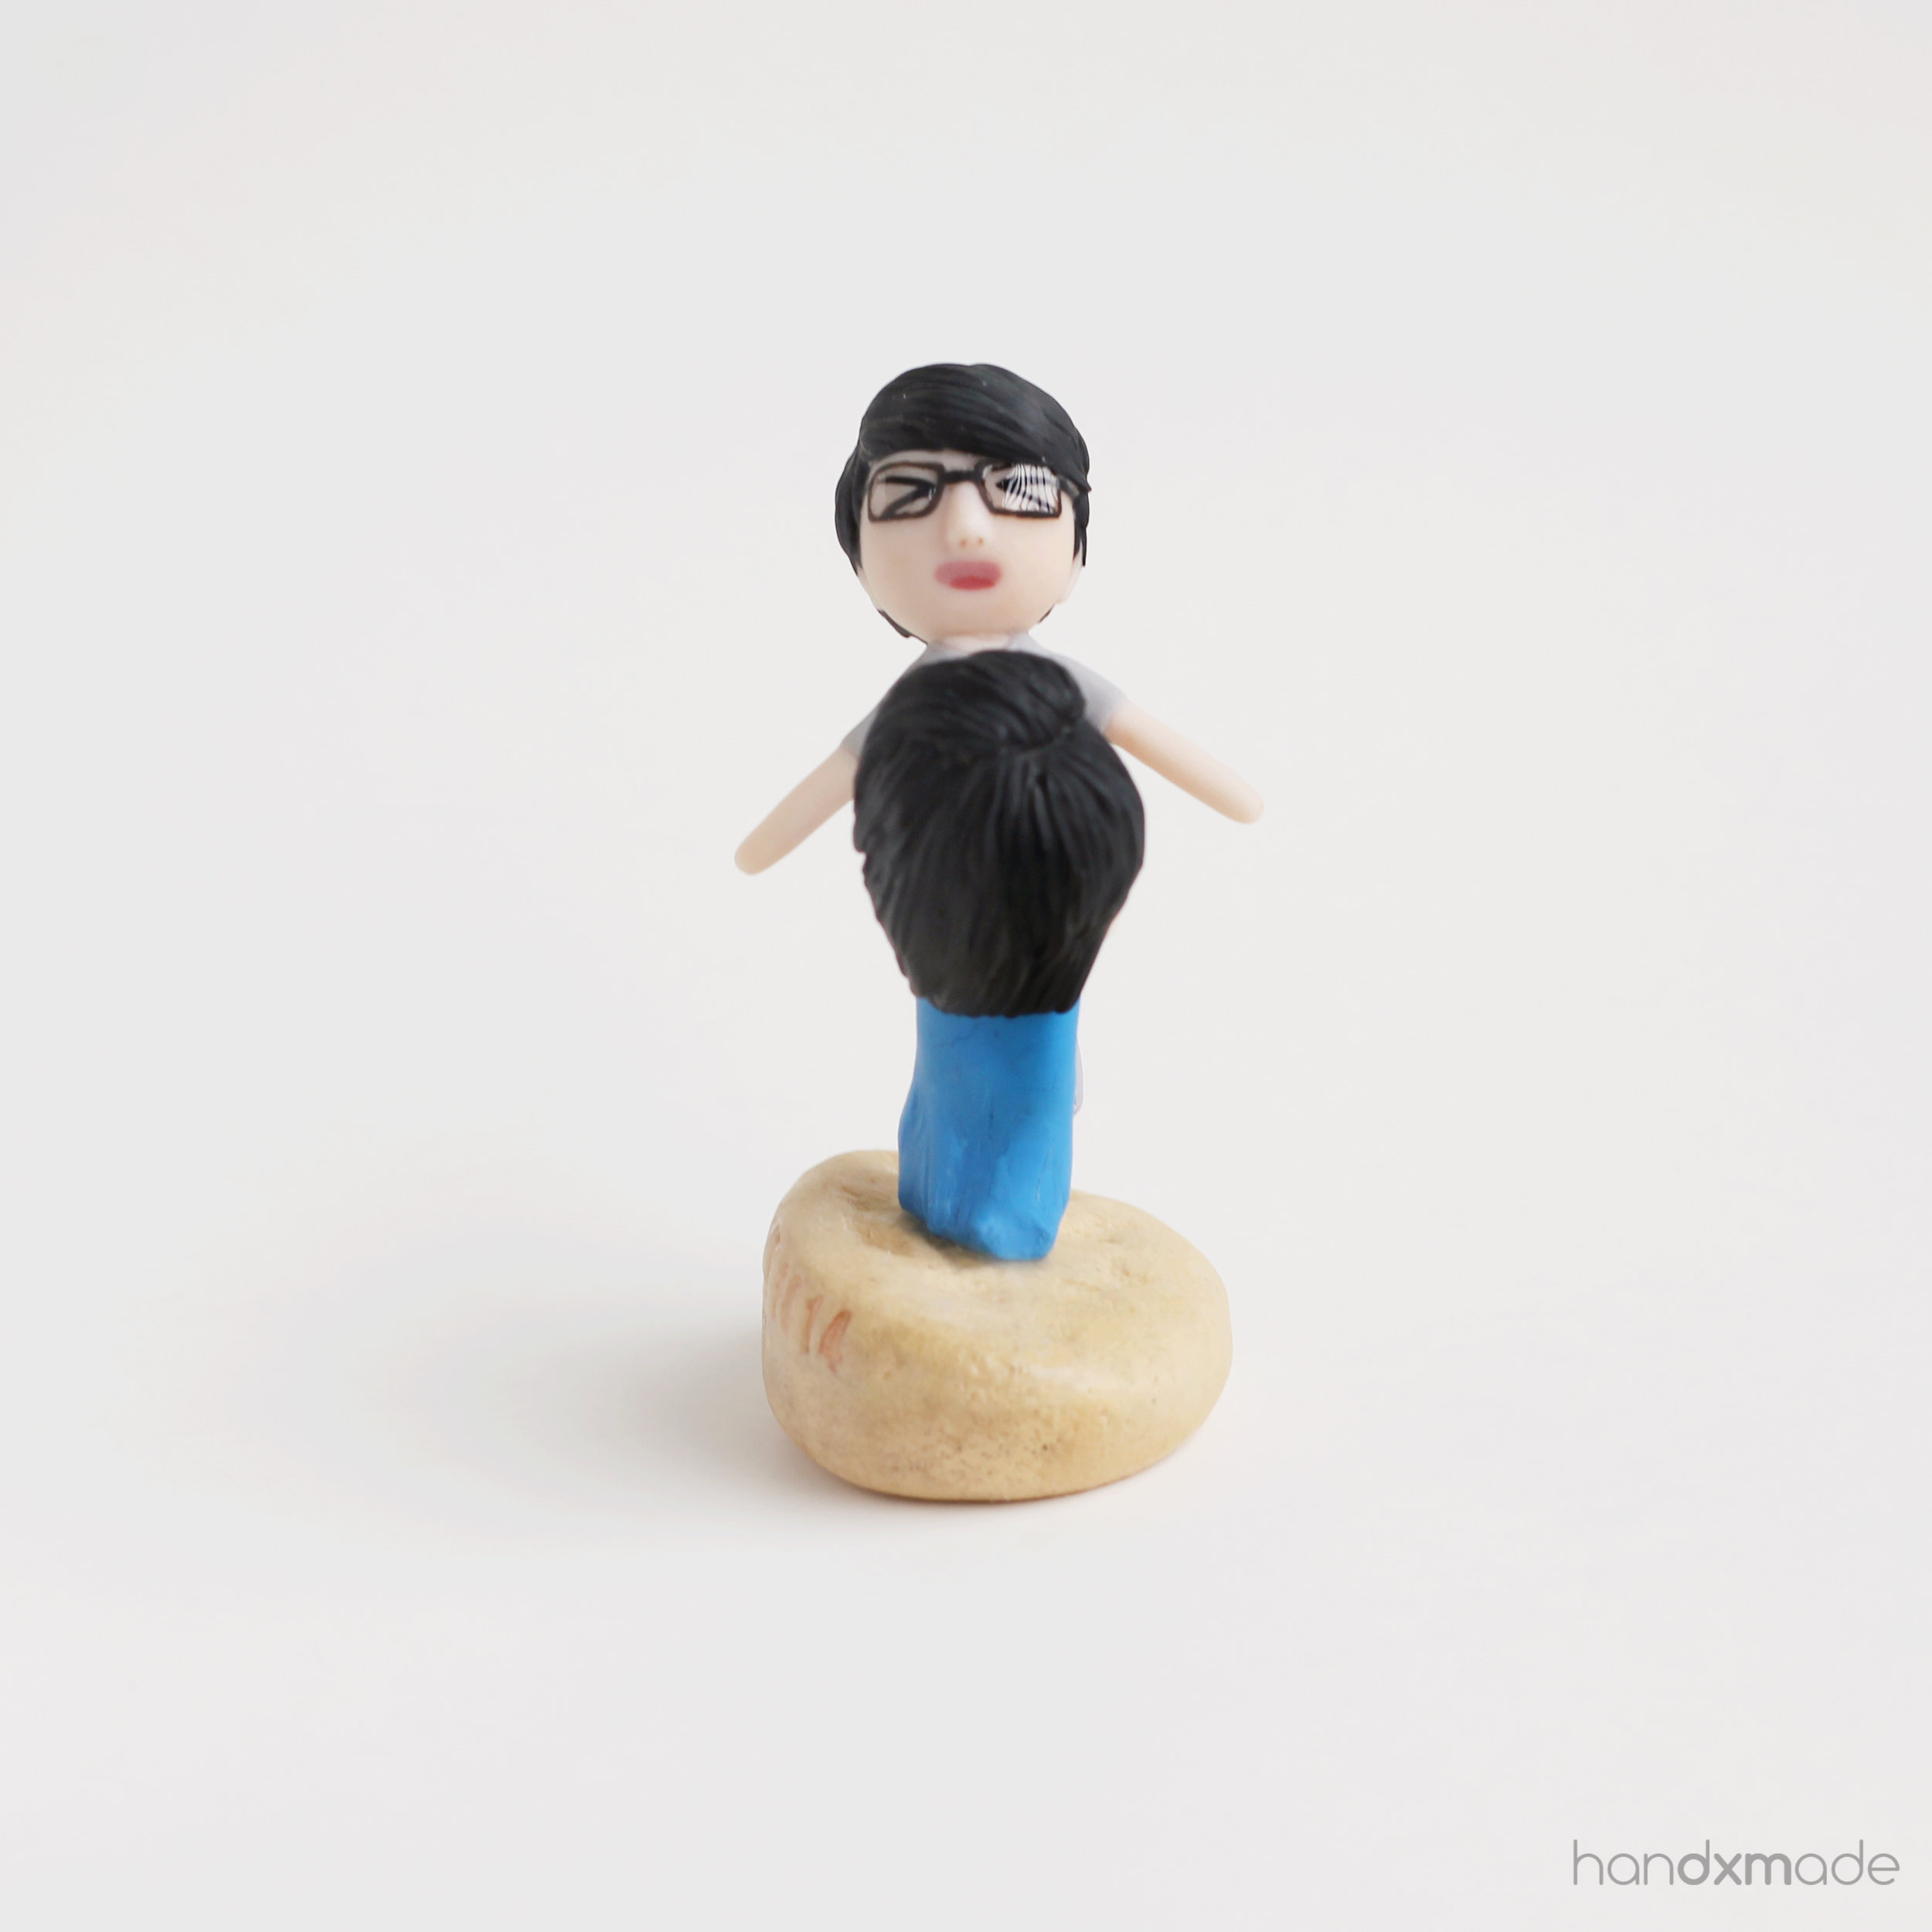
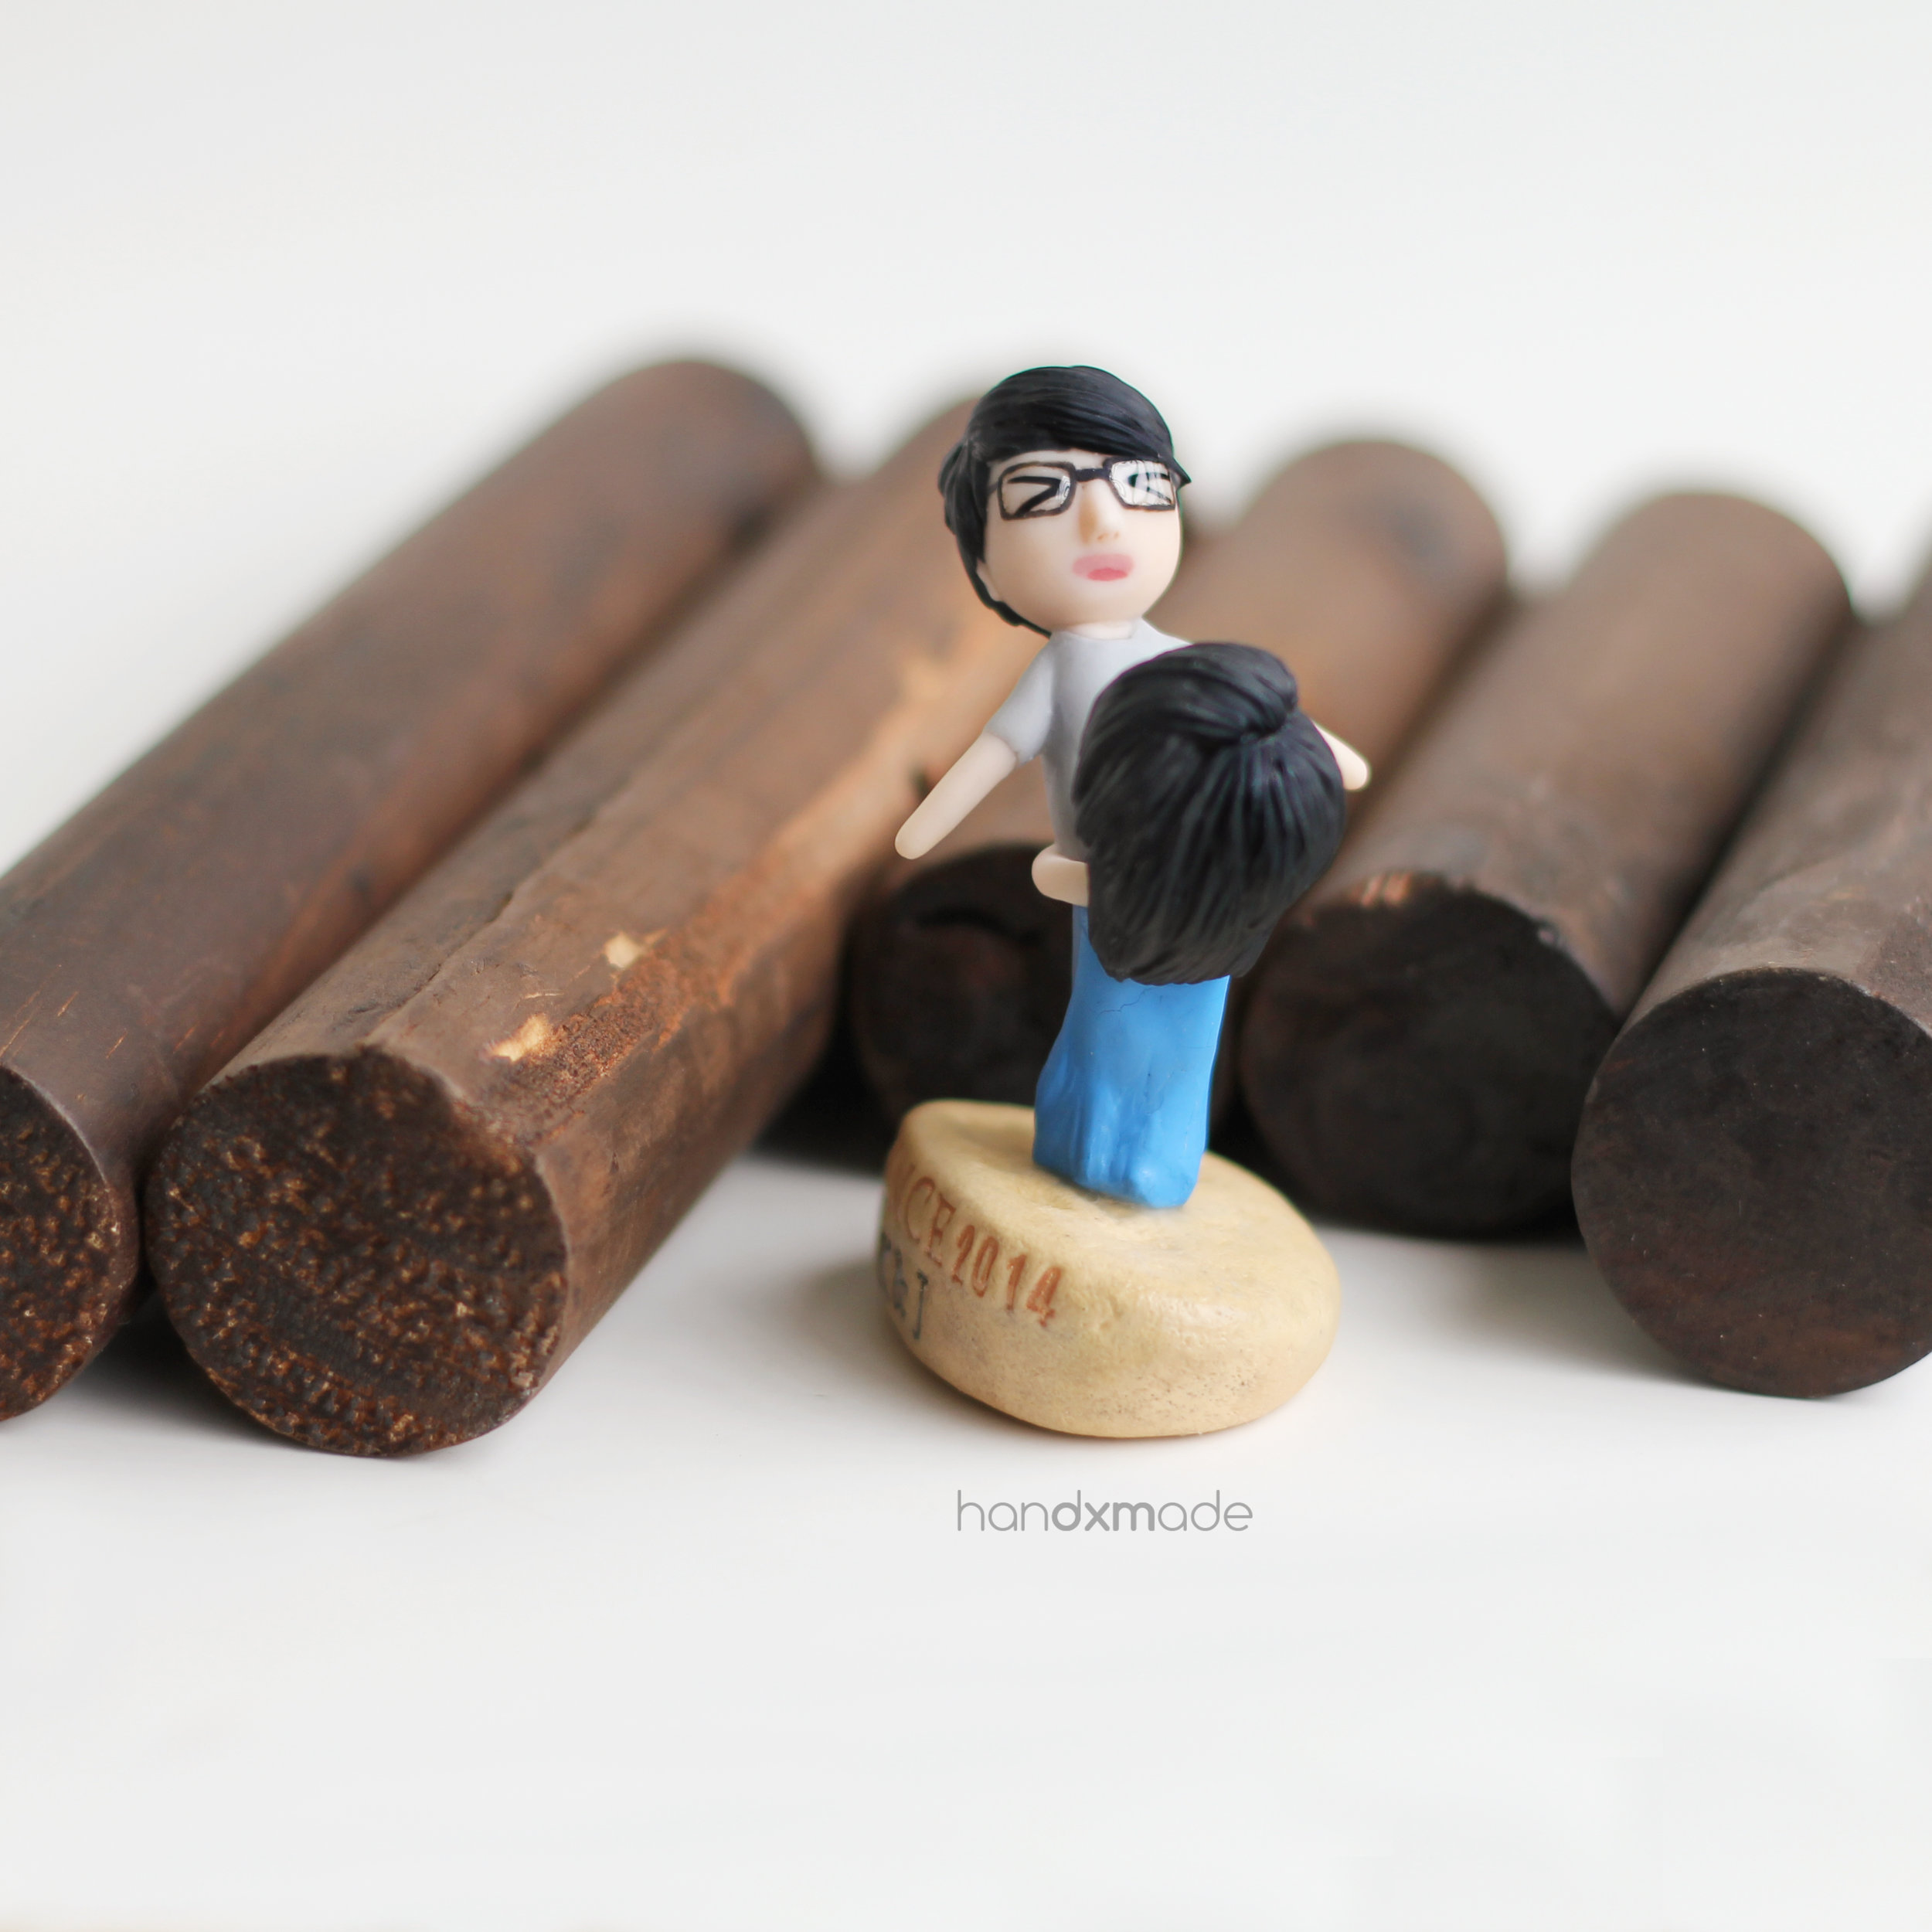
The strong female
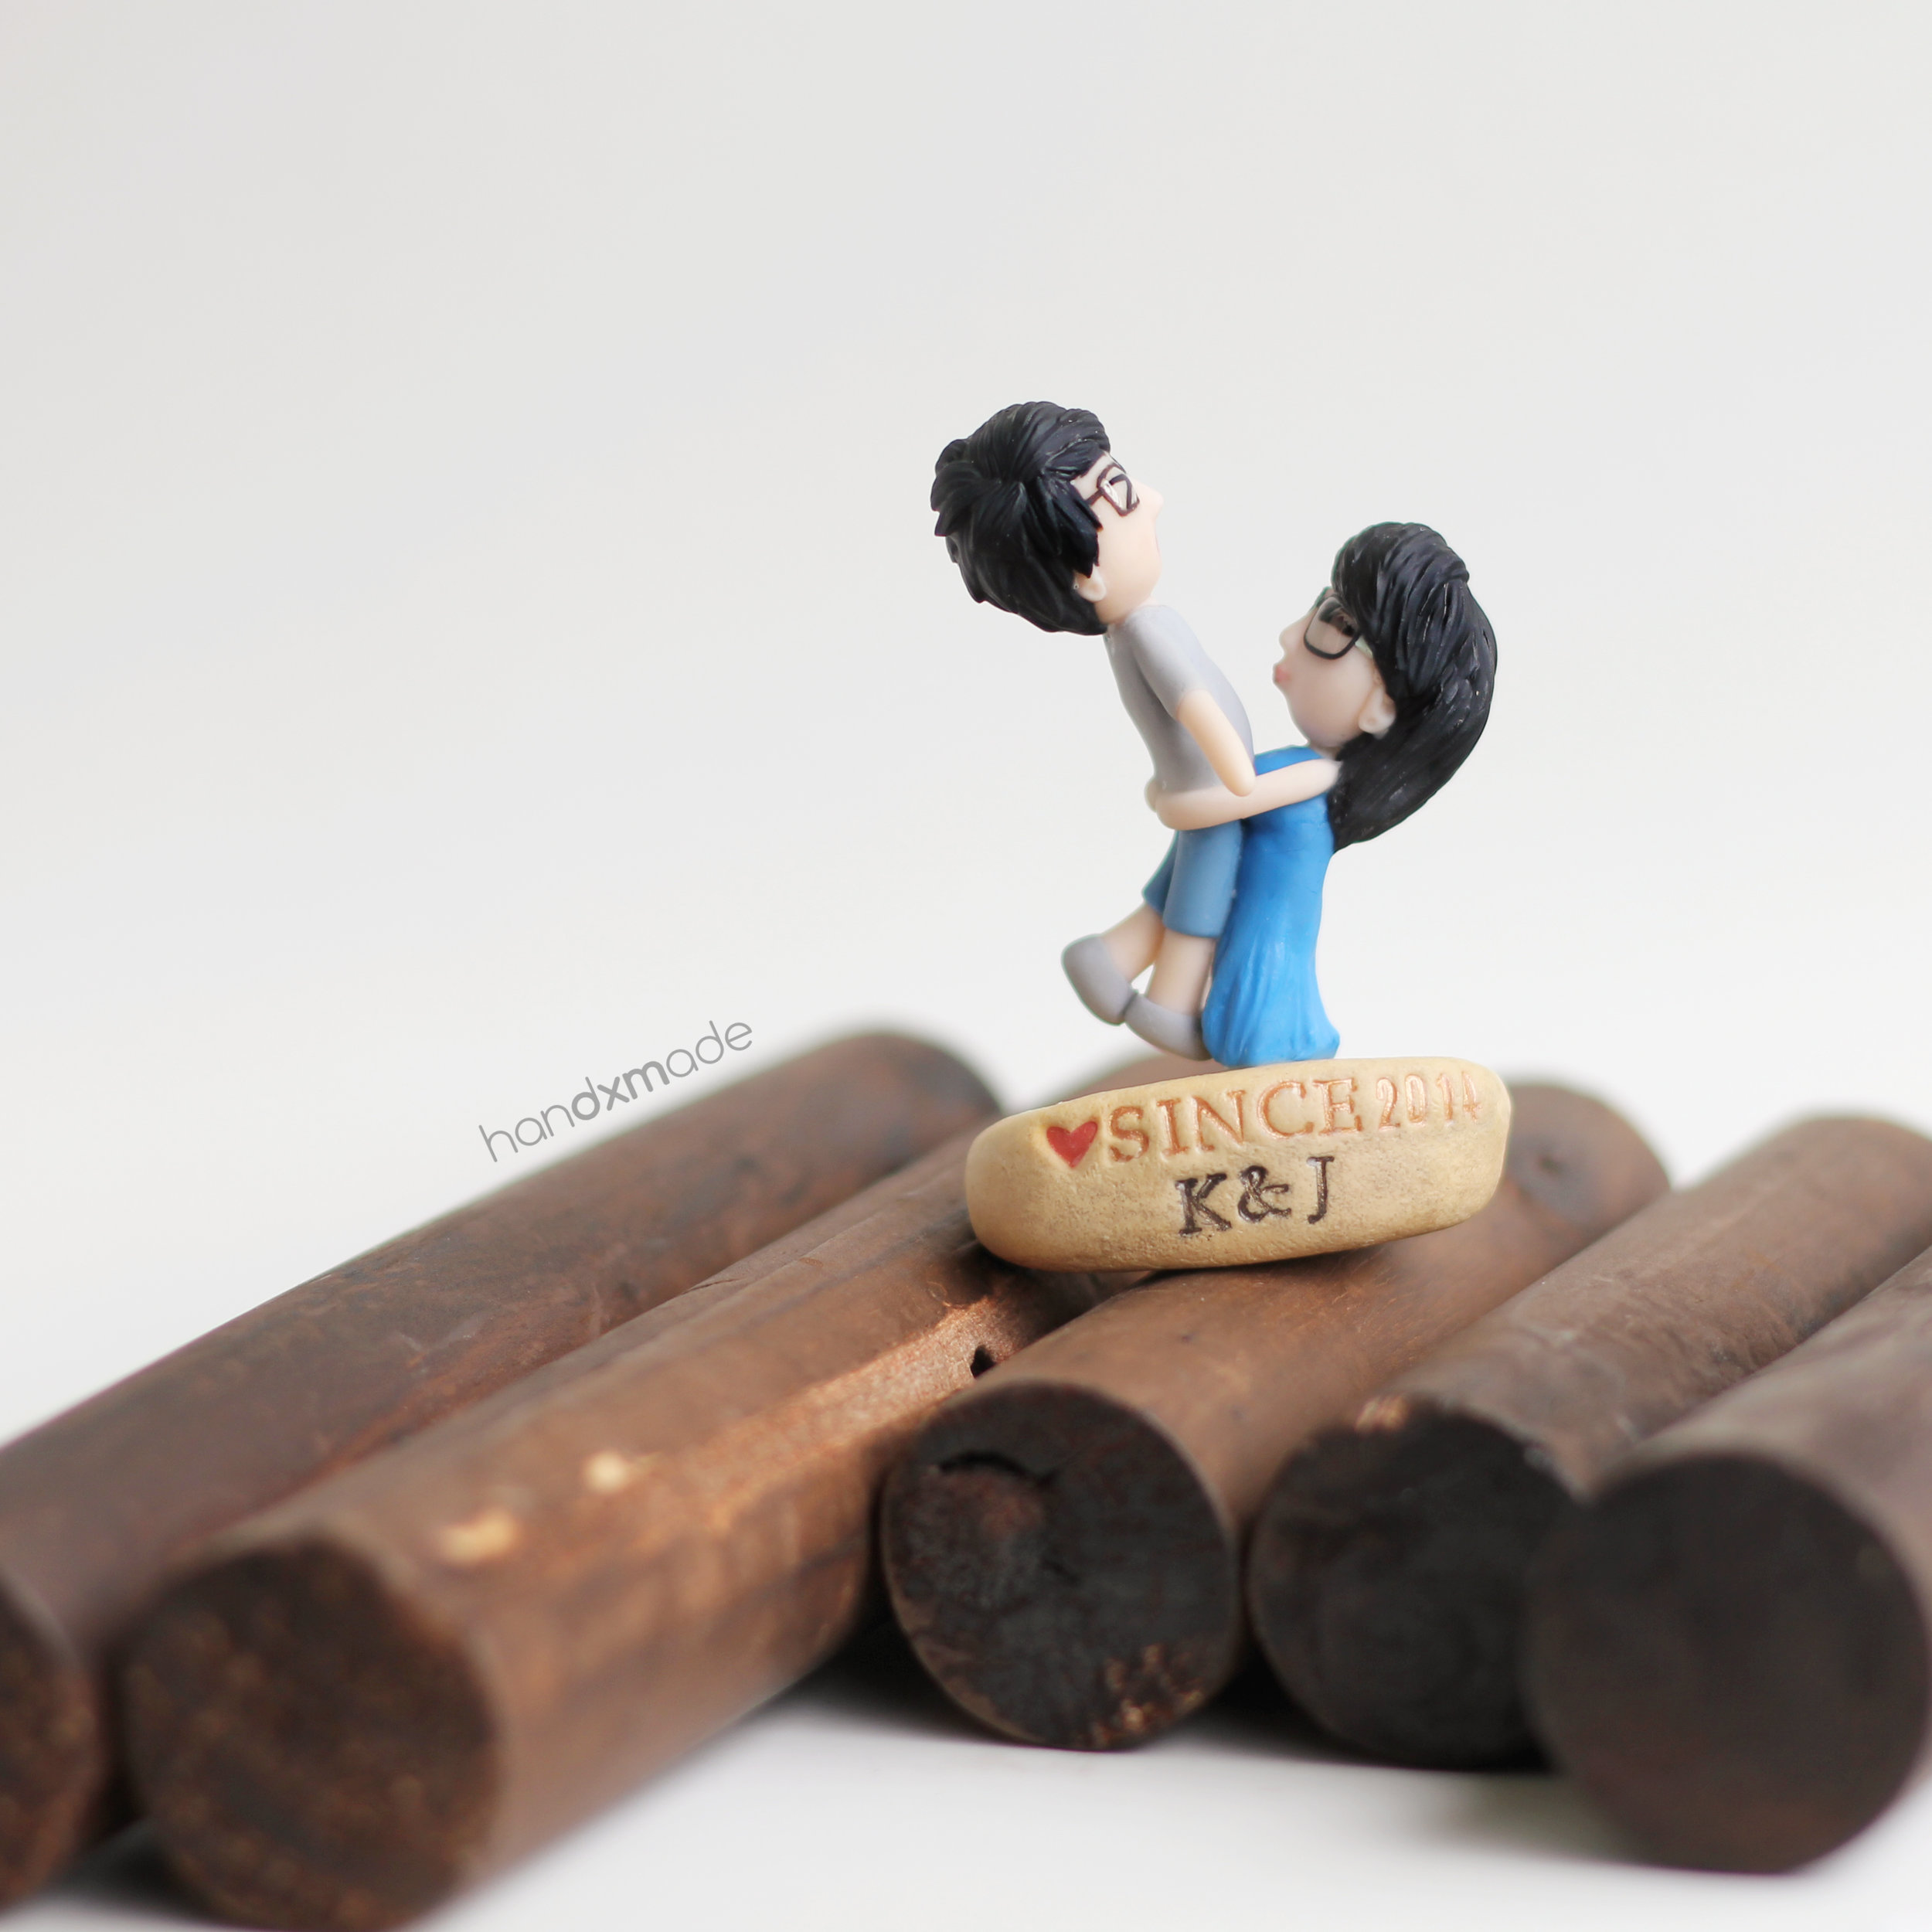
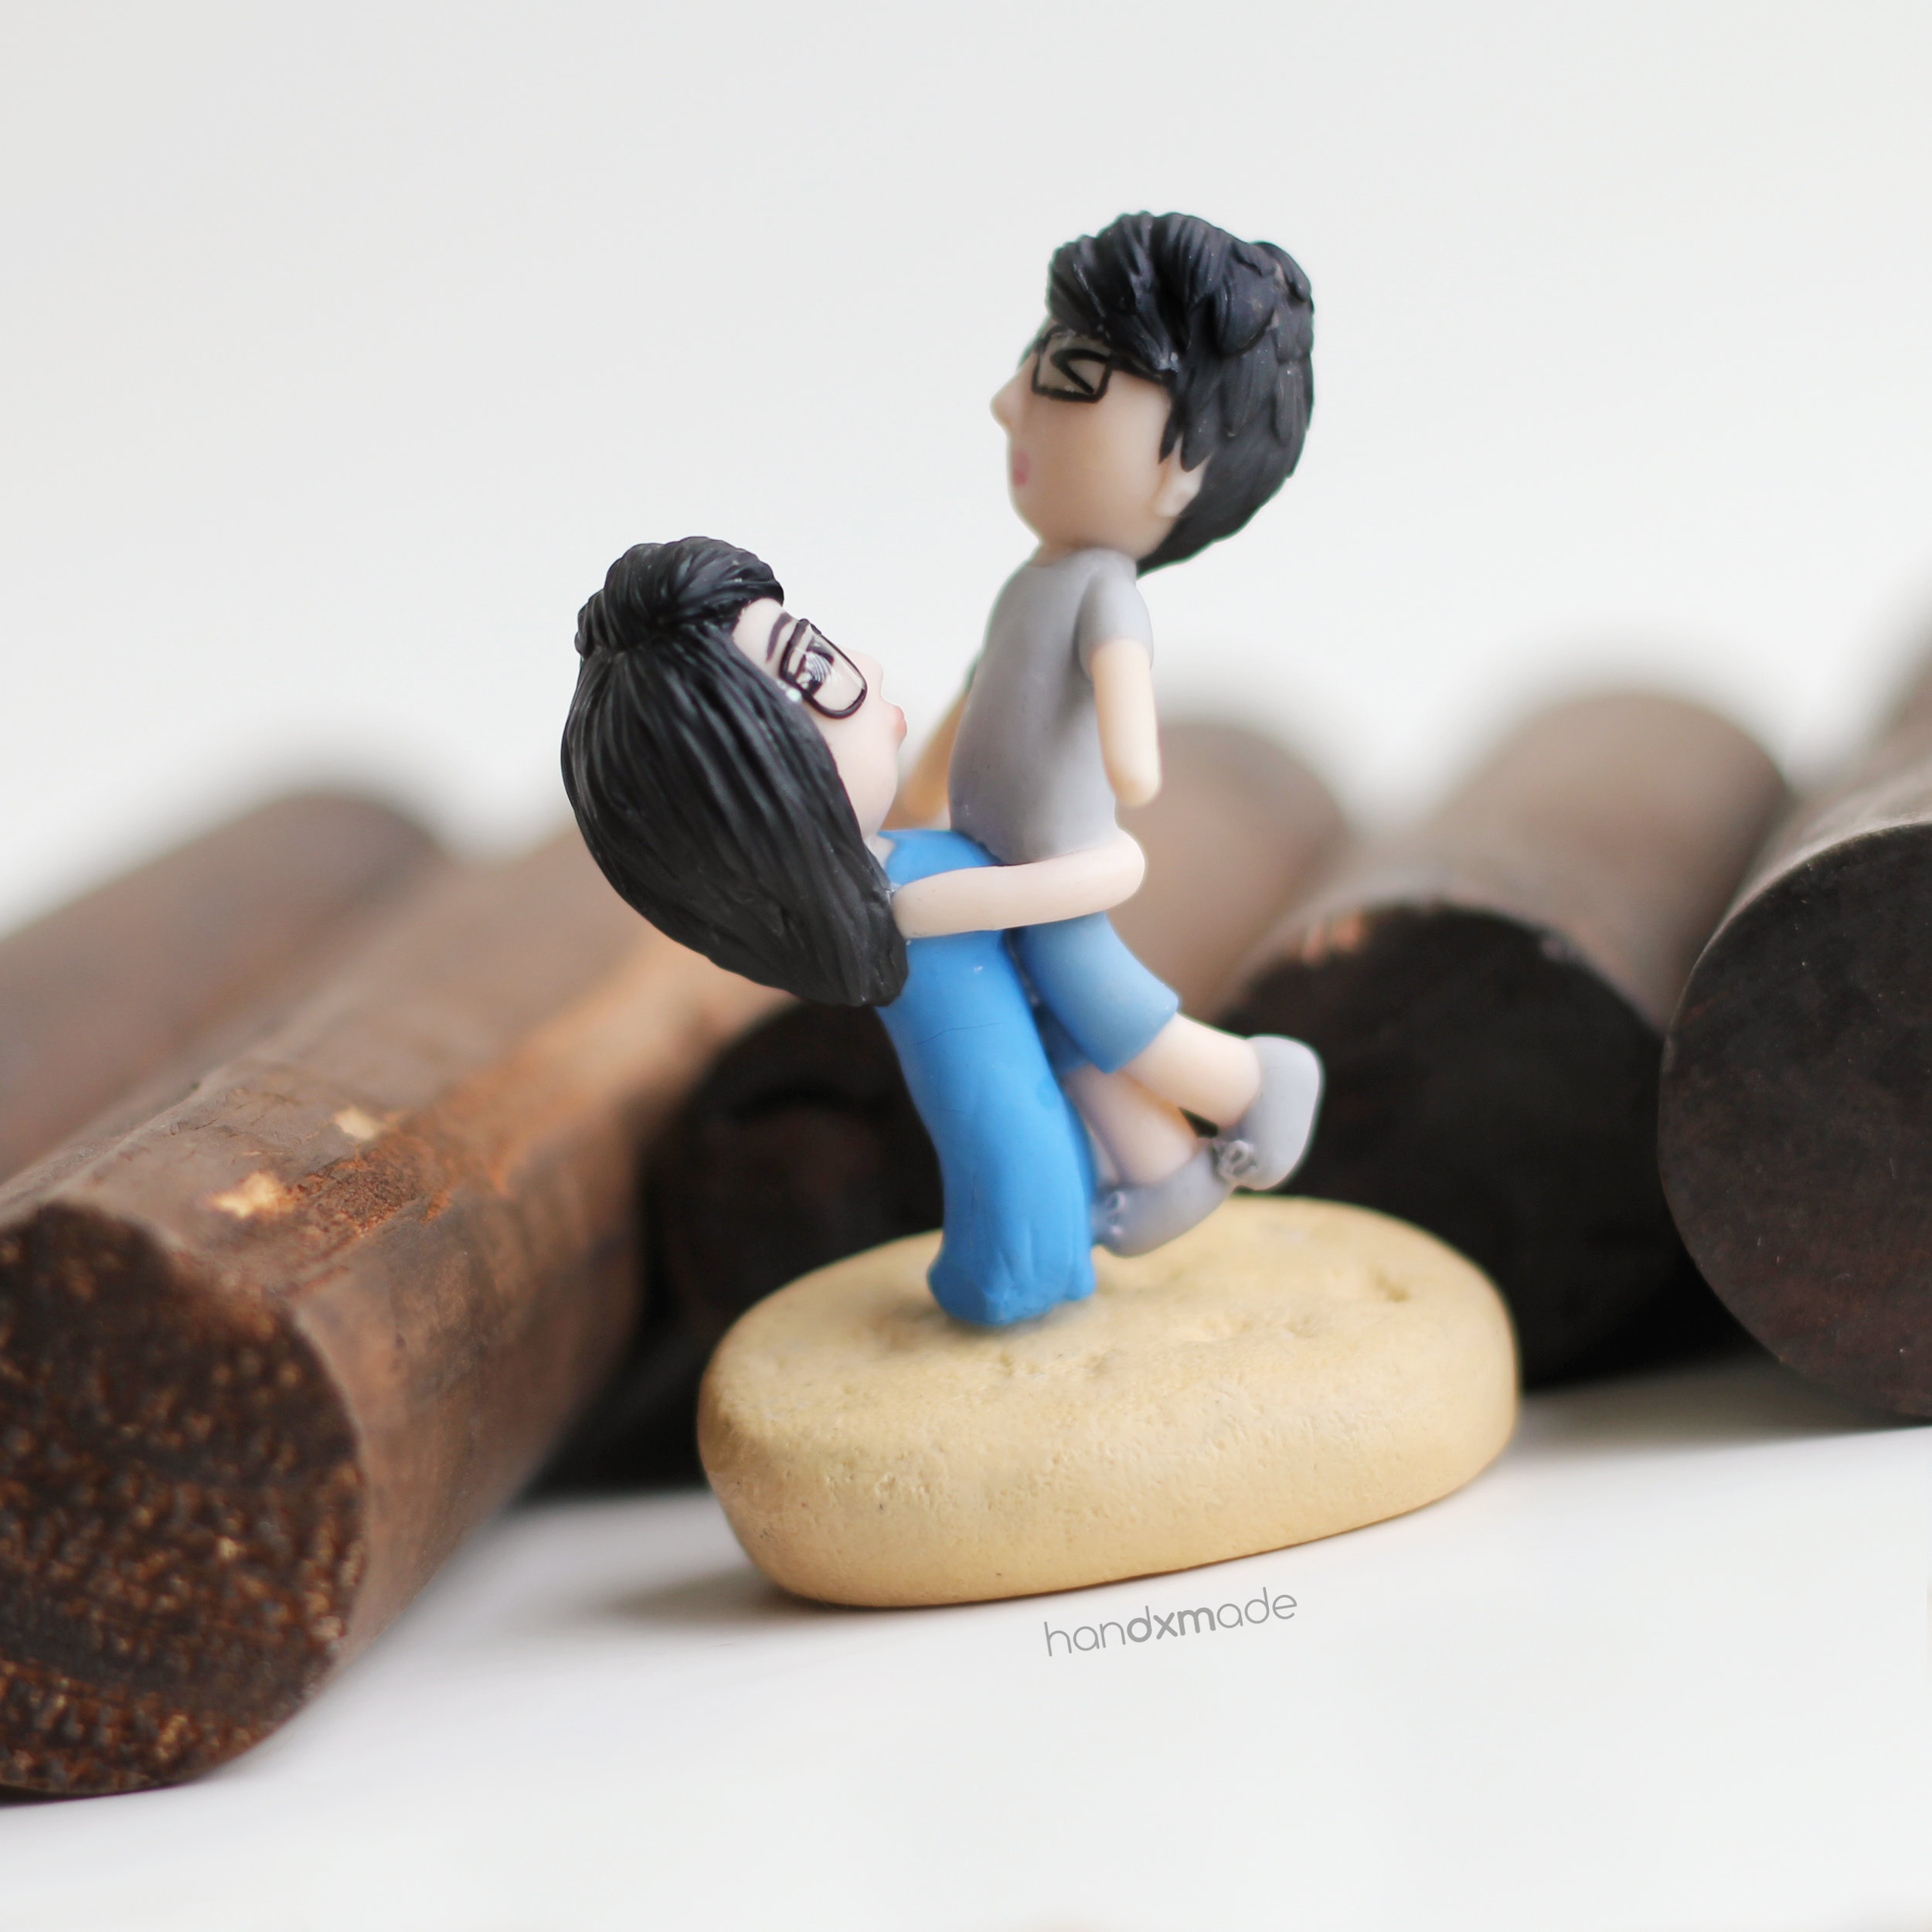
I know I say this all the time, but this figurine was the most difficult I've encountered so far, because of the fragile parts! X.X
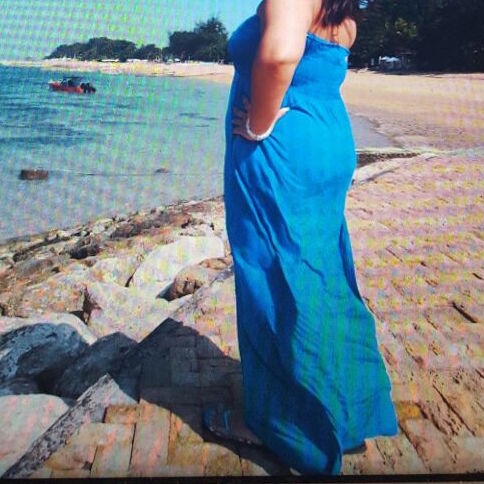
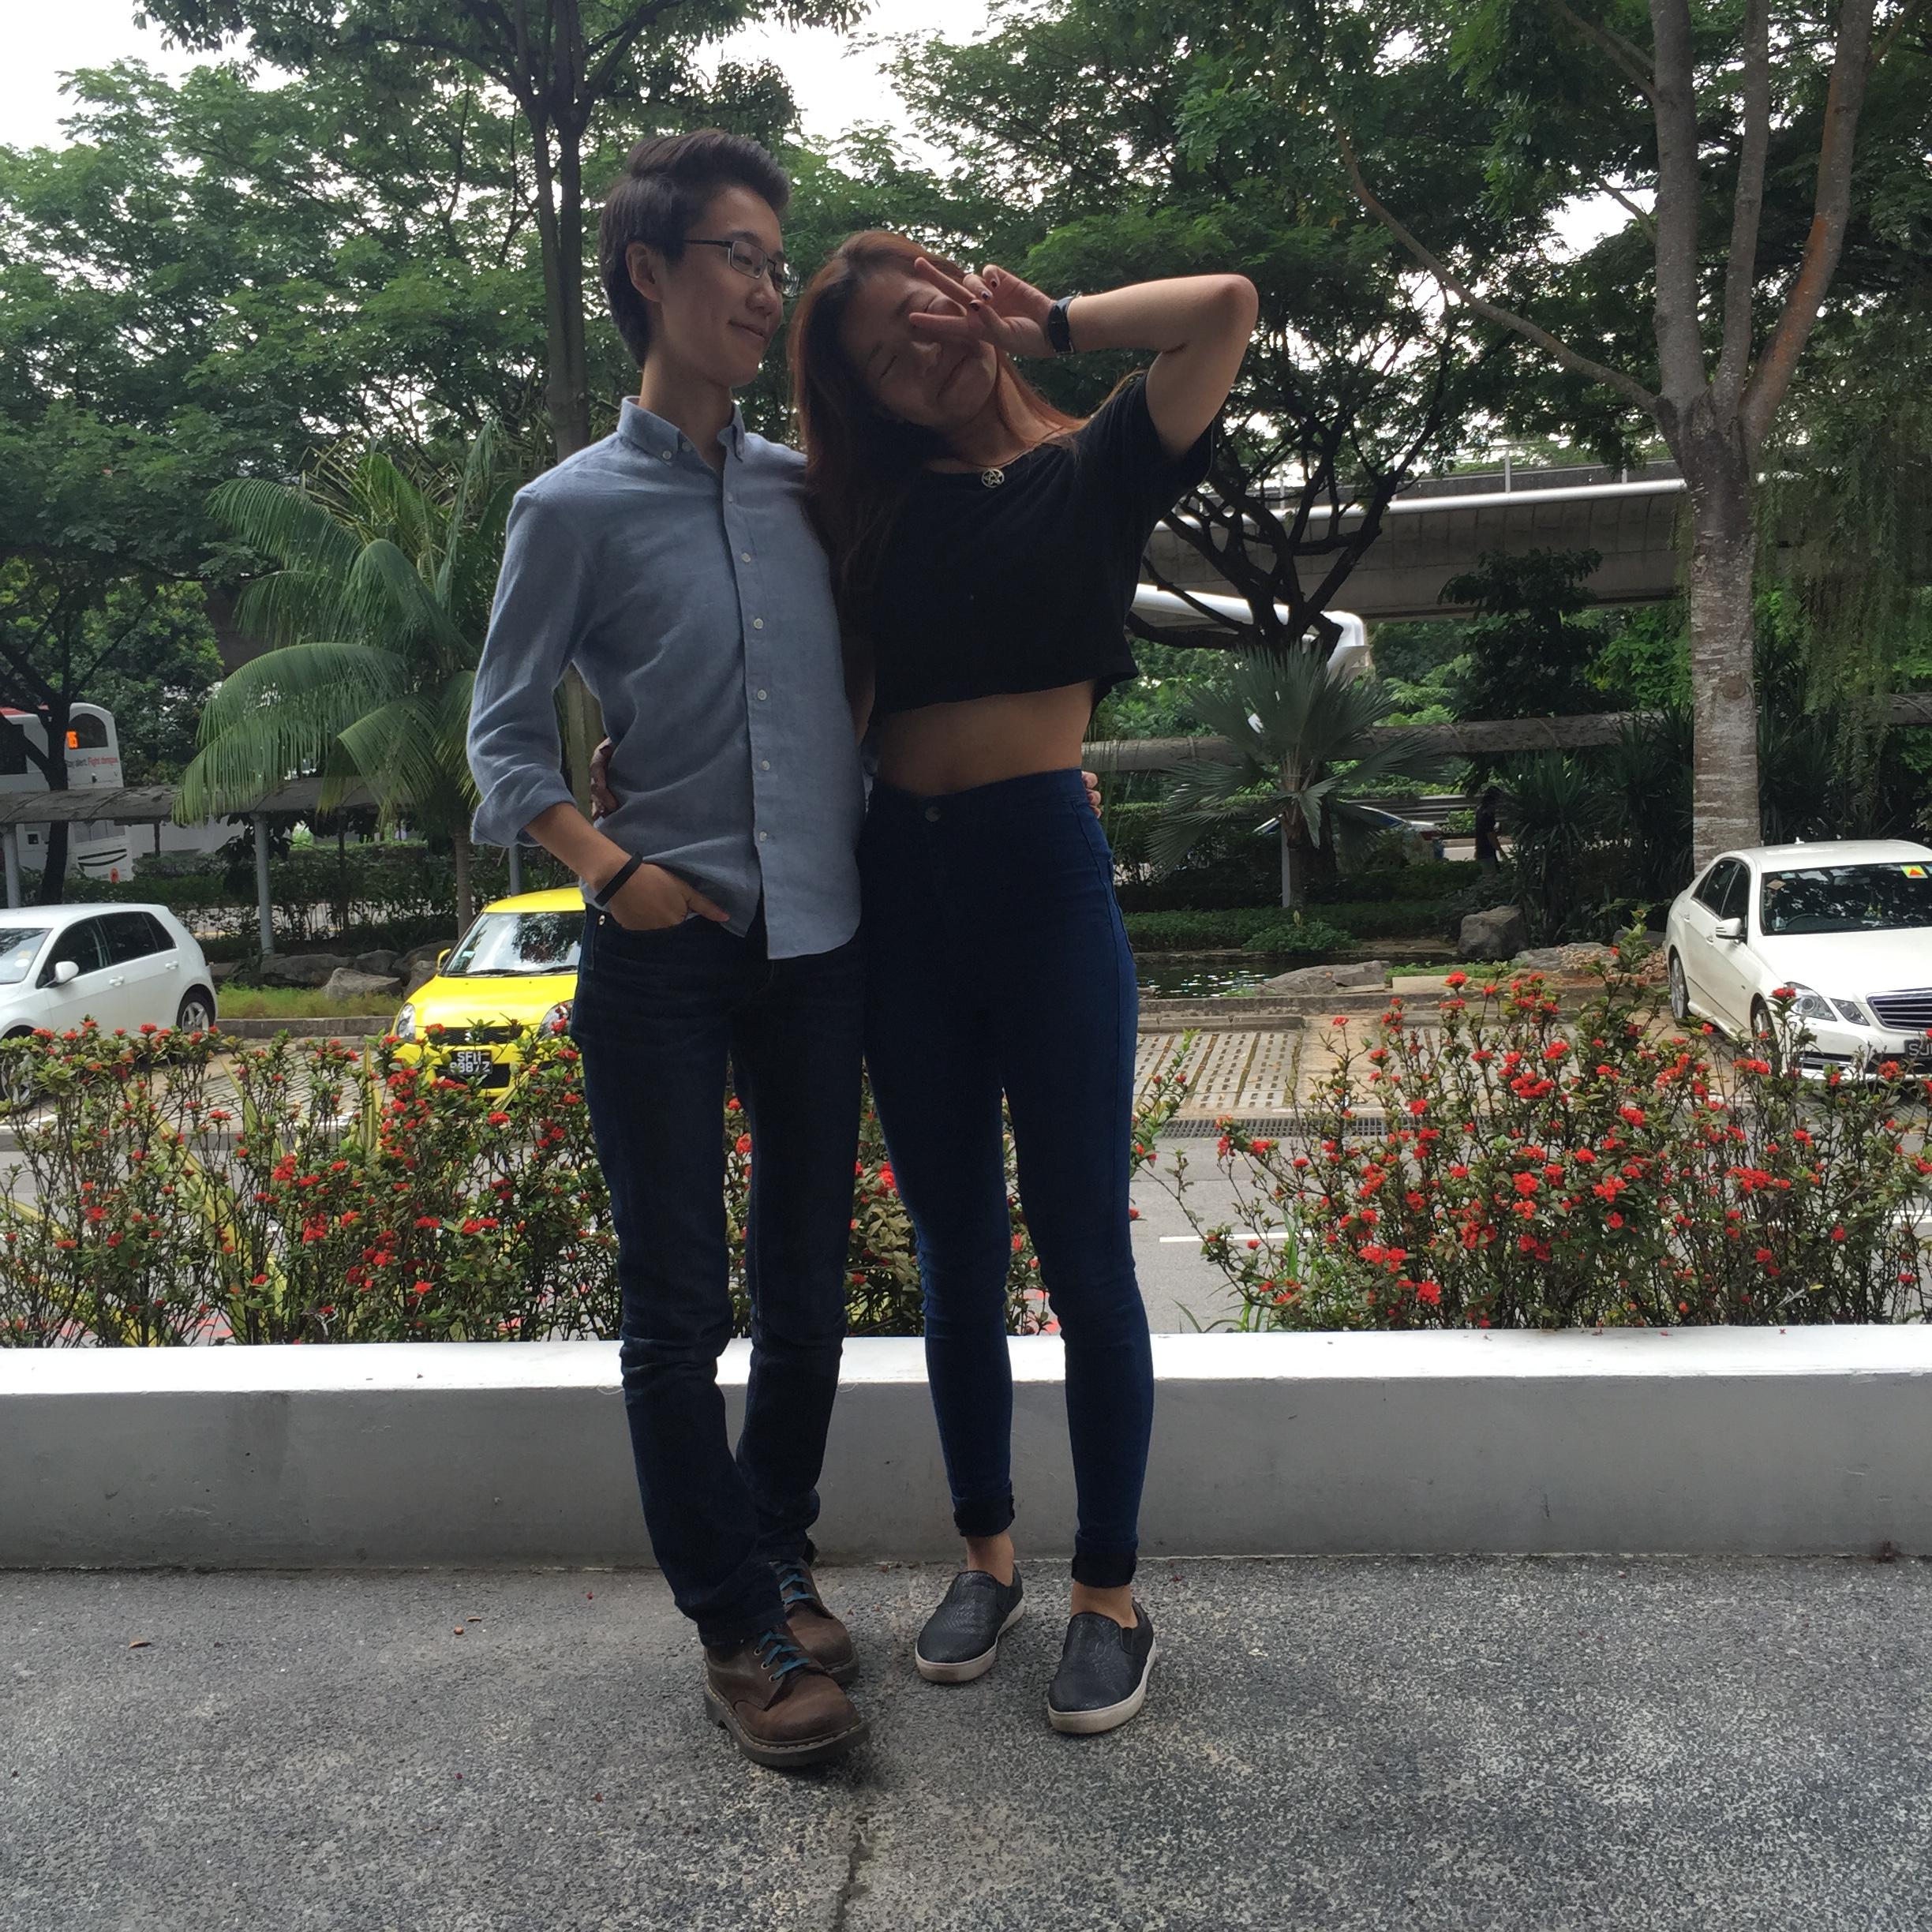
The story goes like this: She saw the figurine on the left which reminded her of her boyfriend and her, so she wanted to recreate that position, but this time with the figurines of her and her boyfriend instead! (The reference photo on the right is the dress she wants the figurine to wear hehe)
That's the magic of custom order, you can do anything you want!

And I'm to make sure that my customer get what she want! :')
I actually made sure that there was a wire in between the two body that were joined, as the female itself won't be able to hold the male just by her hands - it was too risky, so I had to have some precaution. The female also has a wire through the base to her body, so both were secured!


For the male, because his arms isn't by his side, I also had to make sure it would stay! So wire it is hehehe. This figurine actually required the most preplanning the most, and I also love how the male's eyes were like an emoji! It really does make him look like he's enjoying himself right? Hehehe.
It was also the first time I tried making a kissy lips on my figurine, and I'm very happy to say that I'm quite proud of it! Huehuehue.
Overall, a good learning experience, and definitely one of my proudest end product!
That's all the TWELVE orders I've gotten through Dayre when I was Editor's Pick! :')
I've learn so much from all these orders, all the things I've mentioned throughout this post, and even things like time management (DO NOT ACCEPT 12 ORDERS IN A GO HAHAHAHAA I LITERALLY SPENT MONTHS ON IT), pricing (needed to make sure I can survive and even save with the income I get) and things I needed to improve on, like FAQ section and my forms!
It has been a great experience, and I think because of all of you who ordered, and everyone on Dayre who was so supportive, that I can truly believe in my work.
This is very important, and life changing for me.