
SOFT PASTELS
This article by @handxmade is free for personal use ONLY, any reproduction is prohibited.
If you’d like to show your appreciation for these articles through monetary means, you can send me a ko-fi! ☕️
One of my favourite look of all times is the soft, watercolour texture, and of course because of that, I try to make some of my creation have that kind of texture!
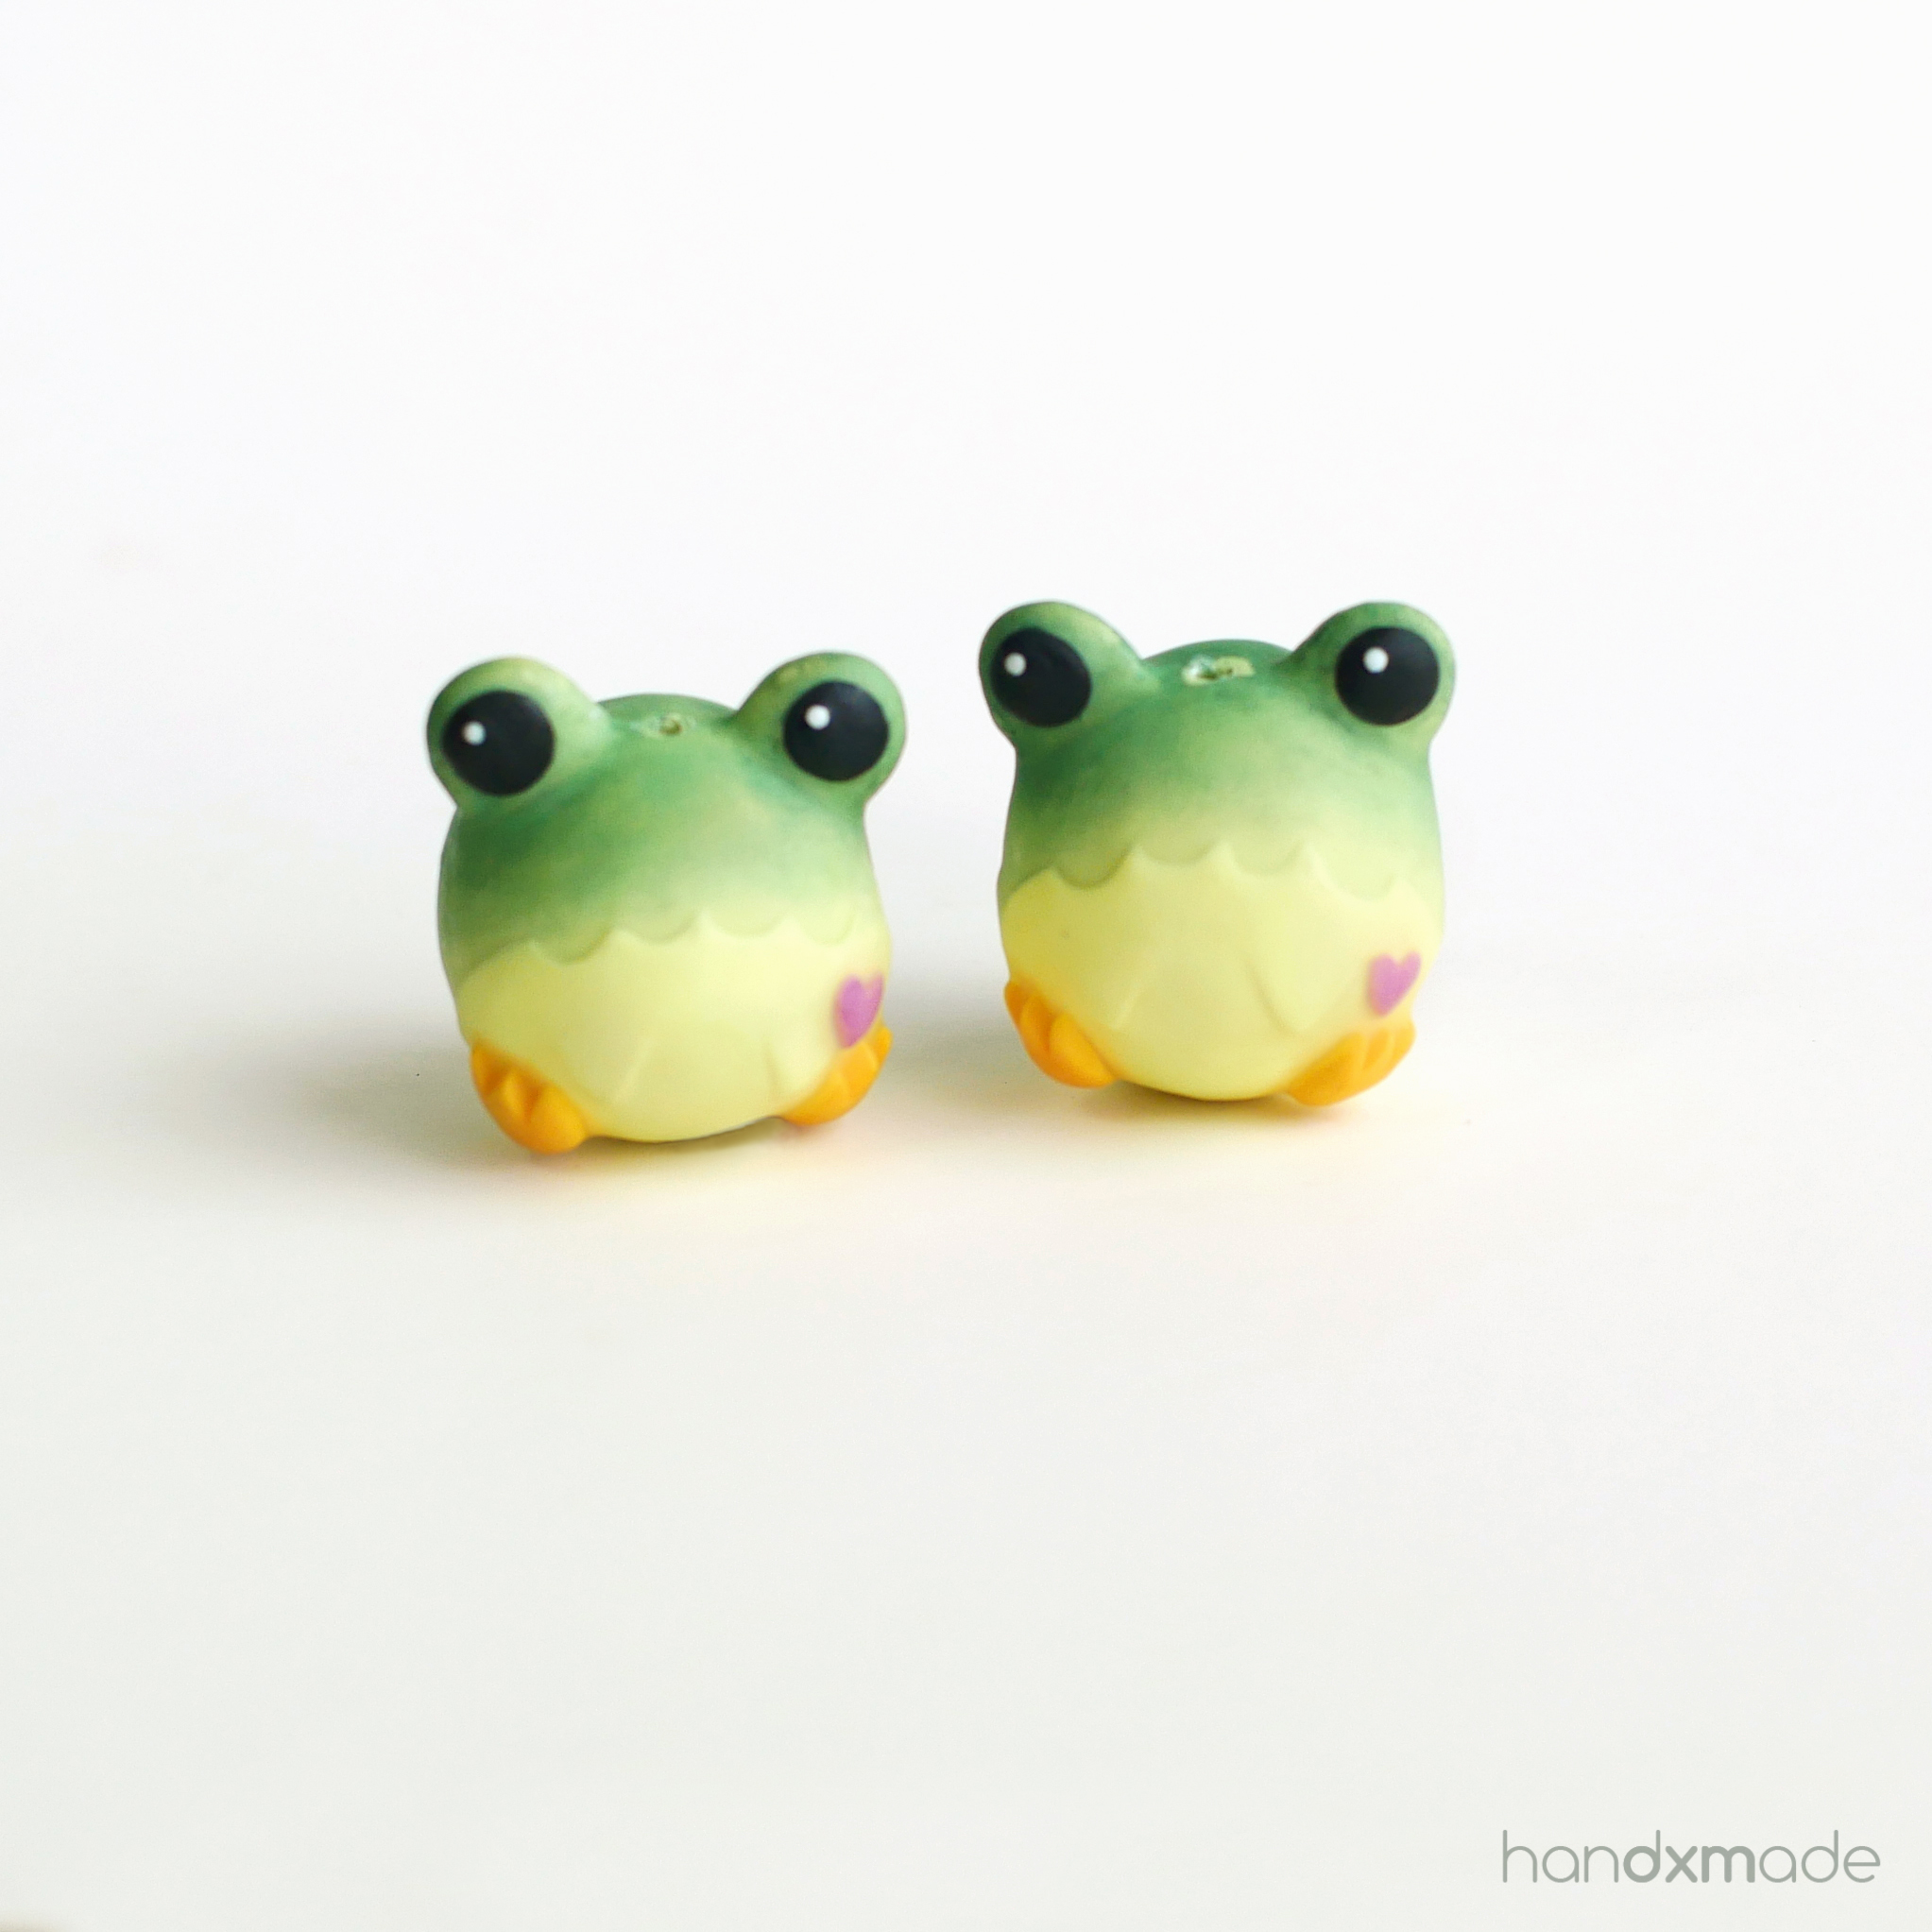
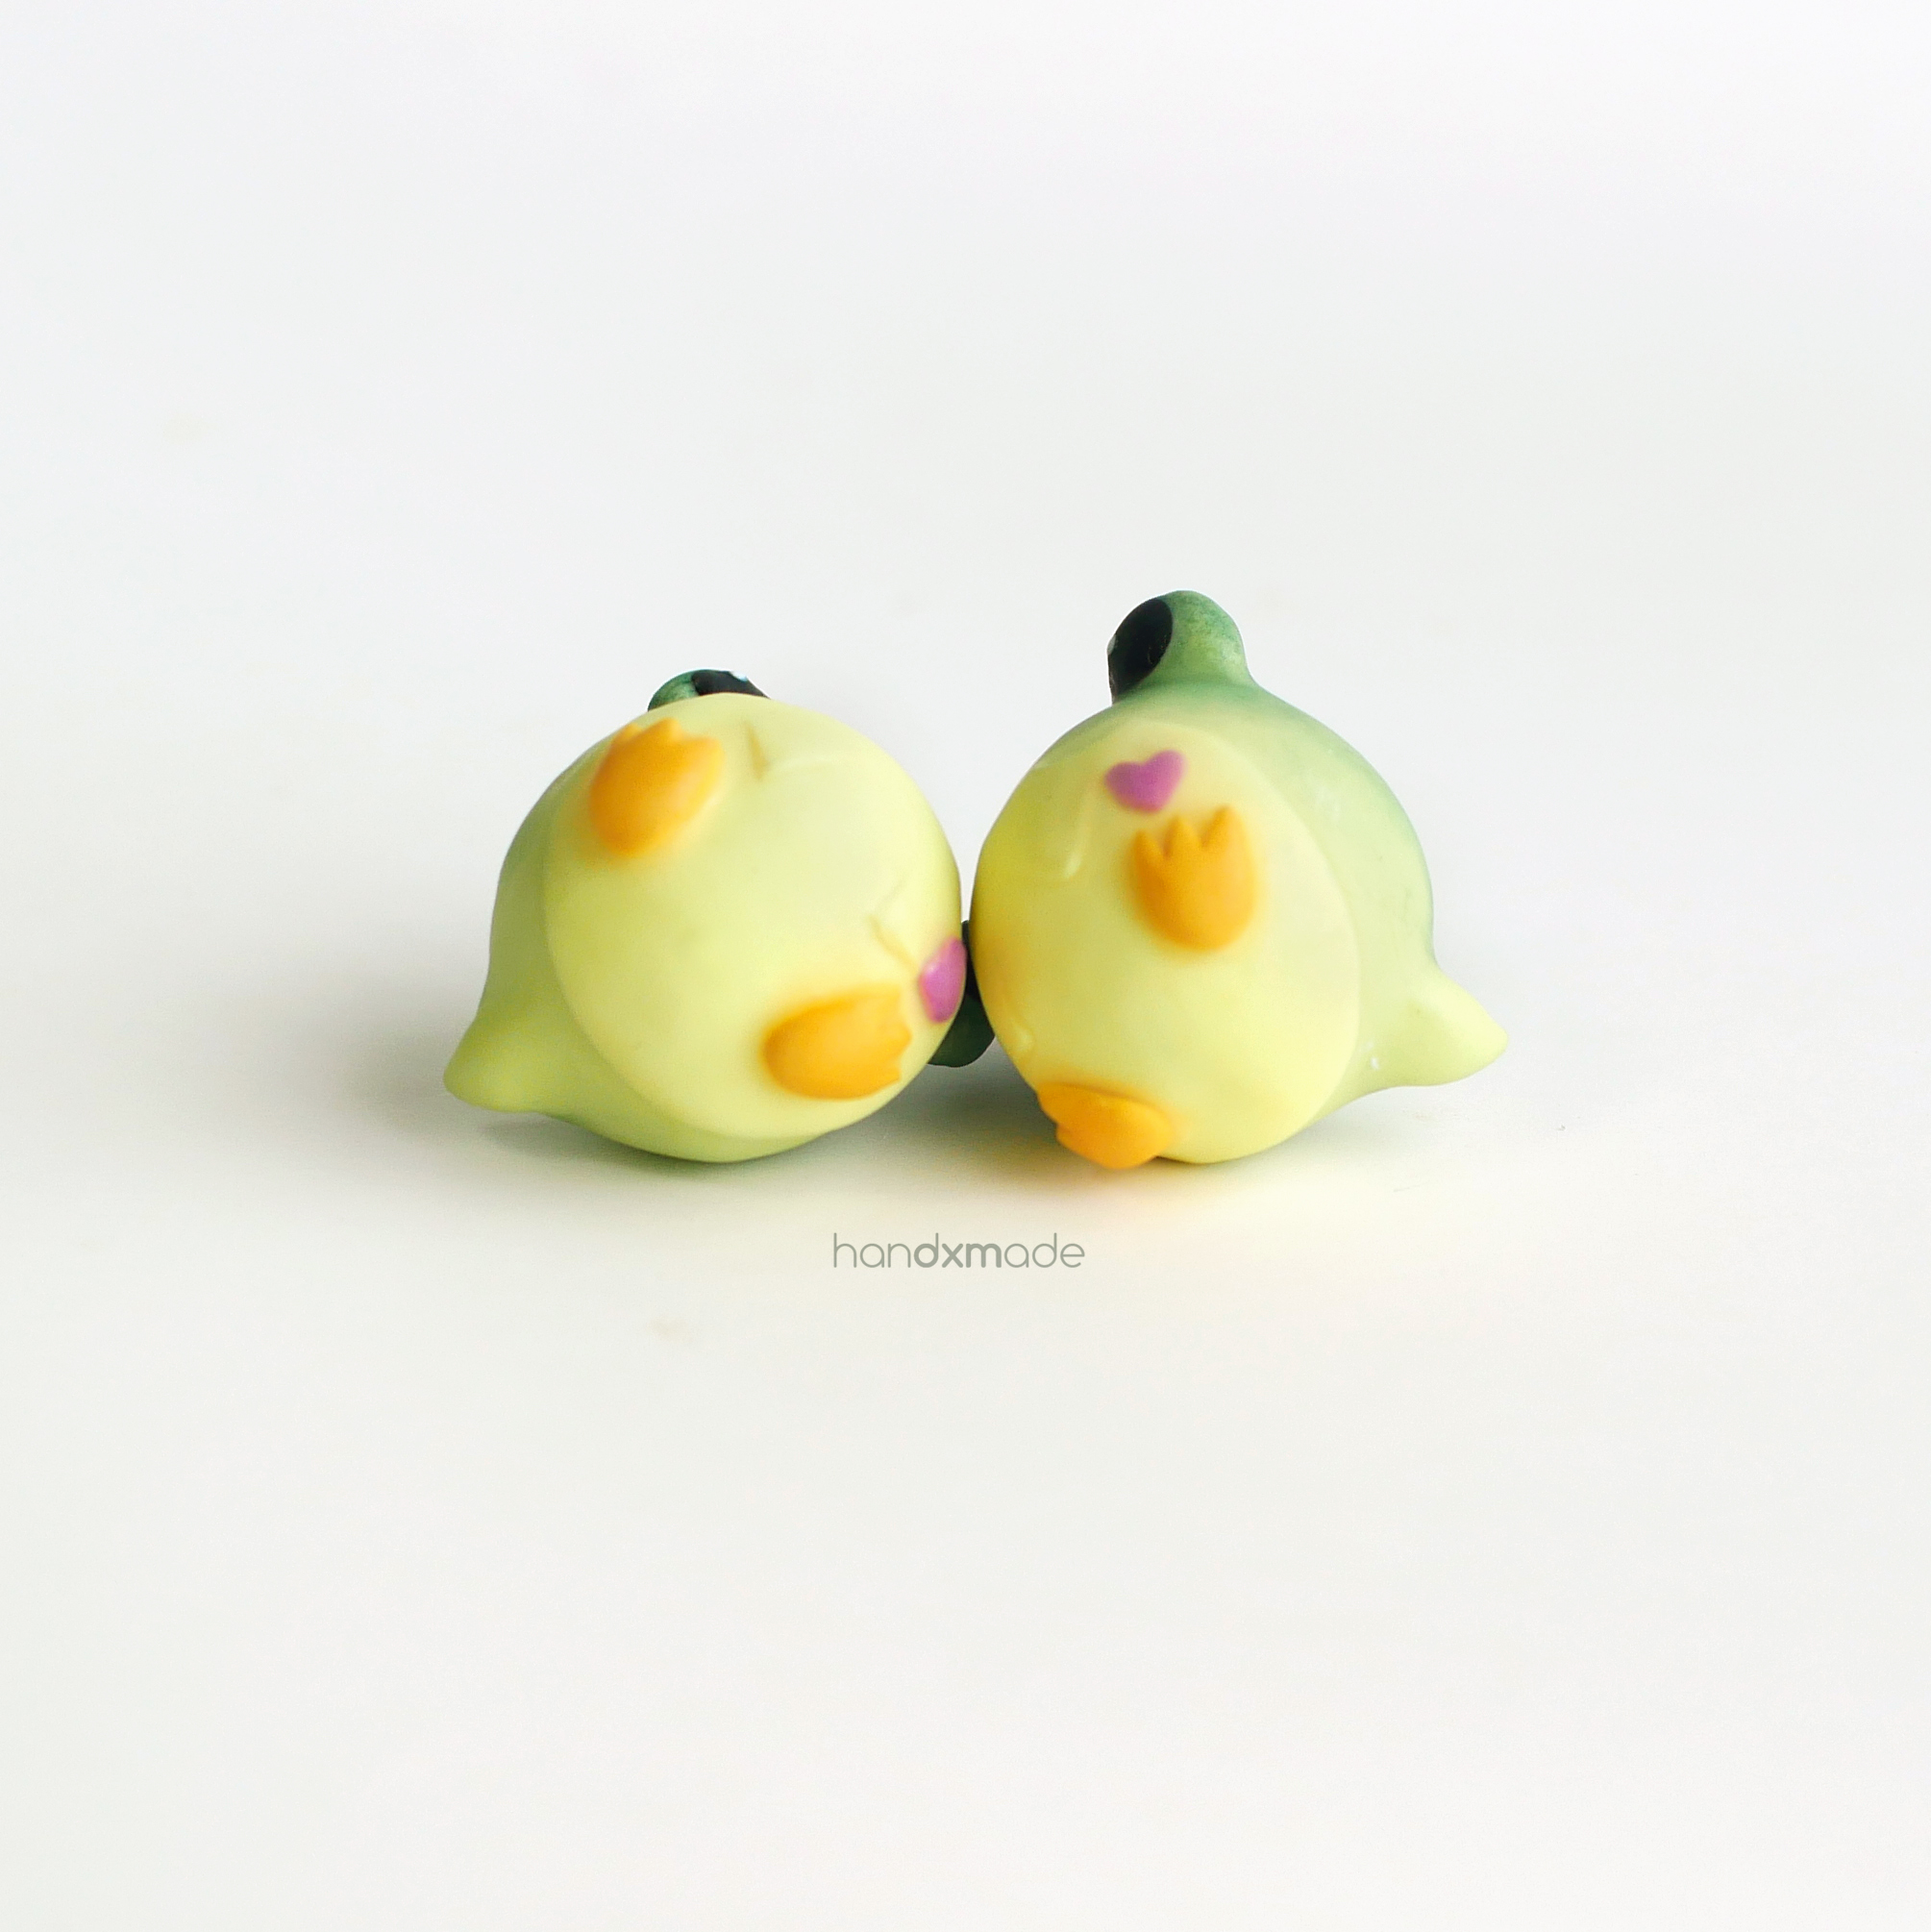
Above is some photos of a custom order I took a few years back, and as you can see, the top part of the frog/duck charm has that nice, watercolour texture I like at the top (green part).
This is achieved with none other than SOFT PASTELS!
Not oil pastels or any other pastels ok SOFT PASTELS!! Hahaha.
Since polymer clay doesn't absorb water, using watercolour directly is definitely impossible. Thank goodness there's such thing as soft pastels!

Faber-Castell is one of the very first set of soft pastels I use when I first started out, and I still have it with me! Trust me, one soft pastel can last you AMAZINGLY LONG especially if you only use it for polymer clay and not for drawing hahaa.

These are actually professional grade and doesn't come cheap, but like I said, it lasts super long! Being a hoarder and someone who has FOMO (fear of missing out lol), I obviously bought the one with more colours, 72 of them! Having different shade does make a difference in your creations.

You can buy yourself this set HERE. They're still pretty affordable considering how I bought them 3 YEARS AGO and some are barely used haha. Of course, you can also buy individual colours but I always prefer to have everything on hand.
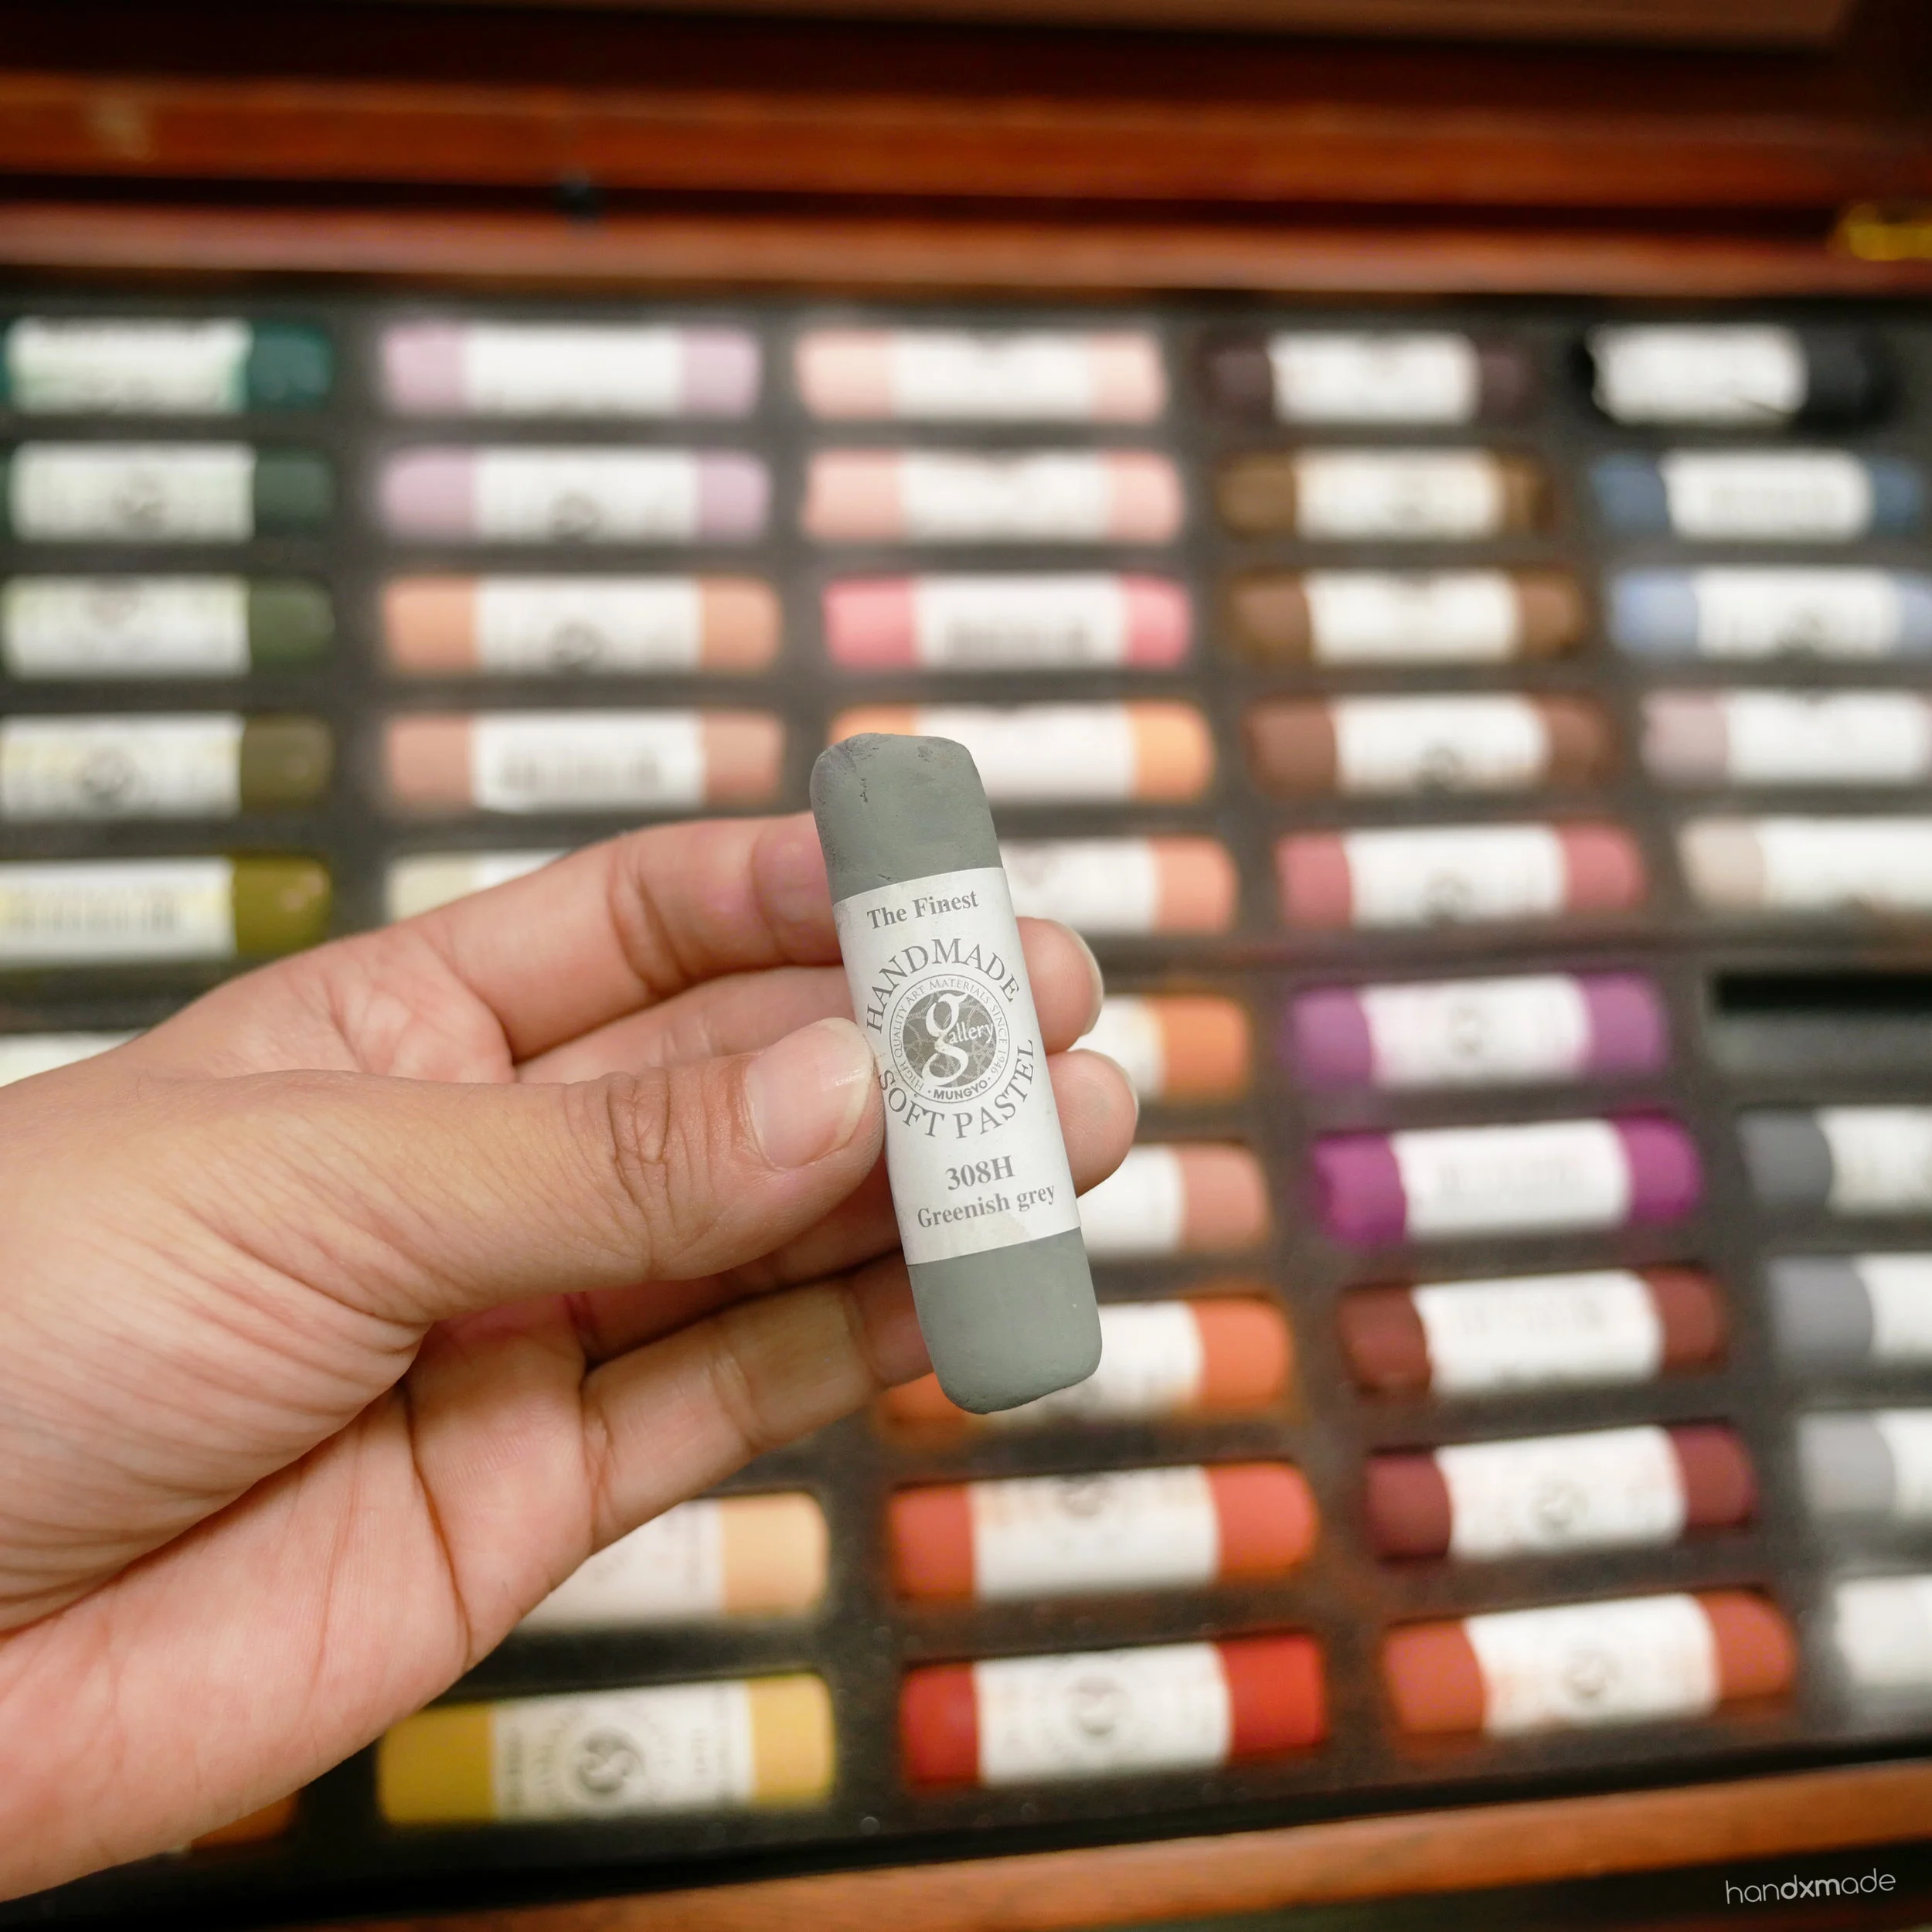
Now, these are amazing and does the job well, but me being me I ended up googling a lot more and researching about what else I can use (or what my favourite artist uses), and I found out about Mungyo Soft Pastels. Mine is the "Gallery" set which is professional grade. (I always buy professional grade just because they're usually better than artist grade - even though I'm sure they'd work too)
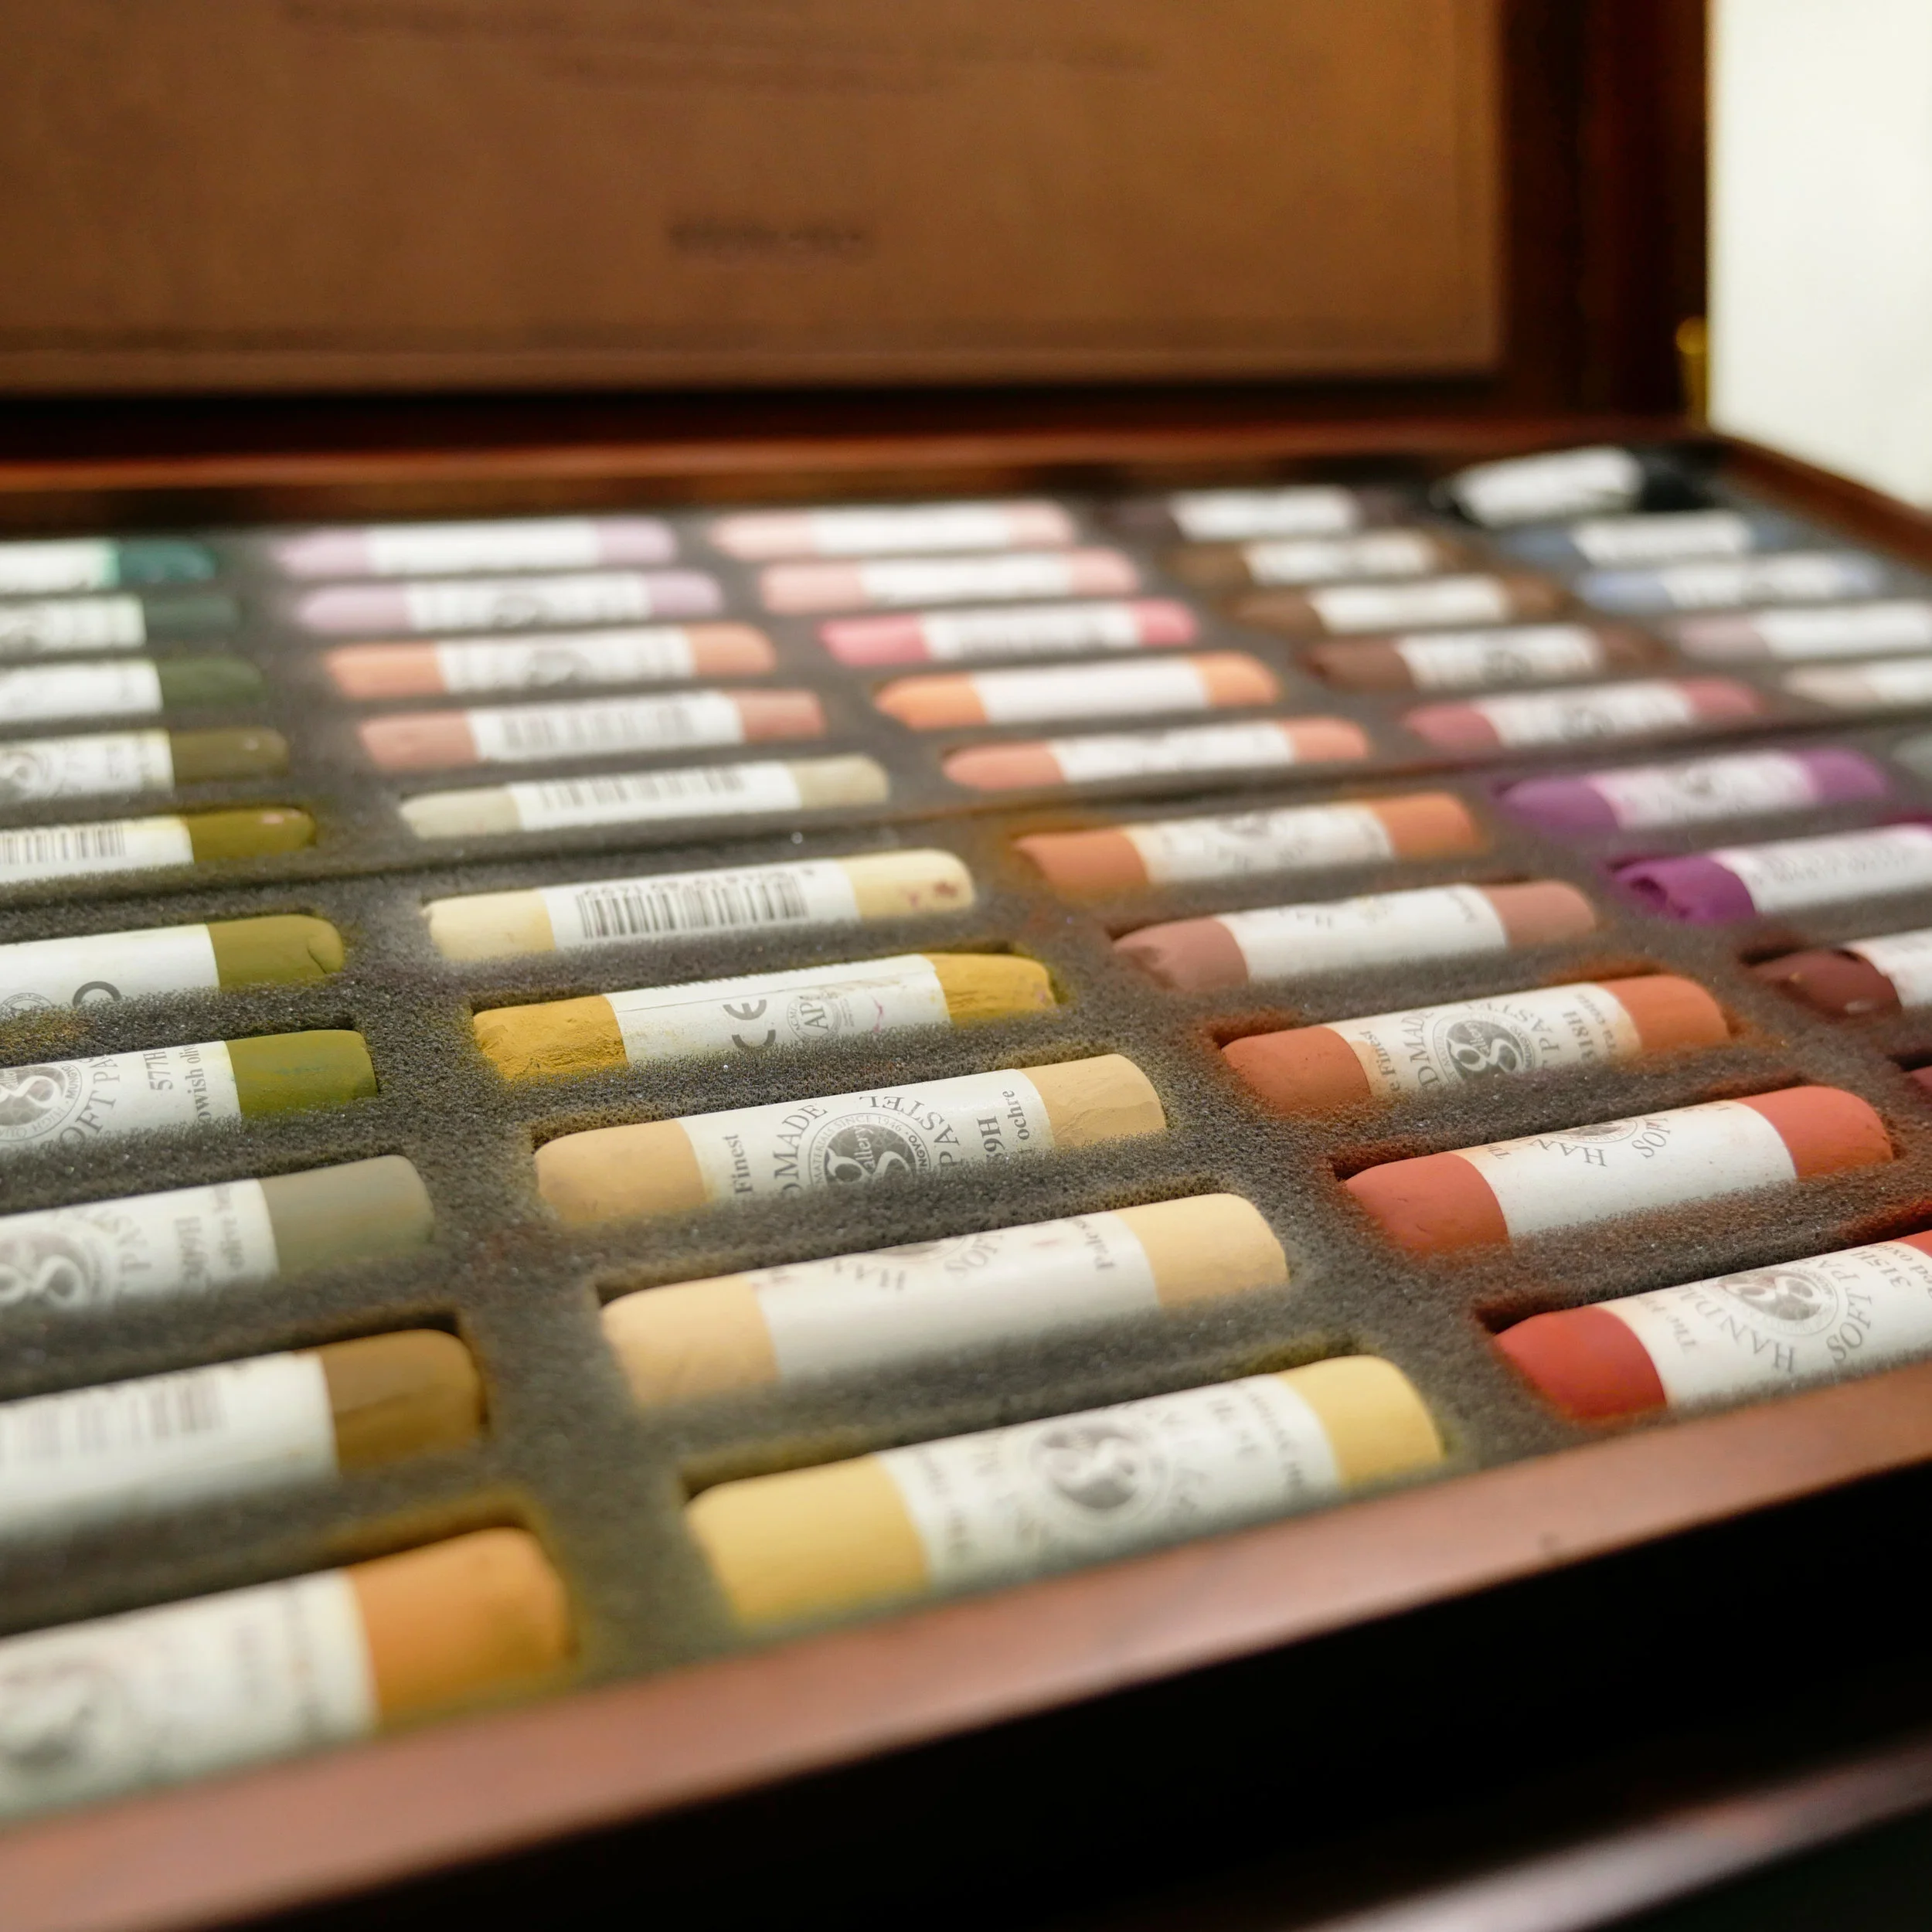
The one I have is Mungyo Gallery Soft Pastels set with 100 colours!!! It's a Korean brand and I think ET helped me to get them through a Korean website. They have different sets, Portrait, Landscape and I think there's one with assorted colours? If I'm not mistaken, mine was Landscape. They are all handmade and I think because of that, I really enjoyed how easy it is to get the colours out from the stick itself!
The 100 set is definitely super expensive but I foresee myself not having to buy anymore soft pastels with all the colours I'd ever need forever so that's why I took the plunge. There's even one with 200 colours but that's too insane for me hahaha.
I actually wrote about it on my Dayre when I first received it! You can see me unboxing it and all hehe. "ET helped me order this from a Korean website which is SGD $124 after shipping. RATHER THAN OVERJOYED WHICH IS $199.99 AND 80 COLOURS ONLY SOMEMORE HAHAHAH 😍 (It was OOS too 🙃 and had to order from them and wait)" ← Woah this was what I written on Dayre. Definitely more worth it to buy from the website HAHA.
One of the main reason why I bought this set is also because you could get the individual pastels if you ever need them again - don't have to buy the whole set again. They are also non-toxic, and with pet birds flying around in the same room I work at, this is quite important to me.
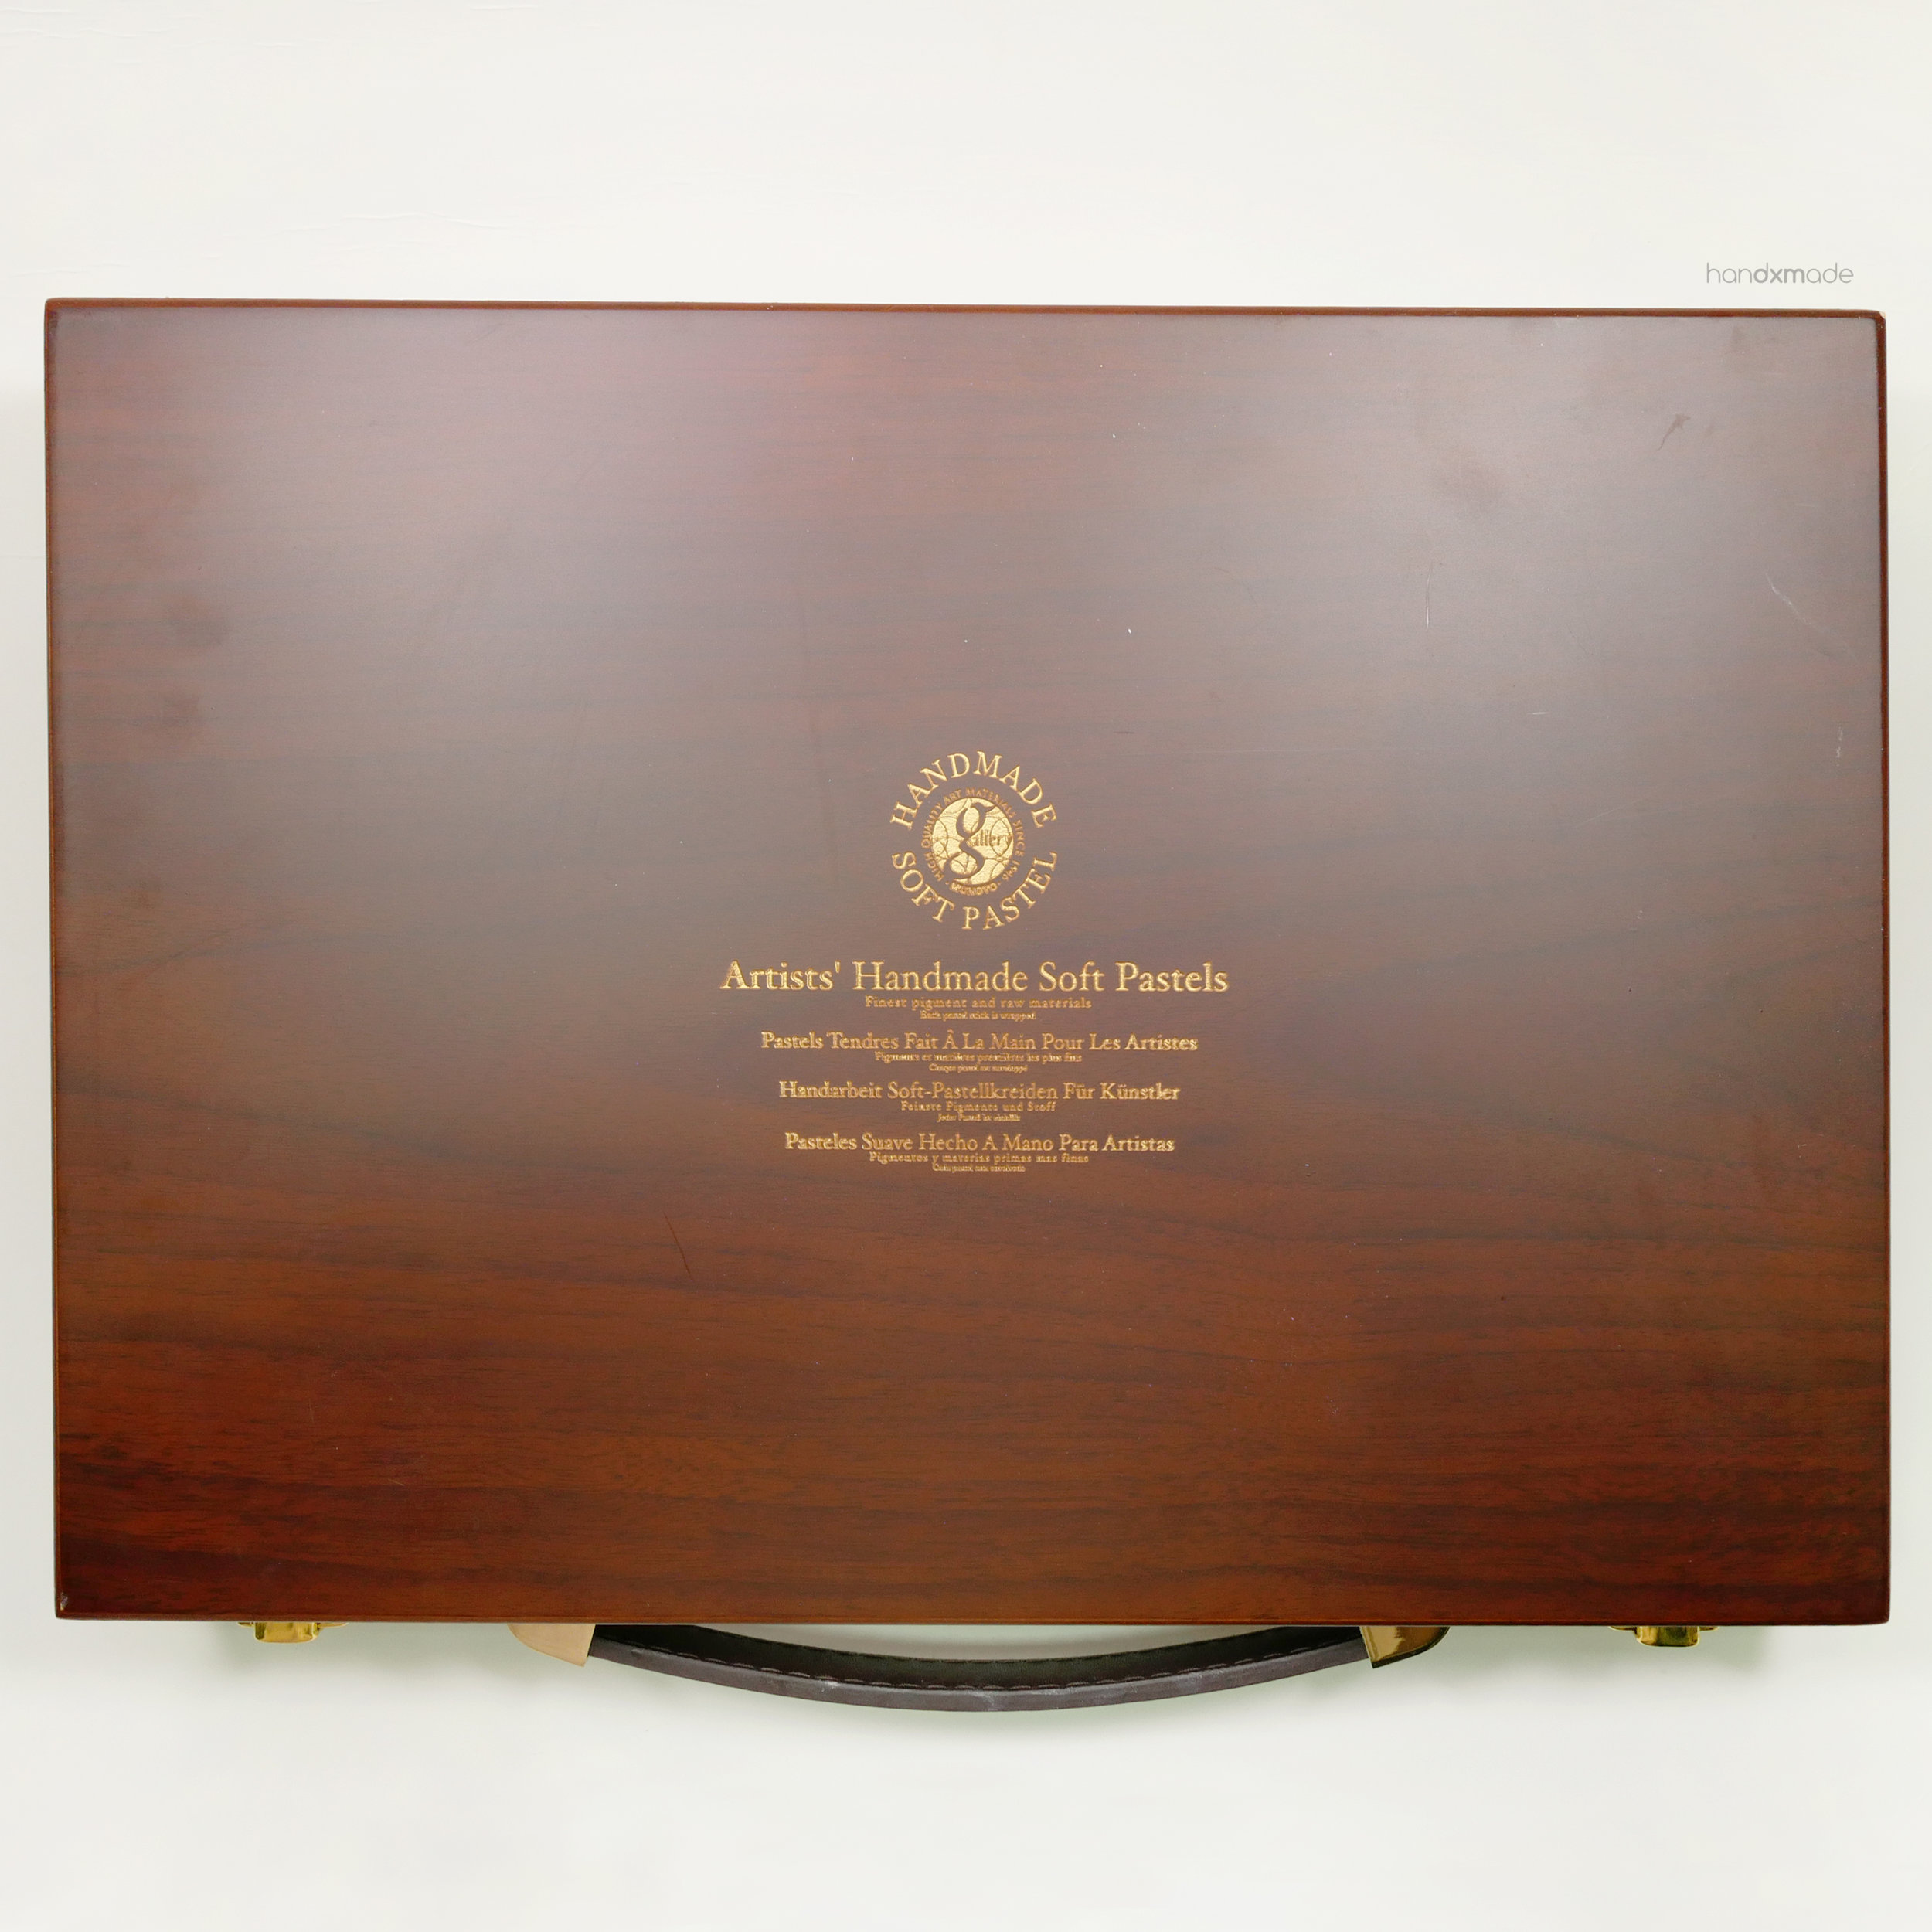
This set also came with a nice (albeit heavy) wooden case, the protection is 100%, convenience maybe not so much HAHA.

I really love seeing them all sitting neatly together like this! There are basically two "layers" being stacked on top of the other.
One of the reason I prefer this soft pastels compared to Faber Castell is because they have this paper in the middle which means I can HOLD the pastels! I prefer to take whatever colour I need and work with them, instead of leaving the big case at the side and take up my very limited table space haha. Soft pastels can come out at the slightest touch, so I really love this paper - although pastel artists who uses them to draw might think otherwise 🤔(Not sure how they use it!)

Here's the bottom layer with the brighter colours.

And the top layer with the "duller" colours. Each layer has a layer of sponge to cover it! Soft pastels comes off really easily and they are quite fragile too (you can see I broke my black soft pastel - think I accidently dropped it once HAHA).
I assume the portrait colours has a wider range of pink and orange to cater to drawing faces? I thought I probably didn't need that so I got the Landscape set!
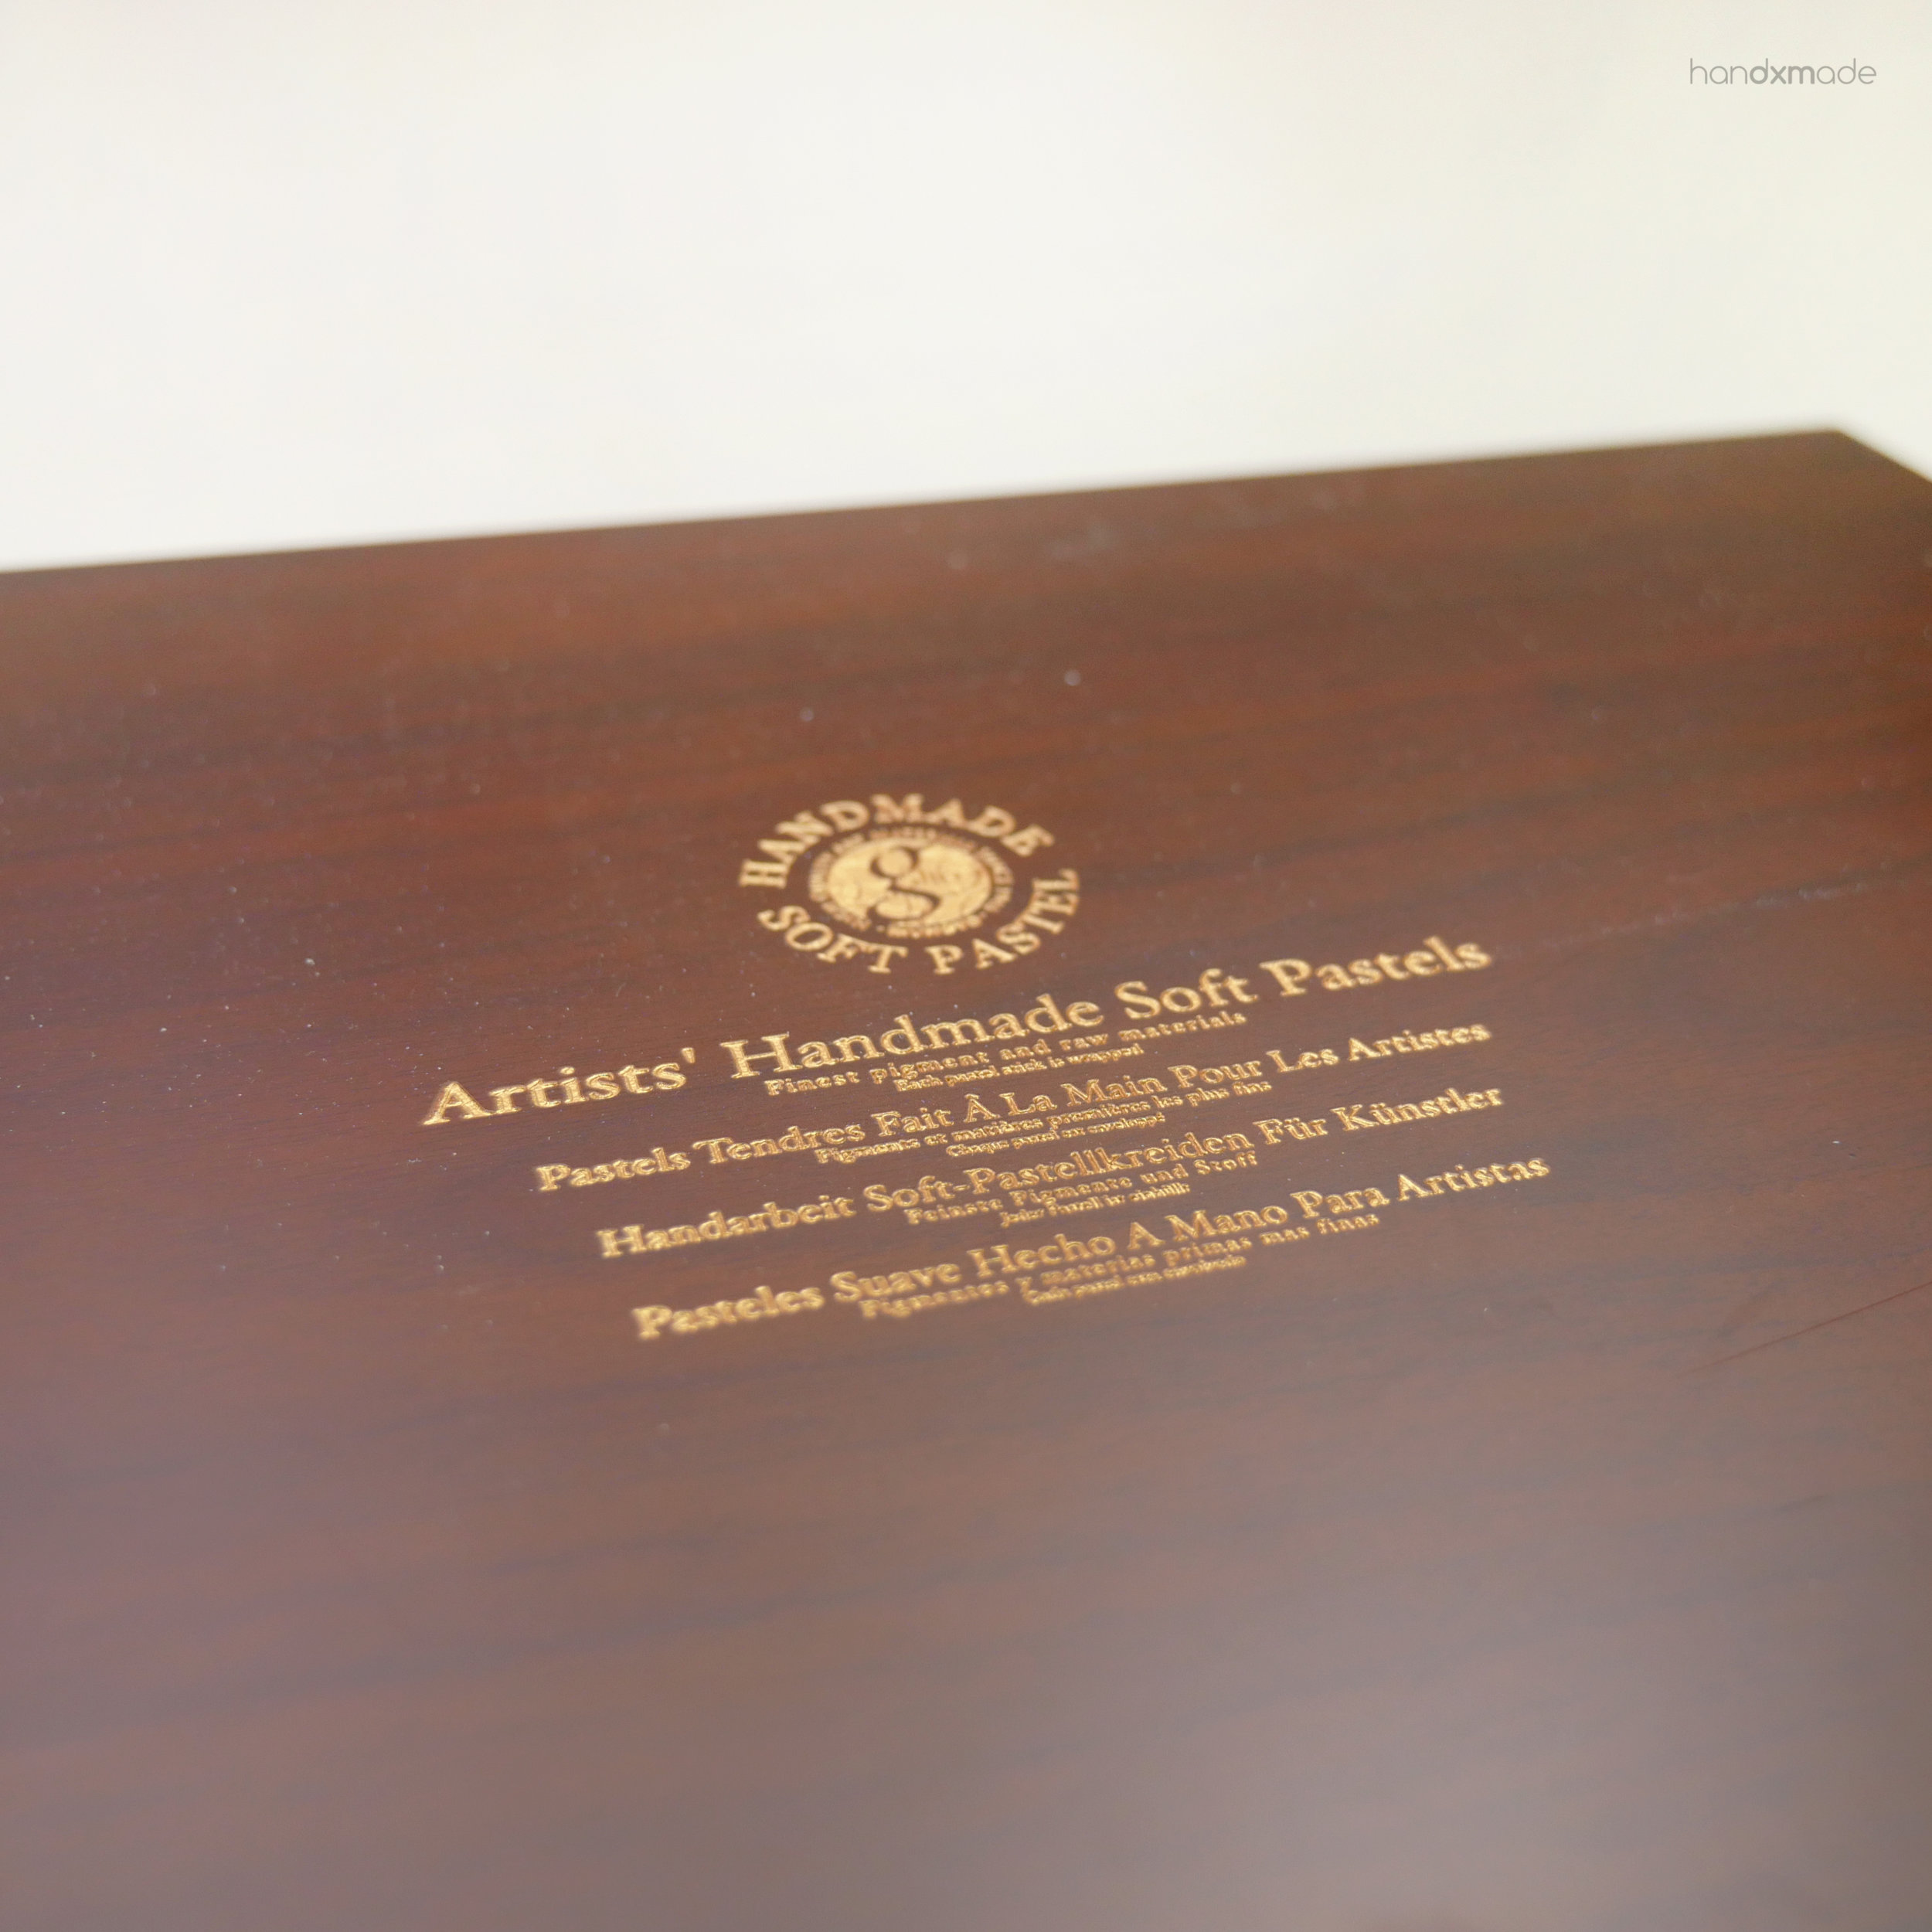
More photos of the case because it's so gorgeousssssss 😍
SOFT PASTELS ON POLYMER CLAY
I've made a ton of GIFs on how I use my soft pastels on both baked and unbaked clay, with different methods of applying the pastels. After using them for awhile, I realised that different tools gives you different textures, so I hope these tests will help you determine which kind of texture you like and would like to try (or even just giving you an idea of how to use them without restricting yourself too much!)
Here I'm using my finger. Unbaked clay will take the pastels a lot better because they're a littleeeee bit sticky when raw. Our fingerprints does have textures, so the texture does show up on both baked and unbaked clay!
Here I'm using a brush that I've been using since the beginning when I got @aiclay's Pocket Kitchen. I really like the fact that I have a brush JUST FOR PASTELS, so I really only use this brush (and another flat brush) for this purpose only.
Using a brush definitely gives you more control of the pastels application, but as usual, the baked clay takes a lor more effort to brush the pastels on. I usually apply the pastels with a soft "patting" motion while swiping just a bit if you're curious! There's really no right or wrong way as long as you can get the effect you want. 😊

Here's a little pair of otters I made using soft pastels to add the black colour! Only white acrylic paint was used for the fur texture, and black for the eyes, nose, ears and paws.
You can see how I make the otters from scratch here, and most importantly how I apply the pastels. They were baked before I apply the pastels.
Do remember that if you use the soft pastels on BAKED CLAY, you need to put on varnish afterwards (it might be wiped off if you keep touching it). One good thing about putting pastels on baked clay is that if you do make a mistake, you can wipe it off easily with rubbing alcohol without distorting the clay!
On RAW CLAY however, I feel that it's actually okay to leave it without any varnish cause the pastels does stick on raw clay quite well! Pros and cons 🙃
Sometimes you have to use different colours and honestly I don't really know how to get soft pastels COMPLETELY off the brush...but I find that blutack does the job pretty okay. It doesn't get it off completely and you might ruin your brush lol but you gotta do what you gotta do sometimes 🤔 Maybe plain old water might work but I rarely rinse the brush properly idk why??? And I usually need a dry brush to use pastels so...this was what I came up with LOL. LAZINESS IS REAL HERE.
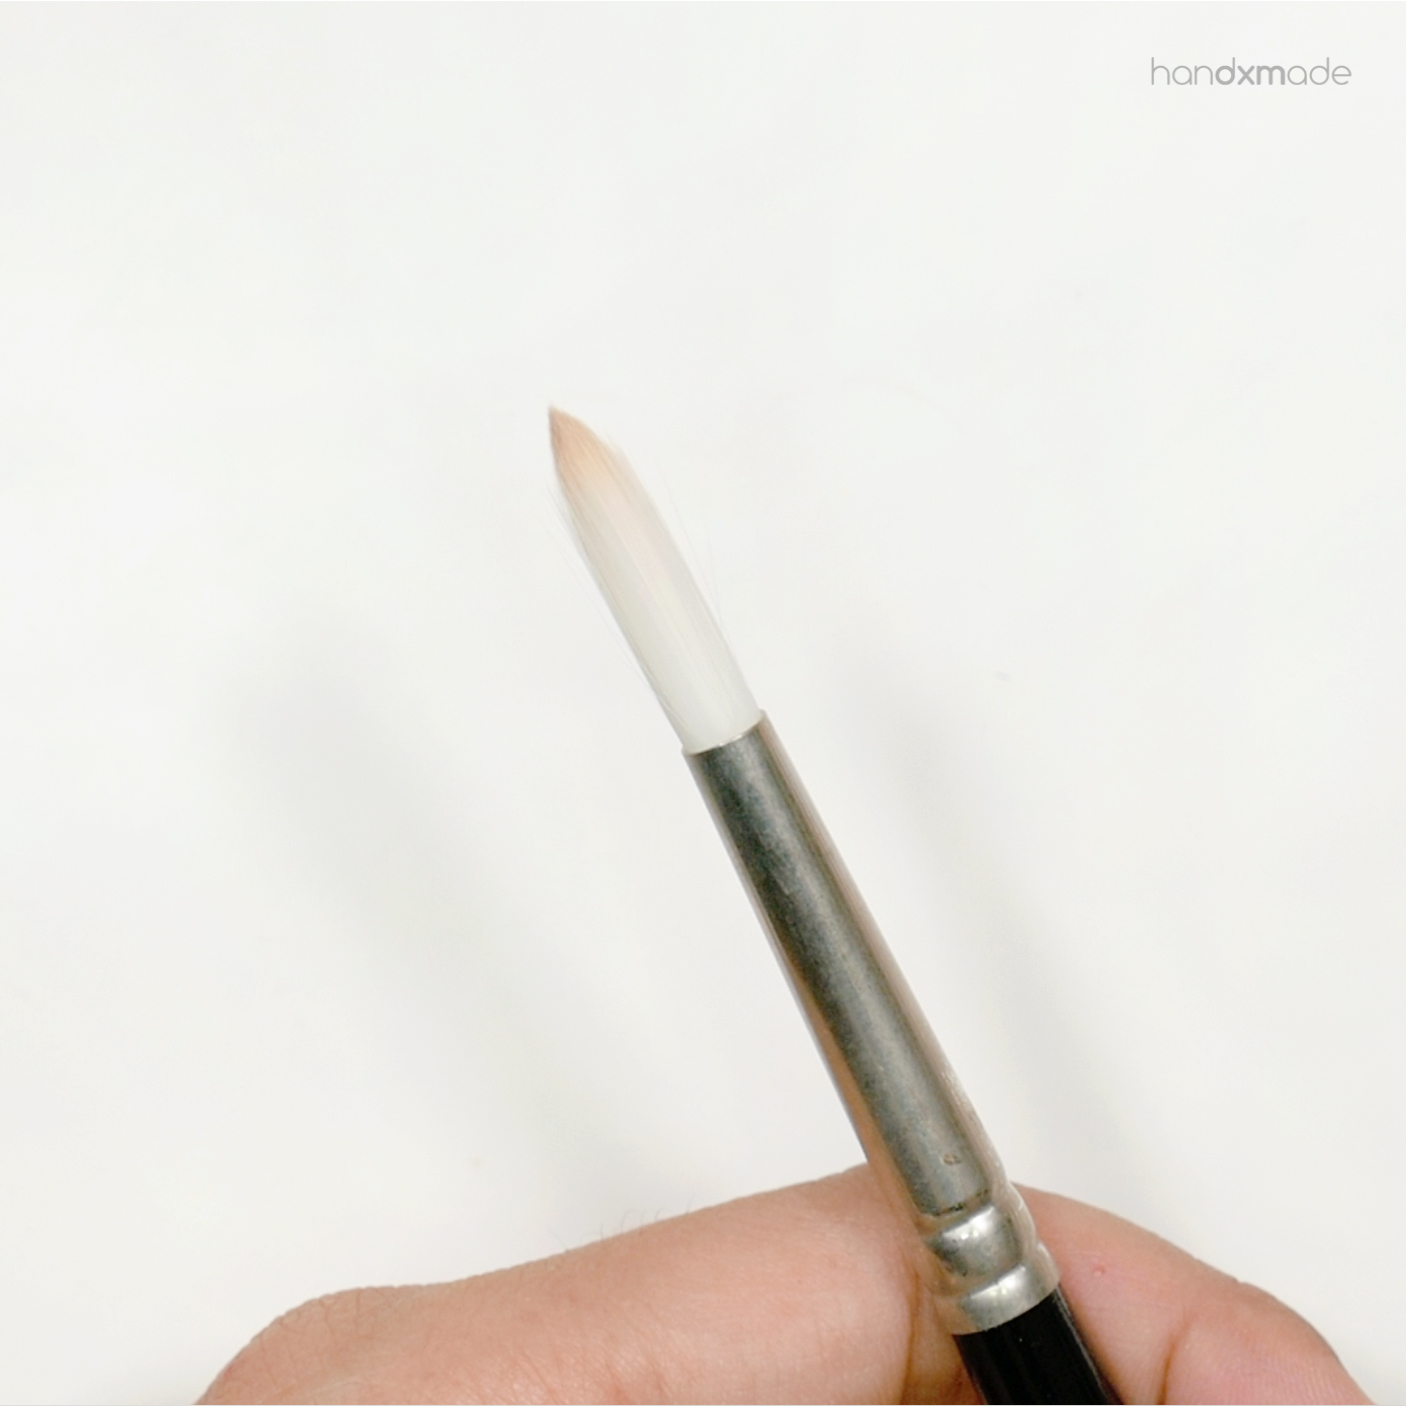
One day out of curiosity and also a need to make pastels applied more evenly on textured surface, I tried out another brush. This brush is actually a watercolour brush that I don't use often, and it's call a round brush.
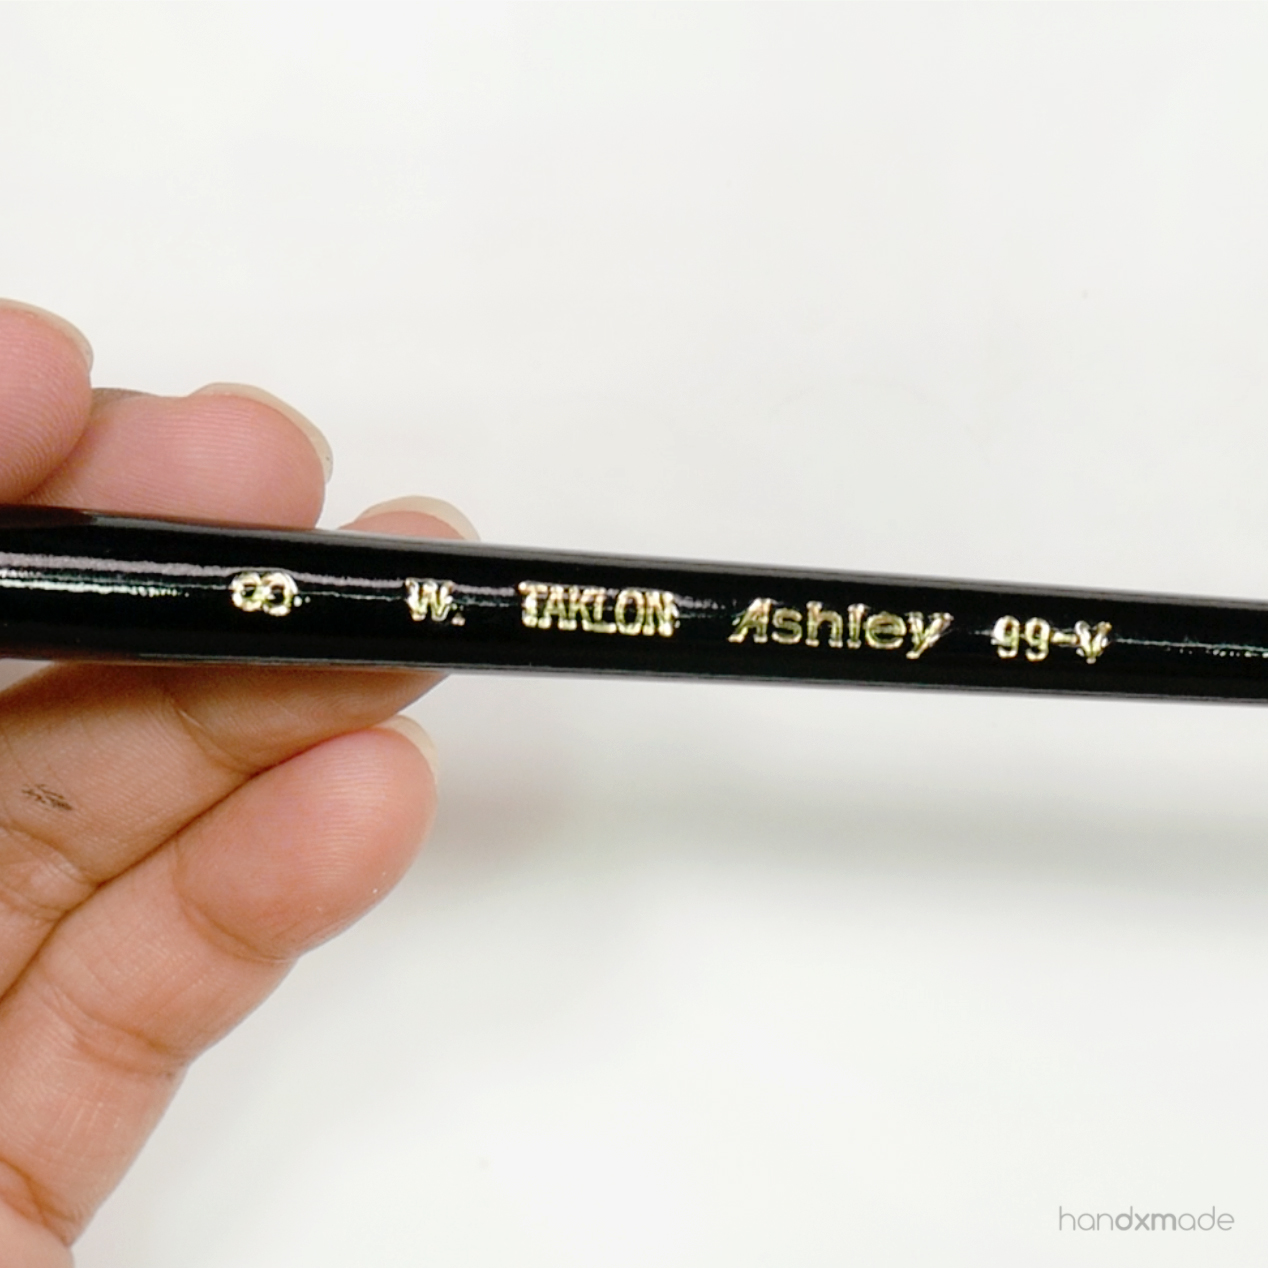
Here's the name of the brush if your'e interested hahaa.
I actually quite like how the pastels is applied with this brush. On flat surfaces, I think the previous brush faired better, but you'll see what I mean in a bit!
I wanted to show you guys how the Faber Castell faired for polymer clay too, and as you can see, it's really not that much different to be honest, there's just a tad bit more effort in getting the pastel out of the stick.
Another method I wanted to show you is to use water on the soft pastels! It actually makes the application process a lot faster for bigger surfaces, but because polymer clay isn't absorbent, the texture is a little bit more different than real watercolour.

Water with soft pastels on unbaked clay definitely faired a lot better! Baked clay just kinda clumped some of the pastels together. It could be a texture you're looking for though (maybe a concrete look? 🤔)
*REMEMBER to make sure the raw clay is DRIED and no water on it before baking!
Another method which is one of my favourite is to scrape the soft pastel lightly with a blade, and get these little powdered pastels!
You can also mix colours to get the shades you want this way if you need to! I was surprised it worked so well to be honest haha!
Using a dry brush, as you can see, the colours are a lot more intense if you put the pastels on this way! A lot more faster and easier to control too imo. (TIP: always take BIT BY BIT of the pastels at any time!)
I haven't tried it before, but I don't recommend water on powdered pastels...I think you'll leave chunks of pastels instead and that's not a good sight HAHA. Although you might like the texture so you can always try it and see how it goes! Don't let my opinion stop you from experimenting hoho.
SOFT PASTELS ON TEXTURED POLYMER CLAY
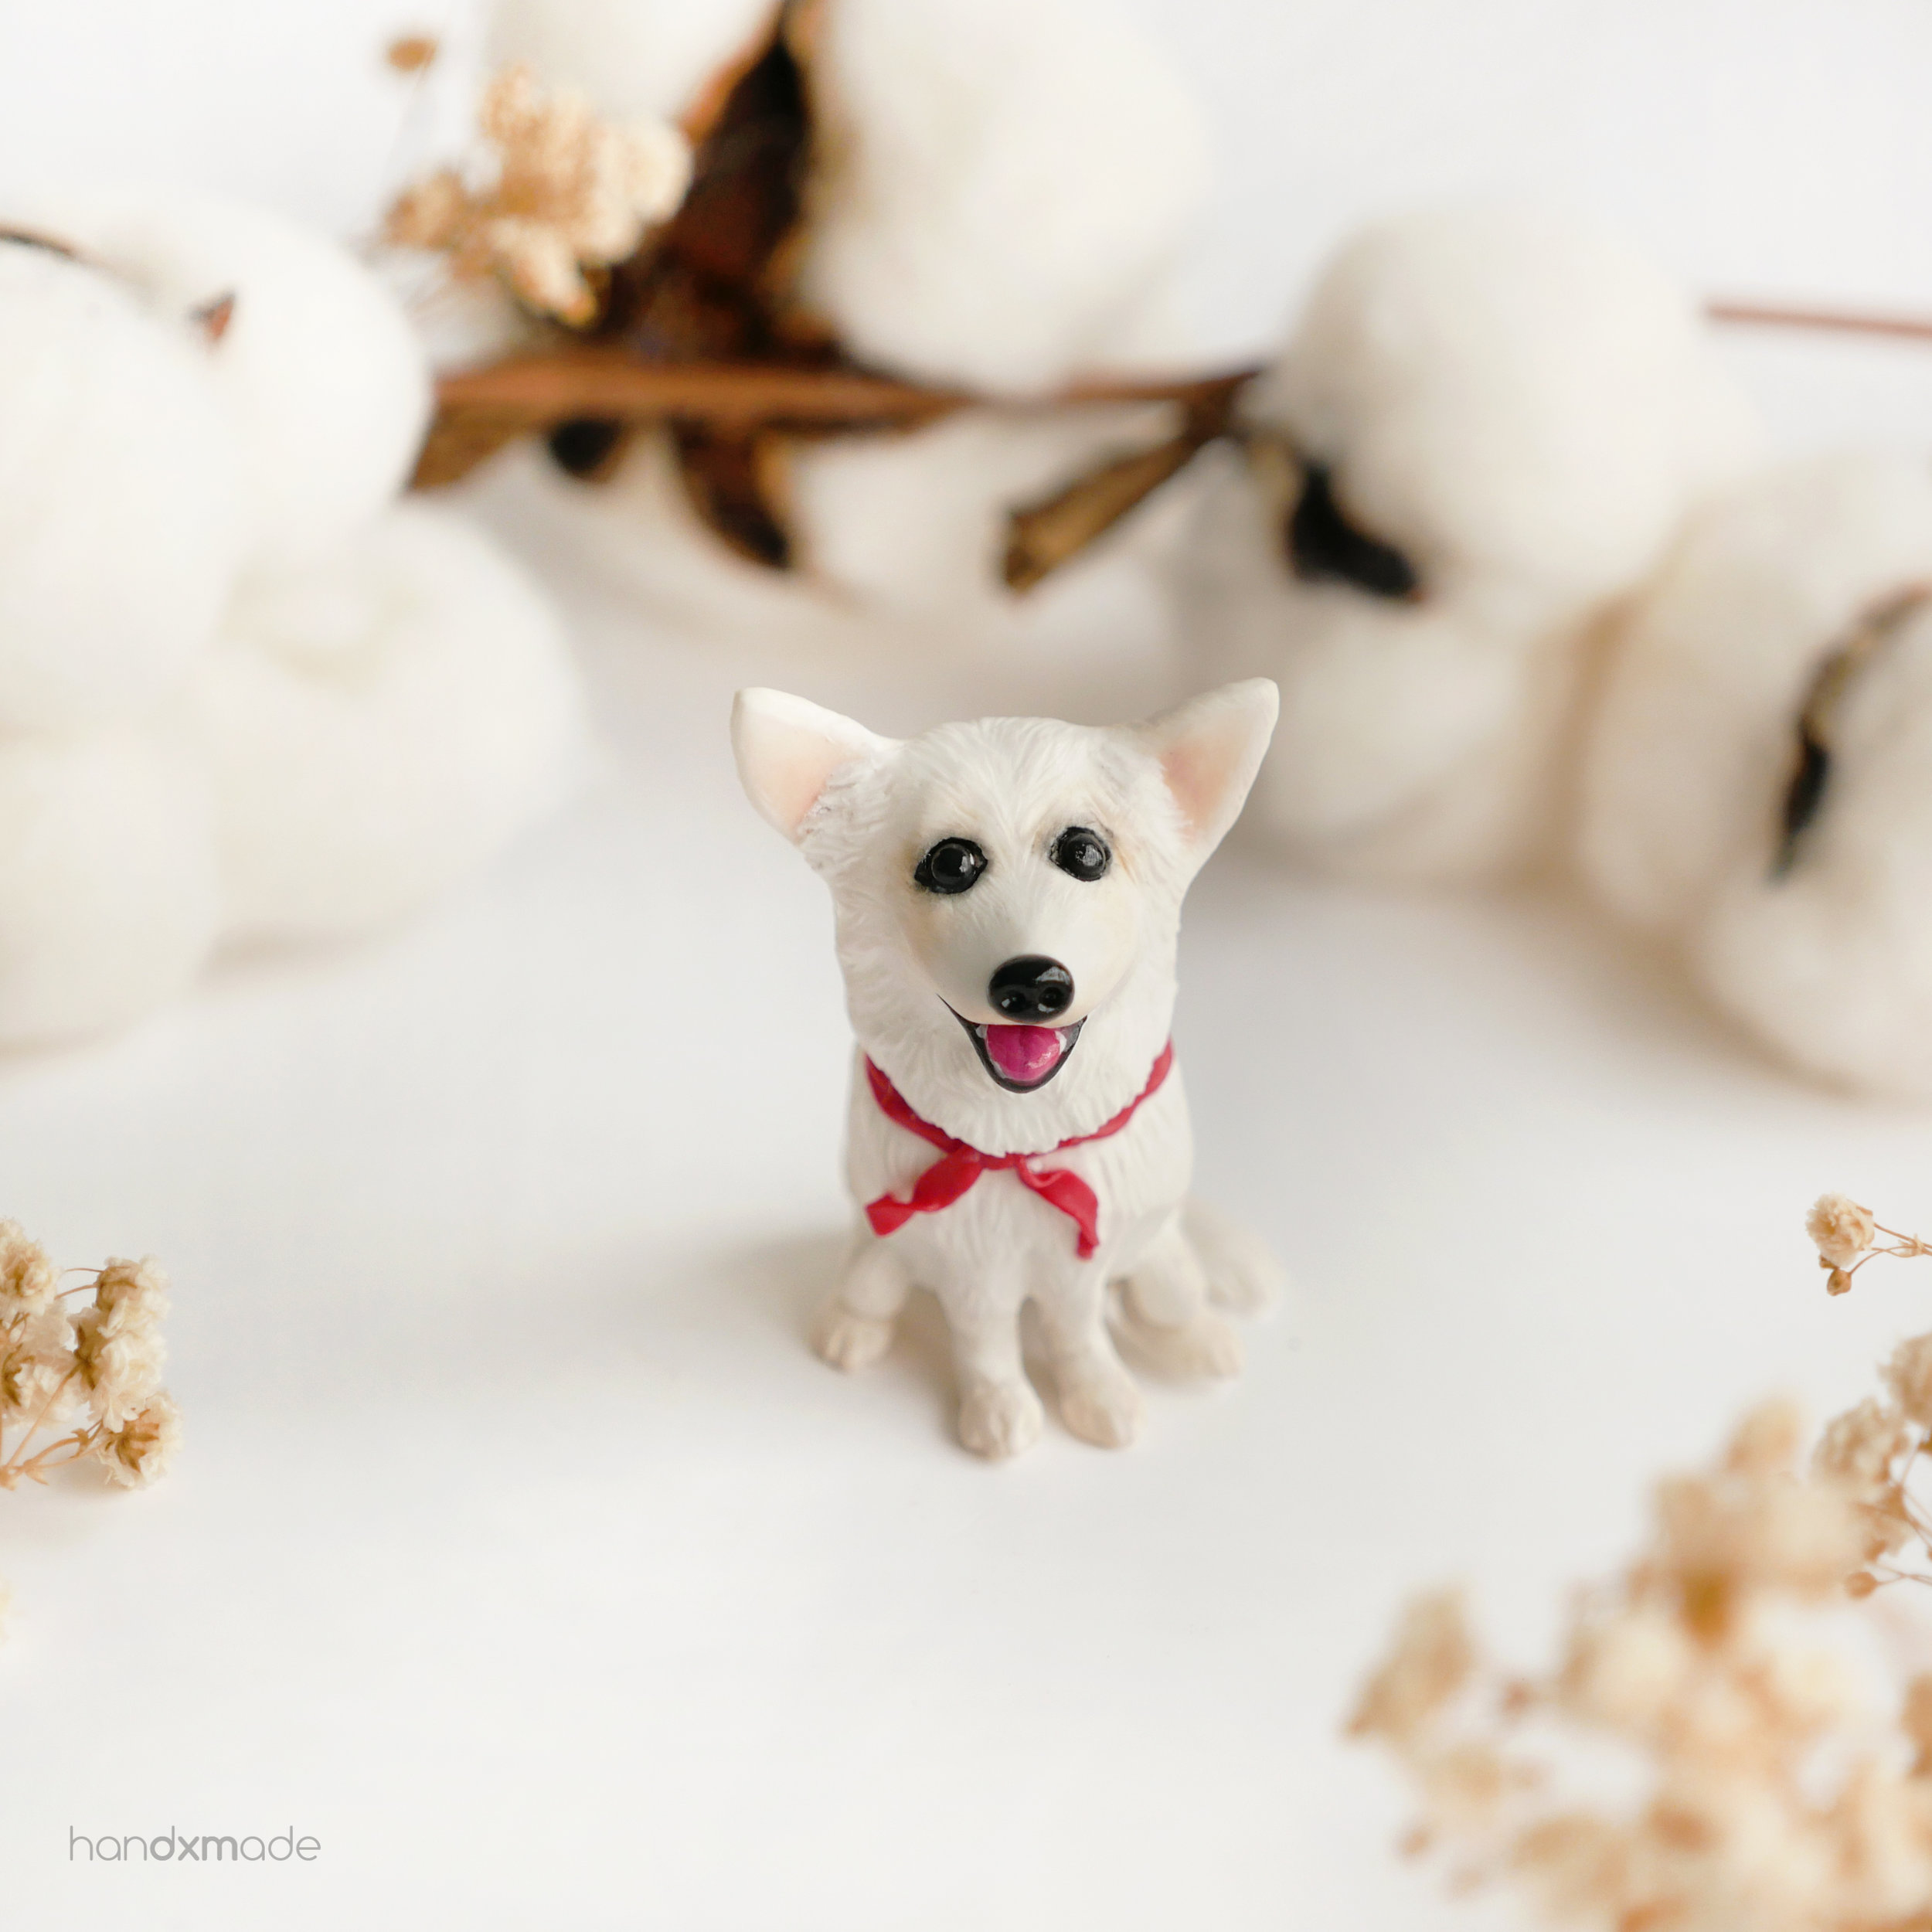
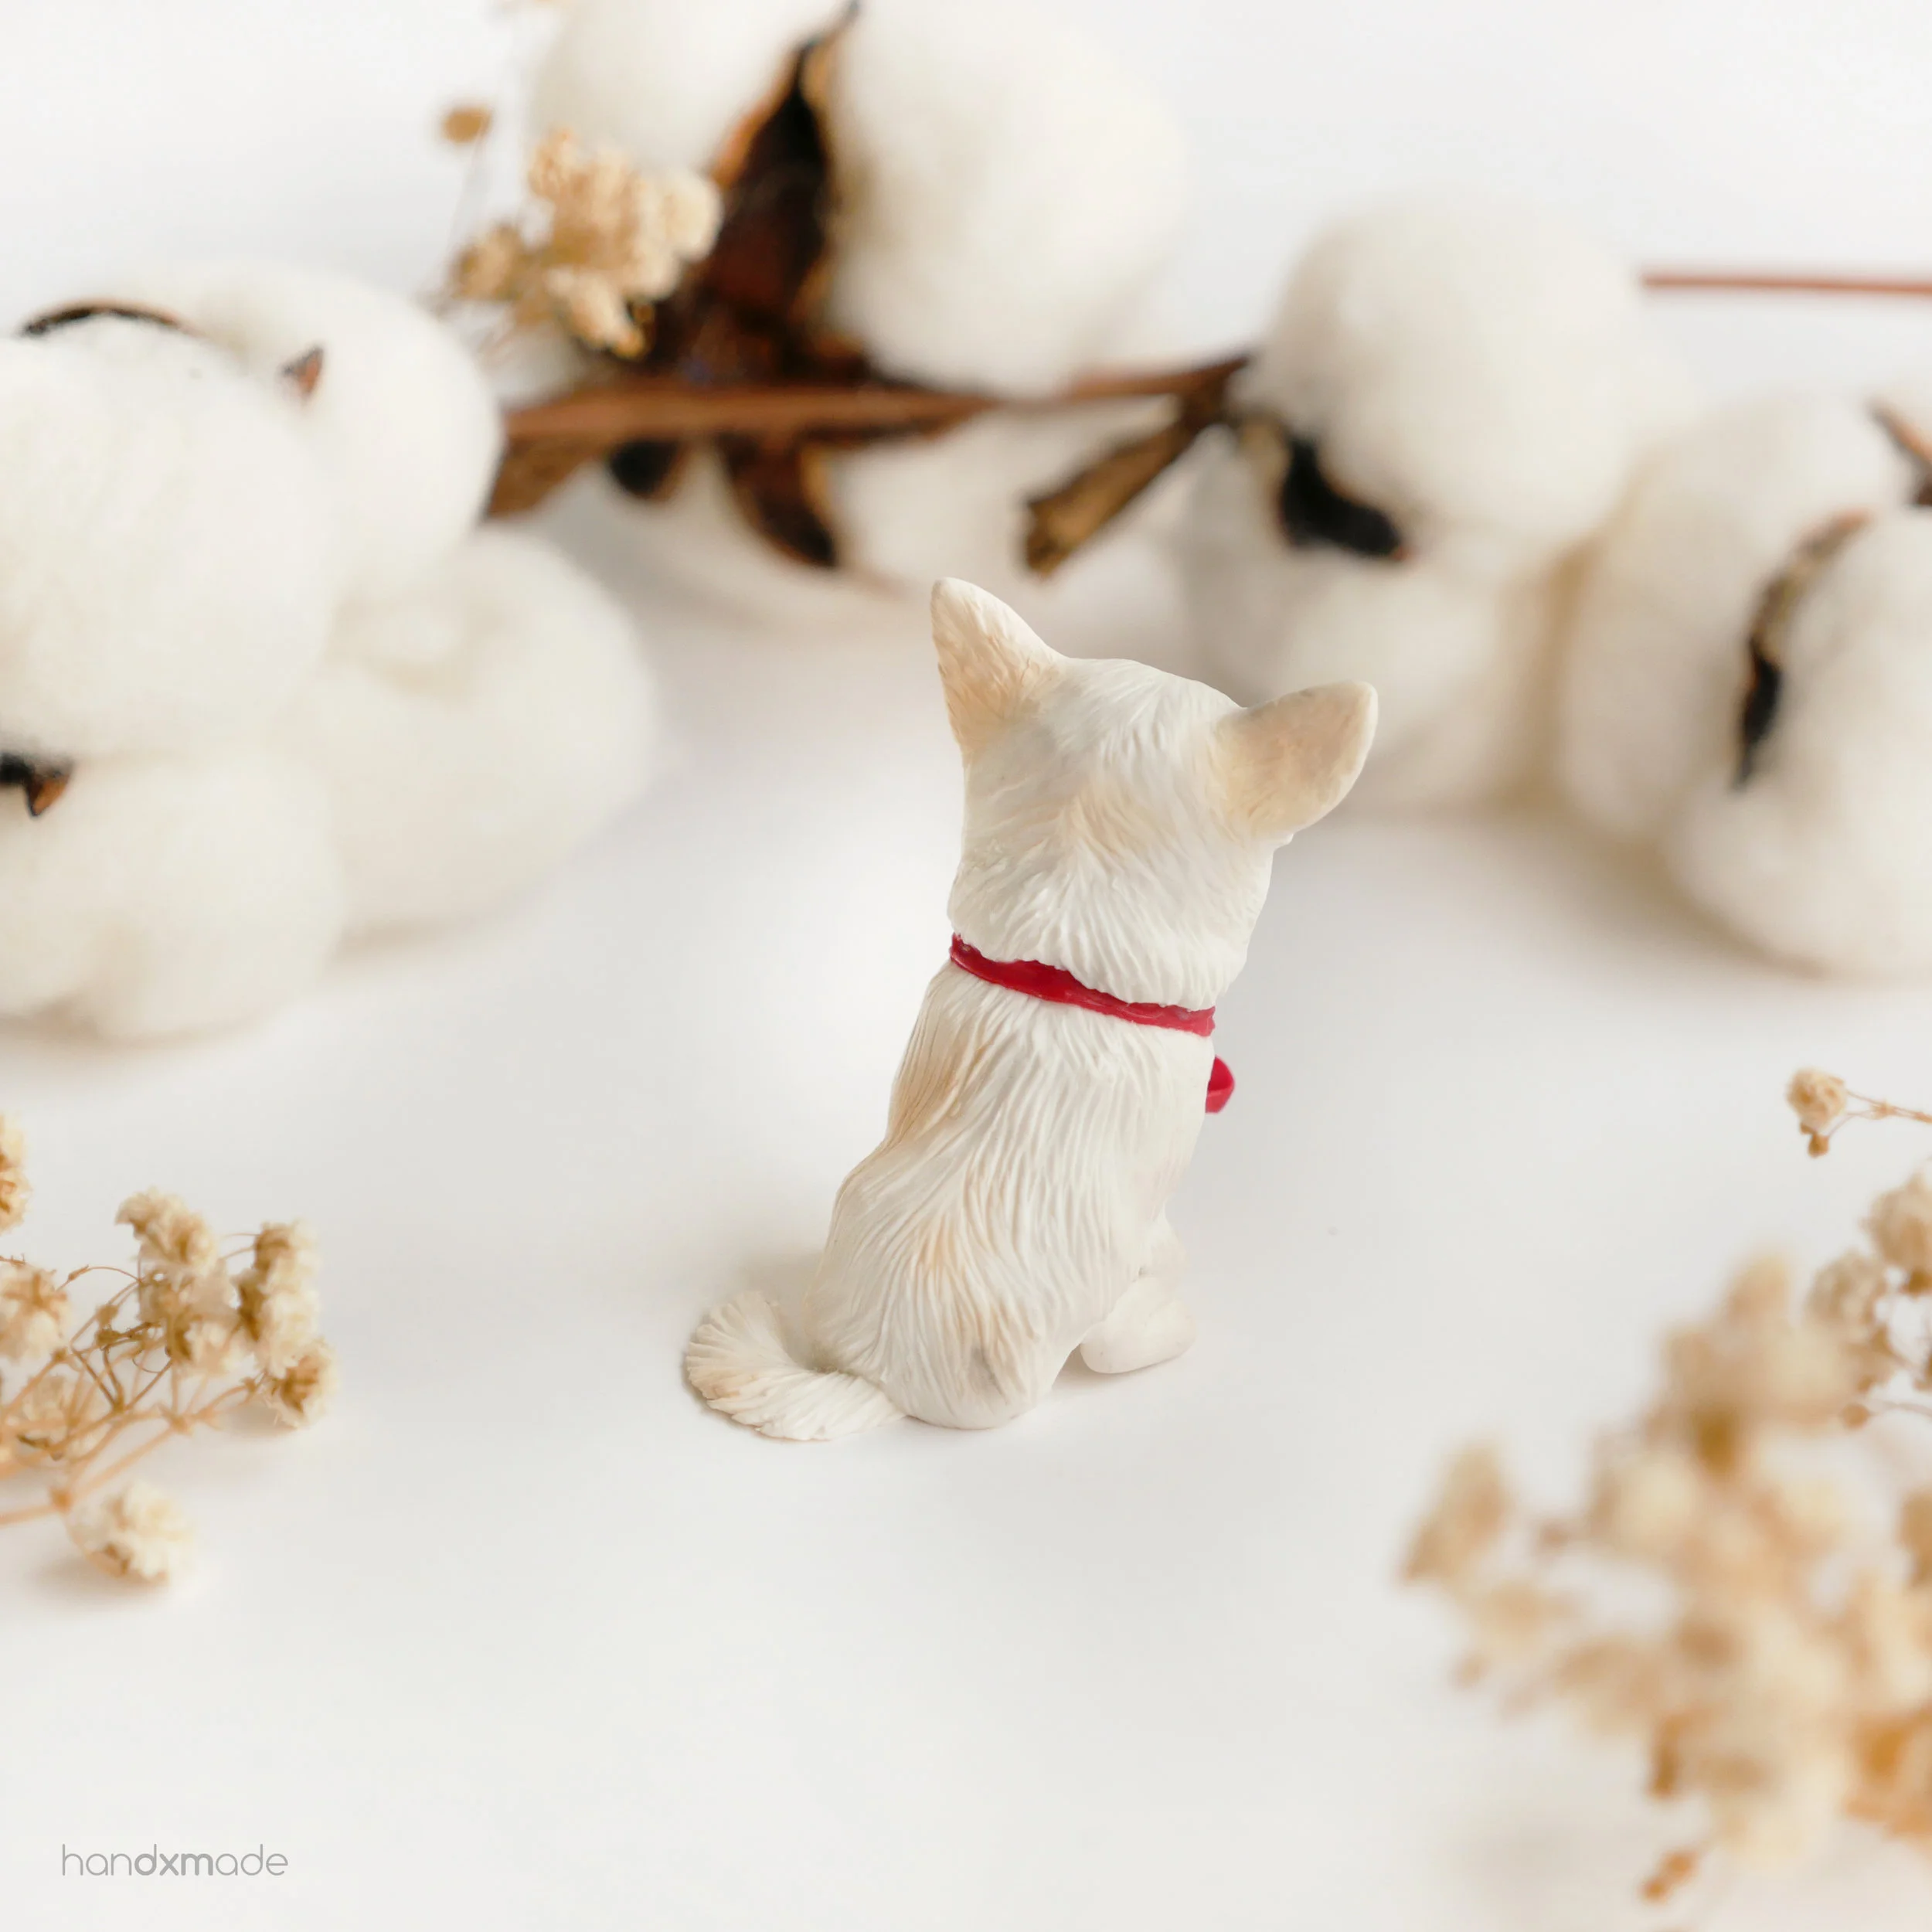
I needed soft pastel on a textured piece like this little doggo, and based on experience, I KNOW that it's going to be a lot different compared to a flat surface. For me, I always like the soft watercolour look as you recall, so an even application is important for me!
Below is some of the methods I used above but on textured surface!
Fingers are kinda flat so the surface it touches is only at the top hahaha. I think this would be a nice texture to add for wood textures? Just to have a bit of depth hmm.
Using water! You would think that this would work well but......

...nope. Streaky mess because the water gets into the crevices which means the crevices gets more pastels. Although this would yet be good for other kind of textures though! If you want some depth on a texture this would act well as a "shadow" effect hence more depth? 😊
Here I'm just dry brushing it, taking the pastels directly from the pastels! On unbaked clay it's okay imo because the clay is still pretty sticky right? But on baked textured clay somehow only the sides of the crevices gets most of the pastels, resulting in a very uneven look.
Here I'm using the previous brush I got from @aiclay, and with powdered pastels. The powdered pastels definitely make it a lot easier to apply, but on baked clay it still has a little bit of that effect I mentioned previously which I didn't like.
The BEST combination IMO: Powdered pastels with a round brush for textured clay! (Especially baked clay)
Who knew a change of brush would have such a huge change in result? This was the look I needed for my baked clay (since I baked the dog after texturing so I wouldn't accidentally rub it off), and I got it!
I think the softness and angle of the brush tip really did make a huge difference compared to the previous one. So if you do have any other extra brushes lying around, give them a try and you might be surprised what kind of effect you'll get!
Here's a real time GIF of how I apply the (3 colour mix) pastels on the dog! 😍I really love the soft look the pastel gives, giving it some colour without all the weird textures I got hahaha.
SOFT PASTELS ON RAW CLAY, THEN TEXTURED
When I was making human figurines, sometimes I put pastels on raw clay and then texture it for the figurine's hair. Especially when the figurine has dyed hair (think highlights/ombre hairstyles), this would be helpful!
I'm using a tool here to "draw" the streaks textures for the hair. I don't really like this although it still looks okay because you can still see the raw clay colour sticking out. If you're using light brown clay maybe it'd still look natural for hairs though!
Trying to use colour shaper and see how the texture looks like because this is what I use to sculpt the dog's fur, and omg the texture is BADDDD I'm so glad I didn't attempt this method in the beginning and decided to pastel after baking haha.
It also doesn't give you much control of where you want the soft pastels to be too, imo.
This is the method I use for my figurine's hair, with a thin (bendable) needle tool! After these experimentation, I realised that if you just gently press the clay down and make an indent this way, the soft pastels stays pretty much intact at the place you want it to be! If you're "scratching" it like what I've done with the previous two tools, you're basically moving the clay that has the pastels on around and hence you'll see more of the original clay colour.
Hahaha I hope that wasn't confusing and it makes sense! 😬
That's all I have for soft pastels 💕I hope these little tests helped you to open your eyes a little to how you can use soft pastels on polymer clay, and please don't be afraid to do some experimentation yourself! There are definitely more ways you can apply pastels on clay that I haven't covered, but here's some of the more common methods I use hoho.
Let me know if you have any questions! 😘💖
DISCLAIMER: Some of the links above are part of Amazon's affiliate program, which helps support me a little! If you're interested in the things I've recommended and would like to purchase one for yourself, it would be amazing if you could use the links provided 💕