
SHIROKUMA USUAL SUMIKKO SCENE COLOUR RECIPE
This article by @handxmade is free for personal use ONLY, any reproduction is prohibited.
If you’d like to show your appreciation for these articles through monetary means, you can send me a ko-fi! ☕️
Before jumping into the colour recipe, do make sure you watch the video to see how these are made! I'll be writing a little bit about how I made each item in case the video isn't clear enough to help you through the process a bit better 😊
Note that the brand of polymer clay I use for everything is Premo, including translucent clay.

Here's the reference photo I used! 😊
"A shy white polar bear that ran away from his chilly home in the North because he hates the cold. He used the cloth Furoshiki (his little companion!) to tie up his belongings. Sometimes he uses it as a scarf to keep himself warm (oh the irony!) He’s afraid of strangers and feels safest when he sips a cup of tea in the corner." 😆

SHIROKUMA
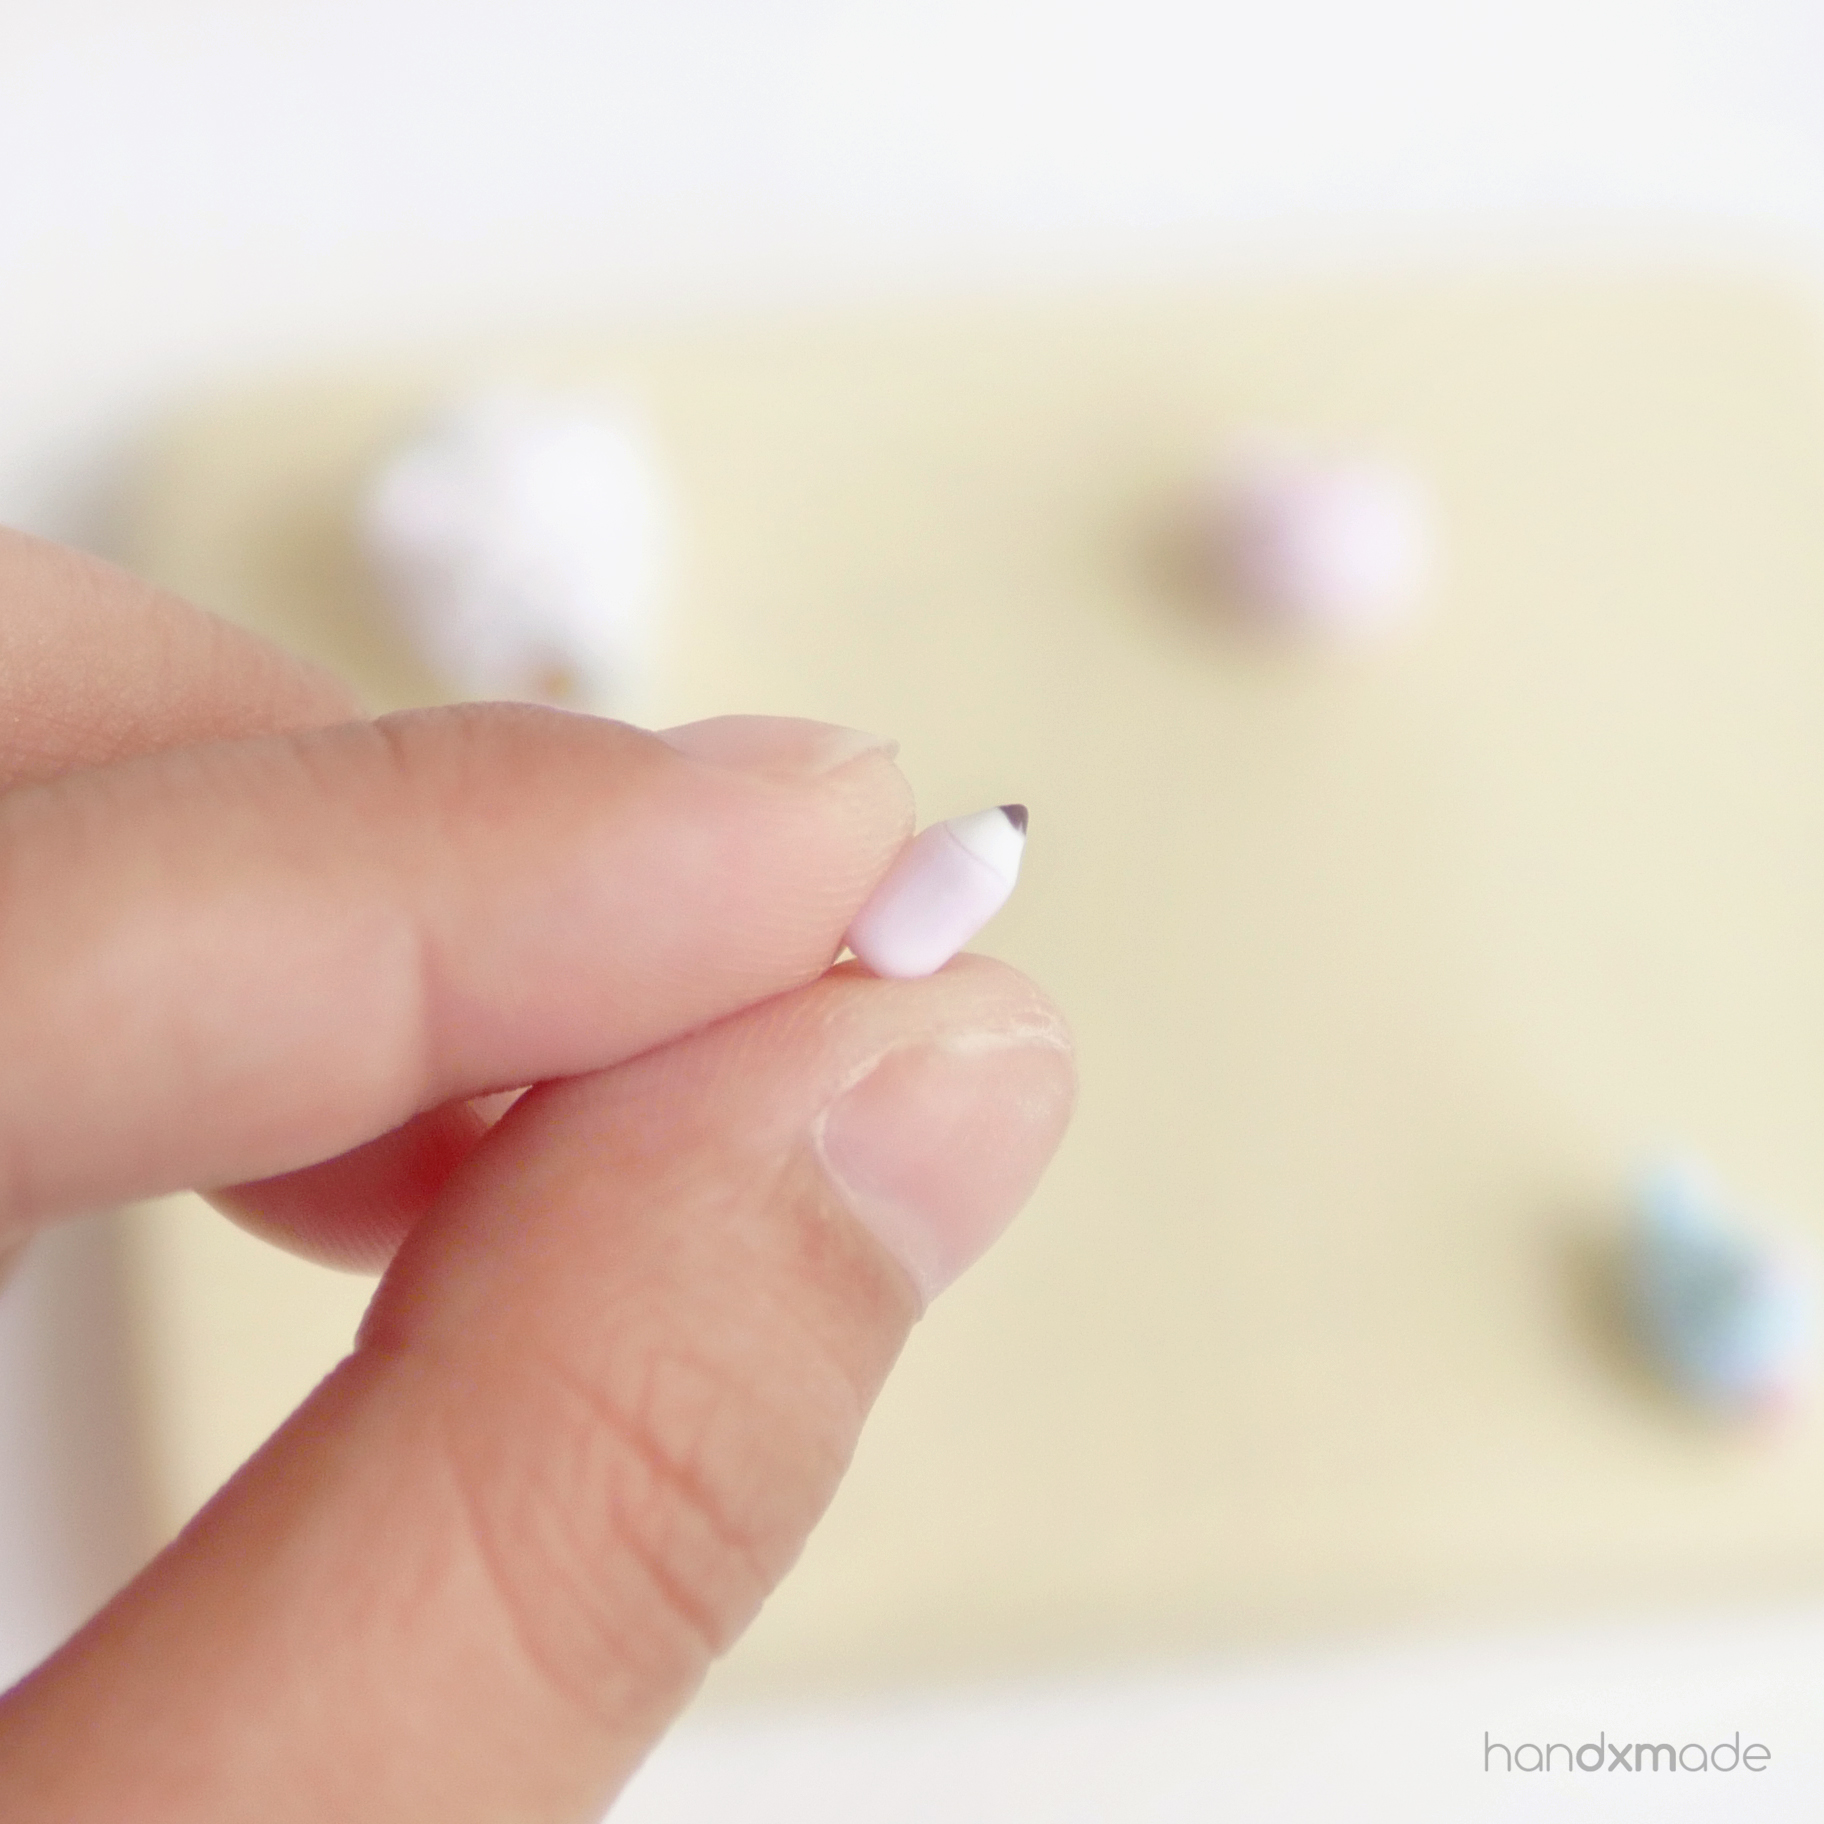
Make a bean shape with WHITE, cut hands, feet, and place them accordingly.
Bake it, place eyes and nose!
WHITE (Body)
White (1) : Translucent (1)
LIGHT PINK (Inner Ears)
White (1) : Blush (1/32) : Wisterin (1/128) : Translucent (1)
PALE BROWN (Eyes and Nose)
Black (1/2) : White (1/4) : Burnt Umber (1) : Translucent (1)
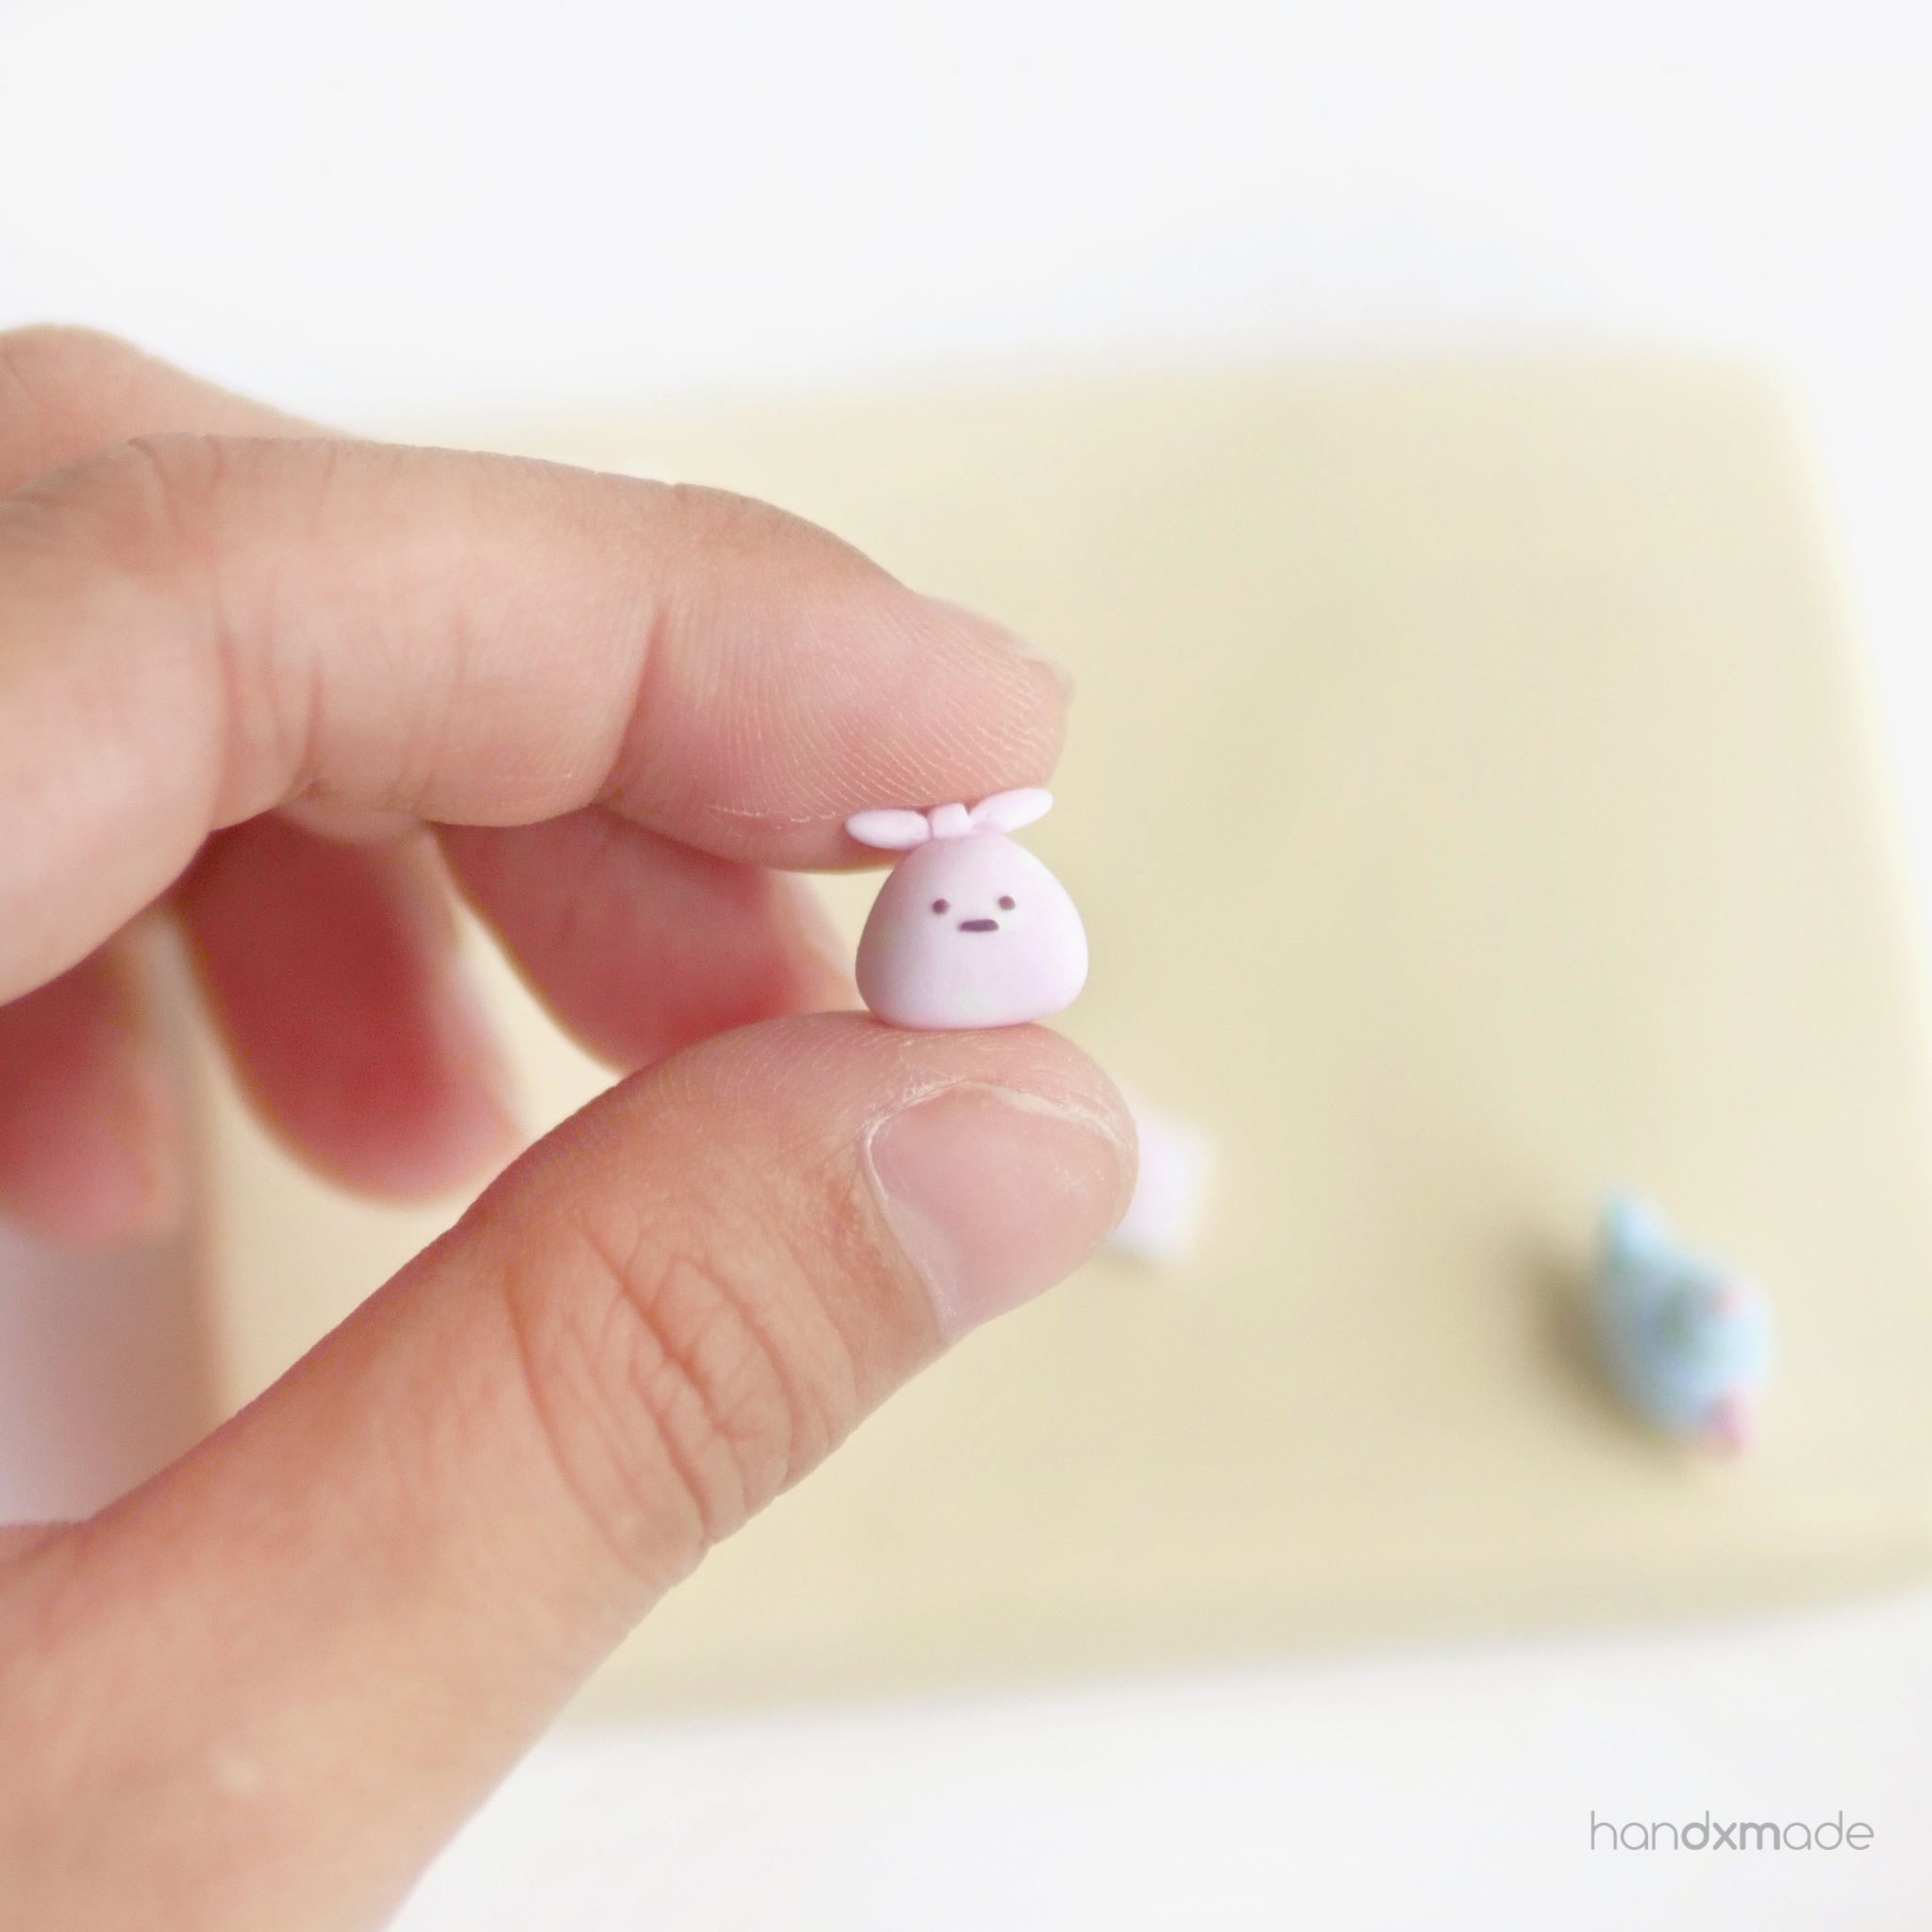
FUROSHIKI
Take LIGHT PINK, roll it into a ball of clay, make deep holes with ball tool, and place LIGHT YELLOW inside the holes.
Roll the ball of clay and shape it accordingly, place the "ribbon" on top. Bake.
Make the eyes and mouth!
LIGHT PINK (Body)
White (1) : Blush (1/32) : Wisterin (1/128) : Translucent (1)
PALE YELLOW (Polka Dots)
White (1) : Cadmium Yellow (1/128) : Translucent (1)
PALE BROWN (Eyes and Mouth)
Black (1/2) : White (1/4) : Burnt Umber (1) : Translucent (1)
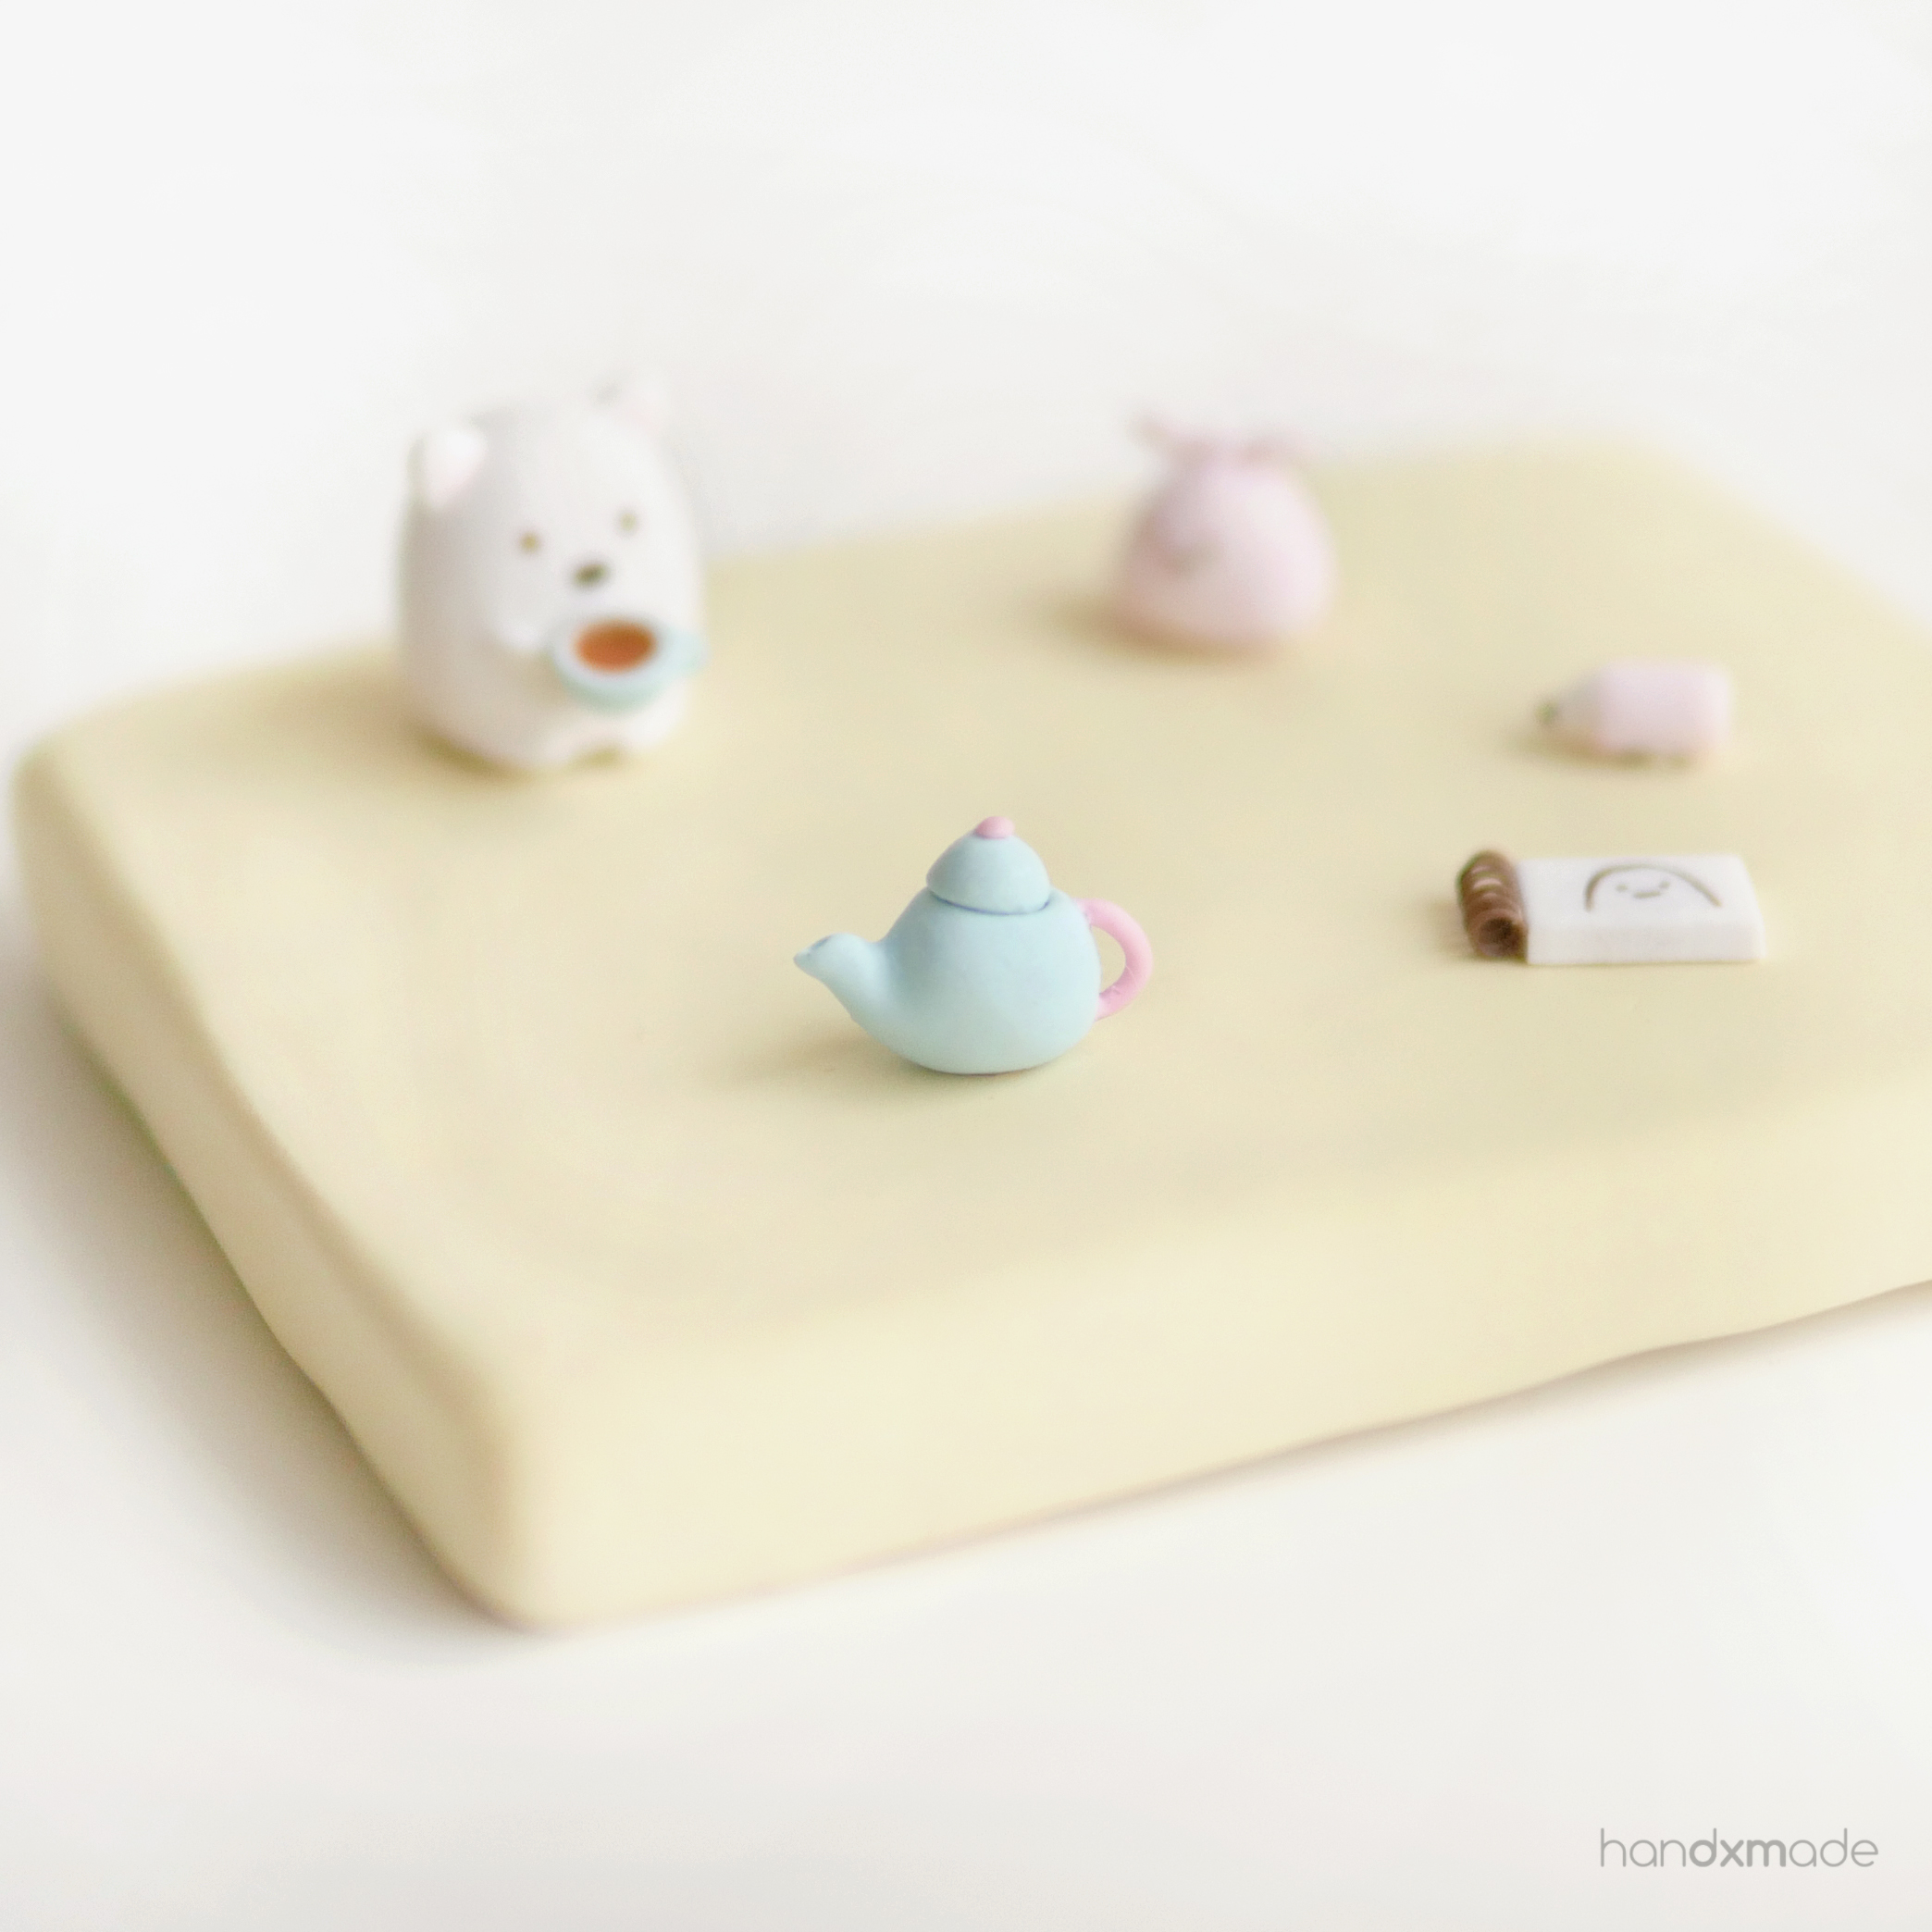
TEAPOT
Rollout a cylinder and bake it. Make sure it's long enough for you to hold AND for the teapot itself.
Put the cylinder through the LIGHT BLUE clay, and shape it.
Pinch out a stout from one side of the clay, and use a needle tool/toothpick to make the indent more obvious.
Poke the end of the stout to make a hole!
Roll out a thin snake for PINK clay, and attach to the teapot with liquid clay and blend it.
Trim off the excess clay at the top to make the opening straighter.
Jiggle the cylinder out! It might be a bit tough but it'd work.
For the Teapot cover, make sure that it fits the teapot!
PINK (Teapot Handle)
White (1) : Blush (1/4) : Wisterin (1/16) : Translucent (1)
LIGHT BLUE (Teapot and Teapot cover)
White (1) : Turquoise (1/4) : Translucent (1)
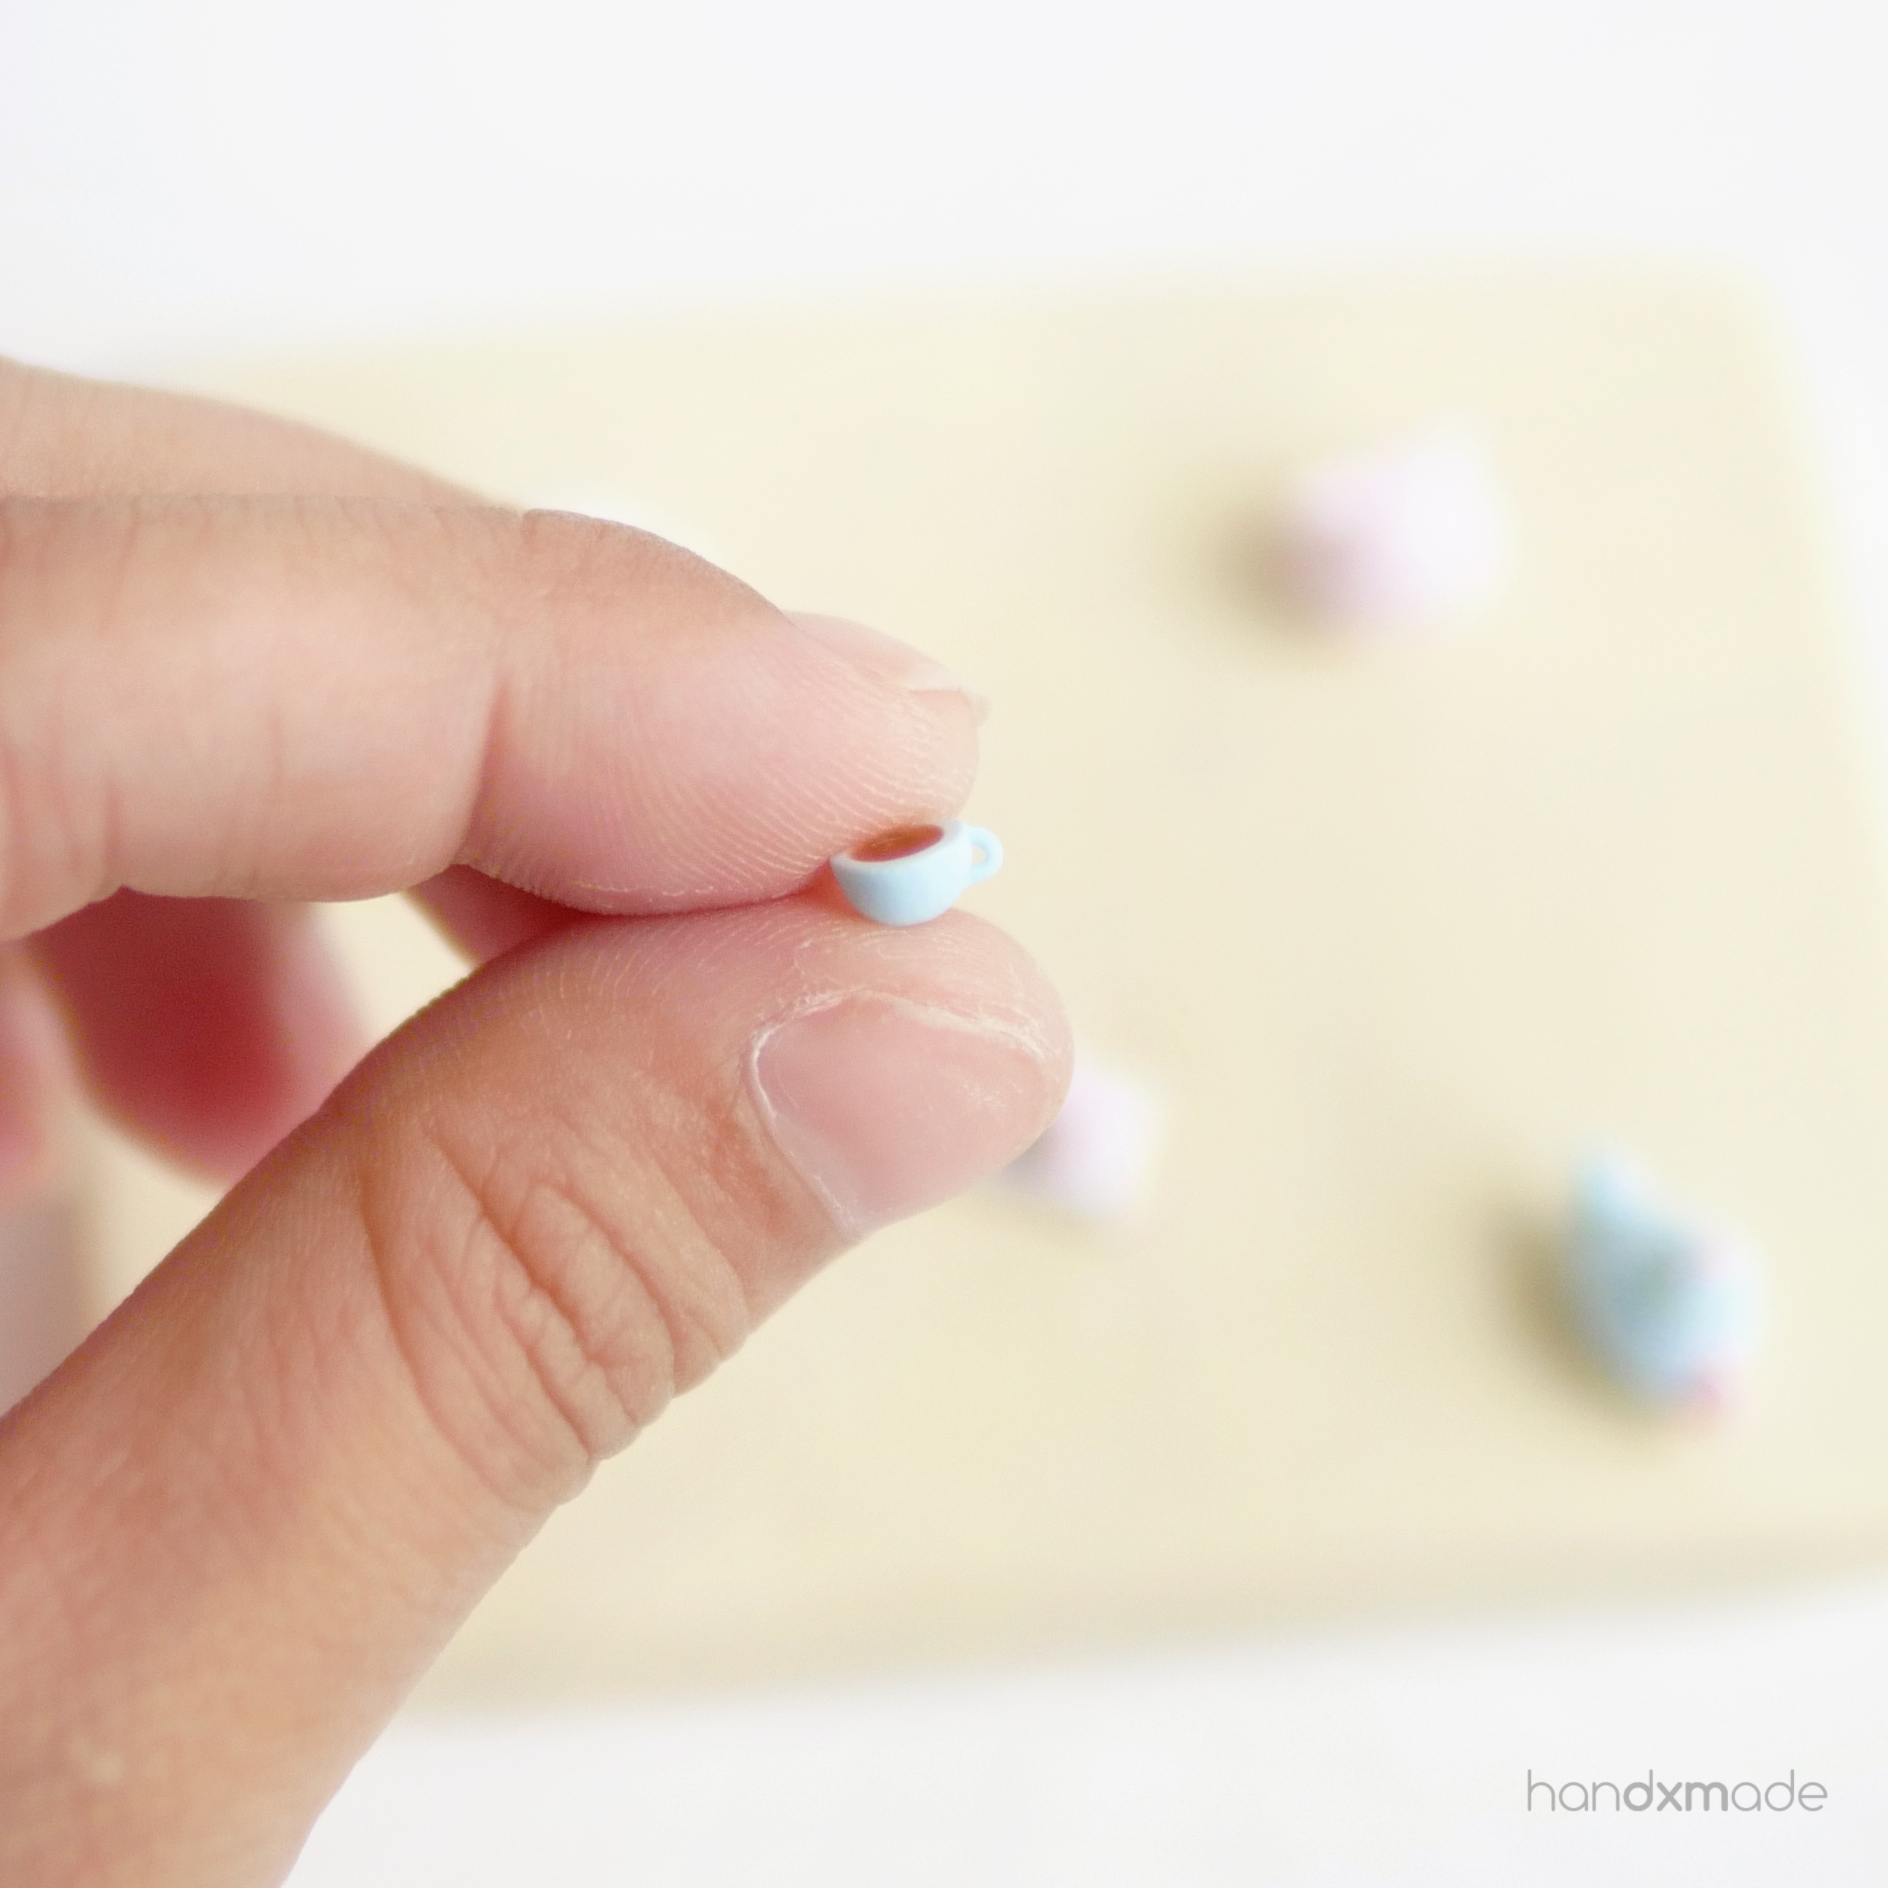
TEACUP
Similar method to Teapot!
I used UV resin for the tea itself after I baked the teacup,
and mix the colour with soft pastel (colours: Terra Cotta and Light Red Brown)
If you don't want to use UV resin or don't have it, you can use liquid clay!
I recommend using FIMO as it's more translucent, and you can use pastel to mix the colour too 😊
LIGHT BLUE (Teacup)
White (1) : Turquoise (1/4) : Translucent (1)
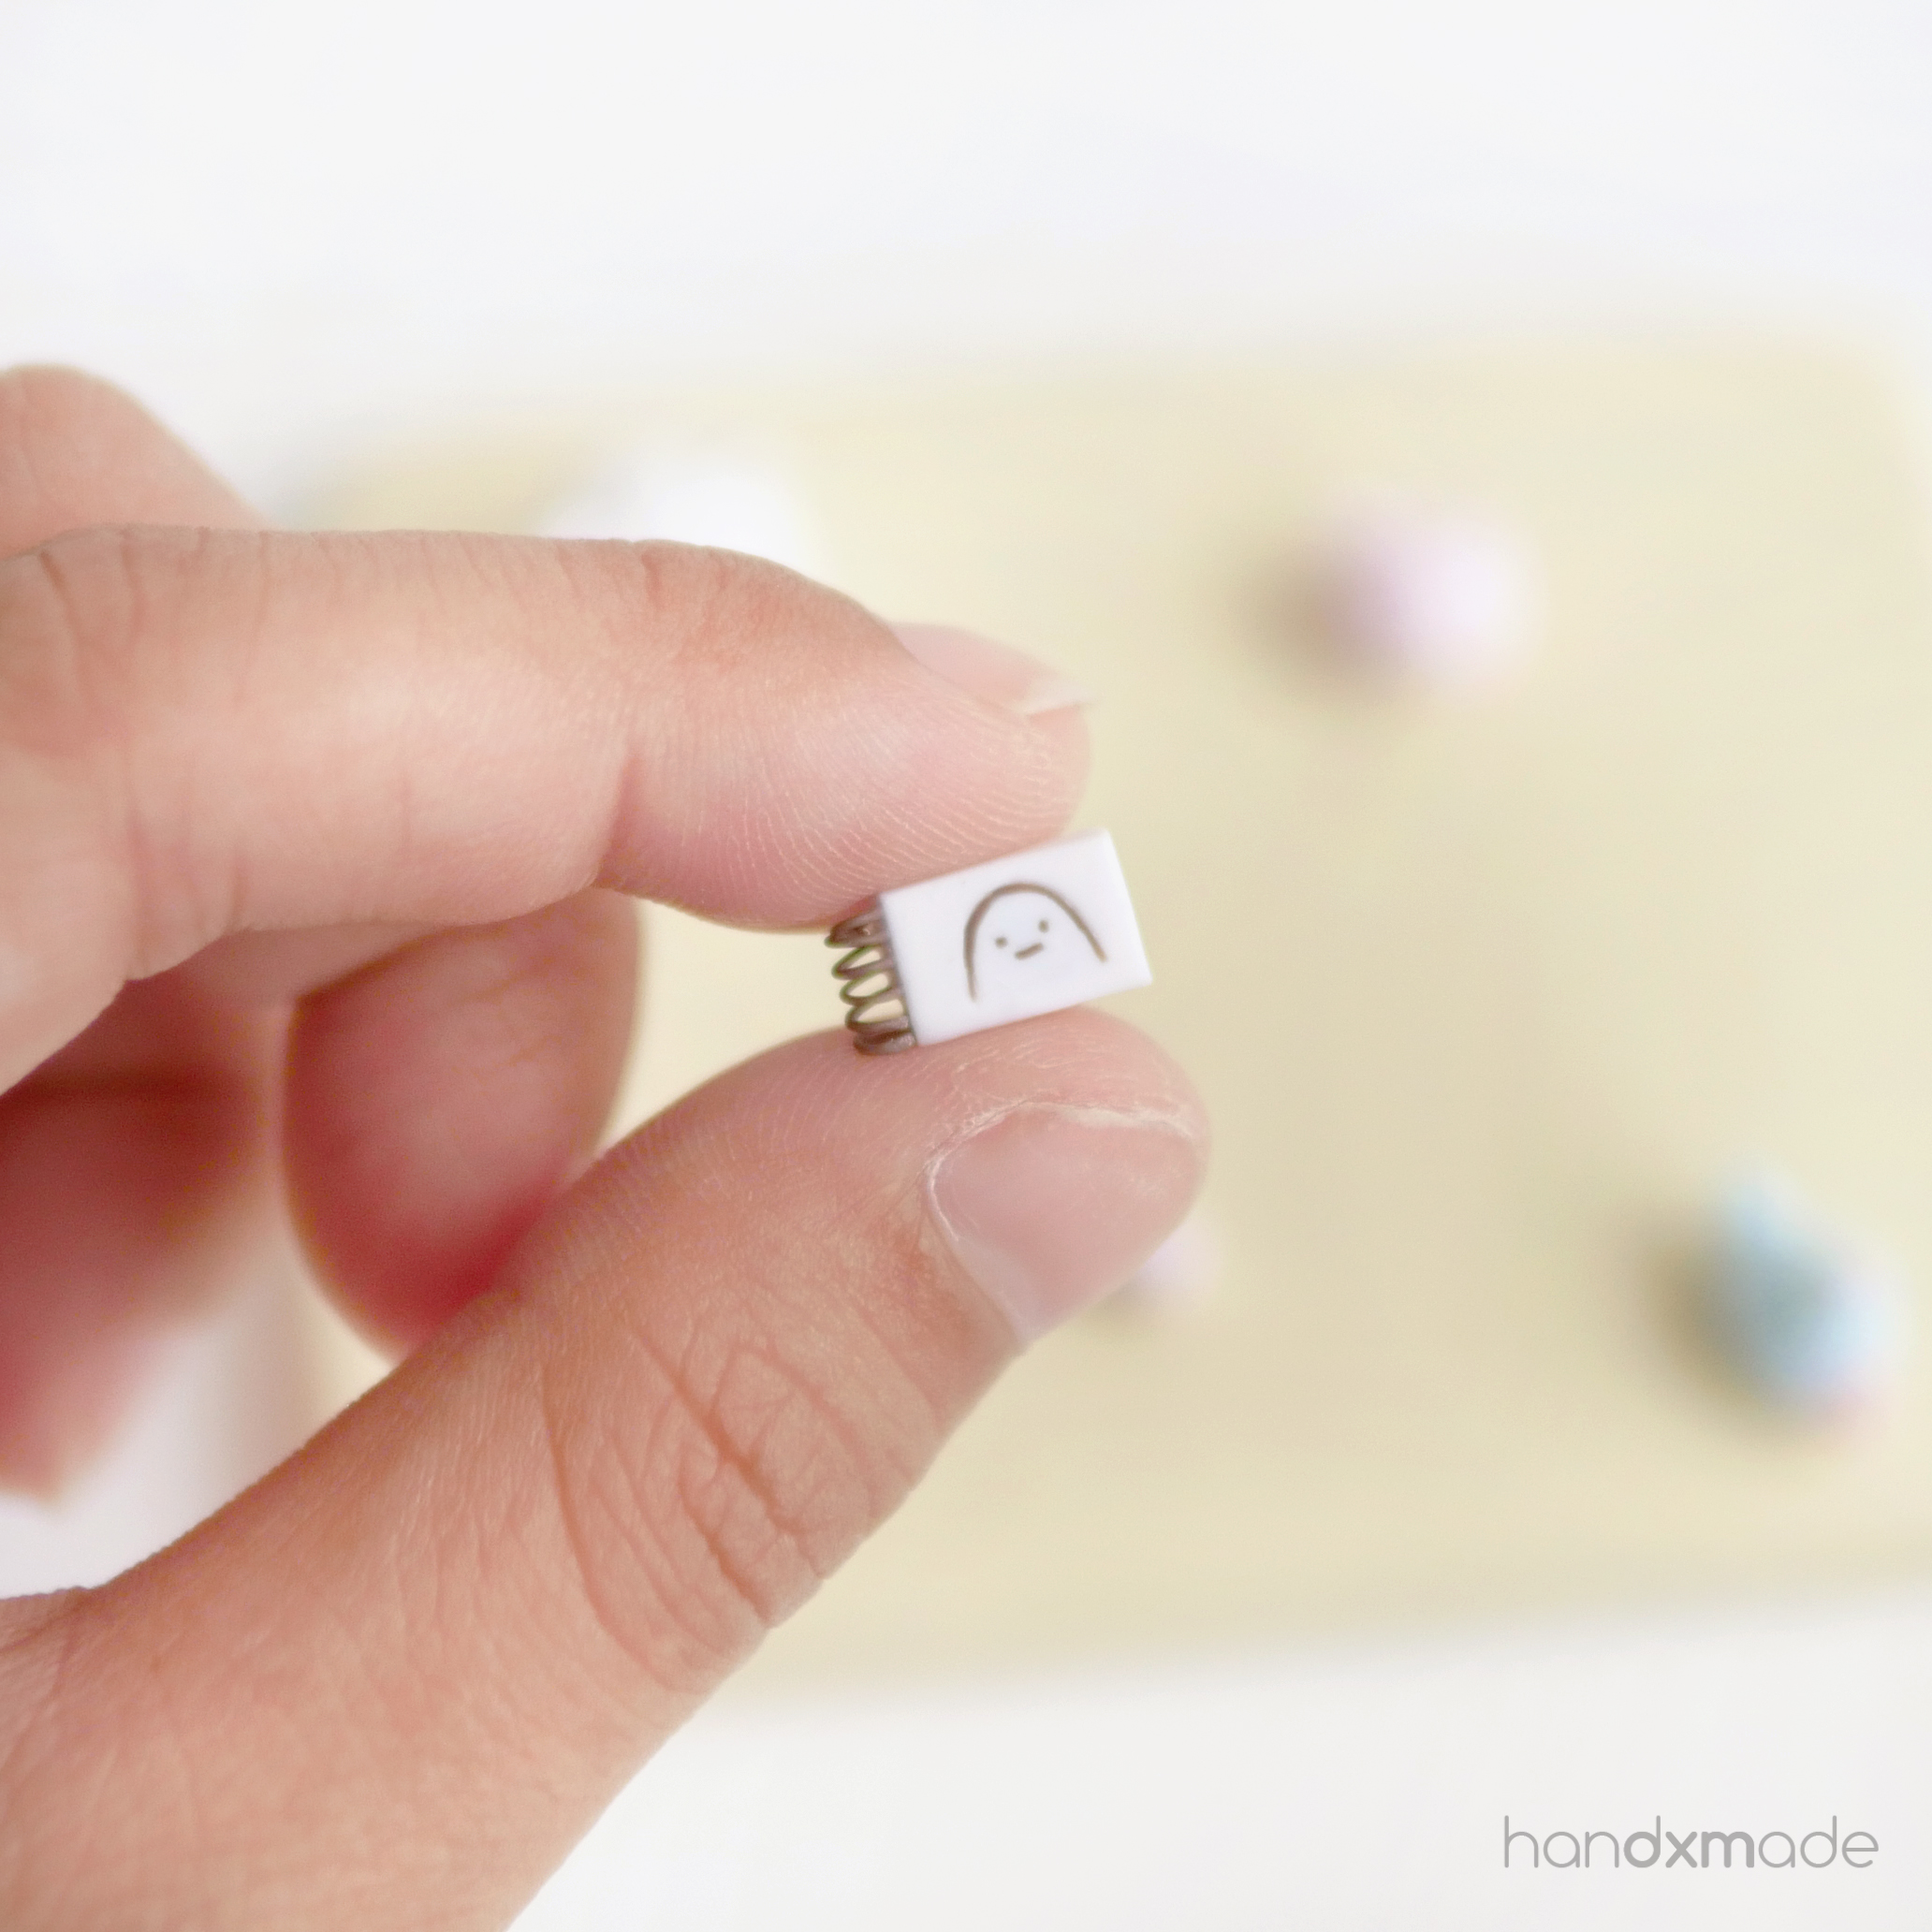
SKETCHPAD
Roll a thin snake as thin as you can with PALE BROWN, and wrap it around the body of a cotton bud (I trimmed the buds out).
Polymer clay doesn't stick on the body of a cotton bud which is good because you're gonna bake the whole thing as it is.
Use WHITE and cut a small rectangle. Adhere the ring binder to the rectangle.
"Sketch" the miniko with your needle tool and outline it with PALE BROWN!
WHITE (Sketch Pad)
White (1) : Translucent (1)
PALE BROWN (Ring Binder)
Black (1/2) : White (1/4) : Burnt Umber (1) : Translucent (1)
PENCIL
Roll LIGHT PINK into a cylinder shape, trim to size.
Roll LIGHT YELLOW to the same cylinder shape, and roll out a tip. Trim the tip off and place beside LIGHT PINK.
I trimmed out more LIGHT YELLOW as it was too long, and just roll it again to make sure it's all rounded.
Do the same for PALE BROWN but make sure it's really small and fits LIGHT YELLOW.
LIGHT PINK (Body)
White (1) : Blush (1/32) : Wisterin (1/128) : Translucent (1)
PALE YELLOW (Wood part of the pencil)
White (1) : Cadmium Yellow (1/128) : Translucent (1)
PALE BROWN (Granite)
Black (1/2) : White (1/4) : Burnt Umber (1) : Translucent (1)

MAGNETIC BASE AND WALL
Cut a big rectangle that will fit all the figurines (you can use scrap clay for this, but make sure the bottom is white),
use liquid clay and attach a metal piece that can be magnetised (test it first!)
Wrap LIGHT YELLOW around the metal piece and cover the sides. Blend the ends at the bottom.
For the wall, make sure it fits the side of the base, and it's taller than Shirokuma.
Watch Penguin?'s video to see how I make the base and wall!
LIGHT YELLOW (Floor)
White (1) : Cadmium Yellow (1/8) : Translucent (1) : PALE BROWN (1/32)
BROWNISH WHITE (Wall)
White (1) : Translucent (1) : PALE BROWN (1/64)

COLOUR RECIPE SUMMARY
For convenience sake, here's all the Colour Recipe needed and what's it's used for! 😊
Head to Penguin's Video to see how I embed the magnets, and here to see the kind of magnets I use!
BROWNS
PALE BROWN
What's it for: Eyes, nose and mouth for Sumikko and Miniko, Sketch Pad Ring Binder and drawing, Pencil Graphite
Black (1/2) : White (1/4) : Burnt Umber (1) : Translucent (1)
WHITES
WHITE
What's it for: Shirokuma's body, Sketchpad
White (1) : Translucent (1)
BROWNISH WHITE
What's it for: Wall
White (1) : Translucent (1) : PALE BROWN (1/64)
YELLOWS
PALE YELLOW
What's it for: Furoshiki Polka Dots, Wooden part of Pencil
White (1) : Cadmium Yellow (1/128) : Translucent (1)
LIGHT YELLOW
What's it for: Floor
White (1) : Cadmium Yellow (1/8) : Translucent (1) : PALE BROWN (1/32)
BLUE
LIGHT BLUE
What's it for: Teapot, Teapot cover, Teacup
White (1) : Turquoise (1/4) : Translucent (1)
PINK
LIGHT PINK
What's it for: Furoshiki body, Pencil body, Shirokuma's Inner Ears
White (1) : Blush (1/32) : Wisterin (1/128) : Translucent (1)
PINK
What's it for: Teapot Handles
White (1) : Blush (1/4) : Wisterin (1/16) : Translucent (1)